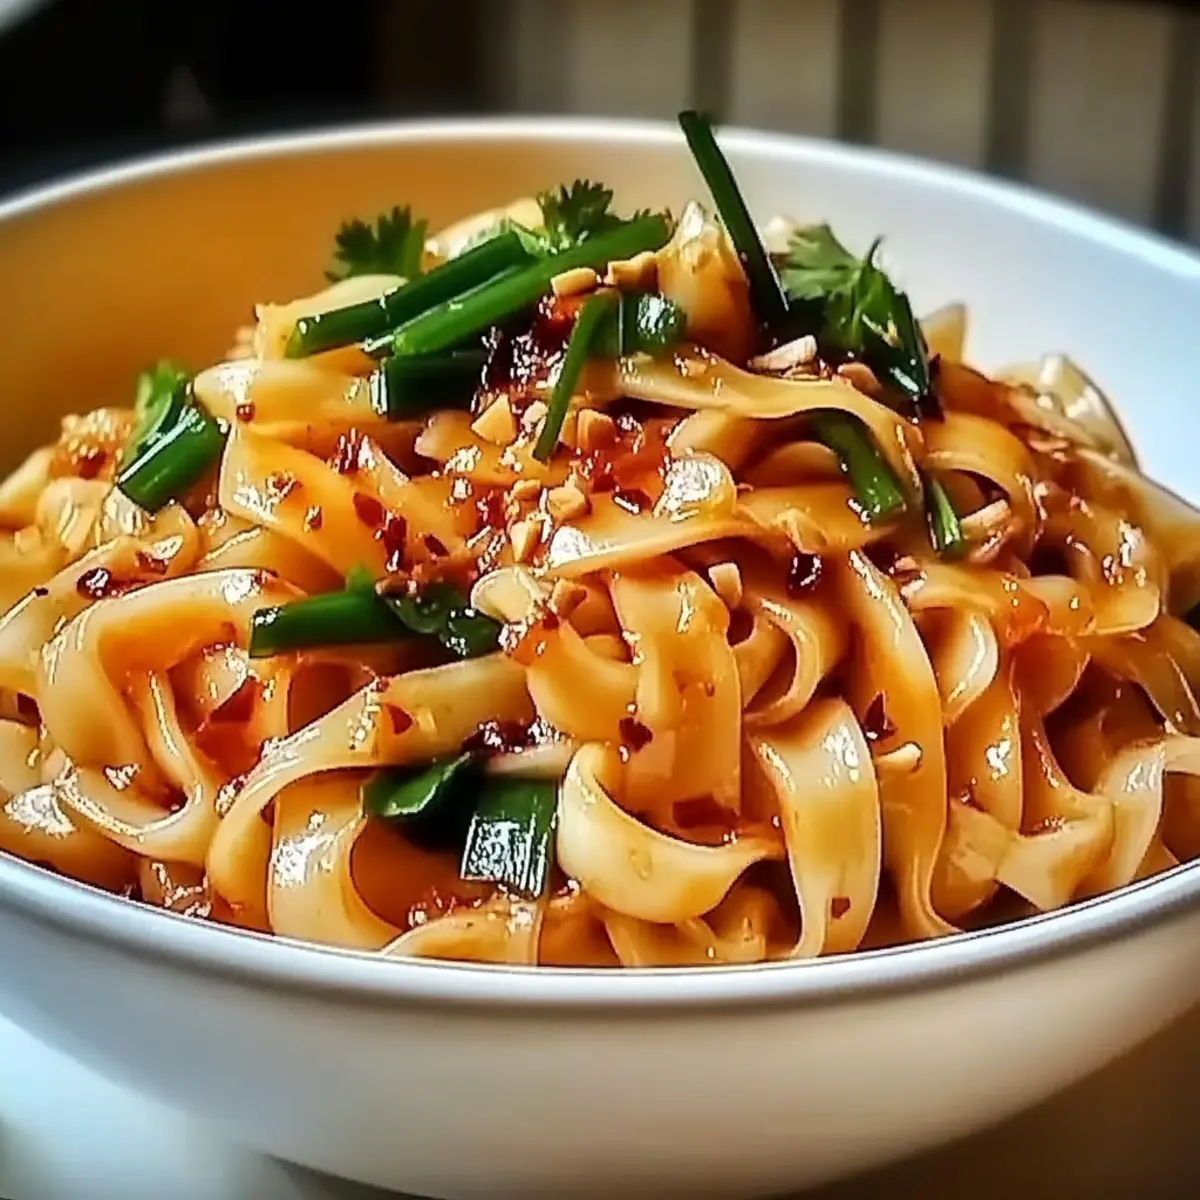
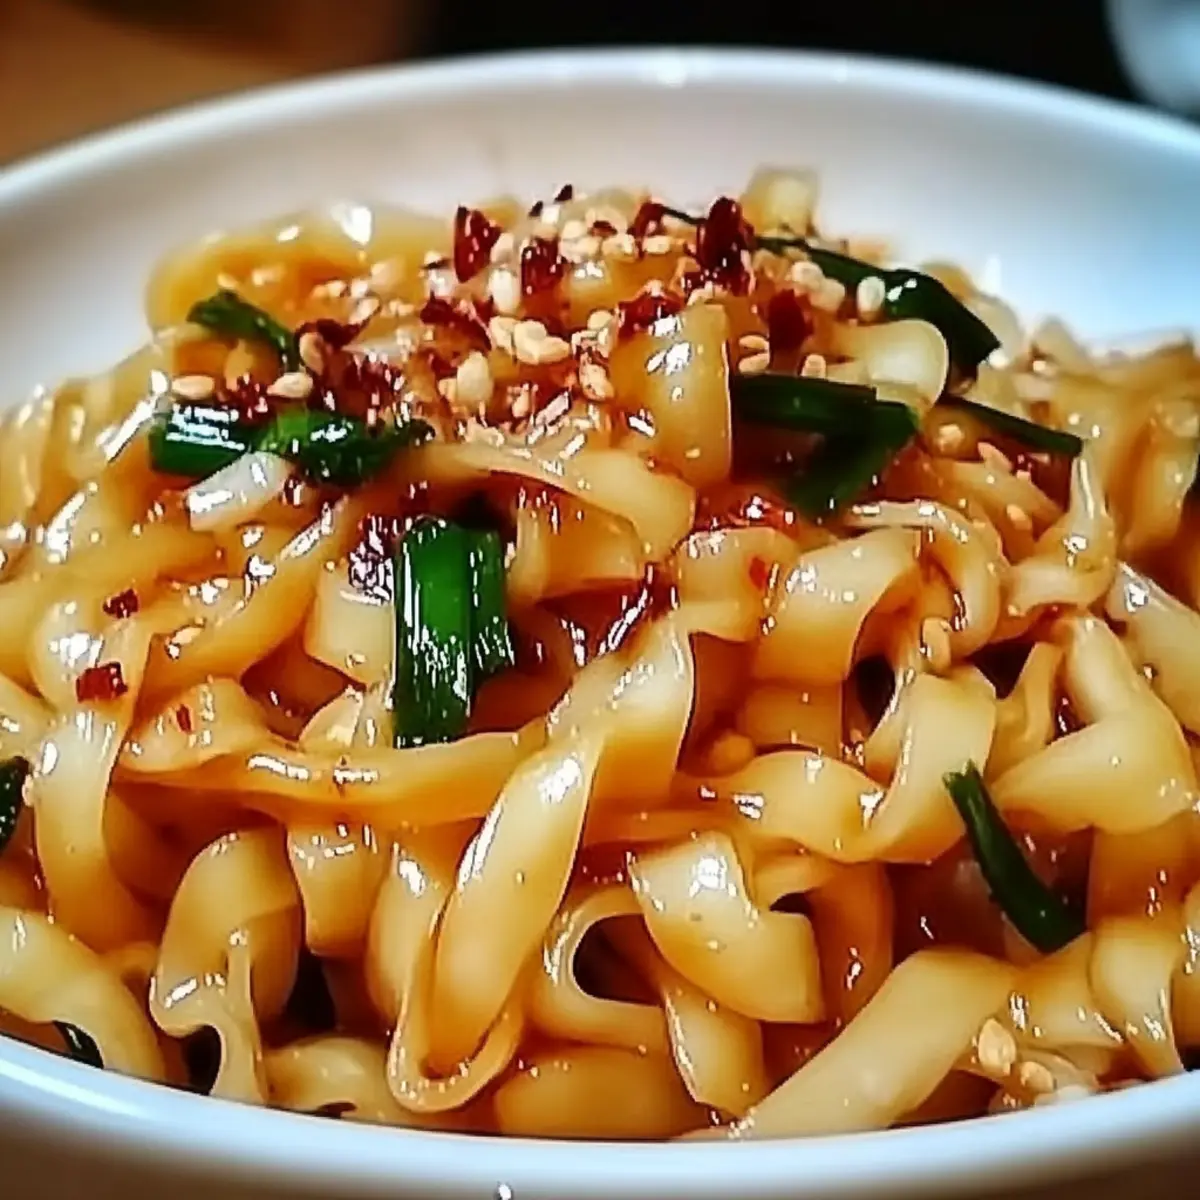
As the scent of warm, cheesy goodness wafts through my kitchen, I’m reminded of those carefree evenings spent indulging in Pizza Hut Cheese Sticks with friends and family. This homemade version is not only a delightful trip down memory lane but also incredibly easy to whip up, making it perfect for game nights or cozy get-togethers. The best part? You'll have a customizable treat that caters to your cravings—it’s meal prep friendly and can easily be tailored to fit a gluten-free lifestyle. So, are you ready to recreate that crispy, cheesy bliss right at home? Let’s dive into this irresistible recipe that’s sure to impress!
Why Make Pizza Hut Cheese Sticks?
Cheesy Nostalgia: Relive your favorite memories with a homemade twist on classic cheese sticks that are even better than the original.
Customizable Delight: Tailor the flavors to your liking! Mix in herbs, switch up cheeses, or add spices for a unique kick.
Meal Prep Friendly: Perfect for busy schedules. Make a batch ahead of time and simply reheat for a quick snack that everyone will love.
Crowd-Pleasing Favorite: Expect these cheesy sticks to disappear fast at any gathering, just like they do at parties. Serve with marinara or ranch for dipping, and pair with delicious sides like Garlic Bread or Caesar Salad for the ultimate feast!
Pizza Hut Cheese Sticks Ingredients
For the Dough
- Granulated Sugar – Adds a hint of sweetness that balances the savory flavors, enhancing the overall taste.
- All-Purpose Flour – The main structure for your dough, crucial for achieving that perfect cheesy texture; gluten-free flour can be used as a substitute.
- Active Dry Yeast – Essential for fluffy, risen dough; ensure it's fresh and activated properly for the best results.
- Kosher Salt – Enhances the overall flavor of the cheese sticks, making every bite irresistible.
- Unsalted Butter – Adds rich flavor to both dough and topping; can be replaced with margarine for dairy-free options.
- Large Egg Yolk – Binds the dough and enriches its flavor; omitting will result in a less rich texture.
- Warm Water (110°F) – Activates the yeast for the perfect dough texture; make sure it's not too hot to harm the yeast.
For the Toppings
- Shredded Mozzarella Cheese – Provides the delightful gooeyness characteristic of pizza hut cheese sticks; high-moisture mozzarella is recommended for best stretch.
- Grated Parmesan Cheese – Adds sharpness and depth of flavor; Pecorino can be used as an alternative for a unique twist.
- Garlic Salt – Infuses the sticks with a savory garlic flavor; opt for fresh minced garlic for a stronger, more vibrant taste.
- Marinara Sauce – The classic dipping sauce for cheese sticks; can substitute with ranch or a spicy sauce for a fun variation.
Step‑by‑Step Instructions for Homemade Pizza Hut Cheese Sticks
Step 1: Prepare Dough
Begin by dissolving the active dry yeast in half of the warm water (110°F) for about 5 minutes until it becomes foamy. In a large mixing bowl, combine the melted unsalted butter, granulated sugar, kosher salt, and the remaining warm water. Next, stir in the egg yolk and the activated yeast mixture, then gradually add all-purpose flour, mixing until a soft and slightly sticky dough forms.
Step 2: Rest Dough
Grease a 9x13-inch baking dish with 2 tablespoons of melted butter. Transfer the dough into the dish, spreading it evenly across the bottom. Cover the dish tightly with plastic wrap and allow the dough to rest for 15 minutes. While it rests, preheat your oven to 350°F, which will create an ideal environment for the dough to rise slightly.
Step 3: Add Toppings & Bake
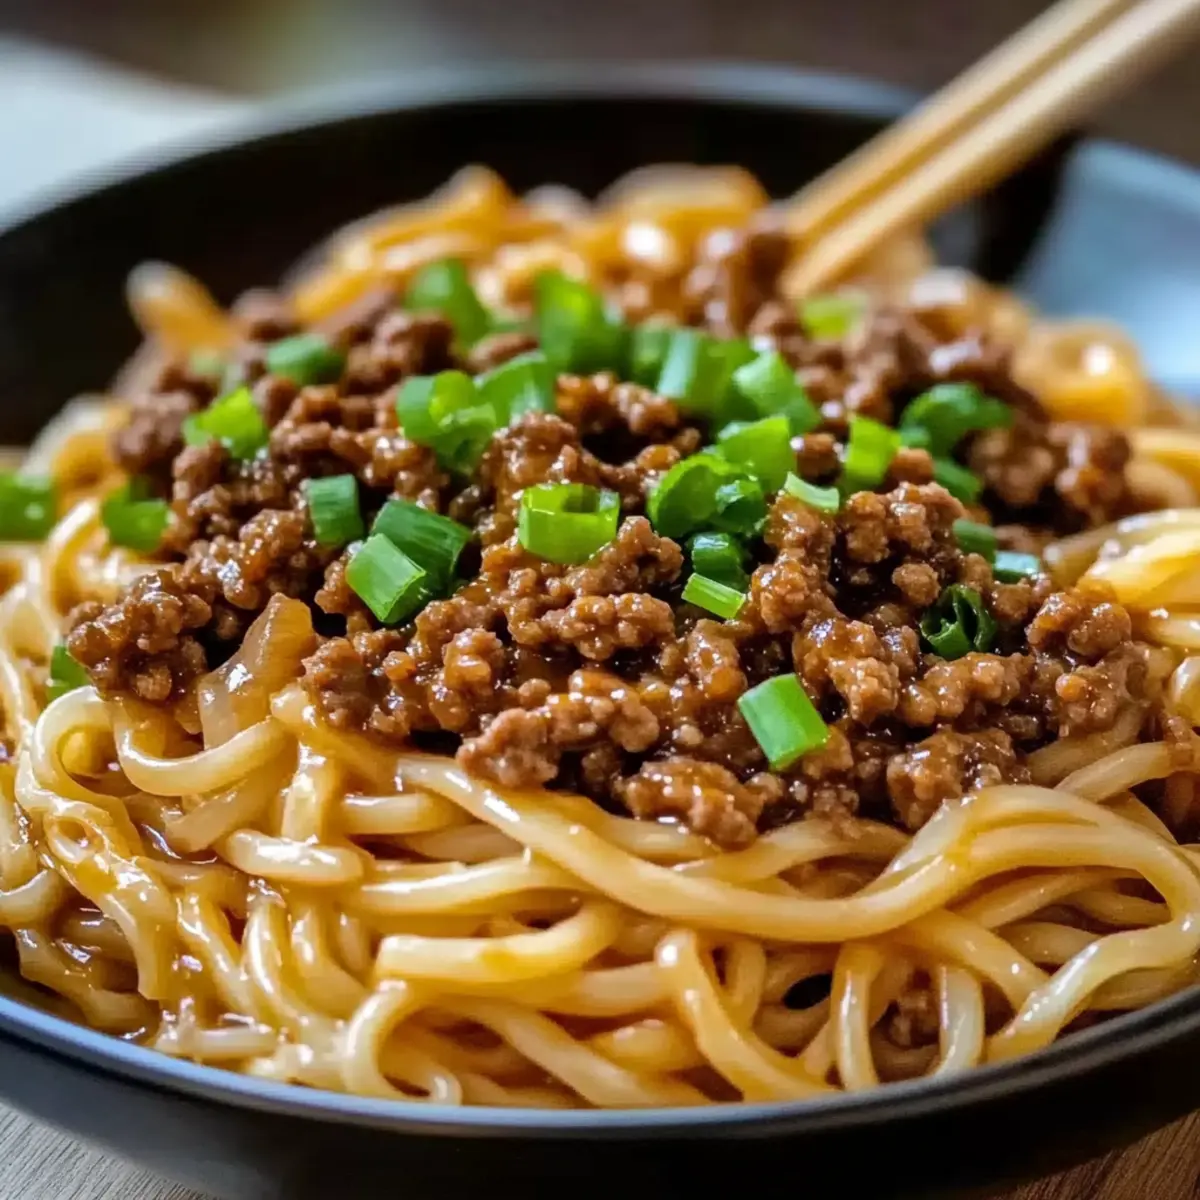
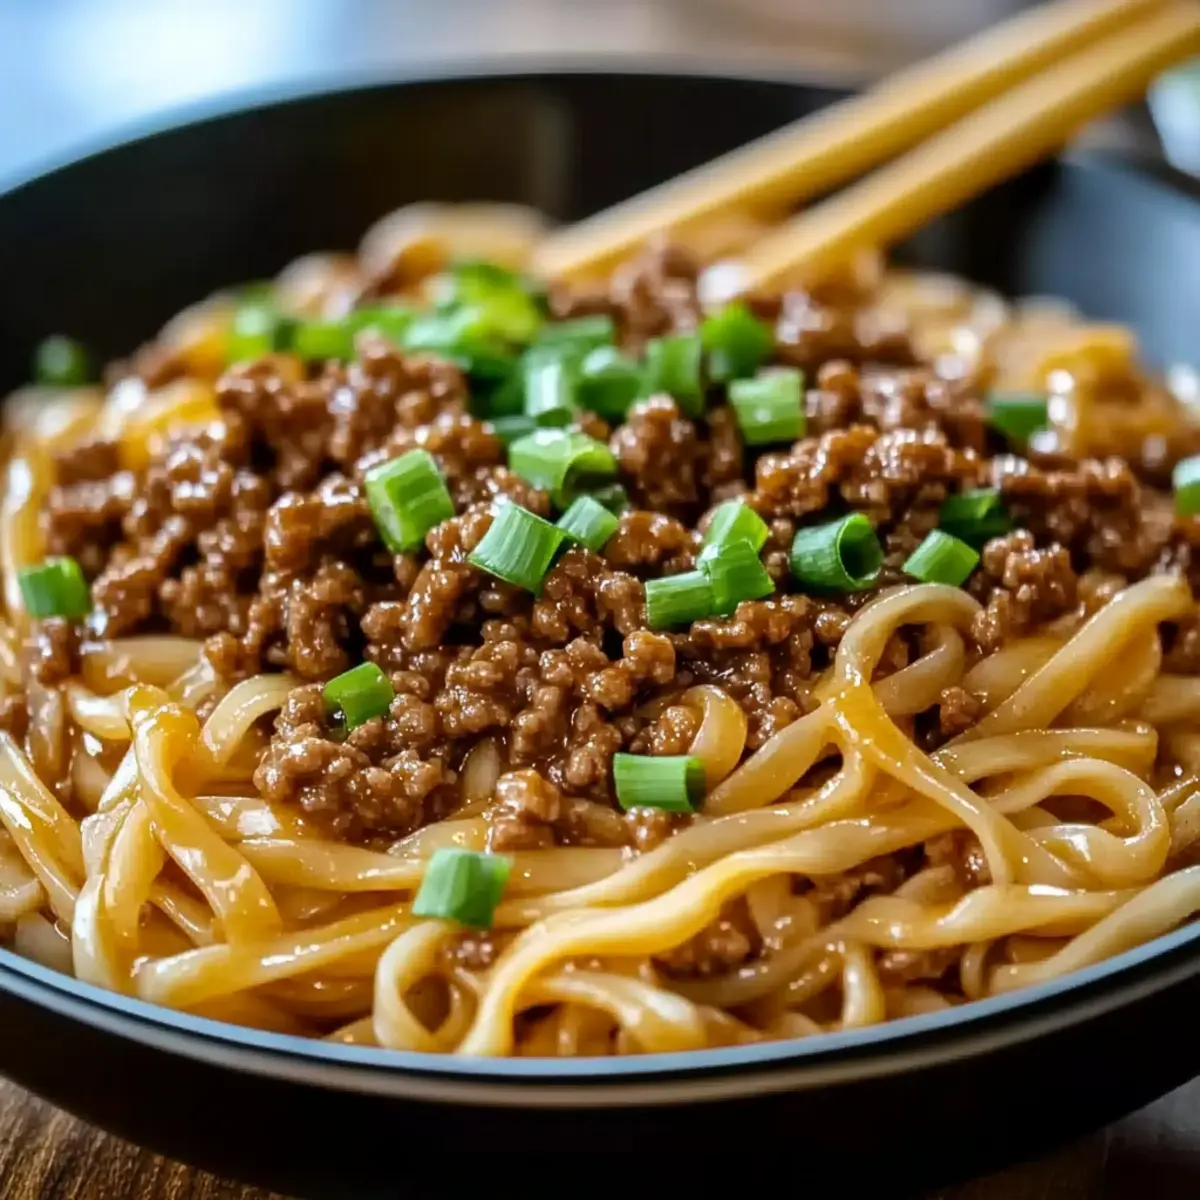
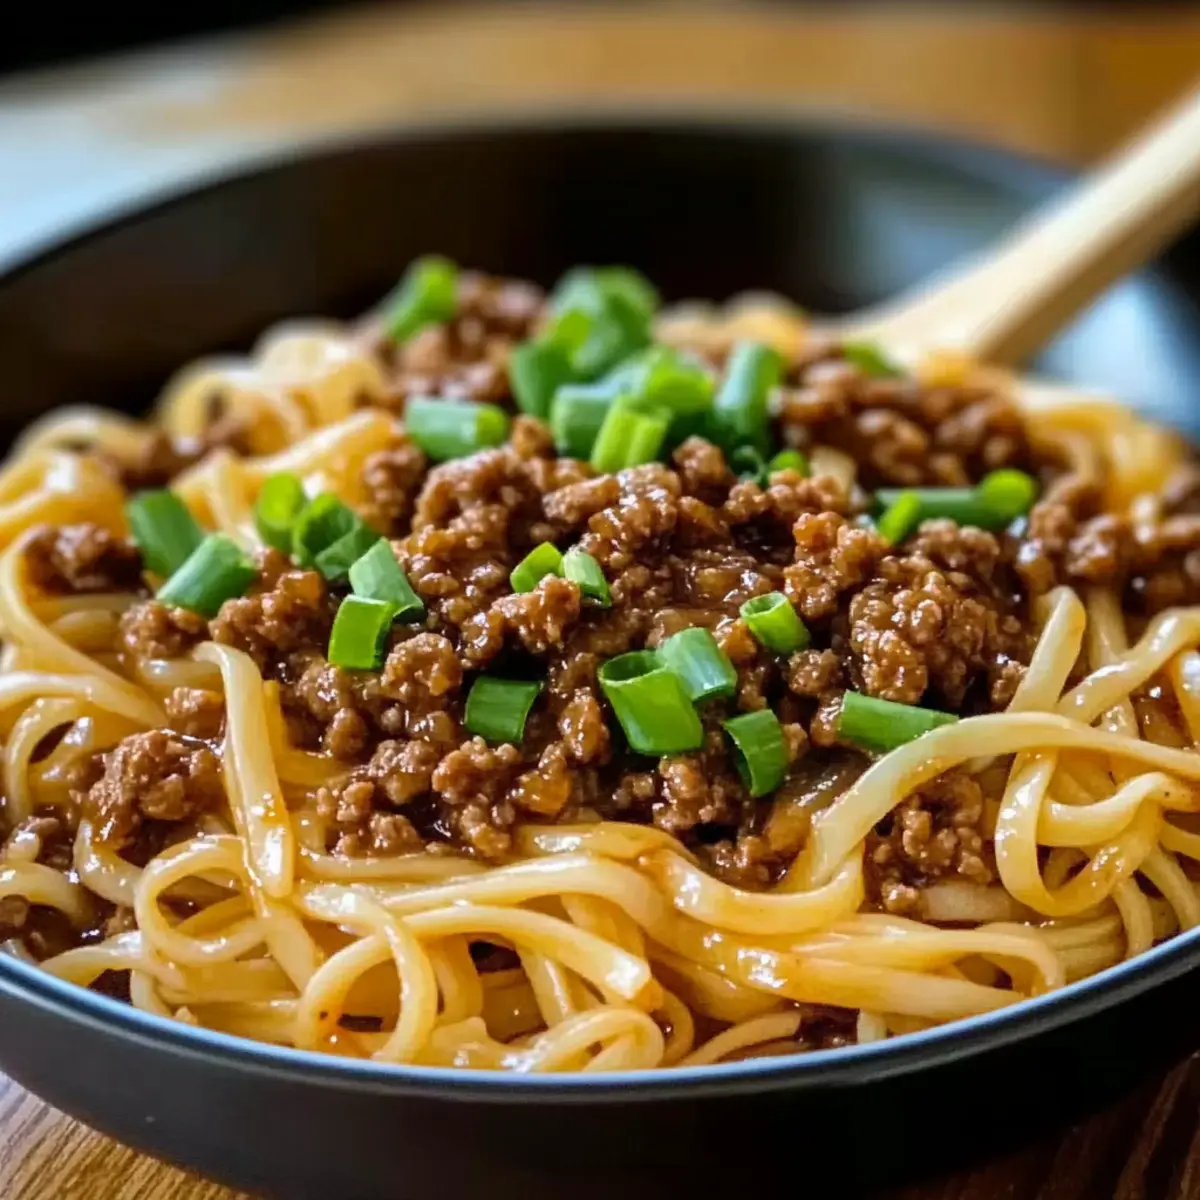
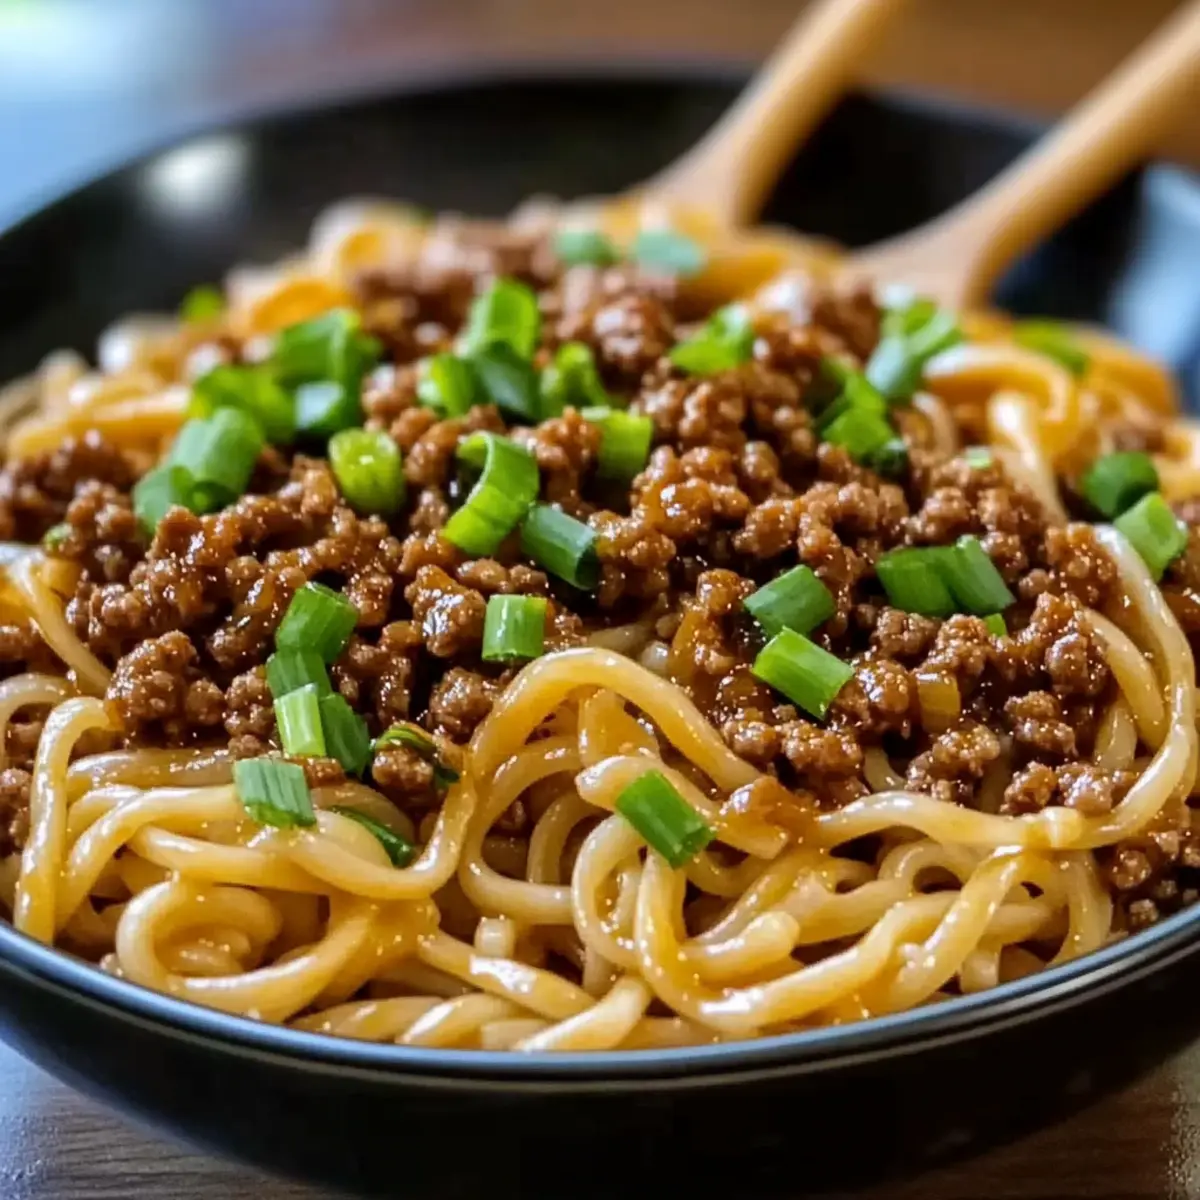
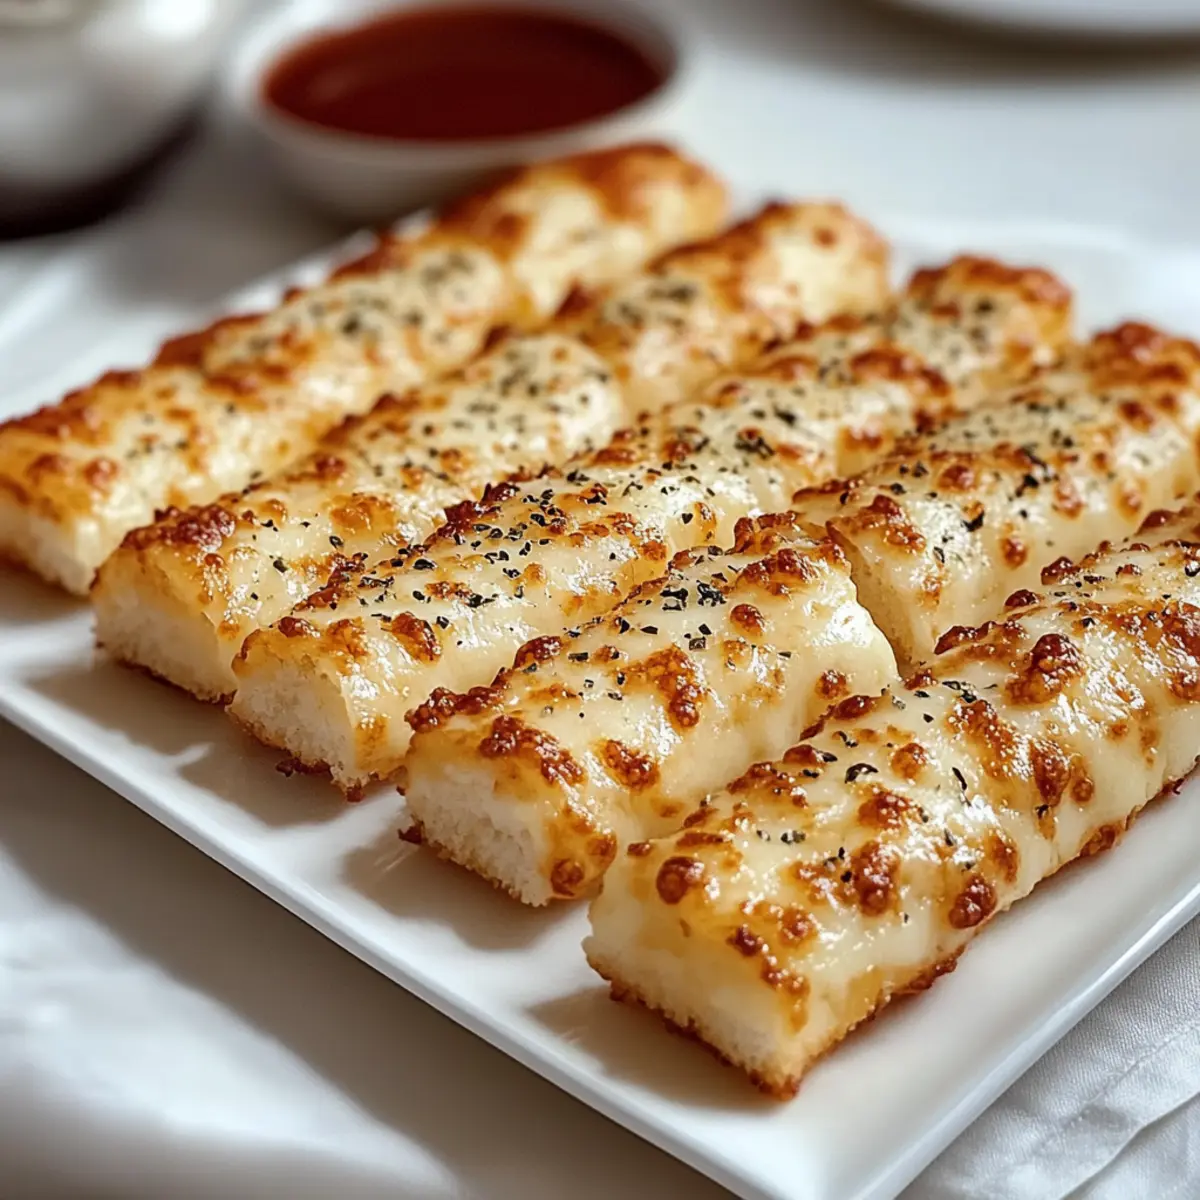
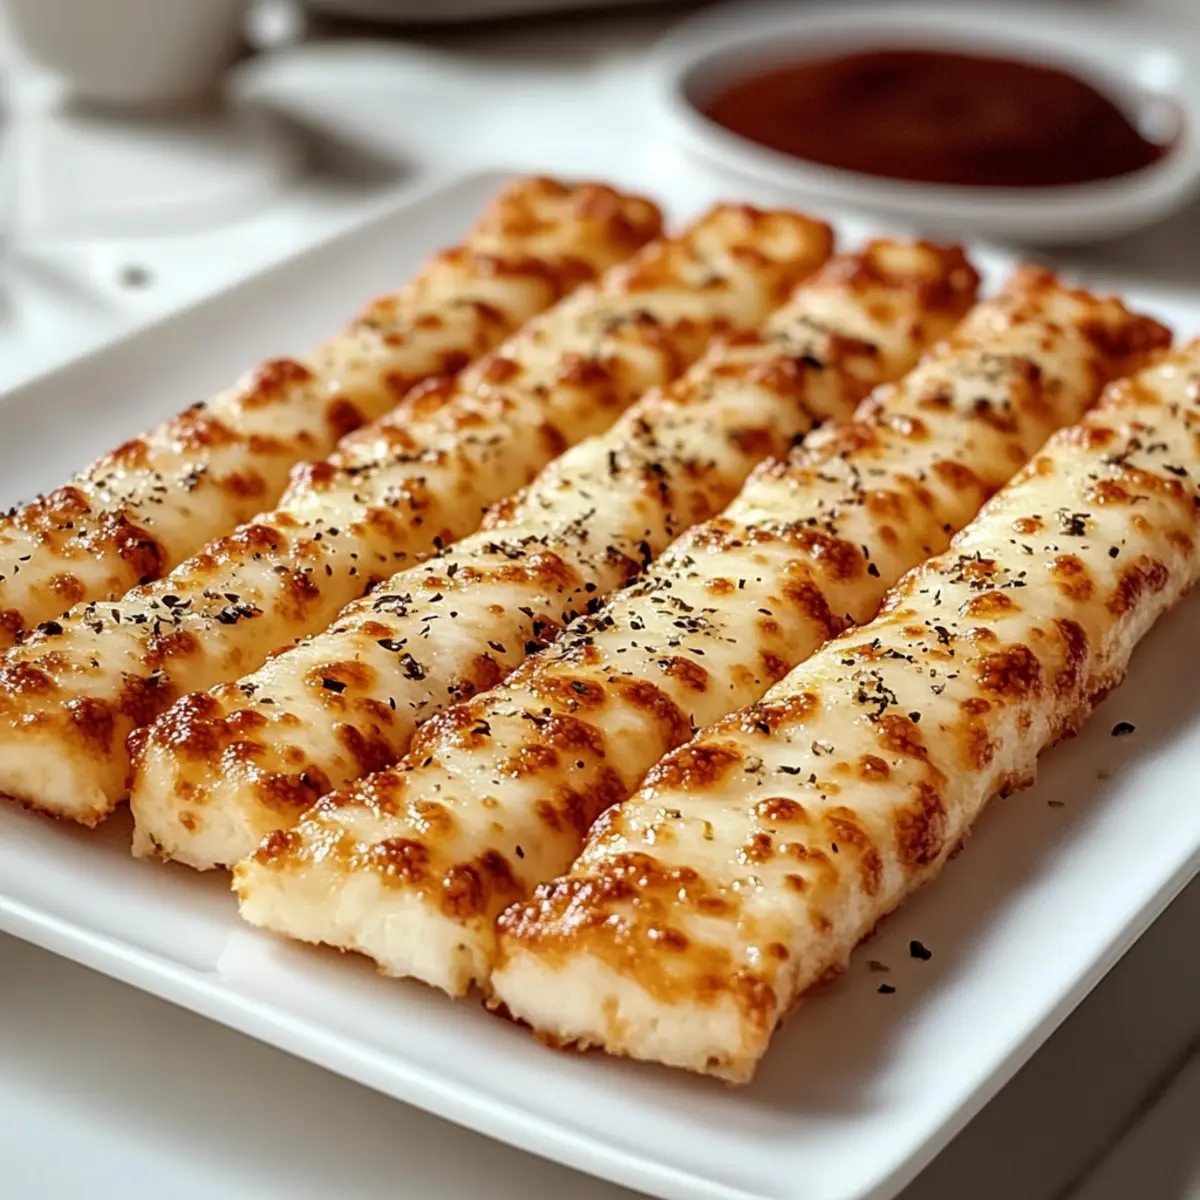
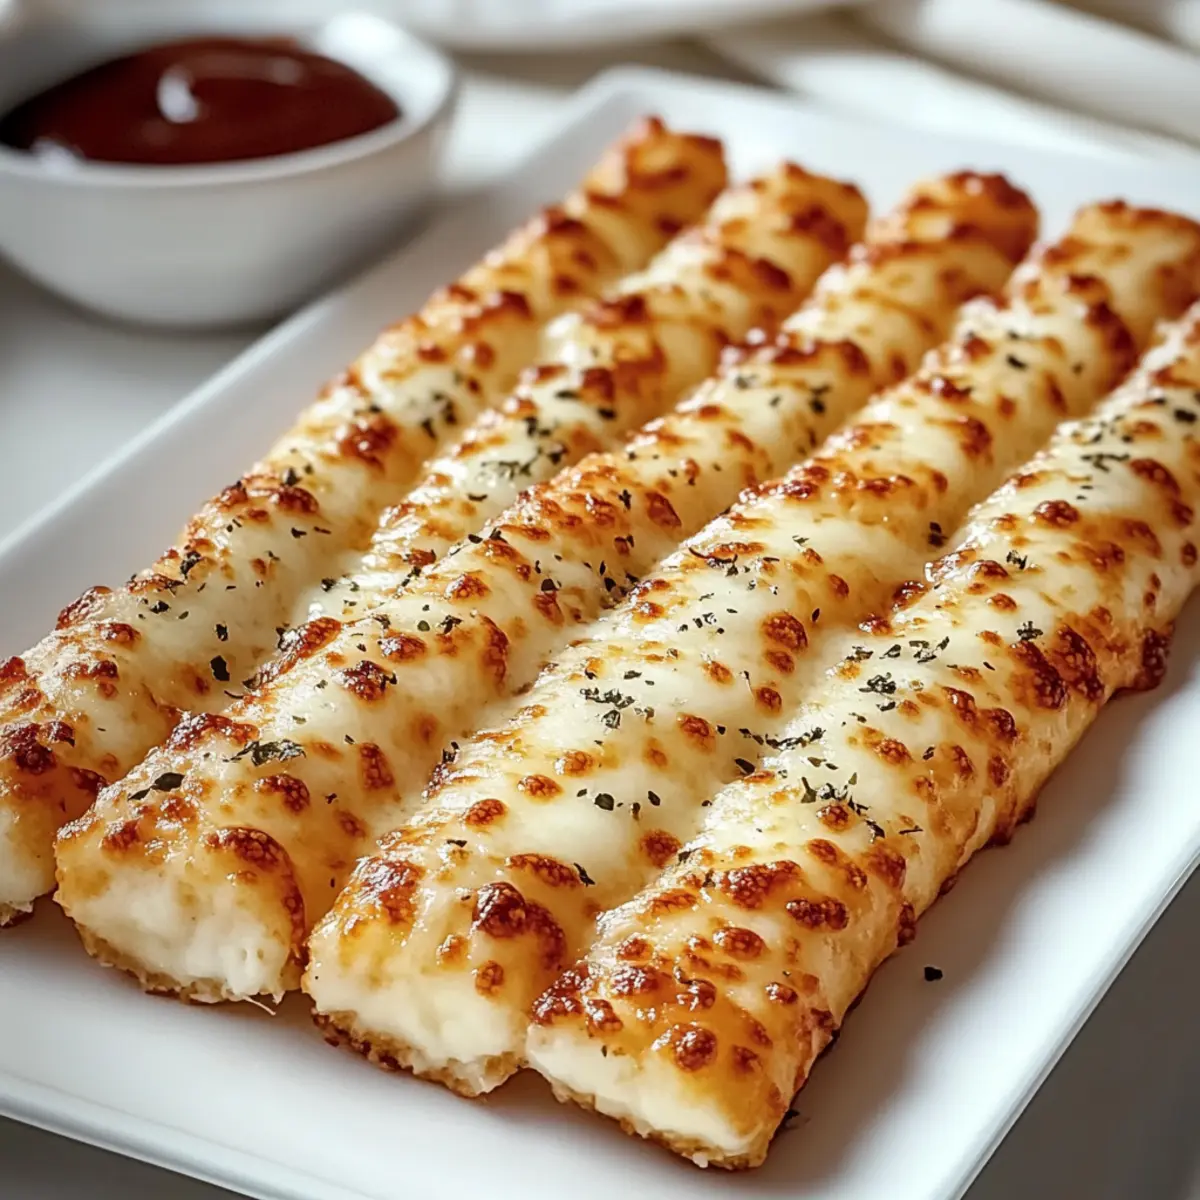
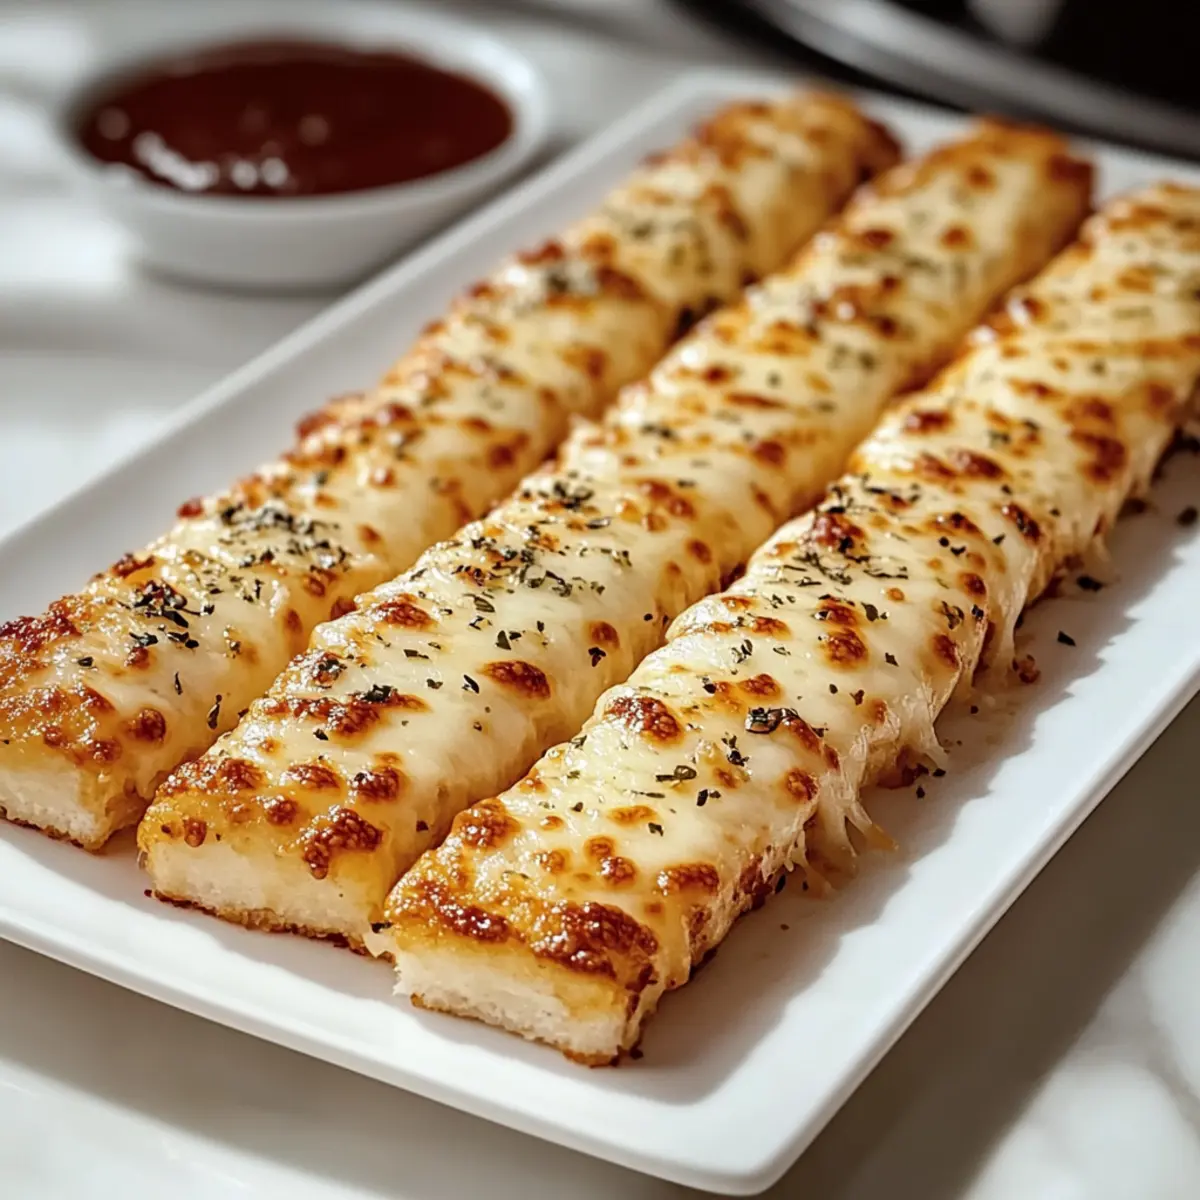
After the resting period, remove the plastic wrap from the dough. Gently brush the surface with the remaining melted butter for extra flavor and a golden finish. Evenly sprinkle the shredded mozzarella and grated Parmesan cheese over the dough, then generously dust with garlic salt, adding any optional herbs if desired. Place the dish in the preheated oven and bake for 28-31 minutes, until the cheese is bubbly and the edges are golden.
Step 4: Cool & Slice
Once baked, remove the dish from the oven and allow the Homemade Pizza Hut Cheese Sticks to cool for about 10 minutes. This short cooling time helps the cheese set slightly, making it easier to cut. Use a sharp knife or pizza cutter to slice the cheesy sticks into 8 even pieces.
Step 5: Serve with Dipping Sauce
Serve your freshly baked cheese sticks warm, accompanied by marinara sauce for dipping. Enjoy the delightful gooeyness and crispy exterior of your Homemade Pizza Hut Cheese Sticks, a perfect snack for family gatherings or cozy nights in.
Pizza Hut Cheese Sticks Variations
Customize your cheese sticks for a unique flavor experience, all while enjoying that delightful, cheesy goodness!
- Cheesy Duo: Mix mozzarella with provolone or gouda for an even creamier flavor profile.
- Spicy Kick: Add crushed red pepper flakes to the cheese topping for a little heat that doesn't overpower.
- Gluten-Free Option: Swap all-purpose flour with gluten-free bread flour to enjoy these sticks without the gluten.
- Herb-Infused: Incorporate fresh herbs such as basil or thyme into the dough for a delightful flavor boost.
- Veggie Boost: Mix in chopped vegetables like spinach or jalapeños to the dough, adding color, nutrition, and flavor.
- Cheesy Gourmet: Sprinkle some blue cheese on top for a tangy, gourmet twist that’s sure to impress.
- Smoky Flavor: Add a dash of smoked paprika to the dough for a subtle, smoky undertone that elevates each bite.
- Ranch Drizzle: Instead of marinara, set up a delicious ranch dip or replace it with a spicy aioli for a different dipping experience.
Feel free to get creative and tailor these sticks to match your cravings! Enjoy them with sides like Air Fryer Fish Sticks or a cool Jello Salad for a memorable meal.
Make Ahead Options
These Homemade Pizza Hut Cheese Sticks are perfect for busy weeknights or last-minute gatherings! You can prepare the dough up to 24 hours in advance—simply follow the dough preparation steps, cover it tightly with plastic wrap, and refrigerate. If you want to freeze them, allow the baked cheese sticks to cool completely, then store in a freezer-safe bag for up to 2 months. When you're ready to enjoy, just bake straight from the freezer for that fresh-out-of-the-oven taste! Remember to keep them covered to maintain softness, and serve with your favorite dipping sauce for a deliciously hassle-free treat!
Expert Tips for Homemade Pizza Hut Cheese Sticks
- Water Temperature Matters: Ensure the warm water is exactly 110°F; too hot can kill the yeast, preventing your dough from rising.
- Yeast Activation: If the dough isn’t rising, double-check that your yeast is fresh and properly activated to achieve that perfect fluffy texture.
- Cheese Quality: Use high-moisture mozzarella for maximum gooeyness; low-moisture cheese may not stretch well in your Pizza Hut cheese sticks.
- Avoid Microwave Reheating: For the best texture when reheating, use an oven instead of a microwave; this helps retain the crispiness of the cheese sticks.
- Customize Flavors: Play with spices and herbs—like dried oregano or crushed red pepper flakes—to add a personal touch to your cheese sticks.
How to Store and Freeze Pizza Hut Cheese Sticks
Fridge: Store leftover Pizza Hut cheese sticks in an airtight container for up to 3 days. To maintain freshness, separate layers with parchment paper.
Freezer: Freeze cooled cheese sticks in a freezer-safe bag for up to 2 months. This method preserves their cheesy goodness and texture effectively.
Reheating: For the best result, reheat directly from frozen in the oven at 350°F for about 10-15 minutes, ensuring they regain their crispy texture.
Make-Ahead Tip: Feel free to prepare a batch ahead of time; they make for a quick snack or appetizer that’s always ready to impress!
What to Serve with Homemade Pizza Hut Cheese Sticks?
Elevate your game night or cozy get-together with these delightful cheese sticks by pairing them with complementary dishes and drinks.
-
Garlic Bread: The buttery, garlicky flavor pairs perfectly with the cheese sticks; it offers a satisfying crunch and aroma.
-
Caesar Salad: A fresh, crisp salad with creamy dressing adds a refreshing contrast, balancing the cheese's richness. Toss in some croutons for added texture!
-
Buffalo Wings: Spice things up with these crispy, tangy wings. The heat from the sauce works wonderfully with the cheesy goodness of your cheese sticks.
-
Marinara Dipping Sauce: Classic and essential, a generous bowl of marinara is a must-have for dipping; enjoy the sweet and tangy flavors that enhance every cheesy bite.
-
Stuffed Mushrooms: These savory bites filled with cheese and herbs add an elegant touch to your meal while complementing the cheesy flavors beautifully.
-
Fresh Veggie Platter: Crisp carrots, cucumbers, and bell peppers offer a refreshing crunch. Pair with a creamy dip for a light balance to the indulgent cheese sticks.
-
Sparkling Lemonade: Quench your thirst with this bubbly drink that’s tangy, sweet, and refreshing. It's a great palate cleanser between cheesy sticks.
-
Chocolate Chip Cookies: Sweeten the deal with warm, gooey cookies for dessert. The blend of savory and sweet will surely delight everyone!
Homemade Pizza Hut Cheese Sticks Recipe FAQs
How do I select the best ingredients for my Homemade Pizza Hut Cheese Sticks?
Absolutely! When choosing your ingredients, opt for high-moisture mozzarella cheese for that perfect gooey texture. Look for fresh active dry yeast, as older yeast might not activate properly. For the flour, all-purpose is best for structure, but if you're gluten-free, there are great gluten-free flour blends available that work well.
How should I store leftover cheese sticks?
To store your Homemade Pizza Hut Cheese Sticks, place them in an airtight container in the refrigerator for up to 3 days. I often separate layers with parchment paper to prevent sticking. This keeps them fresh and delicious for all your snacking needs!
Can I freeze cheese sticks, and what's the best method?
Yes, you can absolutely freeze your cheese sticks! Allow them to cool completely first, then place them in a freezer-safe bag or container. They can be stored in the freezer for up to 2 months. When you're ready to enjoy them, reheat straight from frozen in the oven at 350°F for about 10-15 minutes for optimal crunchiness!
What should I do if my dough doesn’t rise?
If your dough isn’t rising, it’s often due to yeast issues. First, make sure that your yeast is fresh. You can test it by dissolving a bit in warm water with sugar; it should foam up within about 5 minutes. If it doesn’t, the yeast may be dead. Additionally, check that your water temperature was around 110°F when activating the yeast; too hot will kill it while too cold won't activate it.
Are there any dietary considerations to keep in mind for cheese sticks?
Very! If you’re making these cheese sticks for anyone with allergies or dietary restrictions, there are substitutes available. Use gluten-free flour for a gluten-free option and margarine instead of butter for a dairy-free treat. Just be sure to check the labels for any allergens if you're serving them to others.
Homemade Pizza Hut Cheese Sticks for Cheesy Nostalgia
Ingredients
Equipment
Method
- Dissolve the active dry yeast in half of the warm water for about 5 minutes until foamy. In a bowl, mix melted butter, sugar, salt, and remaining water. Stir in egg yolk and yeast mixture, then gradually add flour until a soft dough forms.
- Grease the baking dish with 2 tablespoons of melted butter. Transfer and spread the dough evenly in the dish. Cover tightly with plastic wrap and let rest for 15 minutes while preheating your oven to 350°F.
- After resting, brush the dough with remaining melted butter. Sprinkle mozzarella and parmesan cheeses over the dough, then dust with garlic salt. Bake in the preheated oven for 28-31 minutes until bubbly and golden.
- Once baked, cool for 10 minutes. Slice into 8 even pieces using a sharp knife or pizza cutter.
- Serve warm with marinara sauce for dipping. Enjoy!