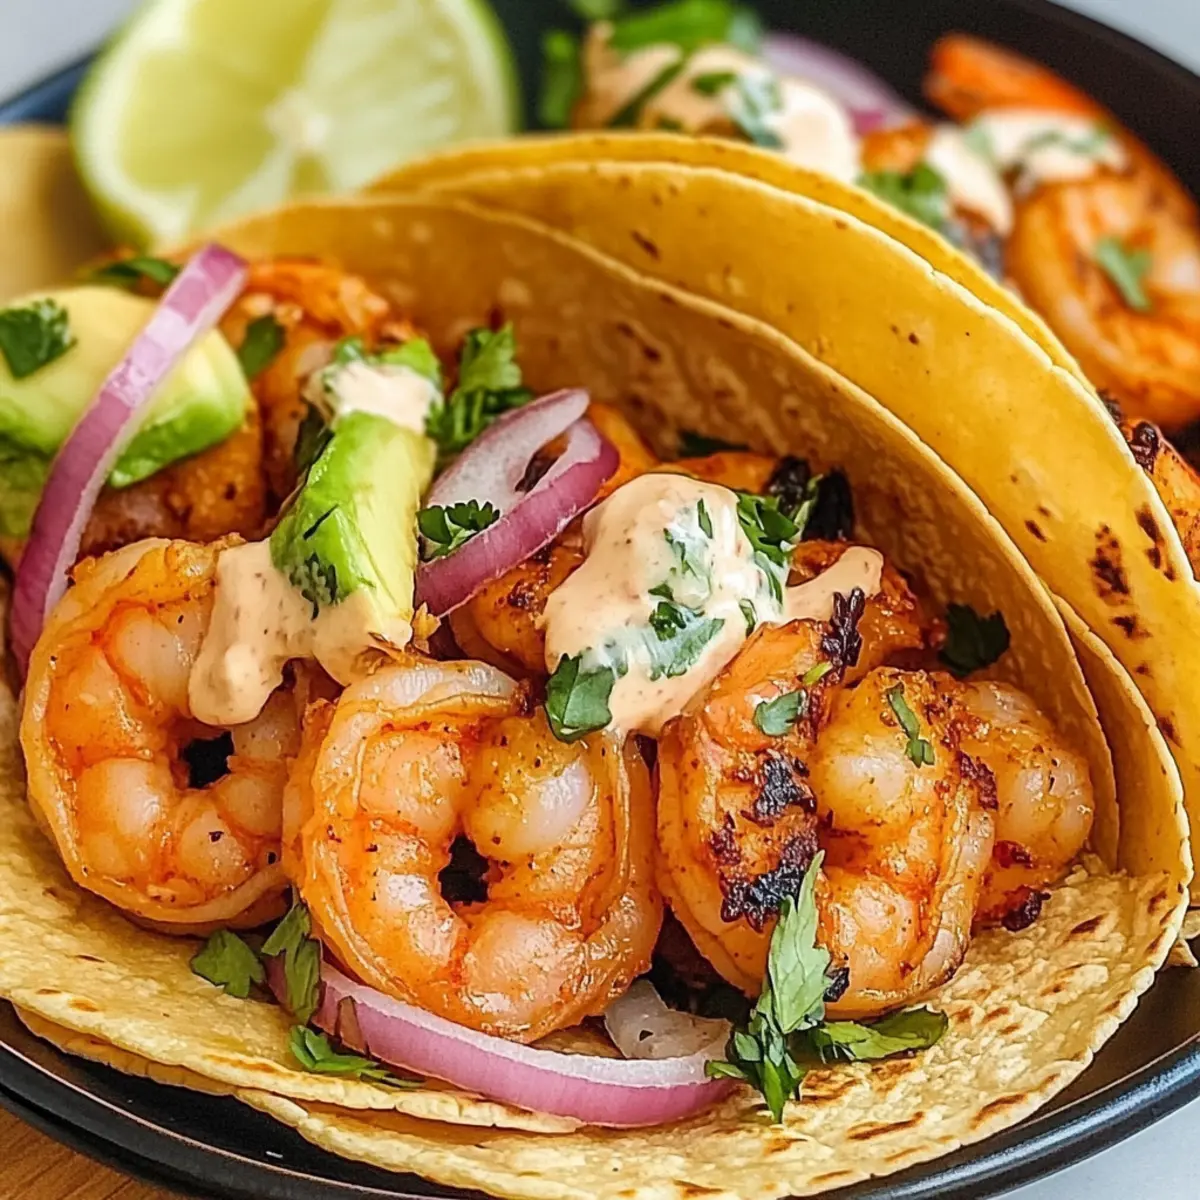
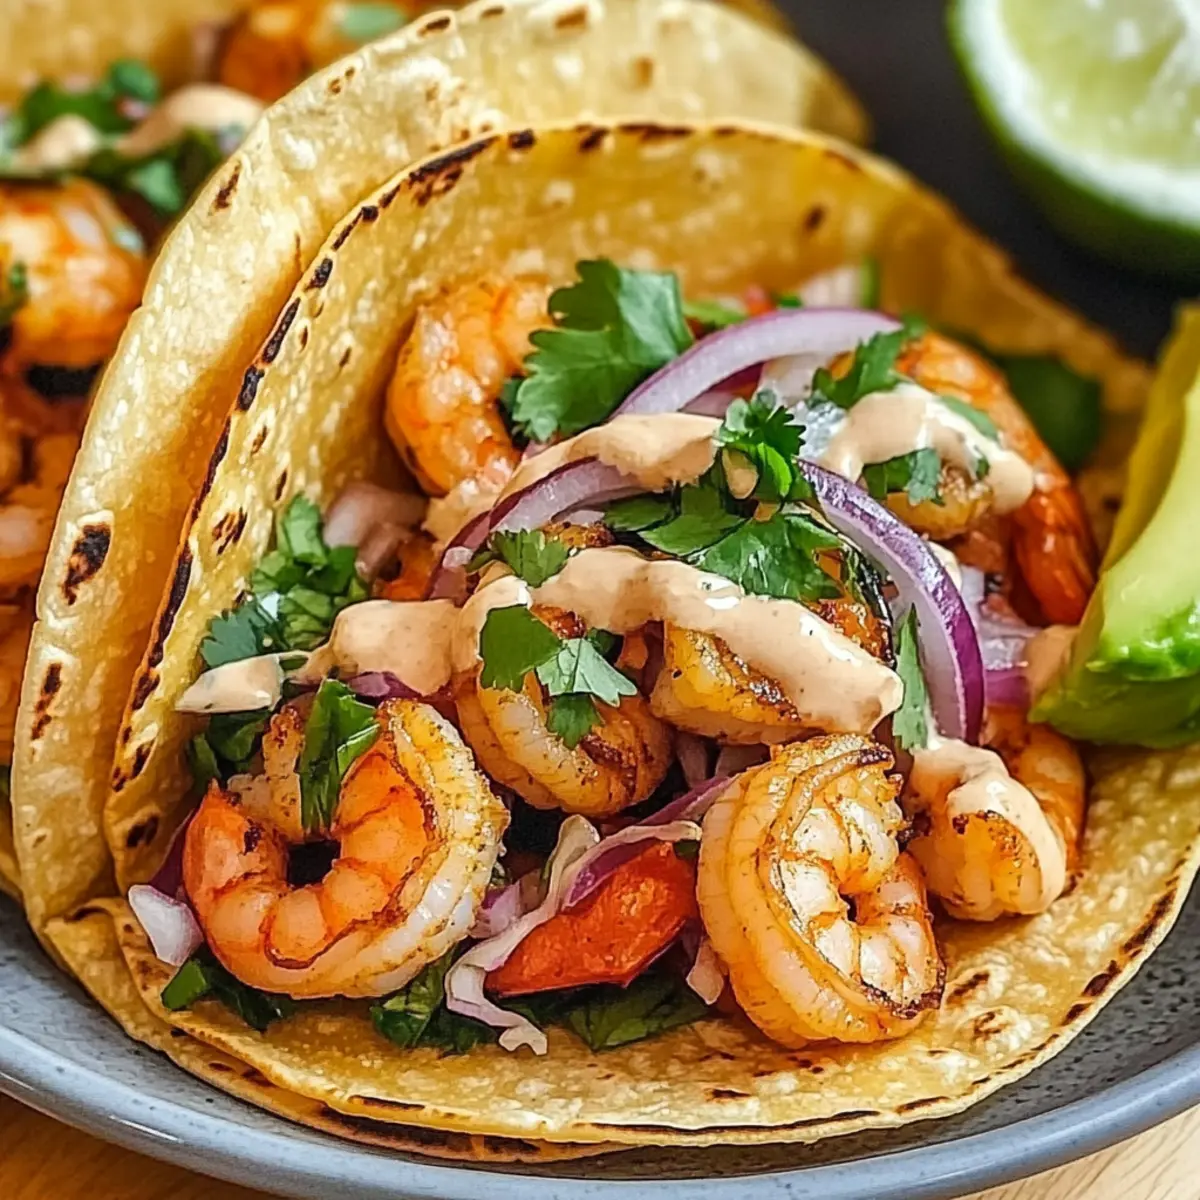
The warm aroma of spiced cod sizzling in the skillet instantly transports me to beachside taco stands on sunny days, where fresh ingredients unite in perfect harmony. Today, I’m thrilled to share my take on spicy Cod Fish Tacos, a delightful twist on a classic dish that’s both healthy and bursting with personality. These tacos come together in under 30 minutes, making them a fantastic choice for busy weeknights or impromptu gatherings with friends! Each bite blends tender, flaky fish with a zesty cilantro slaw and a creamy sauce, offering a satisfying crunch and a flavor adventure that’s hard to resist. Are you ready to elevate your taco game and experience a piece of paradise at home?

Why Are These Tacos So Irresistible?
Quick and Easy: These Spicy Cod Fish Tacos come together in under 30 minutes, making them perfect for busy weeknights when you crave something delicious without the hassle.
Fresh Flavors: The combination of tender cod with zesty cilantro slaw and creamy sauce creates an explosion of flavors that tastes like summer in every bite.
Health-Conscious: Packed with protein and fresh ingredients, these tacos are a healthier alternative to traditional fast food options, proving that you can enjoy a quick meal without compromising on nutrition.
Versatile Variations: Not a cod fan? No worries! Feel free to substitute with shrimp or even try a vegan option by using tofu—everyone can enjoy this recipe.
Crowd-Pleasing Appeal: Whether it's a cozy family dinner or a fun gathering with friends, these tacos will impress your guests and leave them coming back for seconds!
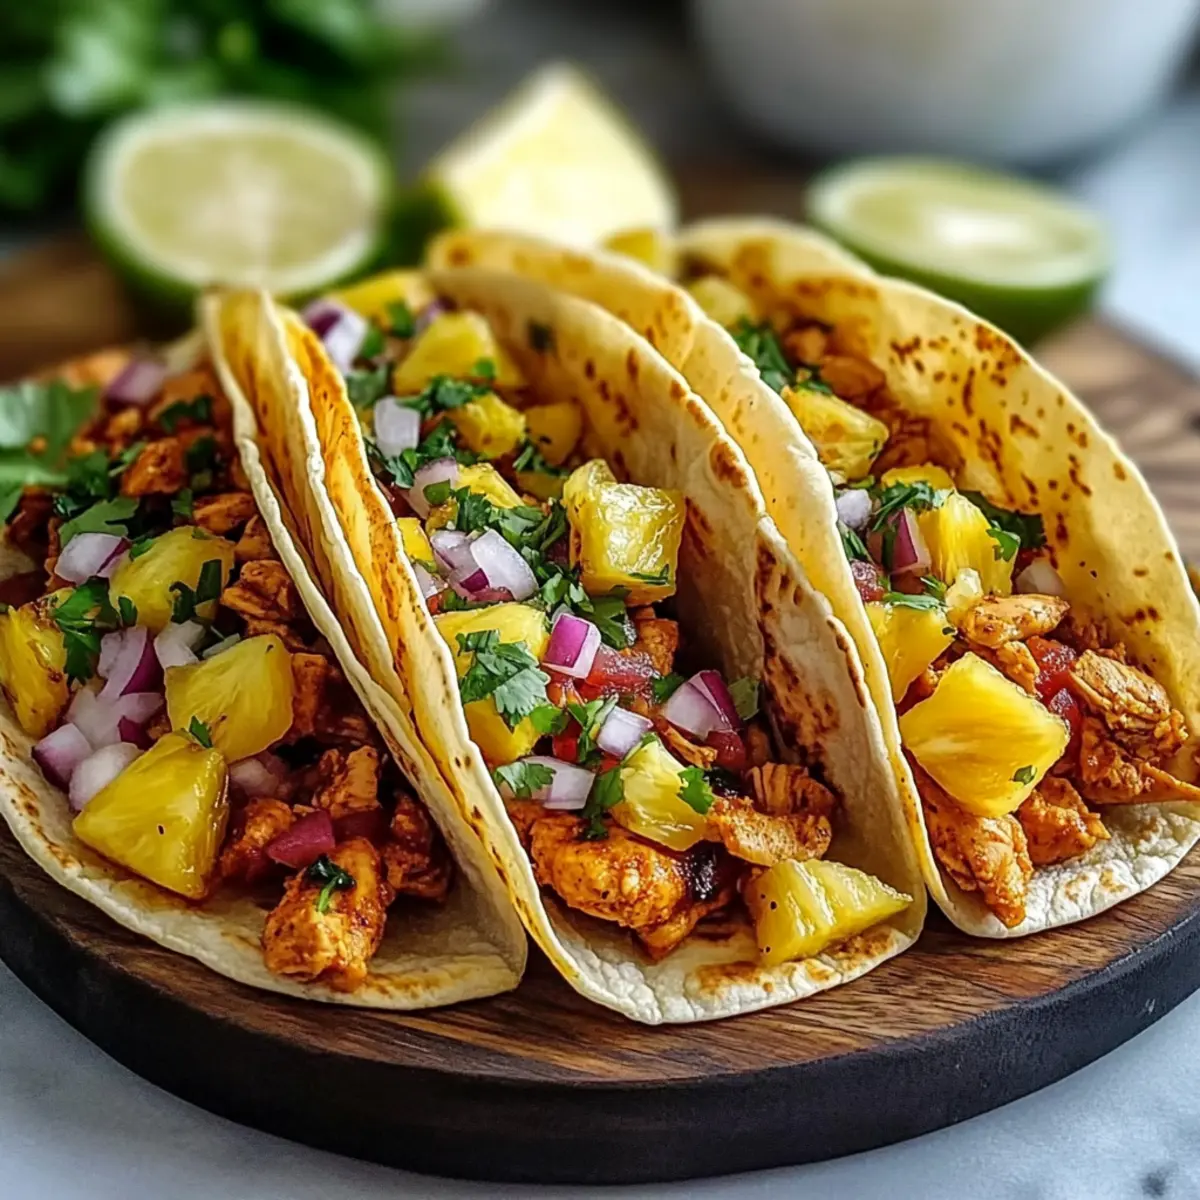
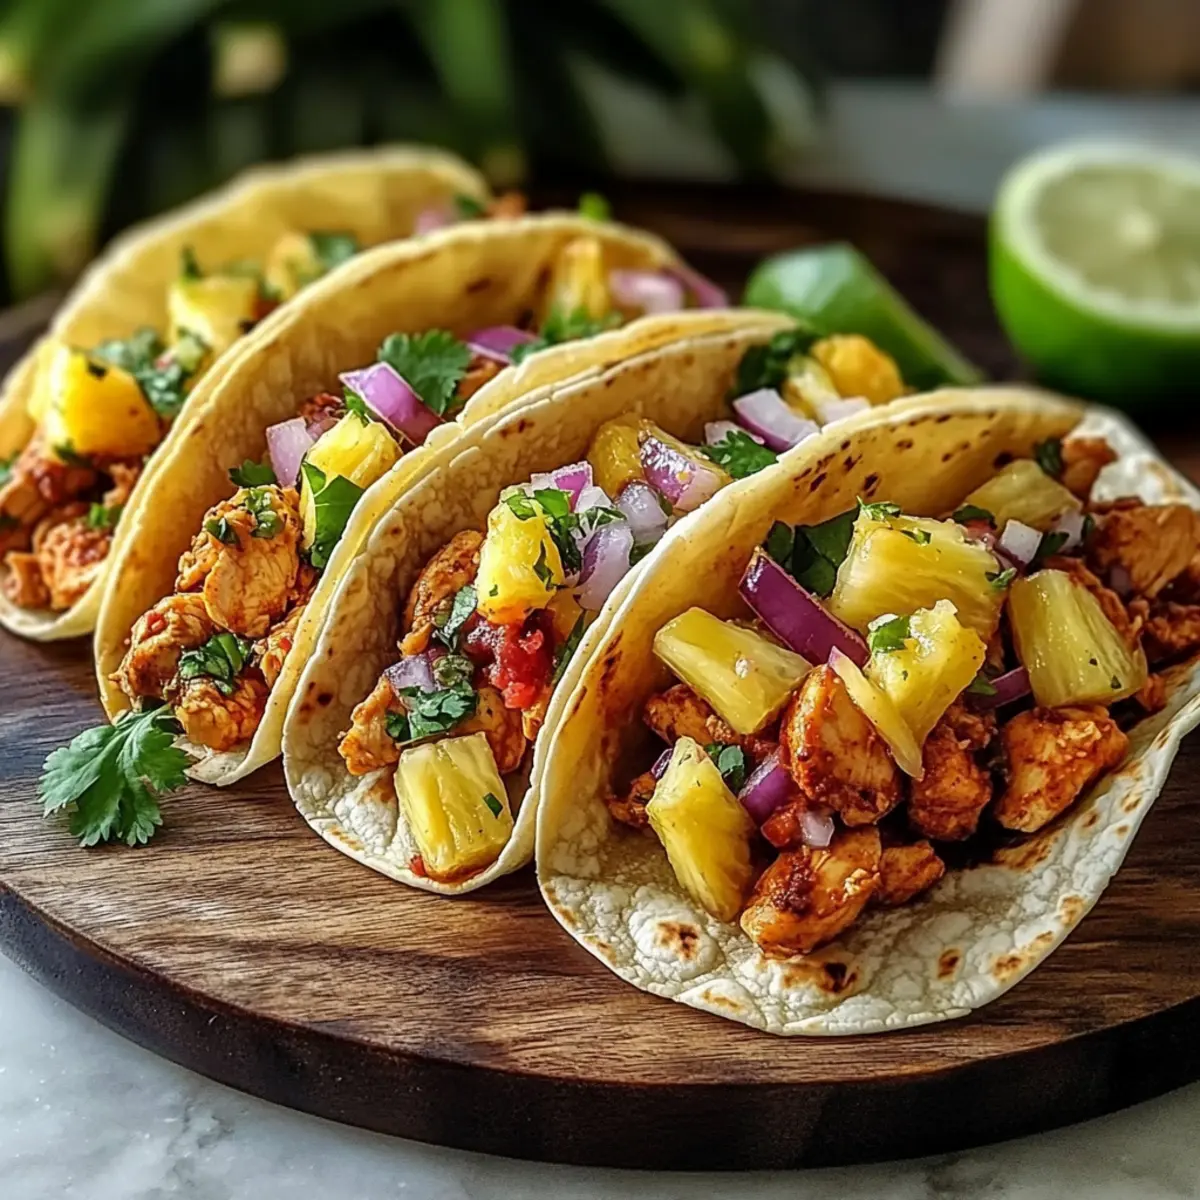
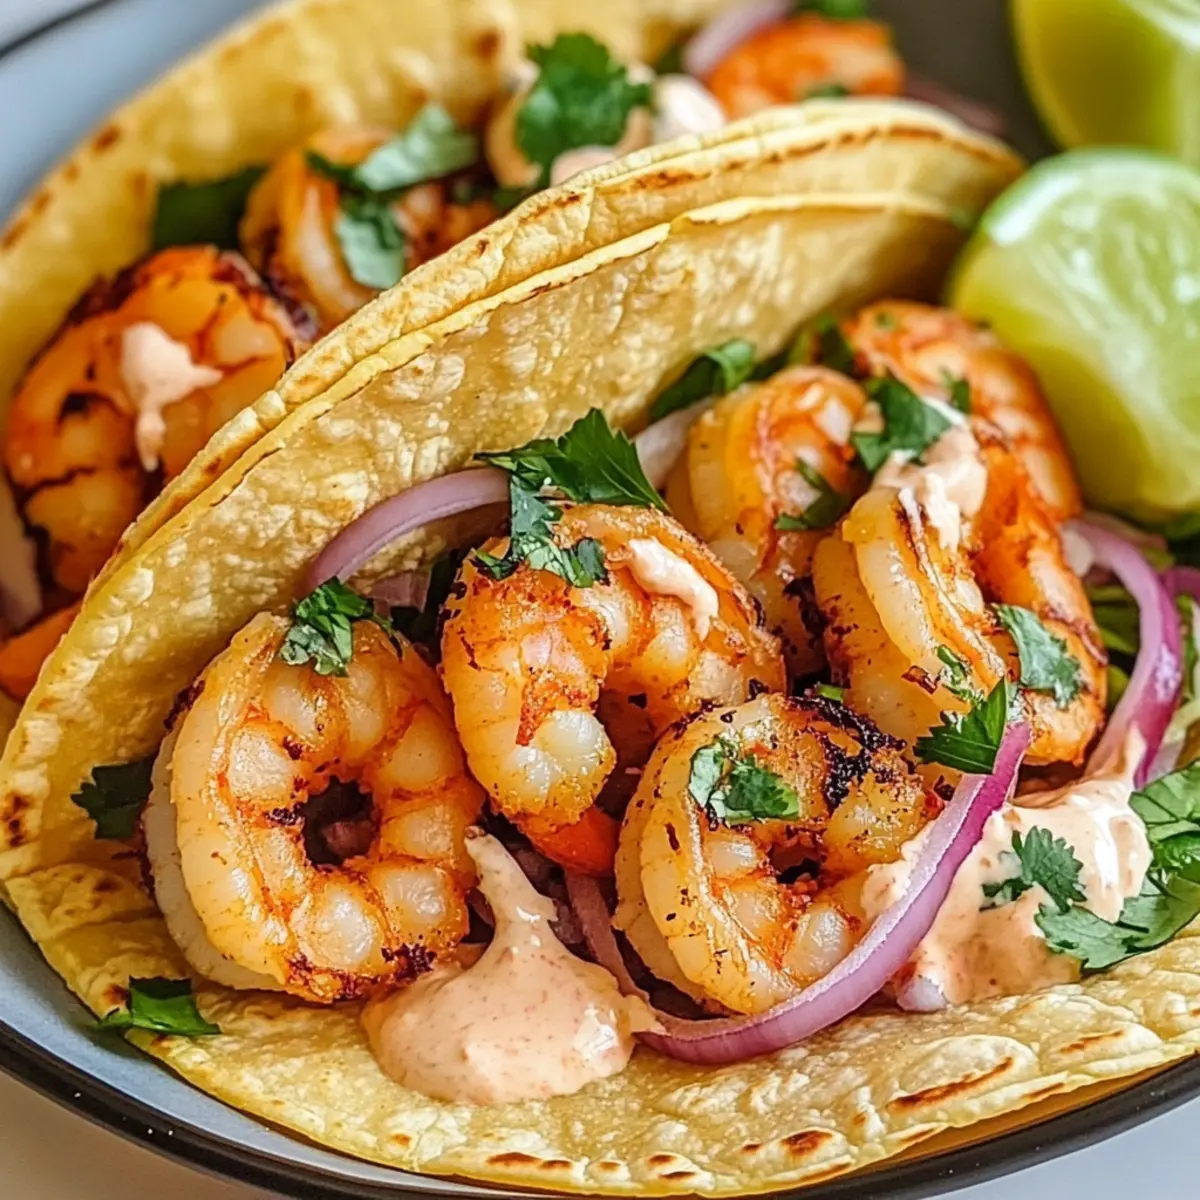
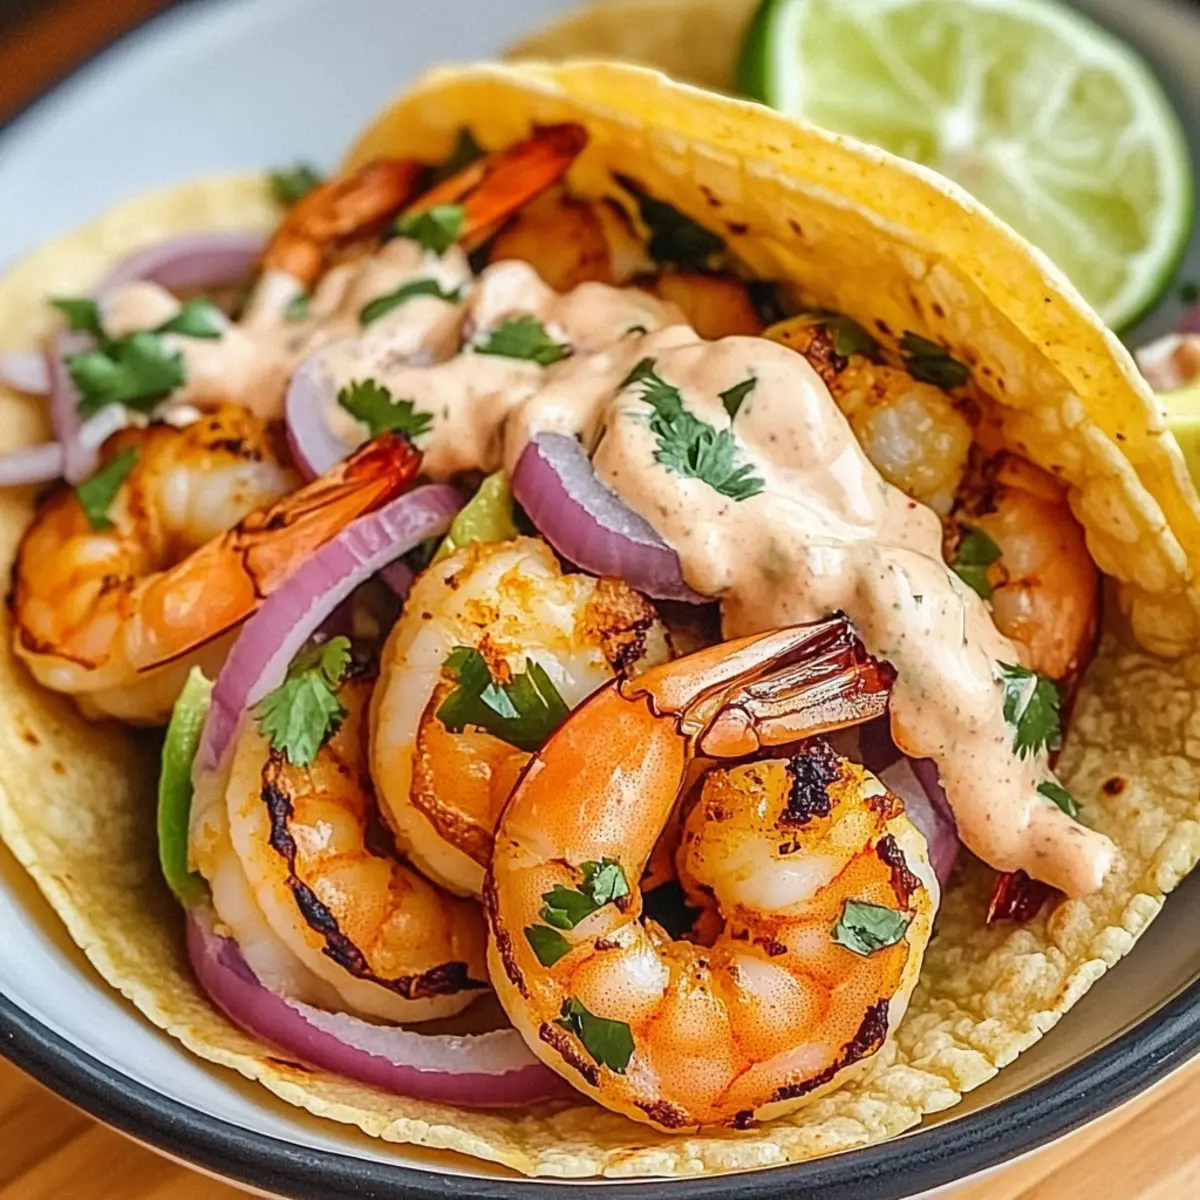
Pair with a refreshing side like Shrimp Tacos Zesty or add a splash of freshness with a side of Roasted Corn Tacos.
Cod Fish Tacos Ingredients
For the Fish
• Cod Fillet – Freshness is key for the best flavor and texture in these Cod Fish Tacos.
• Oil – Used for marinating and cooking the fish; olive oil is a healthy substitute.
• Lemon Juice – Adds acidity to balance the flavors; fresh lemon juice is preferred for brightness.
• Paprika – Provides a mild smokiness; smoked paprika can give a deeper flavor profile.
• Cayenne Pepper – Adds heat; adjust based on spice preference or omit for a milder dish.
• Ground Cumin – Adds earthiness; this spice cannot be easily substituted, but coriander can be used in a pinch.
• Salt – Enhances overall flavor; use to taste.
For the Sauce
• Greek Yogurt – Serves as the creamy base for the sauce and slaw; can be replaced with sour cream.
• Mayonnaise – Adds richness to the sauce; low-fat versions work well for a lighter choice.
For the Slaw
• Purple Cabbage – Provides crunch and color; green cabbage is a suitable alternative.
• Carrots – Adds sweetness and crunch; shredded radish can be a different but tasty substitute.
• Frozen Corn (thawed) – Offers sweetness and texture; fresh corn is great for a seasonal touch.
• Jalapeños – Optional for added spice; they can be omitted for a milder flavor.
• Cilantro – Enhances flavor freshness; parsley can be used if you prefer a different herb.
For Assembly
• Corn Tortillas – Hold the taco filling; flour tortillas are an option, though they change the flavor somewhat.
Dive into this world of flavor with our Cod Fish Tacos, and elevate your dinner experience in no time!
Step‑by‑Step Instructions for Spicy Cod Fish Tacos
Step 1: Marinate the Cod
In a bowl, whisk together oil, lemon juice, paprika, cayenne pepper, ground cumin, and salt until well combined. Add the fresh cod fillet, ensuring it is fully coated in the marinade. Allow the fish to marinate for at least 30 minutes in the refrigerator to absorb the flavors, turning it occasionally for even seasoning.
Step 2: Prepare the Creamy Sauce
While the cod marinates, mix Greek yogurt, mayonnaise, lemon juice, paprika, and a pinch of salt in a medium bowl. Stir until the mixture is smooth and creamy. Cover the bowl with plastic wrap and refrigerate the sauce until you're ready to assemble your Spicy Cod Fish Tacos. This will enhance the flavors and keep it chilled.
Step 3: Make the Cilantro Slaw
In a large mixing bowl, combine shredded purple cabbage, carrots, thawed frozen corn, diced jalapeños, minced cilantro, and additional Greek yogurt with a splash of lemon juice and a sprinkle of salt. Toss everything together until well mixed, creating a colorful and zesty slaw that will complement the fish beautifully.
Step 4: Cook the Marinated Cod
Heat a non-stick skillet over medium-high heat until hot. Add the marinated cod fillet and sear for about 3-5 minutes on each side, or until golden brown and flaky. You’ll know it’s done when the fish easily flakes apart with a fork. Remove from the skillet and let it cool slightly before chunking it into bite-sized pieces.
Step 5: Char the Tortillas
While the fish cools, char the corn tortillas directly over an open flame or in a dry skillet on high heat for about 15-30 seconds per side until they are warm and slightly blistered. This adds flavor and a subtle smokiness to the tortillas, making them the perfect base for your Spicy Cod Fish Tacos.
Step 6: Assemble Your Tacos
To build each taco, place a few chunks of the cooked cod onto the charred tortilla. Top generously with the cilantro slaw and drizzle the creamy fish sauce over the top. For an extra kick, garnish with additional jalapeños or cilantro, if desired. Serve immediately, allowing the fresh flavors to shine in each delightful bite.

What to Serve with Spicy Cod Fish Tacos?
Transform your taco night into a complete feast with these thoughtful pairings that will leave everyone craving more.
-
Cilantro Lime Rice: A vibrant, zesty side that complements the tacos perfectly. The citrus enhances the fresh flavors, creating a harmonious balance.
-
Grilled Street Corn: Charred to perfection, this sweet and smoky dish adds a delightful crunch. Drizzle with lime and sprinkle with cotija cheese for an irresistible bite.
-
Black Bean Salad: Packed with protein and fiber, this salad's earthy notes contrast well with the spice of the tacos. It offers a refreshing, healthy element to the meal.
-
Avocado Crema: This rich and creamy dip enhances the tacos with its luscious texture. Just a scoop adds a cooling contrast to the spiciness of the fish.
-
Margaritas: Celebrate your taco feast with a refreshing margarita! The tangy and sweet drink perfectly complements the flavors of the tacos.
-
Tropical Fruit Salsa: A sweet and tangy salsa made with pineapple, mango, and jalapeño provides a refreshing contrast to the spicy cod.
-
Chips and Guacamole: Crunchy chips paired with creamy guacamole are a classic pairing, adding an extra level of satisfaction to your meal.
-
Roasted Vegetables: A medley of seasonal roasted veggies adds a colorful touch to your dinner table, bringing a wonderful flavor contrast to the tacos.
Each of these suggestions creates an exciting dining experience, celebrating your Spicy Cod Fish Tacos and enhancing their deliciousness!
Make Ahead Options
These Spicy Cod Fish Tacos are perfect for meal prep, allowing you to enjoy delicious homemade food without the last-minute rush! You can marinate the cod fillet up to 24 hours in advance, ensuring it’s flavorful when it’s time to cook. The creamy sauce and cilantro slaw can be prepared a day ahead and stored in the refrigerator—just keep them in airtight containers to maintain freshness. The key is to assemble the tacos right before serving to prevent the tortillas from becoming soggy. When you're ready to enjoy, just cook the marinated fish, char the tortillas, and fill them with that vibrant slaw and sauce for a meal that’s just as delightful as when freshly made!
Cod Fish Tacos Variations & Substitutions
Feel free to explore these creative twists and swaps to elevate your Cod Fish Tacos experience!
-
Seafood Swap: Replace cod with shrimp or tilapia for an alternate seafood flavor. Both options offer a delightful bite and cook quickly!
-
Vegan Delight: Use marinated tofu or tempeh instead of fish for a plant-based version. This way, everyone can savor the taco goodness without compromising on flavor!
-
Flavor Boost: Add a sprinkle of lime zest to the slaw for a fresher punch. It brightens every bite and complements the spices perfectly.
-
Slaw Twist: Swap purple cabbage for rainbow slaw or add sliced radishes for a unique crunch and vibrant color. This can add extra personality to your tacos!
-
Creamy Alternative: If you prefer a lighter sauce, use avocado instead of Greek yogurt and mayonnaise for a creamy texture packed with healthy fats.
-
Heat Level: For those who love a spice kick, toss in some diced serrano peppers with the slaw for added zing. This will surely elevate the flavor profile!
-
Tortilla Options: Experiment with flour tortillas for a different taste. Though it changes the taco's essence, it provides a lovely contrast to the spicy filling.
-
Seasonal Switch: In the summer, substitute thawed corn for fresh cobs grilled to perfection for a seasonal touch. Fresh sweet corn makes everything better!
Don't forget to check out our mouthwatering Fish Taco Bowls for an exciting serving option. Happy cooking!
Expert Tips for Spicy Cod Fish Tacos
Fresh Ingredients: Use the freshest cod fillet possible to ensure your Cod Fish Tacos are bursting with flavor and maintain a tender texture.
Marination Time: Don’t skip marinating the fish for at least 30 minutes. This step deeply infuses the flavors into the cod, enhancing every bite.
Skillet Temperature: Make sure the skillet is hot enough before adding the cod to achieve that perfect sear. A well-heated pan keeps the fish from sticking and ensures a crisp edge.
Avoid Overcooking: Keep an eye on the cod while it cooks. Overcooking can lead to dryness. The fish is done when it flakes easily with a fork.
Tortilla Preparation: Char the corn tortillas gently and keep an eye on them to avoid burning. Lightly toasted tortillas complement the taco’s fresh flavors beautifully.
Customize Your Slaw: Feel free to get creative with the slaw ingredients! Adding sliced radishes or using a different herb can elevate your Spicy Cod Fish Tacos to new taste heights.
How to Store and Freeze Cod Fish Tacos
Fridge: Store leftover assembled tacos in an airtight container for up to 3 days. To maintain freshness, keep the slaw and sauce separate until ready to eat.
Freezer: Freeze cooked cod fish chunks in a single layer on a baking sheet, then transfer to a freezer-safe bag for up to 2 months. Thaw in the fridge when ready to use.
Reheating: Reheat cod gently in a skillet over low heat for best results, avoiding drying out. Warm tortillas separately before assembling your Cod Fish Tacos to enjoy their full flavor.
Notes: For optimal taste, consume the tacos fresh. If you've prepared the slaw in advance, it can also be stored in the fridge for up to 3 days, adding crunch to your meals!

Spicy Cod Fish Tacos Recipe FAQs
What type of cod is best for these tacos?
Absolutely! Look for fresh, wild-caught cod fillets if possible; they have a firmer texture and better flavor compared to farmed options. When selecting your cod, avoid any pieces that have dark spots or a strong fishy odor for the best results.
How can I store leftover Spicy Cod Fish Tacos?
Very! Store any assembled tacos in an airtight container in the refrigerator for up to 3 days. To maintain the freshness of the slaw and the sauce, it's best to keep them separate from the tortillas and fish until you're ready to enjoy them again!
Can I freeze the cod after cooking?
Absolutely! To freeze, first, let the cooked cod cool completely. Then, lay the fish chunks in a single layer on a baking sheet to freeze for about 1 hour. Once frozen, transfer them to a freezer-safe bag and label it with the date. You can keep the cod in the freezer for up to 2 months.
How can I reheat the cod without drying it out?
I often recommend reheating the cod in a skillet over low heat. This method takes a little longer but helps prevent it from drying out. Gently warm the fish until heated through, and use another skillet to warm your tortillas separately for optimal texture and flavor.
What should I consider for dietary restrictions when making these tacos?
Very importantly, if you or your guests have allergies, pay attention to the ingredients used, particularly the sauce. The creamy sauce contains Greek yogurt and mayonnaise, so feel free to substitute those with dairy-free options if needed. Additionally, you can keep the tacos gluten-free by using corn tortillas. Always check for possible cross-contamination in any pre-packaged ingredients.
How long can I keep the slaw in the fridge?
The slaw can stay fresh in the refrigerator for up to 3 days if kept in an airtight container. This makes it a perfect option for meal prep! Just make sure to mix it well before serving, as the flavors may settle.

Spicy Cod Fish Tacos That Burst with Flavor and Freshness
Ingredients
Equipment
Method
- Marinate the Cod: In a bowl, whisk together oil, lemon juice, paprika, cayenne pepper, ground cumin, and salt until well combined. Add the fresh cod fillet, ensuring it is fully coated in the marinade. Allow to marinate for at least 30 minutes in the refrigerator.
- Prepare the Creamy Sauce: Mix Greek yogurt, mayonnaise, lemon juice, paprika, and a pinch of salt in a medium bowl. Stir until smooth and creamy, then cover and refrigerate until ready to use.
- Make the Cilantro Slaw: Combine shredded purple cabbage, carrots, thawed corn, diced jalapeños, minced cilantro, and additional Greek yogurt with a splash of lemon juice and a sprinkle of salt in a large bowl. Toss together until well mixed.
- Cook the Marinated Cod: Heat a non-stick skillet over medium-high heat. Add the marinated cod fillet and sear for about 3-5 minutes on each side until golden brown and flaky. Remove, let cool, and chunk into bite-sized pieces.
- Char the Tortillas: Char the corn tortillas over an open flame or in a skillet until warm and slightly blistered, about 15-30 seconds per side.
- Assemble Your Tacos: Place chunks of cod onto the charred tortillas, top with cilantro slaw and drizzle creamy sauce. Serve immediately.