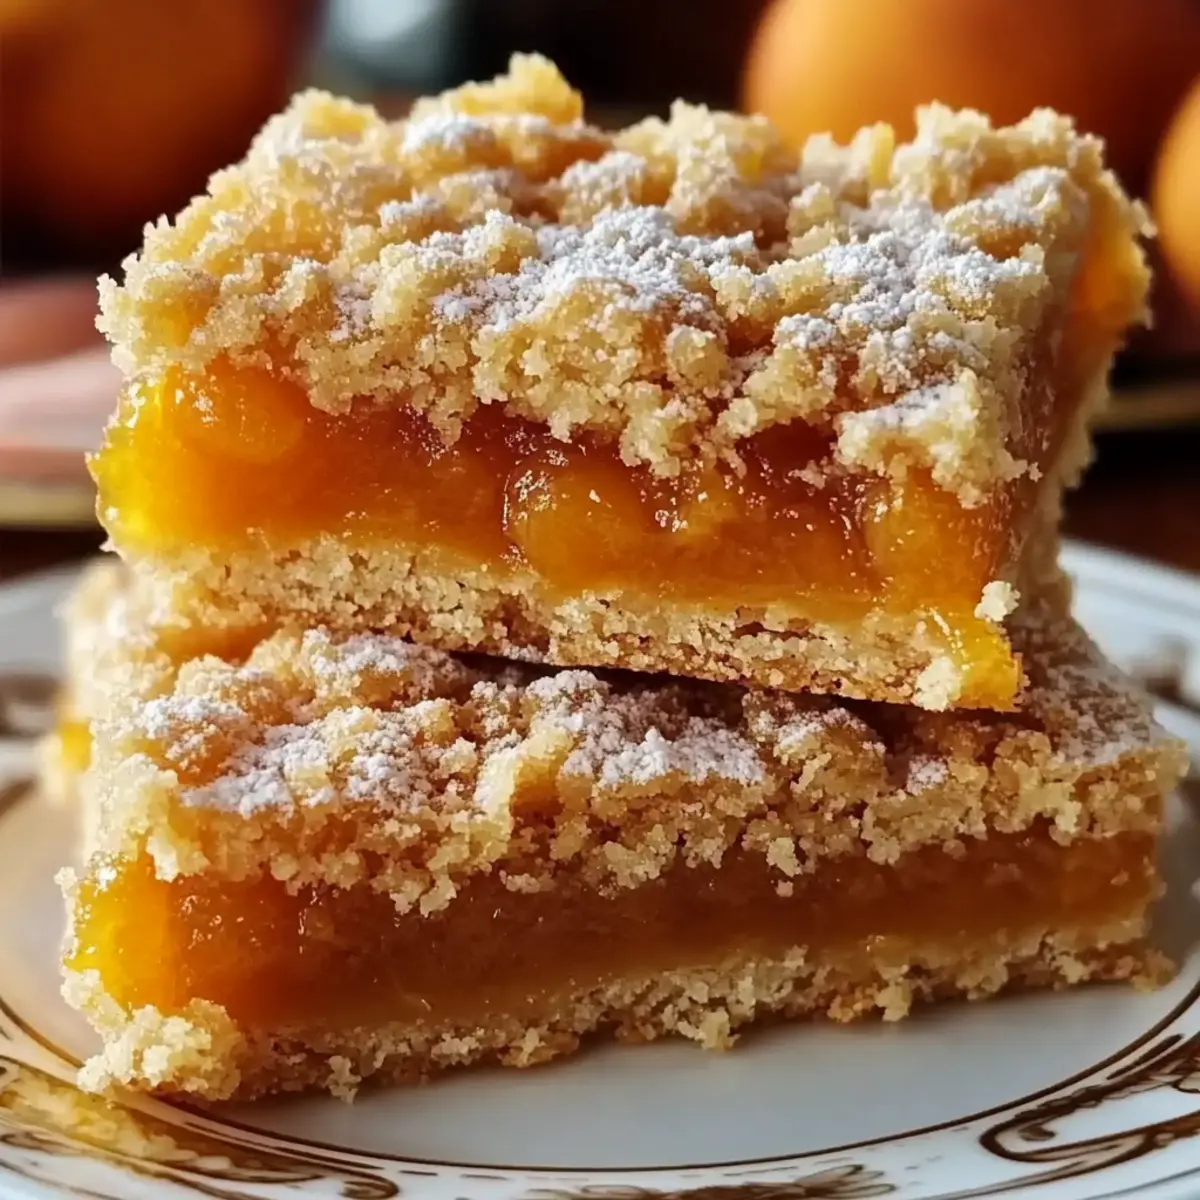
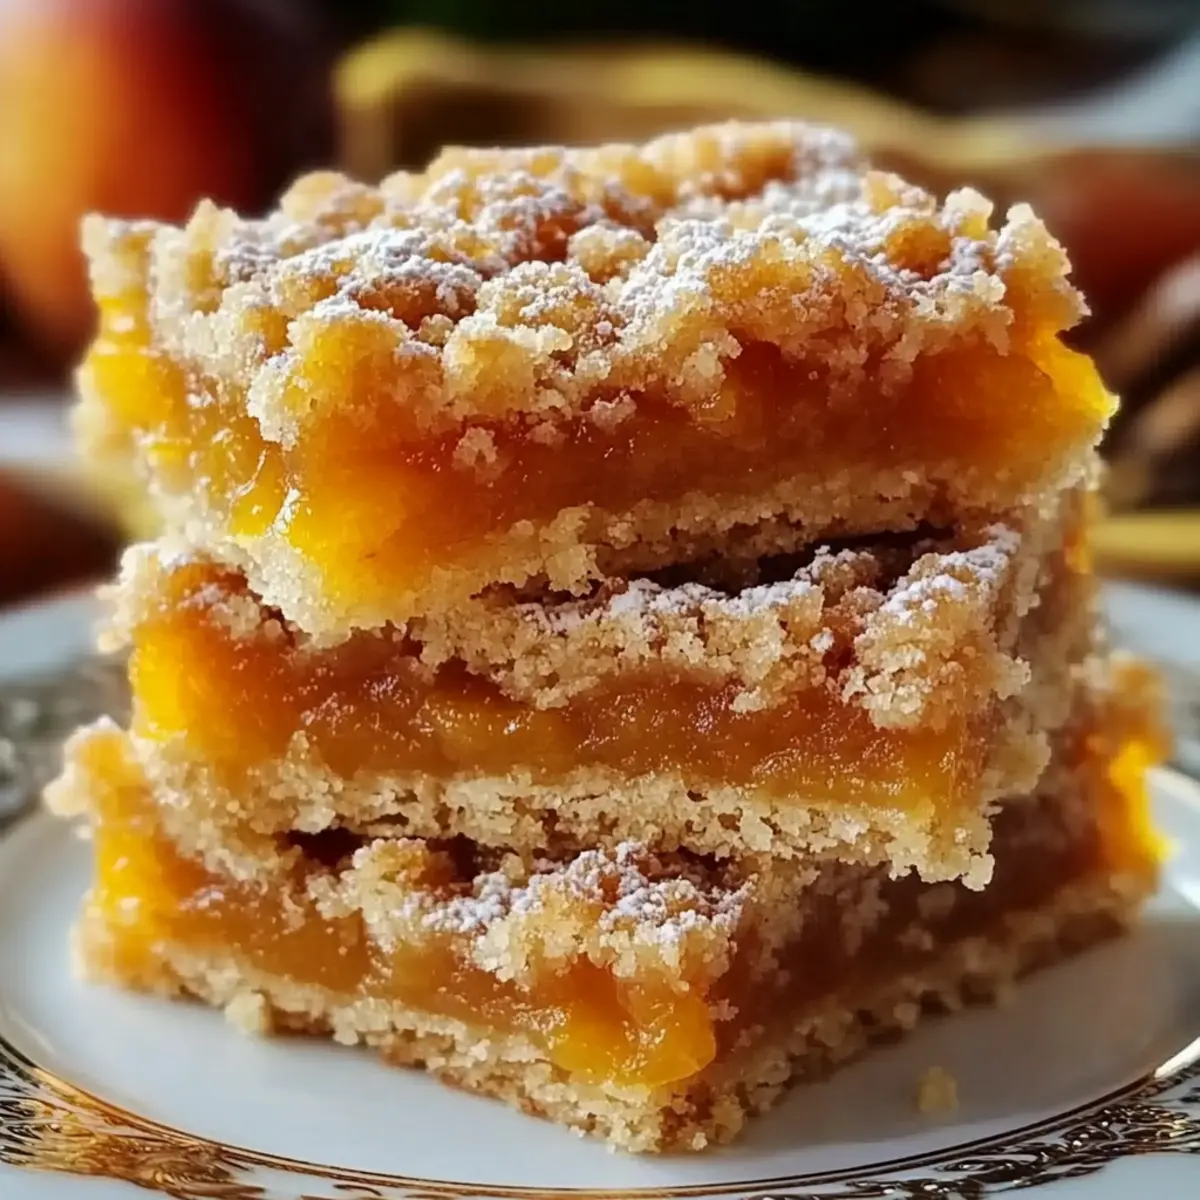
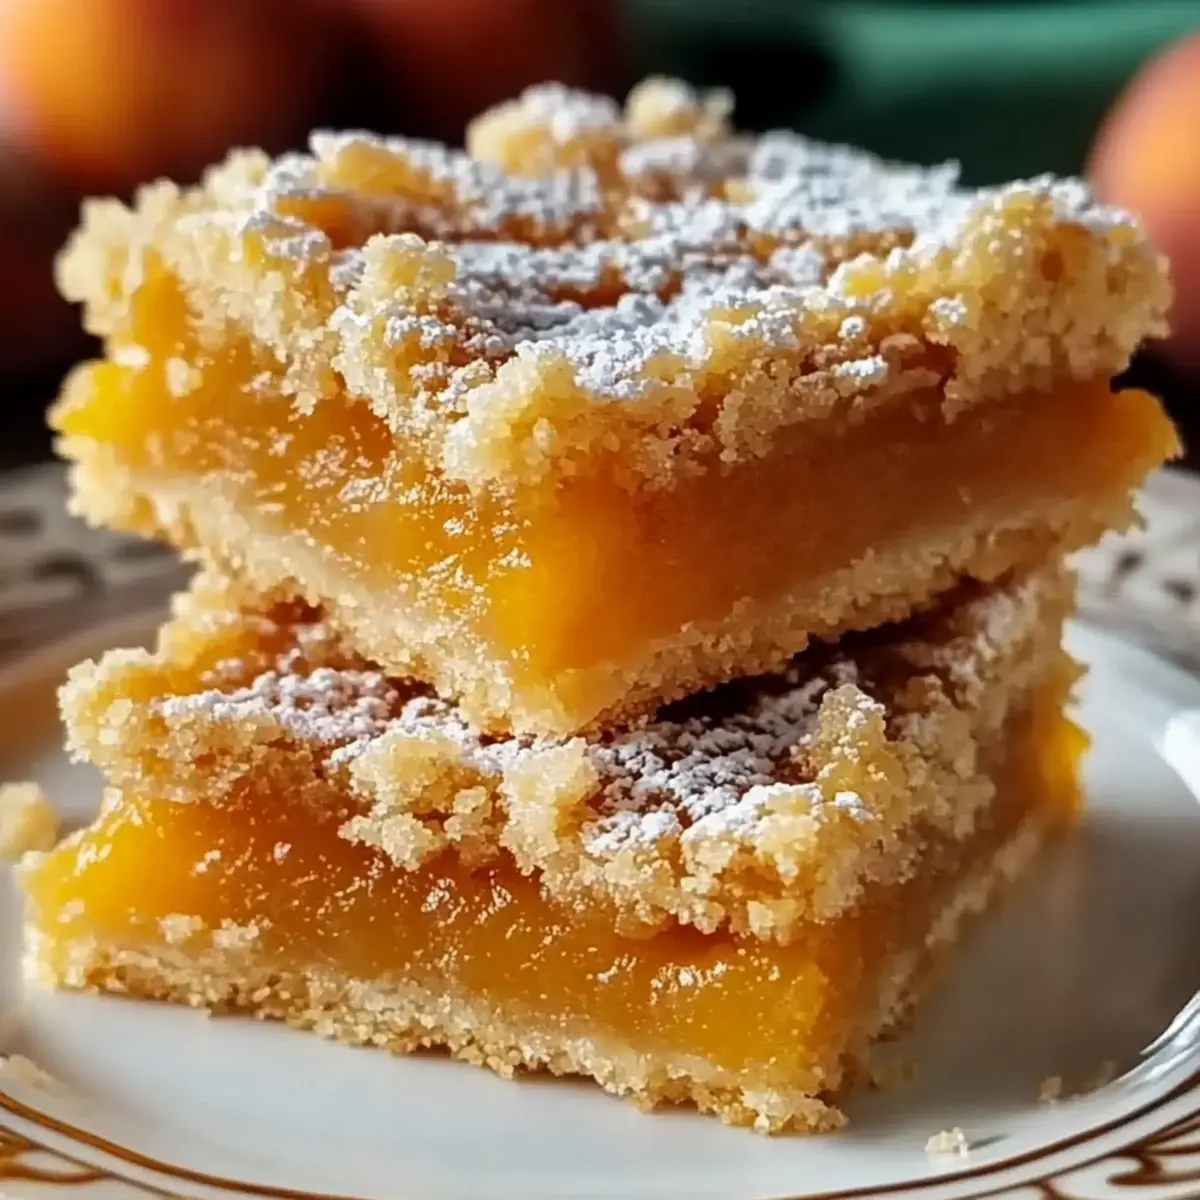
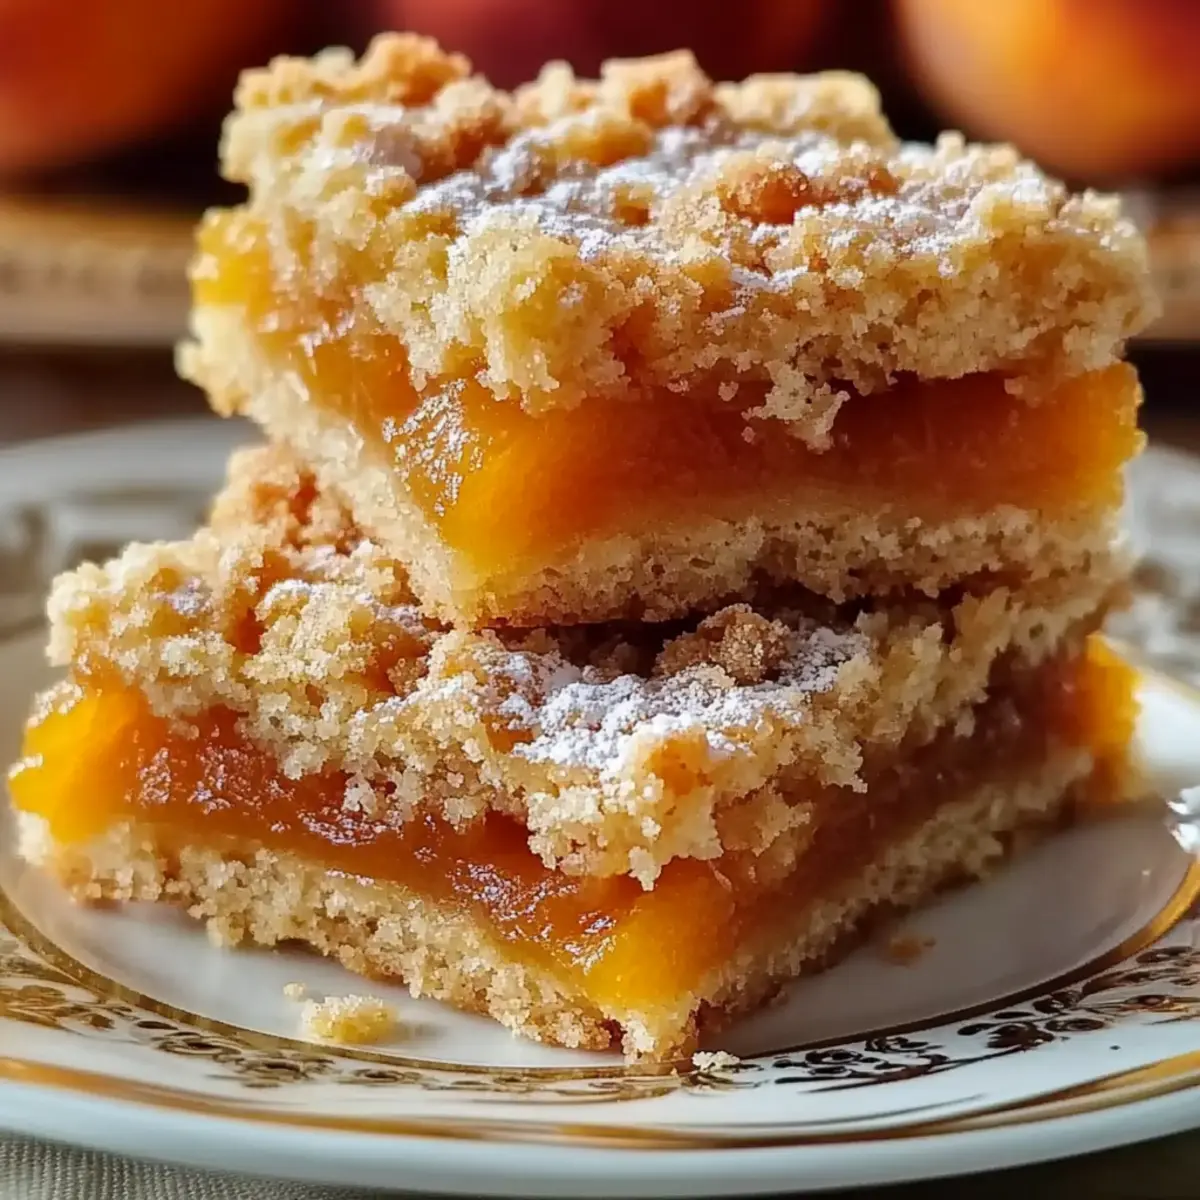
As I rummaged through my pantry one sunny afternoon, I stumbled upon a bag of dried apricots that had long been overlooked. Their sweet and tangy essence called to me, and suddenly, I found myself envisioning Crisp Apricot Crumble Bars, a quick and easy delight that transforms simple ingredients into a baked treasure. Perfect for anyone looking to swap fast food for a homemade treat, these bars are not only delicious but also versatile, offering gluten-free and dairy-free options. Whether you're sharing them at a summer picnic, packing them for school lunches, or enjoying them as a comforting dessert, they hit the spot every time. Ready to create a dessert that will leave everyone asking for seconds? Let’s dive in!
Why Are These Bars So Irresistible?
Simplicity makes this recipe perfect for busy days, allowing you to whip up a delicious treat in no time. Flavorful apricots lend a delightful tang, perfectly complemented by a crunchy, golden topping. Customizable for dietary needs, you can easily make these bars gluten-free or vegan without sacrificing taste. Versatile in serving options, they shine as a dessert or snack, suited for any occasion. Plus, they’re a wonderful way to embrace homemade goodness, steering clear of fast food while still indulging your sweet tooth!
Apricot Crumble Bars Ingredients
For the Crust
• All-purpose flour – Provides structure for the crust; swap for gluten-free flour if needed.
• Old-fashioned oats – Adds texture and a hearty flavor; no substitutions needed.
• Brown sugar – Sweetens the crust and topping with moisture; can use coconut sugar for a lower glycemic option.
• Salt – Balances sweetness and enhances flavor; no substitutions needed.
• Cold butter – Creates a flaky crust; crucial for texture; substitute with coconut oil for a vegan version.
For the Filling
• Chopped apricots – The key ingredient providing tanginess; feel free to use fresh or dried varieties.
• Honey – Naturally sweetens the filling; use maple syrup for a vegan option.
• Vanilla extract – Elevates the overall flavor; no substitutions needed.
• Lemon juice – Adds zing to balance sweetness; fresh is best, but bottled works too.
• Ground cinnamon – Imparts warmth; optional but enhances flavor.
For Topping
• Reserved crumb mixture – The leftover crust that's sprinkled on top for extra crunch; don't forget to set aside!
These Apricot Crumble Bars are not only simple to prepare but also delightful in flavor and texture, perfect for satisfying any craving without the guilt of fast food!
Step‑by‑Step Instructions for Apricot Crumble Bars
Step 1: Prepare the crust
In a mixing bowl, combine all-purpose flour, old-fashioned oats, salt, and brown sugar until evenly blended. Cut in cold butter using a pastry cutter or fork until the mixture becomes crumbly—this will create that deliciously flaky texture. Remember to reserve ¾ cup of this mixture for the topping, setting it aside for later use.
Step 2: Bake the base
Press half of the prepared crust mixture firmly into the bottom of a lined 8x8 inch baking dish, creating an even layer. Place the dish in a preheated oven at 350°F (175°C) and bake for 15 minutes. The crust should turn lightly golden during this time, indicating it’s ready to support the juicy apricot filling.
Step 3: Make the filling
While the base bakes, prepare the filling by simmering chopped apricots, honey, vanilla extract, lemon juice, ground cinnamon, and a splash of water in a saucepan over medium heat. Stir the mixture gently for 10–12 minutes until the apricots soften and the filling thickens, creating a thick, delicious layer for your apricot crumble bars.
Step 4: Assemble the bars
Once the crust has cooled slightly, spread the thickened apricot filling evenly over it, ensuring each bite will be packed with flavor. Next, sprinkle the reserved crumb mixture on top in small clumps, allowing the sweet topping to create a delightful crunch against the juicy filling.
Step 5: Final bake
Return the assembled dish to the oven and bake for an additional 20–25 minutes until the topping turns golden brown and the filling bubbles enticingly. This final baking step is key to achieving that perfect balance of texture and flavor in your apricot crumble bars.
Step 6: Cool before slicing
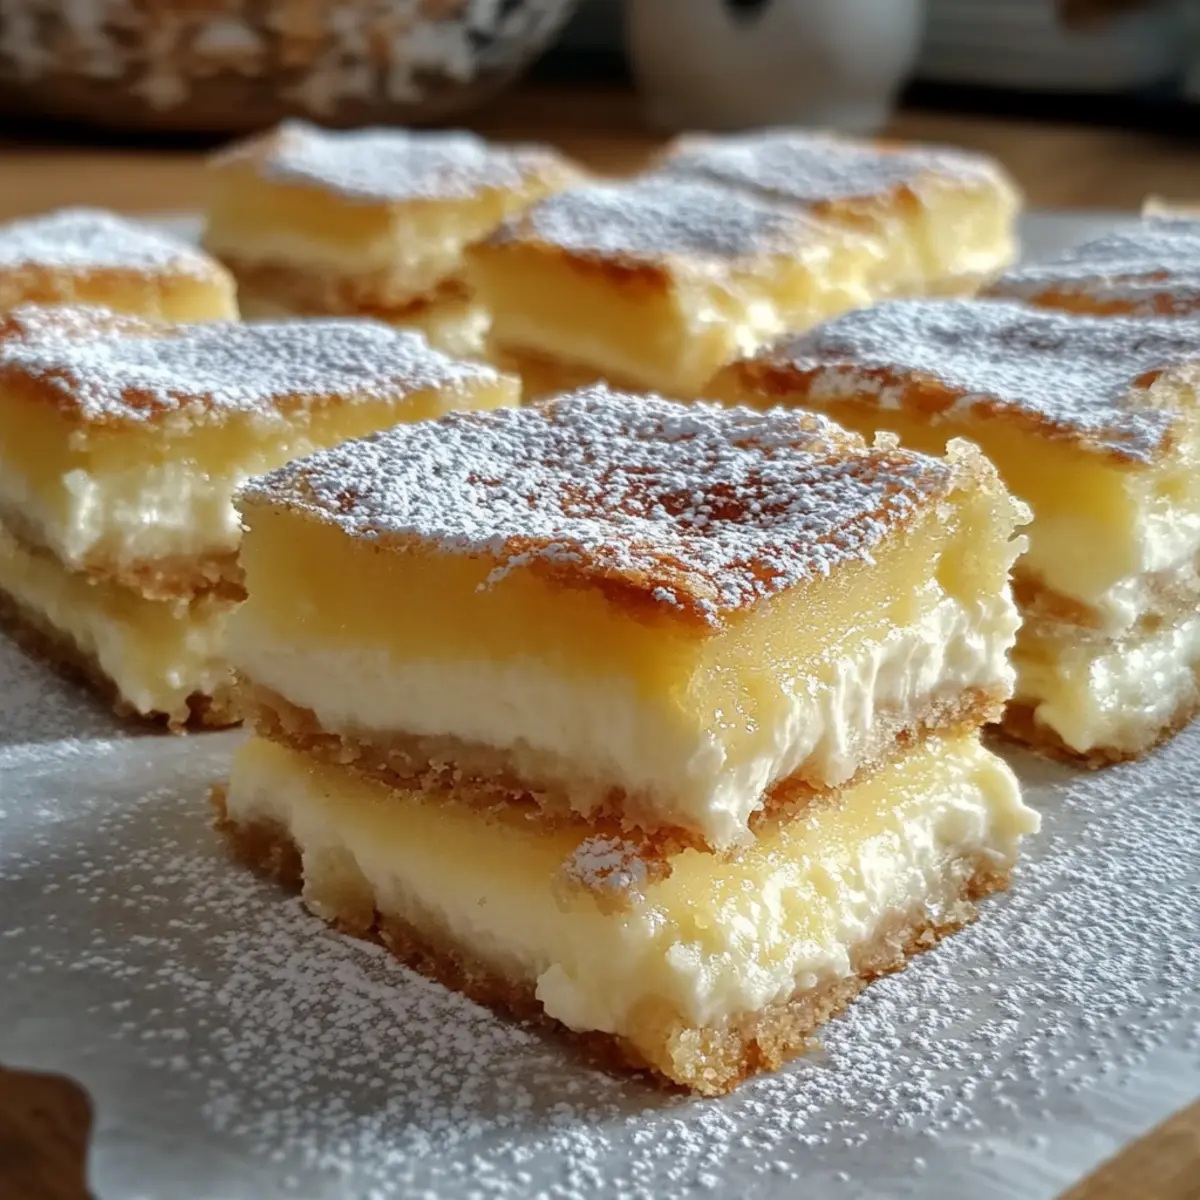
Remove the baking dish from the oven and allow the bars to cool completely at room temperature. This cooling period is important for achieving clean slices. Once fully cooled, take a sharp knife and cut the bars into squares or rectangles, serving up this tempting treat in all its glory!
Make Ahead Options
These Apricot Crumble Bars are fantastic for meal prep enthusiasts! You can prepare the crust and filling up to 24 hours in advance, storing them separately in the refrigerator to keep everything fresh. For the crust, simply follow the mixing instructions and press half into your lined baking dish, wrapping it tightly. For the filling, simmer the chopped apricots and allow it to cool before refrigerating. When you're ready to bake, spread the filling over the crust, sprinkle the reserved crumb topping, and pop it in the oven as directed. This prep not only saves you time during busy weeknights but ensures you'll have delicious, bake-fresh bars at your fingertips whenever the craving strikes!
Apricot Crumble Bars Variations
Let your creativity run wild as you customize these delicious bars to suit your taste and dietary needs!
- Gluten-Free: Swap out the all-purpose flour for a gluten-free flour blend to cater to gluten-sensitive guests.
- Vegan Delight: Replace the cold butter with coconut oil and use maple syrup instead of honey for a purely plant-based treat.
- Low-Sugar Option: Opt for erythritol or monk fruit sweetener in place of brown sugar for a guilt-free dessert.
- Fruit Swap: Try swapping apricots for peaches, blueberries, or even tart cherries to delight your taste buds with new flavors.
- Nutty Crunch: For added texture, mix in some finely chopped walnuts or pecans with the crumb topping—can you imagine the delightful crunch?
- Cinnamon Spice: Amp up the flavor by adding a pinch of nutmeg or allspice to the crumble mixture for a cozy, spiced twist.
- Zesty Enhancements: Stir in some orange zest with the apricot filling for an exciting citrusy hint that brightens up the bars.
- Choco-Love: Drizzle a little melted dark chocolate over the top once cooled for a decadent chocolate twist that pairs beautifully with apricots.
No matter how you choose to modify these Apricot Crumble Bars, you’re bound to create a deliciously satisfying treat that keeps fast food at bay. Happy baking!
What to Serve with Crisp Apricot Crumble Bars
These delightful bars are not just a dessert; they invite a symphony of flavors to complement your meal.
-
Vanilla Ice Cream: A scoop of creamy vanilla ice cream melts luxuriously over the warm bars, adding a rich contrast to the fruitiness.
-
Greek Yogurt: A dollop of tangy Greek yogurt gives a delightful balance to the sweetness, elevating the flavors with its creaminess and protein.
-
Fresh Berries: Juicy, red berries not only add vibrant color but also a burst of freshness, making each bite sing with seasonal goodness.
-
Herbal Tea: Sip on a fragrant herbal tea like chamomile or mint, which will provide a soothing contrast and cleanse the palate after the sweet treat.
-
Lemonade: A refreshing glass of zesty lemonade brightens up each crumbly bite, creating a delightful summertime experience perfect for picnics or gatherings.
-
Nuts and Seeds Mix: A handful of crunchy nuts or seeds brings added texture and flavor, making for a well-rounded snack pairing that complements the soft apricot filling.
-
Caramel Sauce Drizzle: For those who love extra sweetness, a warm caramel sauce drizzle on top enhances the bars’ flavors, making them extra indulgent.
-
Coffee: Enjoy with a cup of freshly brewed coffee for a comforting afternoon treat; the bitterness of the coffee balances the sweetness of the bars perfectly.
-
Dark Chocolate Squares: Pairing with a few dark chocolate squares introduces a rich, intense flavor that juxtaposes beautifully with the fruity notes.
-
Almond Milk Smoothie: A light almond milk smoothie offers a refreshing, nutty contrast that complements the sweet and tangy notes of the apricot crumble bars.
How to Store and Freeze Apricot Crumble Bars
Room Temperature: Keep your apricot crumble bars in an airtight container for up to 3 days; they’ll maintain their delicious texture and flavor.
Fridge: If you prefer, store the bars in the refrigerator for slightly longer freshness, good for up to a week; just ensure they're well covered.
Freezer: For long-term storage, freeze unbaked bars wrapped tightly in plastic wrap for up to 3 months; simply add a bit of baking time if cooking from frozen.
Reheating: To enjoy warm bars later, reheat in the oven at 350°F (175°C) for about 10 minutes; this restores the crisp topping and warms the juicy apricot filling perfectly.
Expert Tips for Apricot Crumble Bars
-
Chill Your Ingredients: Keeping the butter cold and using chilled water can create a flakier crust, enhancing the overall texture of your apricot crumble bars.
-
Check Your Filling: If your filling seems too thin, continue cooking it a bit longer. A thick filling ensures each bite is packed with flavorful apricot goodness.
-
Reserve Enough Crust: Remember to set aside ¾ cup of the crust mixture for the topping. This crumbly layer adds delightful texture and crunch to your bars.
-
Cool for Clean Slices: Allow the bars to cool completely before slicing. This crucial step helps in achieving neat edges for a beautiful presentation.
-
Customize with Confidence: Feel free to experiment with different fruits, spices, or sweeteners. Adjusting ingredients can lead to delicious personalized variations of these apricot crumble bars.
Apricot Crumble Bars Recipe FAQs
What kind of apricots should I use?
You can use either fresh or dried apricots for these bars. If using fresh, chop them and ensure they are ripe, as under-ripe fruit might lack flavor. If using dried, consider soaking them in water for about 30 minutes to soften before chopping.
How can I store my apricot crumble bars?
Store your apricot crumble bars in an airtight container at room temperature for up to 3 days. If you’d like to keep them longer, refrigerate them, where they will stay fresh for about a week. Just make sure they are well-covered to prevent them from drying out!
Can I freeze apricot crumble bars?
Absolutely! To freeze, wrap the unbaked bars tightly in plastic wrap and place them in an airtight container. They can be frozen for up to 3 months. When you’re ready to bake, simply add an additional 5-10 minutes to the baking time for perfectly baked bars.
What should I do if my filling is too runny?
If your apricot filling is too thin, return it to the heat and simmer a bit longer—around 5–10 minutes should do the trick. Stir often to prevent sticking. If you prefer, you can also mix a little cornstarch with water to create a slurry and stir this into the filling, cooking until thickened.
Are there any dietary considerations for these bars?
Yes, you can easily customize these apricot crumble bars to fit various dietary needs! For a gluten-free version, simply swap the all-purpose flour for gluten-free flour. For a vegan option, use coconut oil instead of butter and substitute honey with maple syrup. Always check ingredients to ensure they meet any specific dietary requirements.
What’s the best way to cut the bars for serving?
Once the bars have fully cooled, refrigerate them for about 30 minutes before cutting. This will firm them up and make slicing easier, providing you with clean, professional-looking squares. A sharp, serrated knife works best for clean cuts!
Delicious Apricot Crumble Bars: Quick, Easy & Gluten-Free!
Ingredients
Equipment
Method
- Prepare the crust by combining all-purpose flour, old-fashioned oats, salt, and brown sugar until evenly blended. Cut in cold butter until the mixture becomes crumbly, reserving ¾ cup for topping.
- Press half of the prepared crust mixture into the bottom of a lined baking dish and bake at 350°F (175°C) for 15 minutes until lightly golden.
- Prepare the filling by simmering chopped apricots, honey, vanilla extract, lemon juice, ground cinnamon, and a splash of water in a saucepan for 10-12 minutes until thickened.
- Spread the thickened apricot filling evenly over the cooled crust. Sprinkle with the reserved crumb mixture.
- Return to the oven and bake for an additional 20-25 minutes until the topping is golden brown.
- Allow cooling completely before slicing into squares or rectangles for serving.