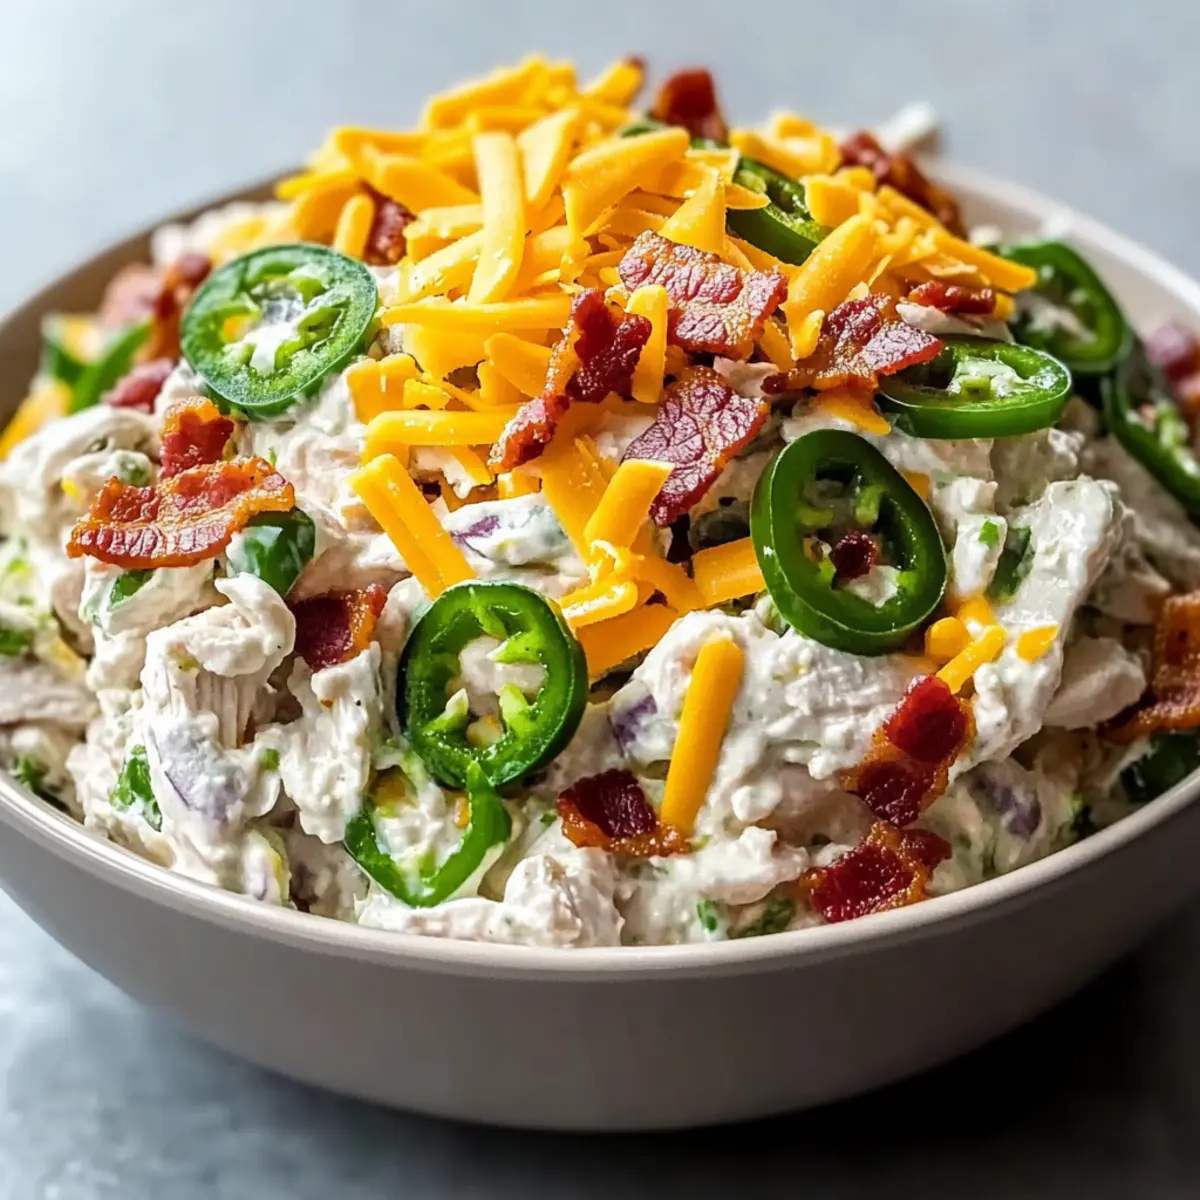
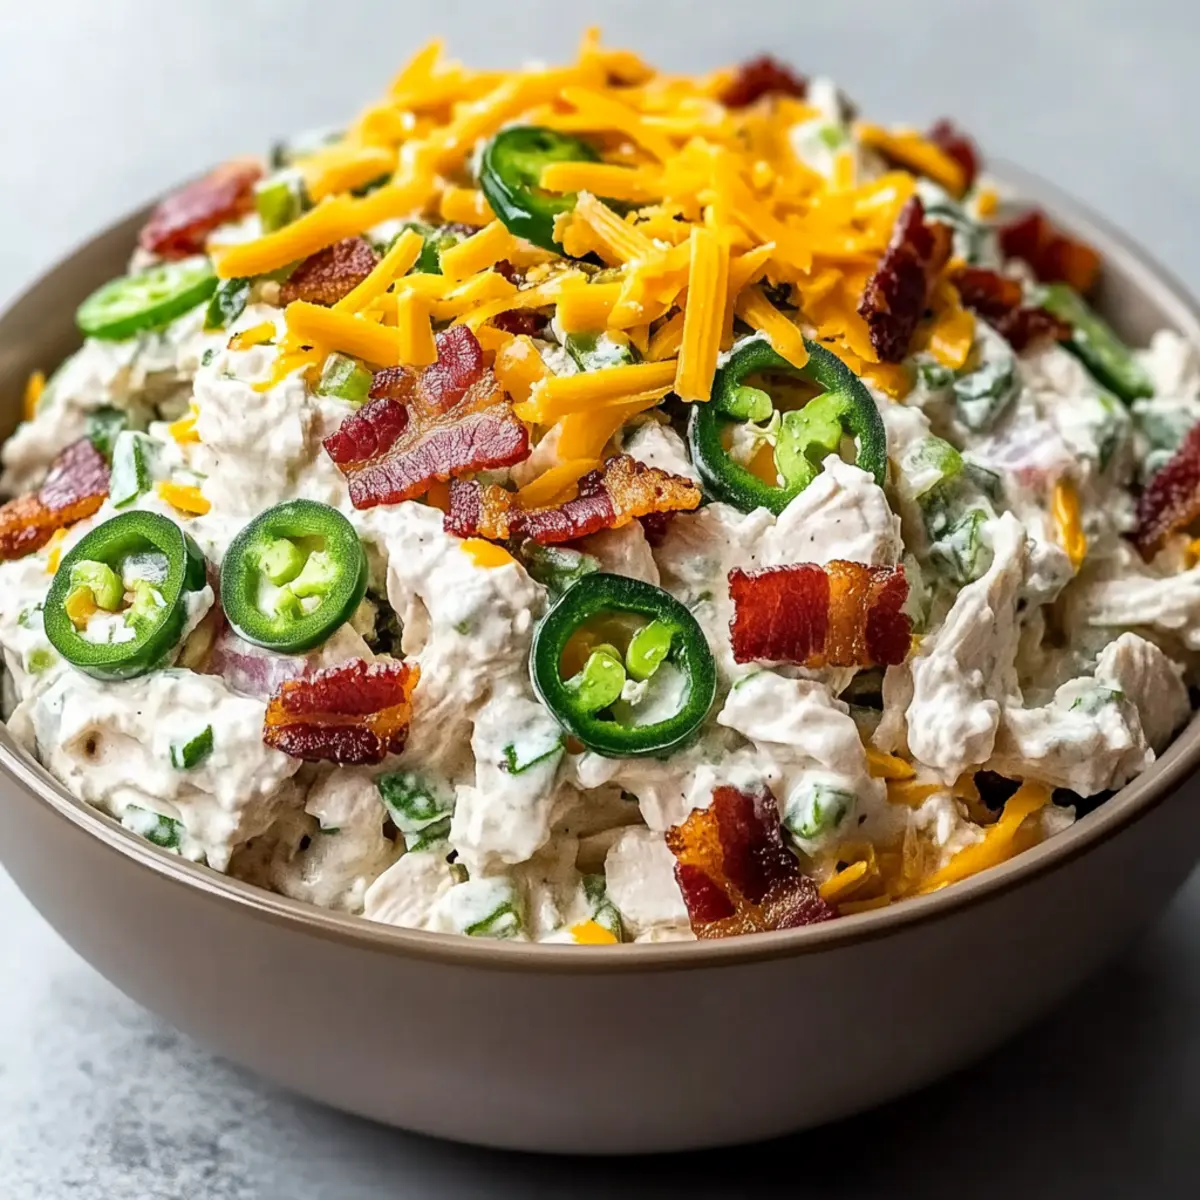
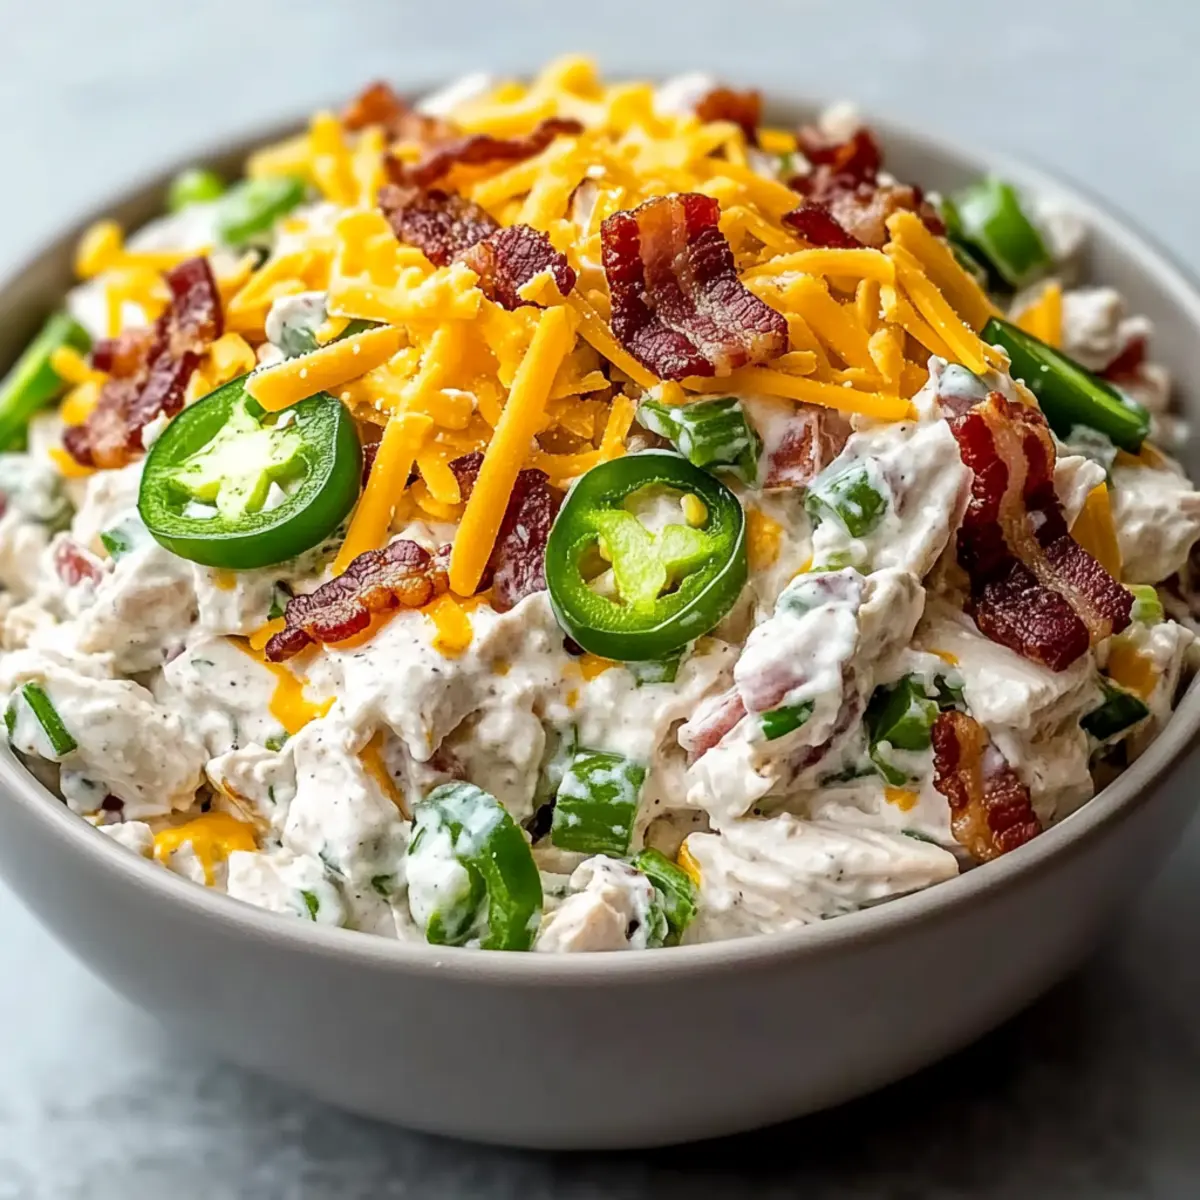
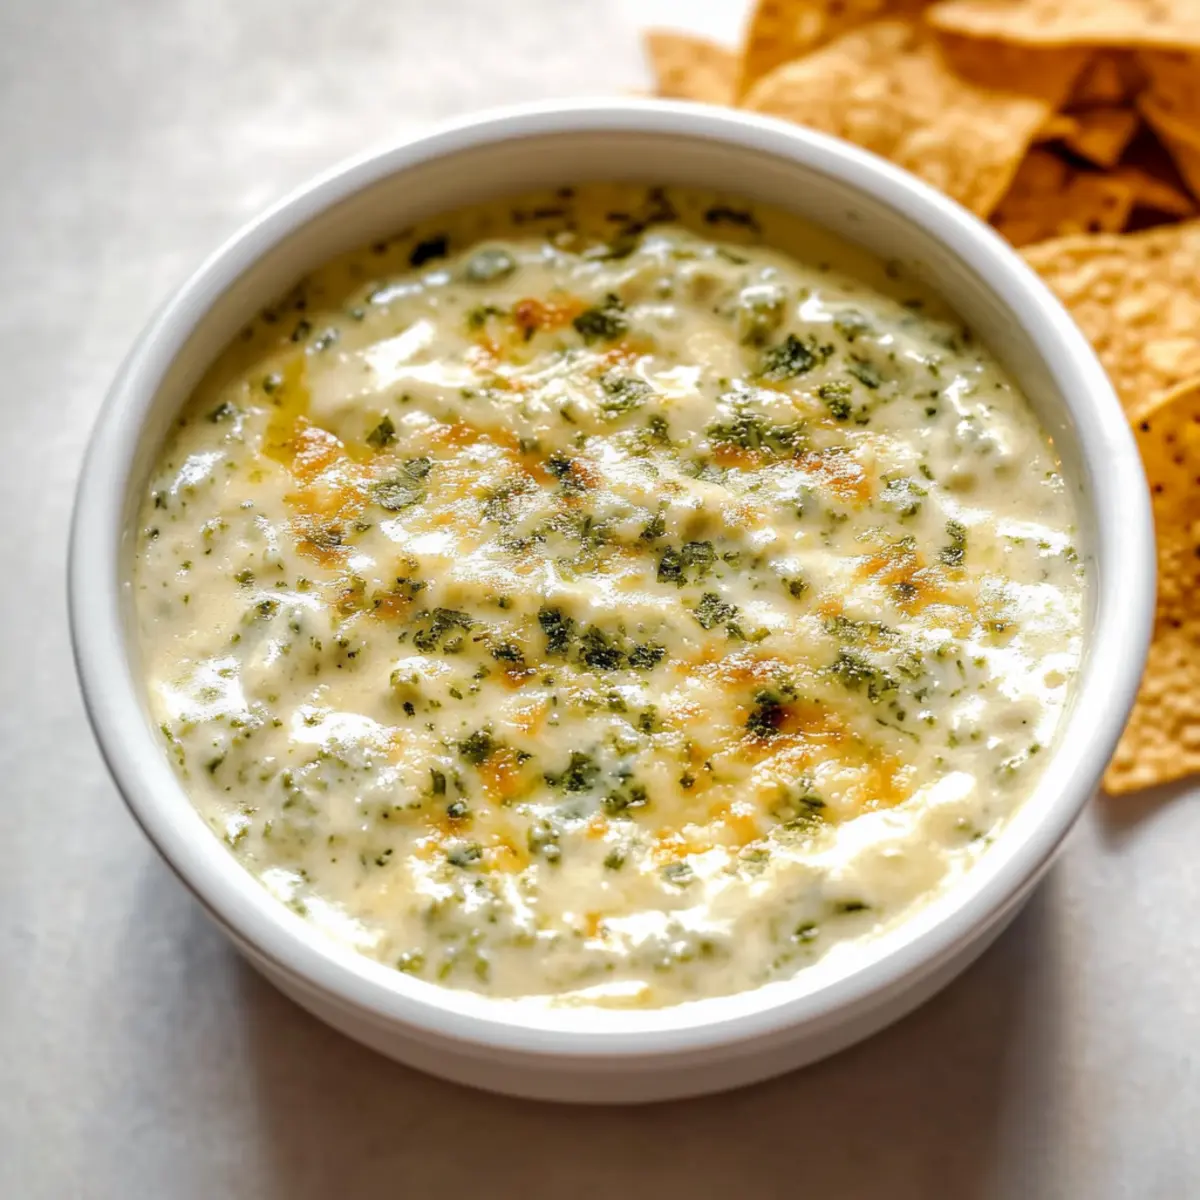
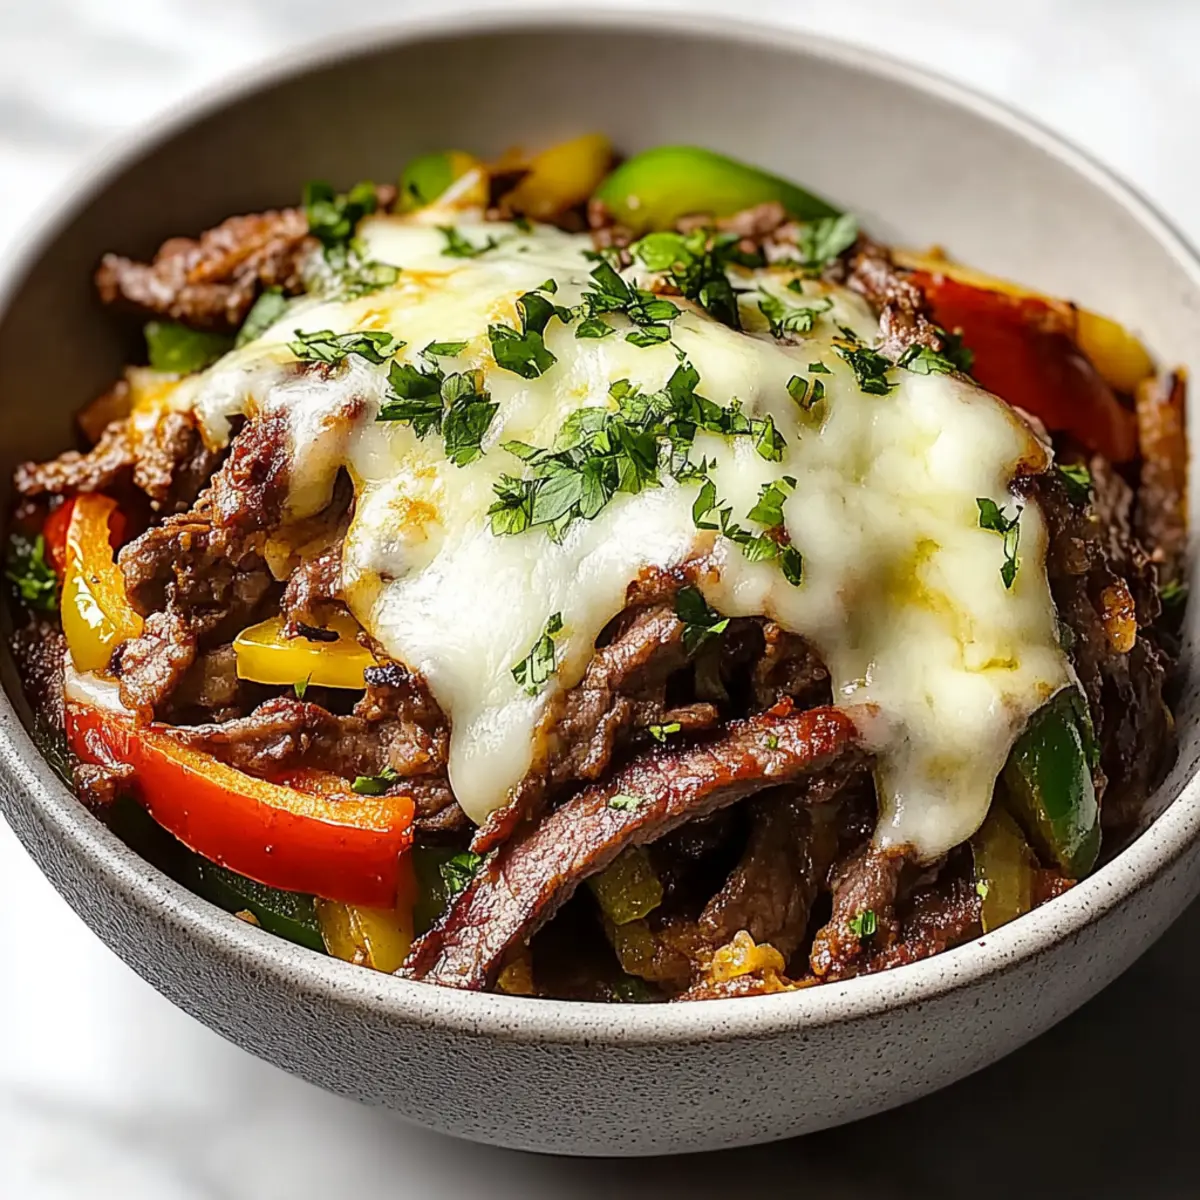
As my trusty oven hums softly, the comforting aroma of creamy cheese and tender tuna begins to fill my kitchen. Today, I’m excited to share my One Pot Keto Tuna Casserole, a delightful twist on the classic dish that’s both nutritious and satisfying. In just 30 minutes, you can whip up this low-carb winner, perfect for those busy weeknights when you crave something hearty without straying from your keto goals. Not only is it a breeze to prepare, but it also boasts a rich, cheesy goodness that will please even the pickiest eaters. Ready to dive into a deliciously simple recipe that redefines comfort food?
Why is this Keto Tuna Casserole a Must-Try?
Simplicity at Its Finest: This casserole requires minimal prep, making it the perfect solution for anyone tired of fast food.
Creamy, Cheesy Goodness: Loaded with rich ingredients, every bite is a satisfying indulgence that won't derail your low-carb lifestyle.
Time-Saving Delight: With just 30 minutes from start to finish, you can have a hearty meal ready in no time, leaving you with more time to relax.
Versatile and Customizable: Feel free to switch out tuna for chicken or add in your favorite veggies, like spinach or mushrooms, to tailor it to your taste.
Crowd-Pleasing Comfort: It's a dish that brings everyone together—perfect for family dinners or casual gatherings. Serve it with a side salad or even alongside Crock Pot Chicken for a complete meal!
One Pot Keto Tuna Casserole Ingredients
For the Casserole
• Tuna – A rich protein source; any canned tuna works great, just make sure it's well-drained.
• Bell Pepper – Adds a crunchy texture and hint of sweetness; feel free to swap with zucchini if you prefer.
• Onion – Enhances the flavor profile; both red and yellow onions are excellent choices.
• Avocado Oil Mayonnaise – Provides creaminess; regular mayonnaise or Greek yogurt can also be used for a twist.
• Mozzarella – Melty and gooey, it’s the star of the dish; cheddar can be substituted for a sharper taste.
• Cottage Cheese or Ricotta – Both add creaminess; opt for ricotta for a smoother texture or cottage cheese for fewer carbs.
• Red Pepper Flakes – Optional for a spicy kick; omit if you prefer a milder flavor.
• Garlic Salt – Elevates the overall taste; fresh minced garlic can also be a great alternative.
For Variations
• Chicken or Salmon – Swap out the tuna for a different protein option to mix things up.
• Additional Vegetables – Consider adding spinach or mushrooms for extra nutrients and flavor.
• Topping Options – For a crunchy finish, sprinkle crispy breadcrumbs or crushed pork rinds on top before baking.
This One Pot Keto Tuna Casserole not only packs in flavors but also keeps things simple and delicious!
Step‑by‑Step Instructions for One Pot Keto Tuna Casserole
Step 1: Preheat and Prepare
Begin by preheating your oven to 350°F (175°C). While the oven warms up, grab a 5x9-inch baking pan and coat it with cooking spray to prevent sticking. This simple preparation sets the stage for your One Pot Keto Tuna Casserole, ensuring a smooth release once baked.
Step 2: Combine Ingredients
In a large mixing bowl, combine the drained tuna, diced bell pepper, and chopped onion. Next, add the creamy avocado oil mayonnaise, shredded mozzarella, and cottage cheese. If you want a bit of heat, sprinkle in some red pepper flakes and season with garlic salt. Stir until the mixture is well combined and the ingredients are evenly coated.
Step 3: Transfer to Baking Pan
Once everything is mixed thoroughly, pour the tuna mixture into your prepared baking pan. Use a spatula to spread it out evenly, ensuring all corners are filled. This helps facilitate even cooking and melting of the cheese in your deliciously comforting One Pot Keto Tuna Casserole.
Step 4: Bake to Perfection
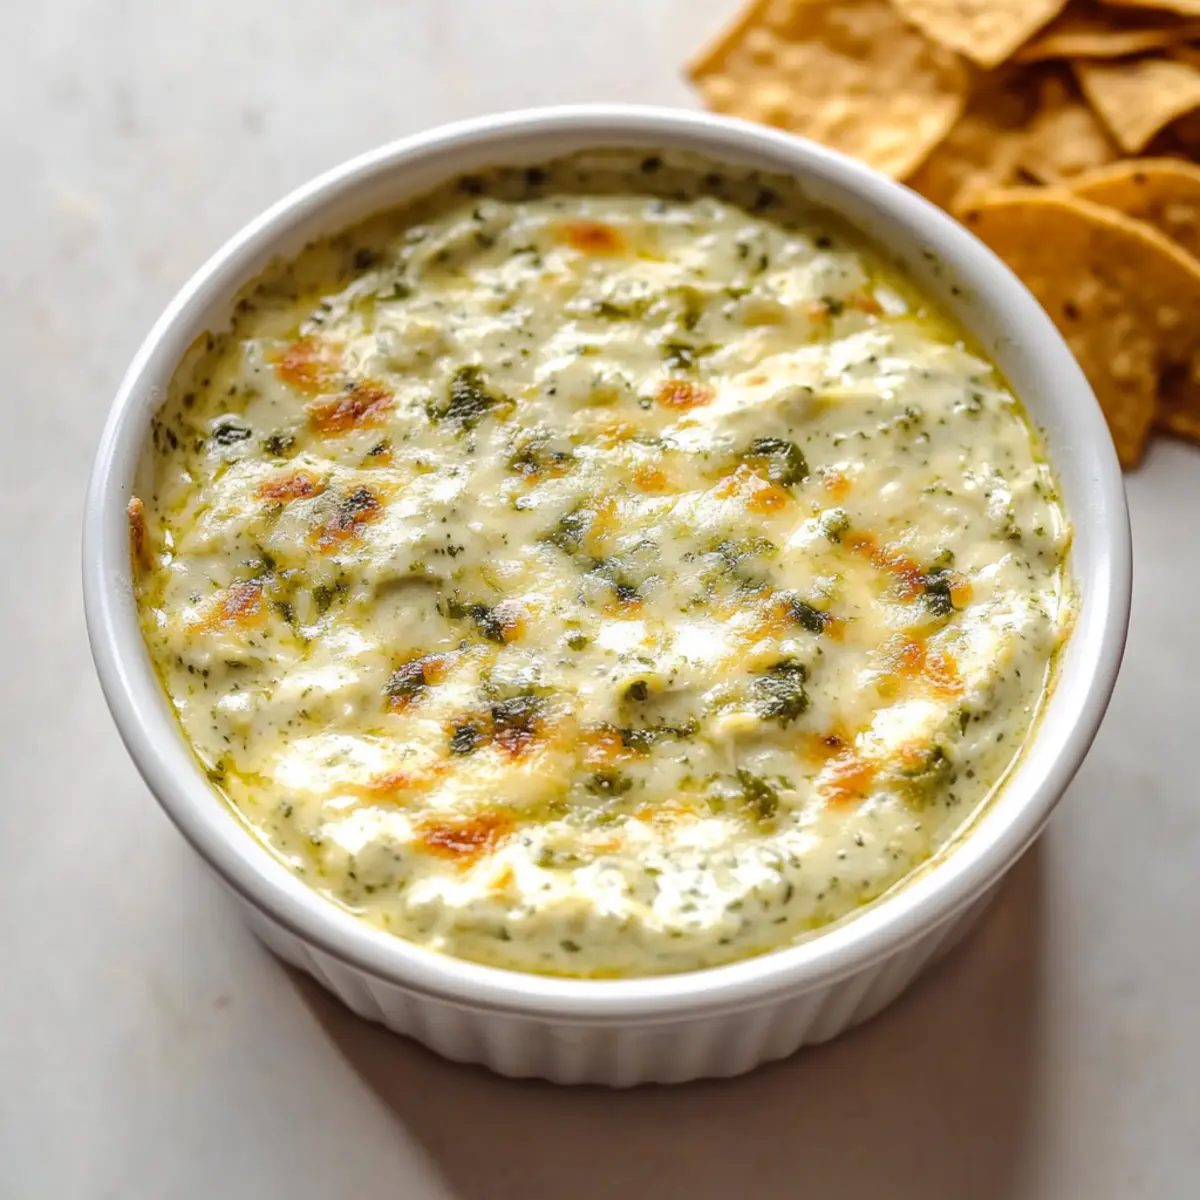
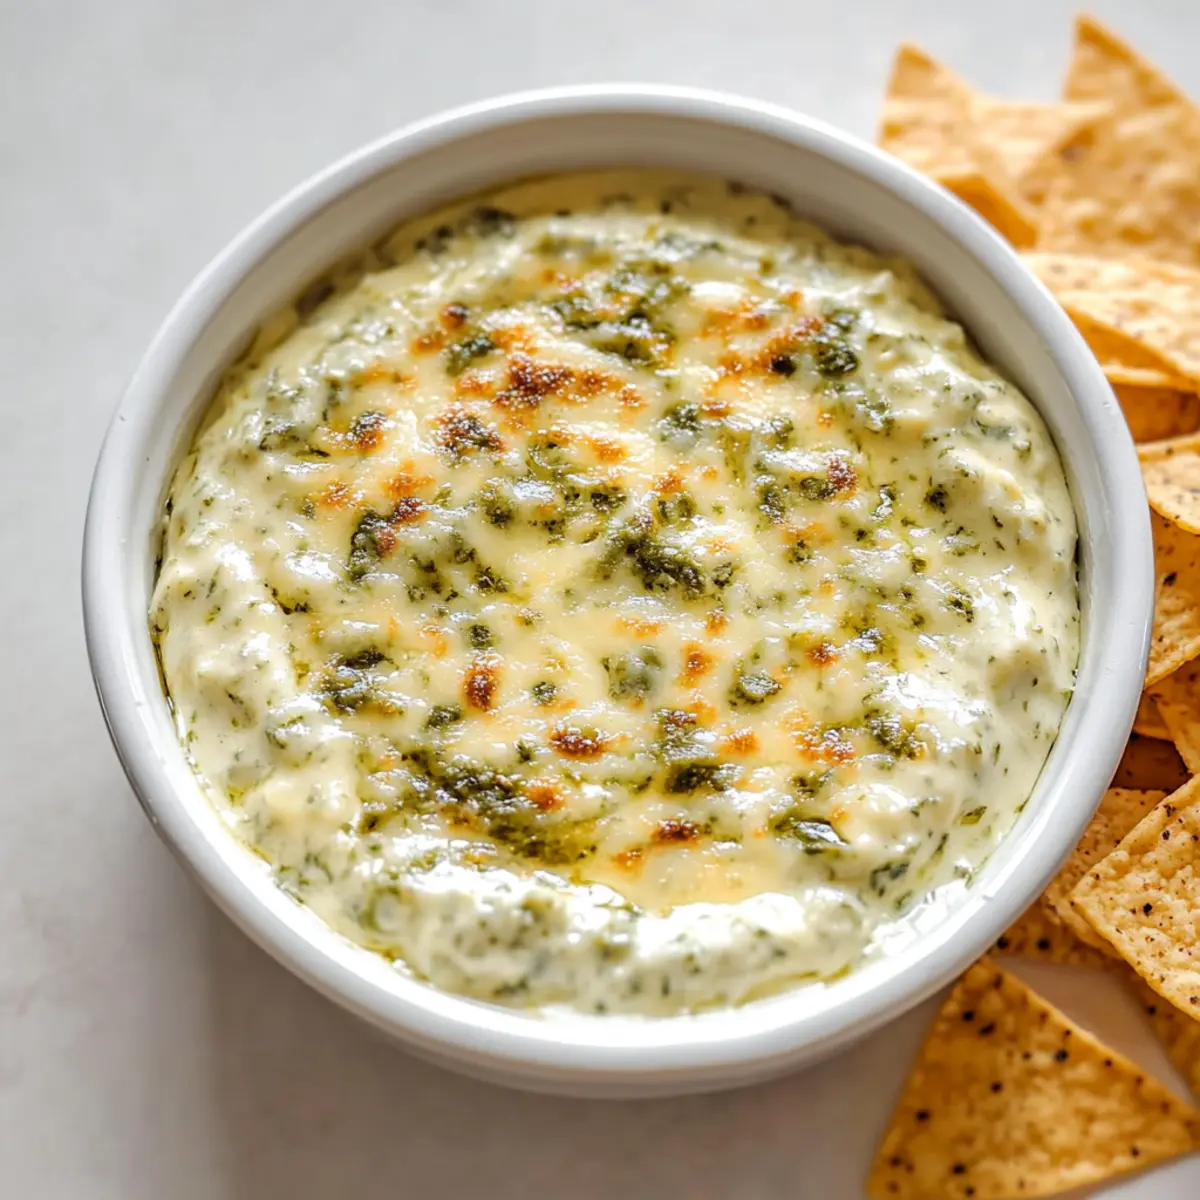
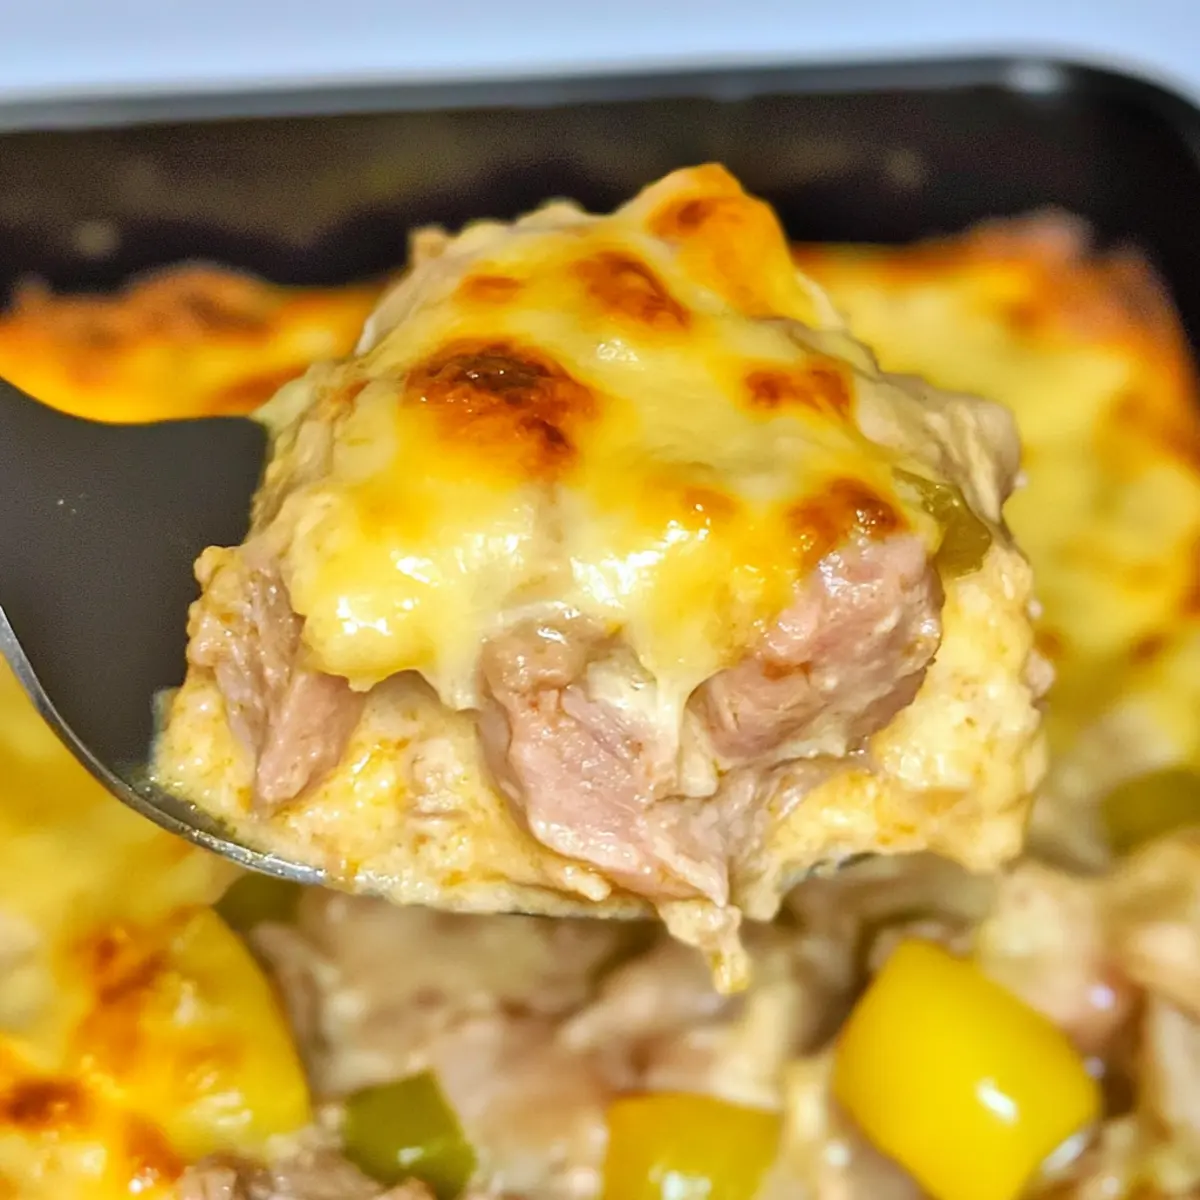
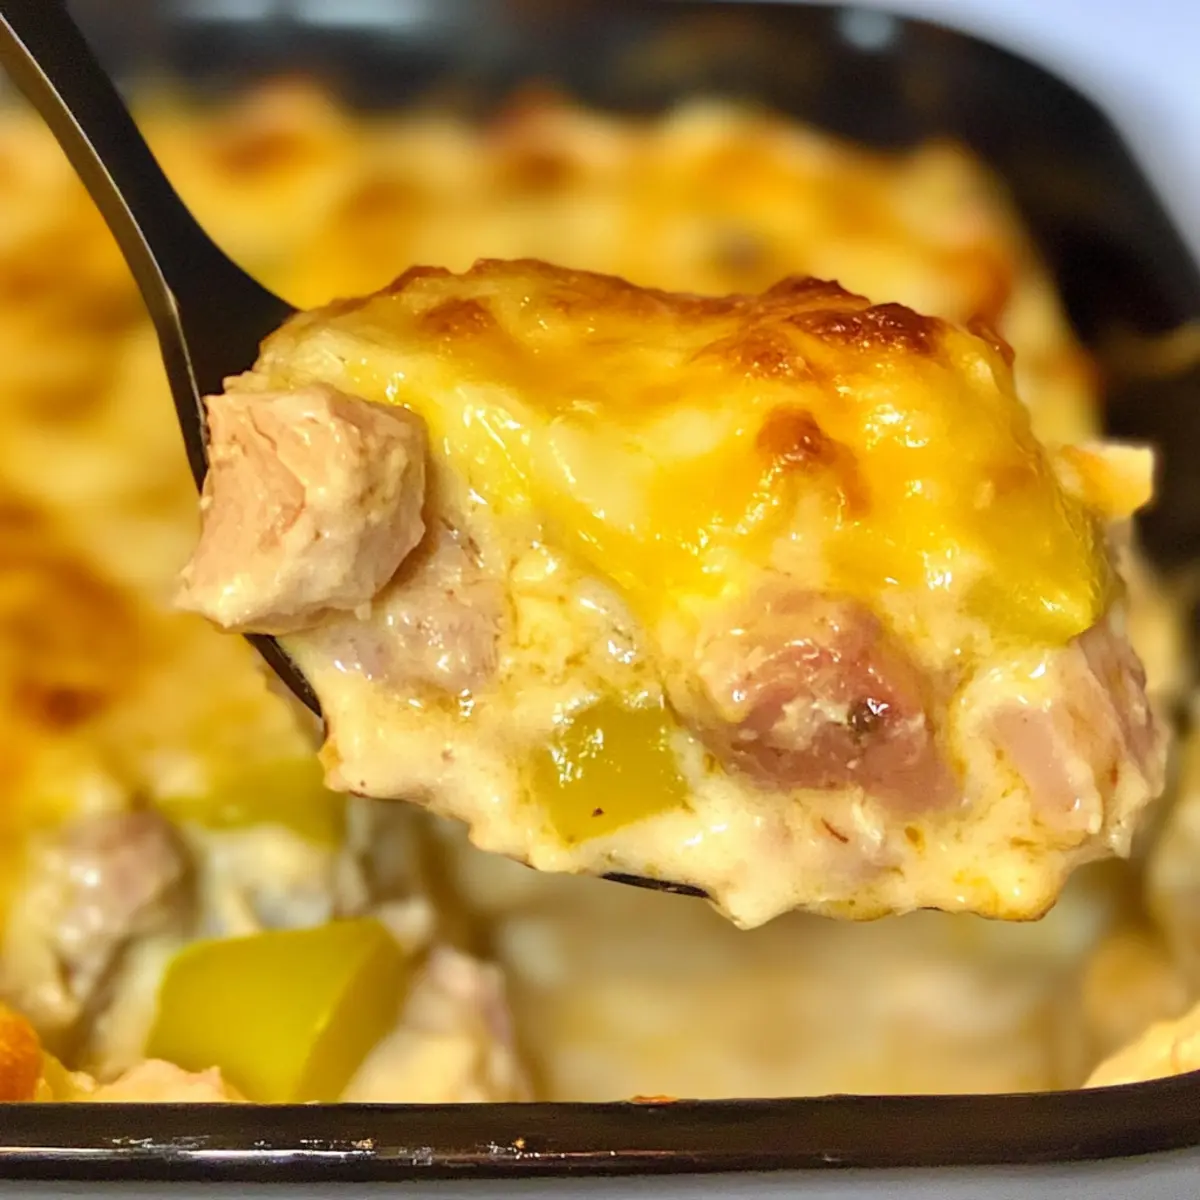
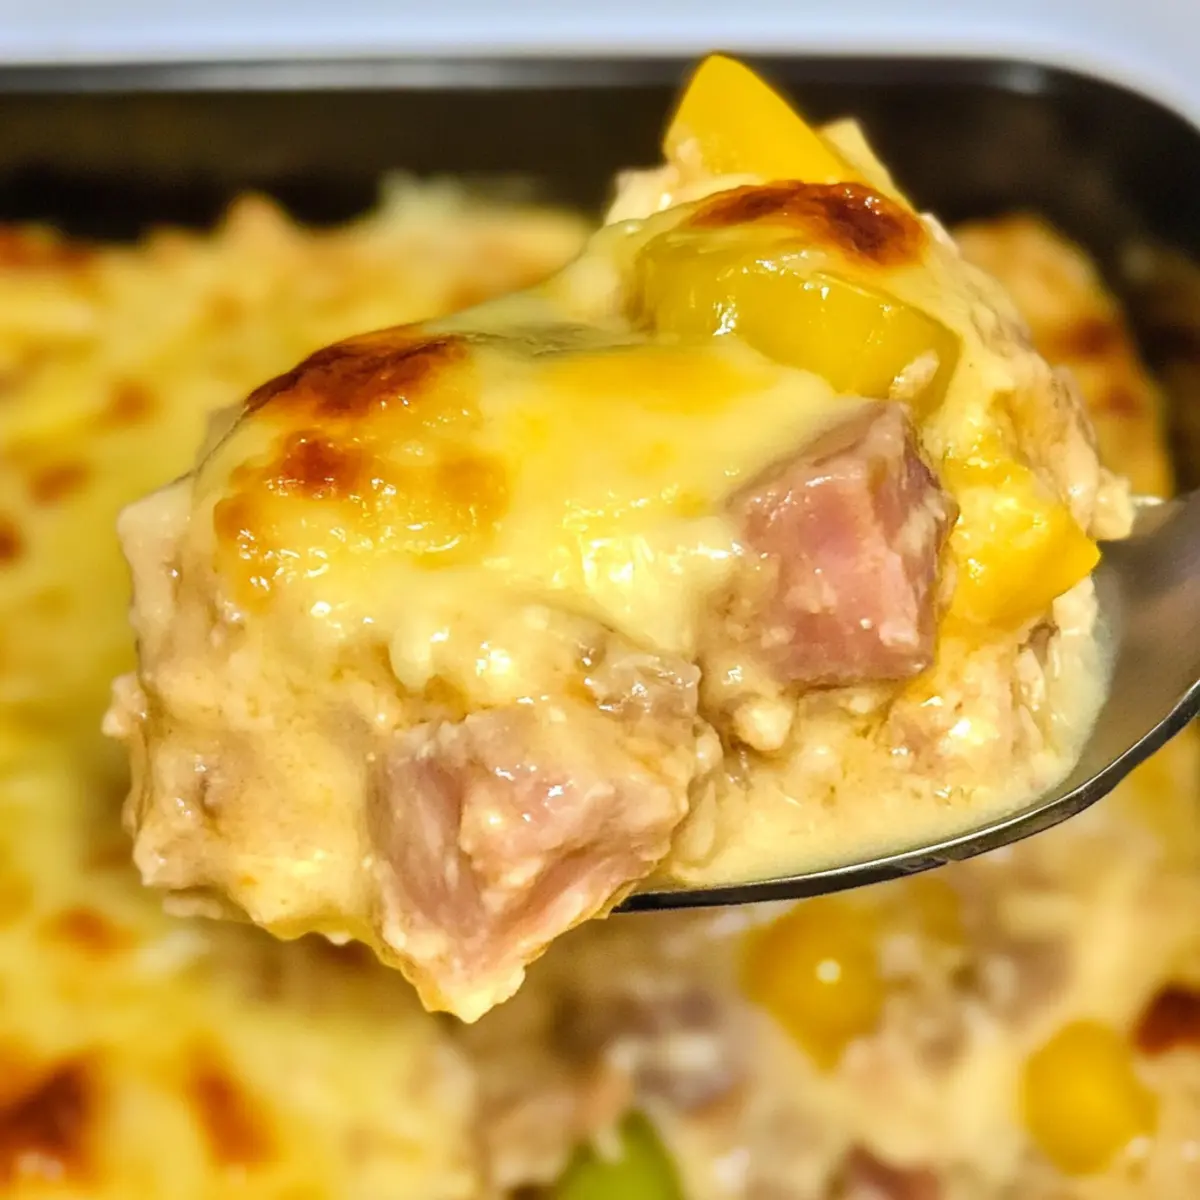
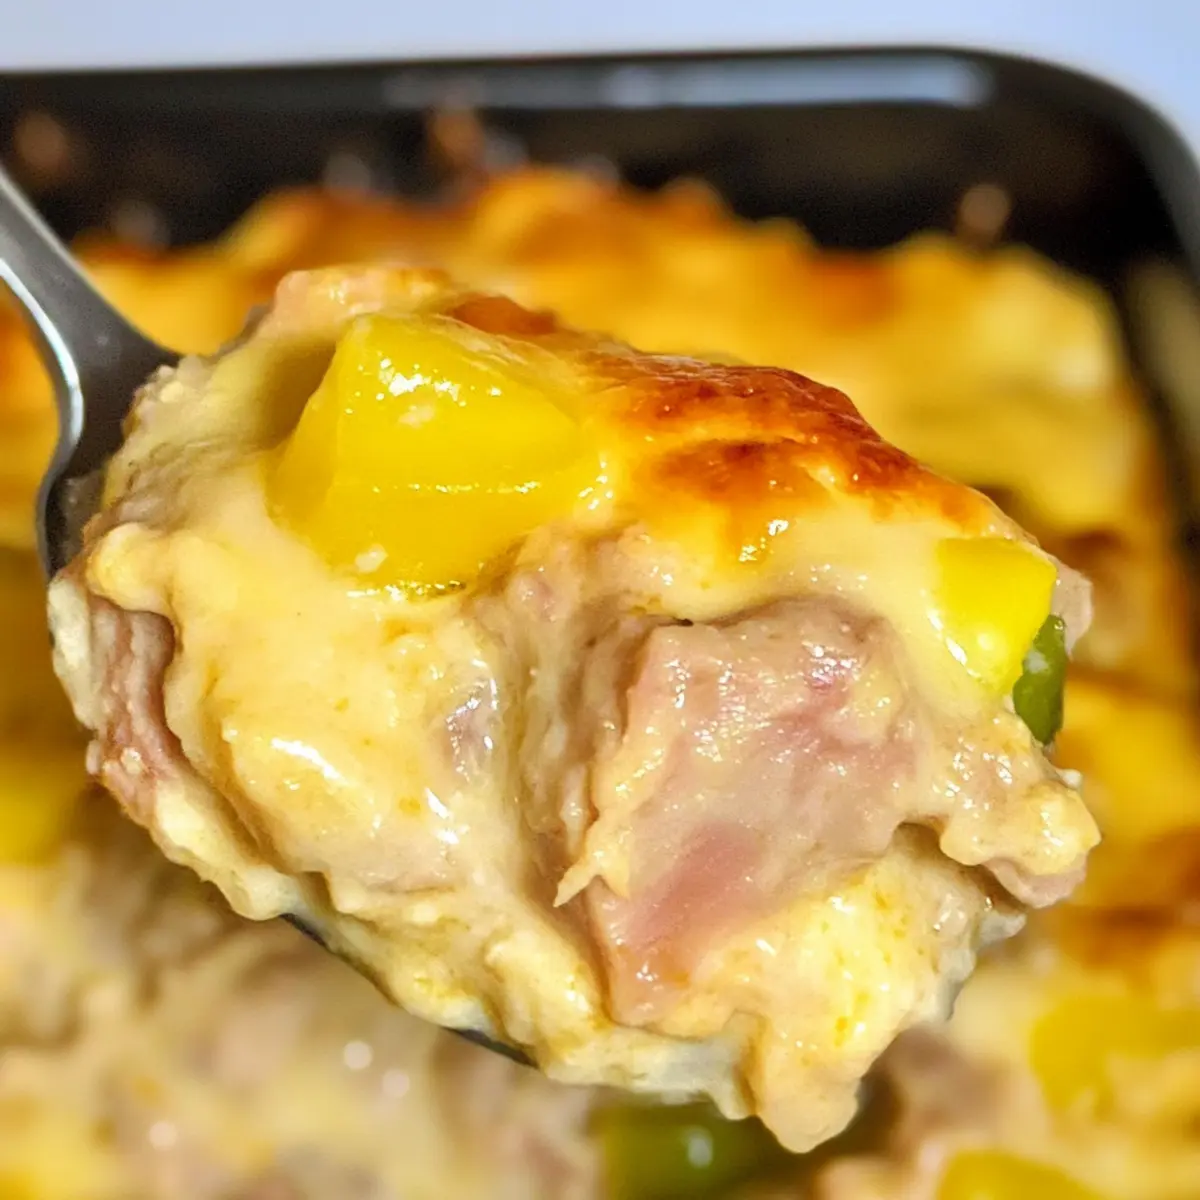
Place the baking pan in the preheated oven and bake for 20-25 minutes. Keep an eye on the casserole as it bakes; it should be bubbling on the edges and the cheese on top should turn a lovely golden brown. This visual cue indicates that your casserole is ready to be savored!
Step 5: Cool and Serve
Once baked to perfection, remove the casserole from the oven and let it cool for about 5 minutes before serving. This brief cooling period allows the casserole to set slightly, making it easier to portion. Enjoy the comforting flavors of your One Pot Keto Tuna Casserole with your family or friends!
How to Store and Freeze One Pot Keto Tuna Casserole
Fridge: Store leftovers in an airtight container for up to 3 days. This keeps your One Pot Keto Tuna Casserole fresh and ready for a quick reheating.
Freezer: For longer storage, freeze the casserole before baking; wrap it tightly with plastic wrap and aluminum foil. It can be kept frozen for up to 3 months.
Reheating: When ready to enjoy, bake directly from frozen for about 35 minutes at 350°F (175°C) or until heated through and bubbly.
Cooling: Let the casserole cool completely before storing to prevent condensation, which can spoil the texture of this delightful dish.
One Pot Keto Tuna Casserole Variations
Feel free to make this dish your own by exploring these delicious twists and substitutions!
-
Dairy-Free: Use a vegan cheese alternative and coconut yogurt instead of mayonnaise for a creamy finish that fits your diet.
Adding fresh herbs such as basil or parsley can also enhance the flavor profile beautifully. -
Spicy Kick: Incorporate jalapeños or a splash of sriracha for an extra kick of heat.
This adds a vibrant, zesty flavor that will awaken your taste buds. -
Vegetable-Packed: Toss in some fresh spinach or sautéed mushrooms to boost nutrition and flavor.
The added veggies not only make this dish heartier but also contribute beautiful color. -
Grain-Free Crunch: Top with crushed pork rinds or almond flour for a gluten-free crispy topping.
This creates a delightful crunch that contrasts with the creamy filling. -
Fishy Twist: Substitute tuna with canned salmon or chicken for a different protein option.
Each swap brings its unique flavor, keeping your family excited for what’s next on the menu!
Looking to broaden your culinary horizons? Try pairing this casserole with a refreshing side salad drizzled with your favorite low-carb dressing or serve it alongside a comforting dish like Cornbread Breakfast Casserole for a delightful meal!
-
Herb-Infused: Add fresh dill or parsley to the mixture for an aromatic twist.
These herbs will infuse your casserole with a fresh, bright punch that's irresistible. -
Cheese Swap: Use gouda or pepper jack cheese for a unique melt-in-your-mouth texture and flavor!
Experimenting with different cheeses can surprise your palate and keep dinner exciting!
Expert Tips for One Pot Keto Tuna Casserole
Well-Drained Tuna: Ensure the tuna is properly drained to avoid a soggy casserole. Excess moisture can lead to a less-than-ideal texture.
Creamy Texture: For an ultra-creamy One Pot Keto Tuna Casserole, mix in a splash of heavy cream before baking to enhance richness.
Make-Ahead Advice: If prepping ahead, slightly underbake the casserole before storing it in the fridge; this keeps it from drying out when you reheat.
Cheese Choice: Experiment with different cheeses like sharp cheddar for a bolder flavor. Just remember to adjust melt times accordingly!
Vegetable Add-Ins: Feel free to incorporate nutrient-packed veggies such as spinach or mushrooms for added flavor and texture—this keeps your casserole interesting!
What to Serve with One Pot Keto Tuna Casserole
Indulging in a creamy, cheesy casserole doesn’t mean your meal has to end there—let’s elevate your dining experience!
- Simple Side Salad: A refreshing mix of crisp lettuce, cucumbers, and cherry tomatoes drizzled with a low-carb dressing brightens the meal.
- Garlic Butter Green Beans: The fresh crunch of green beans sautéed in garlic butter adds a delightful contrast to the creamy casserole, making for a delicious partnership.
- Keto Fried Cauliflower Rice: Light and fluffy, this alternative to traditional rice perfectly soaks up the casserole's flavors while keeping everything low-carb.
- Roasted Brussels Sprouts: Their caramelized edges and nutty flavor create a gorgeous balance to the cheesy goodness of your casserole.
- Steamed Asparagus with Lemon: This bright, zesty side offers an elegant touch and a lovely freshness, enhancing the richness of the casserole.
- Cheesy Stuffed Mushrooms: These bite-sized delights stuffed with cream cheese and spices make for flavorful complements to your meal, each packed with umami.
- Refreshing Sparkling Water: A bubbly drink with a hint of lime or lemon brightens your meal and leaves you feeling refreshed, making every bite enjoyable.
Make Ahead Options
These One Pot Keto Tuna Casserole is perfect for meal prep enthusiasts! You can prepare the entire mixture up to 24 hours in advance by combining the drained tuna, chopped vegetables, mayonnaise, and cheeses in a bowl and storing it in an airtight container in the refrigerator. This not only saves you time but also allows the flavors to meld beautifully. Just remember to reheat the casserole with a splash of cream to maintain its creamy goodness. When you're ready to serve, simply transfer it to a baking pan and bake in the oven for about 20-25 minutes until golden and bubbly. Enjoy effortless weeknight dinners with this delicious make-ahead option!
One Pot Keto Tuna Casserole Recipe FAQs
How do I choose the best tuna for this casserole?
Absolutely! For the best results, choose canned tuna packed in water or olive oil and make sure to drain it well. This ensures that your casserole won't be watery and keeps the texture nice and firm—essential for a satisfying bite!
How should I store leftover One Pot Keto Tuna Casserole?
Store leftovers in an airtight container in the refrigerator for up to 3 days. This way, it stays fresh and ready for a quick reheat. Just remember to let it cool completely before storing to prevent any moisture buildup.
Can I freeze One Pot Keto Tuna Casserole?
Yes, you can! To freeze, prepare the casserole as directed but do not bake it. Wrap the dish tightly with plastic wrap followed by aluminum foil to prevent freezer burn. It will stay delicious for up to 3 months. When you’re ready to enjoy, just bake it directly from frozen for about 35 minutes at 350°F (175°C).
What should I do if my casserole comes out too dry?
If your casserole is a little dry, it may be a sign that the tuna was overcooked or that not enough creamy ingredients were used. To save it, mix in a little heavy cream before baking next time, or try reheating it with a splash of broth or additional mayo to restore moisture!
Are there any dietary considerations for pets or allergies?
While this One Pot Keto Tuna Casserole is delightful for humans, it’s important to keep in mind that tuna is not recommended for dogs and is not suitable for cats in large amounts. If you or anyone you’re serving has a seafood allergy, consider using chicken or another protein substitute that suits dietary restrictions.
One Pot Keto Tuna Casserole: Creamy Comfort in Minutes
Ingredients
Equipment
Method
- Preheat your oven to 350°F (175°C) and coat a 5x9-inch baking pan with cooking spray.
- In a large mixing bowl, combine the drained tuna, diced bell pepper, and chopped onion. Add the mayonnaise, mozzarella, and cottage cheese, then mix in red pepper flakes and garlic salt.
- Pour the mixture into the prepared baking pan, spreading it out evenly.
- Bake for 20-25 minutes until bubbling on the edges and the cheese is golden brown.
- Remove from the oven and let cool for 5 minutes before serving.