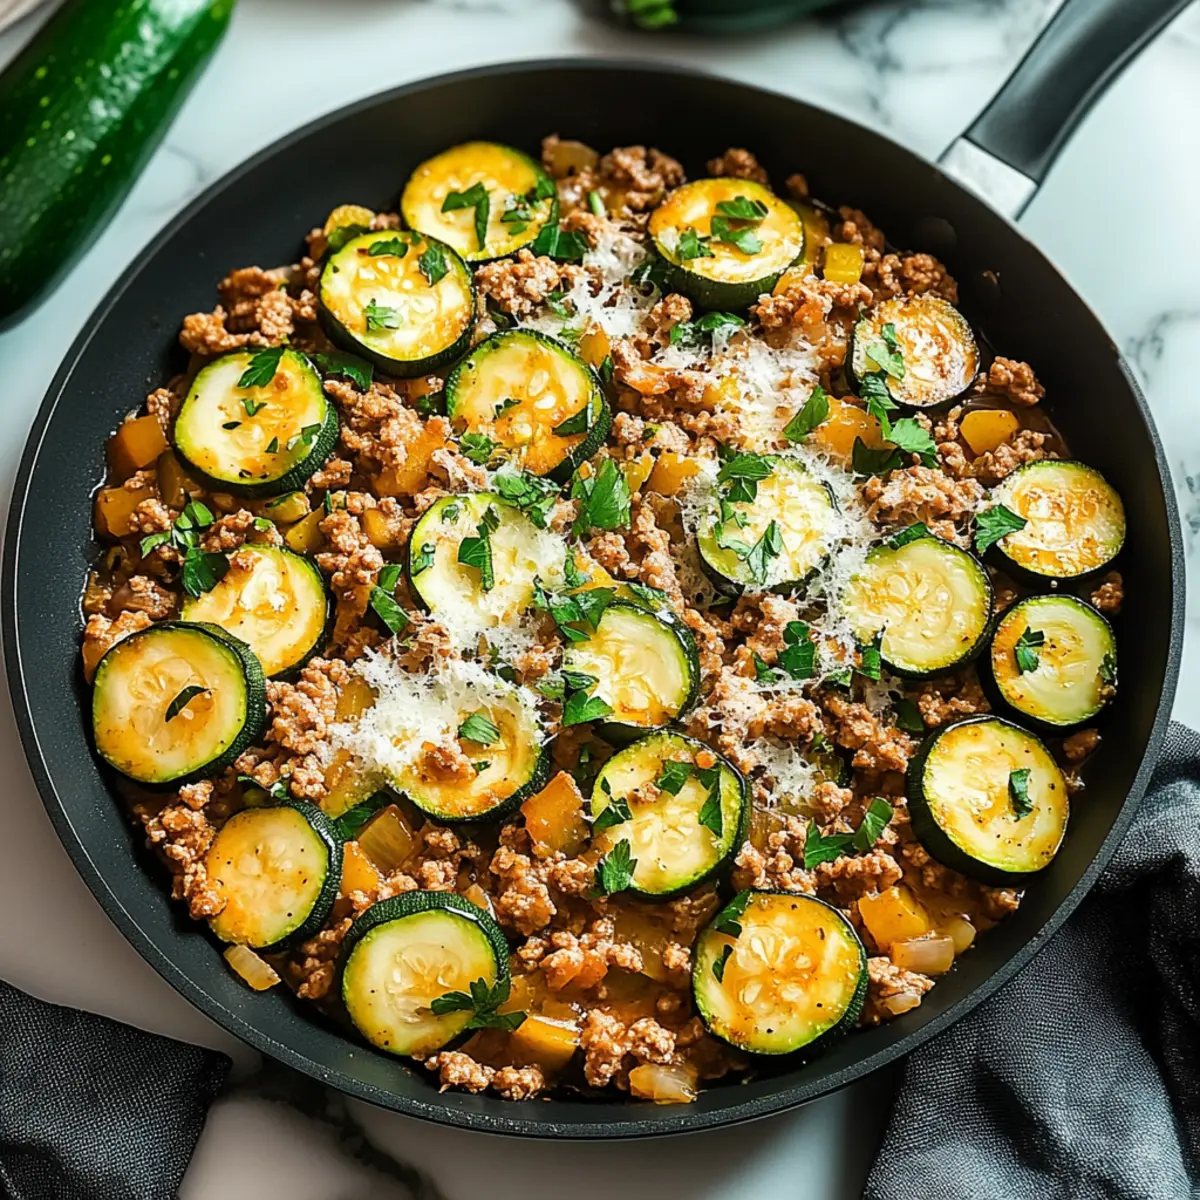
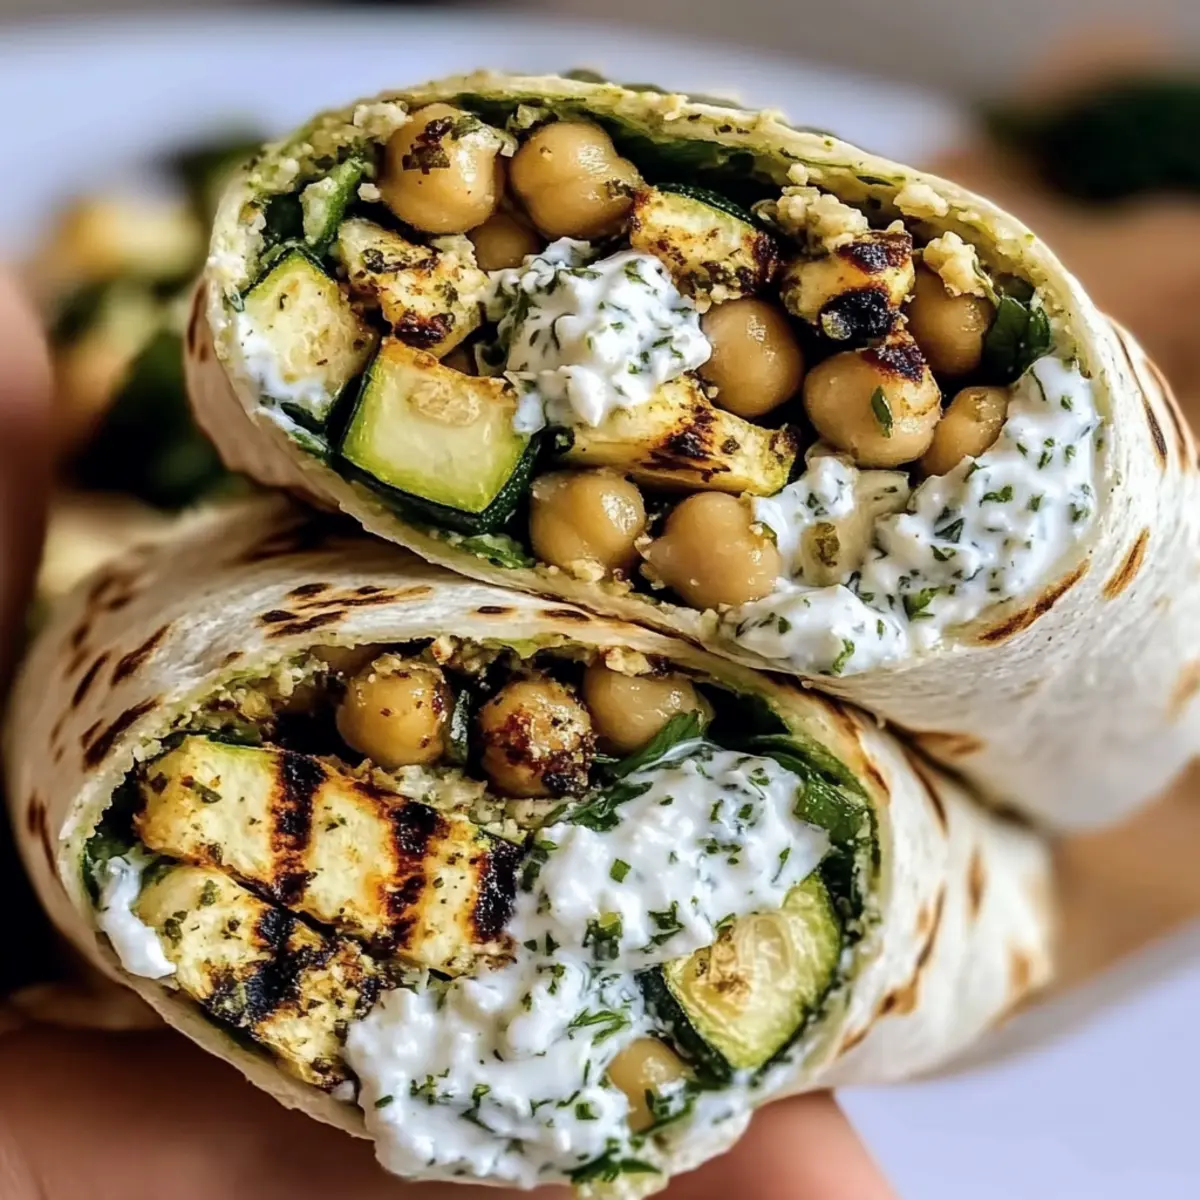
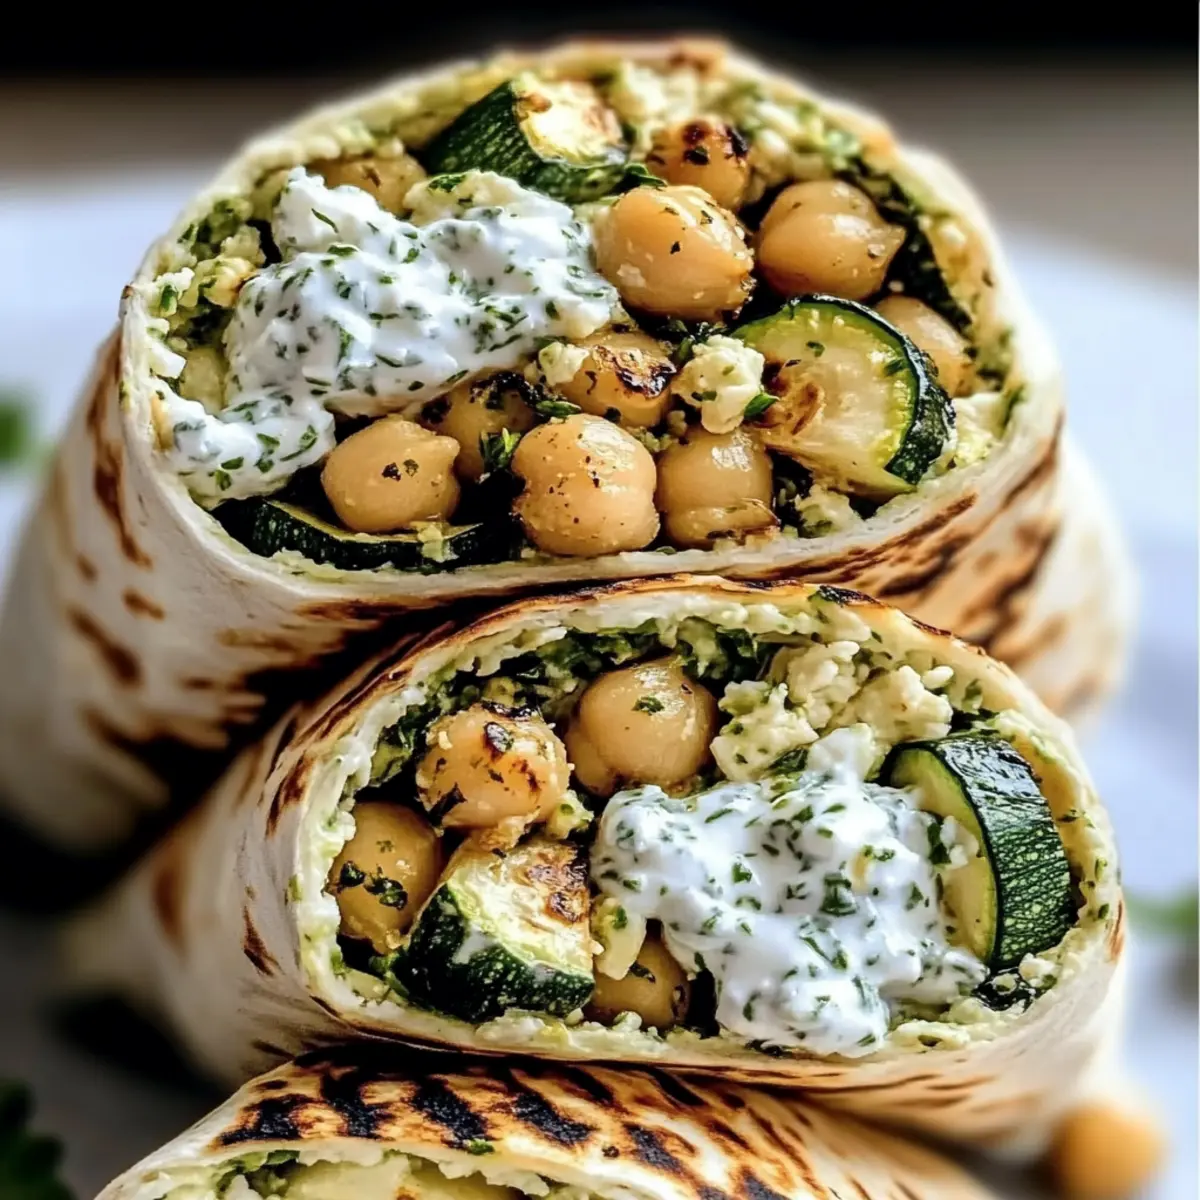
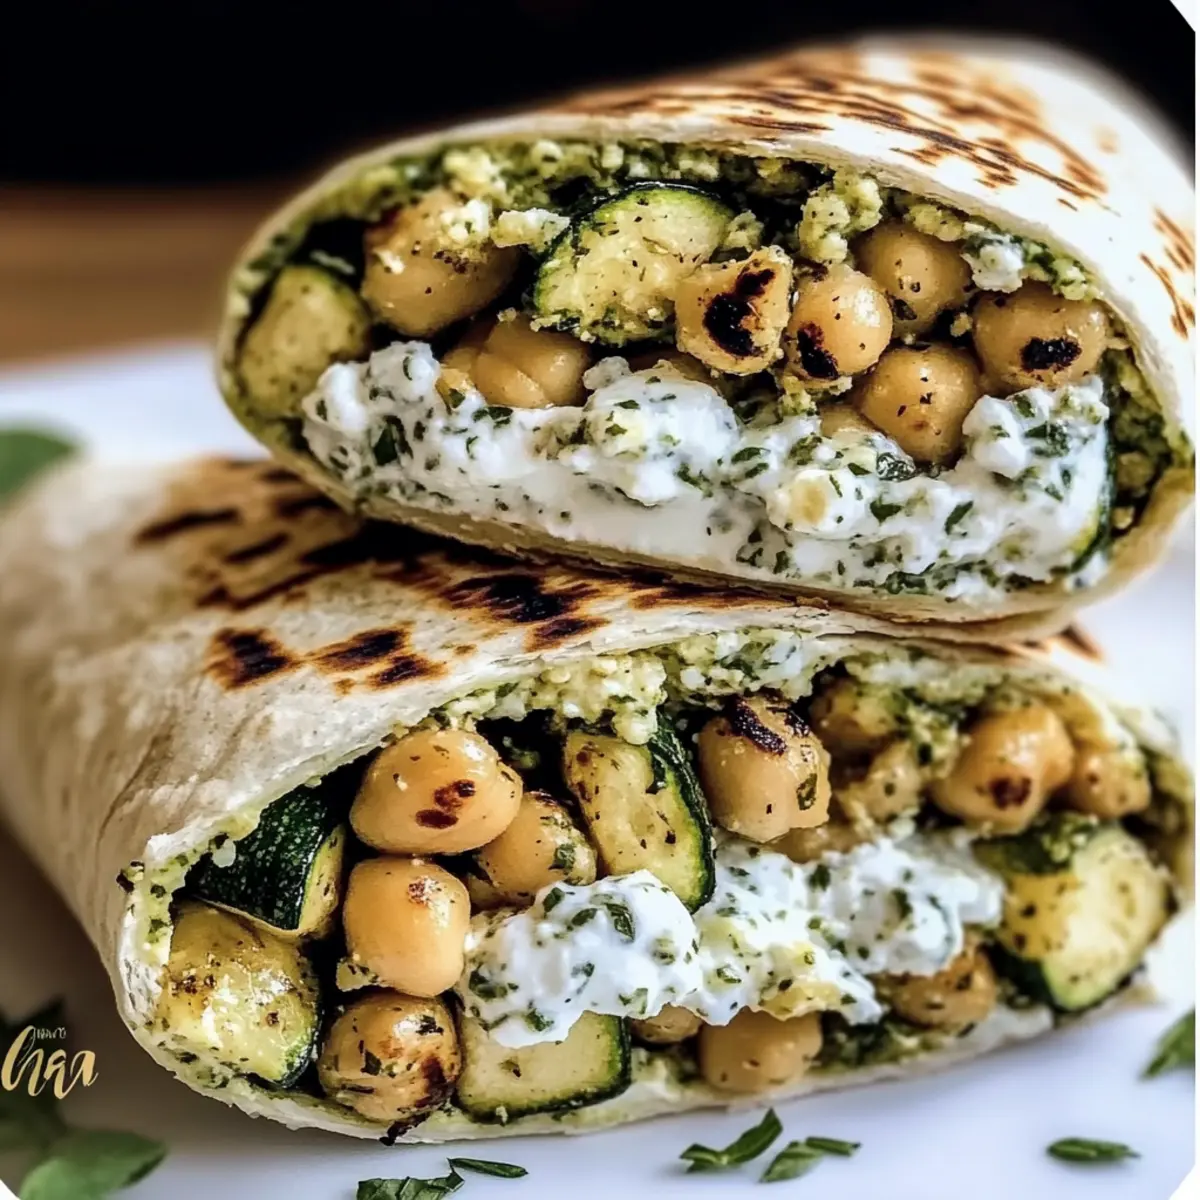
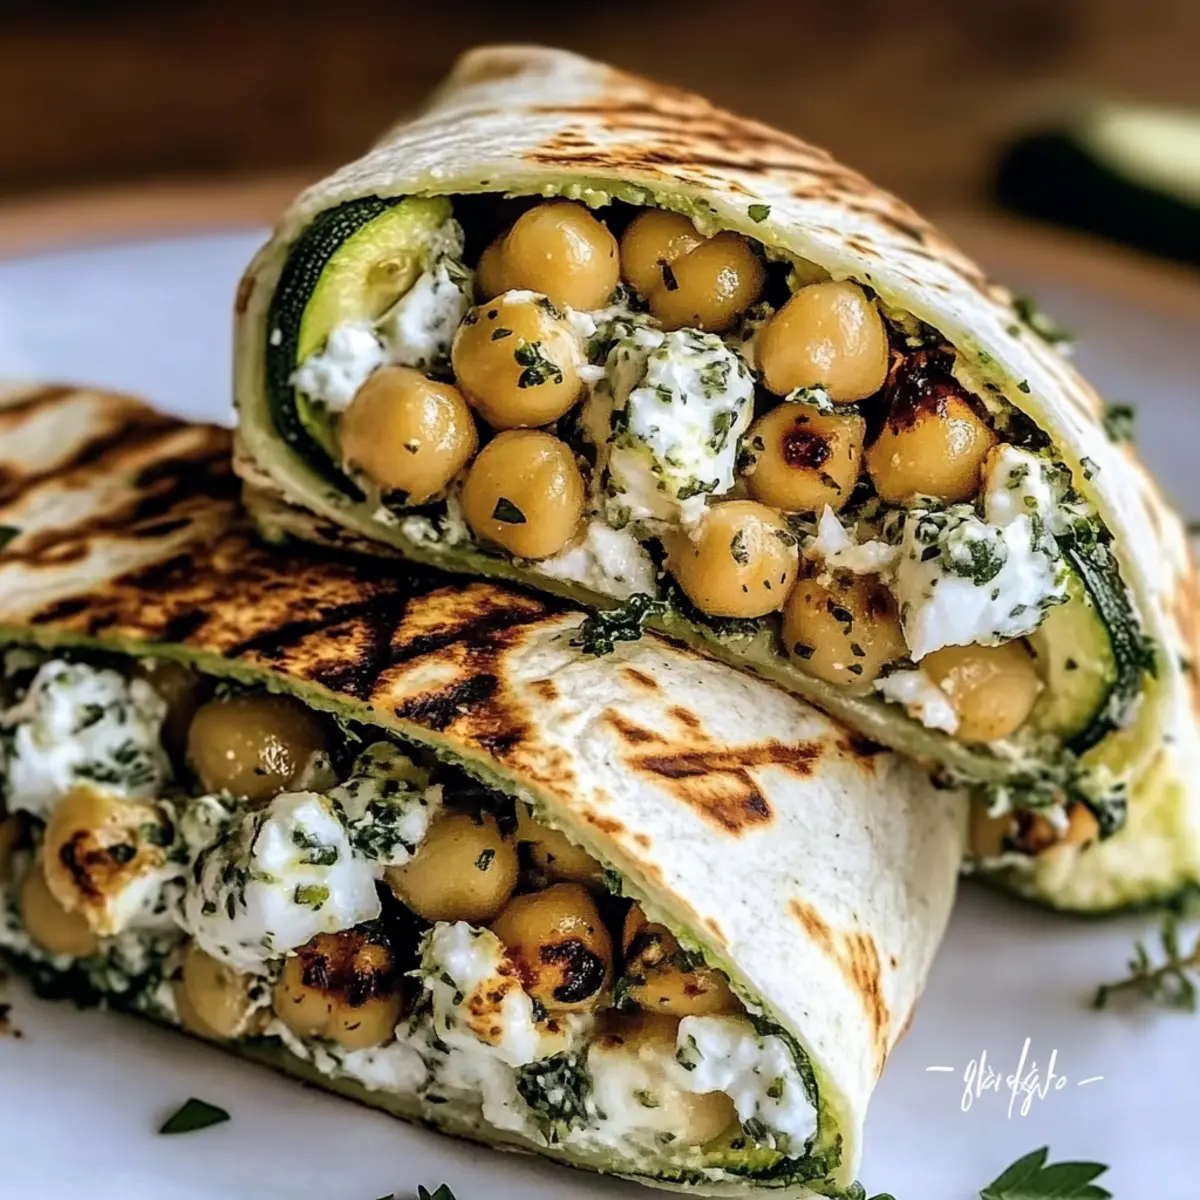
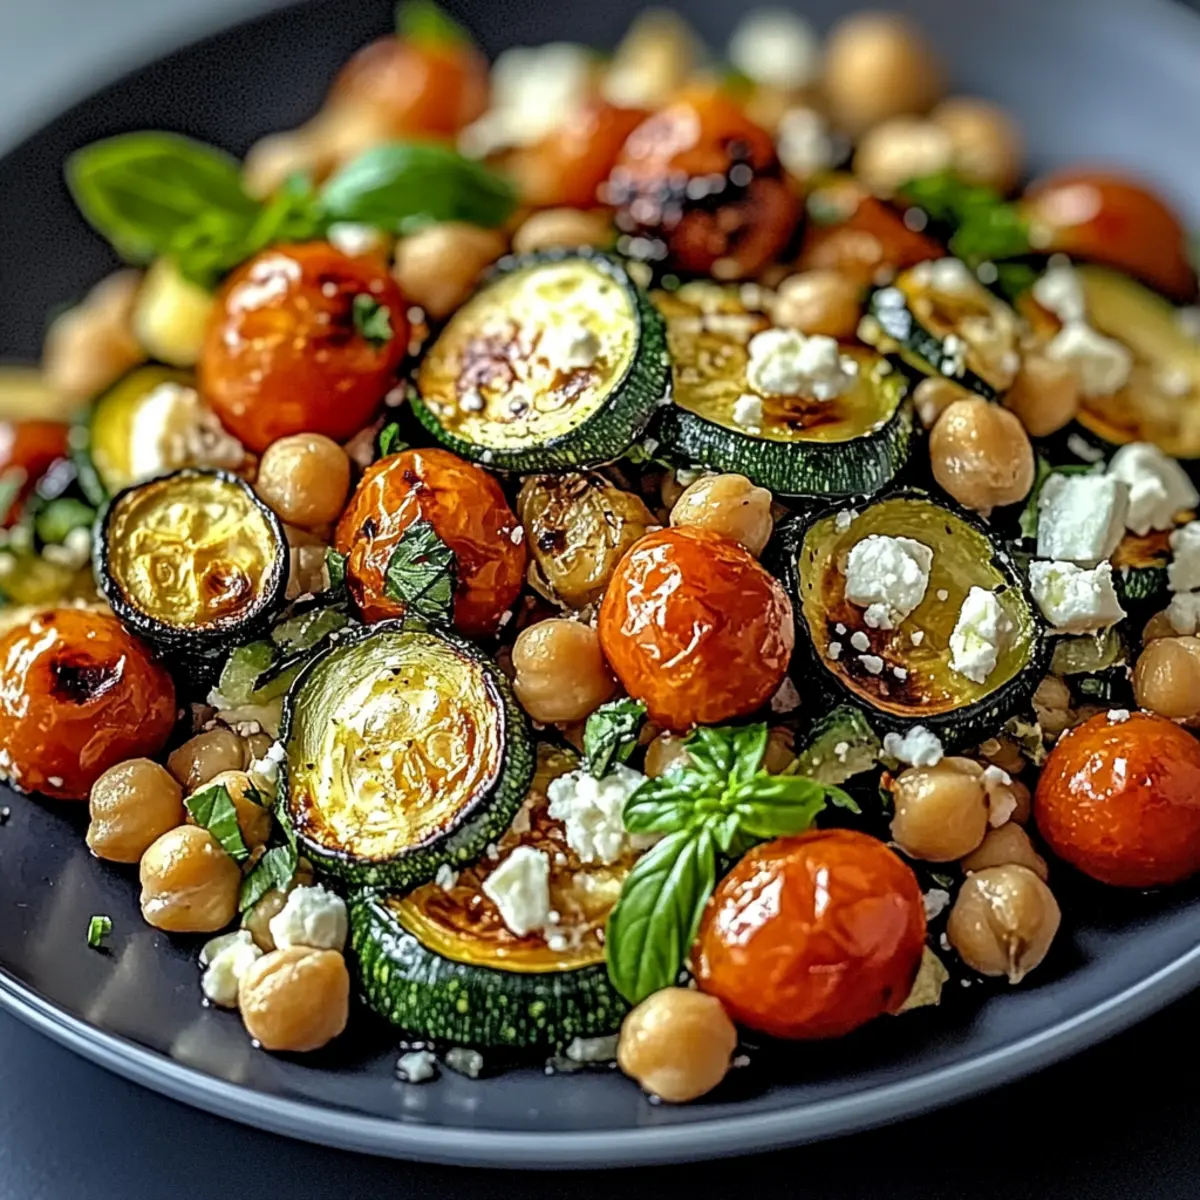
As a warm breeze whispers through the kitchen, the tantalizing scent of roasted zucchini fills the air, inviting me to savor the moment. Today, I'm excited to share my Roasted Zucchini Chickpea Salad, a Mediterranean-inspired dish that’s as nutritious as it is delicious. This recipe promises to not only elevate your meal prep game but also satisfy your cravings for vibrant, wholesome food. What I love most is how customizable it is—whether you want to add a dash of chili flakes or some tangy feta, the possibilities are endless! Join me as we dive into a salad that’s not just a meal but a delightful experience. Curious about how to bring all these fresh flavors together? Let’s get cooking!
Why is this salad a must-try?
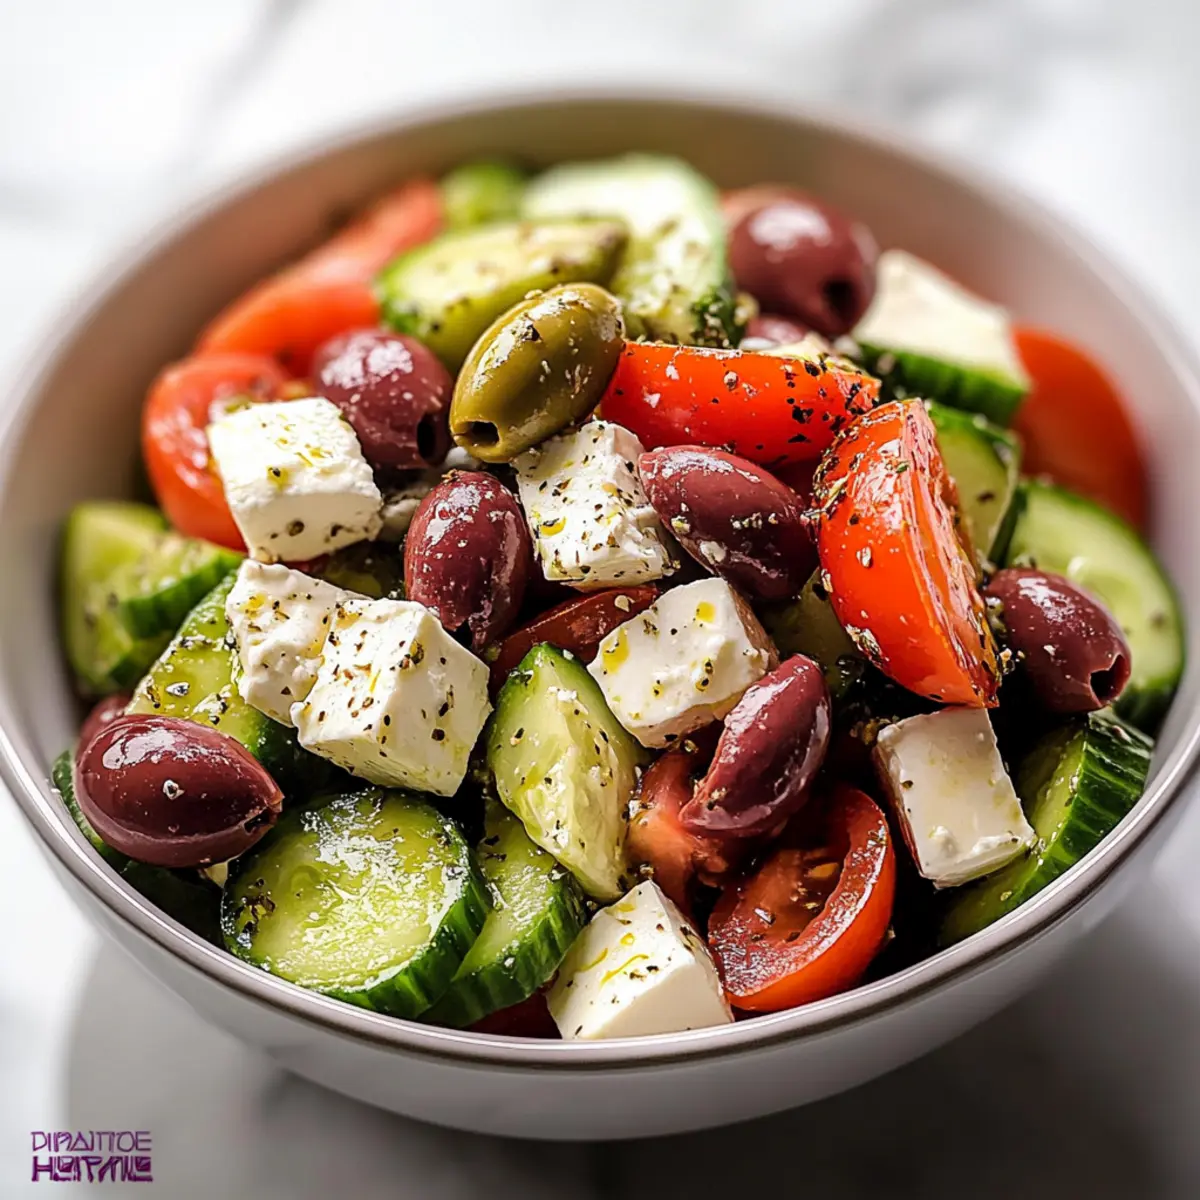
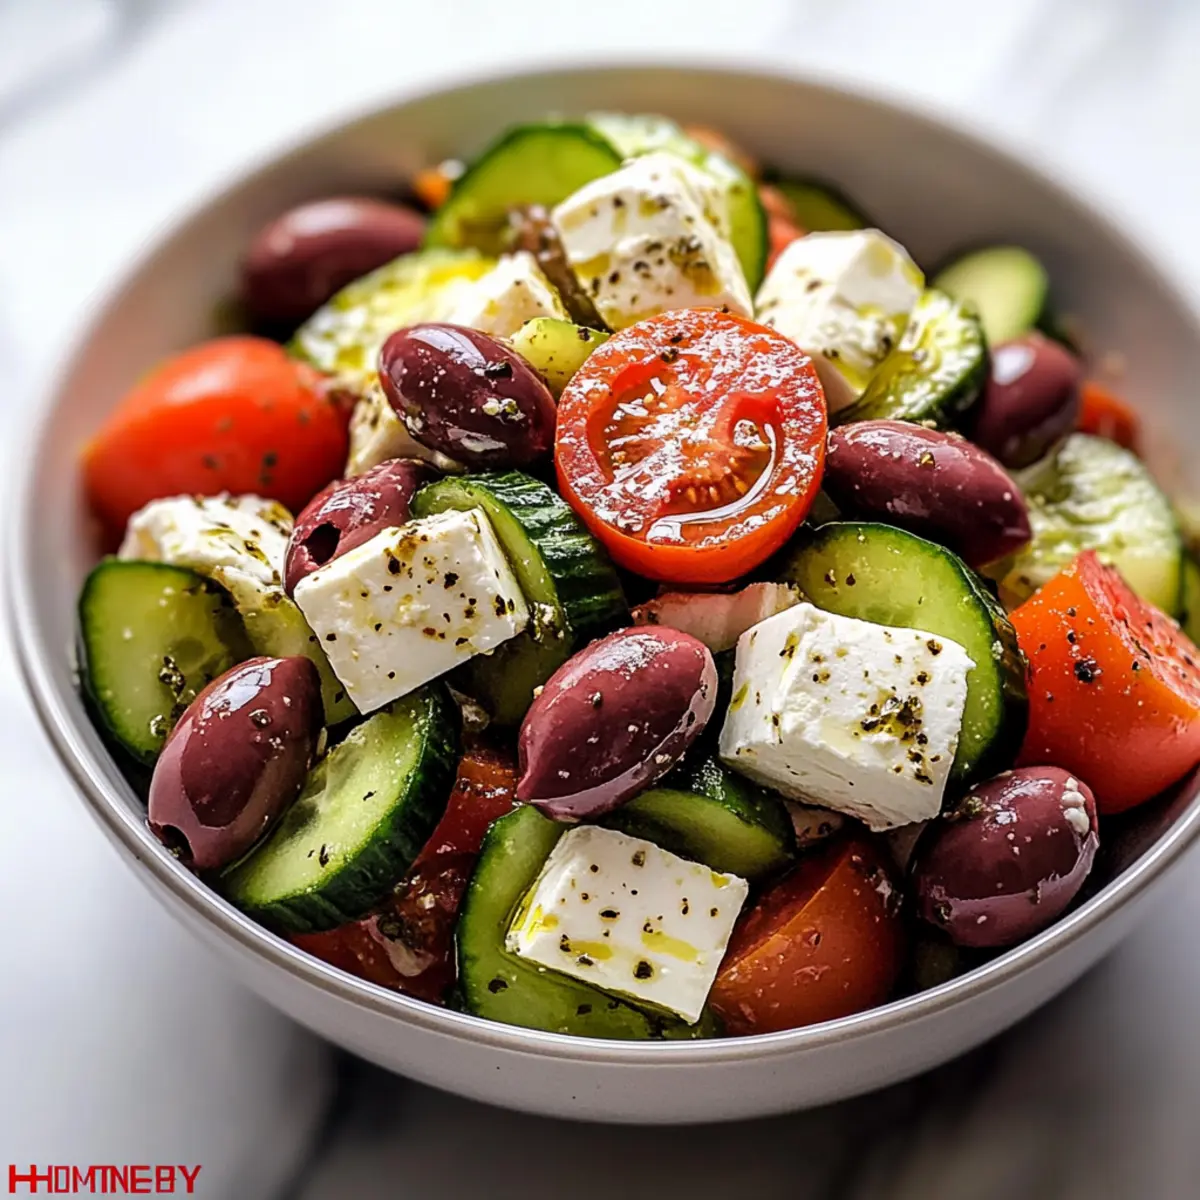
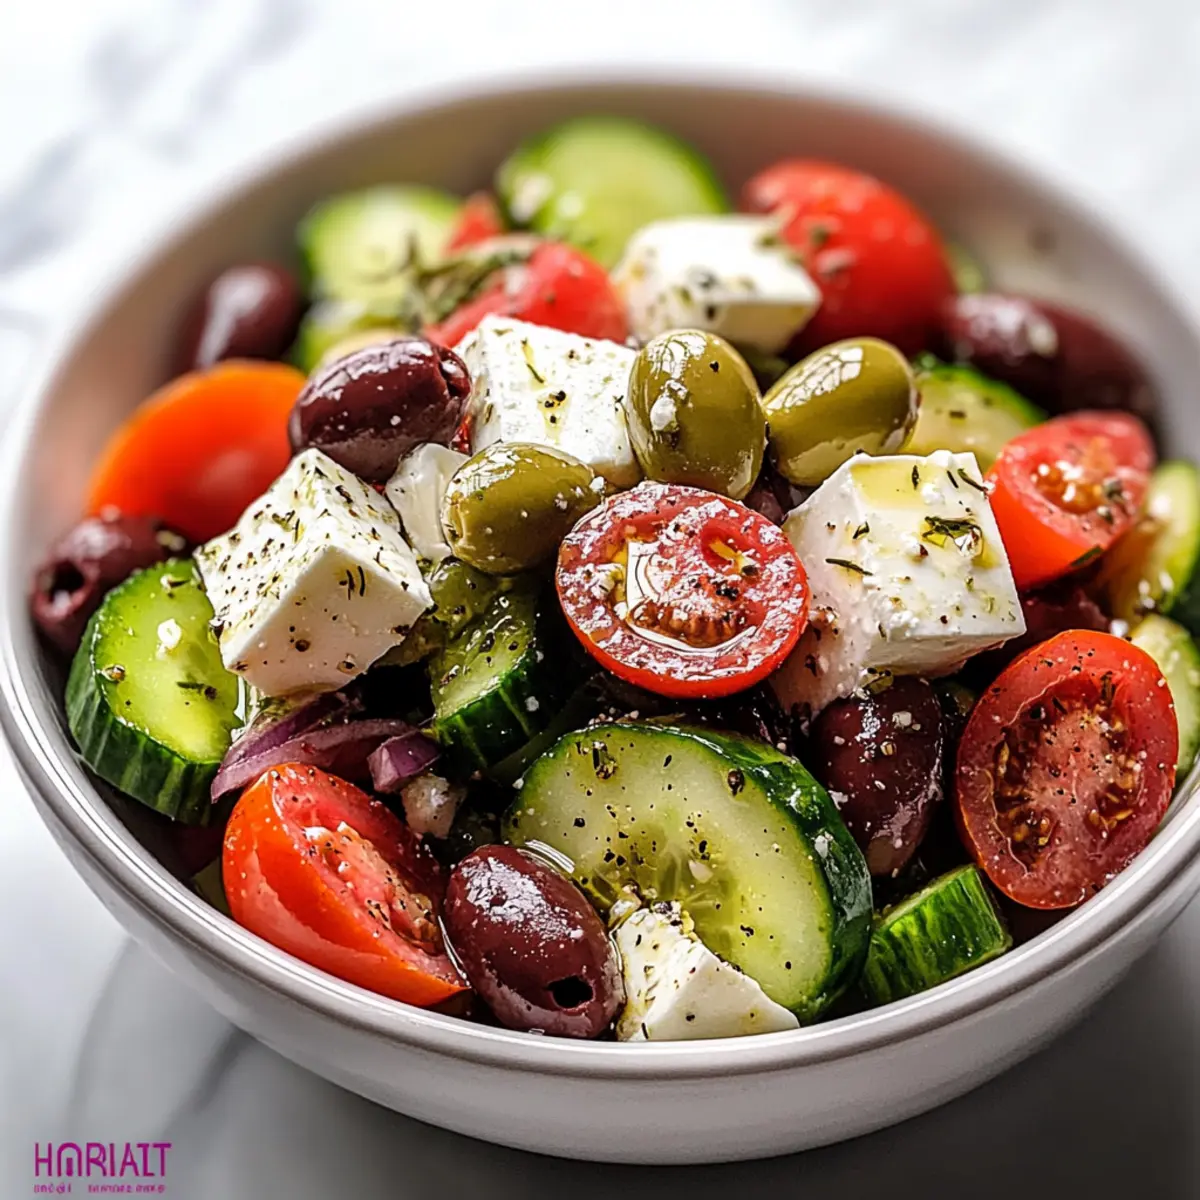
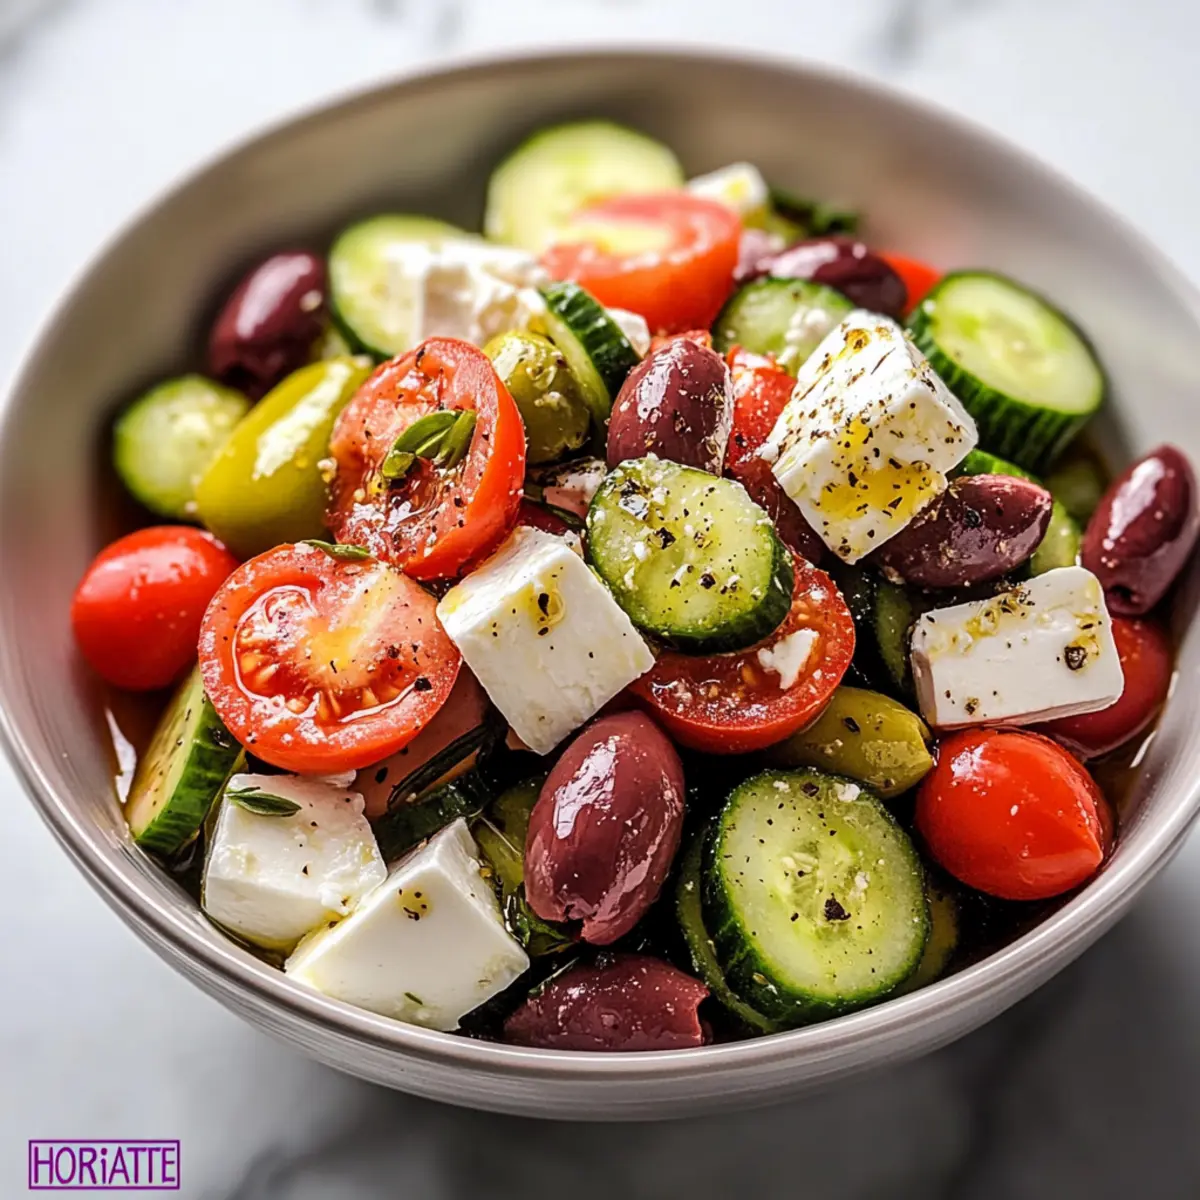
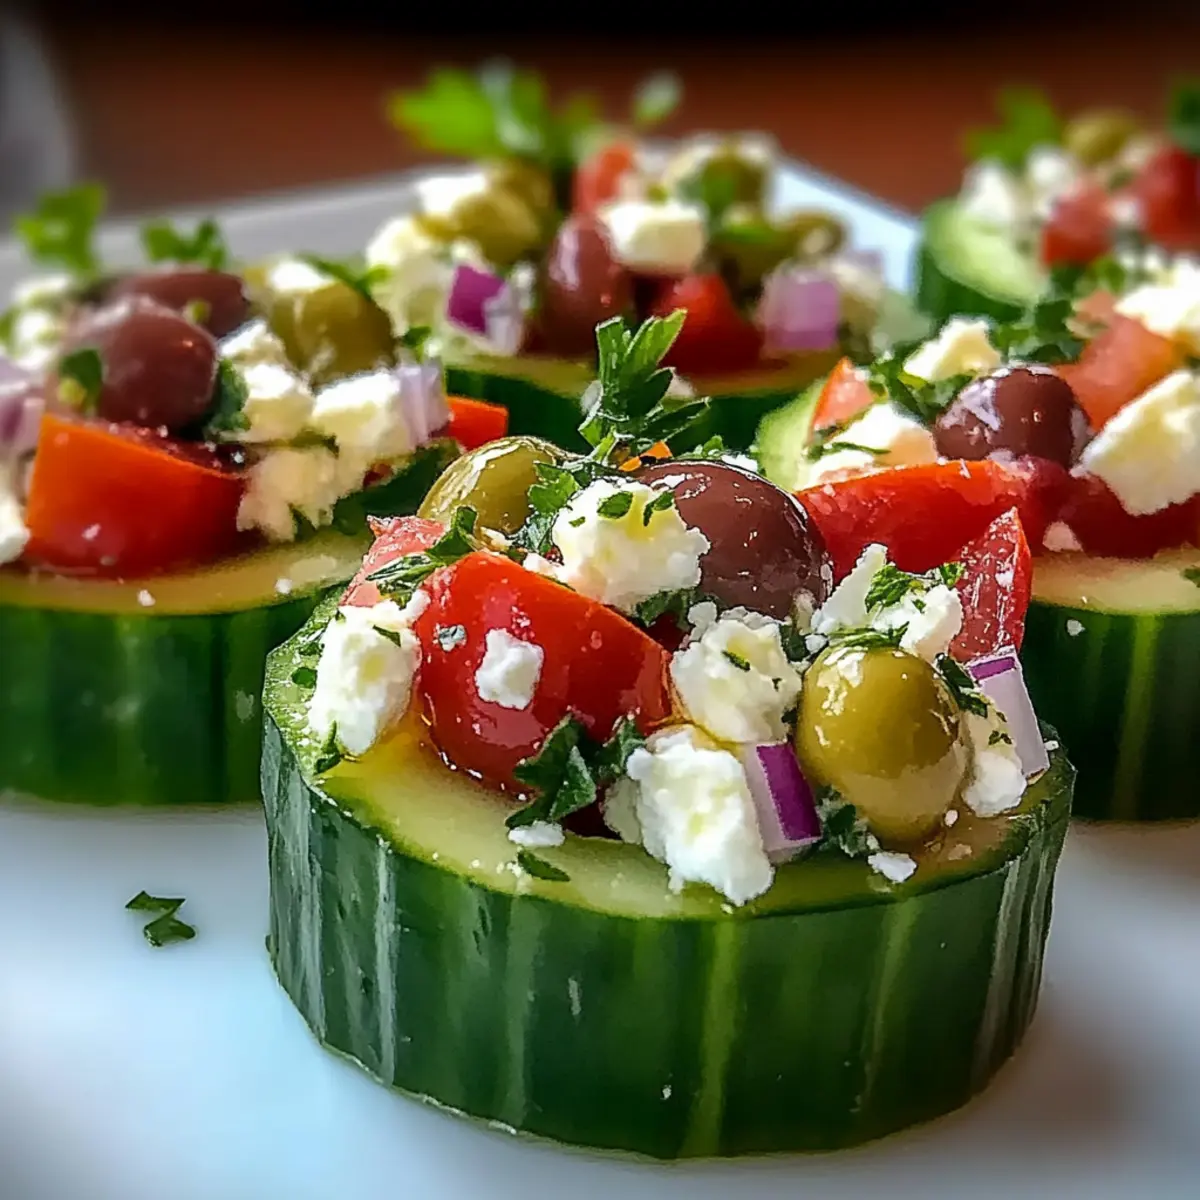
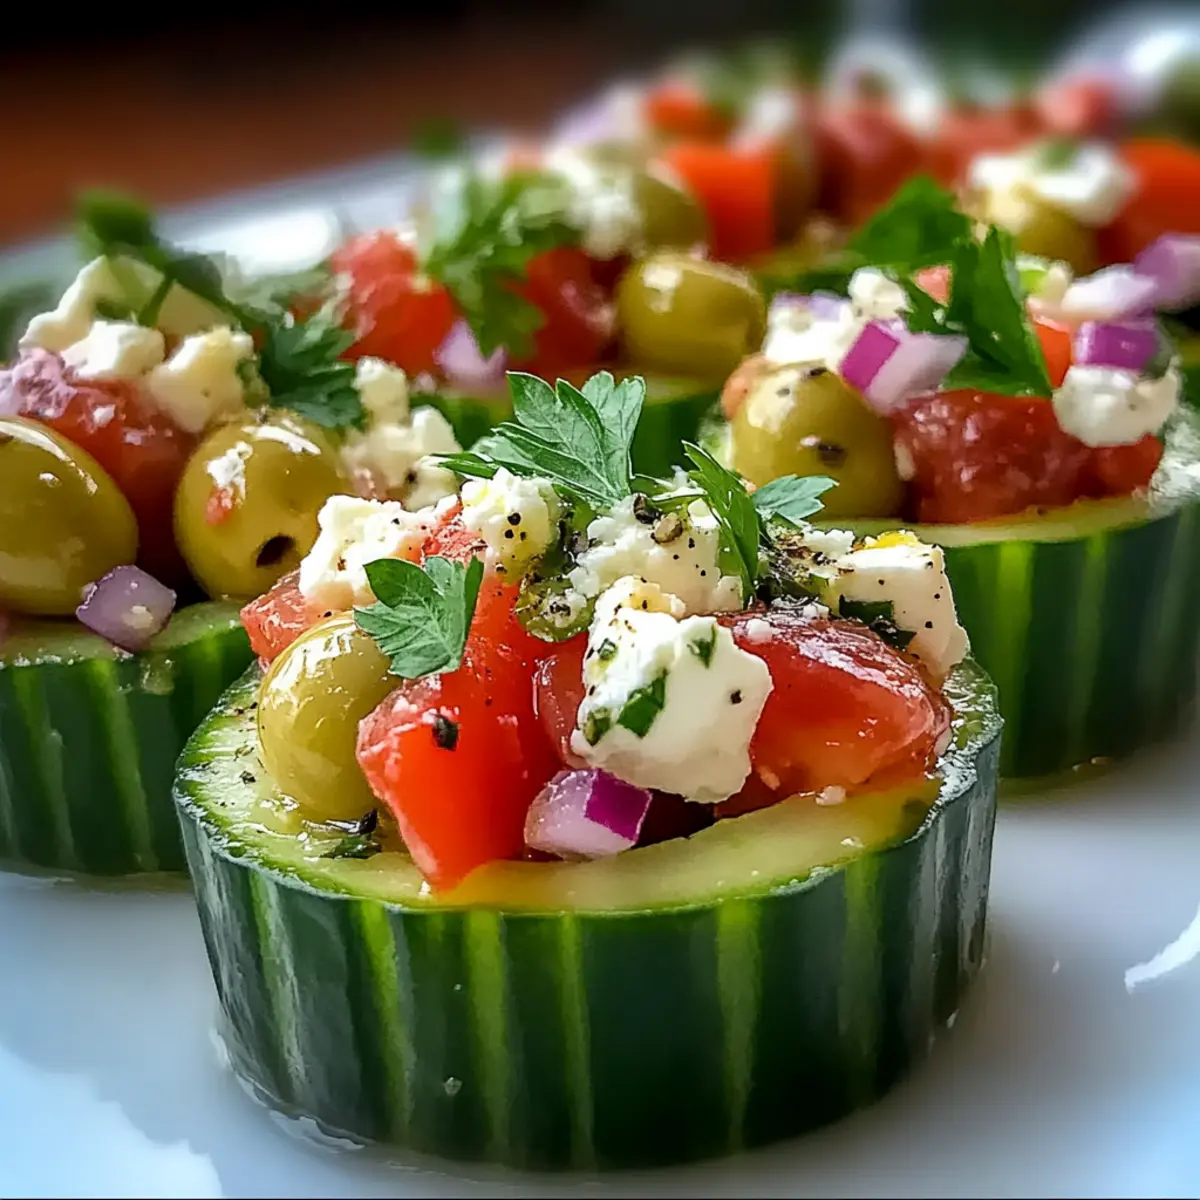
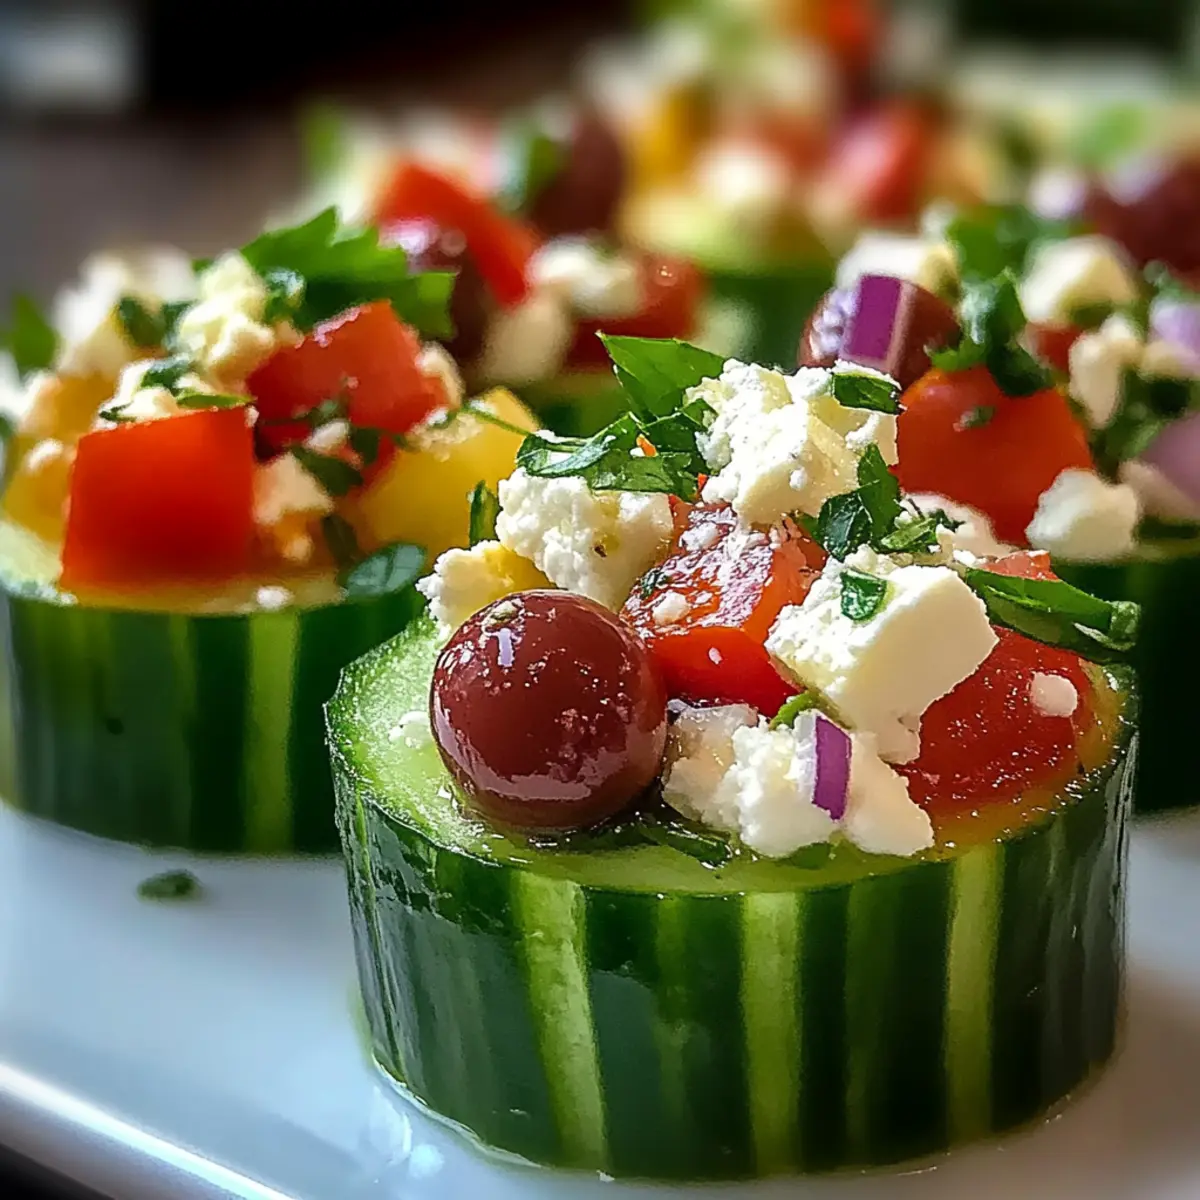
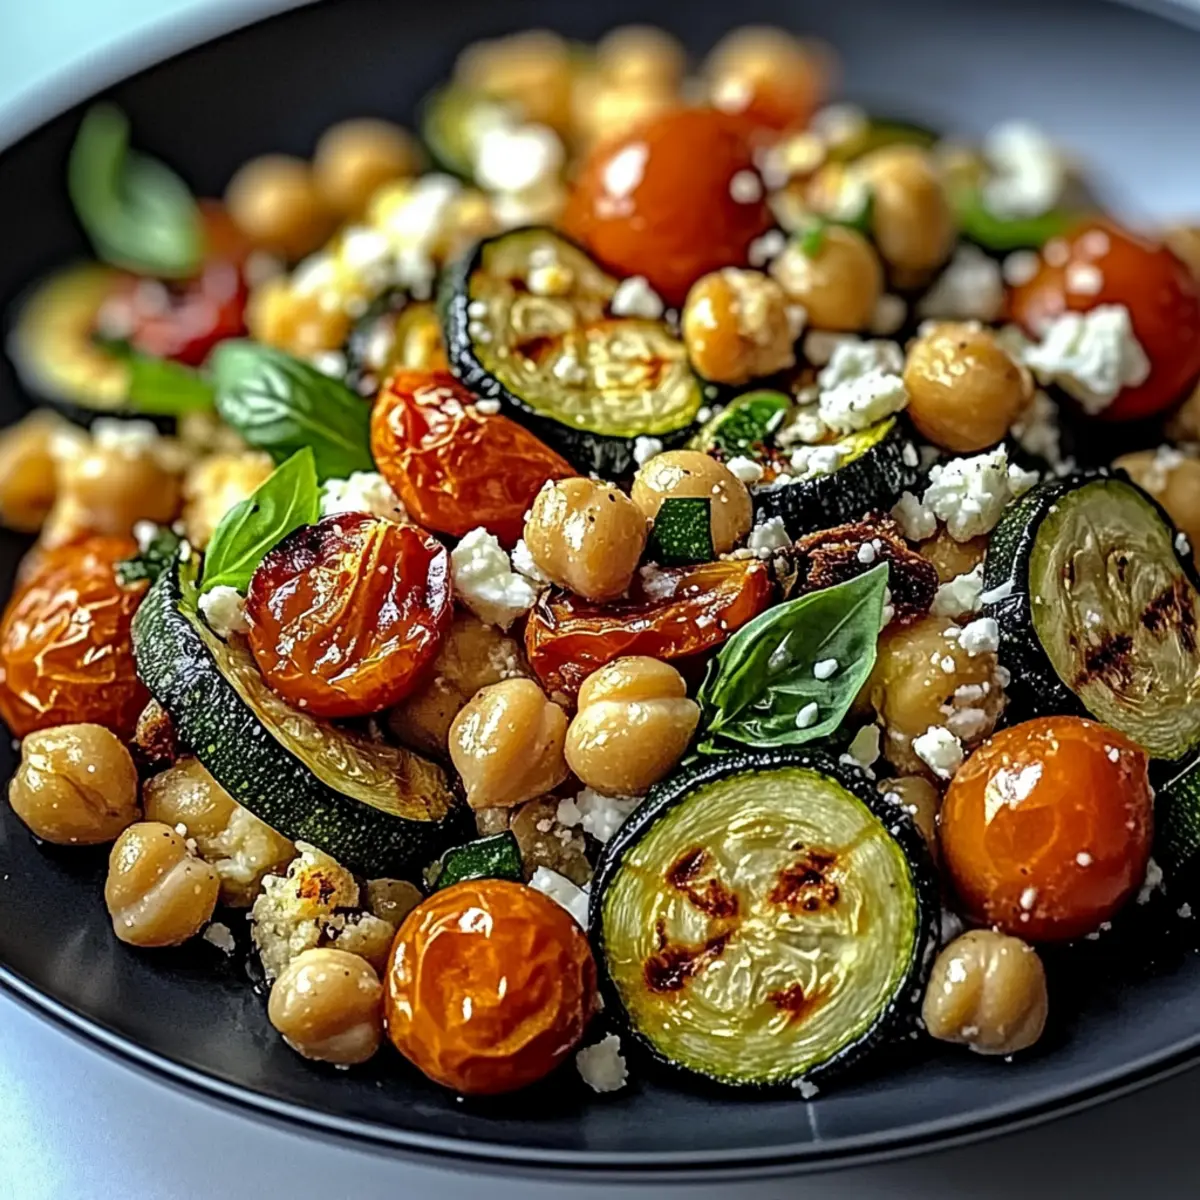
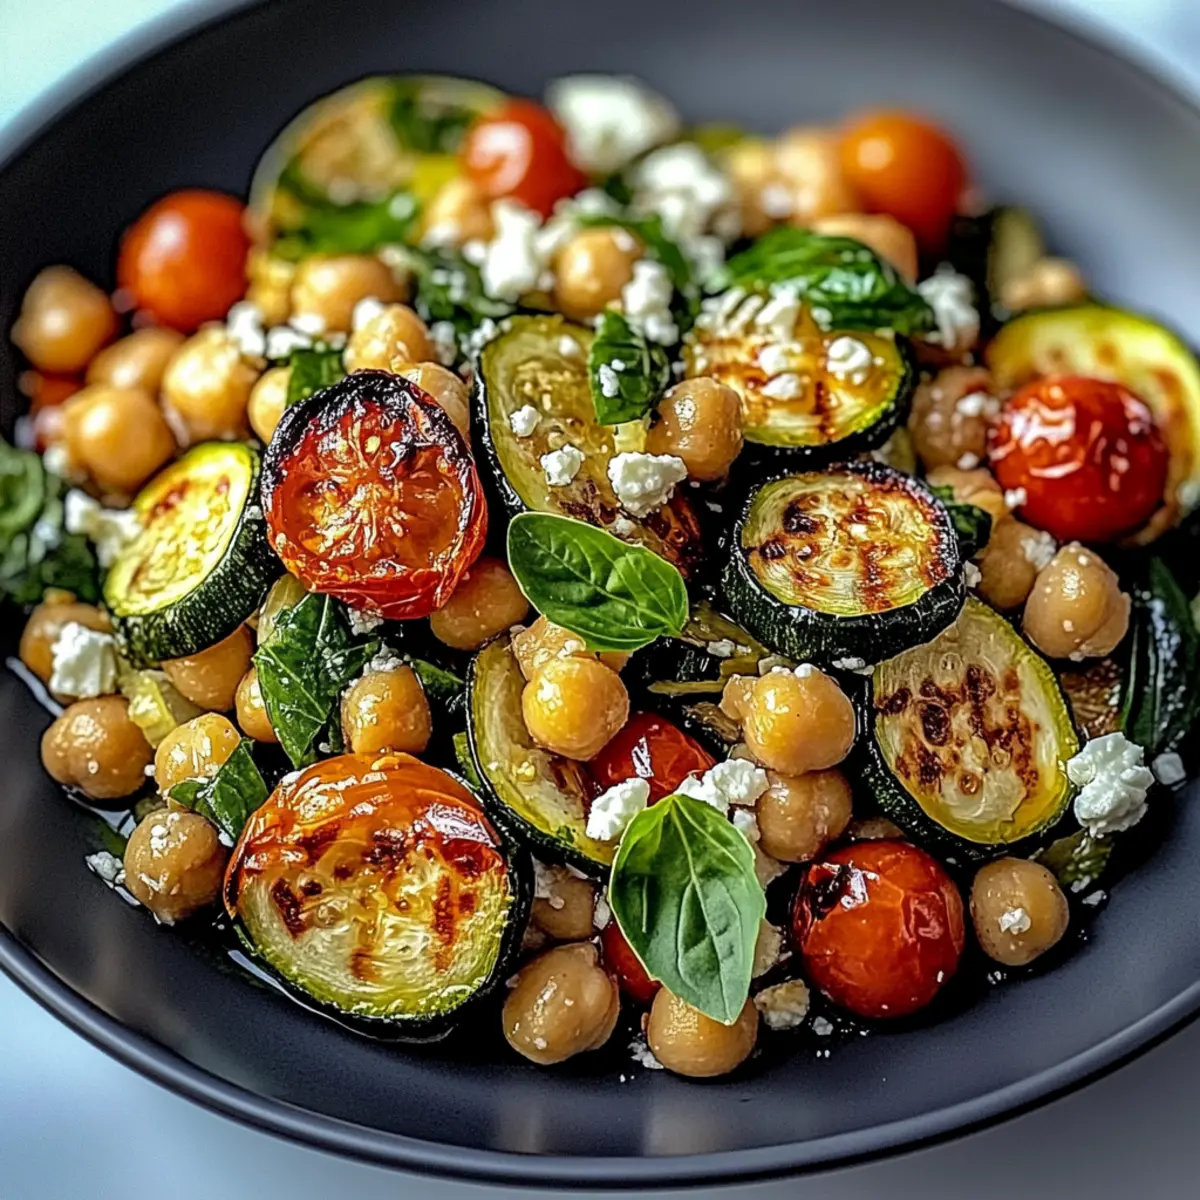
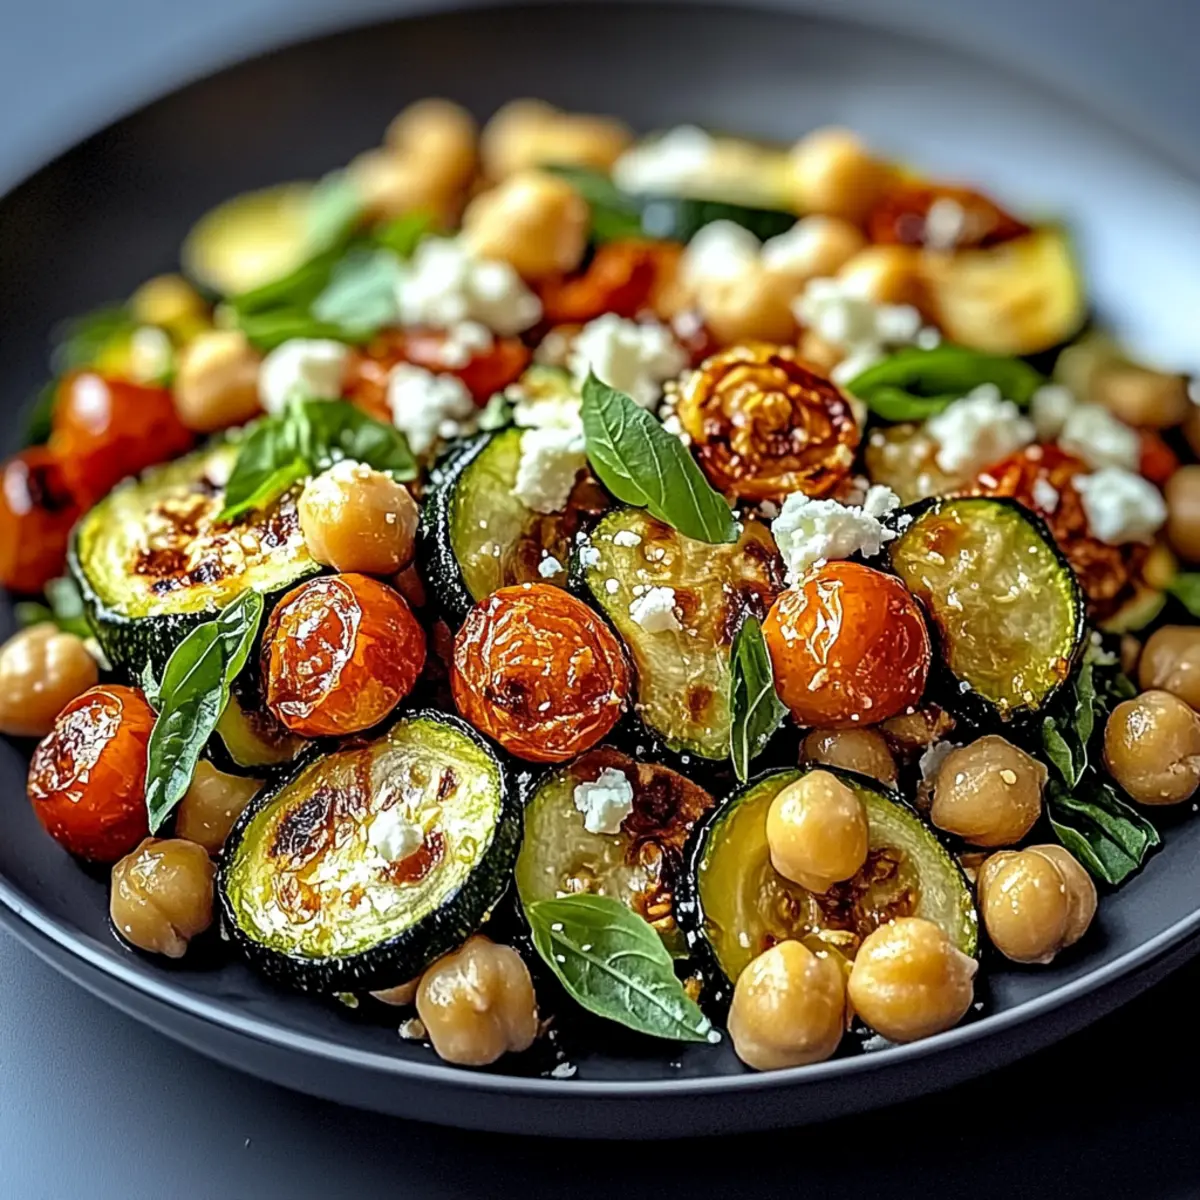
Vibrant Color: The Roasted Zucchini Chickpea Salad showcases a medley of colors and textures, making it as pleasing to the eyes as it is to the palate.
Nutritious Powerhouse: Packed with vegetables and protein-rich chickpeas, this salad is designed for healthy eating without sacrificing flavor.
Customizable Delight: Make it your own by adding seasonal veggies or swapping ingredients like feta for a vegan twist!
Quick Meal Prep: With just a few simple steps, you can enjoy a delicious, nutritious meal in no time. Consider pairing it with a side of Avocado Egg Salad for a refreshing contrast!
Endless Serving Options: Perfect alongside grilled chicken or as part of a light lunch; you can easily adapt it for any occasion.
Flavorful Roasting: Roasting enhances the natural sweetness and depth of each ingredient, resulting in a dish bursting with flavor and warmth!
Roasted Zucchini Chickpea Salad Ingredients
For the Base
• Zucchini – A tender, nutritious base; choose firm specimens for the best roasting results.
• Chickpeas – Adds protein and texture; canned chickpeas are convenient, but roasting your own delivers extra flavor!
For the Veggies
• Red Bell Pepper – Enhances the sweetness and color; feel free to substitute with yellow or orange peppers for a twist.
• Red Onion – Provides a sharp flavor that mellows when roasted; white onion can be a great alternative.
• Cherry Tomatoes – Brightens up the salad with freshness; grape tomatoes also work well if you prefer!
For Roasting
• Olive Oil – Essential for great flavor and browning; avocado oil can be swapped in for a higher smoke point.
• Garlic Powder – Adds savory depth; fresh minced garlic can elevate the flavor even further.
• Smoked Paprika – Introduces a smoky note; use regular paprika or chili powder for a different flavor profile.
• Salt & Black Pepper – Fundamental for seasoning; adjust to taste for the perfect blend.
For Garnishing and Flavor
• Feta Cheese (optional) – Adds a creamy tang; try goat cheese or omit entirely for a vegan version.
• Fresh Parsley – Provides a burst of herbal freshness; cilantro is an amazing alternative if you prefer!
• Lemon Juice – Ties all the flavors together; substitute with lime juice for a fresh twist.
This Roasted Zucchini Chickpea Salad is not just about nourishing your body; it’s about elevating your dining experience!
Step‑by‑Step Instructions for Roasted Zucchini Chickpea Salad
Step 1: Preheat the Oven
Begin by preheating your oven to 425°F (220°C). This high temperature is perfect for roasting, as it helps to bring out the natural sweetness of the vegetables. While the oven heats up, gather your ingredients and line a large baking sheet with parchment paper, setting the stage for your vibrant Roasted Zucchini Chickpea Salad.
Step 2: Prepare the Vegetables
In a large mixing bowl, combine the chopped zucchini, drained chickpeas, diced red bell pepper, and sliced red onion. Being generous with those firm zucchini pieces helps create a hearty base for the salad. This mix of vibrant vegetables not only adds color but also flavor, making your Roasted Zucchini Chickpea Salad a feast for the eyes.
Step 3: Season the Mixture
Drizzle your vegetable mixture with olive oil, allowing it to coat evenly as you sprinkle in the garlic powder, smoked paprika, salt, and black pepper. Toss everything together with your hands or a spatula, ensuring that all the veggies are well-seasoned. This process takes just a minute and will enhance the flavors in your salad once roasted.
Step 4: Roast the Vegetables
Spread the seasoned vegetable and chickpea mixture in a single layer on the prepared baking sheet. Place them in the preheated oven and roast for 20-25 minutes. Make sure to stir halfway through to ensure even browning; you're looking for a beautiful golden color and tender texture in the veggies for the perfect Roasted Zucchini Chickpea Salad.
Step 5: Cool Slightly and Combine
Once the roasting time is complete, remove the baking sheet from the oven and let the vegetables cool slightly for about 5 minutes. Meanwhile, halve your cherry tomatoes and prepare the optional feta cheese. Combining warm roasted veggies with fresh tomatoes creates a delightful contrast in your Roasted Zucchini Chickpea Salad.
Step 6: Final Assembly
In the large mixing bowl, combine the roasted vegetable mixture with halved cherry tomatoes and crumbled feta, if desired. Squeeze fresh lemon juice over everything to brighten and tie the flavors together. Toss gently to incorporate all ingredients, ensuring that every bite of your Roasted Zucchini Chickpea Salad is bursting with flavor.
Step 7: Garnish and Serve
Just before serving, garnish the salad with a generous sprinkle of chopped parsley for freshness. This last touch adds not only color but also aromatic flair to your dish. Serve your Roasted Zucchini Chickpea Salad at room temperature or slightly warm, making it a perfect dish for any gathering or meal prep option.
Make Ahead Options
If you're looking to streamline your weeknight dinners, the Roasted Zucchini Chickpea Salad is perfect for meal prep! You can roast the zucchini, chickpeas, and bell pepper up to 24 hours in advance. Simply follow the roasting instructions and let them cool before transferring to an airtight container to refrigerate. To keep the salad fresh, hold off on adding the cherry tomatoes, feta, and lemon juice until you're ready to serve. When it's time to enjoy, combine the roasted veggies with the fresh components, toss gently, and you'll have a delicious, nutritious meal ready in minutes—just as satisfying as when it was freshly made!
How to Store and Freeze Roasted Zucchini Chickpea Salad
Fridge: Store leftovers in an airtight container for up to 3 days. The flavors of the Roasted Zucchini Chickpea Salad will deepen as it sits, but fresh textures are best enjoyed right away.
Freezer: Avoid freezing the assembled salad due to the high water content of zucchini and tomatoes, which can make it mushy. Instead, consider freezing roasted chickpeas separately.
Reheating: If you prefer warm leftovers, gently reheat the roasted components in the oven or a skillet until warmed through. Add fresh tomatoes and lemon juice just before serving for a burst of brightness.
Expert Tips for Roasted Zucchini Chickpea Salad
-
Choose the Right Zucchini: Select medium-sized zucchinis to prevent excess moisture; larger ones can become mushy when roasted.
-
Prepping for Meal Prep: For best results, roast the vegetables up to 24 hours in advance. Combine fresh ingredients just before serving to maintain texture in your Roasted Zucchini Chickpea Salad.
-
Avoid Freezing Issues: Steer clear of freezing the assembled salad; the high water content in zucchini and tomatoes can lead to a soggy texture upon thawing.
-
Customize Your Seasoning: Don’t hesitate to experiment with spices like chili flakes or other herbs to tailor the salad to your taste buds!
-
Use Fresh Ingredients: For enhanced flavor, opt for fresh minced garlic instead of garlic powder, and try to squeeze fresh lemon juice rather than using bottled versions.
What to Serve with Roasted Zucchini Chickpea Salad
Elevate your dining experience by pairing this vibrant salad with equally delightful dishes that complement its rich flavors.
- Creamy Hummus: A silky dip that adds a wonderful creaminess, perfect for scooping with pita or fresh veggies alongside the salad.
- Quinoa Tabbouleh: This refreshing side salad, with its herbaceous zing, enhances the Mediterranean theme and provides a chewy texture contrast.
- Grilled Shrimp Skewers: The smoky, charred flavors of shrimp make an excellent companion, adding a protein-packed punch that pairs beautifully.
- Warm Garlic Naan: Soft, pillowy bread is perfect for dipping or mopping up the delicious flavors of the salad, creating a heartwarming meal.
- Tzatziki Sauce: The cool, creamy yogurt with cucumber and dill adds a refreshing element that balances the roasted flavors perfectly.
- Sparkling Lemonade: A light, citrusy drink acts as a palate cleanser, invigorating your senses as you enjoy each bite of the salad.
Combining these delightful options creates a harmonious dining experience that celebrates flavor, texture, and overall satisfaction.
Variations & Substitutions for Roasted Zucchini Chickpea Salad
Customize your Roasted Zucchini Chickpea Salad with these exciting variations that will elevate each bite with new flavors and textures!
-
Spicy Twist: Add a pinch of chili flakes for a delightful heat that complements the sweetness of the vegetables. This fiery upgrade can truly awaken your taste buds!
-
Seasonal Veggies: Mix in seasonal vegetables like asparagus or carrots for an added crunch and freshness. Consider what’s in season at your local market for the best results.
-
Grain Base: Substitute quinoa or farro for a more filling base, making the salad heartier and packed with even more nutrients. The nutty flavors of these grains play beautifully against the roasted veggies!
-
Alternative Cheese: Swap feta for creamy goat cheese, or omit entirely for a delightful vegan option. This allows you to keep the flavors light and fresh while catering to dietary preferences.
-
Fresh Herbs: Use fresh cilantro instead of parsley for a distinct, zesty twist. The herbaceous notes will make the salad sing with freshness!
-
Zesty Variation: Try lime juice instead of lemon for a refreshing kick. This small change will add a unique brightness to your dish, perfect for summer!
-
Nutty Crunch: Incorporate toasted nuts like almonds or walnuts for additional texture and flavor. The crunch elevates the overall experience, making each bite even more satisfying.
-
Roasted Garlic: Boost the flavor by adding roasted garlic to the mix for a sweeter, richer taste. This simple addition can take the salad to a whole new level!
Experimenting with these variations not only enhances your Roasted Zucchini Chickpea Salad but also allows you to tailor it to your mood and pantry staples. Try pairing it with sides like Buffalo Tofu with Caesar Salad or Chicken Salad Apples to create a truly satisfying meal. Enjoy the process of making it your own!
Roasted Zucchini Chickpea Salad Recipe FAQs
How do I choose the right zucchini for this salad?
Absolutely! For the best results, look for medium-sized zucchinis that are firm and free of blemishes. Smaller zucchinis tend to have fewer seeds and more moisture, which can help prevent your salad from becoming soggy. Avoid larger zucchinis as they may contain dark spots and excess water, making them mushy when roasted.
What’s the best way to store leftovers?
Store any leftover Roasted Zucchini Chickpea Salad in an airtight container in the refrigerator for up to 3 days. While the flavors will continue to develop, it's ideal to enjoy the salad fresh for the best texture and taste. If storing, keep the cherry tomatoes and lemon juice separate until serving.
Can I freeze the Roasted Zucchini Chickpea Salad?
It's not recommended to freeze the assembled salad due to the high water content in zucchini and tomatoes, which could lead to a mushy texture upon thawing. However, you can freeze roasted chickpeas separately for up to 3 months. To do this, simply let them cool completely, then place in an airtight container or freezer bag, removing as much air as possible.
What if I over-roast the vegetables?
No worries! If you accidentally roast the vegetables too long and they become too soft, you can still enhance the flavor by adding fresh ingredients post-roasting. Consider tossing in some fresh herbs or a squeeze of lemon juice, which can help bring life back to the salad. To prevent this in the future, keep an eye on them and stir halfway through the roasting process.
Is this salad suitable for my gluten-free friend?
Definitely! The Roasted Zucchini Chickpea Salad is naturally gluten-free, making it a fantastic option for gluten-sensitive individuals. Just be mindful if you’re adding any pre-packaged or pre-seasoned ingredients, ensuring they don’t contain gluten additives.
Can my pet share some of this salad with me?
While zucchini and chickpeas are safe for most pets in small quantities, it’s important to leave out any seasonings like garlic, onion, or salt that can be harmful to them. If you want to share, offer fresh, plain roasted zucchini pieces to your furry friend as a special treat!
Delicious Roasted Zucchini Chickpea Salad for Fresh Flavor
Ingredients
Equipment
Method
- Preheat your oven to 425°F (220°C) and prepare a baking sheet with parchment paper.
- In a mixing bowl, combine chopped zucchini, drained chickpeas, diced red bell pepper, and sliced red onion.
- Drizzle olive oil over the vegetables and sprinkle garlic powder, smoked paprika, salt, and black pepper; toss to coat.
- Spread the vegetable mixture on the baking sheet and roast for 20-25 minutes, stirring halfway through.
- Let the roasted vegetables cool slightly, then halve the cherry tomatoes and prepare feta, if using.
- Combine roasted vegetables with cherry tomatoes and feta in a bowl, then squeeze fresh lemon juice over top.
- Garnish with chopped parsley before serving.