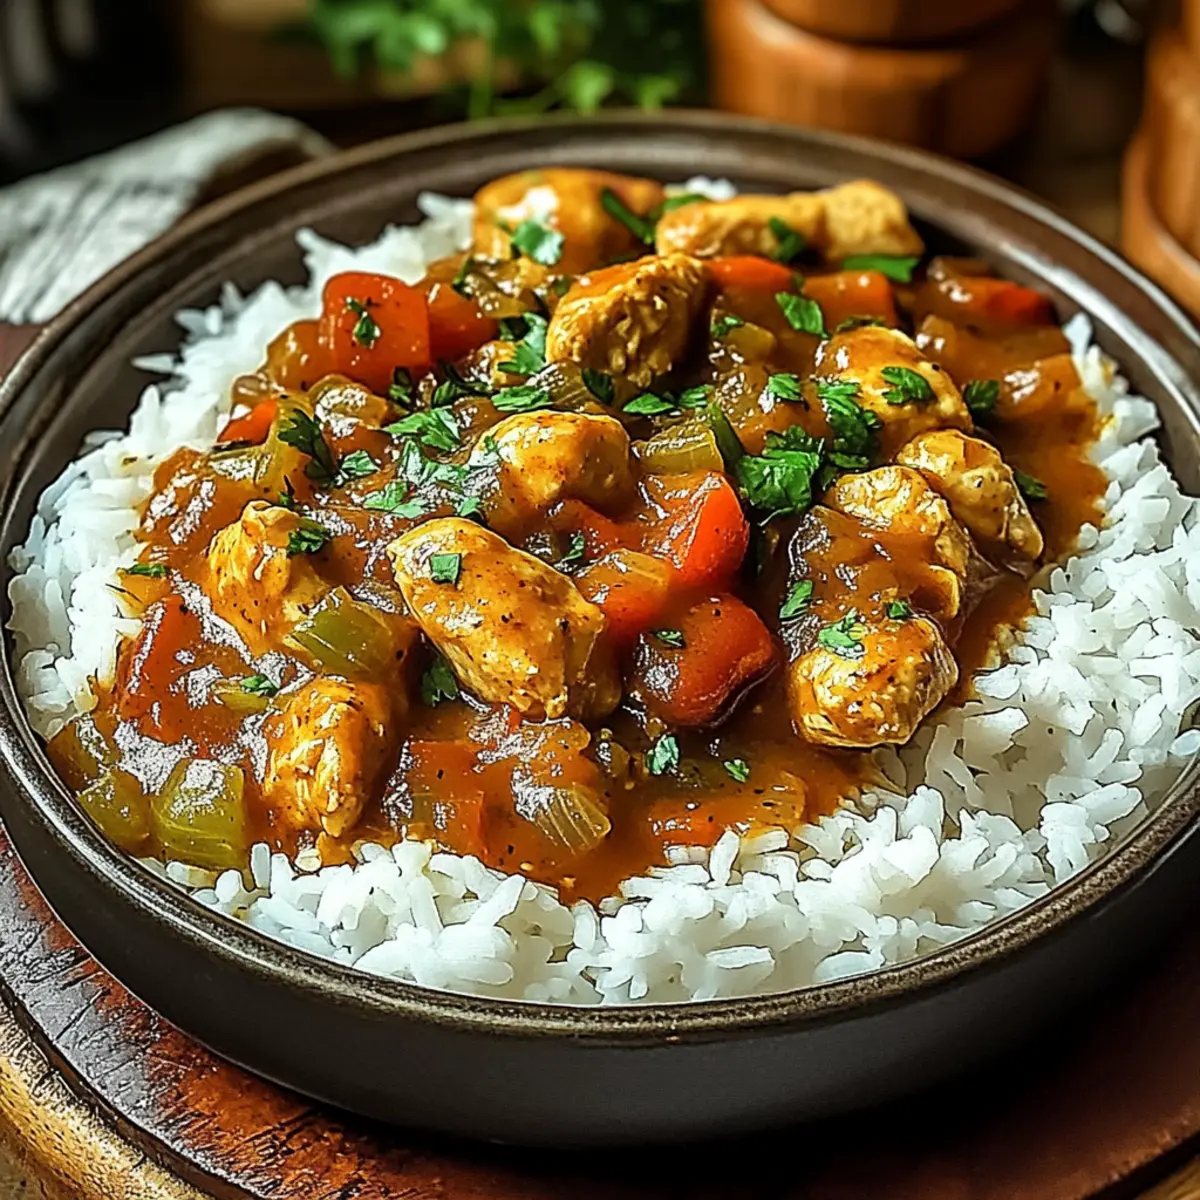
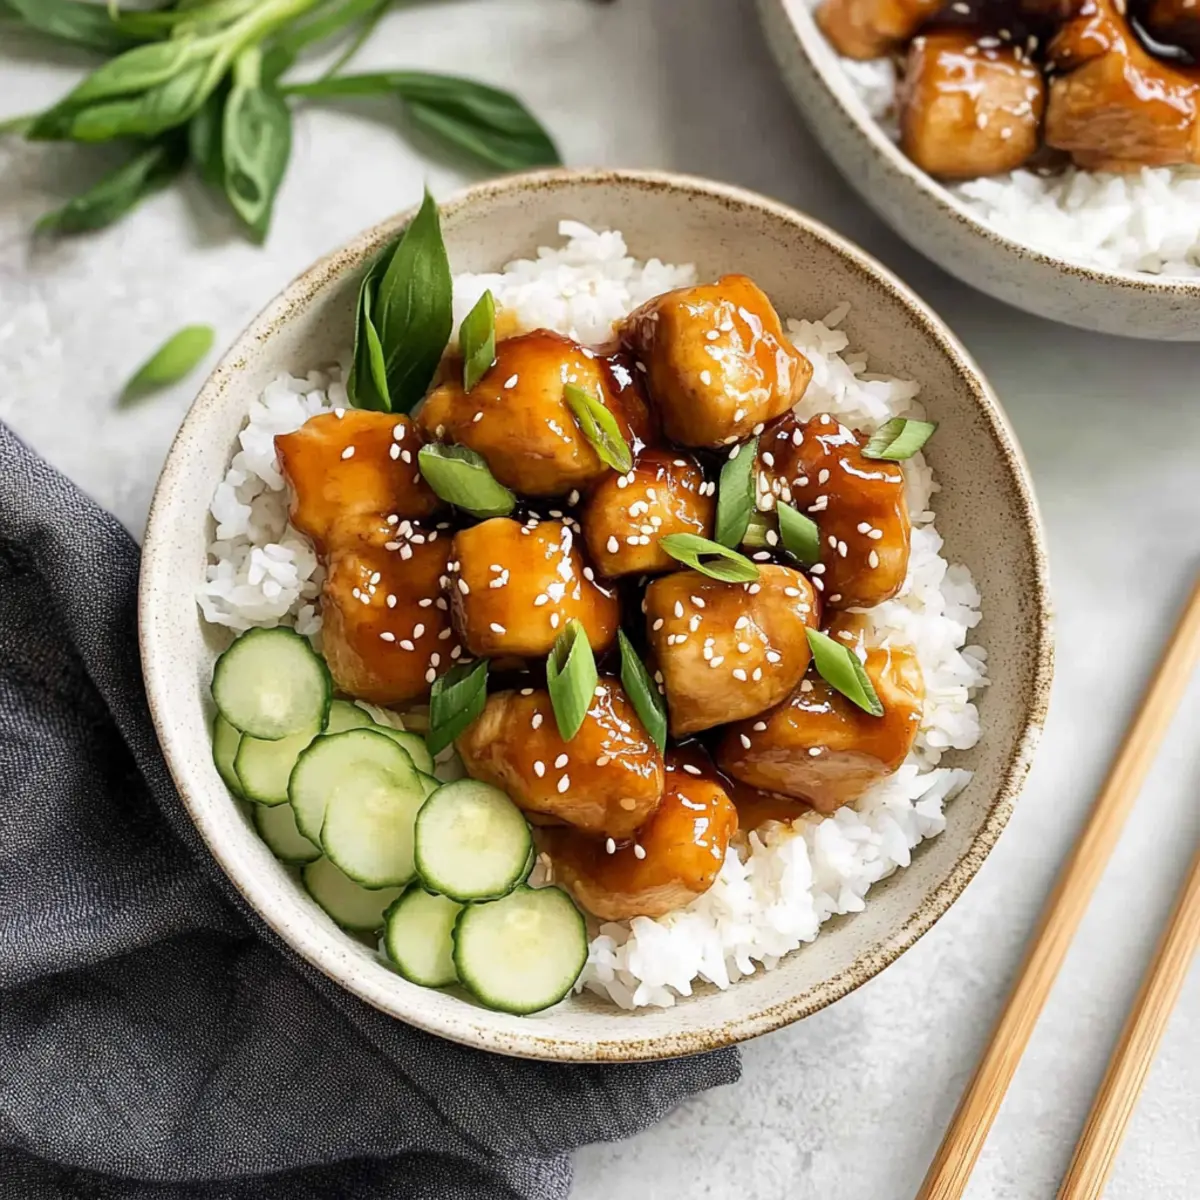
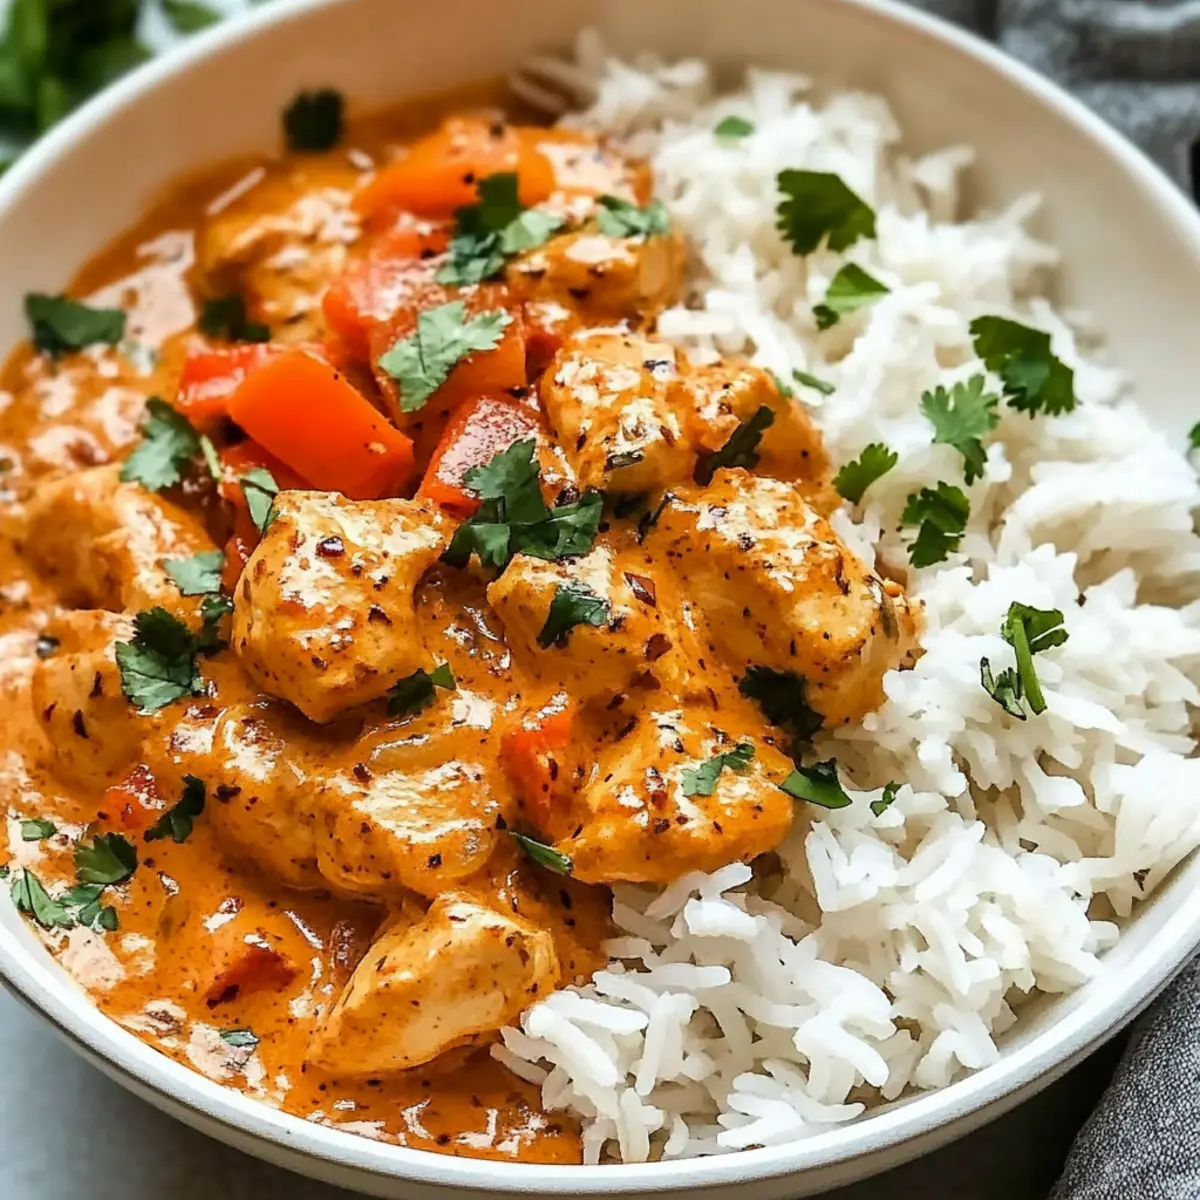
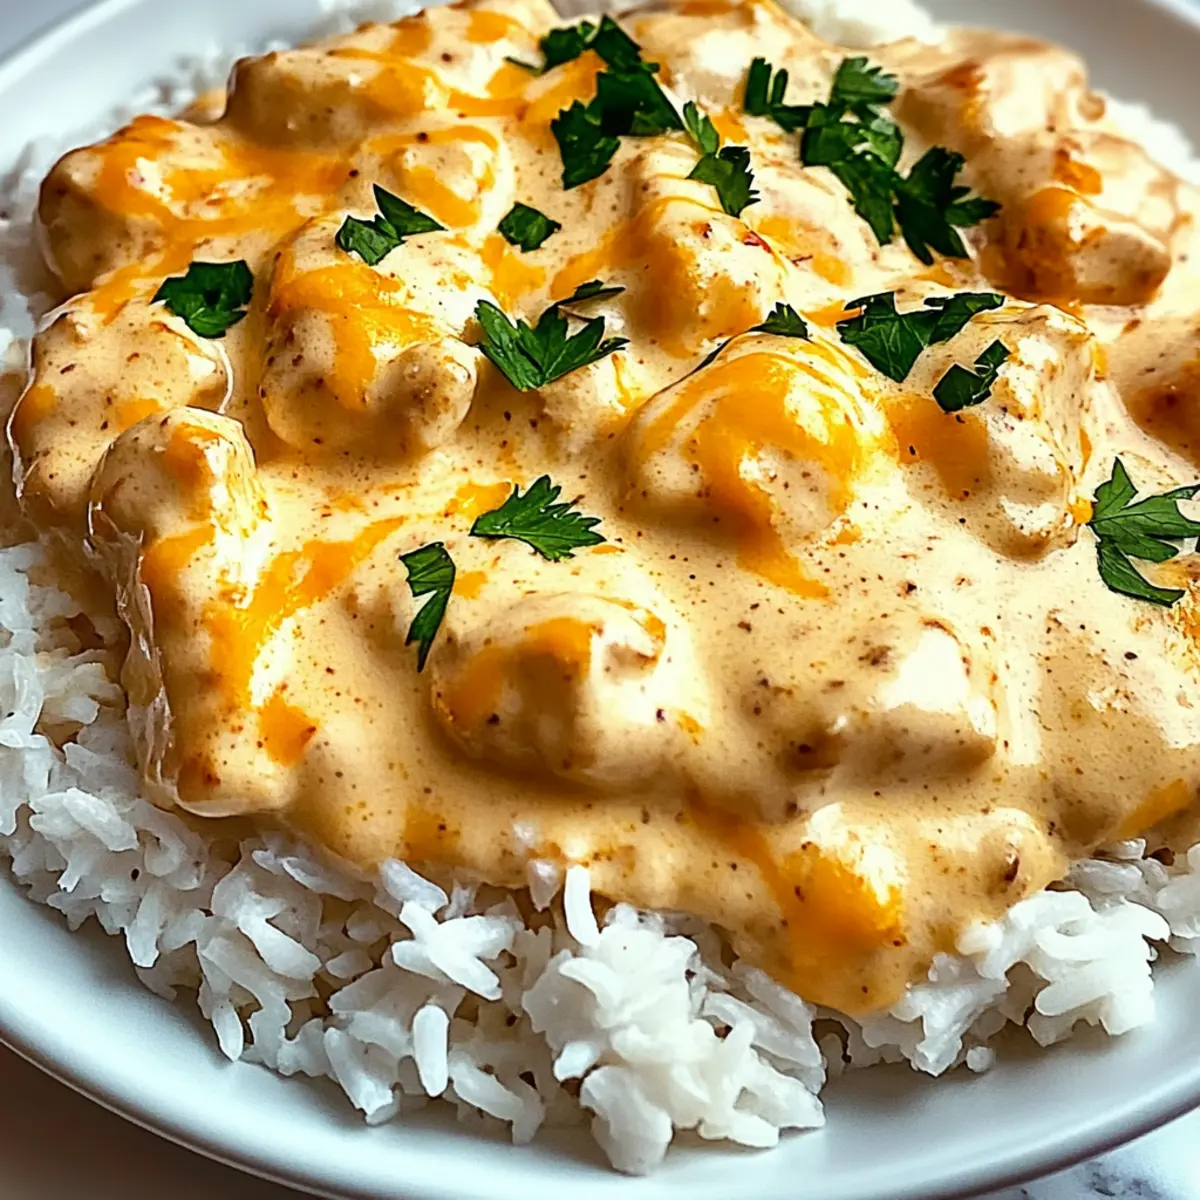
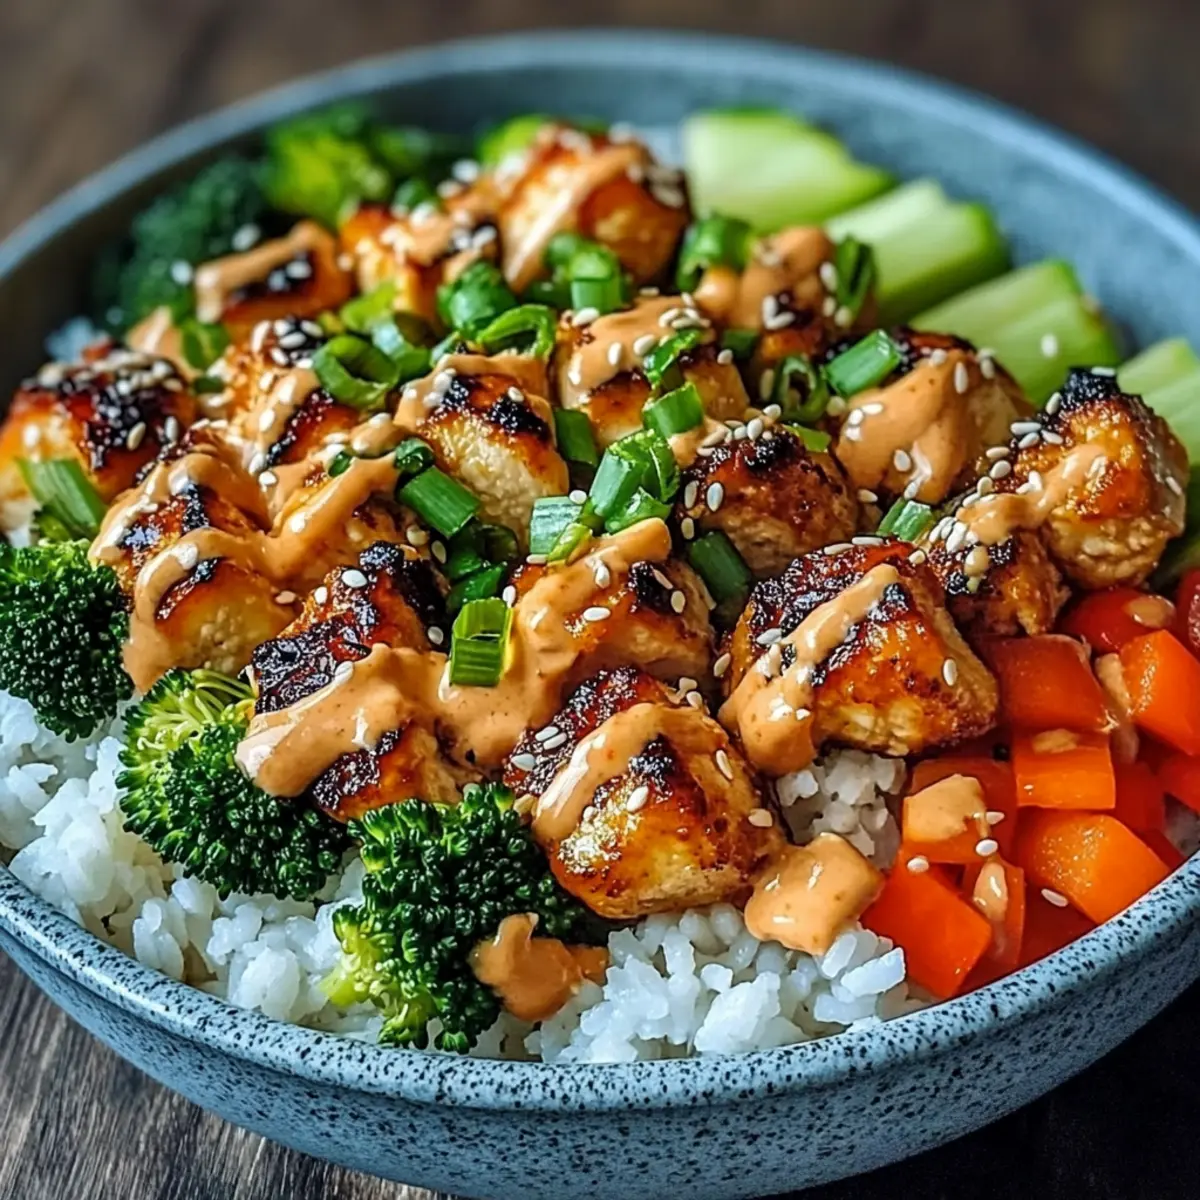
Caught in another busy weeknight, I found myself yearning for a homemade meal that wouldn't rob me of my precious time. Enter the Ultimate Bang Bang Chicken Bowl—a vibrant symphony of tender chicken, crisp vegetables, and a delightful creamy sauce that’s anything but ordinary. Not only does this dish deliver a colorful presentation, but it also doubles as a meal prep hero—perfect for busy families looking to swap out fast food for something fresh and satisfying. Whether you're a seasoned home chef or just tired of the drive-thru, this quick dinner option is customizable to fit any dietary need. Are you ready to create a dish that everyone will come back for? Let’s dive right in!
Why is Bang Bang Chicken Bowl a Must-Try?
Versatile and Customizable: This recipe adapts easily to fit your dietary preferences, with options for gluten-free, dairy-free, or low-carb.
Quick and Efficient: With prep time and cooking combined under 30 minutes, you can enjoy a delicious homemade meal even on the busiest nights.
Flavor Explosion: The balance of creamy, spicy, and savory elements creates a truly unforgettable taste experience that will leave you wanting more.
Meal Prep Friendly: Cook a batch to keep in the fridge, making it an ideal choice for ready-to-eat lunches or dinners. Serve it alongside a fresh salad or crispy spring rolls for a complete meal!
Comforting Yet Healthy: Say goodbye to fast food and hello to a satisfying dish that feels indulgent without the guilt—perfect for the whole family.
Bang Bang Chicken Bowl Ingredients
Get ready to create a fantastic meal that will tantalize your taste buds!
For the Chicken
- 1 pound boneless, skinless chicken breasts – Lean protein source; can substitute with thighs or turkey for different flavor and texture.
For the Rice Base
- 2 cups cooked rice (white or brown) – Acts as a fluffy base that absorbs flavors; use brown rice for added fiber or cauliflower rice for a low-carb option.
For the Vegetables
- 1 cup broccoli florets – Adds nutrient-rich crunch; fresh or frozen can be used interchangeably.
- 1 medium red bell pepper, sliced – Provides sweetness and vibrant color; substitute with yellow bell pepper or other colorful veggies if desired.
- 1 medium carrot, julienned – Brings crunch and natural sweetness; other root veggies can also work well.
- 3 medium green onions, chopped – Perfect for garnish and flavor enhancement; they add a fresh kick!
For the Creamy Sauce
- ½ cup mayonnaise – Offers creaminess; swap for yogurt or a dairy-free mayo for a lighter or vegan alternative.
- 2 tablespoons sweet chili sauce – Adds the perfect hint of sweetness; opt for healthier brands with fewer additives.
- 1 tablespoon Sriracha sauce – Introduces heat; adjust based on your spice tolerance.
- 1 tablespoon soy sauce – Provides a savory depth; low-sodium options are available if preferred.
For Cooking
- Salt and pepper – Essential seasonings to taste, enhancing all the flavors.
- 2 tablespoons oil (for cooking) – Ideal for sautéing; vegetable oil or olive oil works equally well.
Optional Toppings
- Sesame seeds – Sprinkle for added crunch.
- Additional green onions or cilantro – For a fresh and fragrant garnish.
- Avocado slices – Elevate creaminess and nutrition.
- Extra vegetables like snap peas – Boost nutrition and crunch in your dish.
Get ready to create the ultimate Bang Bang Chicken Bowl and savor every bite!
Step‑by‑Step Instructions for Bang Bang Chicken Bowl
Step 1: Prepare the Chicken
Begin by cutting 1 pound of boneless, skinless chicken breasts into bite-sized pieces. Season the chicken generously with salt and pepper, ensuring every piece is coated. This will enhance the flavor and prepare it for cooking, making your Bang Bang Chicken Bowl truly delightful.
Step 2: Cook the Chicken
In a large skillet, heat 2 tablespoons of oil over medium heat until it shimmers. Carefully add the seasoned chicken pieces to the hot skillet and sauté for about 5-7 minutes. Stir occasionally, cooking until the chicken is golden brown and cooked through, with no pink remaining. Once done, remove the chicken from the skillet and set it aside.
Step 3: Sauté the Vegetables
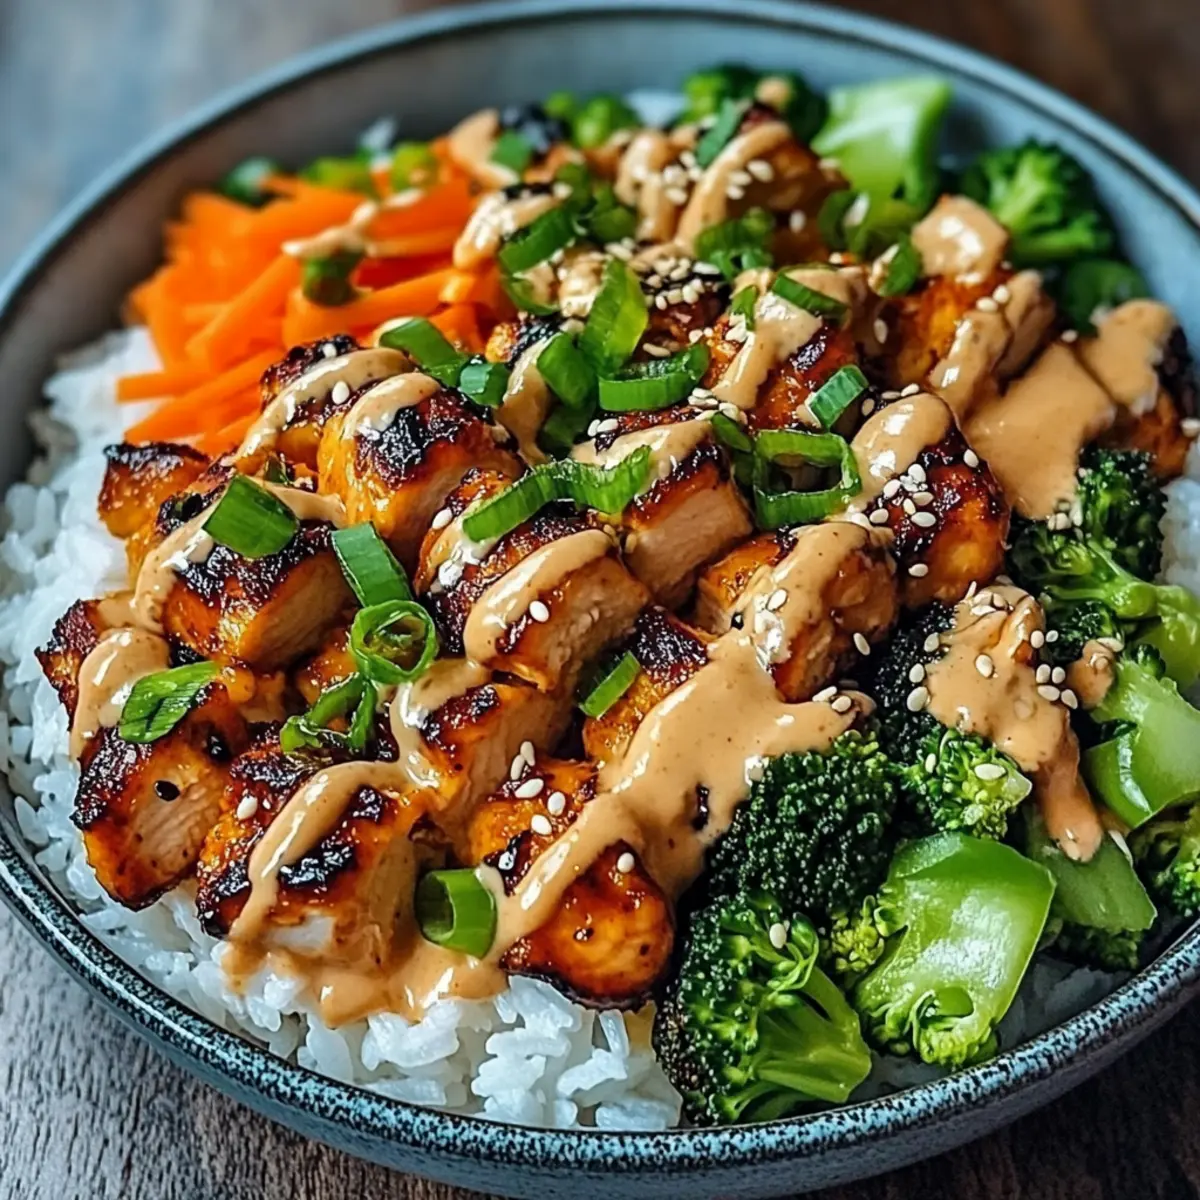
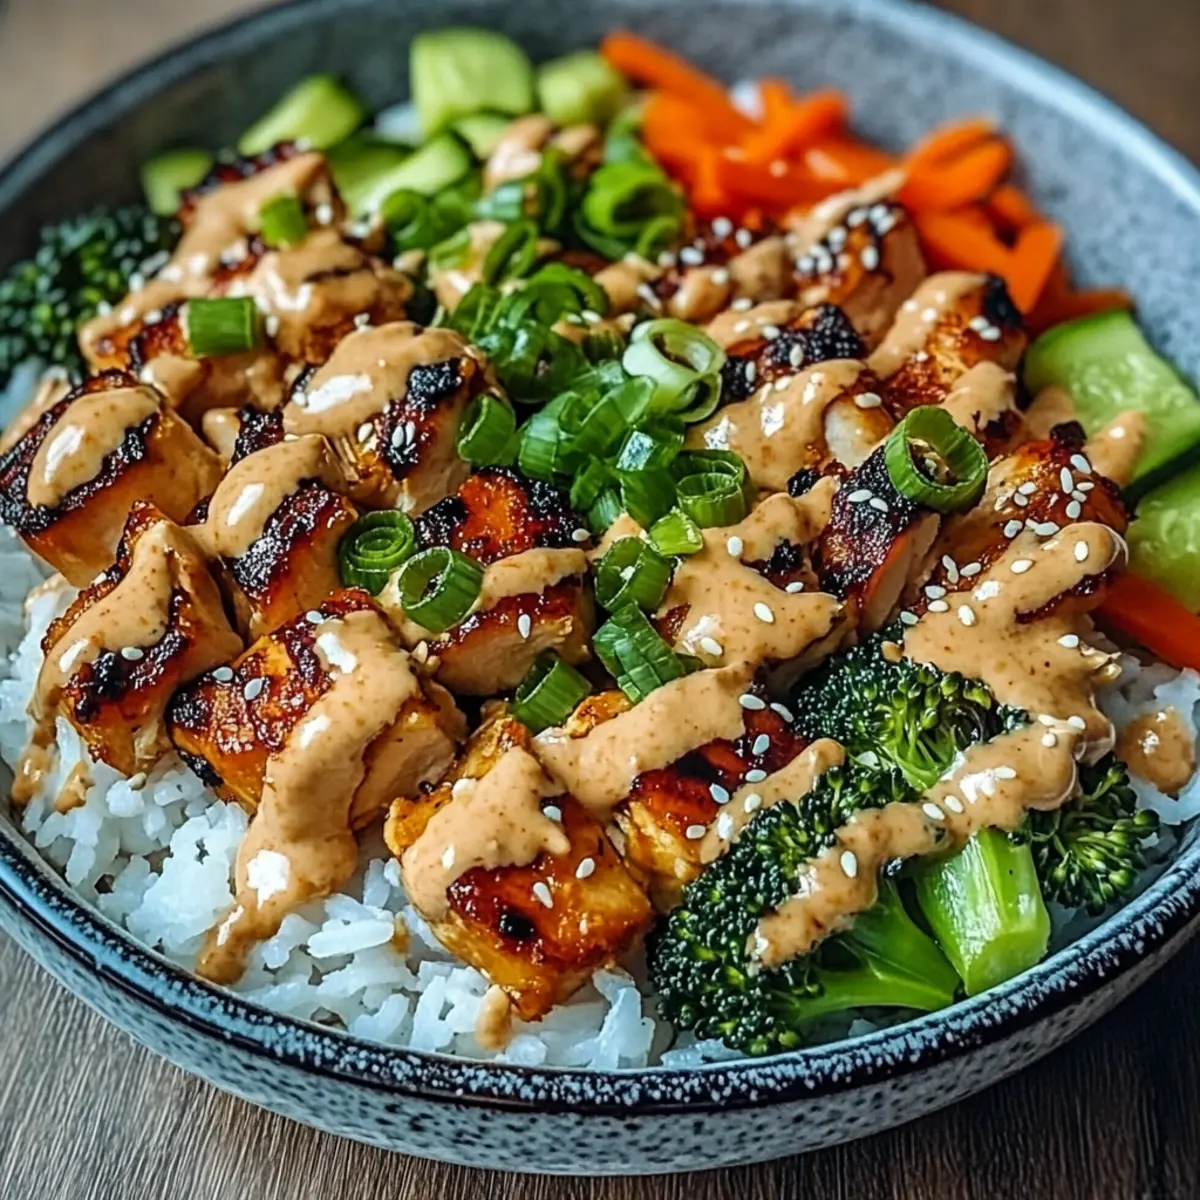
Using the same skillet, add the broccoli florets, sliced red bell pepper, and julienned carrot. Sauté these vibrant vegetables over medium heat for about 3-5 minutes, stirring frequently. Aim for tender yet crisp veggies that still retain their color, adding a wonderful crunch to your Bang Bang Chicken Bowl.
Step 4: Mix the Sauce
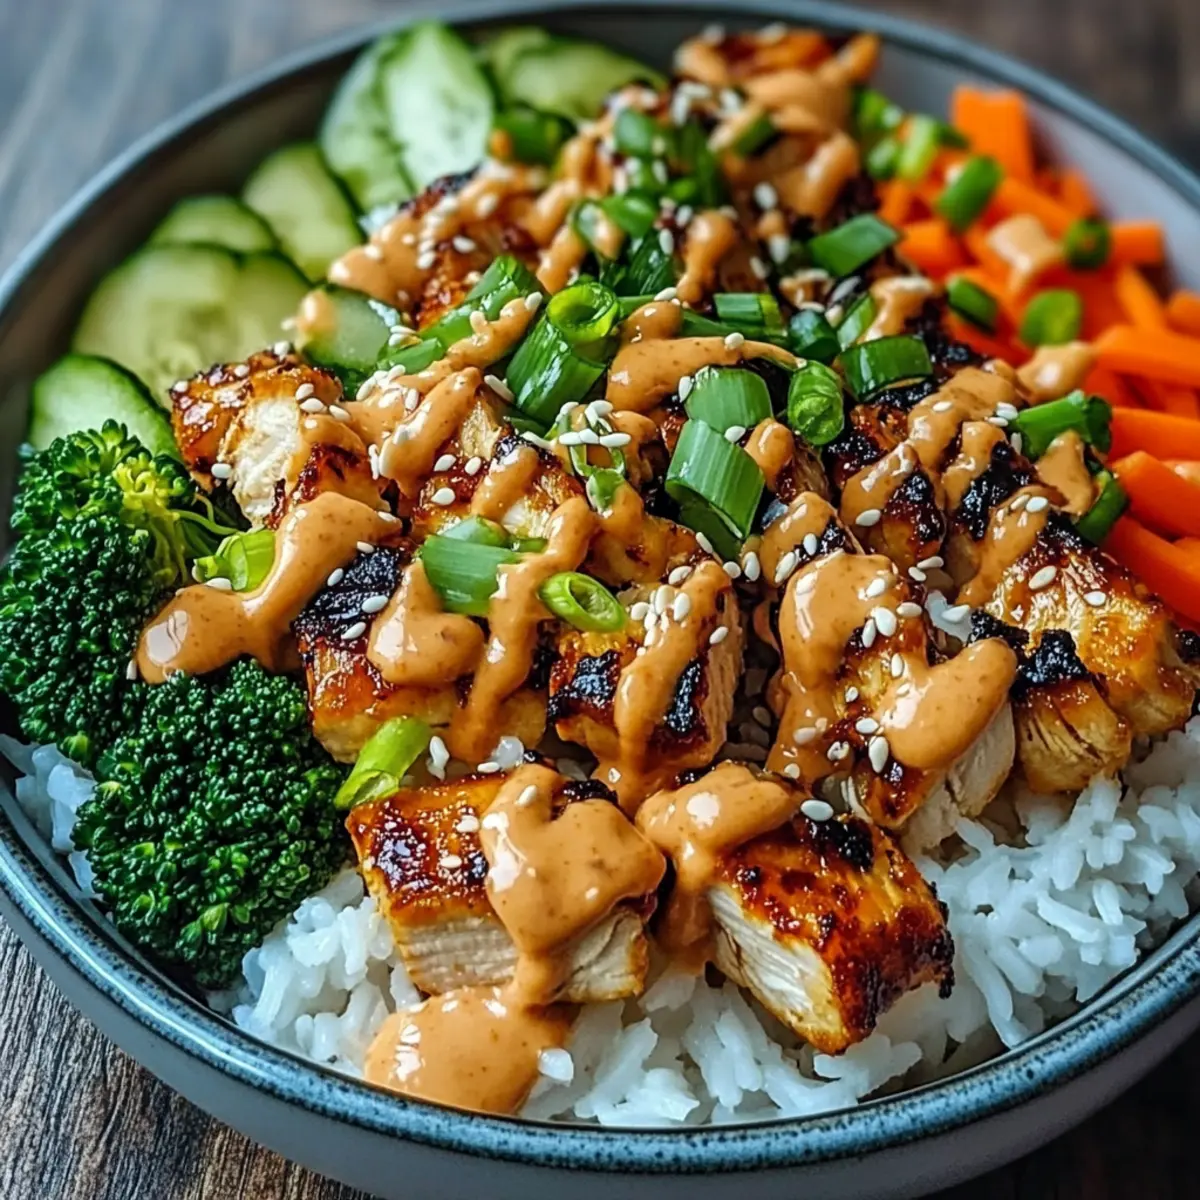
In a small bowl, combine ½ cup of mayonnaise, 2 tablespoons of sweet chili sauce, 1 tablespoon of Sriracha sauce, and 1 tablespoon of soy sauce. Whisk these ingredients together until they achieve a smooth and creamy consistency. This sauce will be the flavorful highlight of your Bang Bang Chicken Bowl.
Step 5: Combine Chicken and Vegetables
Return the cooked chicken to the skillet with the sautéed vegetables. Pour the prepared sauce mixture over the chicken and veggies, stirring gently to ensure everything is thoroughly coated. Let it simmer on low heat for about 1-2 minutes, just enough for the flavors to meld beautifully.
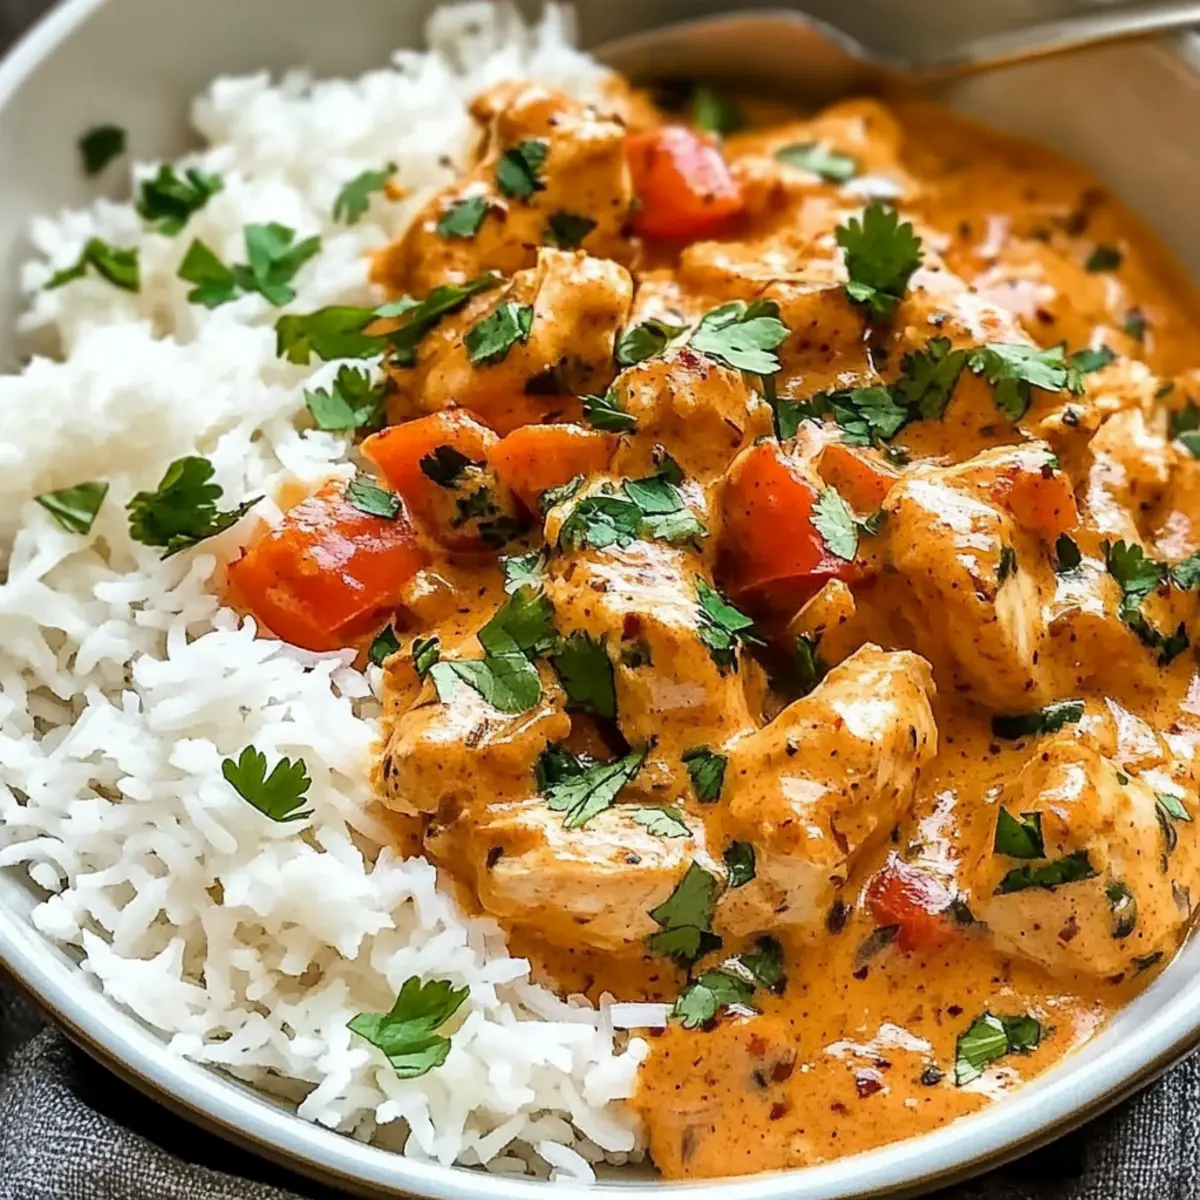
Step 6: Assemble the Bowl
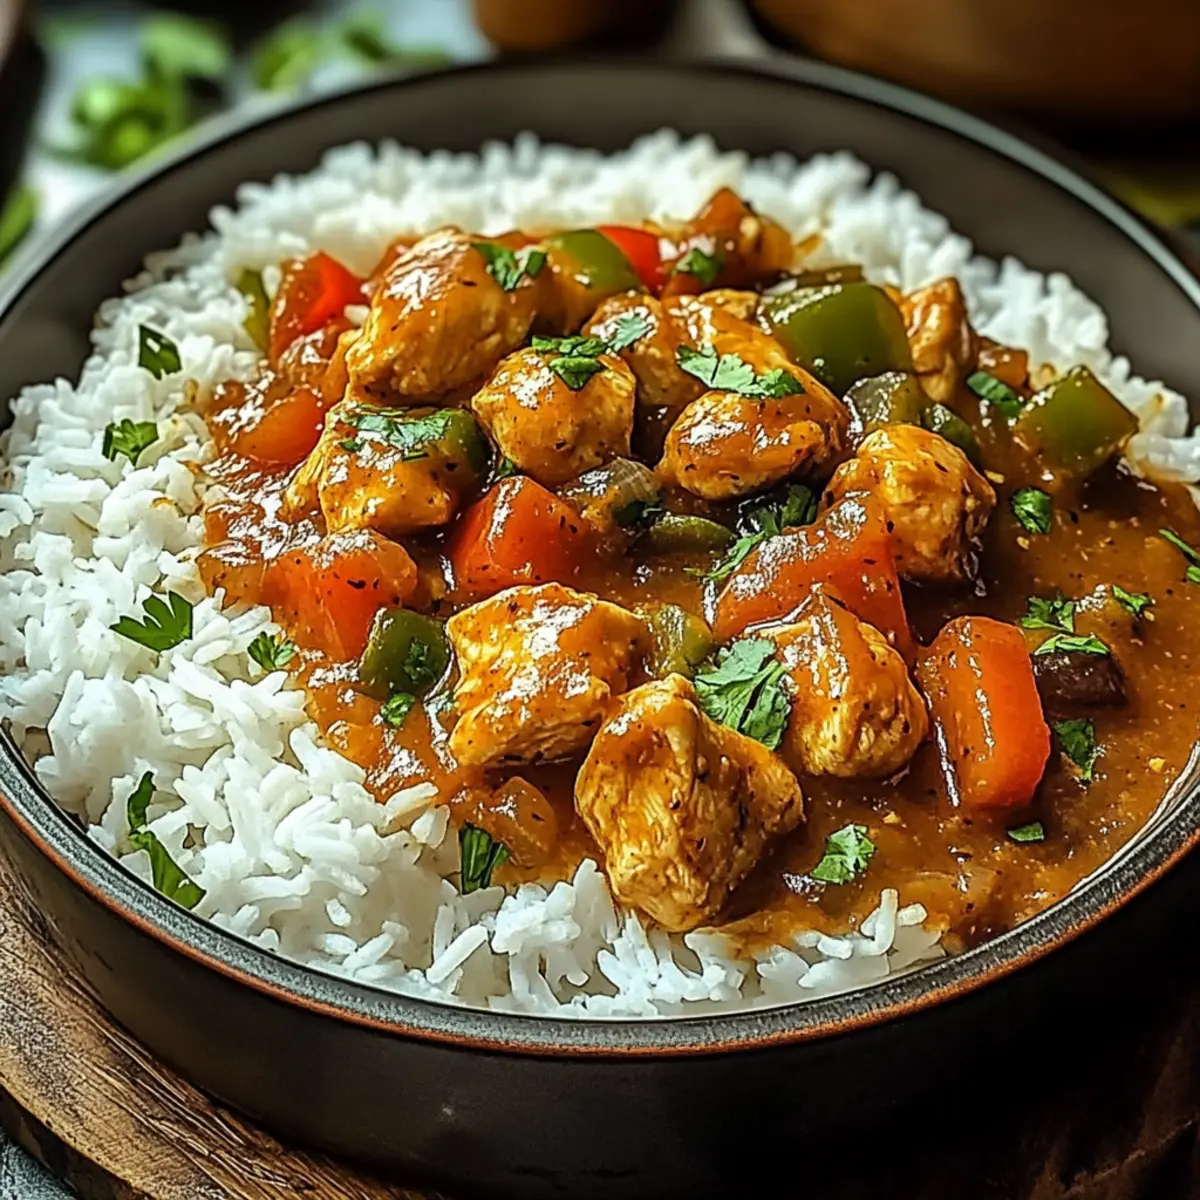
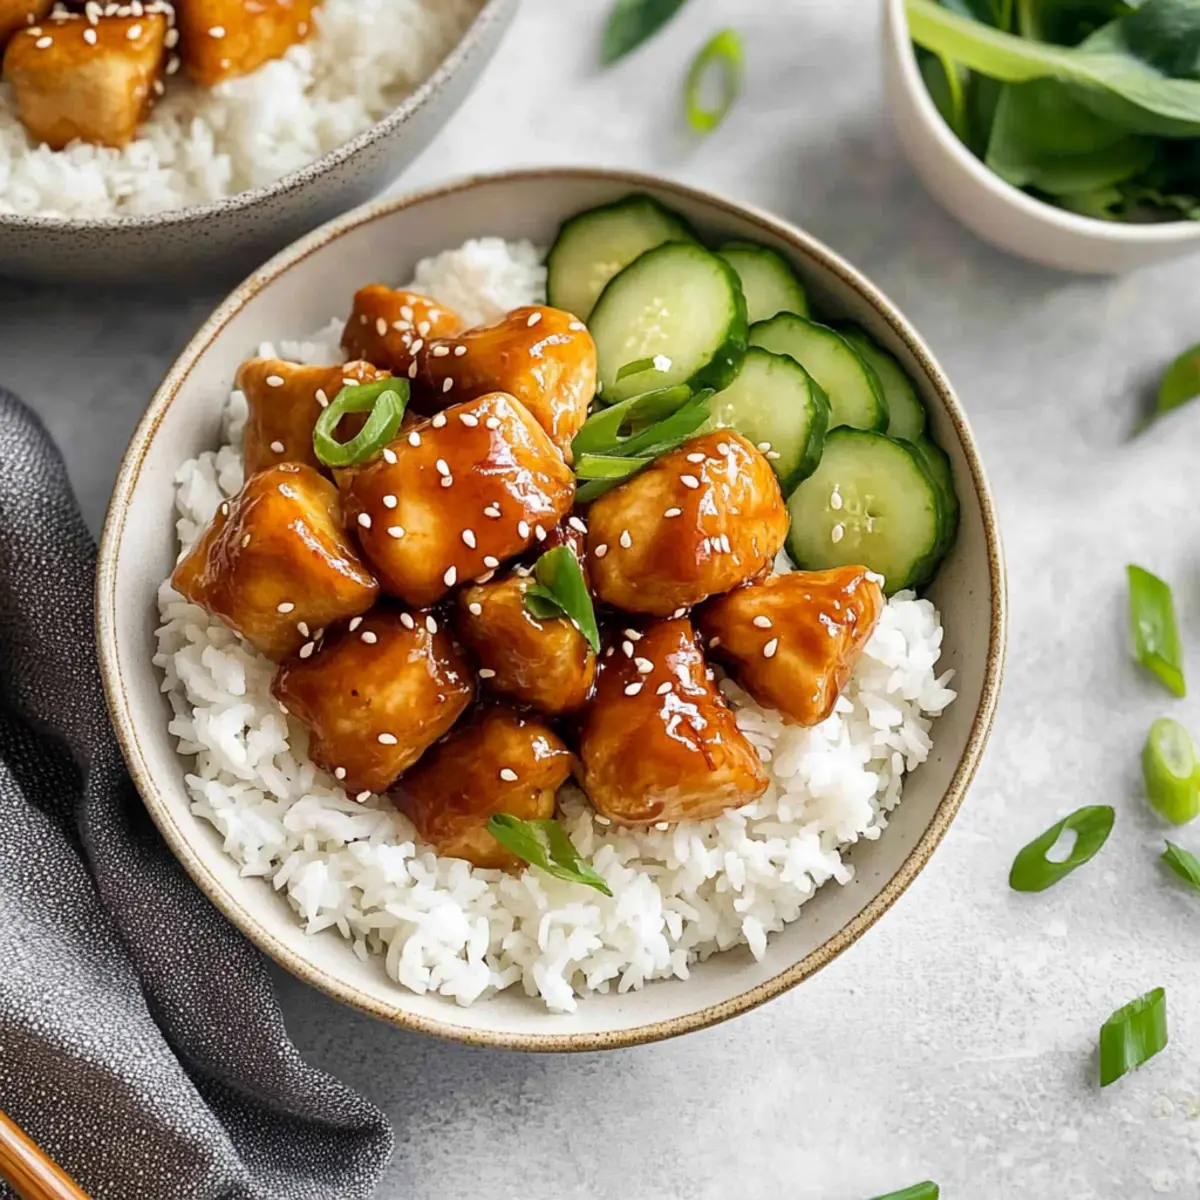
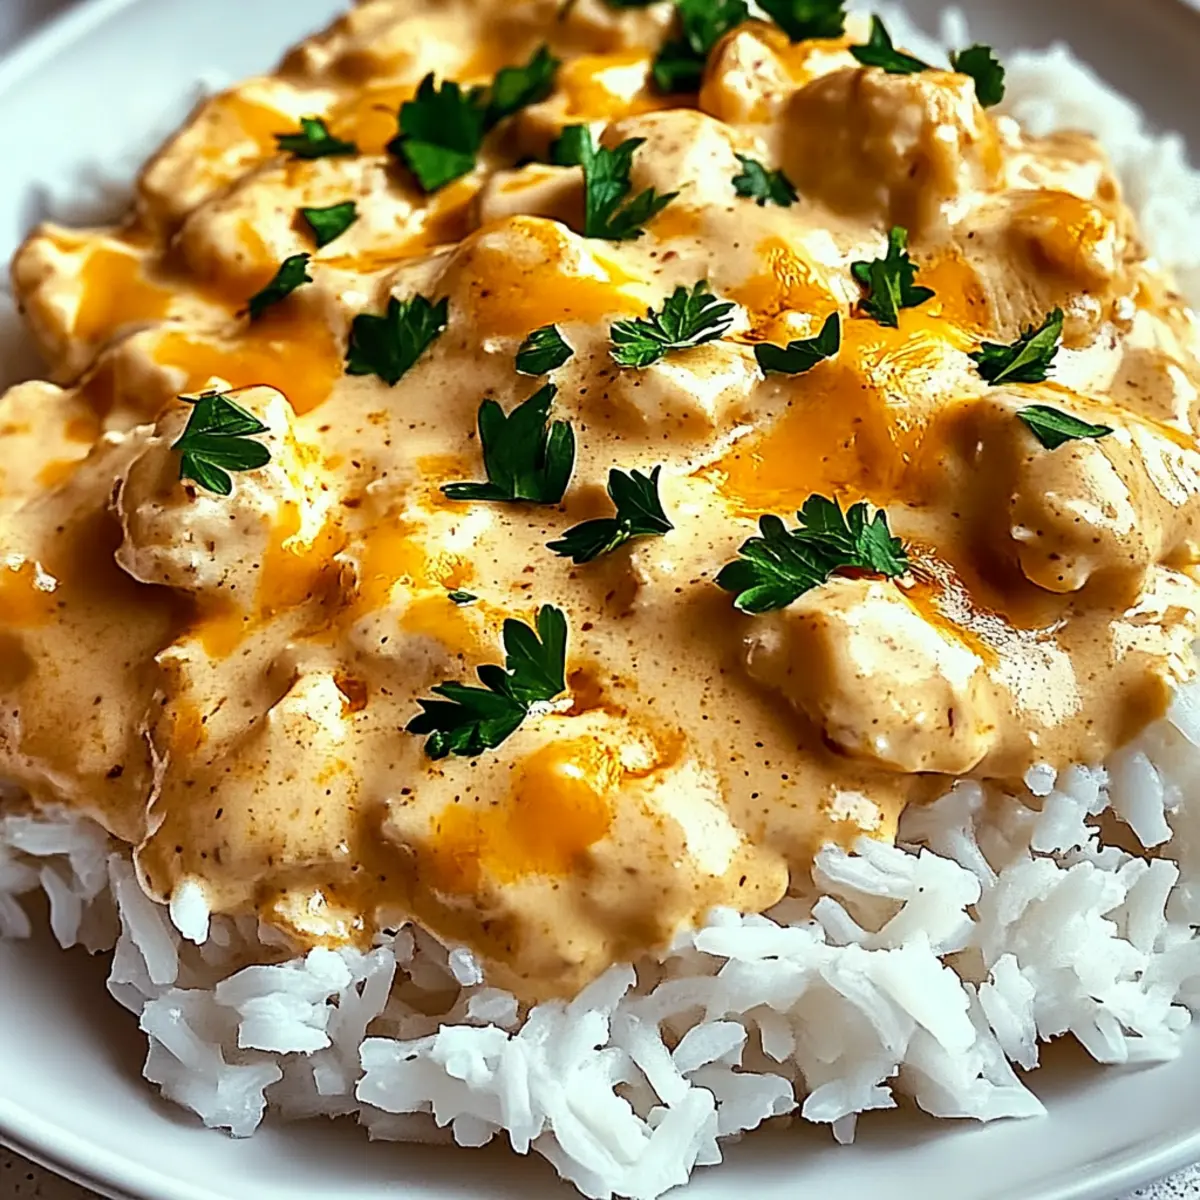
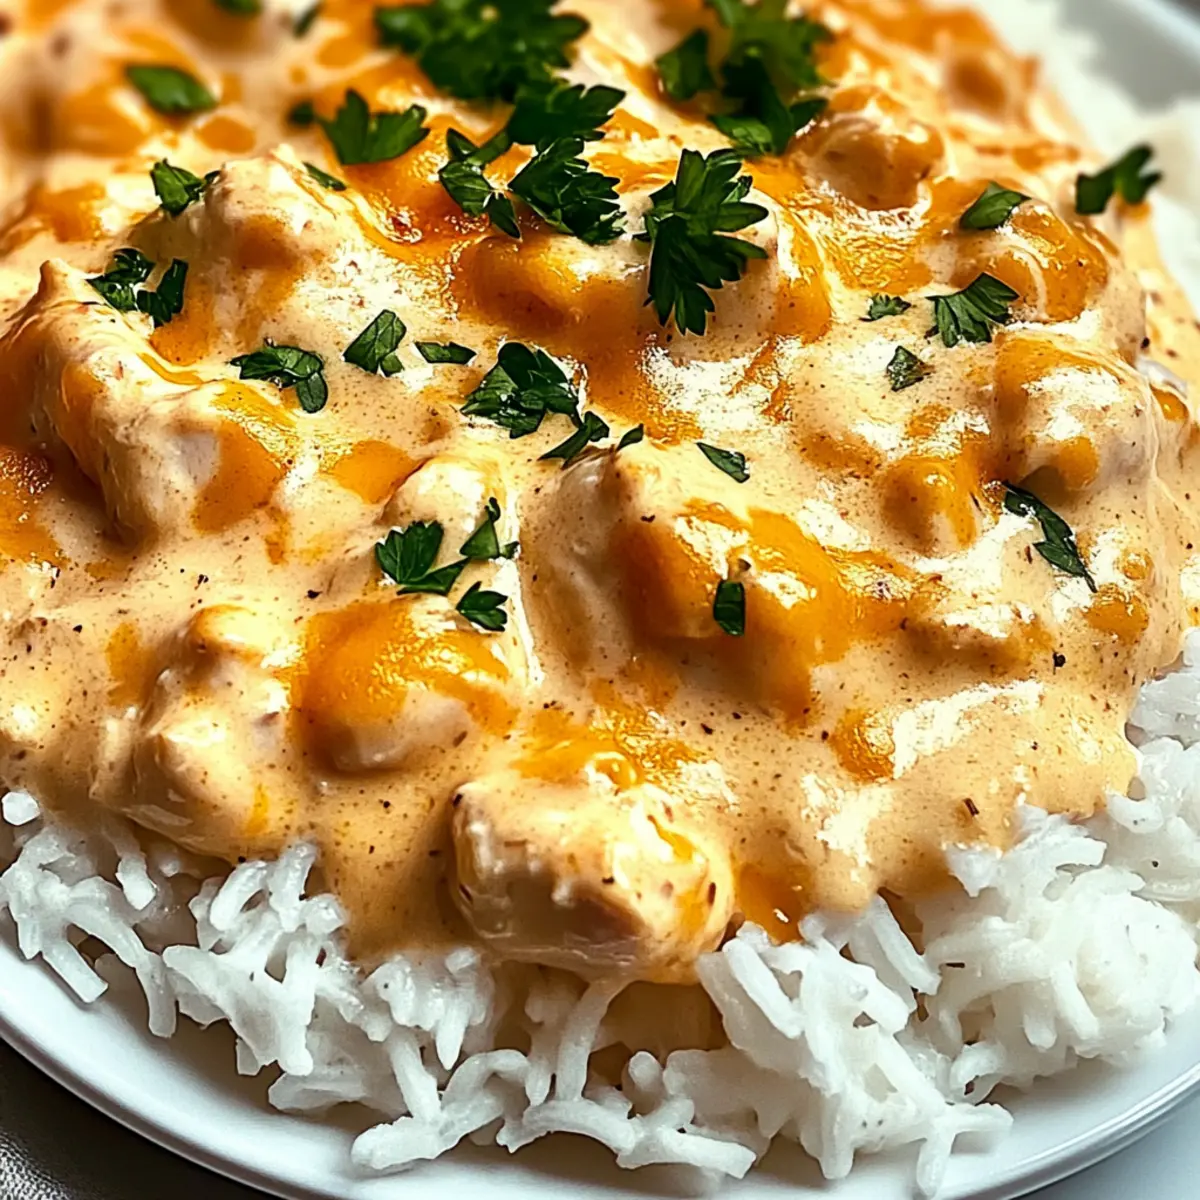
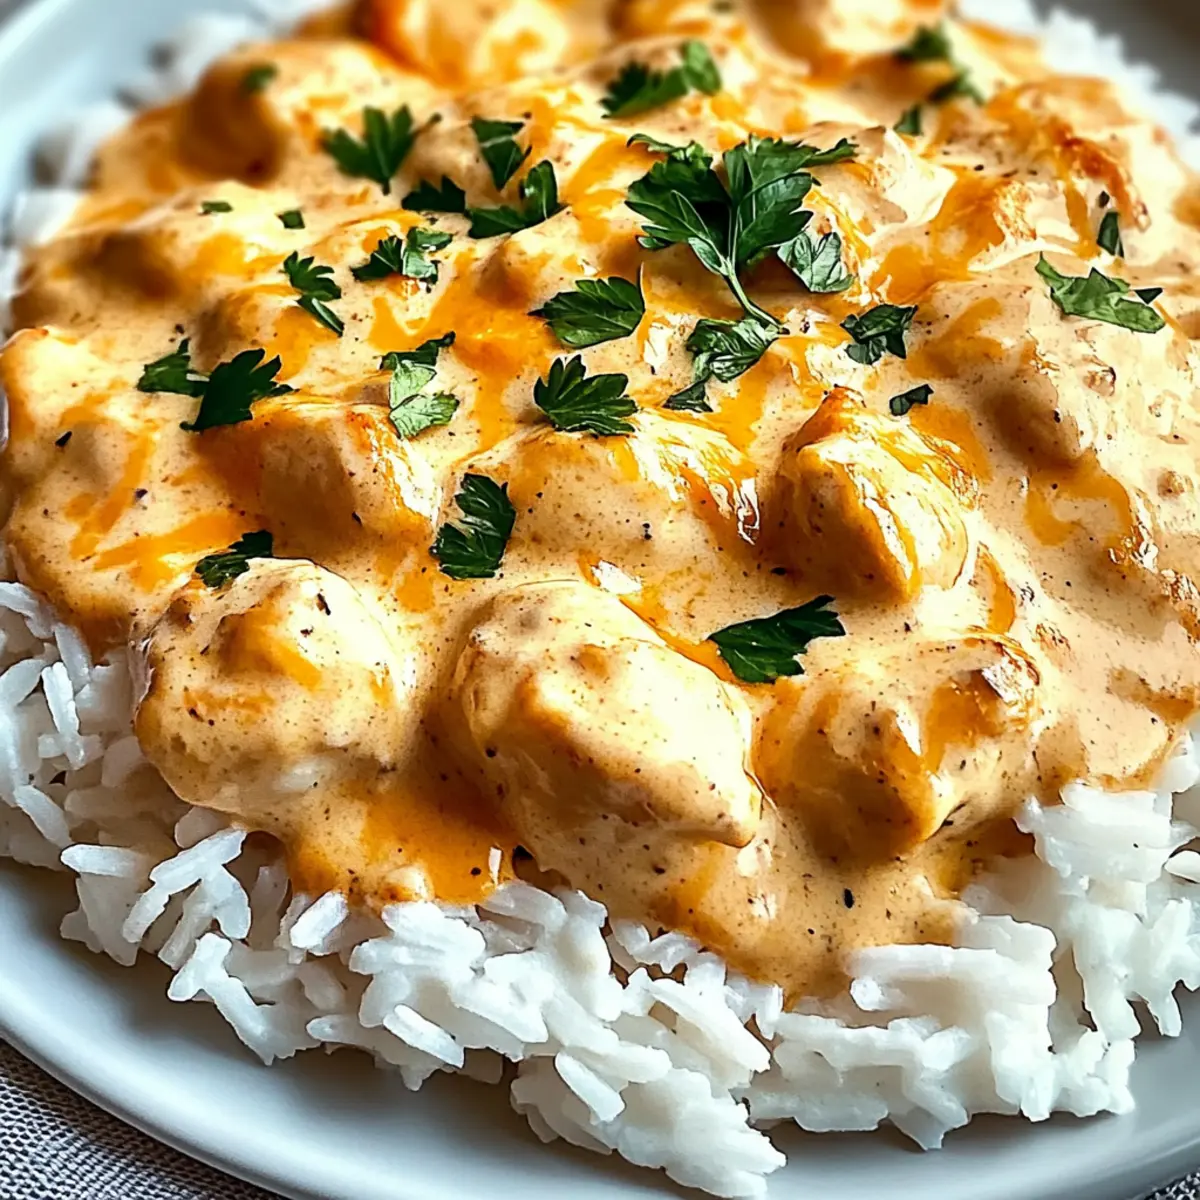
In serving bowls, layer a generous portion of the cooked rice at the bottom. Then, spoon the chicken and vegetable mixture over the rice, creating a delightful base for your Bang Bang Chicken Bowl. The contrasting textures will enhance the overall experience.
Step 7: Garnish and Serve
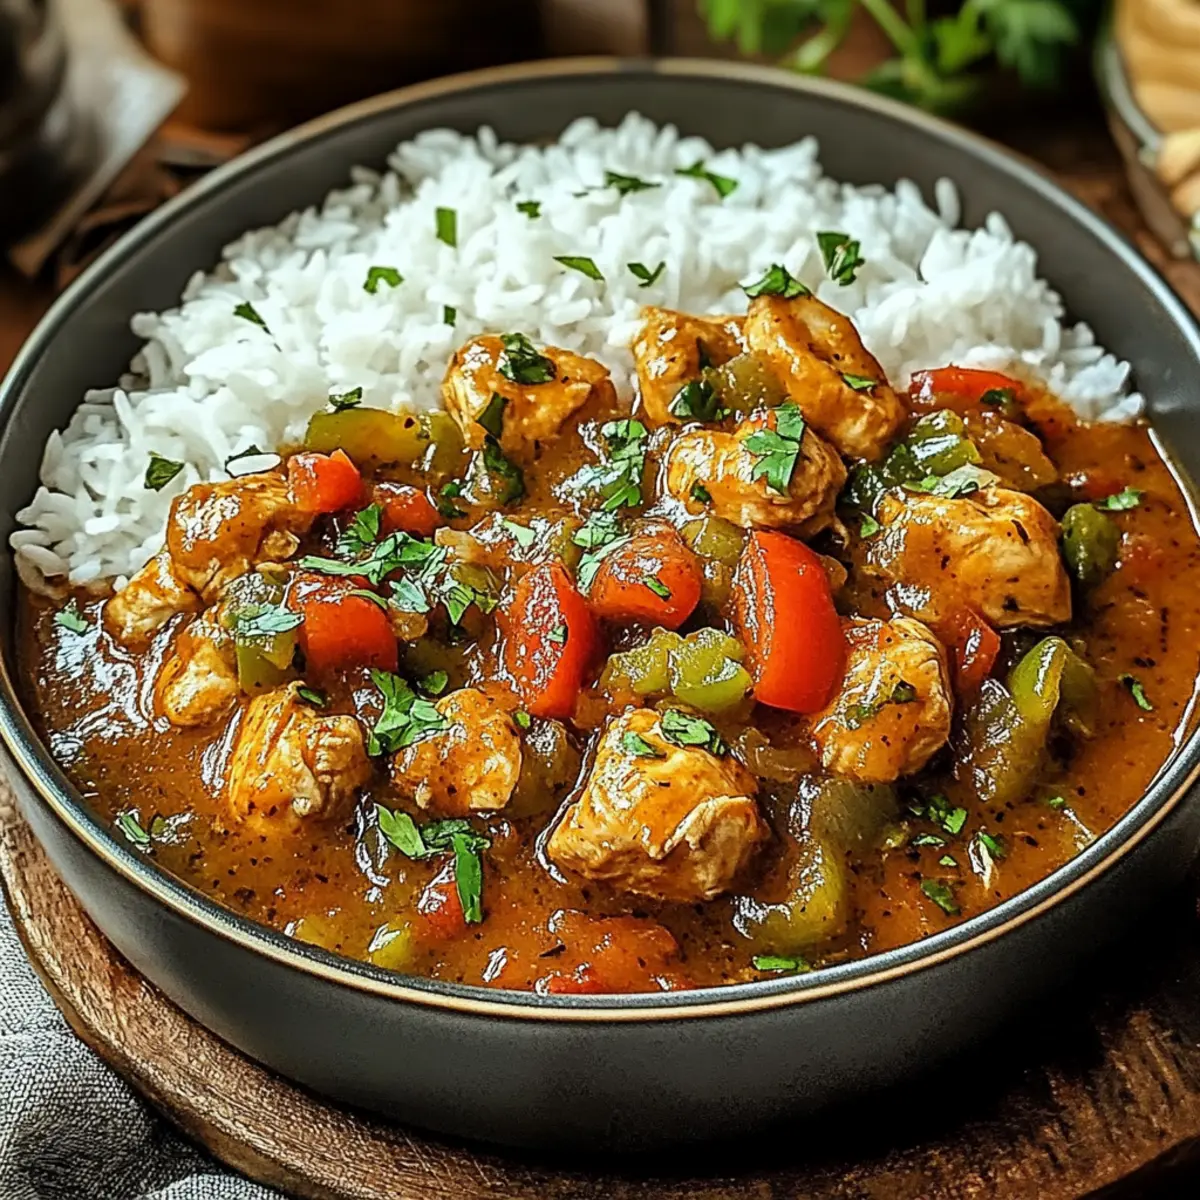
Finish your Bang Bang Chicken Bowl by garnishing with chopped green onions and a sprinkle of sesame seeds for added crunch. Serve immediately while warm, and enjoy a comforting, flavorful meal that’s sure to please the whole family.
How to Store and Freeze Bang Bang Chicken Bowl
-
Fridge: Store your Bang Bang Chicken Bowl in airtight containers for up to 3 days. This keeps the flavors fresh while allowing for quick reheating later.
-
Freezer: For longer storage, freeze the assembled bowl in airtight containers for up to 2 months. Make sure to cool completely before freezing to prevent ice crystals.
-
Reheating: When ready to enjoy, reheat in the microwave or on the stovetop. If frozen, allow to thaw in the fridge overnight for even heating.
-
Tip: For added convenience, consider portioning out the chicken and vegetable mixture separately from the rice before freezing. This keeps textures optimal!
What to Serve with Bang Bang Chicken Bowl
Pairing your Bang Bang Chicken Bowl with the right sides can enhance the delightful experience of this colorful dish.
-
Crispy Spring Rolls: These crunchy, savory rolls add a delightful texture contrast and pair perfectly with the creamy sauce. They can be filled with vegetables or shrimp for variety.
-
Fresh Green Salad: A light, crisp salad with mixed greens, cucumbers, and a tangy vinaigrette offers a refreshing balance to the richness of the chicken bowl.
-
Steamed Edamame: These protein-packed pods bring a satisfying crunch and are a great source of plant-based nutrition, enhancing the overall meal.
-
Garlic Fried Rice: Elevate your rice base with garlic and green onions. This flavorful twist harmonizes with the chicken and sauce, delivering a comforting and fulfilling bite.
-
Fruit Salad: Bright and refreshing, a side of seasonal fruit adds a sweet contrast to the spicy elements of the dish, making each mouthful interesting.
-
Mango Lassi: Pair this creamy yogurt drink with the savory and spicy flavors of your chicken bowl. The sweetness and coolness balance perfectly, quenching the palate.
These pairing options promise to take your Bang Bang Chicken Bowl experience to new heights, creating a meal that's both satisfying and memorable!
Expert Tips for Bang Bang Chicken Bowl
-
Prep Ahead: Start by prepping ingredients ahead of time. Chop vegetables and season the chicken earlier to save time during busy weeknights.
-
Heat Control: Adjust the Sriracha in the sauce depending on your family's spice tolerance to ensure everyone enjoys the Bang Bang Chicken Bowl.
-
Texture Matters: Sauté vegetables just until tender-crisp to retain their vibrant colors and crunchiness, enhancing the overall texture of the dish.
-
Versatile Substitutes: Feel free to swap chicken with tofu or tempeh for a vegetarian twist. Use dairy-free mayo for a vegan Bang Bang Chicken Bowl.
-
Perfect Portions: To avoid soggy rice, let it cool slightly before layering in bowls, and serve the chicken and veggies right away for optimal freshness.
Make Ahead Options
These Bang Bang Chicken Bowls are a fantastic choice for meal prep enthusiasts! You can chop the chicken and vegetables (like broccoli and bell pepper) up to 24 hours in advance, storing them in airtight containers in the refrigerator to keep them fresh. The creamy sauce can also be prepared ahead of time and stored separately for up to 3 days. To maintain the dish's quality, avoid mixing the sauce with the chicken until you're ready to serve. When you're set to enjoy your meal, simply follow the final steps: cook the chicken and vegetables, stir in the sauce, and serve over rice for a quick, delicious dinner that feels homemade!
Bang Bang Chicken Bowl Variations
Feel free to adapt and personalize your Bang Bang Chicken Bowl experience with these delightful twists and substitutions!
-
Quinoa Base: Swap rice for quinoa to increase protein content and add a nutty flavor that's both filling and healthy.
-
Dairy-Free: Use yogurt or dairy-free mayo instead of traditional mayo for a lighter, creamy sauce without dairy.
-
Vegetarian Delight: Substitute chicken with tofu or tempeh, and adjust sauces to ensure they meet vegan standards for a hearty plant-based option.
-
Seasonal Veggies: Incorporate seasonal vegetables like zucchini or snap peas for a fresh and colorful spin that enhances texture and nutrition.
-
Add Some Heat: For those who love spice, toss in red pepper flakes or extra Sriracha to the sauce for an extra kick!
Imagine enjoying a sweet and spicy rendition by selecting a sweet teriyaki sauce instead of sweet chili for a unique twist. This slight change can transport your taste buds to a whole new delicious realm!
-
Crunchy Texture: Introduce nuts like cashews or almonds for added crunch, elevating both the texture and gourmet feel of your bowl.
-
Satisfying Substitutions: Switch out rice for cauliflower rice for a low-carb dish that doesn't skimp on flavor, perfect for maintaining those health goals.
By exploring these variations and substitutions, you're not just customizing a meal; you're crafting a new family favorite. For more flavor-packed options, consider trying recipes like Crock Pot Chicken and Honey Garlic Chicken. Each offers delightful twists that are easy to love!
Bang Bang Chicken Bowl Recipe FAQs
What type of chicken should I use for my Bang Bang Chicken Bowl?
Absolutely! While boneless, skinless chicken breasts are the go-to choice, you can easily swap them for chicken thighs for a juicier flavor. If you're looking for something different, turkey also works wonderfully in this recipe.
How do I store leftovers from my Bang Bang Chicken Bowl?
To ensure freshness, store your Bang Bang Chicken Bowl in airtight containers in the refrigerator for up to 3 days. This way, you'll have quick access to delicious meals without losing that homemade taste!
Can I freeze my Bang Bang Chicken Bowl?
Very much so! You can freeze the assembled bowl in airtight containers for up to 2 months. Just be sure to let everything cool completely before freezing to prevent ice crystals from forming. When you're ready to enjoy it again, thaw in the refrigerator overnight and reheat in the microwave or on the stovetop.
What should I do if my vegetables become mushy?
No worries! To avoid mushy veggies, sauté them just until they're tender-crisp, usually about 3-5 minutes. Visual cues can help; look for vibrant colors and a slight crunch to ensure they enhance the dish rather than get soft.
Are there any dietary considerations for my Bang Bang Chicken Bowl?
Absolutely! You can make this dish completely plant-based by swapping chicken for tofu or tempeh, and using dairy-free mayo. Just be mindful of any allergies or dietary restrictions of those you're serving, and adjust ingredients accordingly.
How do I customize my Bang Bang Chicken Bowl for different preferences?
Get creative! You can easily adapt the recipe by changing the rice to quinoa for a protein boost, or add seasonal vegetables like zucchini or snap peas for added nutrition. Plus, feel free to experiment with different sauces like teriyaki for a unique flavor twist!
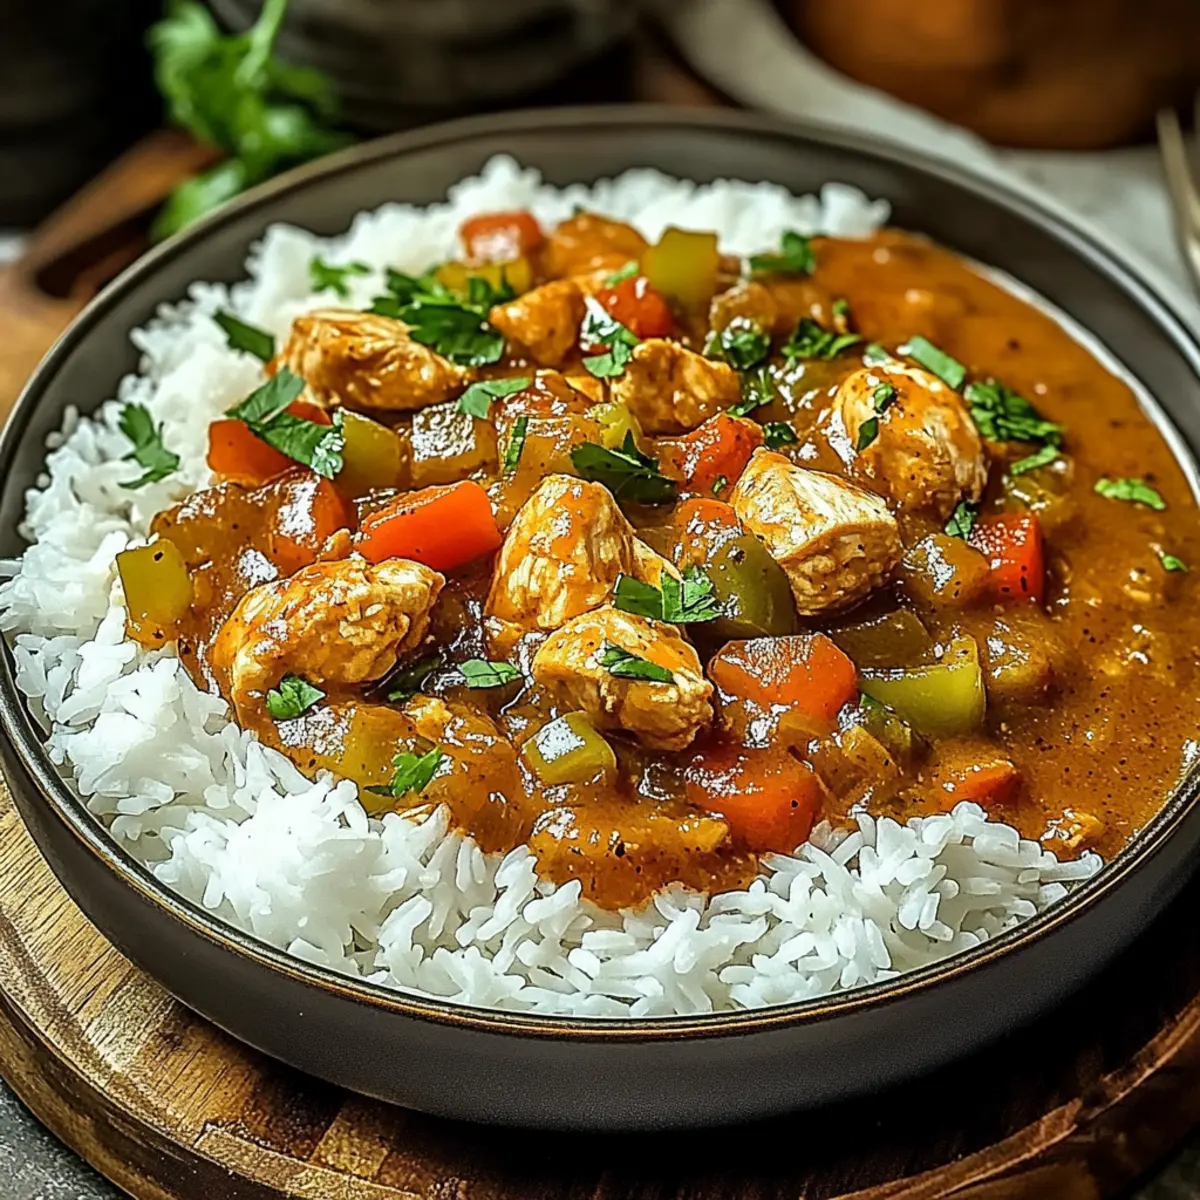
Flavorful Bang Bang Chicken Bowl for Quick Comfort Meals
Ingredients
Equipment
Method
- Begin by cutting 1 pound of boneless, skinless chicken breasts into bite-sized pieces. Season with salt and pepper.
- In a large skillet, heat 2 tablespoons of oil over medium heat. Add the chicken and sauté for about 5-7 minutes until cooked through.
- Using the same skillet, add broccoli, bell pepper, and carrot. Sauté for about 3-5 minutes until tender-crisp.
- In a small bowl, whisk together mayonnaise, sweet chili sauce, Sriracha, and soy sauce until smooth.
- Combine the chicken with the sautéed vegetables and add the sauce mixture. Stir well and simmer for 1-2 minutes.
- In serving bowls, layer cooked rice, then spoon the chicken and vegetable mixture over.
- Garnish with chopped green onions and sesame seeds. Serve warm.