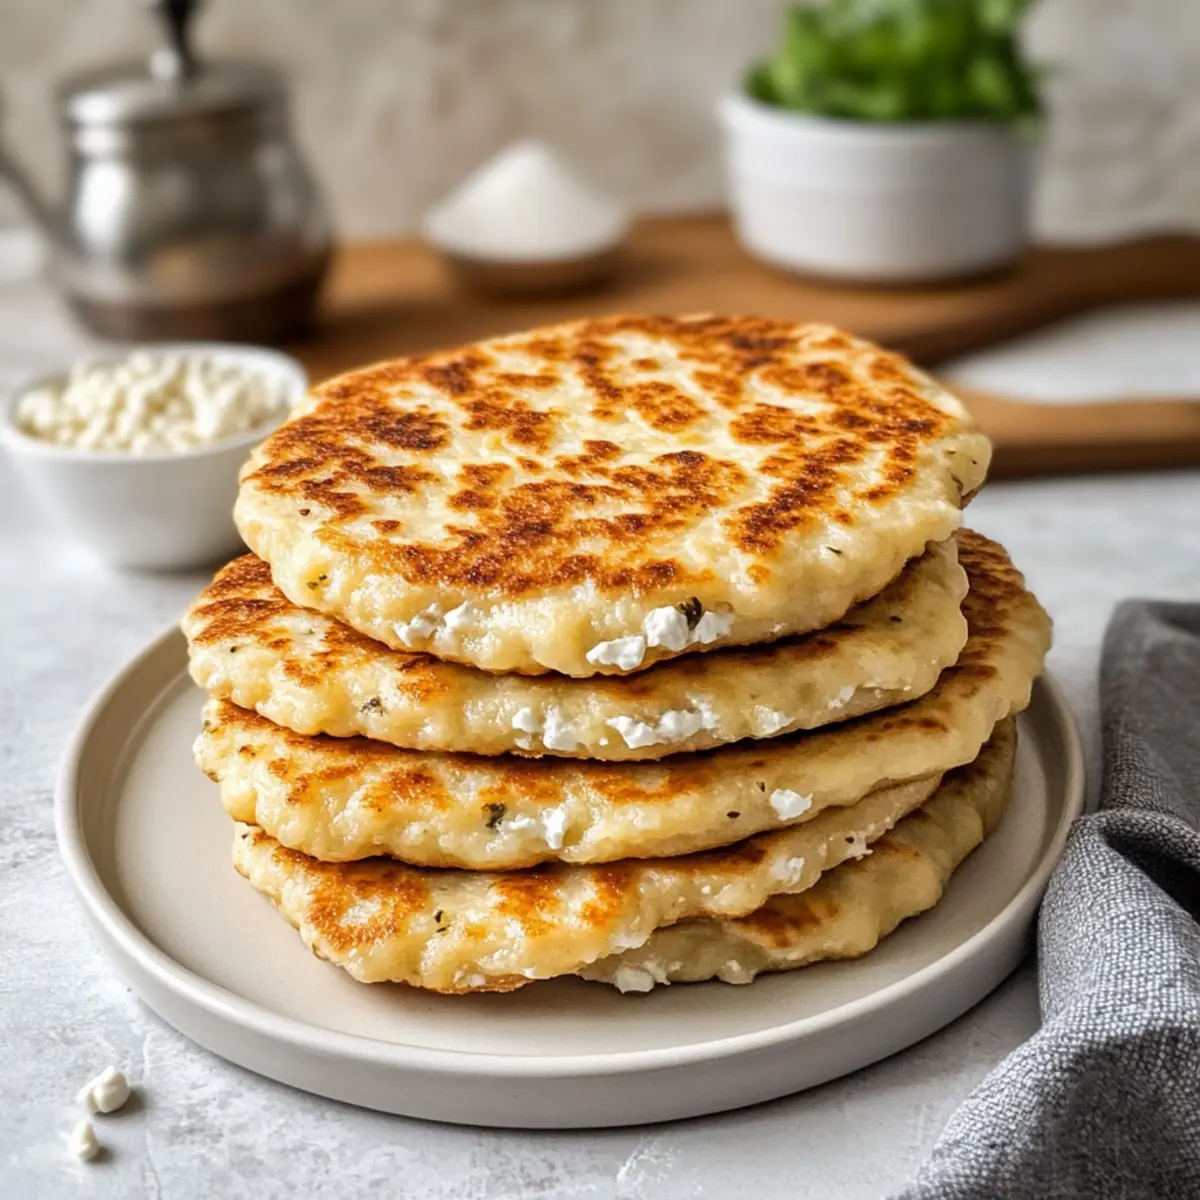
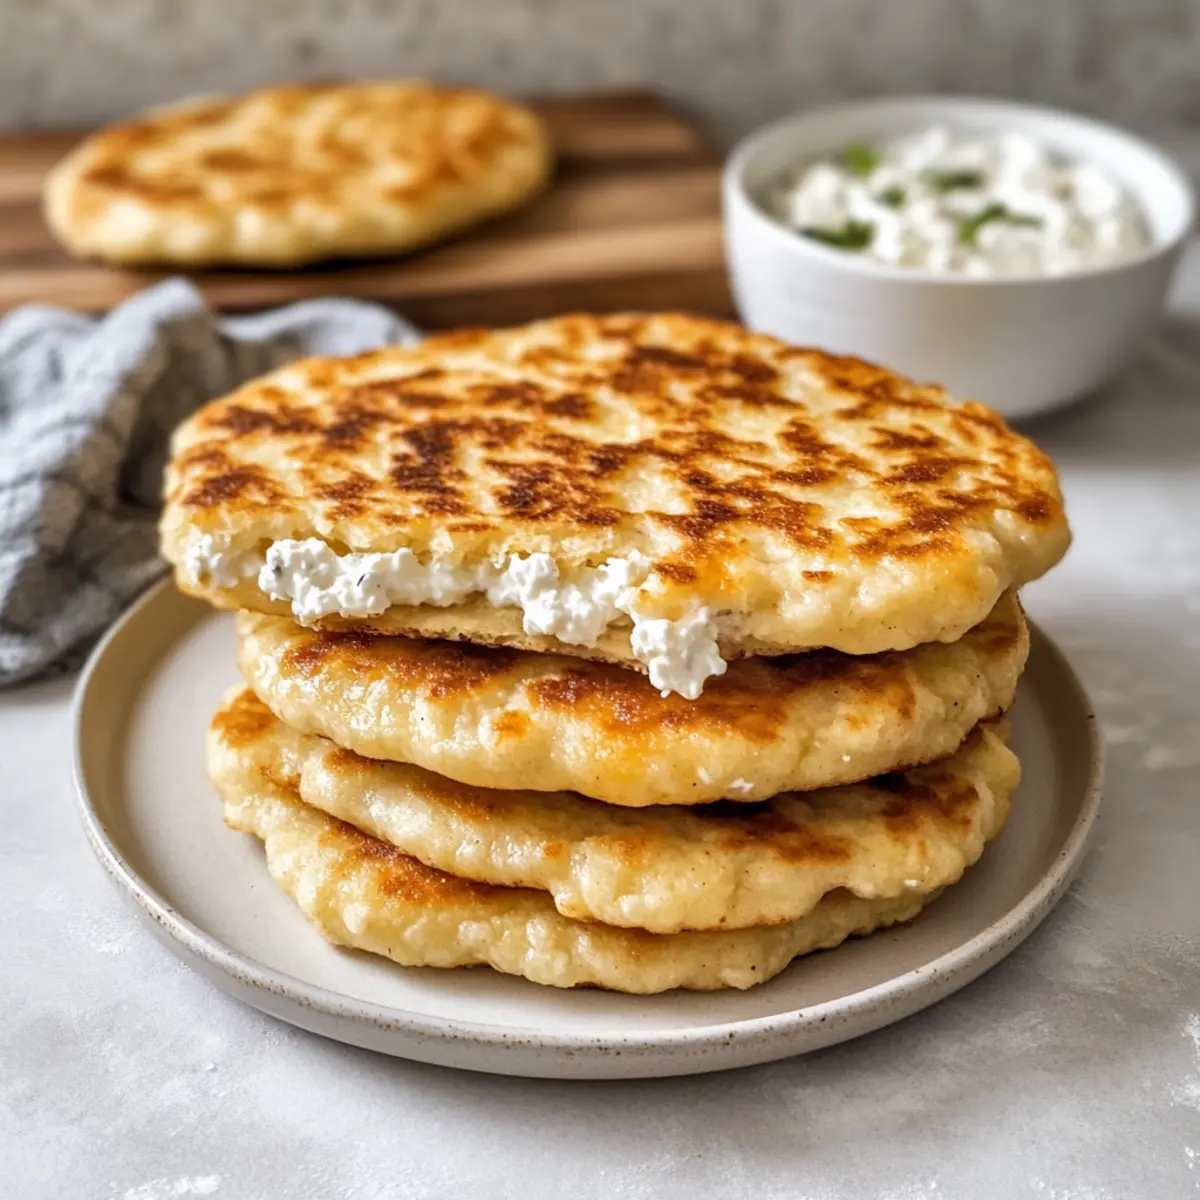
"Have you ever wished for a snack that perfectly balances ease and flavor? Introducing my crispy, golden Two Ingredient Cottage Cheese Tots! These delightful bites are not only effortless to prepare, but they also offer a satisfying crunch that’s unlike anything you’d find in fast food. With just cottage cheese and panko breadcrumbs, you can whip up a healthy snack that packs protein and is easily customizable to suit your taste. Whether you’re hosting a gathering or in need of a quick weeknight treat, these tots deliver on all fronts, making them a fantastic go-to for anyone looking to enjoy homemade goodness. Curious about how to elevate your snack game and impress your friends with a nutritious twist? Let’s dive in!"

Why Are Cottage Cheese Tots So Irresistible?
Simplicity at Its Best: With only two ingredients, these Cottage Cheese Tots are not only easy to make but can be tailored to your liking—consider swapping in gluten-free breadcrumbs for a healthier option!
Crispy, Cheesy Goodness: Each bite delivers a satisfying crunch with a luxurious cheesy center, making them perfect for any snacking occasion.
Crowd-Pleasing Flavor: Whether served as appetizers at a party or a fun family snack, these tots are sure to please everyone, even the pickiest eaters!
Health-Conscious Delight: High in protein and lower in calories, indulge guilt-free knowing these bites contribute to your wellness journey.
Quick to Prepare: In just 30 minutes, you can enjoy these delectable bites! For further inspiration, why not check out this delicious Jello Salad Cottage recipe to serve alongside your tots?
Cottage Cheese Tots Ingredients
Ready to create your delicious Cottage Cheese Tots? Here’s everything you need for a perfect batch!
For the Tots
- Cottage Cheese – This creamy base adds richness and a healthy dose of protein, making your tots both tasty and nutritious.
- Panko Breadcrumbs – These give the tots a light and crispy coating; you can substitute gluten-free breadcrumbs if needed for a gluten-free version.
Optional Flavor Enhancements
- Spices or Herbs – Adding your favorite spices or fresh herbs can elevate your tots, giving them a personal touch that suits your taste.
- Dipping Sauces – Serve with your choice of ketchup, ranch, or even a spicy sriracha mayo for an extra kick!
Step‑by‑Step Instructions for Cottage Cheese Tots
Step 1: Preheat the Oven
Begin by preheating your oven to 400°F (200°C). This ensures that your Cottage Cheese Tots will bake evenly and achieve that desired golden brown crispiness. While the oven heats up, prepare a baking sheet by lining it with parchment paper or spraying it lightly with cooking spray to prevent sticking.
Step 2: Mix the Ingredients
In a large mixing bowl, combine the cottage cheese and panko breadcrumbs until they are well integrated. Use a spatula or spoon to fully incorporate the breadcrumbs, ensuring the mixture binds together. If it feels too wet, don’t hesitate to add a little more panko until you achieve a moldable consistency.
Step 3: Shape the Tots
Take about 1 tablespoon of the mixture and gently shape it into a small tot form, resembling a mini potato shape. Place each shaped tot onto the prepared baking sheet, spacing them out to allow room for them to expand during baking. Aim for a uniform size to promote even cooking for all your delicious Cottage Cheese Tots.
Step 4: Bake to Perfection
Carefully place the baking sheet in the preheated oven and bake the tots for 25 to 30 minutes. Halfway through the baking time, flip the tots with a spatula to ensure they brown beautifully on both sides. Watch for a deep golden color, which indicates they’re perfectly crisp outside while soft and cheesy inside.
Step 5: Cool and Serve
Once baked, remove the sheet from the oven and let the Cottage Cheese Tots cool for a few minutes. This cooling period helps the tots firm up slightly for a better texture. Serve warm with your favorite dipping sauces, whether it’s classic ketchup, tangy ranch, or a spicy sriracha mayo for an extra kick to brighten your snacking experience!

What to Serve with Two Ingredient Cottage Cheese Tots
Nothing completes the experience of these crispy, cheesy snacks like a collection of delicious accompaniments!
- Creamy Ranch Dip: The cool and tangy ranch pairs beautifully with the warm, crunchy tots, enhancing their cheesy flavor.
- Zesty Sriracha Mayo: For a spicy kick, this luscious dip adds a creamy heat that complements the savory goodness of the tots.
- Classic Ketchup: A timeless favorite that balances the richness of the Cottage Cheese Tots and brings a sweet tang to each bite.
Imagine serving your Cottage Cheese Tots alongside a vibrant salad tossed in a zesty vinaigrette. The freshness will provide a contrasting texture, creating a delightful meal experience.
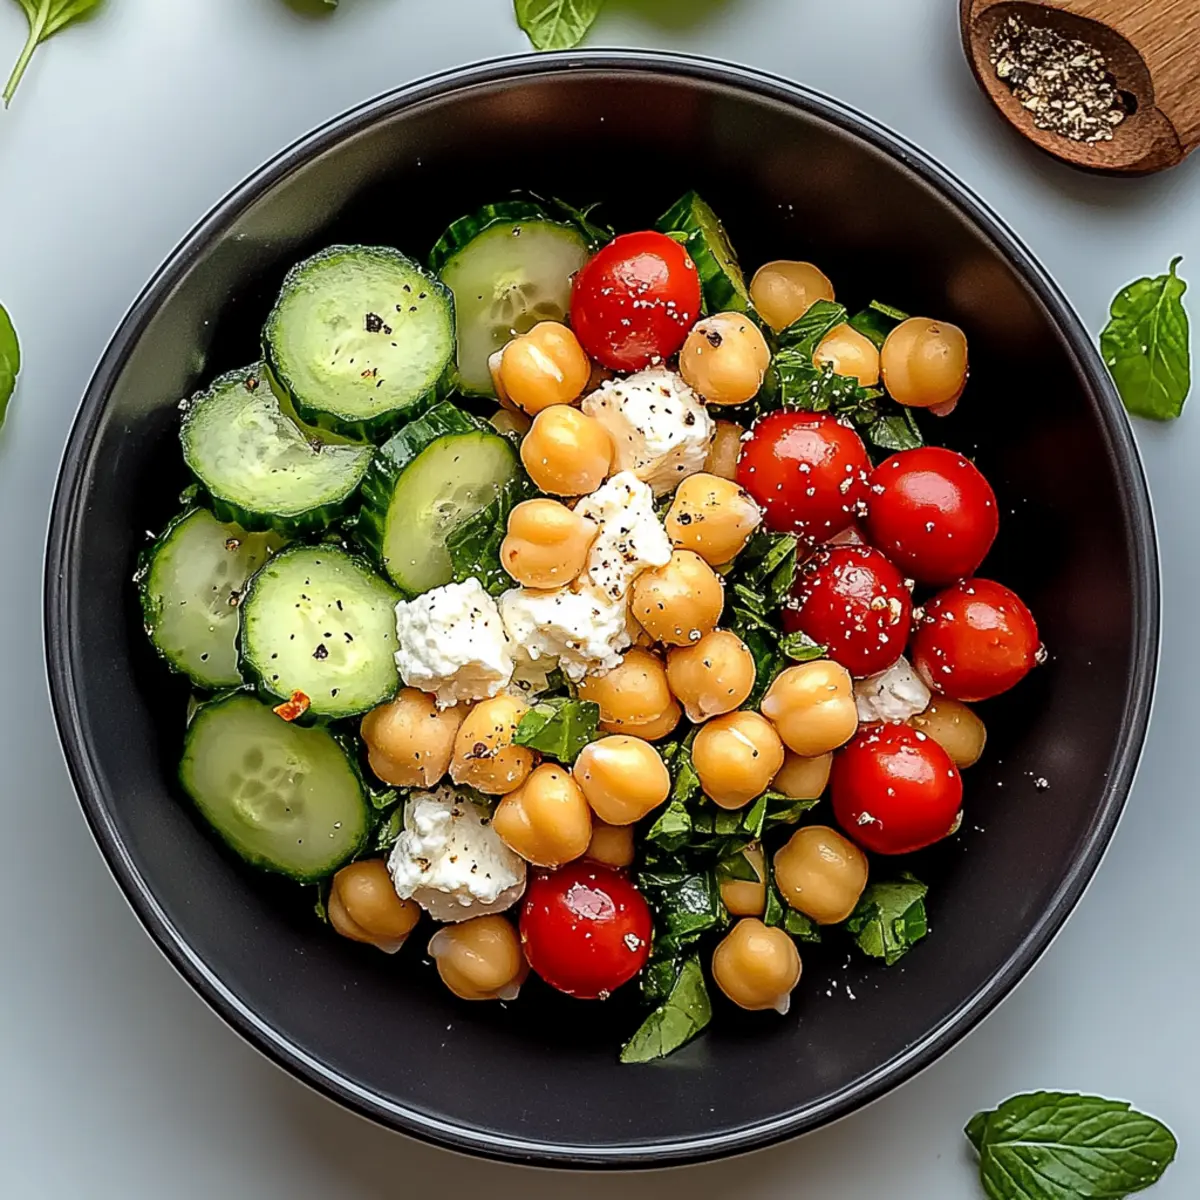
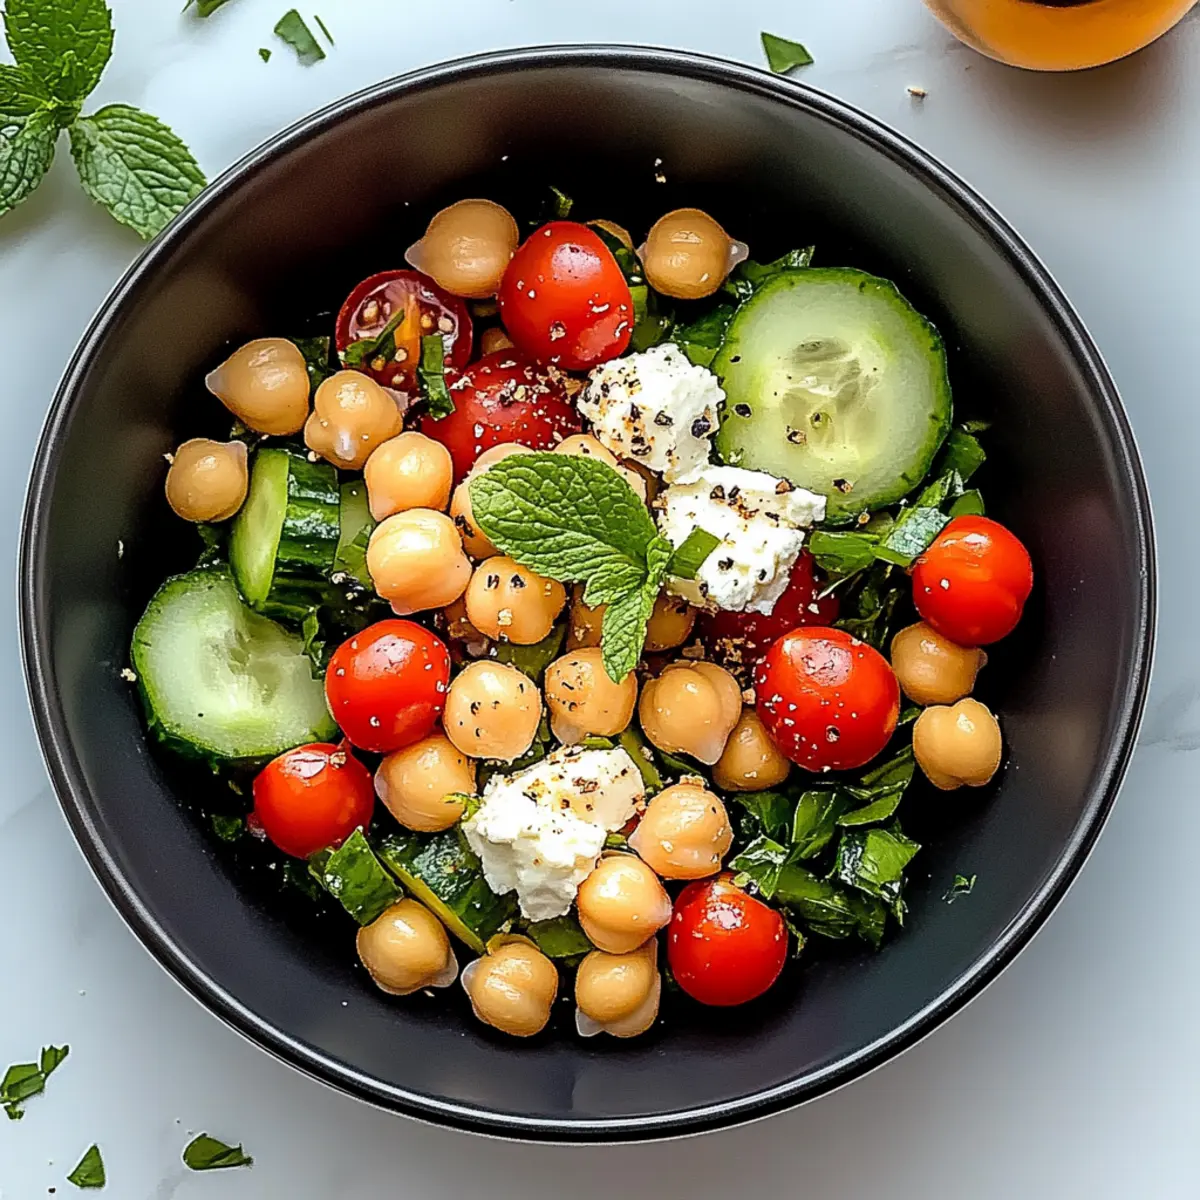
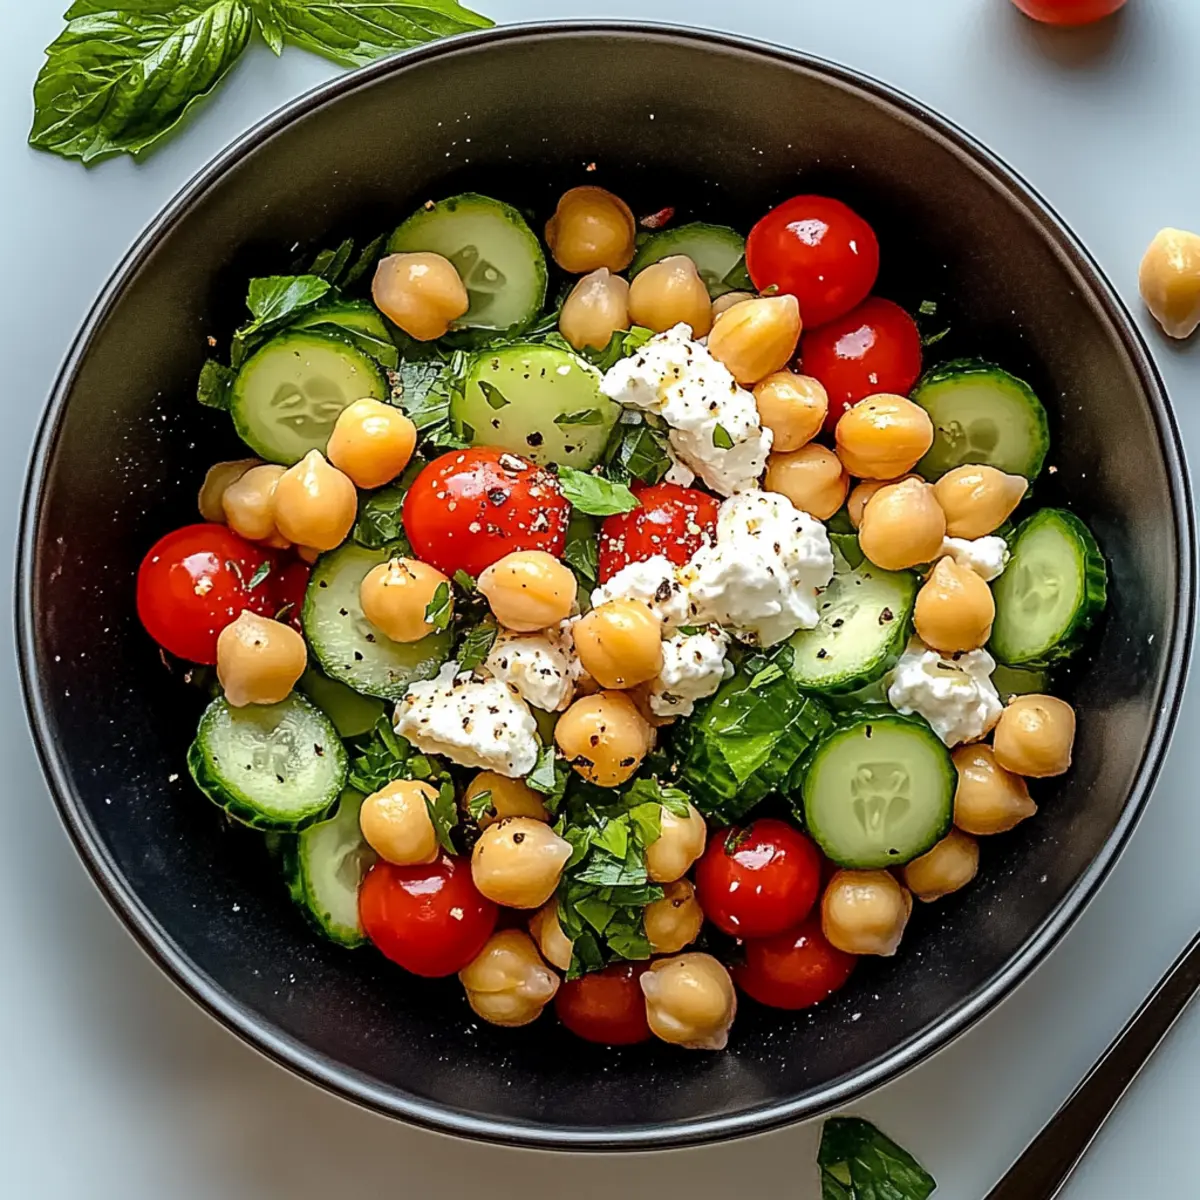
- Fresh Garden Salad: Crisp greens and colorful veggies bring a refreshing crunch, balancing the hearty nature of the tots beautifully.
- Roasted Vegetable Medley: Earthy roasted veggies add a lovely depth of flavor, making a wholesome side that pairs well with the cheesy bites.
- Caramelized Onions: Their sweet and savory profile creates a delicious contrast that enhances the flavor of the Cottage Cheese Tots.
For the ultimate indulgence, consider a delightful dessert to finish off the meal.
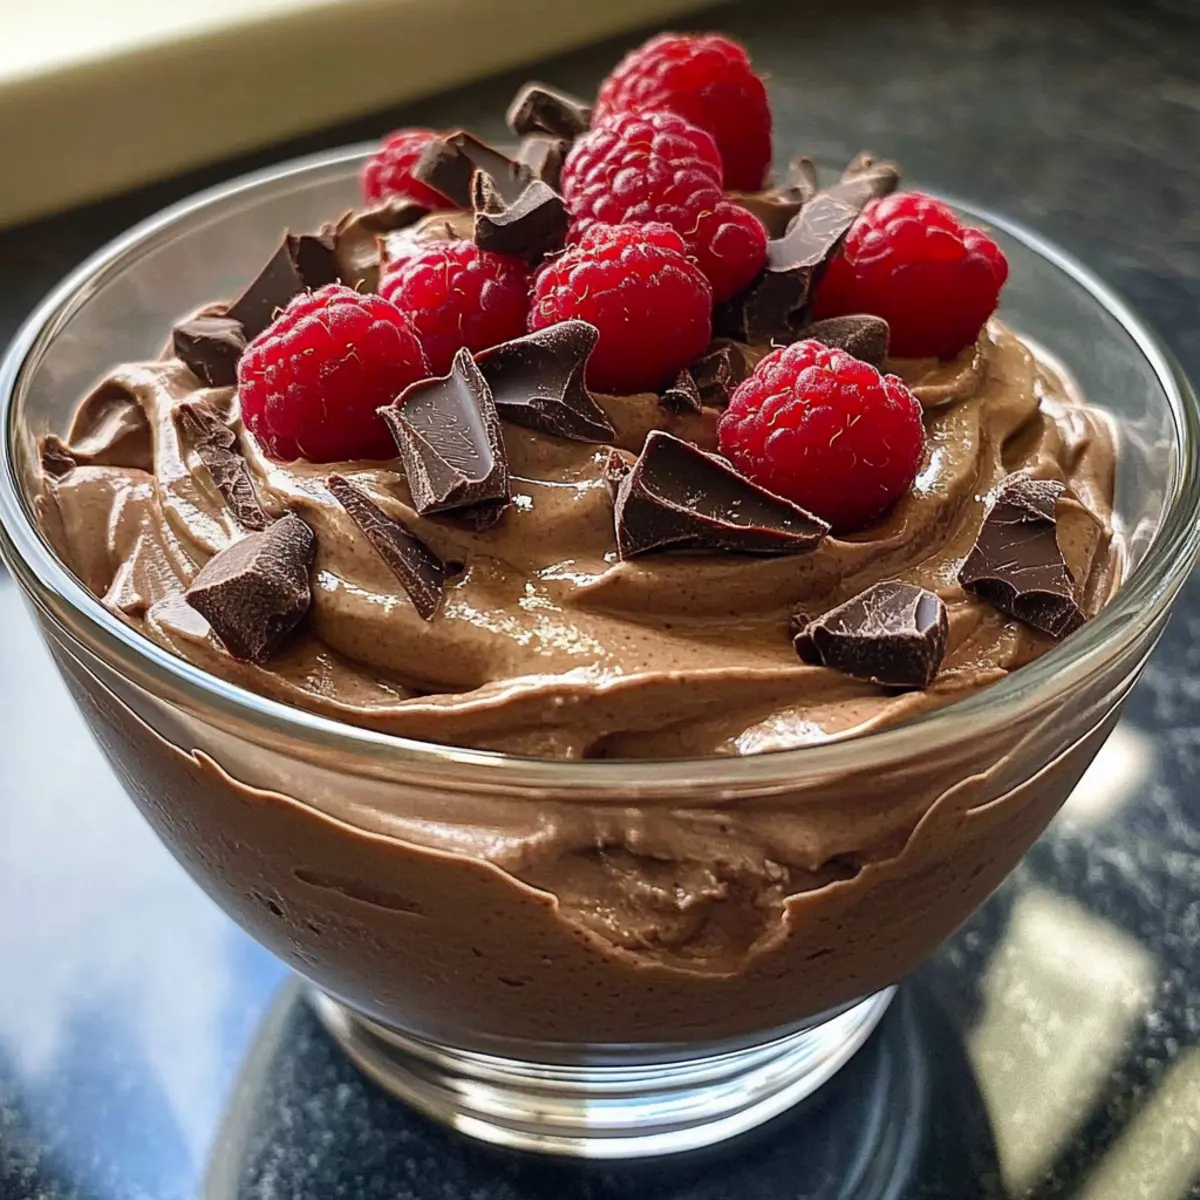
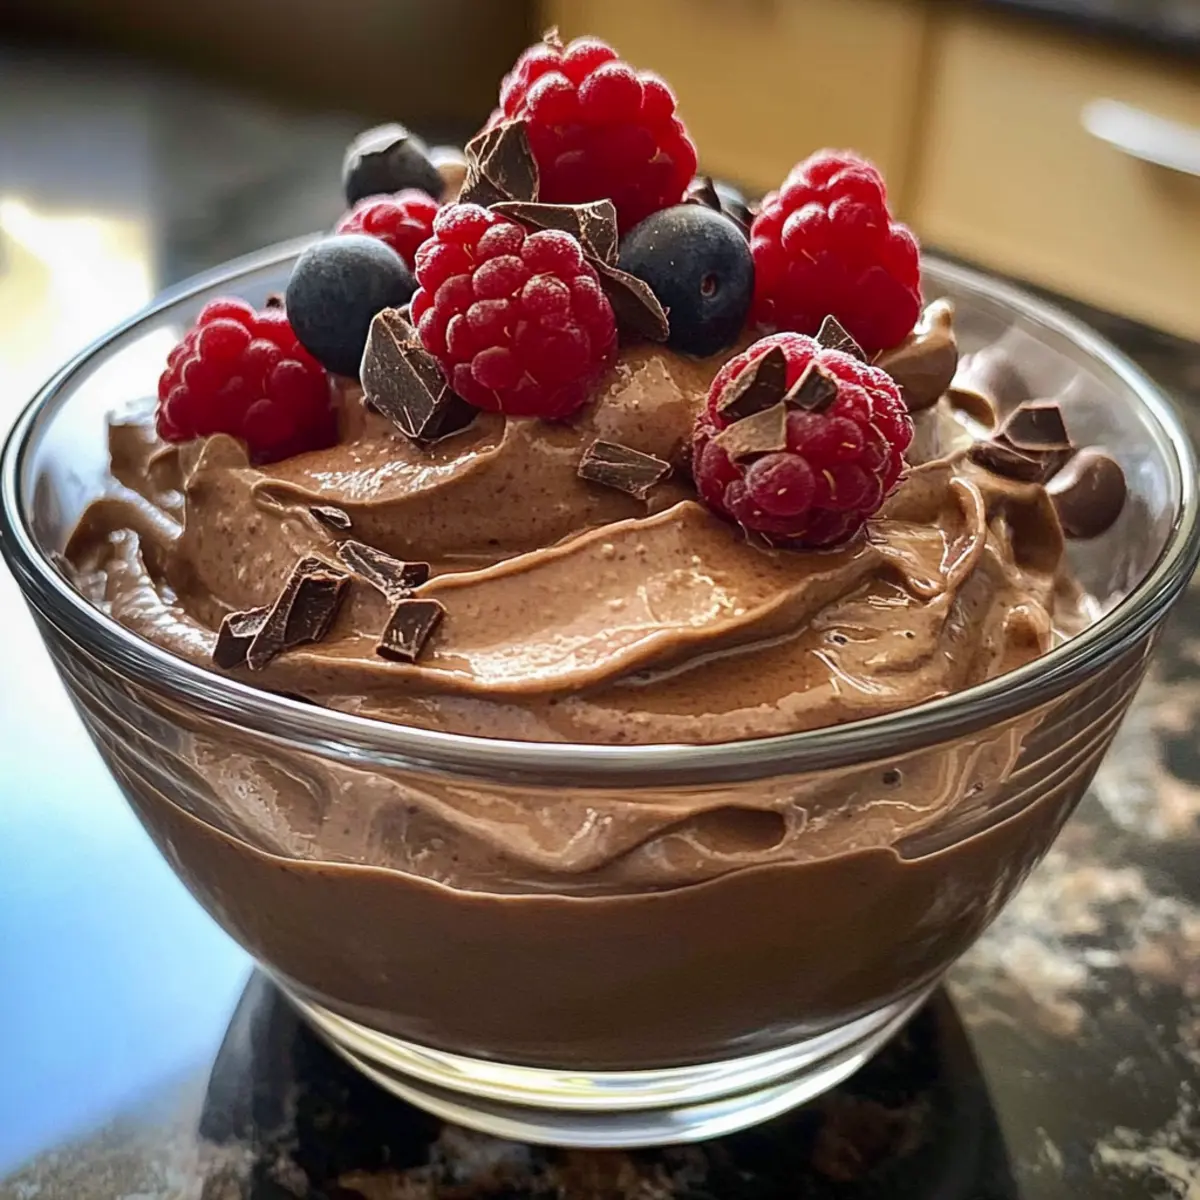
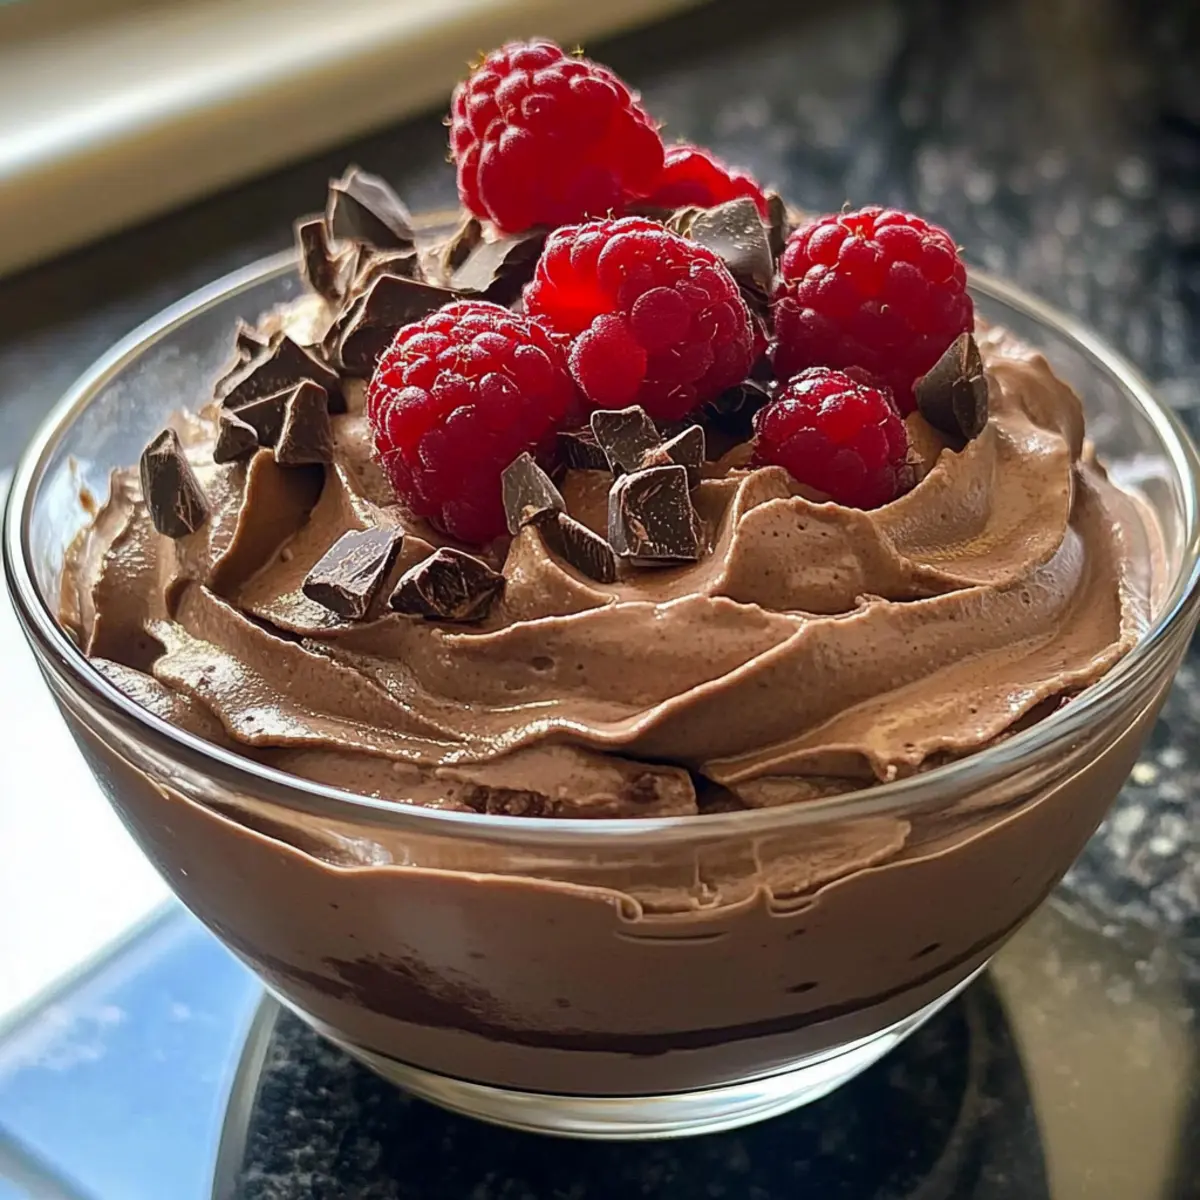
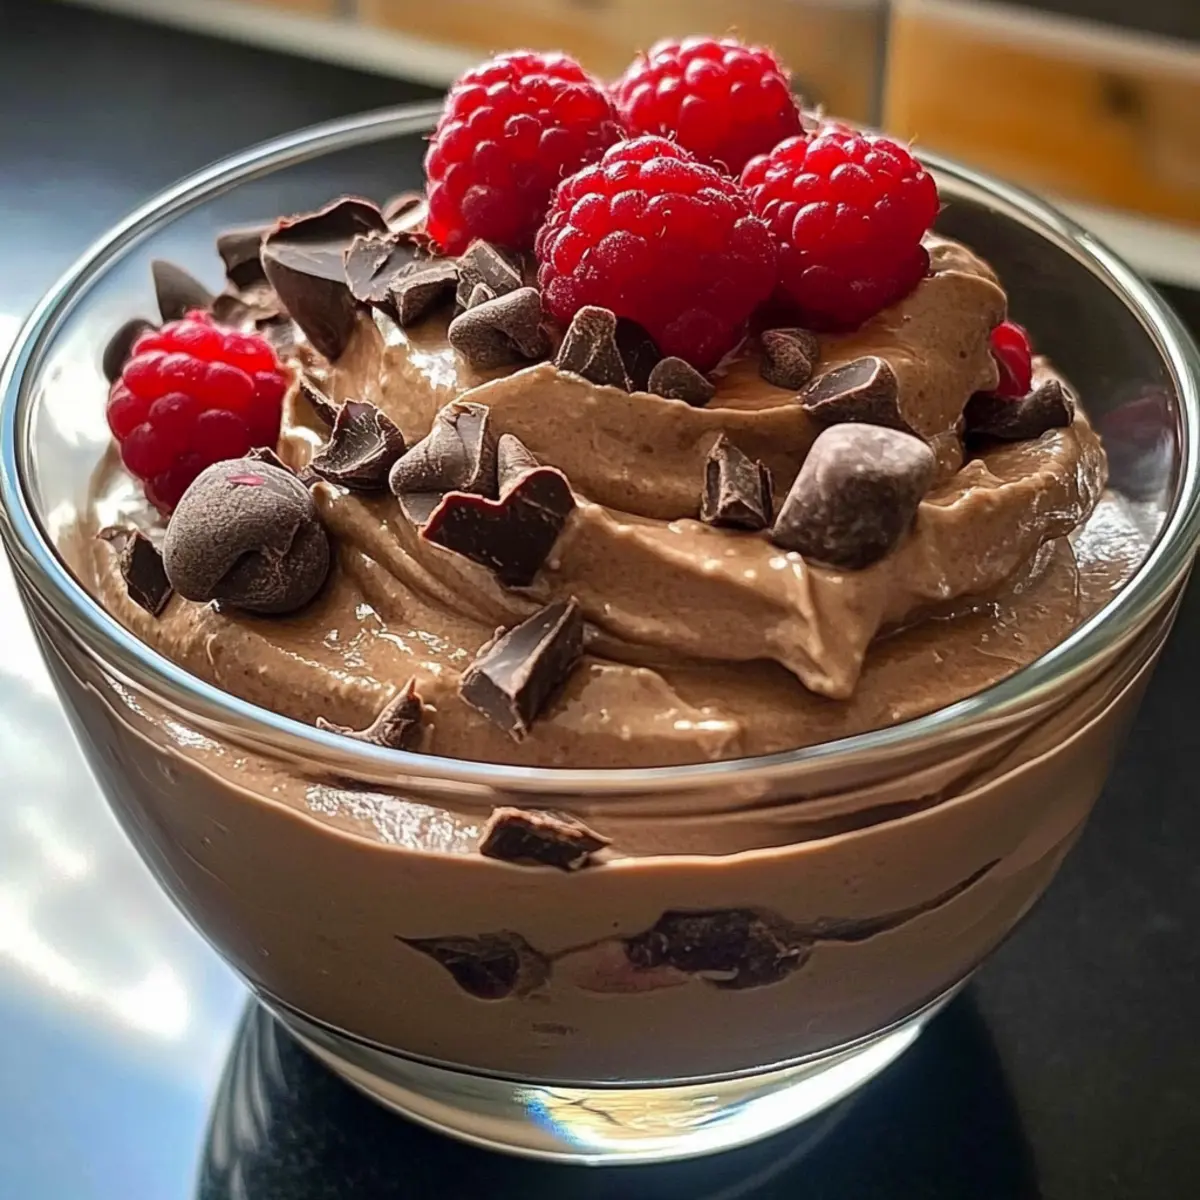
- Chocolate Avocado Mousse: This creamy and rich dessert is both healthy and decadent, providing a wonderful sweet ending to a savory meal.
- Fruit Sorbet: Light and refreshing, a scoop of sorbet rounds out your meal with a burst of fruity flavor and a refreshing coolness.
How to Store and Freeze Cottage Cheese Tots
-
Room Temperature: Cottage Cheese Tots can be stored at room temperature for up to 2 hours after serving. Any longer and they'll start to lose their crispiness.
-
Fridge: Store leftover cooked Cottage Cheese Tots in an airtight container in the refrigerator for up to 3 days. Reheat in the oven for crispiness.
-
Freezer: To freeze uncooked tots, arrange them on a baking sheet and freeze until solid, then transfer to a freezer-safe container. They can be stored for up to 3 months.
-
Reheating: Bake frozen Cottage Cheese Tots directly from the freezer at 400°F (200°C) for an additional 5-10 minutes until golden and hot throughout.
Cottage Cheese Tots: Creative Twists
Feel free to play with these tasty ideas and make the cottage cheese tots your own, bursting with flavors and textures!
- Gluten-Free: Use gluten-free breadcrumbs instead of panko for a delightful crunch without the gluten.
- Cheesy Variations: Swap in shredded cheddar or mozzarella for an extra cheesy version that’s even more indulgent.
- Herb Infusion: Stir in fresh or dried herbs like thyme or basil for a fragrant twist that brightens each bite.
- Spicy Kick: Add a pinch of cayenne pepper or red pepper flakes to the mixture for a fiery touch, perfect for heat seekers!
- Zesty Lemon: A squeeze of fresh lemon juice mixed into the cottage cheese can add a lovely zing that cuts through the richness.
- Veggie Boost: Incorporate finely chopped spinach or grated zucchini into the mix for added nutrition and hidden veggies.
- Mediterranean Flair: Fold in some feta cheese and black olives for a Mediterranean-inspired snack bursting with flavor.
- Sweet Treat: Have fun by adding a touch of cinnamon and a drizzle of honey to the mixture, transforming them into a sweet bite perfect for dessert!
For more tasty ideas, consider pairing these cottage cheese tots with sides like a refreshing Jello Salad Cottage or explore other delicious ways to serve them. Enjoy your culinary adventure!
Expert Tips for Cottage Cheese Tots
-
Even Size Matters: Ensure each tot is about the same size for uniform baking; this prevents some from being undercooked while others are overdone.
-
Bind It Right: If your mixture feels too wet, don't hesitate to add more panko breadcrumbs. A dry mixture will form better and lead to crunchier Cottage Cheese Tots.
-
Customize Flavors: Mix in spices or herbs, such as garlic powder or fresh parsley, before shaping the tots to enhance flavor and create a personal touch.
-
Use a Timer: Keep an eye on the baking time; set a timer for both 25 and 30 minutes. When they are golden brown, they are ready to be taken out!
-
Cooling Is Key: Allow the tots to cool briefly after baking. This helps them firm up, resulting in a better texture that maintains its shape when served.
Make Ahead Options
These Cottage Cheese Tots are a fantastic choice for meal prep, allowing busy cooks to save precious time during hectic weeknights! You can mix the cottage cheese and panko breadcrumbs up to 24 hours in advance; simply cover the mixture tightly and refrigerate it. Additionally, you can shape the tots and leave them on the baking sheet, covered with plastic wrap, for up to 3 days in the fridge without losing their delightful texture. To maintain quality, ensure that they are well-sealed to prevent moisture. When you're ready to bake, simply proceed with the cooking instructions, adding an extra few minutes to the baking time if baking from the fridge. Enjoy the ease of having delicious snacks ready to go!

Two Ingredient Cottage Cheese Tots Recipe FAQs
How do I choose the right cottage cheese?
Absolutely! For the best flavor and texture in your Cottage Cheese Tots, opt for full-fat or 2% cottage cheese. Look for a brand with a smooth consistency and minimal curds. Avoid low-fat varieties, as they can make the mixture overly watery.
What is the best way to store leftover Cottage Cheese Tots?
Very well! You can store leftover cooked Cottage Cheese Tots in an airtight container in the fridge for up to 3 days. To reheat, place them in the oven at 350°F (175°C) for about 10-15 minutes until they crisp up again. This helps restore that delicious crunch!
Can I freeze my uncooked Cottage Cheese Tots?
Absolutely! To freeze uncooked tots, arrange them on a baking sheet lined with parchment paper and place them in the freezer until they are solid. Once frozen, transfer the tots to a freezer-safe container or bag, where they can be kept for up to 3 months. When ready to bake, cook them directly from frozen, adding an additional 5-10 minutes to the baking time.
What should I do if my tot mixture is too wet?
Not an issue! If you find that your mixture for the Cottage Cheese Tots feels too wet to shape, just add a little more panko breadcrumbs, about 1-2 tablespoons at a time, until it reaches a moldable consistency. This will help your tots hold their shape and become crisp during baking.
Are Cottage Cheese Tots suitable for kids with allergies?
Yes! These Cottage Cheese Tots can be a great snack for kids, but be mindful of anyone with dairy or gluten allergies. You can easily substitute gluten-free breadcrumbs to make them safe for those who need it. Additionally, for a dairy-free option, replace cottage cheese with a plant-based ricotta or blended tofu.
How can I spice up my Cottage Cheese Tots?
The more the merrier! To enhance the flavor, mix in your favorite spices or fresh chopped herbs, like garlic powder, paprika, or chives, directly into the cottage cheese before adding the breadcrumbs. This customization adds a delightful twist to your Cottage Cheese Tots while pleasing everyone’s palate.

Cottage Cheese Tots: Crunchy Bites of Cheesy Bliss
Ingredients
Equipment
Method
- Preheat the oven to 400°F (200°C) and prepare a baking sheet.
- In a mixing bowl, combine cottage cheese and panko breadcrumbs.
- Shape 1 tablespoon of the mixture into mini tots and place on the baking sheet.
- Bake for 25 to 30 minutes, flipping halfway for even browning.
- Let the tots cool for a few minutes before serving.