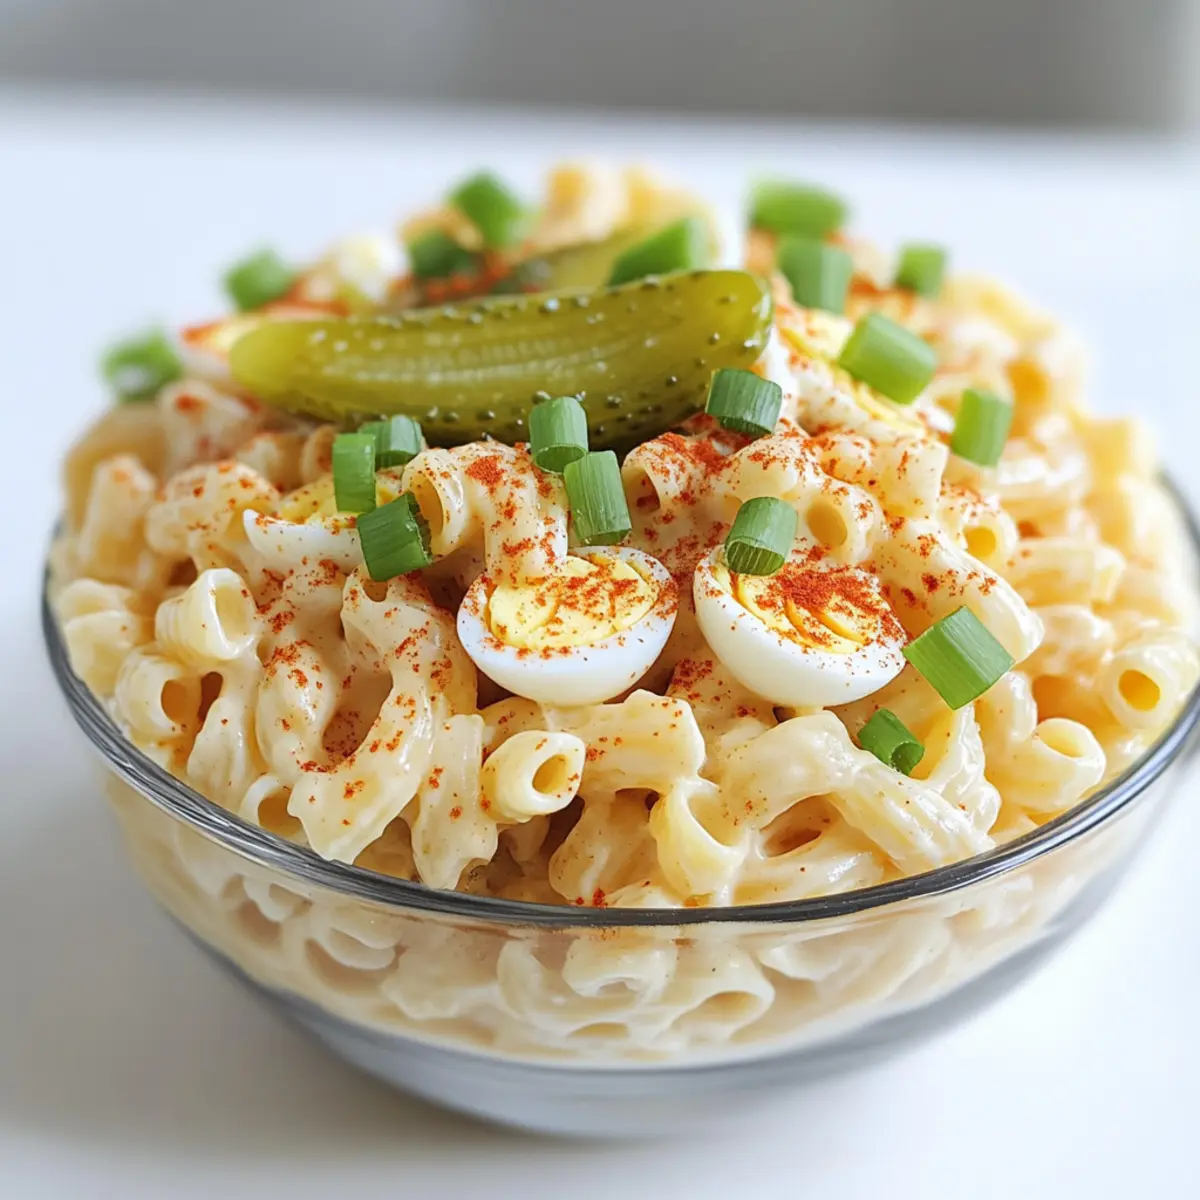
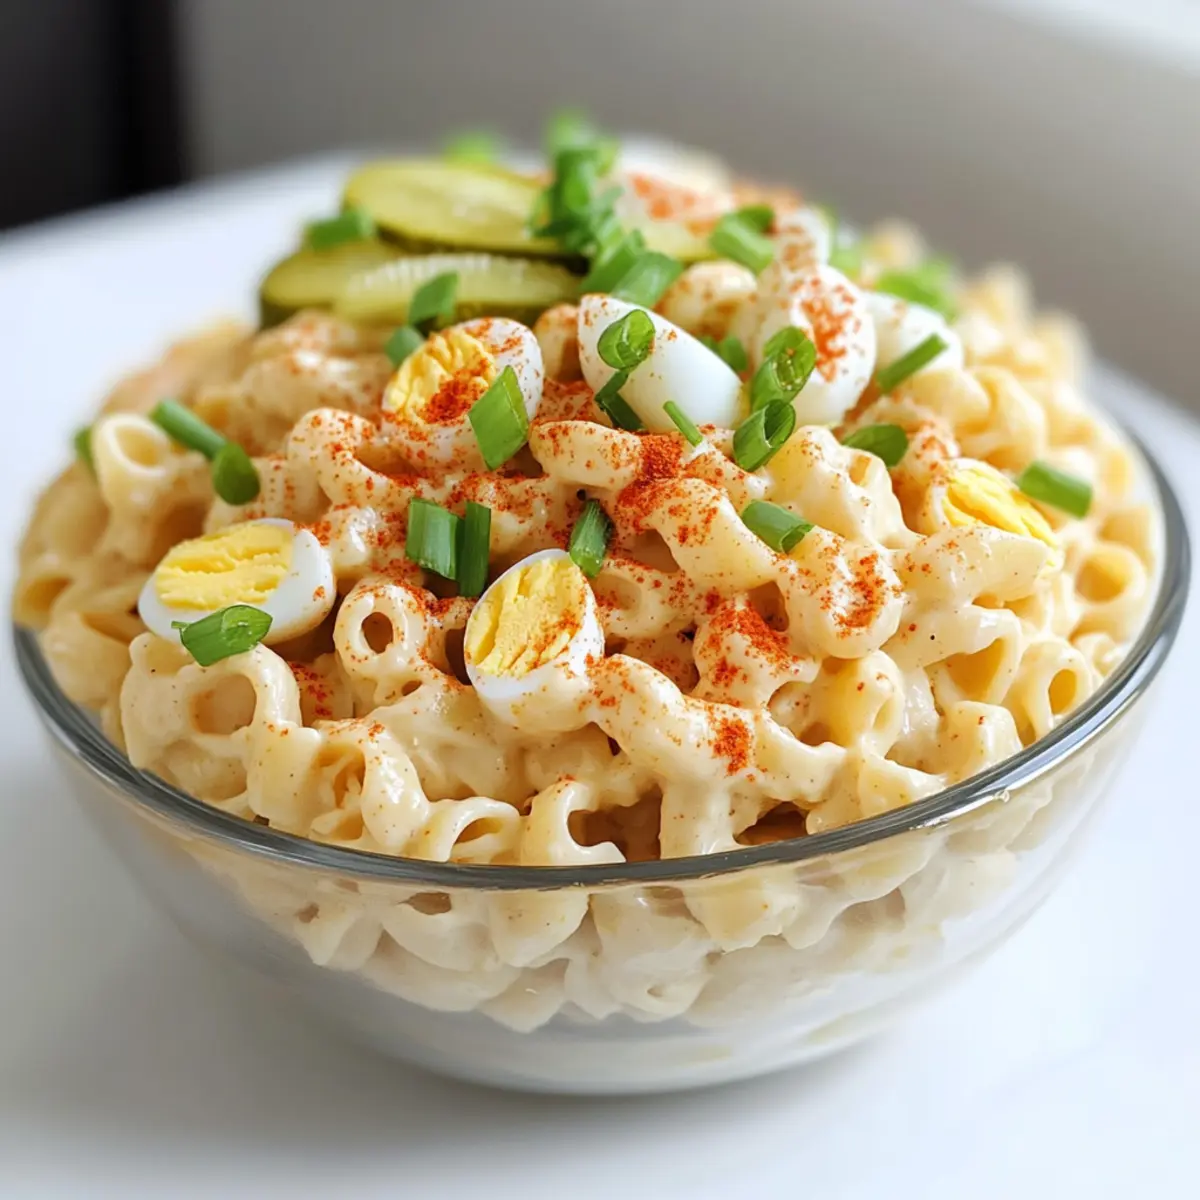
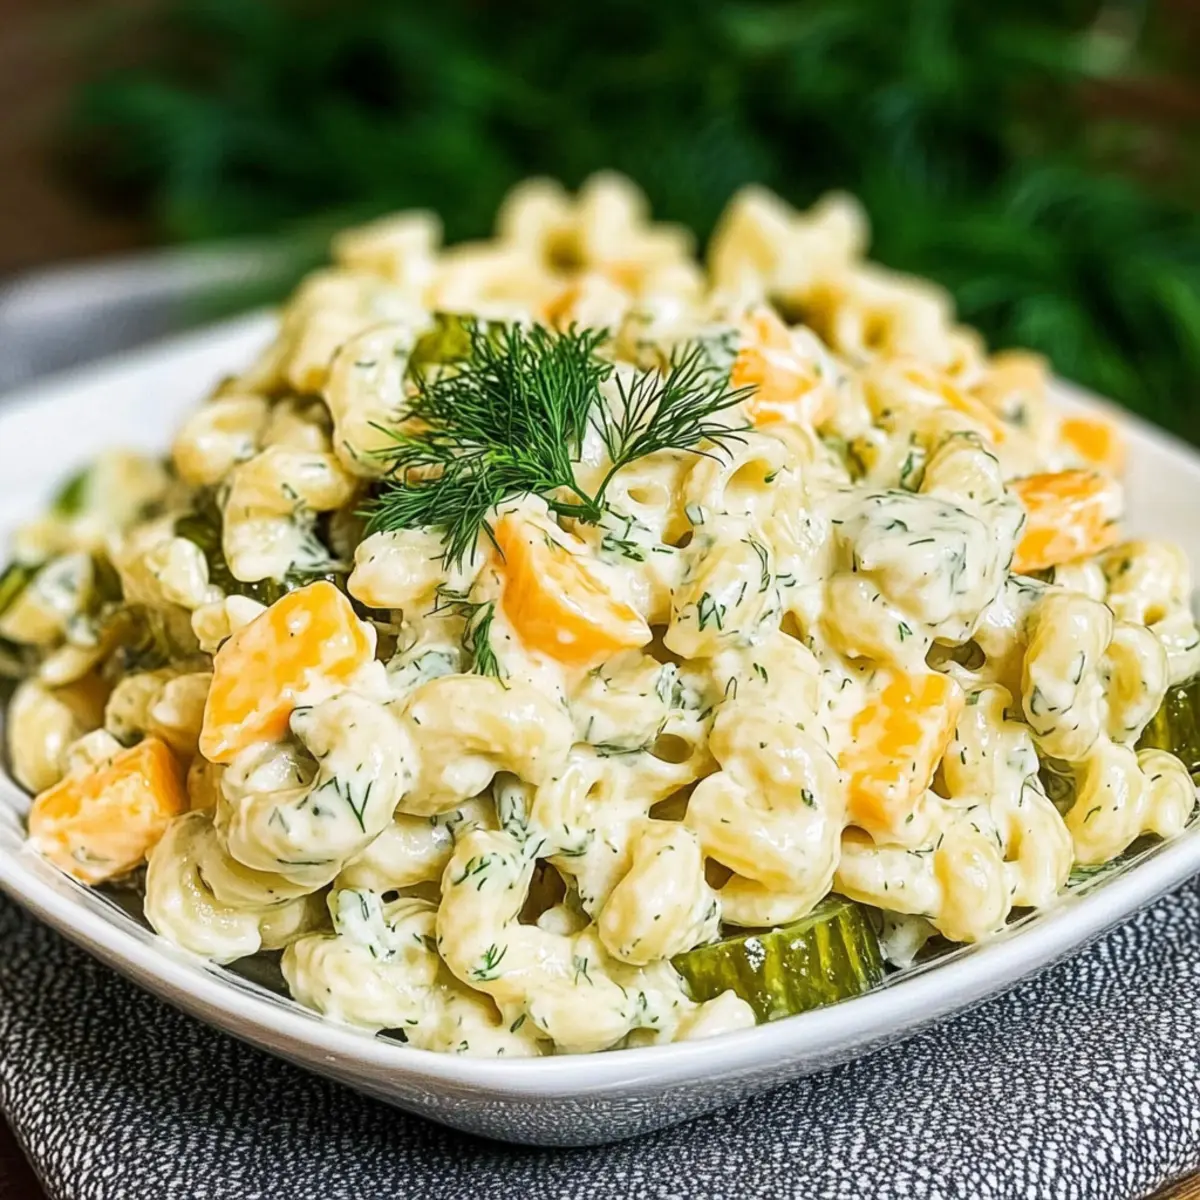
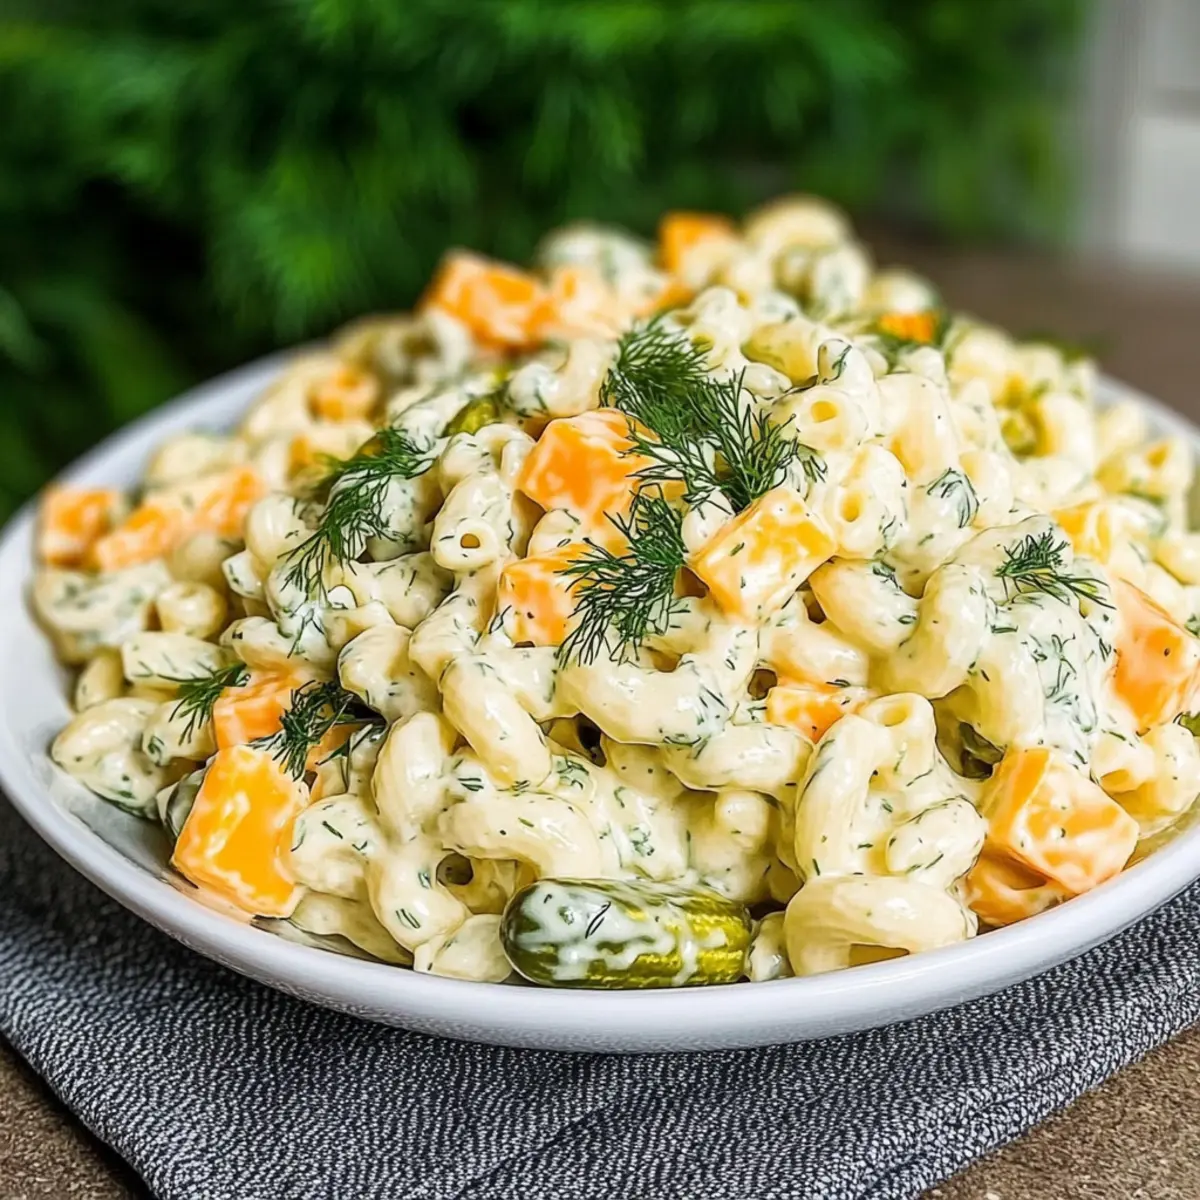
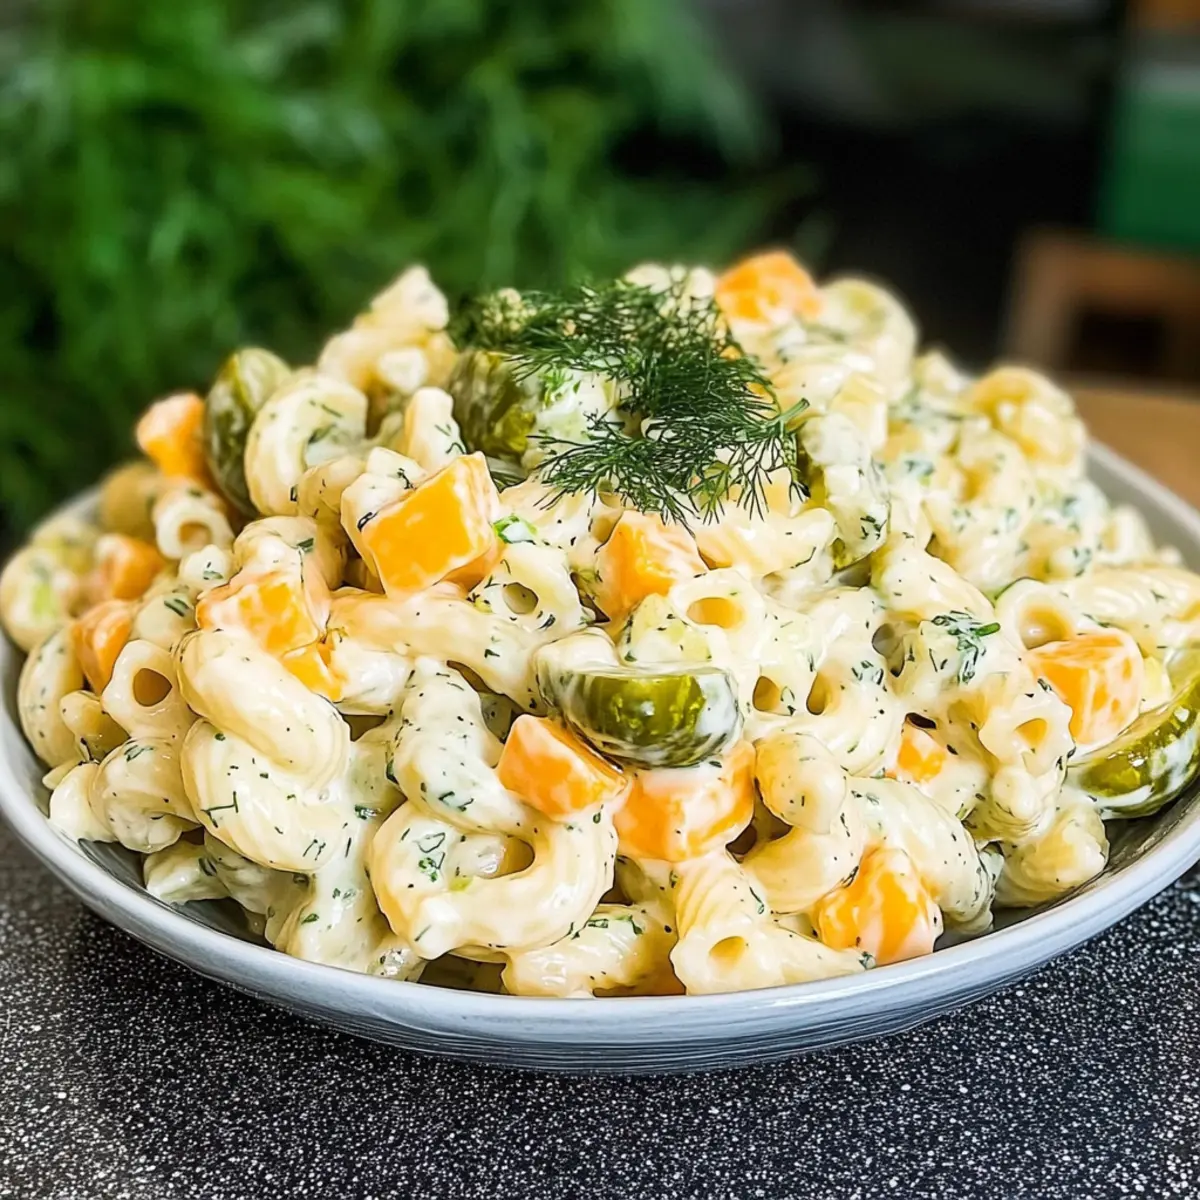
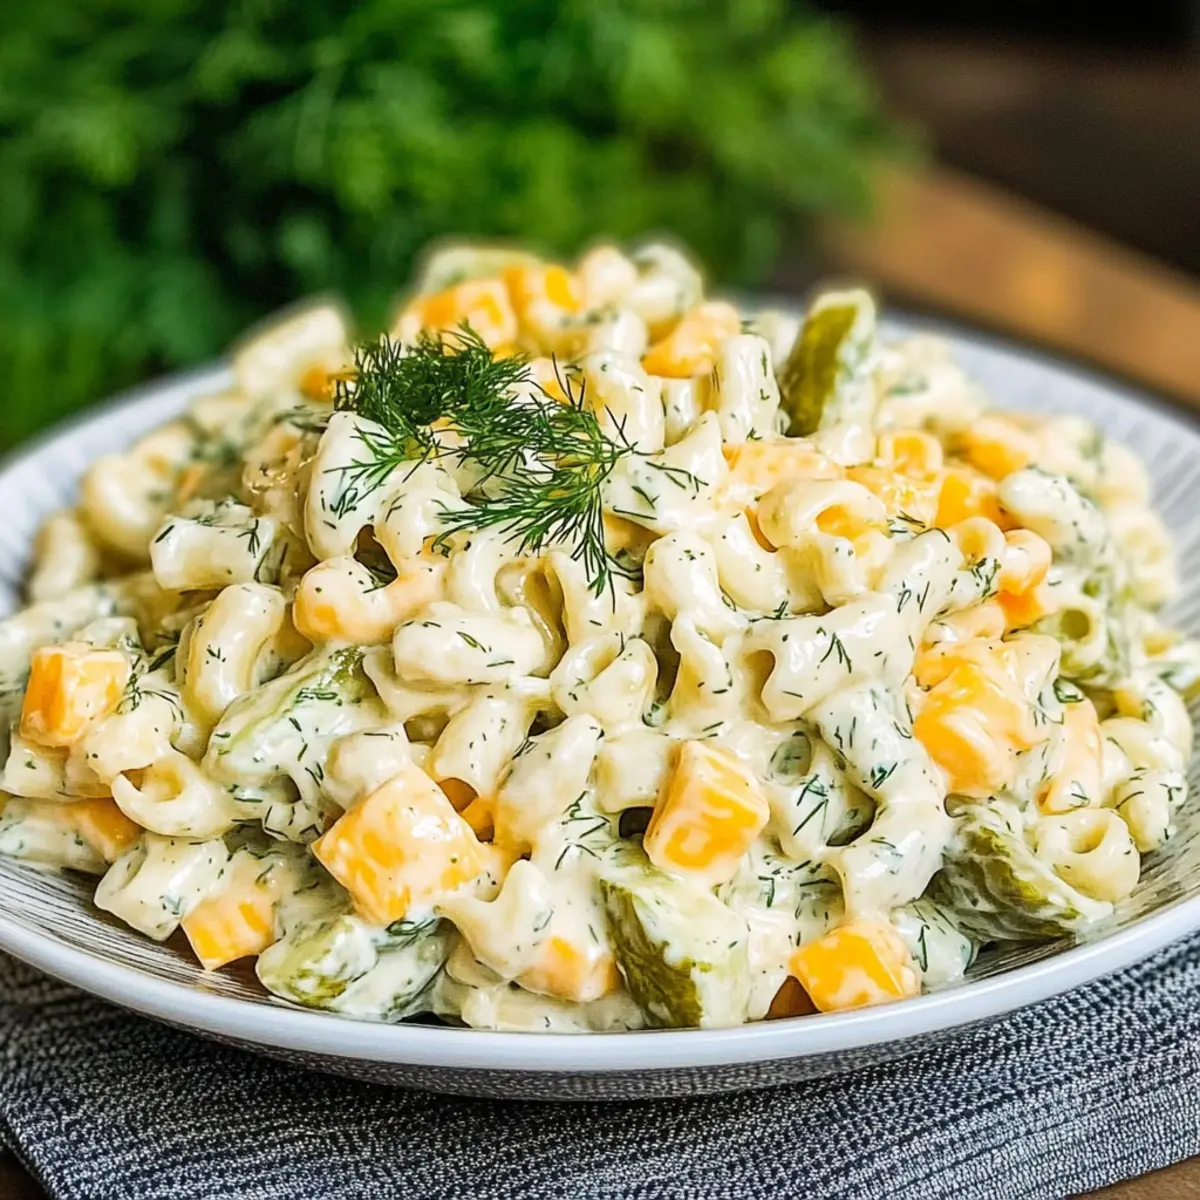
Summer gatherings are the perfect excuse to indulge in vibrant flavors, and what better way to do that than with a delightful Dill Pickle Pasta Salad? This refreshing dish combines creamy textures with the tangy crunch of dill pickles, making it an irresistible crowd-pleaser that your family and friends will adore. With this easy recipe, you can whip up a satisfying side dish in just 25 minutes (plus chilling time), allowing you more time to enjoy the sunshine. Whether you're heading to a potluck, a picnic in the park, or simply preparing a family dinner, this salad adds a fun twist to traditional pasta salads. Are you curious to find out how to elevate your summer meals effortlessly? Let's dive into the details!
Why is Dill Pickle Pasta Salad a Must-Try?
Unforgettable Flavor: This Dill Pickle Pasta Salad boasts a masterful blend of creamy, tangy, and crunchy elements that tantalize your taste buds.
Quick and Easy: Ready in just 25 minutes, plus chilling time, this recipe is perfect for those busy summer days when you want deliciousness without fuss.
Perfect for Gatherings: This salad is a total crowd-pleaser, making it an ideal choice for potlucks, picnics, and family barbecues.
Versatile Substitutions: Feel free to customize the recipe with different cheeses or pasta variations, ensuring every batch suits your taste!
Make-Ahead Convenience: Whip it up a day in advance and simply chill—it's a time-saver that enhances flavors, giving you more time to relax and enjoy.
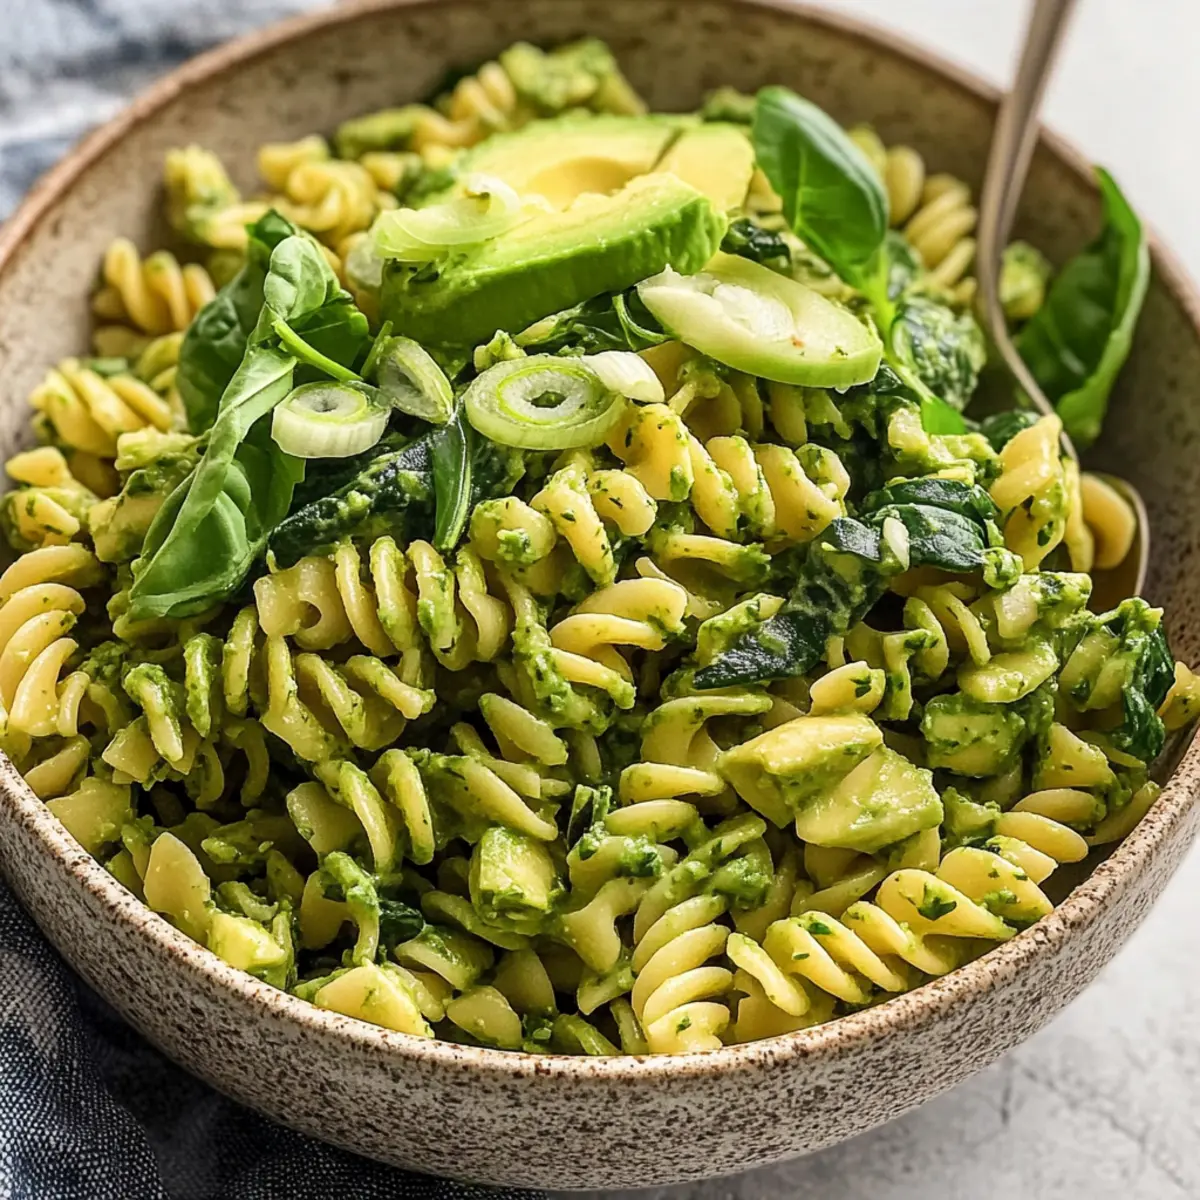
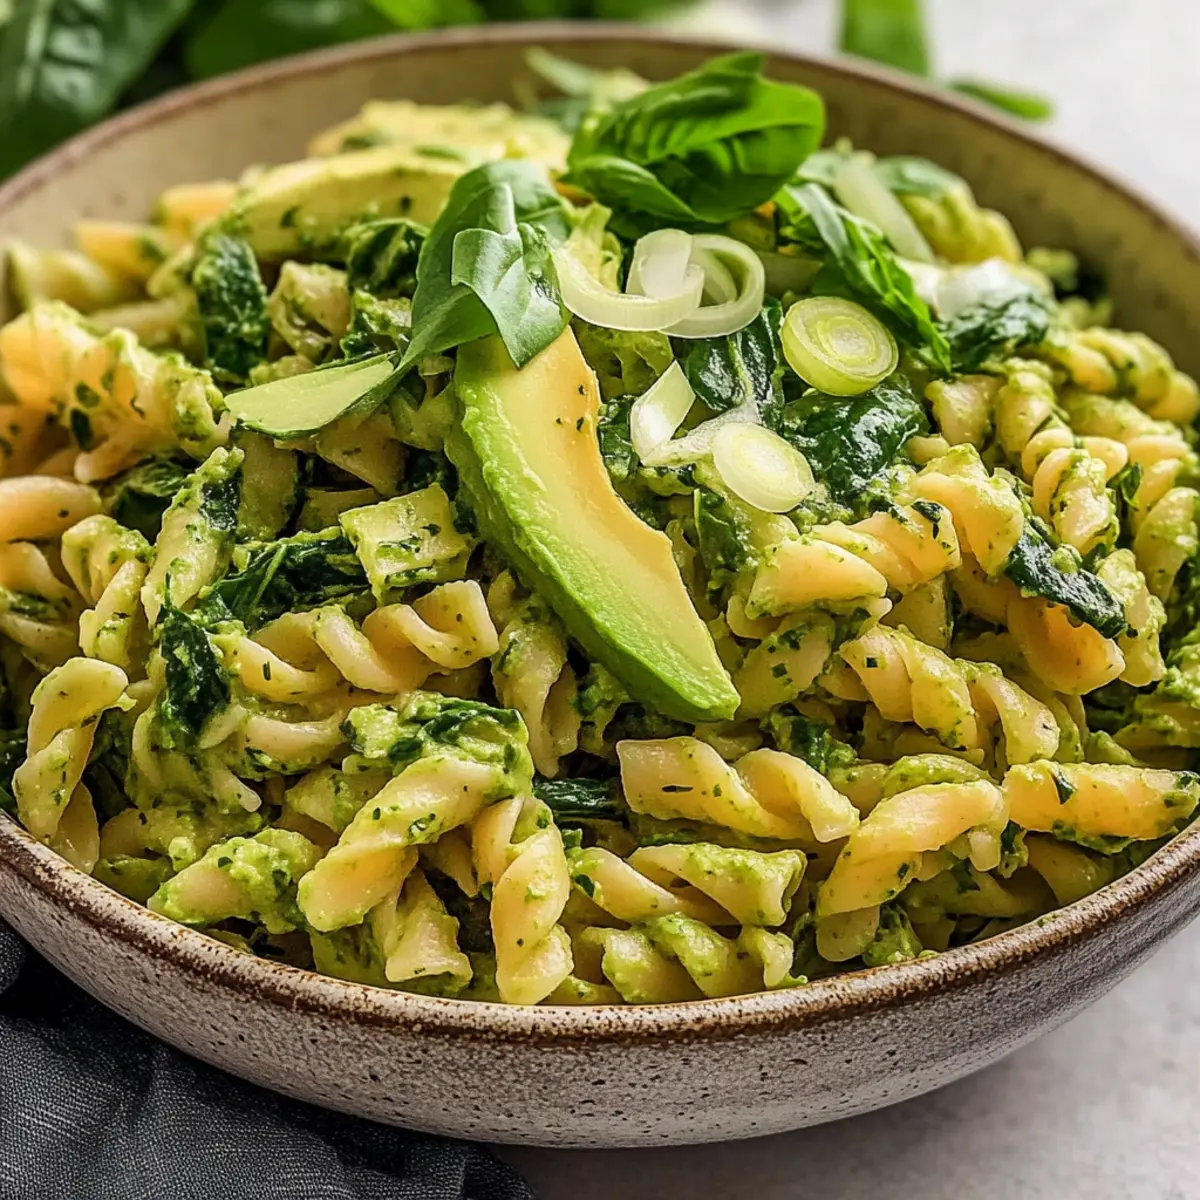
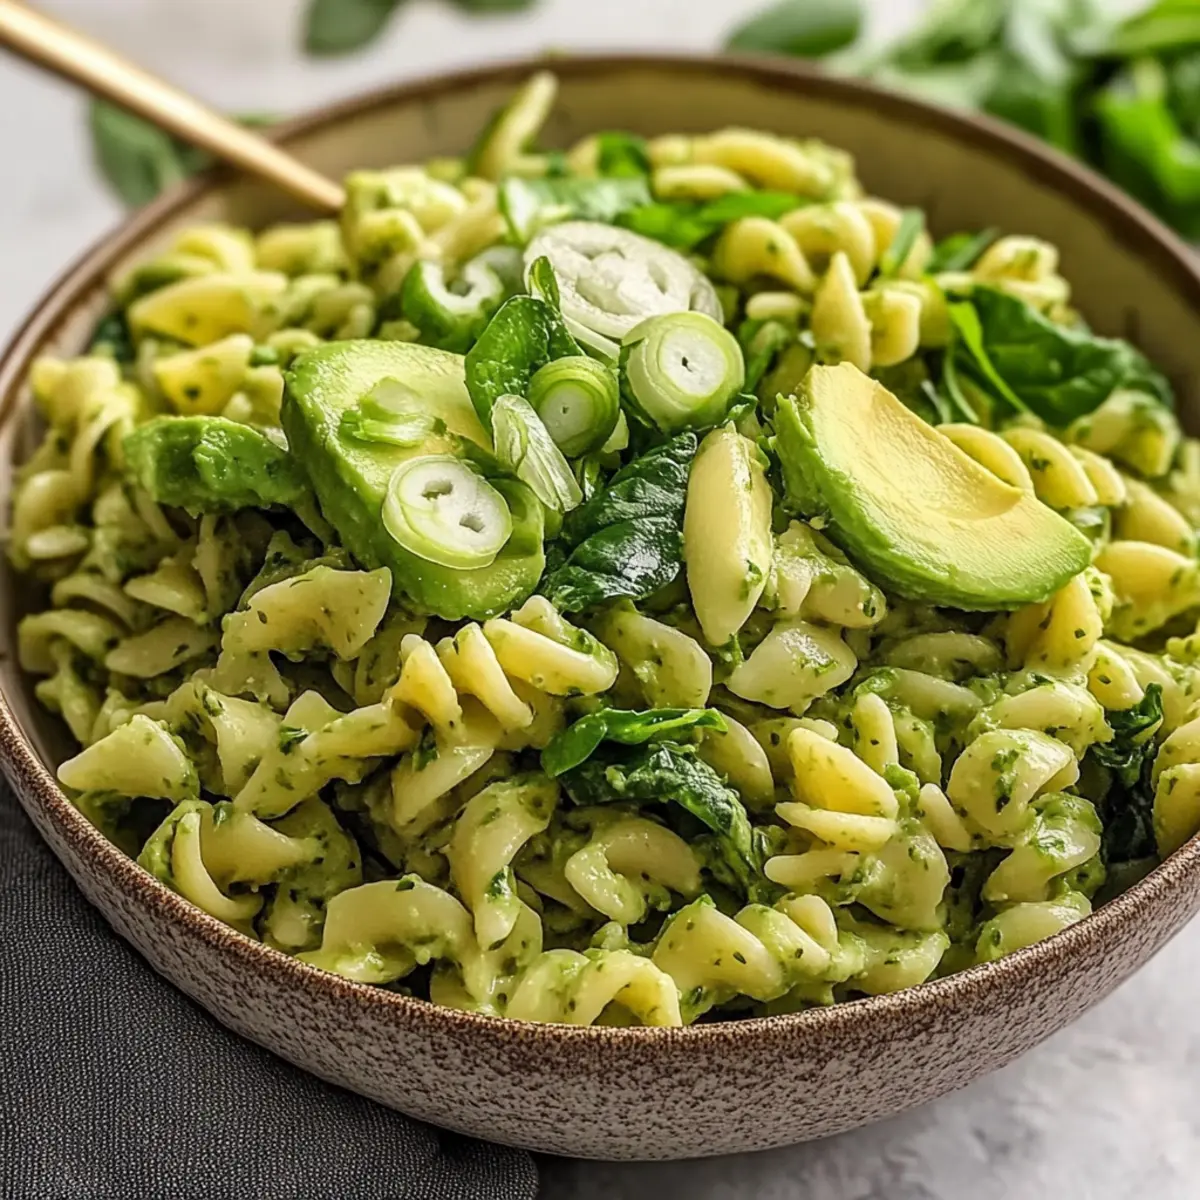
If you're looking for more delicious summer options, check out our delightful Skillet Pasta Sun or try the refreshing Avocado Egg Salad for lighter fare!
Dill Pickle Pasta Salad Ingredients
• Gather everything you need for this flavorful dish!
For the Pasta
• Elbow Pasta – Provides the bulk of the salad; cook until al dente for the best texture.
For the Dressing
• Dill Pickle Juice – Adds that tangy flavor; adjust to your liking from the jar!
• Mayonnaise – Serves as the creamy base; consider Greek yogurt for a lighter alternative.
• Sour Cream – Enhances the creaminess; you can also use Greek yogurt for fewer calories.
• Sriracha – Adds an optional spicy kick; feel free to adjust to taste.
• Salt & Black Pepper – Enhances overall flavor; season to your preference.
For the Salad Mix
• Cheddar Cheese – Offers creaminess and flavor; try Colby Jack or Pepper Jack for a twist!
• Sliced Dill Pickles – Provide a crunchy texture and strong dill flavor; sweet pickles work for a sweeter alternative.
• Fresh Dill – Elevates the dill flavor; fresh is best, but dried dill can be a substitute (use less).
• White Onion – Adds sharpness; red onion can offer a milder taste if desired.
The perfect Dill Pickle Pasta Salad ingredients are all at your fingertips, ready to create a dish that will soon become your go-to summer side!
Step‑by‑Step Instructions for Dill Pickle Pasta Salad
Step 1: Cook the Pasta
Begin by boiling a large pot of salted water. Add 8 ounces of elbow pasta and cook according to the package instructions until al dente, typically about 7-9 minutes. The pasta should be firm yet tender. Once cooked, drain it in a colander, and rinse under cold water to halt the cooking process and cool it down.
Step 2: Marinate the Pasta
After draining, return the pasta to the pot and stir in half of the dill pickle juice, ensuring it's evenly distributed. Allow the pasta to sit for 5 minutes, absorbing some of the tangy flavor. After the time has elapsed, drain the pasta completely again to remove excess liquid before proceeding.
Step 3: Prepare the Dressing
In a large mixing bowl, combine the creamy dressing ingredients: mayonnaise, sour cream, the remaining dill pickle juice, Sriracha, salt, black pepper, and fresh dill. Mix everything until you have a smooth consistency. This creamy dressing will be the flavorful base for your Dill Pickle Pasta Salad.
Step 4: Combine the Salad Ingredients
In a large serving bowl, mix the cooled pasta with diced cheddar cheese, sliced dill pickles, chopped fresh dill, and chopped white onion. Gently fold these ingredients together, ensuring they are well combined, which will enhance the overall flavor of your Dill Pickle Pasta Salad.
Step 5: Add the Dressing
Pour the prepared creamy dressing over the pasta and mix gently but thoroughly, ensuring all pieces are coated. The dressing adds a rich creaminess that binds the flavors together. Taste and adjust seasoning if needed before moving on to the chilling step.
Step 6: Chill the Salad
Cover the salad with plastic wrap or a lid and place it in the refrigerator. Let the Dill Pickle Pasta Salad chill for at least 4-6 hours, preferably overnight. Chilling allows the flavors to meld beautifully, creating a more delicious dish when served at your summer gathering.
Make Ahead Options
These Dill Pickle Pasta Salad options are perfect for busy home cooks looking to save time! You can prepare the pasta and the dressing up to 24 hours in advance. To get started, cook and cool the elbow pasta as directed, then drizzle with half the dill pickle juice and store it in an airtight container. The dressing can be mixed and refrigerated as well. On the day you're ready to serve, combine the pasta, diced cheese, sliced pickles, onions, and the creamy dressing, then chill for at least 4 hours (or overnight for optimal flavor). This meal prep strategy ensures your salad is just as delicious while giving you more time to enjoy your summer gatherings!
Dill Pickle Pasta Salad Variations
Feel free to get creative with your Dill Pickle Pasta Salad for a delightful twist that caters to your taste buds!
-
Gluten-Free: Substitute elbow pasta with gluten-free pasta for a lighter option that everyone can enjoy. You'll still savor all the creamy goodness!
-
Cheese Swap: Try substituting the cheddar cheese with feta or goat cheese for a tangy burst of flavor. It brings a unique twist that will surprise your guests!
-
Sweet Twist: Use sweet pickles instead of dill pickles for a more subtle and sweet flavor profile. This variation gives a delightful contrast that may just become your new favorite!
-
Veggie Boost: Incorporate diced bell peppers or cucumbers to add extra crunch and freshness to your salad. You’ll elevate not just taste, but also color!
-
Protein Punch: Add diced ham or cooked chicken for a hearty version that works well as a standalone meal. The protein addition turns this side into a filling dish perfect for lunch!
-
Creamy Alternative: Swap the mayonnaise and sour cream for Greek yogurt for a tangy, healthier alternative. This keeps your salad light while still being creamy!
-
Spicy Kick: If you love heat, consider mixing in some diced jalapeños or an extra dash of Sriracha to increase the spice level. It will make your salad exciting and full of vibrant flavors!
For more delightful side options, check out our refreshing Avocado Egg Salad or indulge in our savory Seafood Pasta Savory. Each recipe brings its own unique flair to your table!
Storage Tips for Dill Pickle Pasta Salad
-
Fridge: Store your Dill Pickle Pasta Salad in an airtight container in the refrigerator for up to 3 days. This keeps it fresh and flavorful for your next meal.
-
Make-Ahead: You can prepare this salad a day in advance. Just remember to add a splash of milk or extra dressing if it thickens overnight.
-
Freezer: While it’s best enjoyed fresh, you can freeze the pasta salad, but note that the texture may change. It’s best consumed within 2 months for optimal taste.
-
Reheating: If serving after freezing, thaw in the fridge overnight before gently mixing in a bit of fresh dressing to revive its creaminess.
What to Serve with Dill Pickle Pasta Salad
The perfect summertime dish pairs wonderfully with a variety of delectable sides and drinks, elevating your meal to another level.
-
Grilled Chicken: Juicy, flavorful grilled chicken complements the salad’s creamy tanginess, making for a balanced plate. The smoky char adds an extra layer of delight.
-
BBQ Ribs: The sweetness of BBQ ribs harmonizes beautifully with the tangy crunch of the pasta salad, offering a delightful contrast in flavors that everyone will love.
-
Roasted Vegetables: A medley of roasted seasonal vegetables brings a vibrant color and earthiness that pairs perfectly with the zesty pasta salad, enhancing your meal visually and flavor-wise.
-
Corn on the Cob: Sweet, buttery corn on the cob is a classic summer side that adds sweetness and a bit of crunch, creating a delicious duo with the creamy salad.
-
Watermelon Slices: Juicy watermelon bursts with freshness, providing a refreshing palate cleanser between bites of pasta salad and grilled delights.
-
Lemonade: A cold glass of homemade lemonade brings brightness to your meal with its citrusy zing, perfectly balancing the creamy richness of the dish.
-
Chocolate Chip Cookies: For dessert, soft, chewy chocolate chip cookies offer that homey sweetness that rounds off your summer feast in the most satisfying way.
Expert Tips for Dill Pickle Pasta Salad
-
Perfectly Cooked Pasta: Cook elbow pasta just until al dente to avoid mushiness; a firm texture enhances the salad's crunch.
-
Chill for Flavor: Refrigerate the salad for at least 4 hours. This waiting time allows the flavors in your Dill Pickle Pasta Salad to meld and develop wonderfully.
-
Adjust Seasonings: Customize the amount of dill pickle juice based on your tang preference. Less juice means a milder flavor, but don't compromise on the zing!
-
Mind the Mix-ins: Be cautious with salty ingredients like cheese and pickles. When substituting, balance is key to maintaining flavor harmony.
-
Storage Savvy: Prepare ahead by making the salad a day before your gathering. Keep it covered and consider adding a bit of milk or dressing if it thickens up overnight.
Dill Pickle Pasta Salad Recipe FAQs
How do I choose ripe dill pickles?
Absolutely! When selecting dill pickles, look for ones that are firm and bright in color, without any dark spots or blemishes. The brine should be clear, indicating freshness, while the pickles themselves should have a crisp texture. If you're considering sweet pickles instead, ensure they aren't overly soft or mushy.
What’s the best way to store leftovers of Dill Pickle Pasta Salad?
Very! Store your Dill Pickle Pasta Salad in an airtight container in the refrigerator for up to 3 days. This keeps it fresh and delicious! If you notice it has thickened, a splash of milk or a little extra dressing will help bring back its creamy consistency.
Can I freeze Dill Pickle Pasta Salad?
Definitely! While it's best enjoyed fresh, you can freeze your Dill Pickle Pasta Salad for up to 2 months. Just ensure it's in an airtight container to prevent freezer burn. When ready to eat, thaw it overnight in the refrigerator and consider stirring in a bit of fresh dressing to restore creaminess before serving.
What if my pasta salad turns out too salty?
Don't worry; it happens! If your salad is too salty, consider adding diced potatoes or extra cooked pasta to dilute the saltiness without impacting the flavors too much. You can also mix in extra fresh veggies like diced cucumbers or bell peppers, which can balance out the flavors beautifully.
What dietary considerations should I keep in mind?
Absolutely! When serving Dill Pickle Pasta Salad, be mindful of allergies, particularly to dairy or gluten. For those with gluten sensitivities, opt for gluten-free pasta. If preparing for anyone with dairy allergies, you can substitute the mayonnaise and sour cream with a vegan alternative, such as cashew cream or a dairy-free yogurt.
How long should I chill the pasta salad for optimal flavor?
Very! It's ideal to refrigerate the Dill Pickle Pasta Salad for at least 4-6 hours—or even overnight—before serving. This chilling time allows all the flavors to meld together beautifully, enhancing the final taste. Trust me; the wait is worth it!
Dill Pickle Pasta Salad: Your New Favorite Summer Side
Ingredients
Equipment
Method
- Boil a large pot of salted water, add elbow pasta, and cook until al dente, about 7-9 minutes. Drain and rinse under cold water.
- Return pasta to pot, stir in half of the dill pickle juice, and let sit for 5 minutes. Drain excess juice.
- In a large mixing bowl, combine mayonnaise, sour cream, remaining dill pickle juice, Sriracha, salt, black pepper, and fresh dill. Mix until smooth.
- In a large serving bowl, mix cooled pasta with cheddar cheese, sliced dill pickles, fresh dill, and onion. Fold together gently.
- Pour dressing over the pasta mixture and mix thoroughly. Taste and adjust seasoning if needed.
- Cover with plastic wrap or a lid and refrigerate for at least 4-6 hours, preferably overnight.