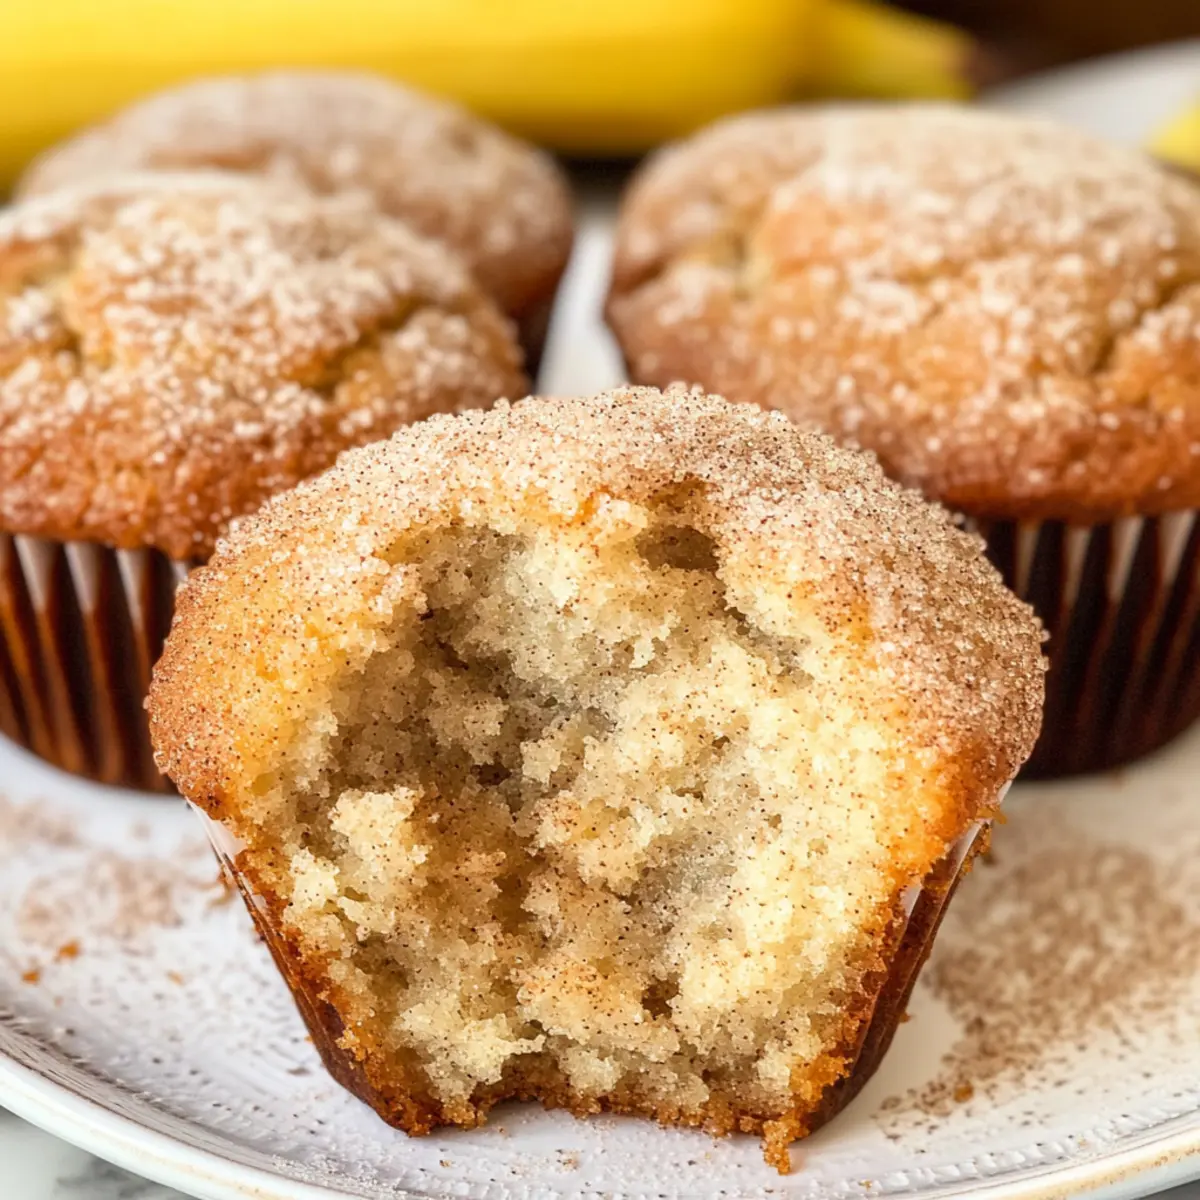
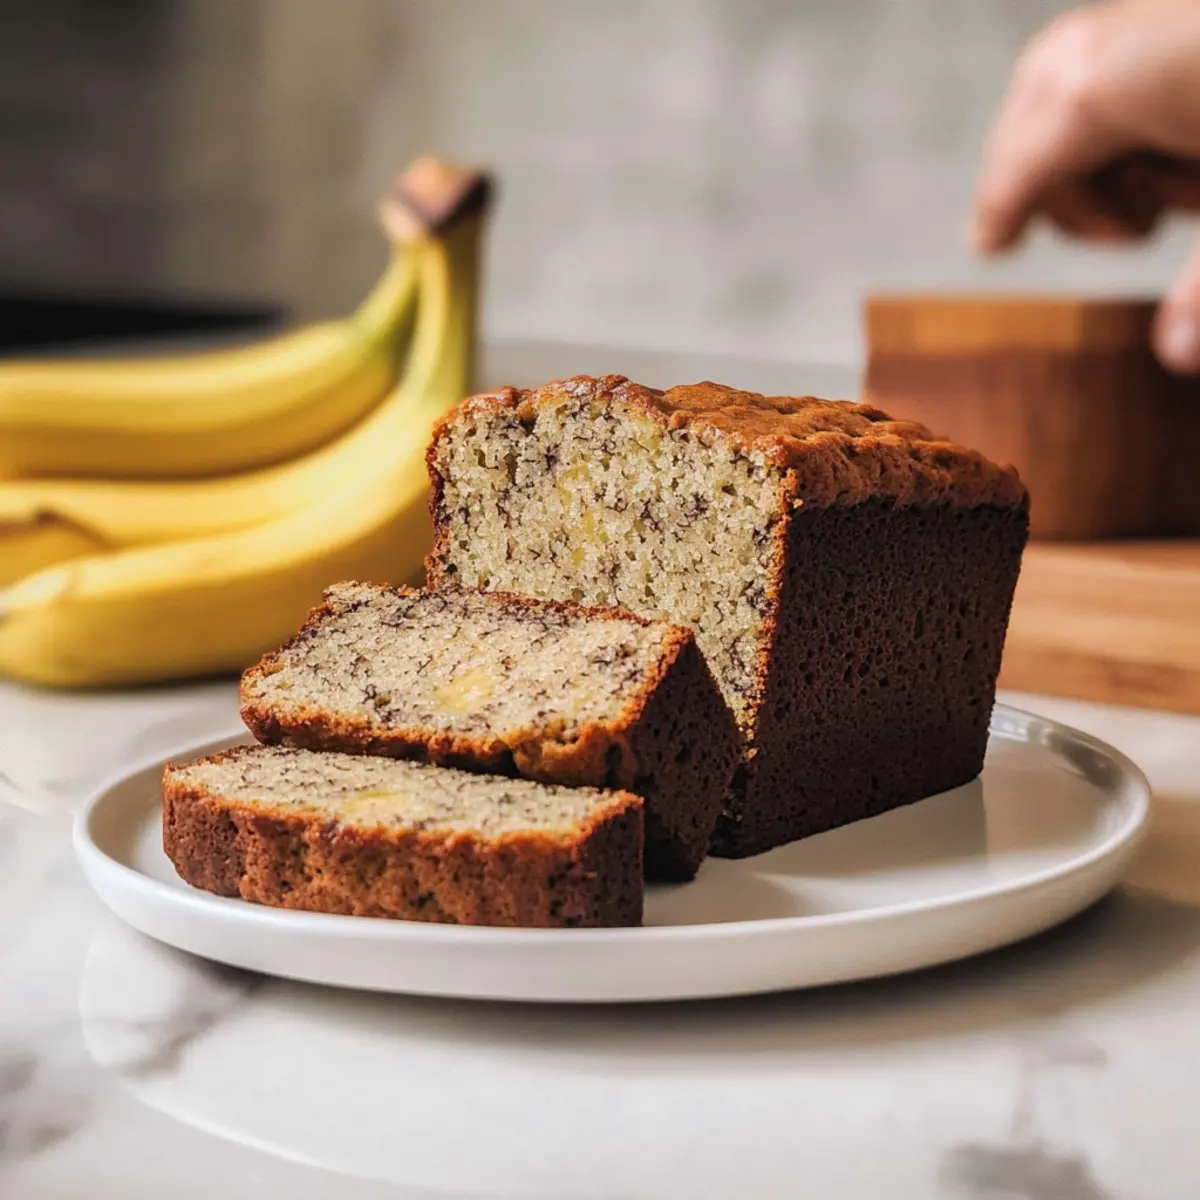
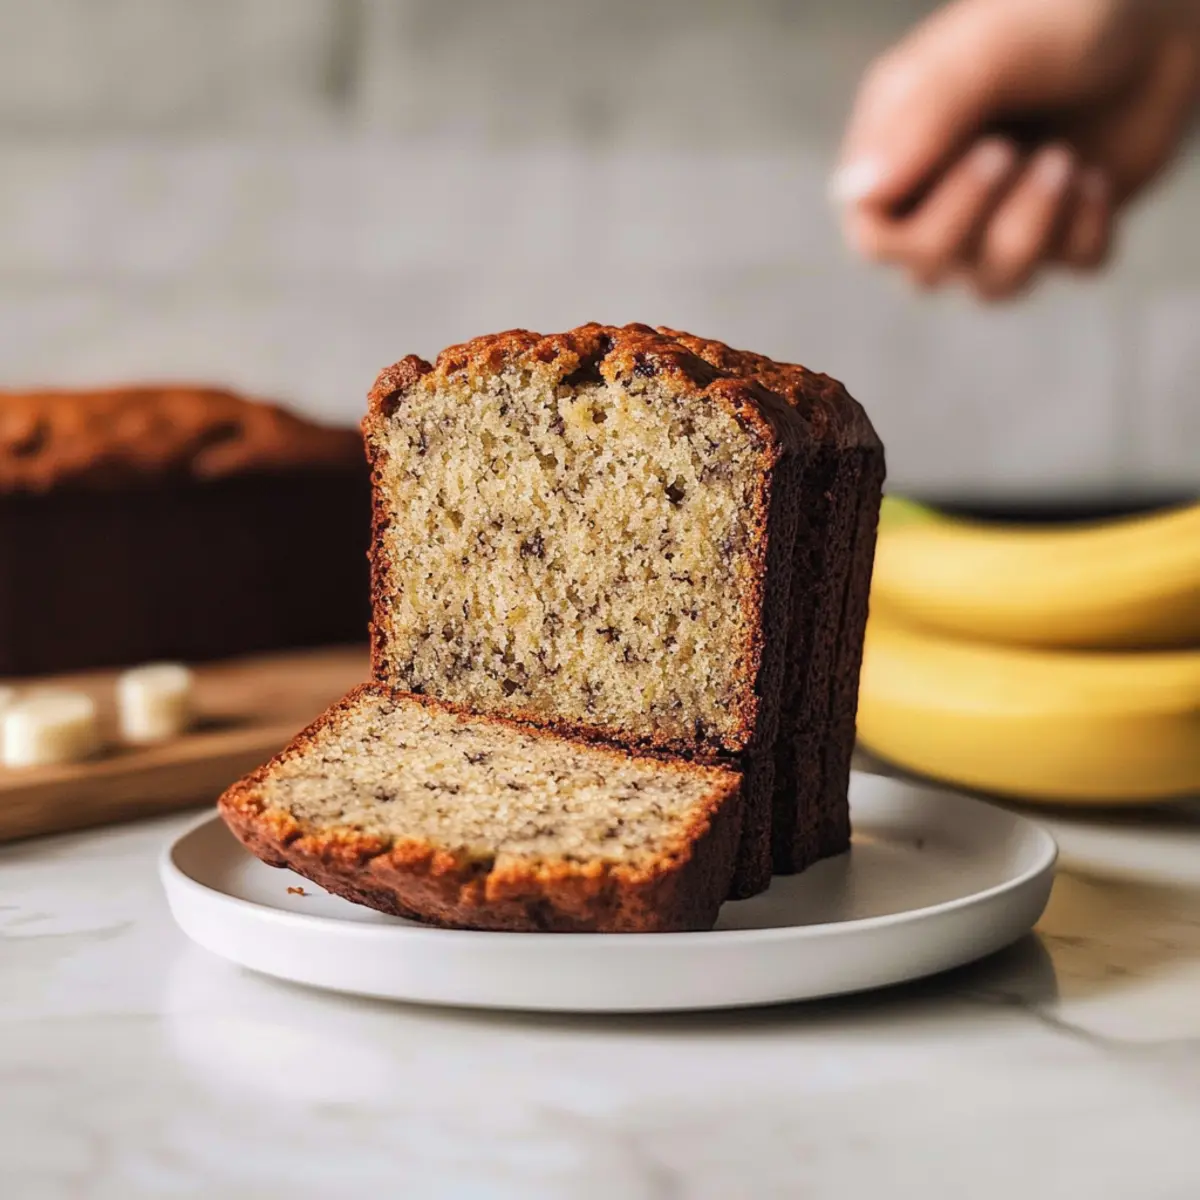
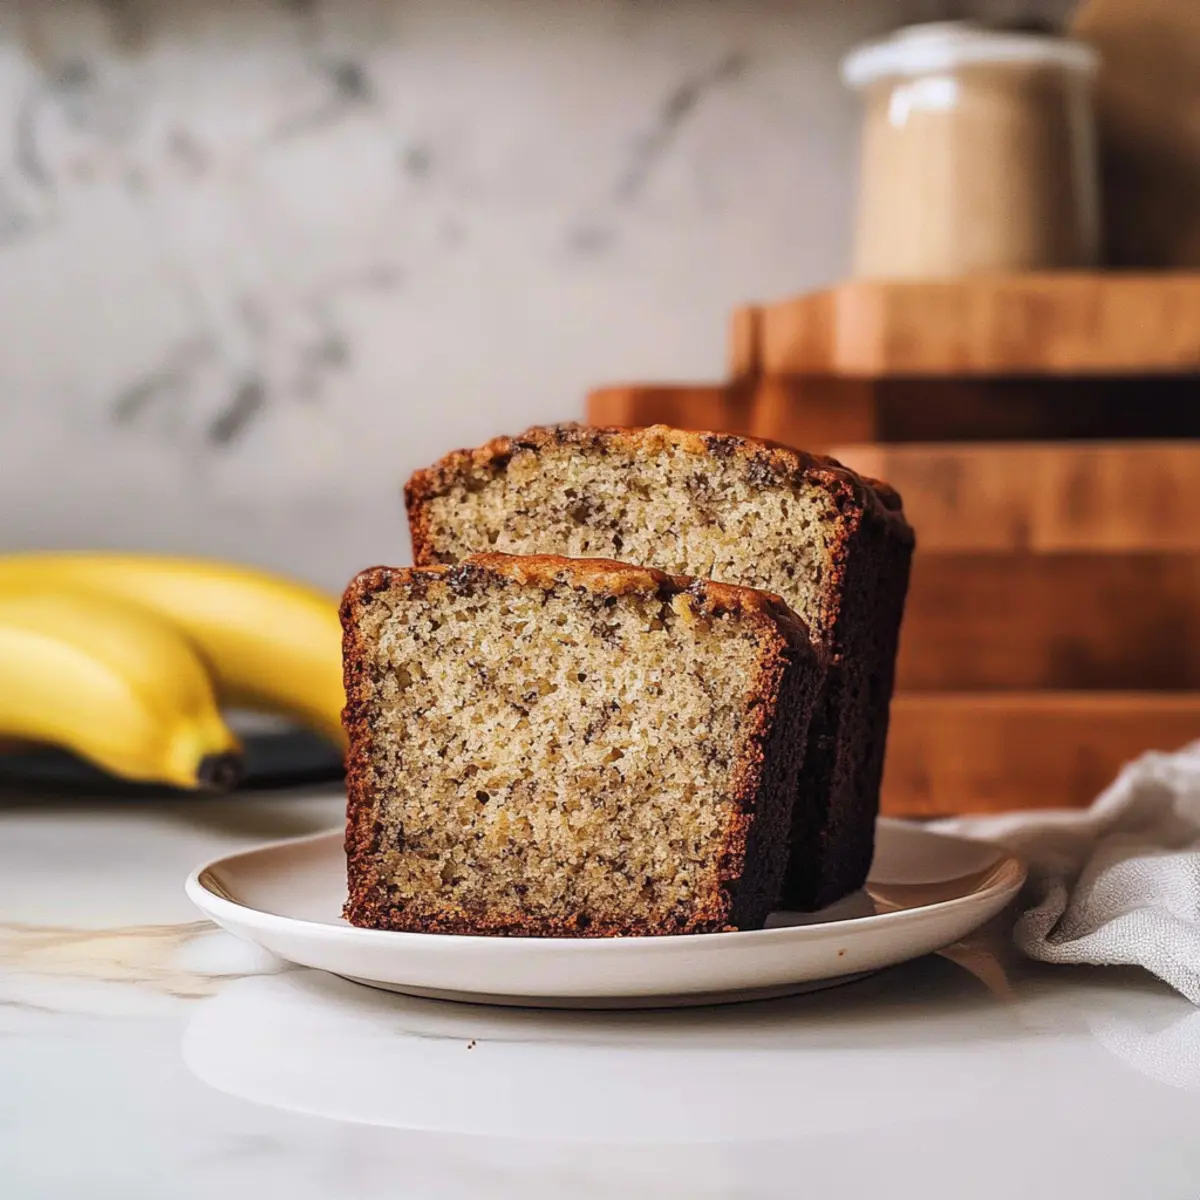
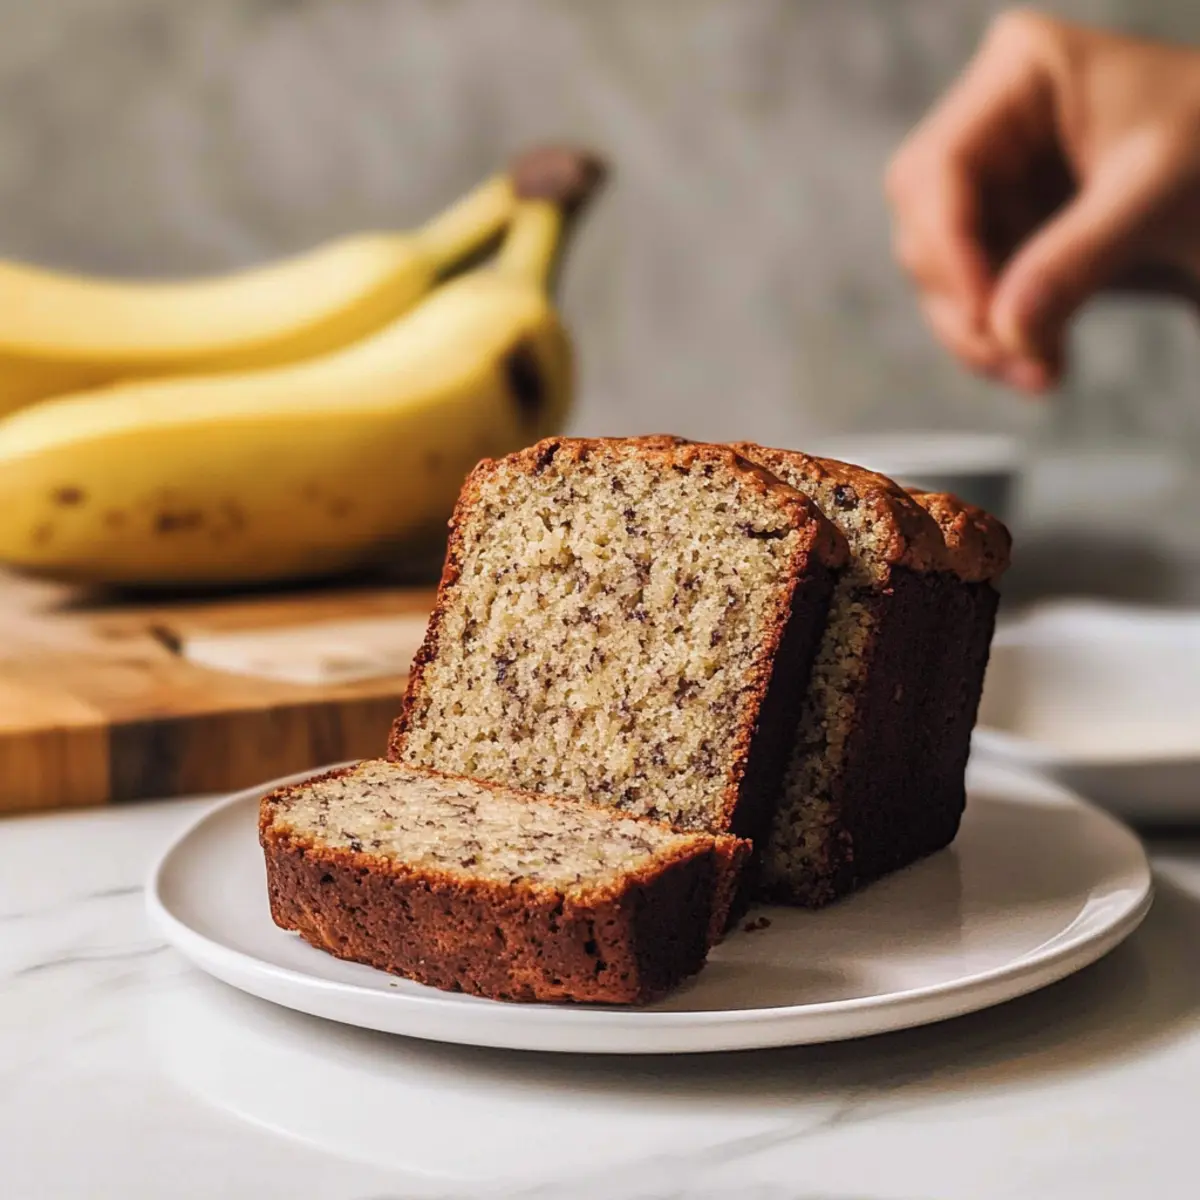
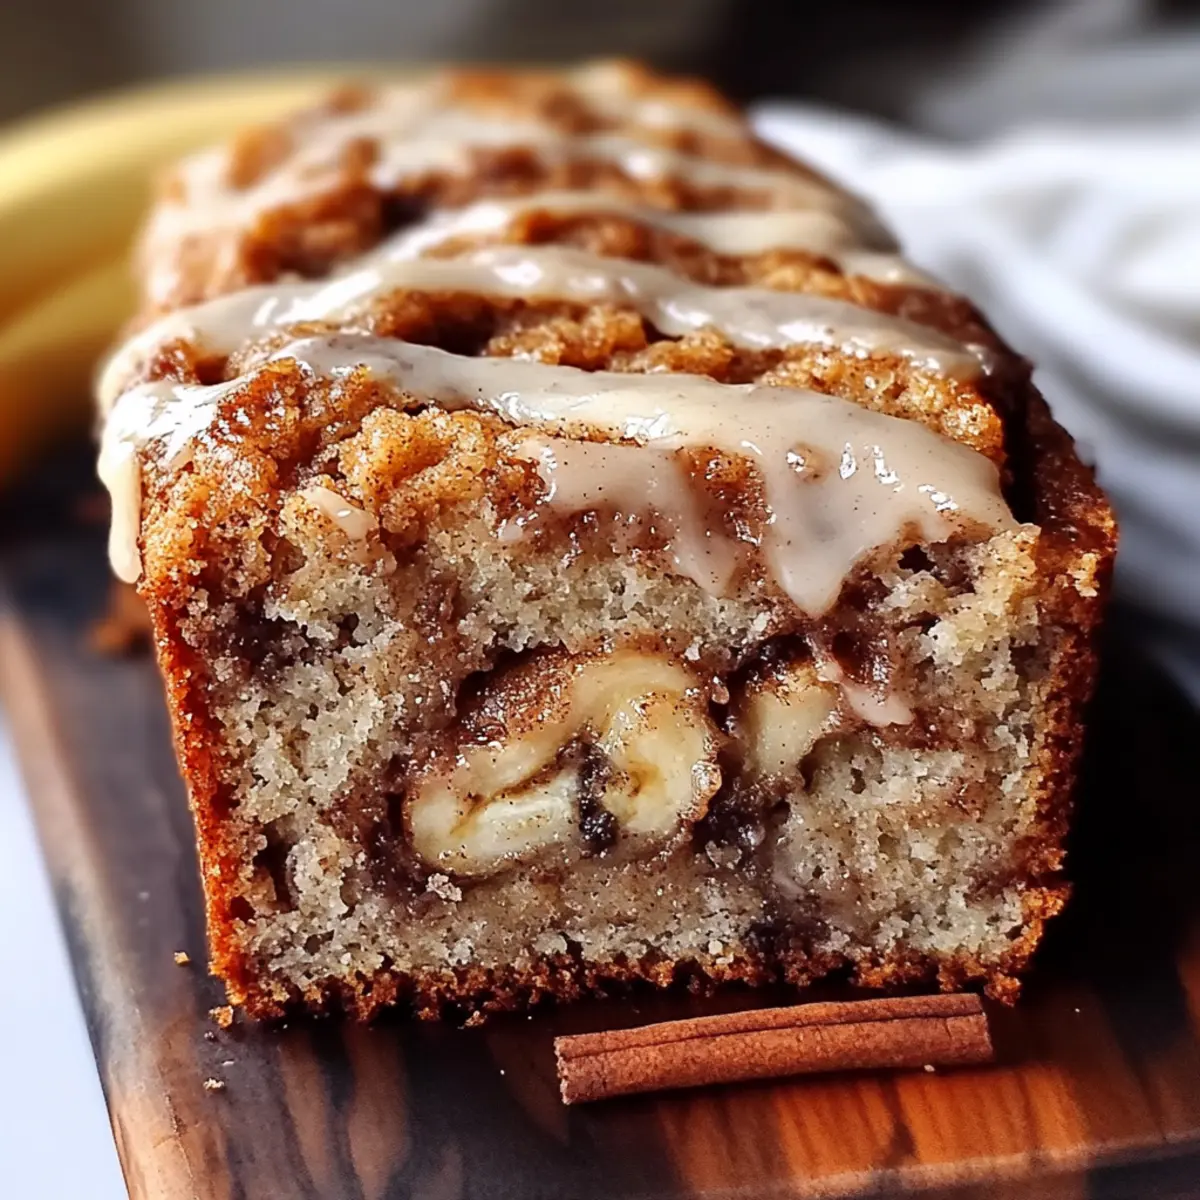
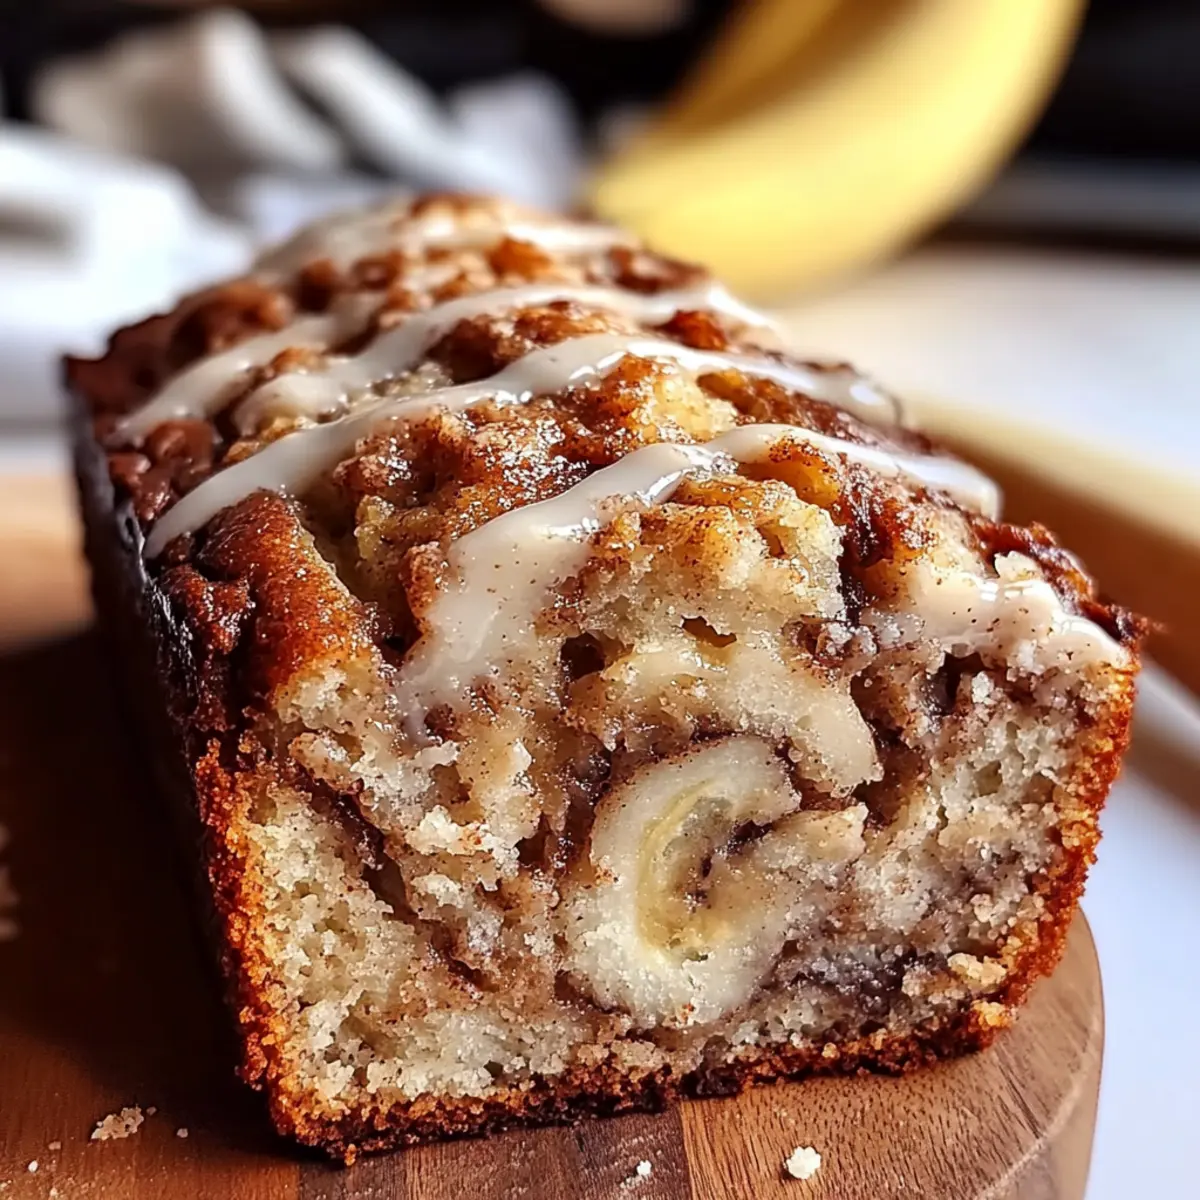
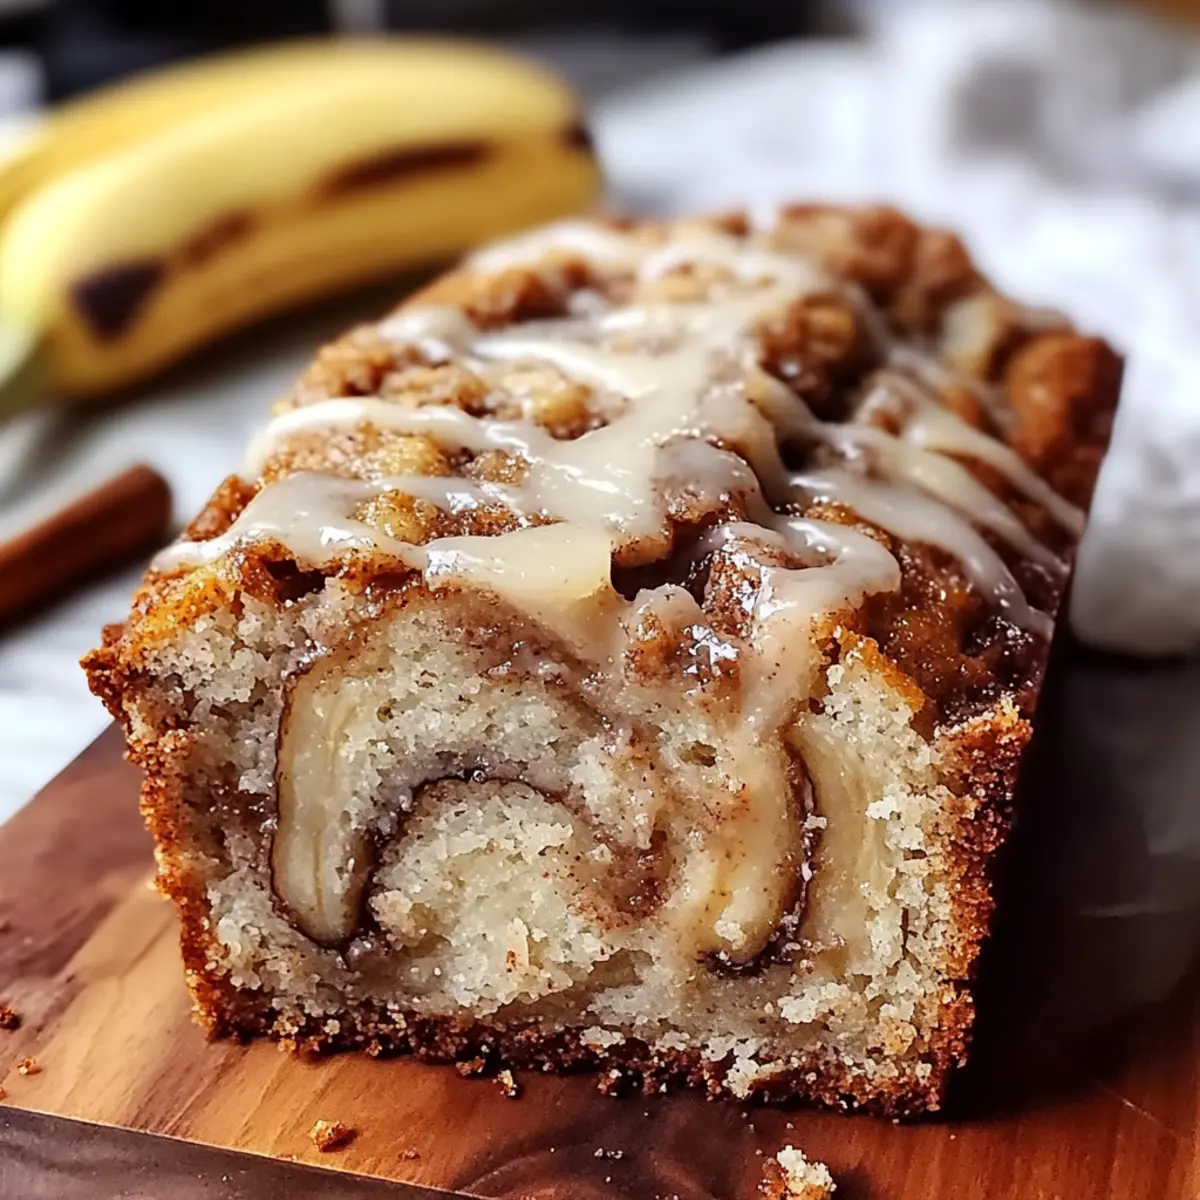
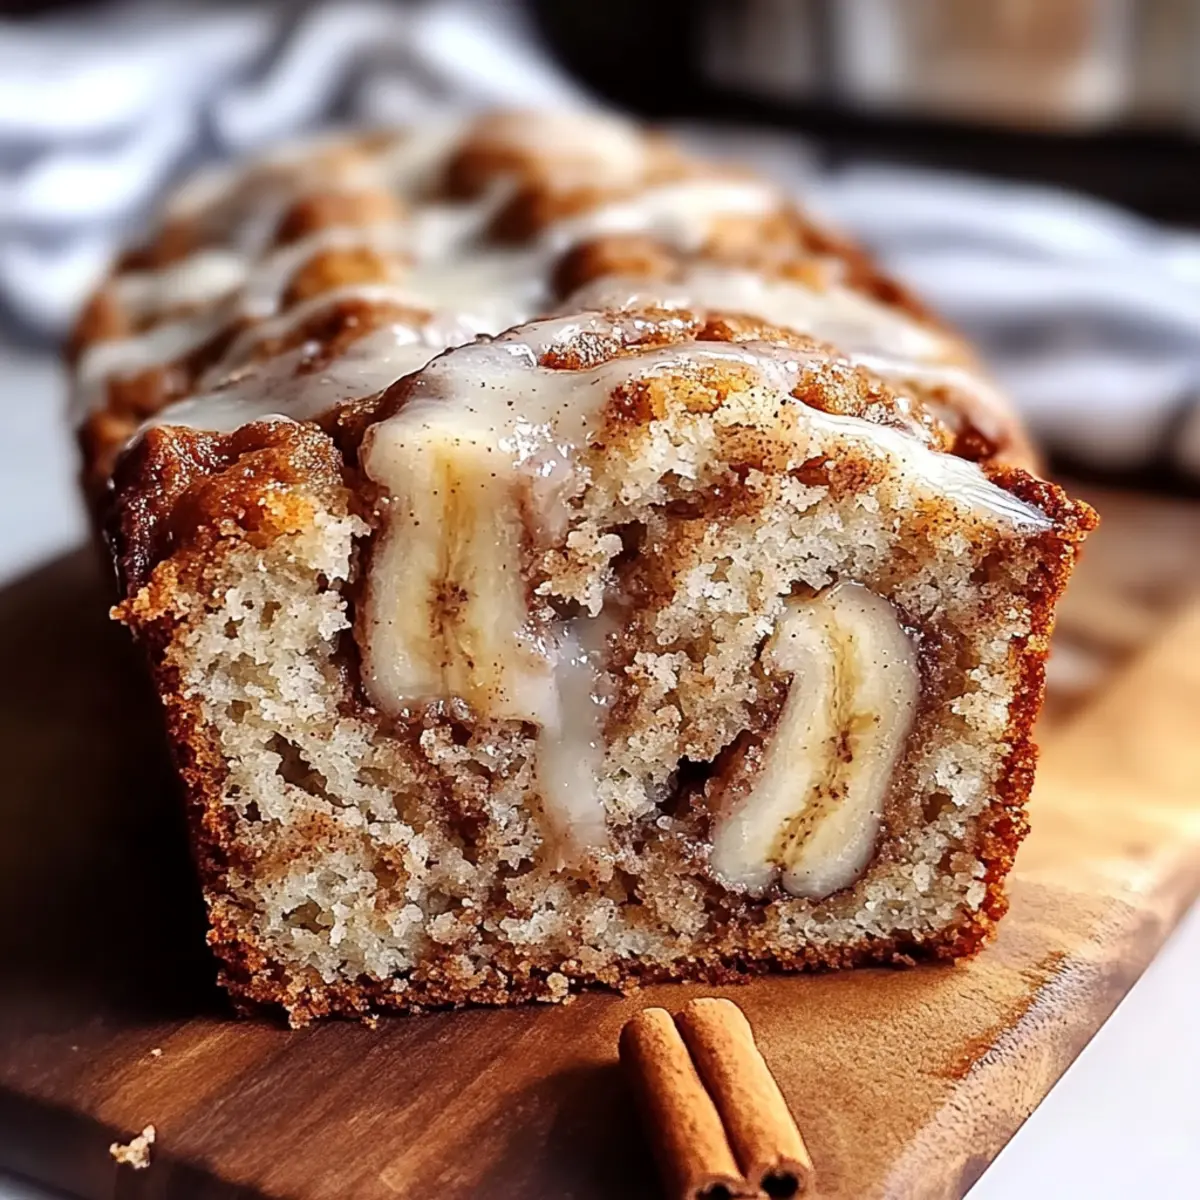
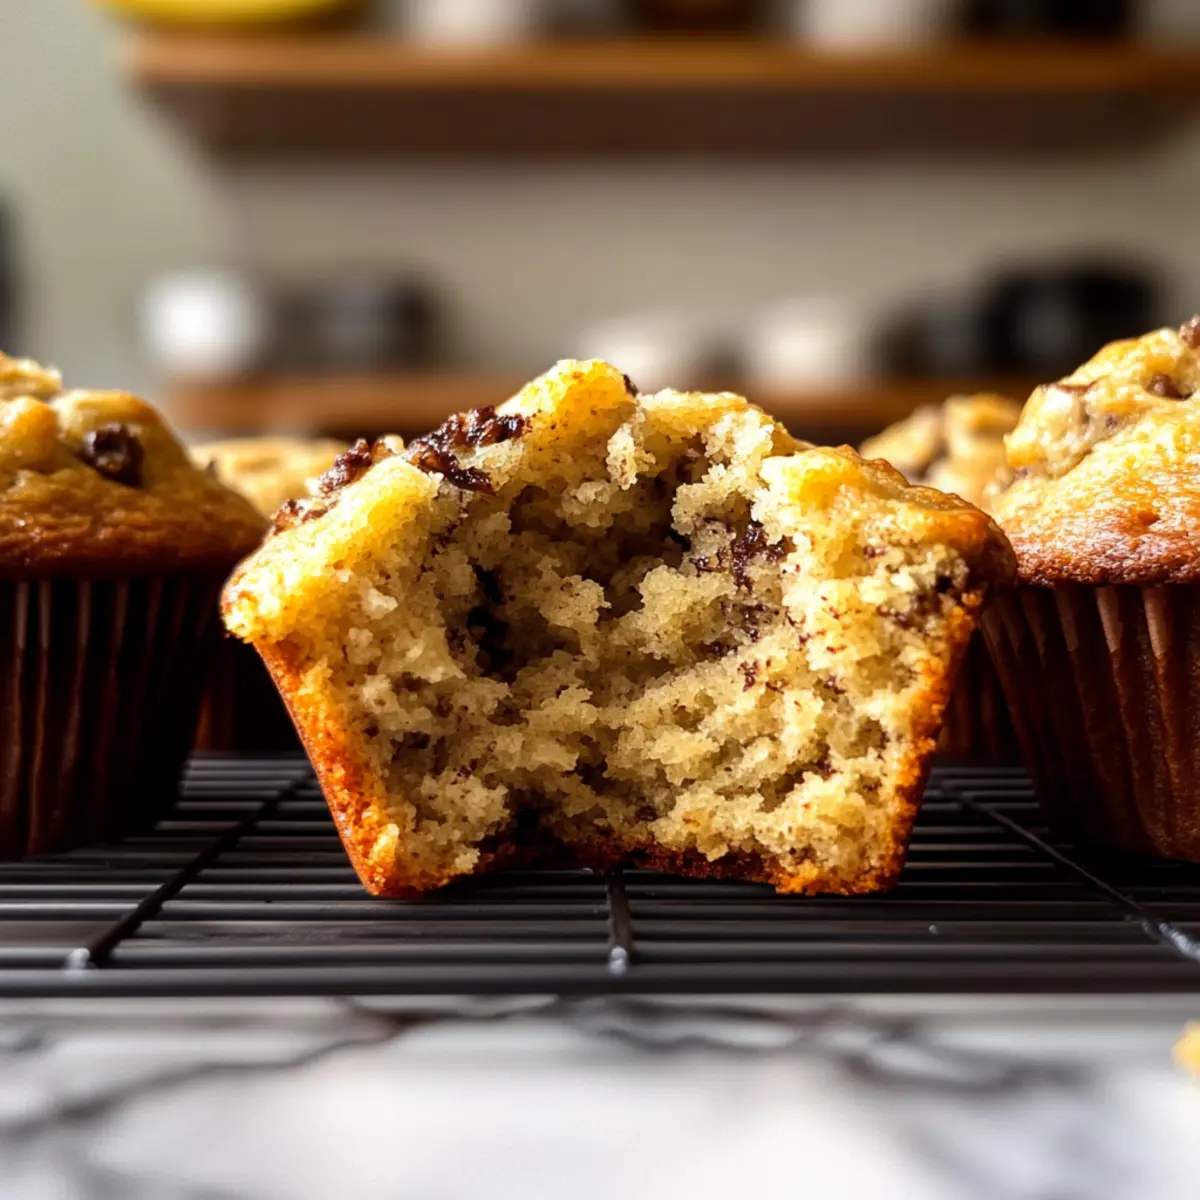
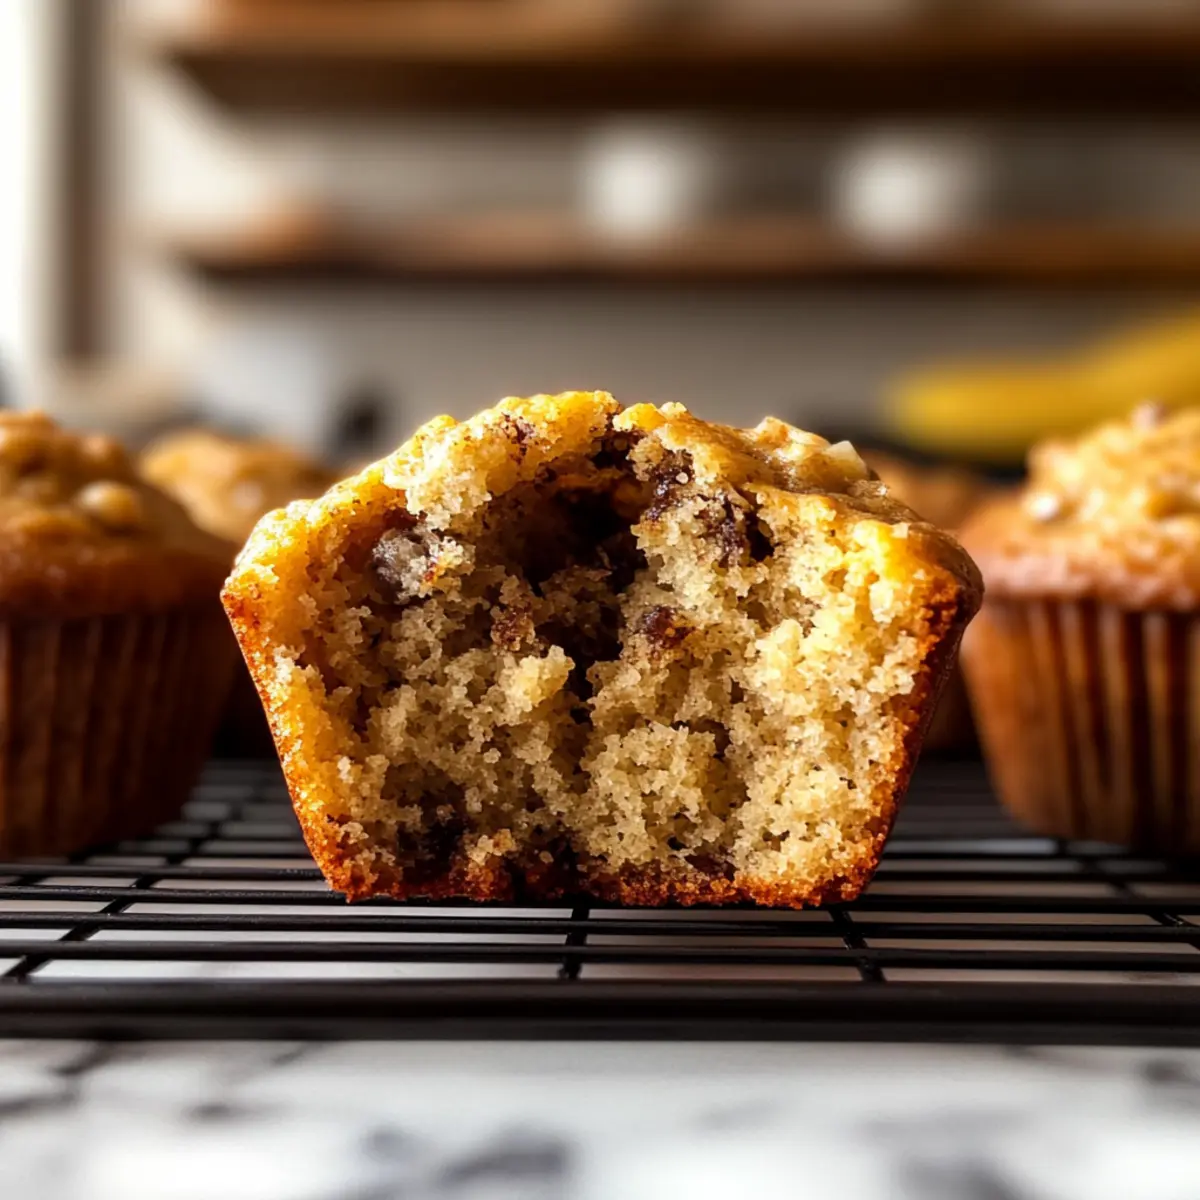
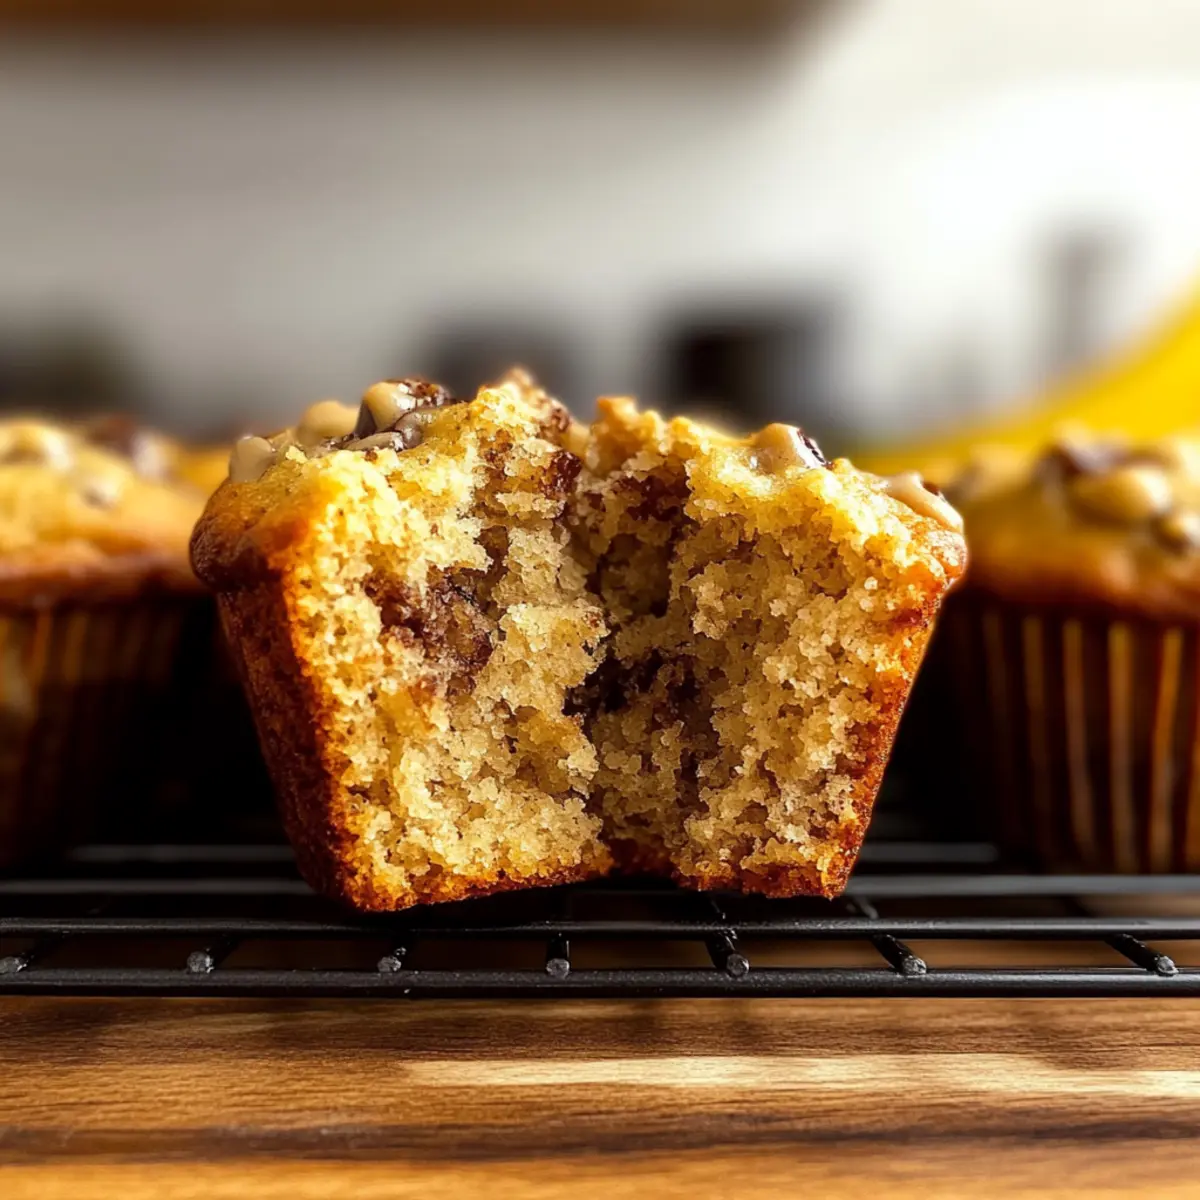
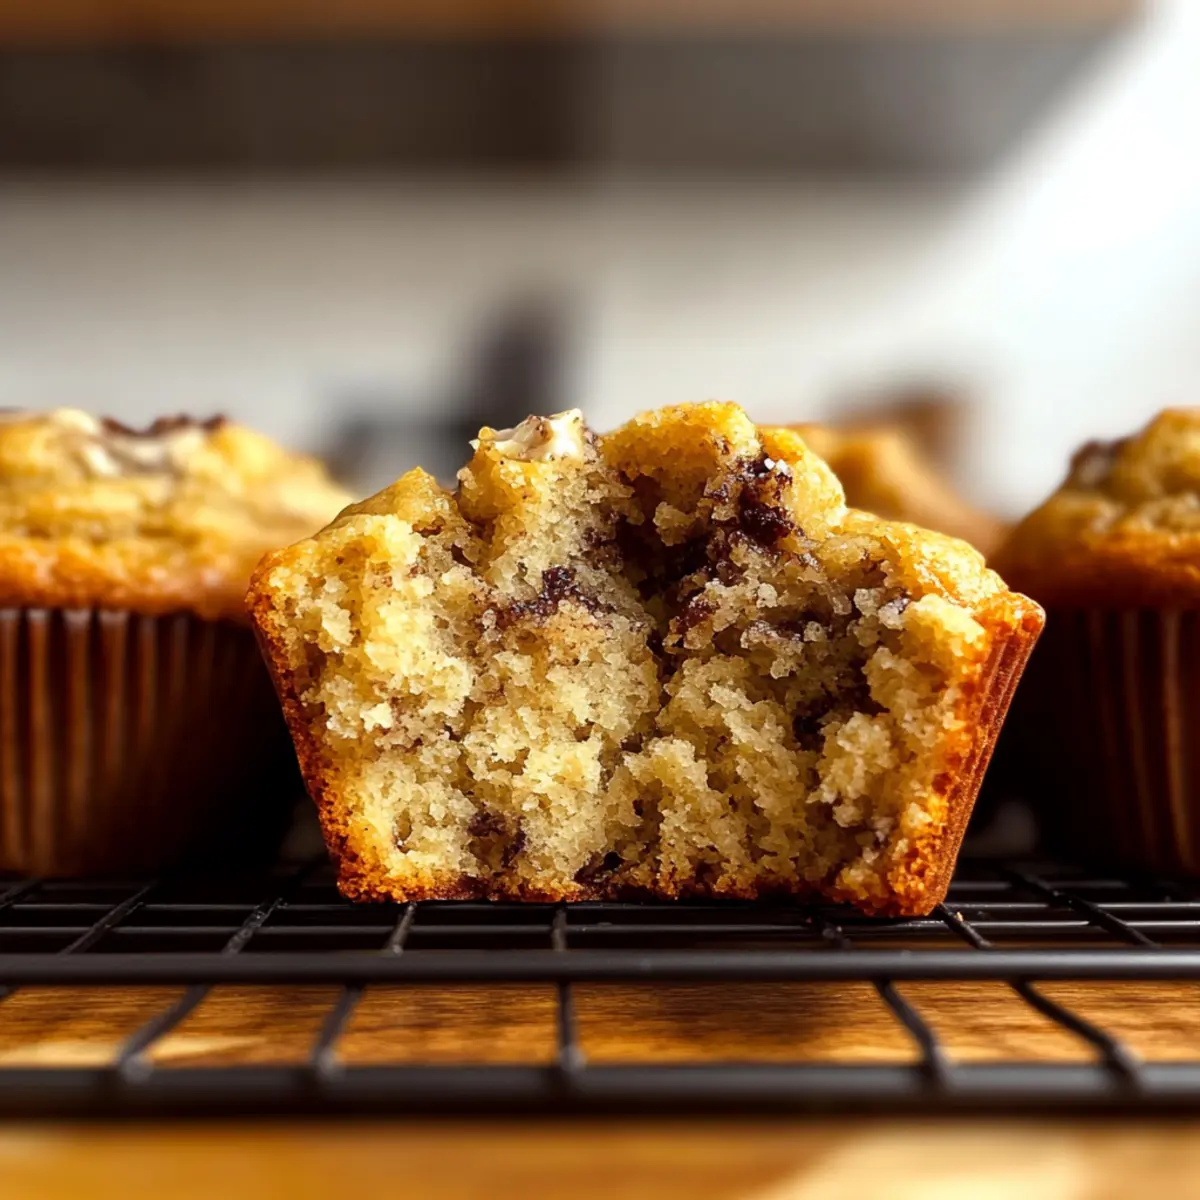
As I opened my kitchen cabinet, I stumbled upon a few overripe bananas, their speckled skins telling tales of sweetness. Instead of allowing them to go to waste, I decided to whip up a batch of fluffy banana bread muffins—a delightful quick breakfast treat that effortlessly transforms those neglected bananas into something magical. Not only do these muffins promise a soft, tender crumb, but they also require minimal effort and no fancy gadgets, making them perfect for anyone eager to swap fast food for homemade goodness. With endless possibilities for customization, including chocolate chips or walnuts, this recipe is bound to become a cherished staple in your home. Are you ready to embrace the delicious aroma filling your kitchen?
Why are Fluffy Banana Bread Muffins a Must-Try?
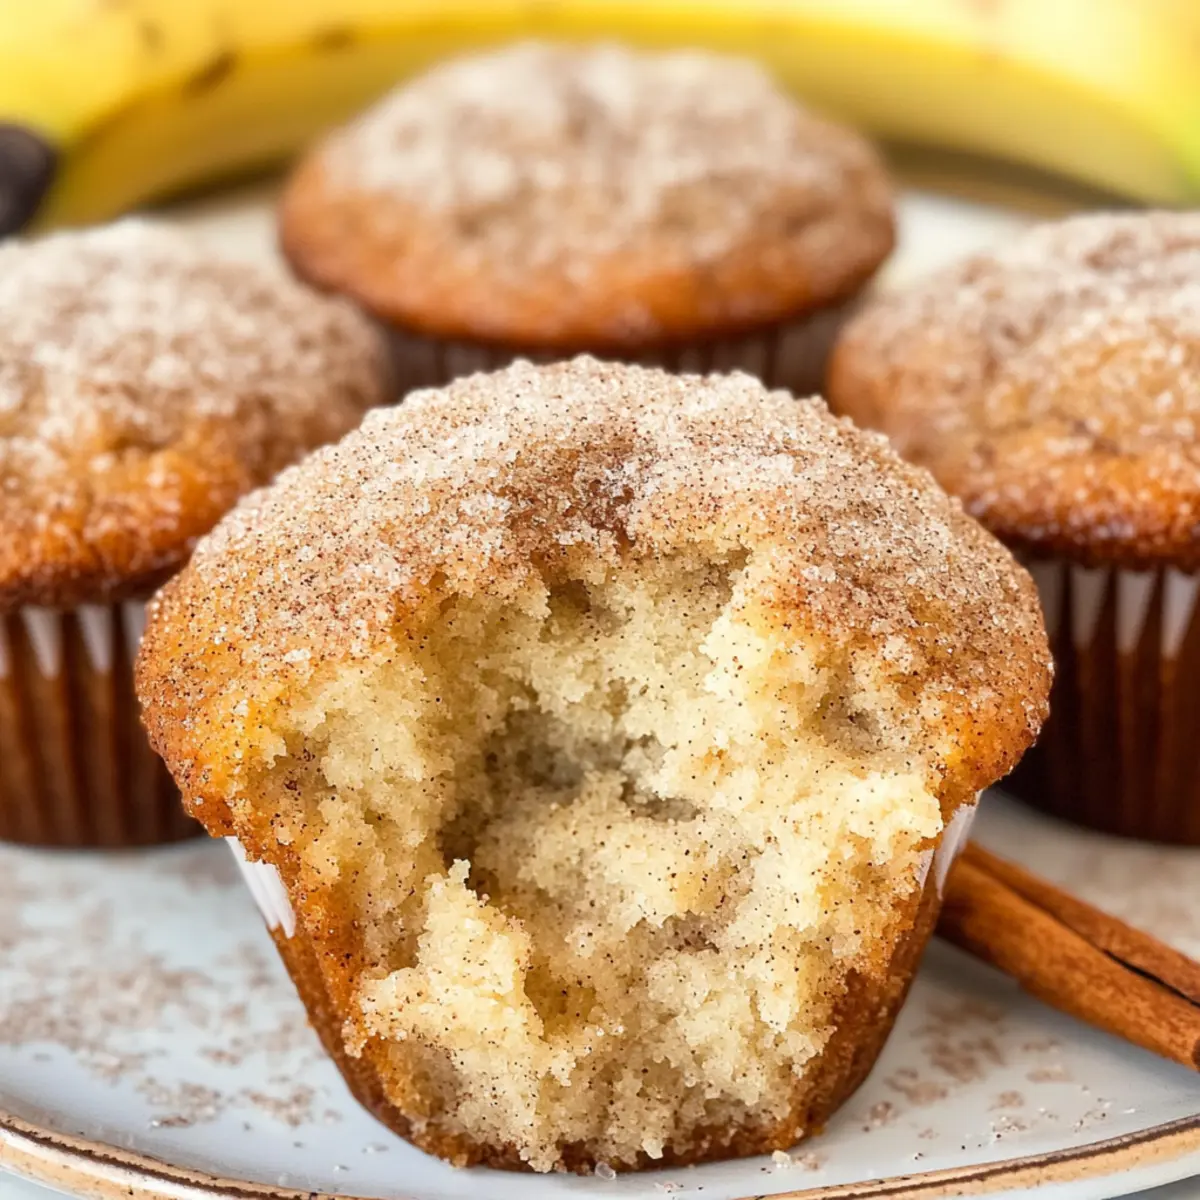
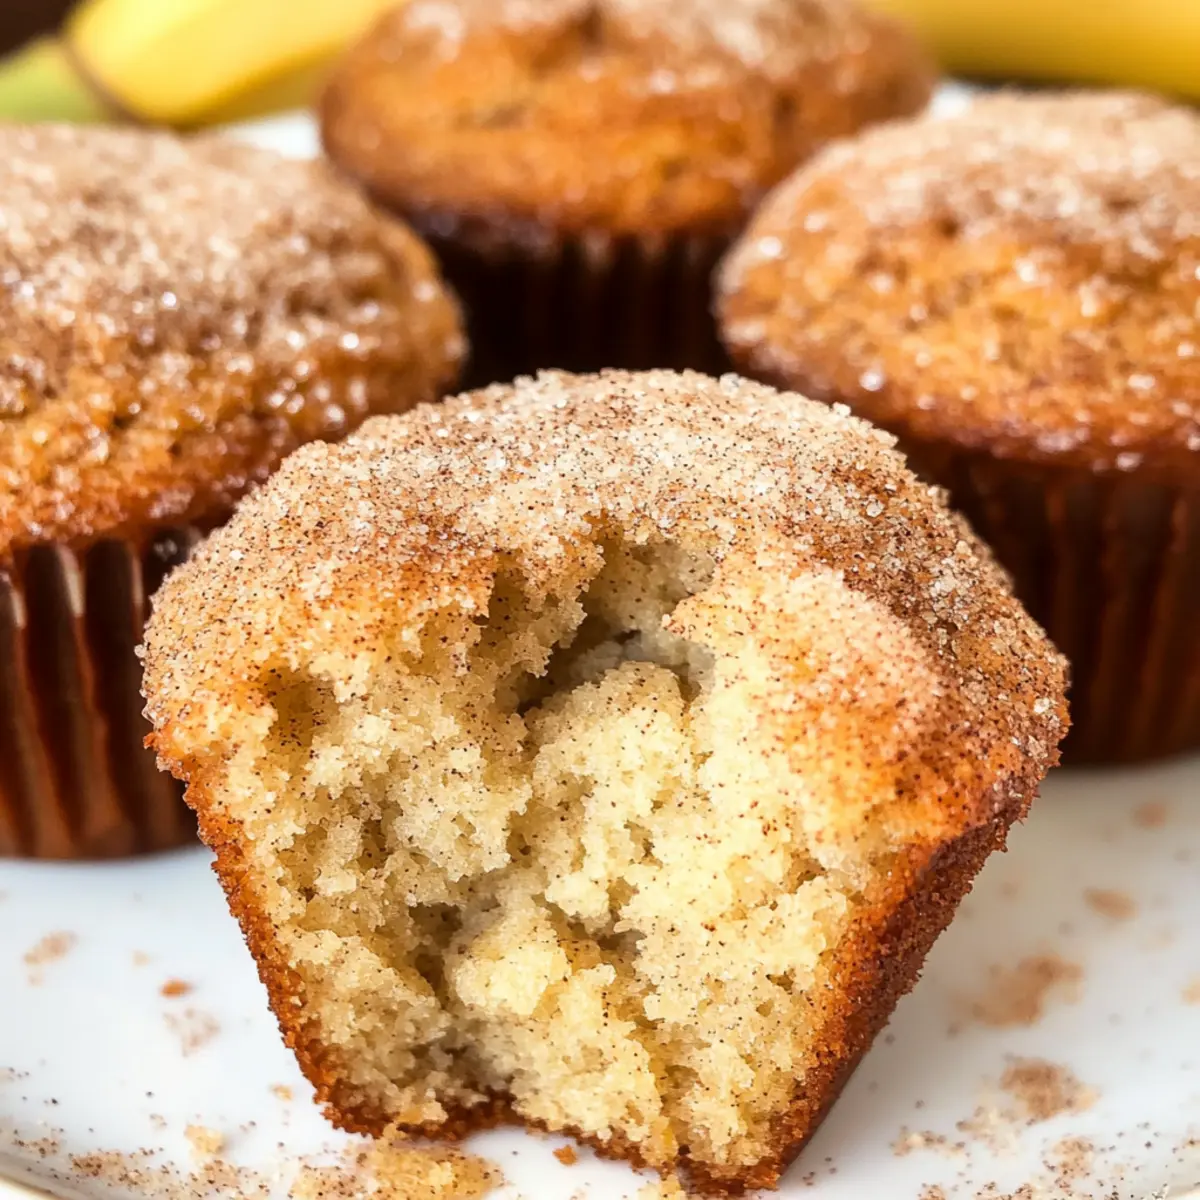
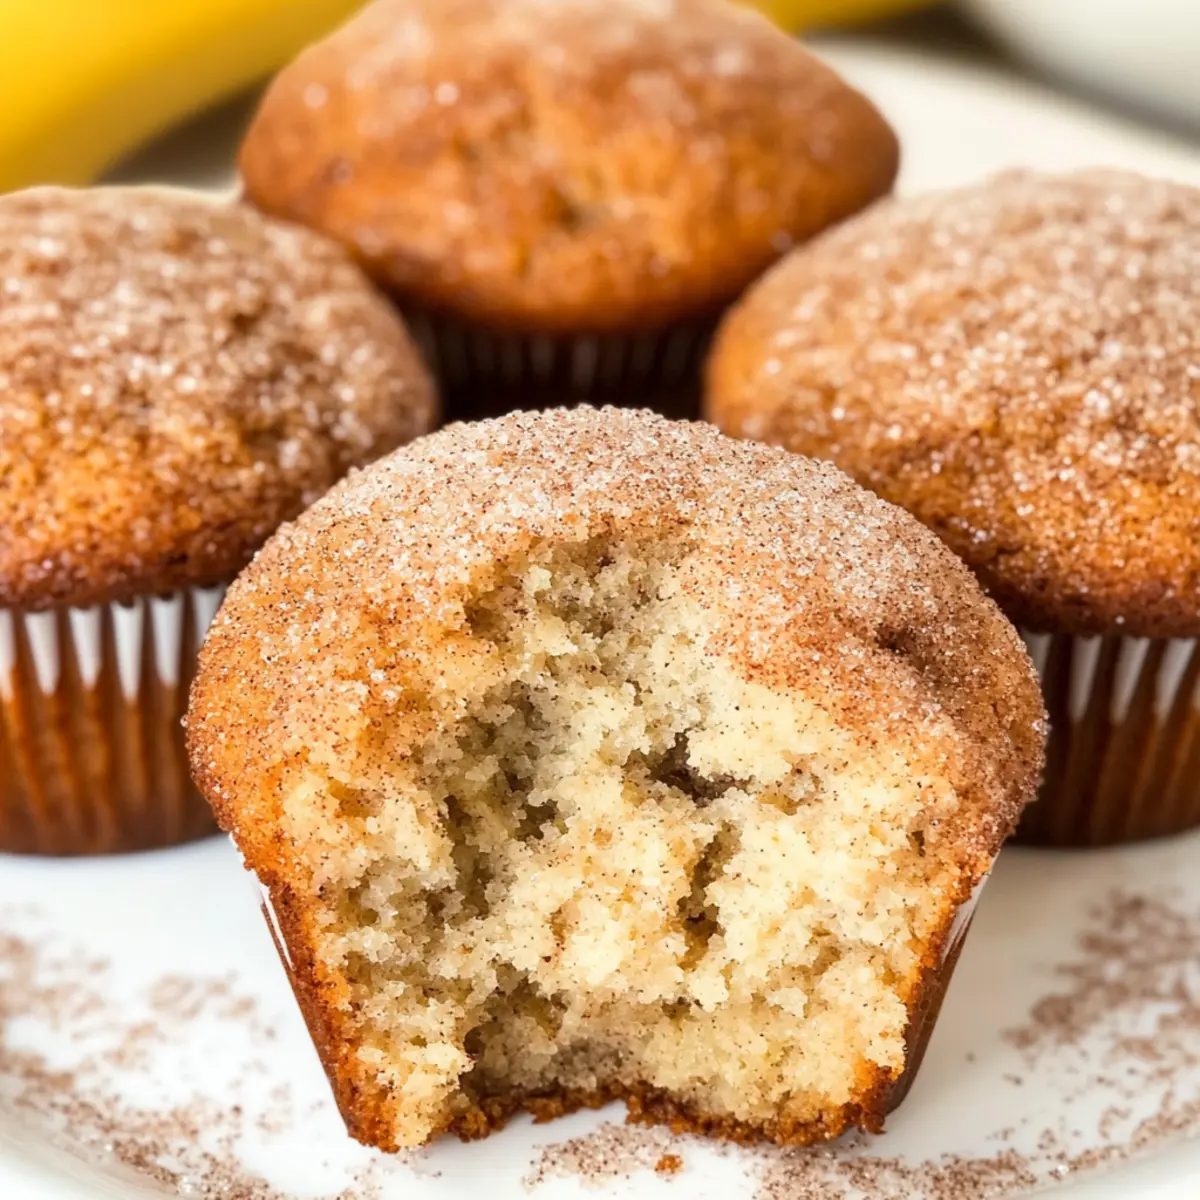
Irresistible Flavor: The warmth of ripe bananas paired with brown sugar creates a mouthwatering sweetness that you simply can't resist.
Quick Preparation: With just a few simple steps, these muffins can be in the oven in no time! Perfect for busy mornings or last-minute brunches.
Customizable Options: Whether you prefer classic flavors or adventurous mix-ins like chocolate chips or walnuts, there’s a version to suit everyone's tastes. You might want to explore these Breakfast Egg Muffins for another quick bite!
Family-Friendly: Kids (and adults!) will love these fluffy treats, making them a great addition to breakfast or snack time.
Waste Not, Want Not: This recipe is an excellent way to use up those overripe bananas, turning what could be waste into a delicious delight.
Store and Enjoy: Make ahead and keep them stored for a week, or freeze for a busy day ahead! They really are the ultimate homemade alternative to fast food.
Fluffy Banana Bread Muffin Ingredients
For the Muffins
- Overripe Bananas – Essential for natural sweetness and moisture; the browner, the better!
- Egg – Provides richness and binds the ingredients together; use large eggs at room temperature for best results.
- Melted Butter – Adds moisture and flavor; let it cool slightly before mixing in.
- Vanilla Extract – Elevates the overall flavor profile; don’t skip this for that warm aroma!
- All-Purpose Flour – Creates the muffin's structure; whole wheat flour can be a healthier substitute.
- Brown Sugar – Contributes sweetness and moisture; you can interchange light or dark for different depths of flavor.
- Baking Soda – Essential for leavening; ensures those fluffy banana bread muffins rise perfectly!
- Salt – Balances the sweetness and enhances all flavors.
- Optional Mix-Ins (Chocolate Chips, Walnuts) – Customize your muffins for additional flavor and texture; both pair beautifully with bananas!
Step‑by‑Step Instructions for Fluffy Banana Bread Muffins
Step 1: Preheat the Oven
Begin by preheating your oven to 375°F (190°C). While it's warming up, line a muffin pan with paper liners to prevent sticking and make for easy cleanup. This process sets the stage for your Fluffy Banana Bread Muffins to develop a beautifully golden exterior.
Step 2: Mash the Bananas
In a large mixing bowl, take your overripe bananas and use a potato masher to mash them into a smooth puree. Aim for a velvety consistency, which should take about 2-3 minutes. The more mashed they are, the better they'll infuse sweetness into your muffins, ensuring that delightful banana flavor shines through.
Step 3: Combine Wet Ingredients
Next, add a beaten egg, cooled melted butter, and vanilla extract into the mashed bananas. Mix these ingredients together until you achieve a homogenous mixture—this should take about 1-2 minutes. The creamy texture you create here will help keep your muffins moist and flavorful.
Step 4: Mix Dry Ingredients
In a separate bowl, whisk together the all-purpose flour, brown sugar, baking soda, and salt. This step should take about 1-2 minutes to ensure everything is evenly distributed. This uniformity is key, as it ensures your Fluffy Banana Bread Muffins rise beautifully and taste balanced throughout.
Step 5: Combine Wet and Dry Mixtures
Gradually add the dry ingredients to the wet banana mixture, stirring gently until just incorporated. Take care not to overmix; you want the batter to be somewhat lumpy, which preserves the muffins' light and airy texture. This should take about 1 minute, just enough to bring everything together.
Step 6: Add Optional Mix-Ins
If you're feeling adventurous, now is the time to fold in any optional mix-ins such as chocolate chips or walnuts. Using a spatula, carefully combine them into the batter for about another minute. These additions not only enhance flavor but also add delightful texture to your Fluffy Banana Bread Muffins.
Step 7: Fill the Muffin Liners
Spoon the batter into your prepared muffin liners, filling each about ¾ full. This creates just the right amount of space for the muffins to rise without overflowing, which usually takes about 4-5 minutes for all the cups. Look for a consistent level in each liner for even baking!
Step 8: Bake to Perfection
Place your muffin pan in the preheated oven and bake for 15-21 minutes. Keep an eye on them; they’re done when a toothpick inserted into the center comes out clean or with a few moist crumbs. Watch for a golden-brown top, which indicates a lovely texture ready to delight.
Step 9: Cool and Serve
Once baked, remove the muffins from the oven and let them cool in the pan for about 5 minutes. Afterward, carefully transfer them to a wire rack to cool completely. This final step allows the muffins to set perfectly, making them easy to enjoy warm or at room temperature.
Make Ahead Options
Preparing these Fluffy Banana Bread Muffins ahead of time is a game-changer for busy mornings! You can mash the overripe bananas and combine the wet ingredients up to 24 hours in advance; simply cover and refrigerate them to keep everything fresh. You can also pre-mix the dry ingredients and store them in an airtight container for up to 3 days. When you're ready to bake, just combine the wet and dry ingredients and fold in any mix-ins before scooping the batter into the muffin liners. This method not only saves time but also ensures that your muffins turn out just as delicious, with all that homemade goodness waiting for you!
Expert Tips for Fluffy Banana Bread Muffins
-
Banana Quality Matters: Use heavily spotty or brown overripe bananas to ensure maximum sweetness and moisture in your muffins.
-
Avoid Overmixing: Mix just until dry ingredients are incorporated to prevent dense muffins. A few lumps are okay.
-
Proper Filling: Fill muffin liners about ¾ full to allow for proper rising. Filling too much can lead to overflowing.
-
Mix-In Variations: Get creative with additional ingredients, but avoid overloading; too many mix-ins can affect the texture of your Fluffy Banana Bread Muffins.
-
Storage Tips: Keep muffins in an airtight container at room temperature for 3 days, or freeze them for longer storage. They’re perfect for quick breakfasts!
What to Serve with Fluffy Banana Bread Muffins?
Indulge in a delightful breakfast experience by pairing these fluffy muffins with complementary dishes that elevate every bite.
-
Creamy Greek Yogurt:
A dollop of creamy Greek yogurt provides a tangy contrast to the sweetness of the muffins, enhancing their flavor. -
Fresh Berries:
Choose a mix of ripe strawberries, blueberries, or raspberries. Their tartness brightens the dish and adds a refreshing touch! -
Nutty Granola:
Sprinkle crunchy granola atop the muffins for added texture. This delightful contrast creates a perfect harmony of flavors. -
Spiced Chai Latte:
The aromatic spices in a warm chai latte pair beautifully with the sweetness of the muffins. It’s a cozy, comforting beverage that welcomes each bite! -
Zesty Citrus Salad:
A salad of orange and grapefruit segments offers a refreshing citrus burst that balances the muffins’ sweetness. A squeeze of lime adds the perfect zing! -
Maple Spiced Coffee:
A creamy cup of spiced coffee drizzled with maple syrup enhances the overall experience, creating a warm, inviting breakfast atmosphere. -
Honey Drizzle:
A light drizzle of honey over the muffins provides an extra touch of sweetness and moisture, making each bite even more indulgent. -
Chocolate-Covered Strawberries:
These decadent treats add a touch of romance and decadence, making your breakfast feel extra special and delightful.
Fluffy Banana Bread Muffins Variations
Feel free to let your creativity soar as you tailor these muffins to match your taste preferences!
- Whole Wheat: Substitute half the all-purpose flour with whole wheat for added nutrition and a hint of nuttiness.
- Chocolate Chip Delight: Fold in chocolate chips to add a rich sweetness that will please any chocoholic in your family.
- Nutty Crunch: Add chopped walnuts or pecans for a delightful crunch that contrasts beautifully with the soft muffin texture.
- Spiced Up: Incorporate a pinch of cinnamon or nutmeg for a cozy, warm spice note that elevates these muffins to another level.
- Sweet and Salty: Mix in a teaspoon of sea salt flakes or caramel bits for an enticing sweet-salty experience.
- Fruit Fusion: Experiment with dried fruits like cranberries or apricots for a surprising fruity twist that complements the bananas.
- Zesty Lemon: Infuse a touch of lemon zest to brighten the flavor profile, creating a refreshing contrast to the sweetness.
- Veggie Boost: For a savory twist, try adding grated zucchini or carrots to sneak in some greens without sacrificing flavor.
Remember, if you’re looking for some more delightful breakfast options, you might want to check out these scrumptious Cinnamon Roll Muffins. Let your muffins reflect your unique tastes!
How to Store and Freeze Fluffy Banana Bread Muffins
Room Temperature: Store muffins in an airtight container at room temperature for up to 3 days to keep them fresh and moist.
Fridge: If you prefer a longer storage option, refrigerate the muffins for up to a week; wrap them in plastic wrap or foil to prevent drying out.
Freezer: Individually wrap the muffins in plastic wrap, then place them in a freezer-safe bag for up to 3 months. This way, you can enjoy them anytime!
Reheating: To enjoy your frozen Fluffy Banana Bread Muffins, simply thaw them overnight in the refrigerator and reheat in the microwave for about 15-20 seconds or until warm.
Fluffy Banana Bread Muffins Recipe FAQs
What kind of bananas should I use for optimal flavor?
Absolutely! For the best flavor and moisture, choose overripe bananas that are heavily spotty or brown. These bananas are sweeter and will make your muffins incredibly tasty. Avoid using green bananas, as they will not provide the natural sweetness you desire.
How should I store Fluffy Banana Bread Muffins?
You can keep your muffins fresh by storing them in an airtight container at room temperature for up to 3 days. If you'd like them to last longer, refrigerate them for up to a week, making sure they are wrapped properly to prevent them from drying out.
Can I freeze the muffins? If so, how?
Yes, freezing your muffins is a great way to enjoy them later! Individually wrap each muffin in plastic wrap, then place them in a freezer-safe bag. They can be stored in the freezer for up to 3 months. When you're ready to enjoy one, simply thaw it overnight in the refrigerator and reheat in the microwave for about 15-20 seconds.
What should I do if my muffins turned out dense?
Very! If your muffins turned out dense, it’s likely due to overmixing the batter. When combining the wet and dry ingredients, stir just until everything is incorporated, even if there are a few lumps. Additionally, ensuring your baking soda is fresh will help with proper rising.
Are there any dietary considerations for Fluffy Banana Bread Muffins?
Indeed! If you or your loved ones have allergies, be cautious with optional mix-ins like chocolate chips or nuts, which could pose a risk. For vegan options, consider replacing the egg with a flaxseed meal or applesauce, and substitute the butter with coconut oil or a plant-based alternative.
Fluffy Banana Bread Muffins That Will Brighten Your Mornings
Ingredients
Equipment
Method
- Preheat your oven to 375°F (190°C) and line a muffin pan with paper liners.
- In a large mixing bowl, mash the overripe bananas into a smooth puree using a potato masher.
- Add the beaten egg, cooled melted butter, and vanilla extract into the mashed bananas and mix until homogeneous.
- In a separate bowl, whisk together the all-purpose flour, brown sugar, baking soda, and salt.
- Gradually add the dry ingredients to the wet banana mixture, stirring gently until just incorporated.
- Fold in optional mix-ins like chocolate chips or walnuts into the batter.
- Spoon the batter into the muffin liners, filling each about ¾ full.
- Bake in the preheated oven for 15-21 minutes, or until a toothpick comes out clean.
- Remove from the oven, cool in the pan for 5 minutes, then transfer to a wire rack to cool completely.