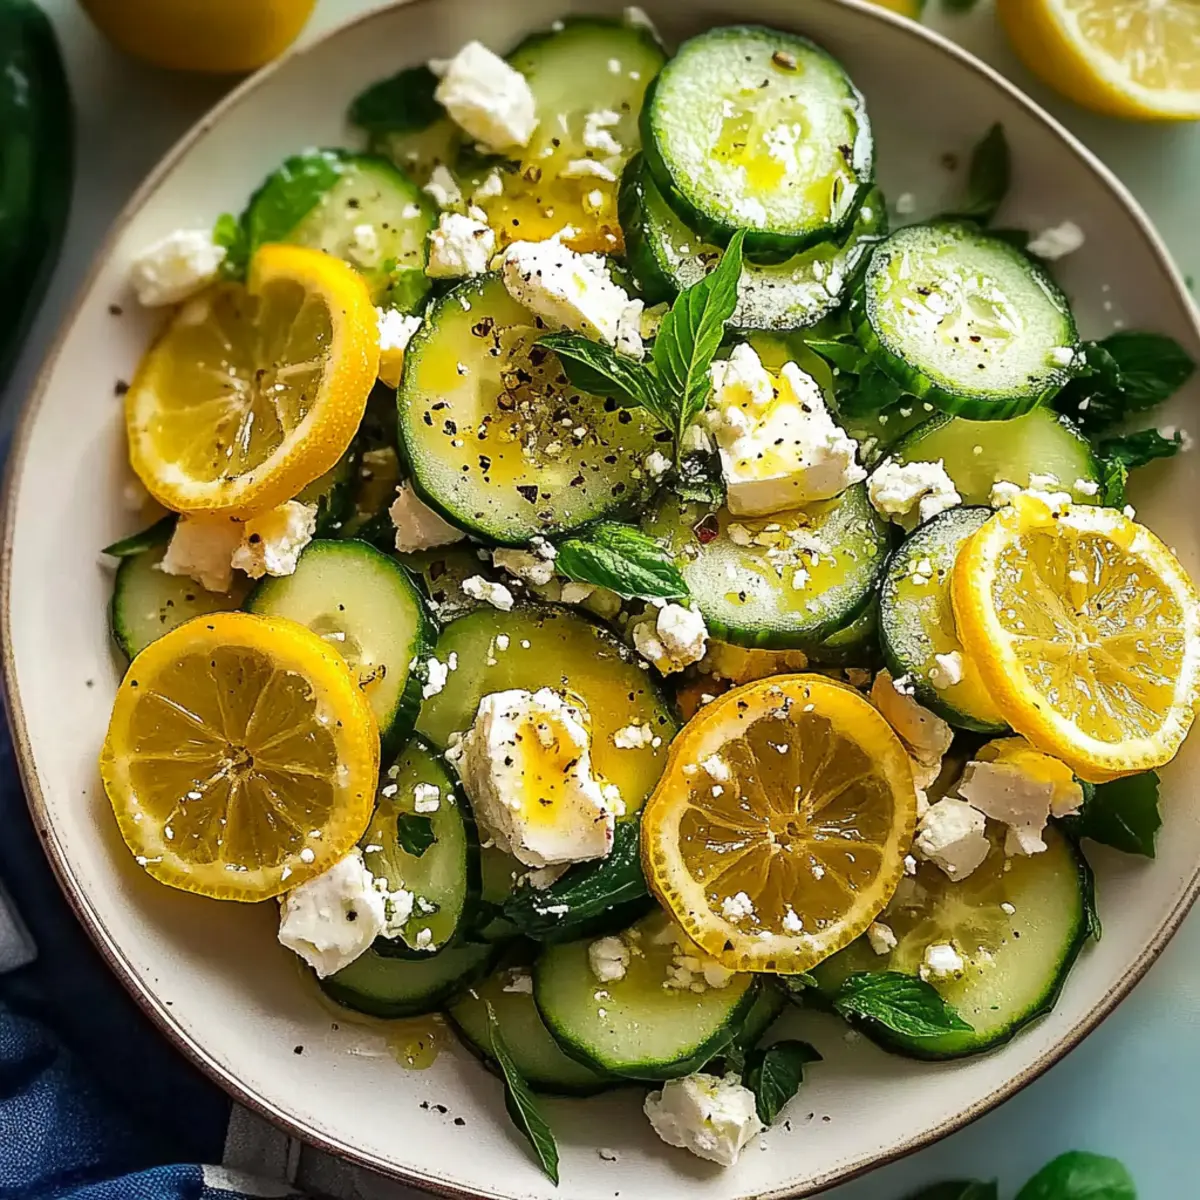
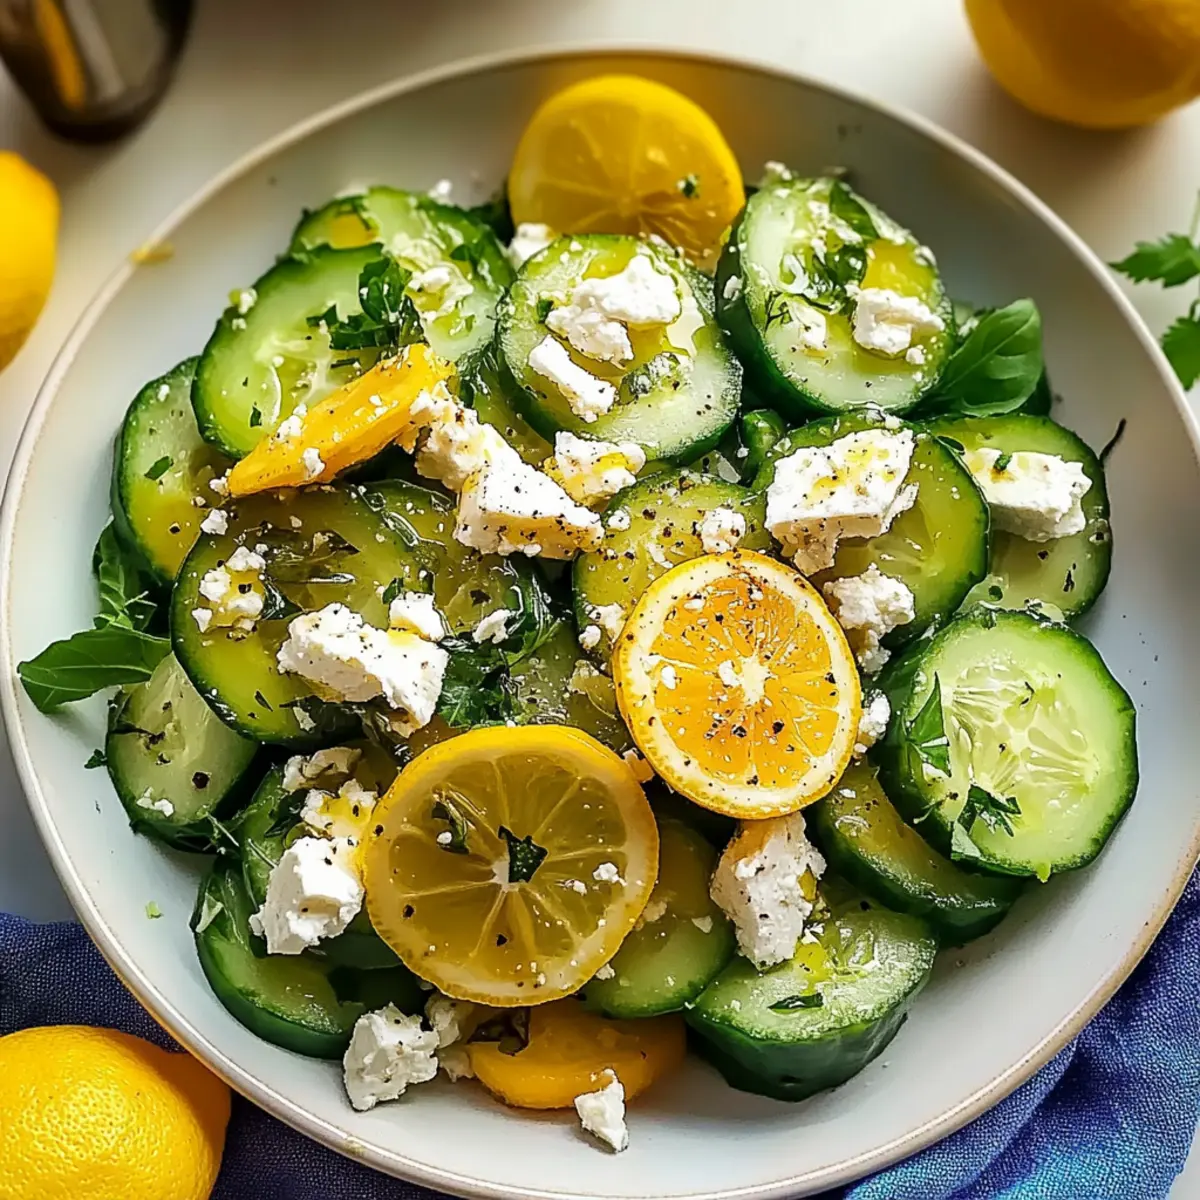
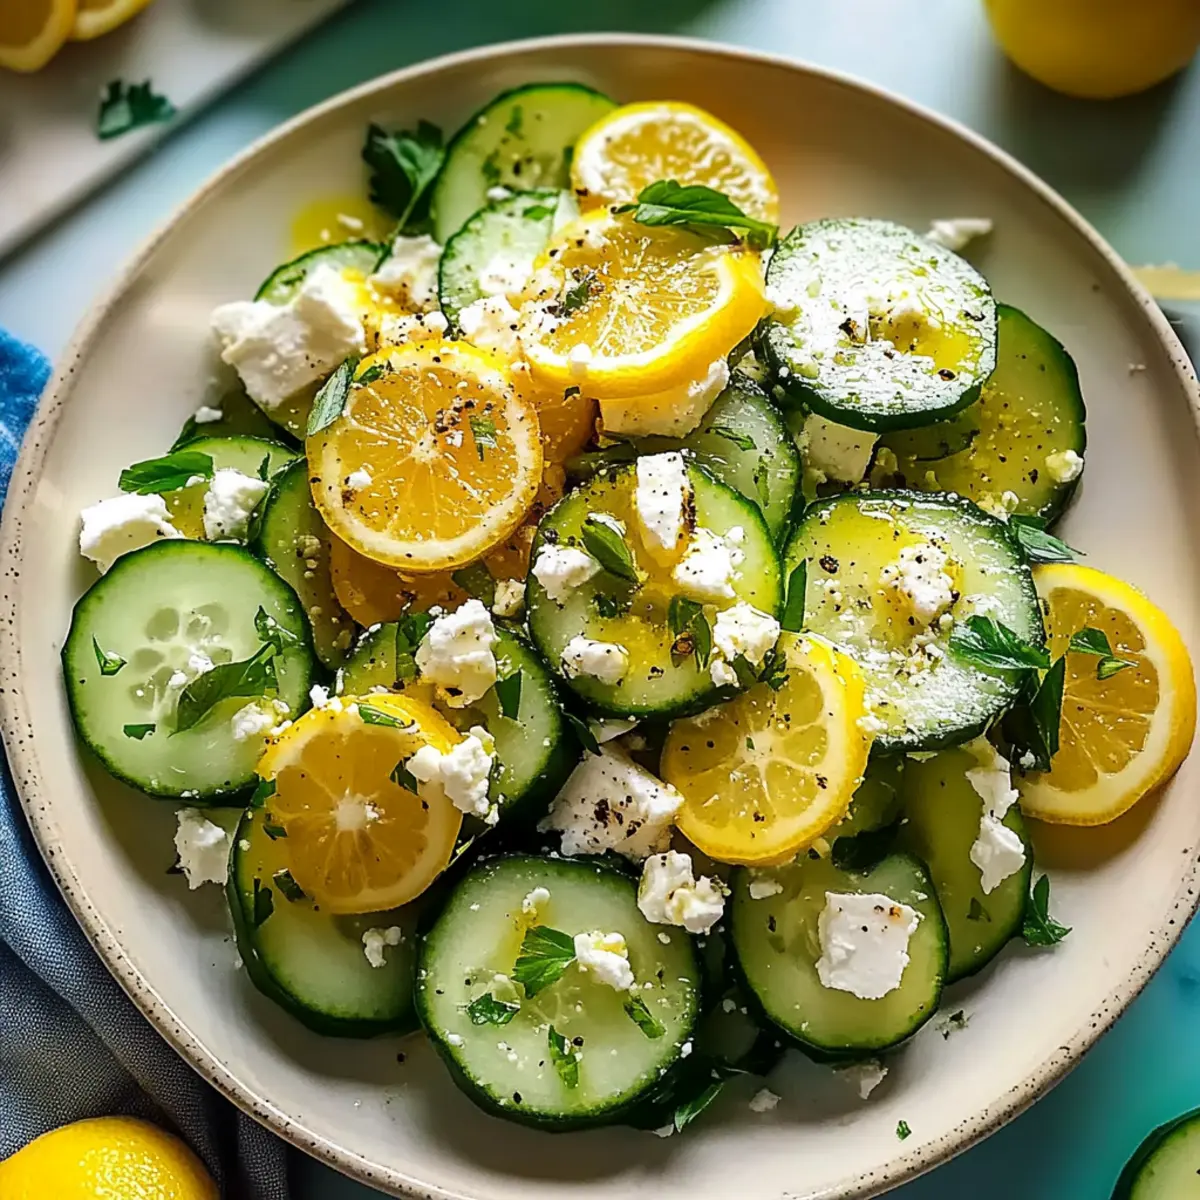
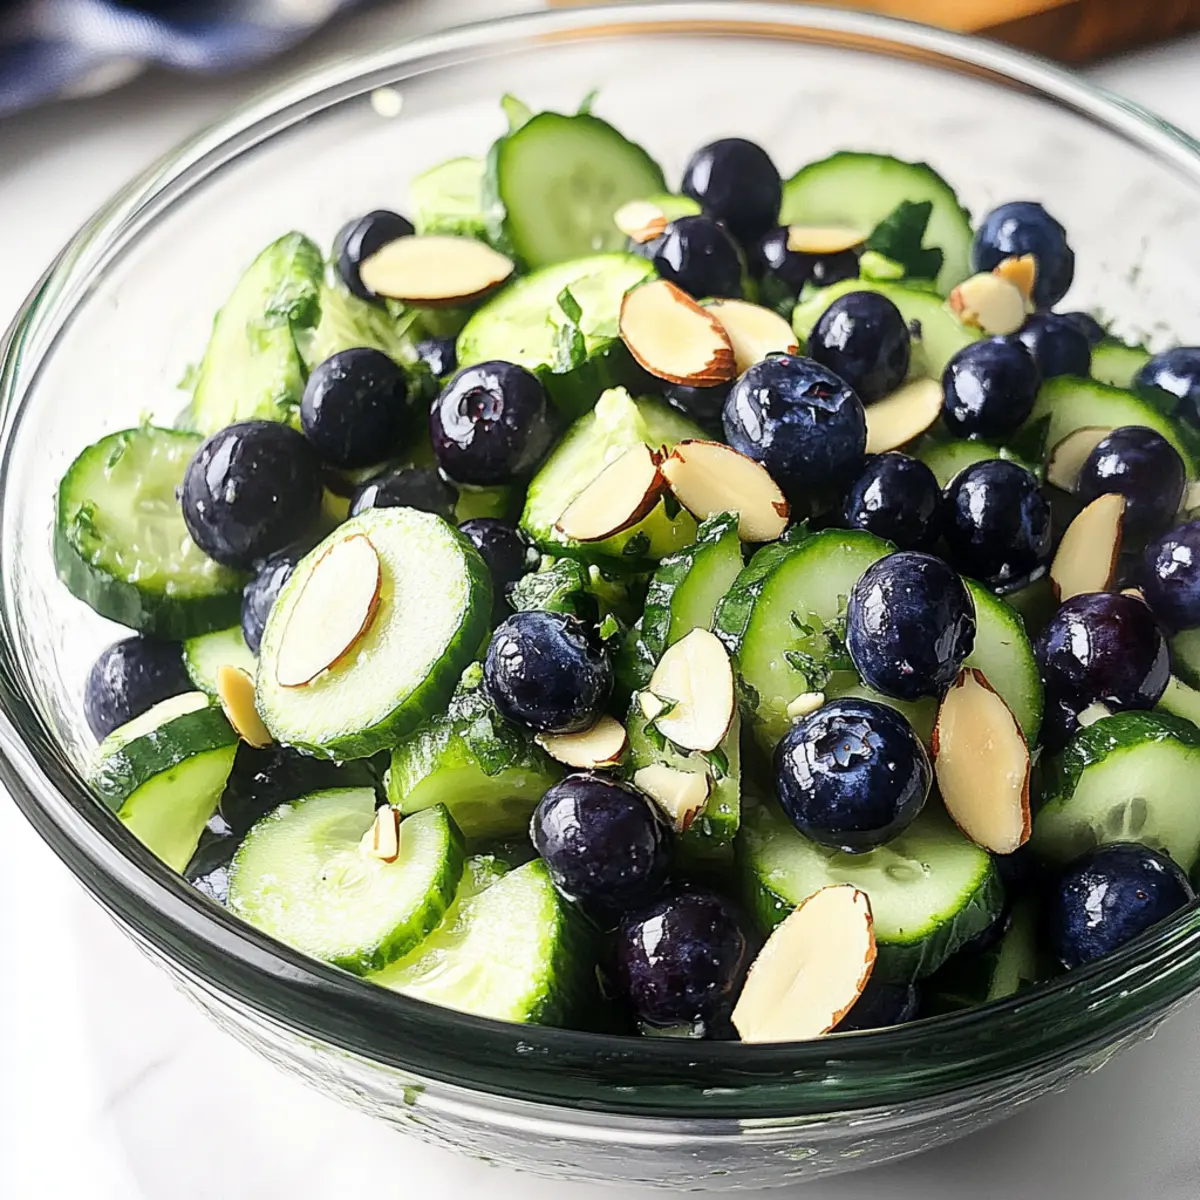
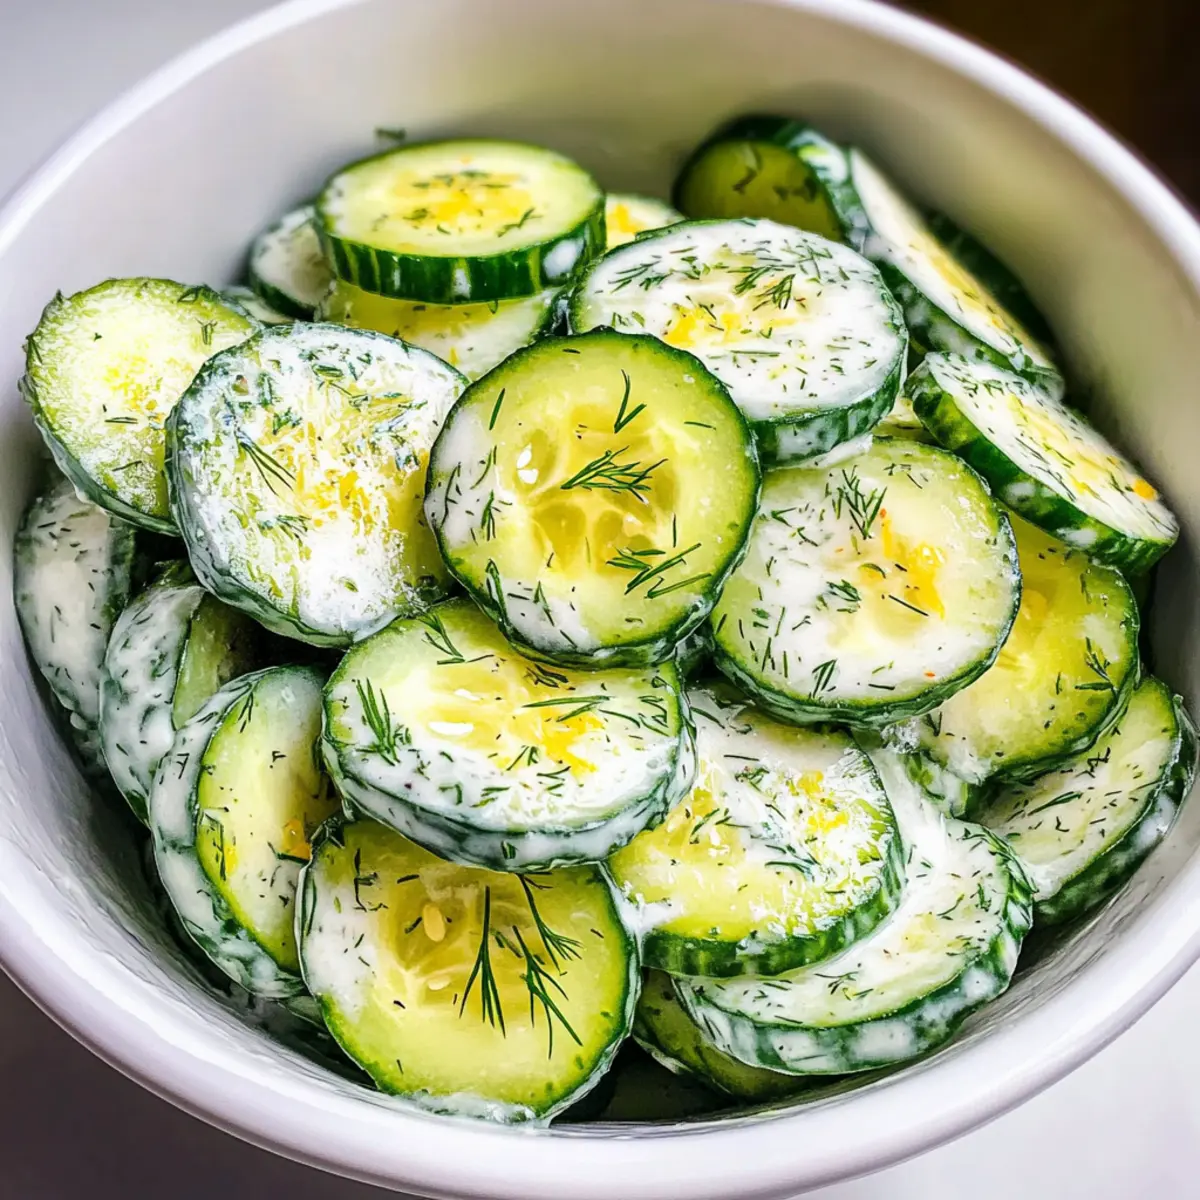
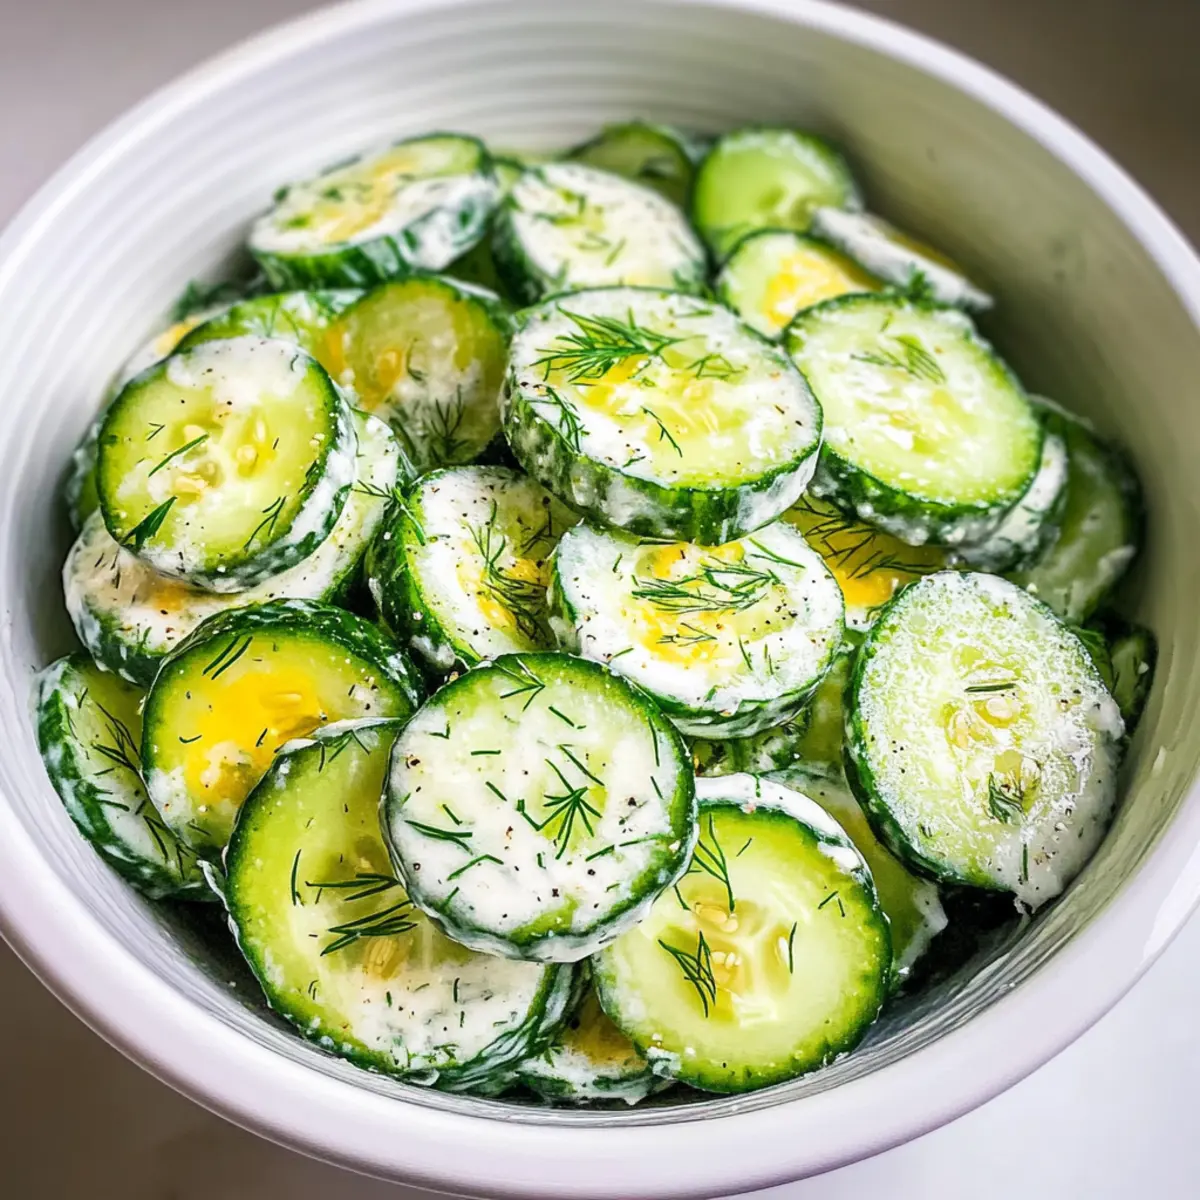
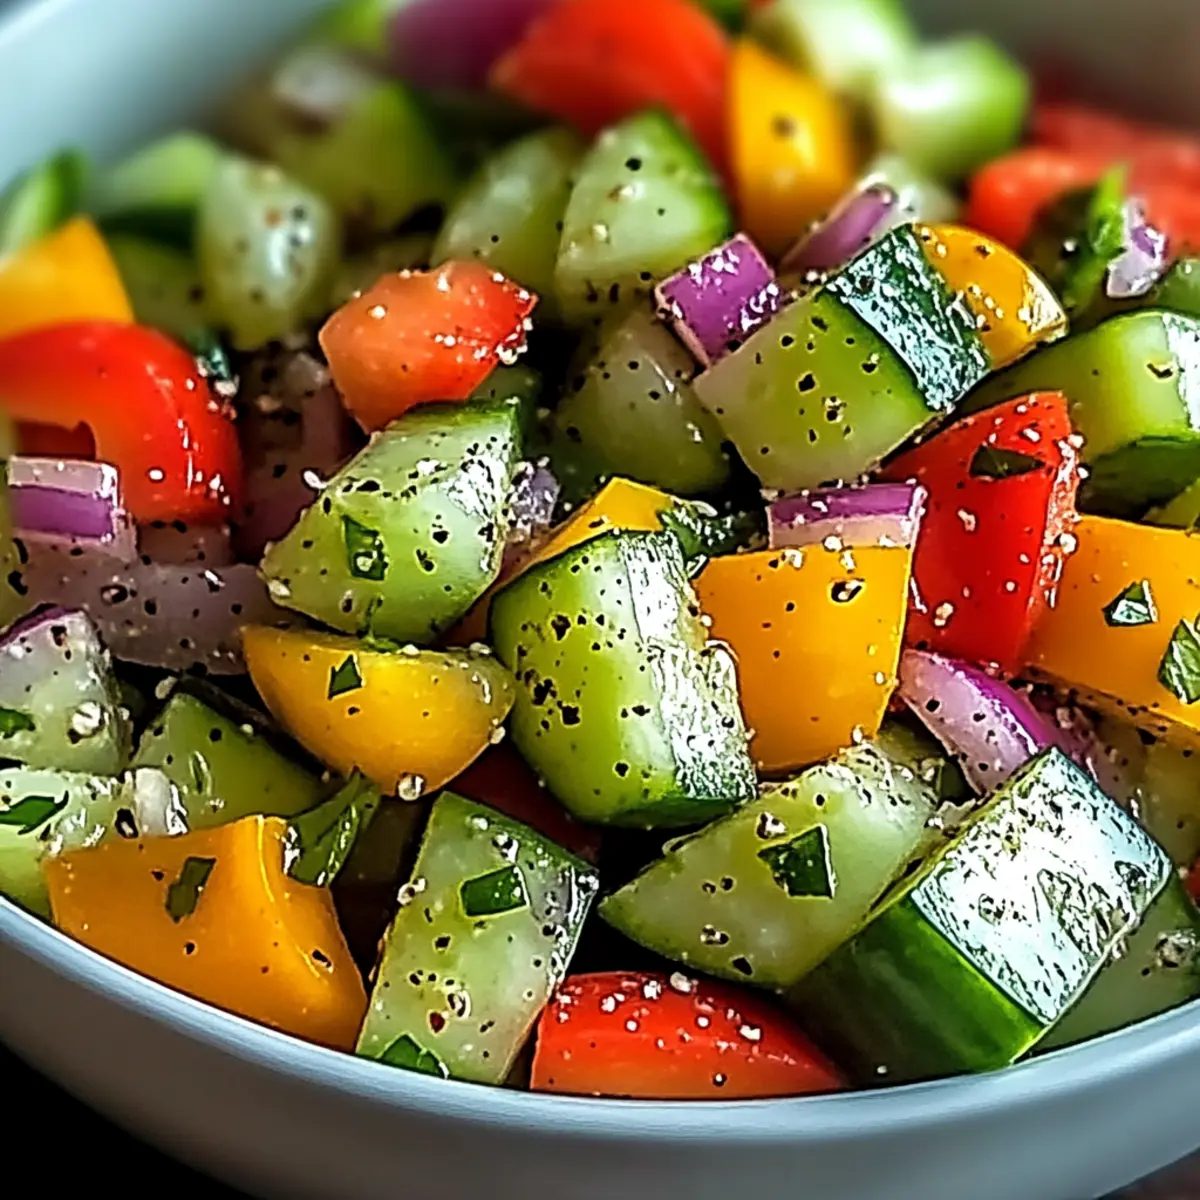
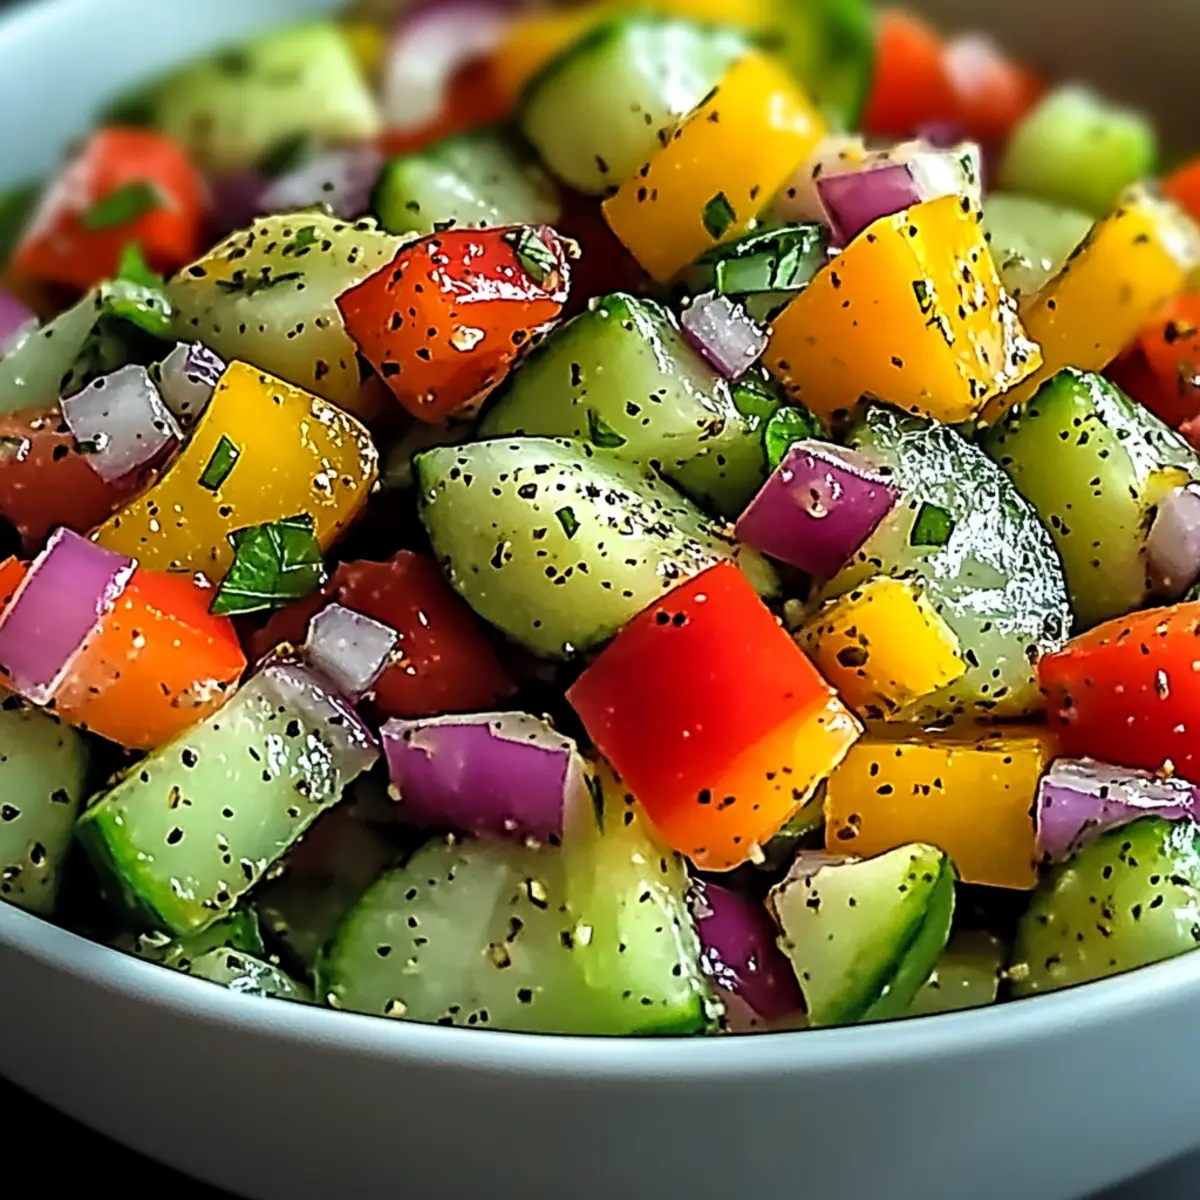
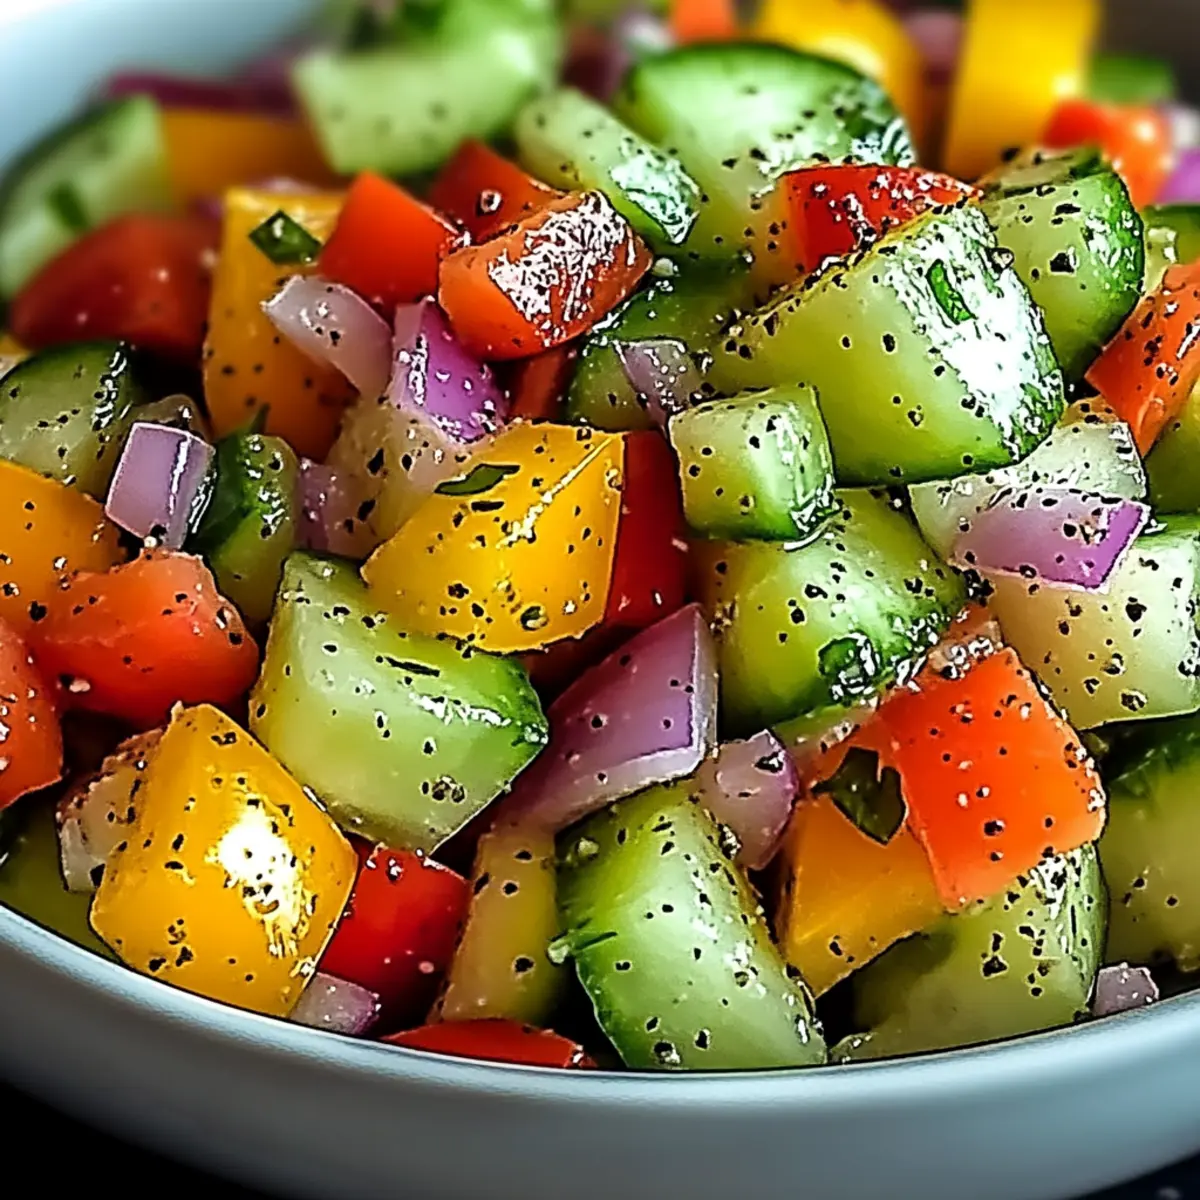
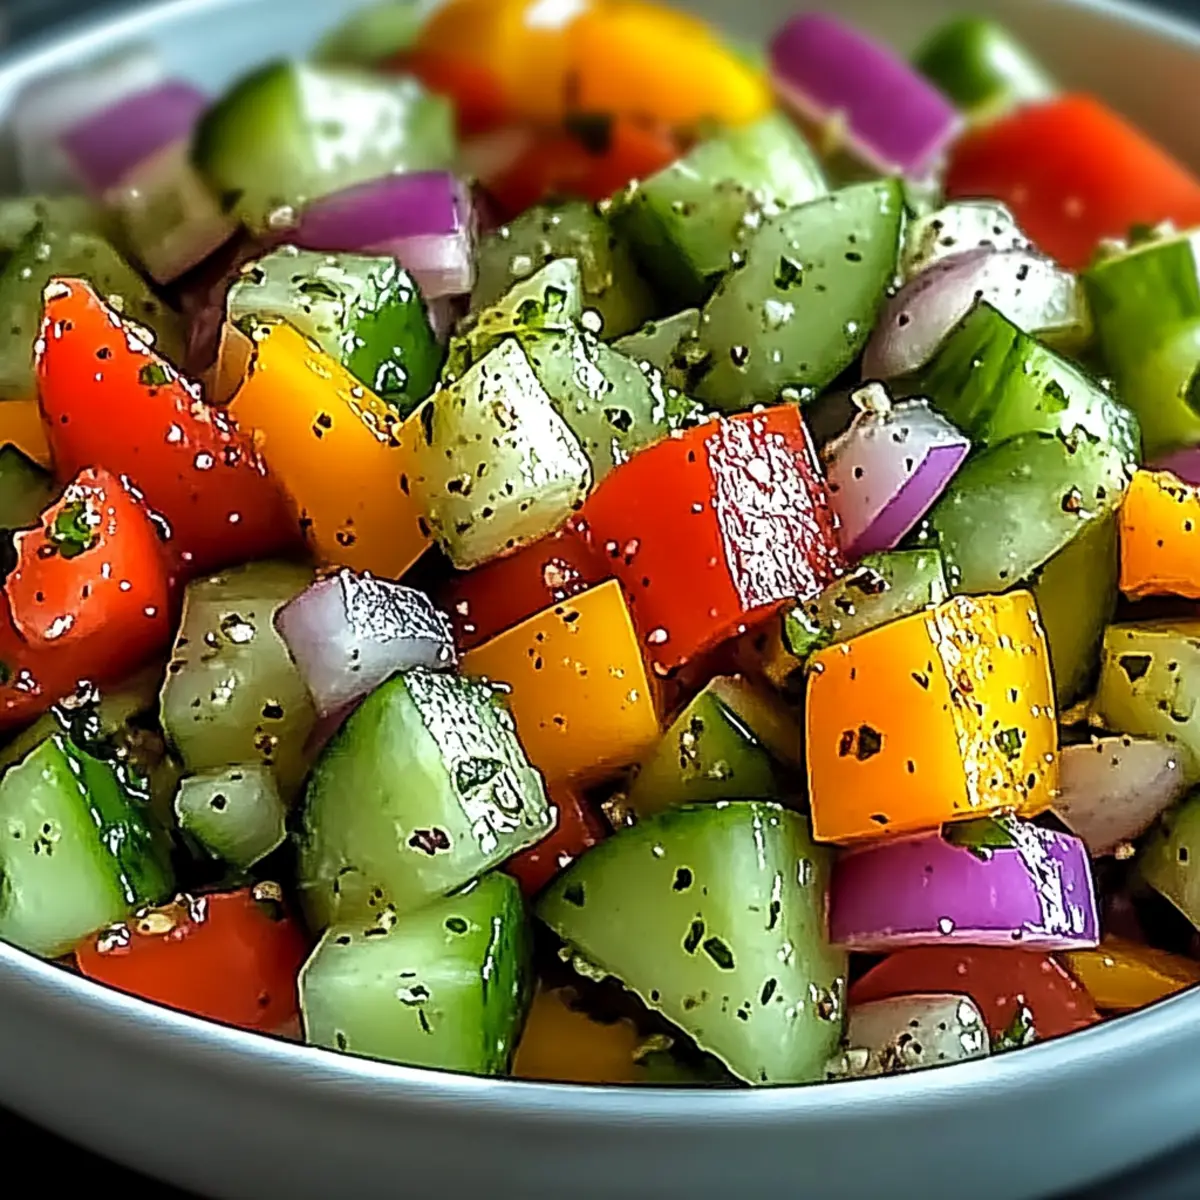
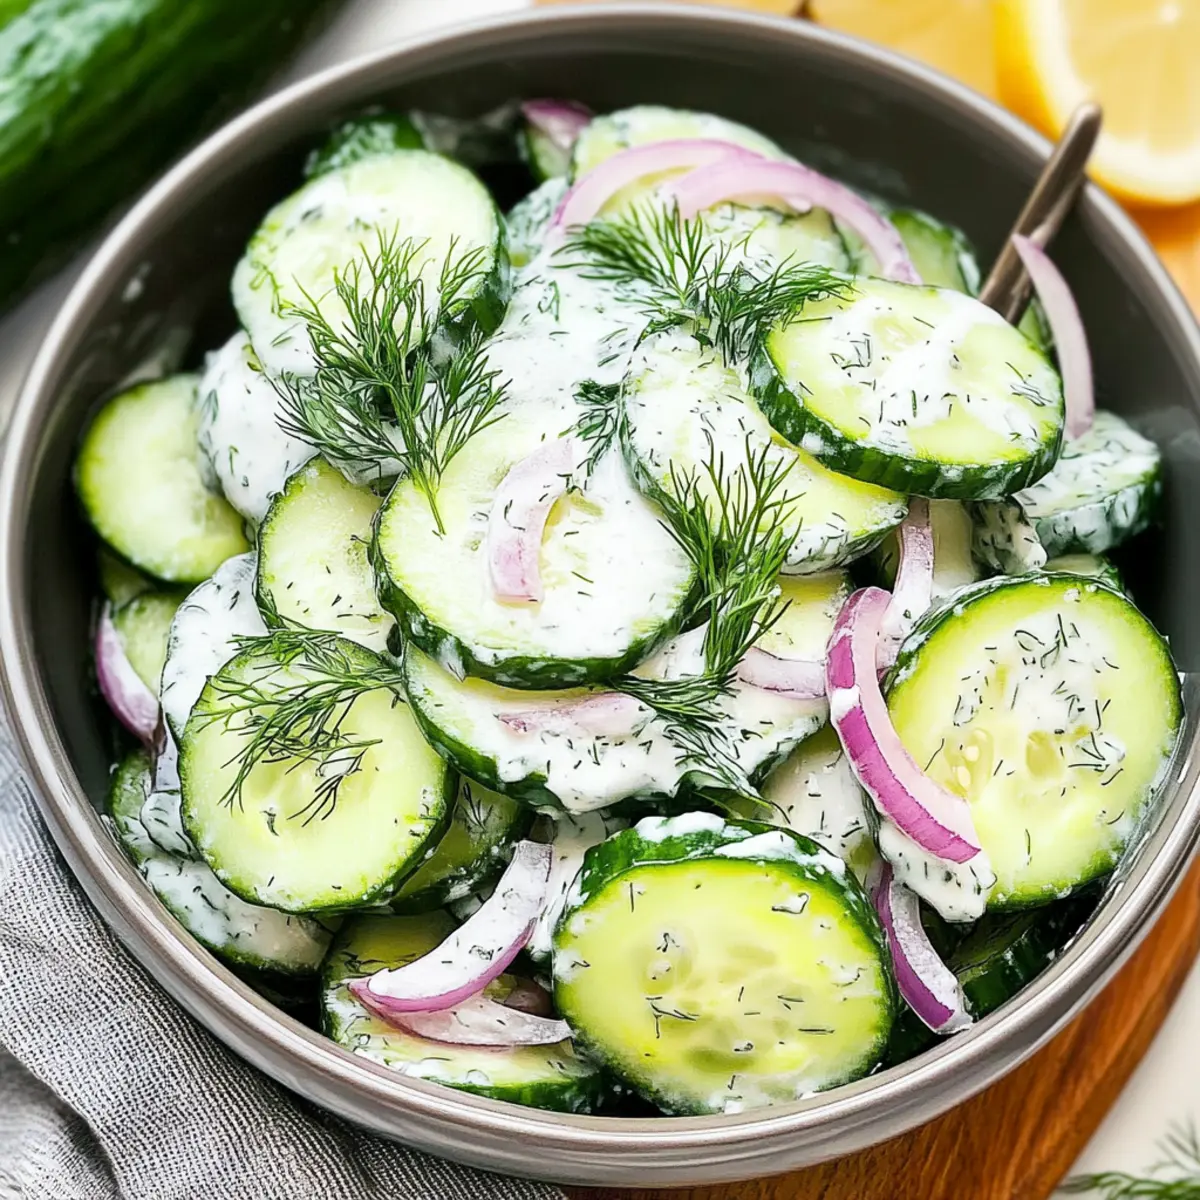
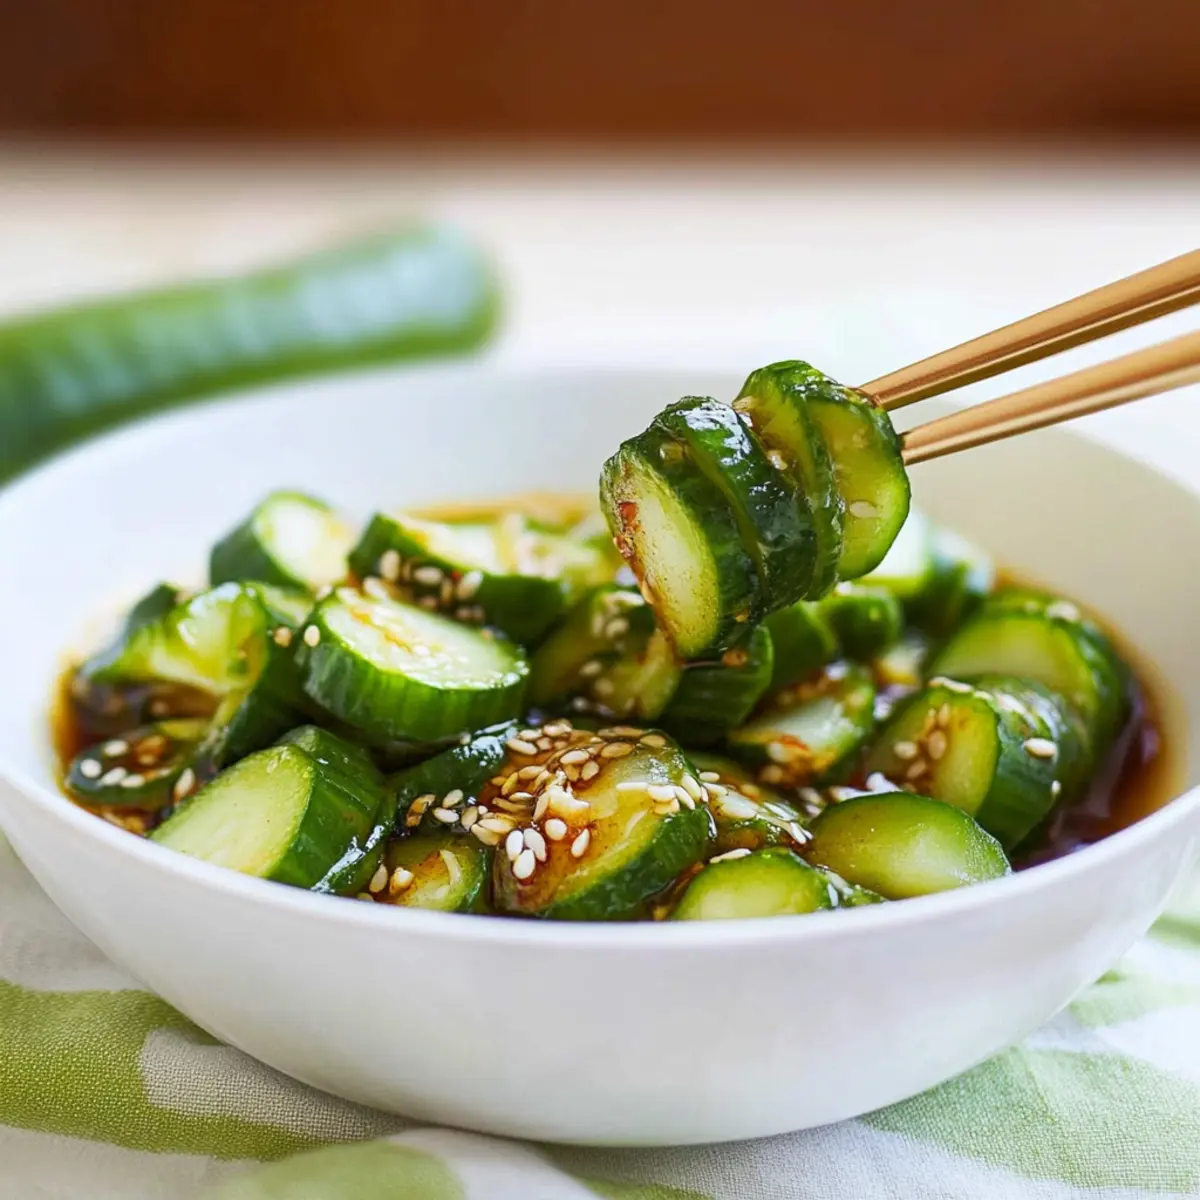
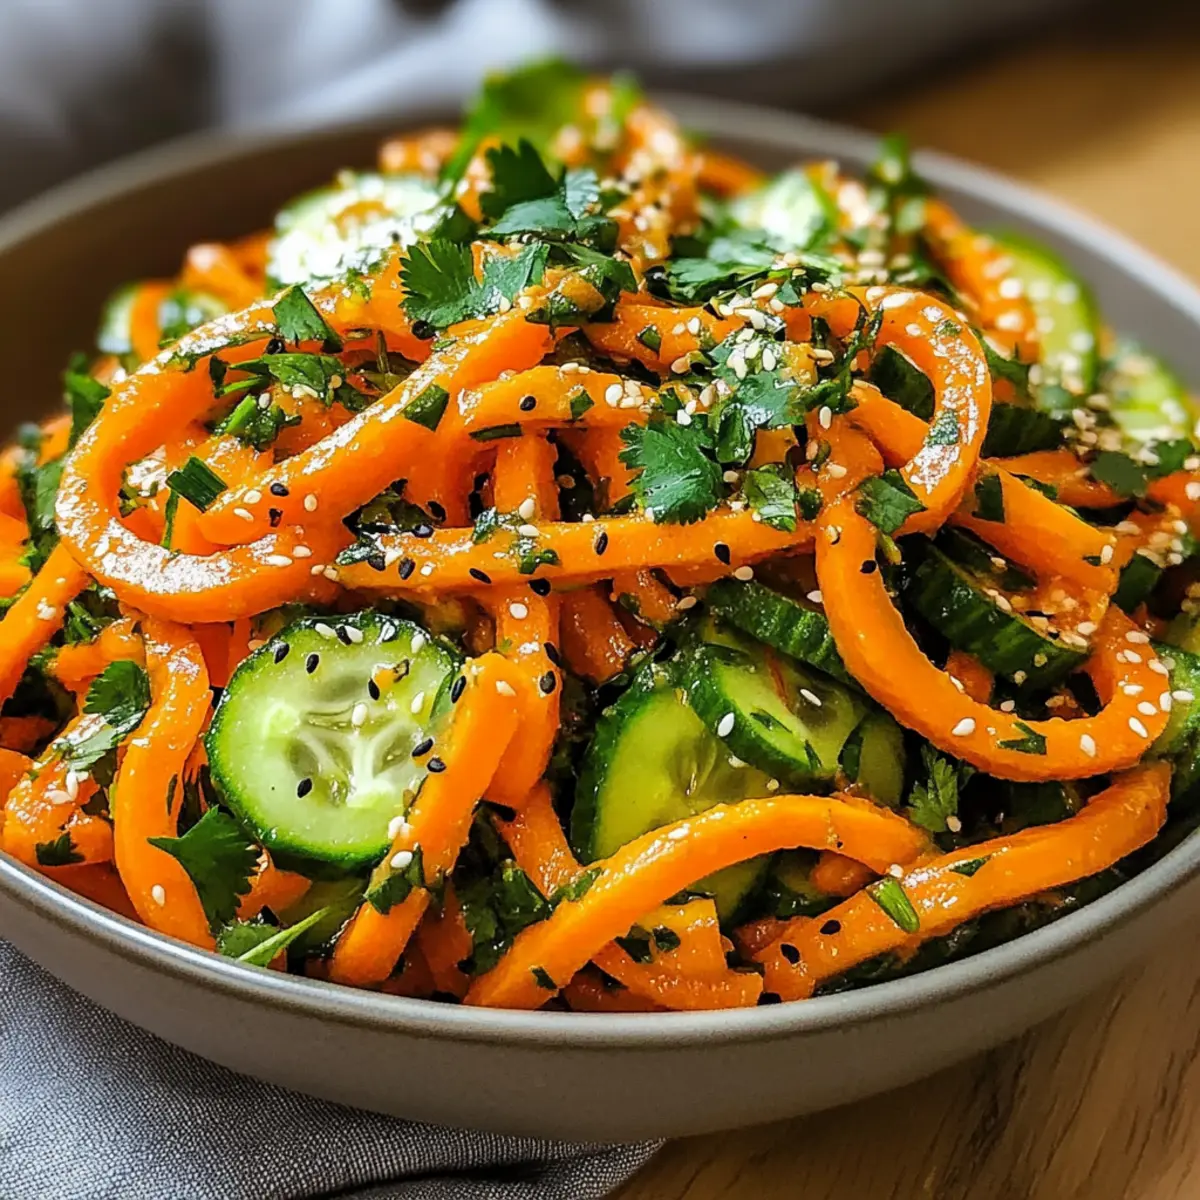
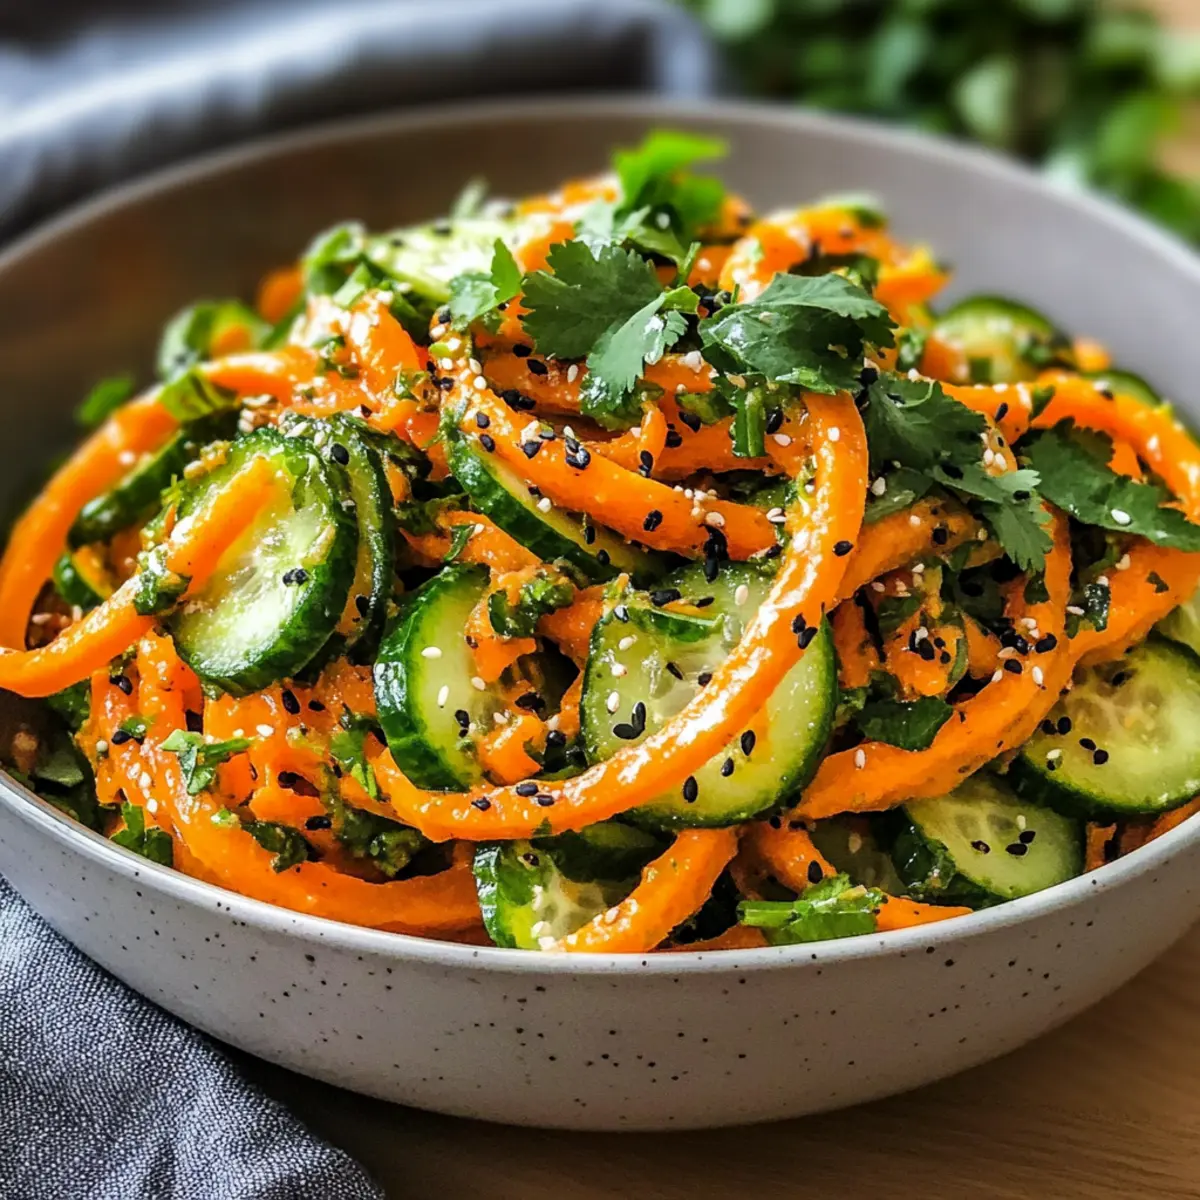
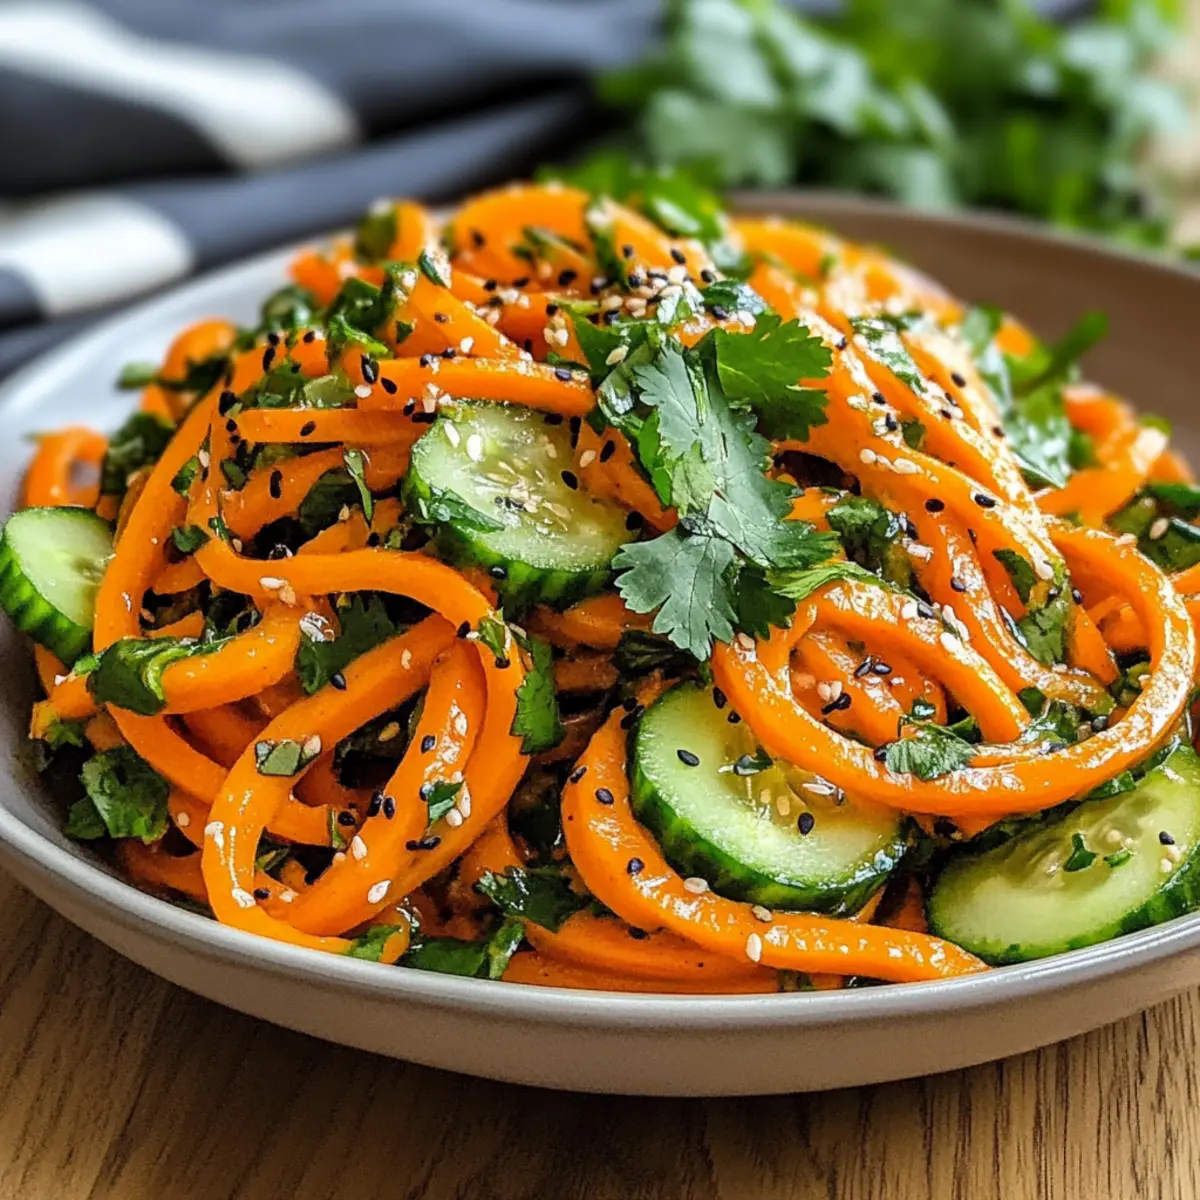
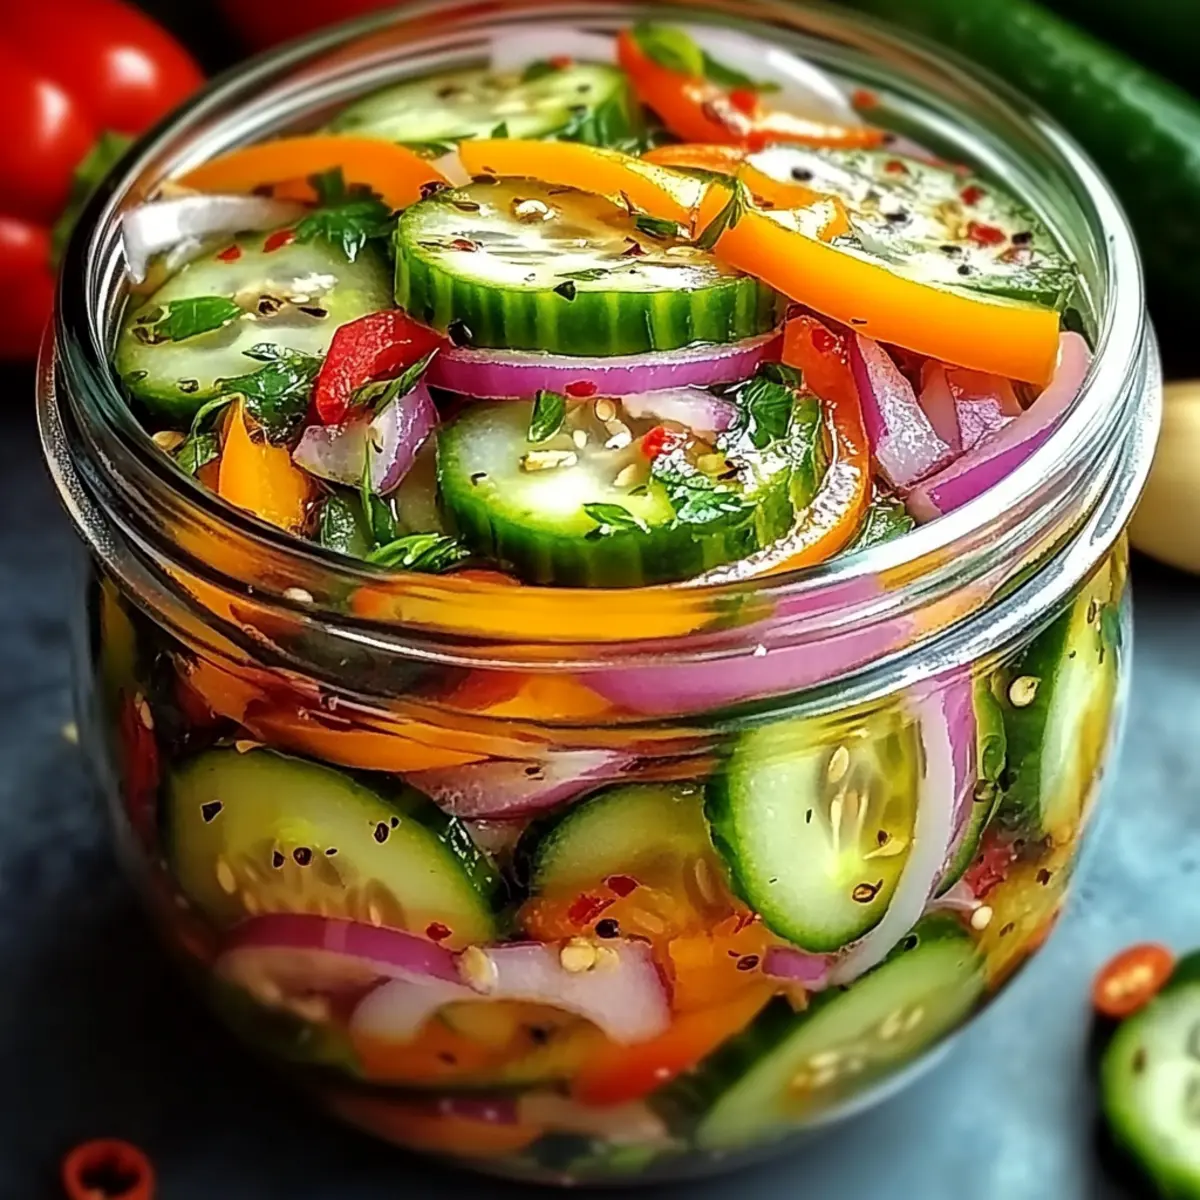
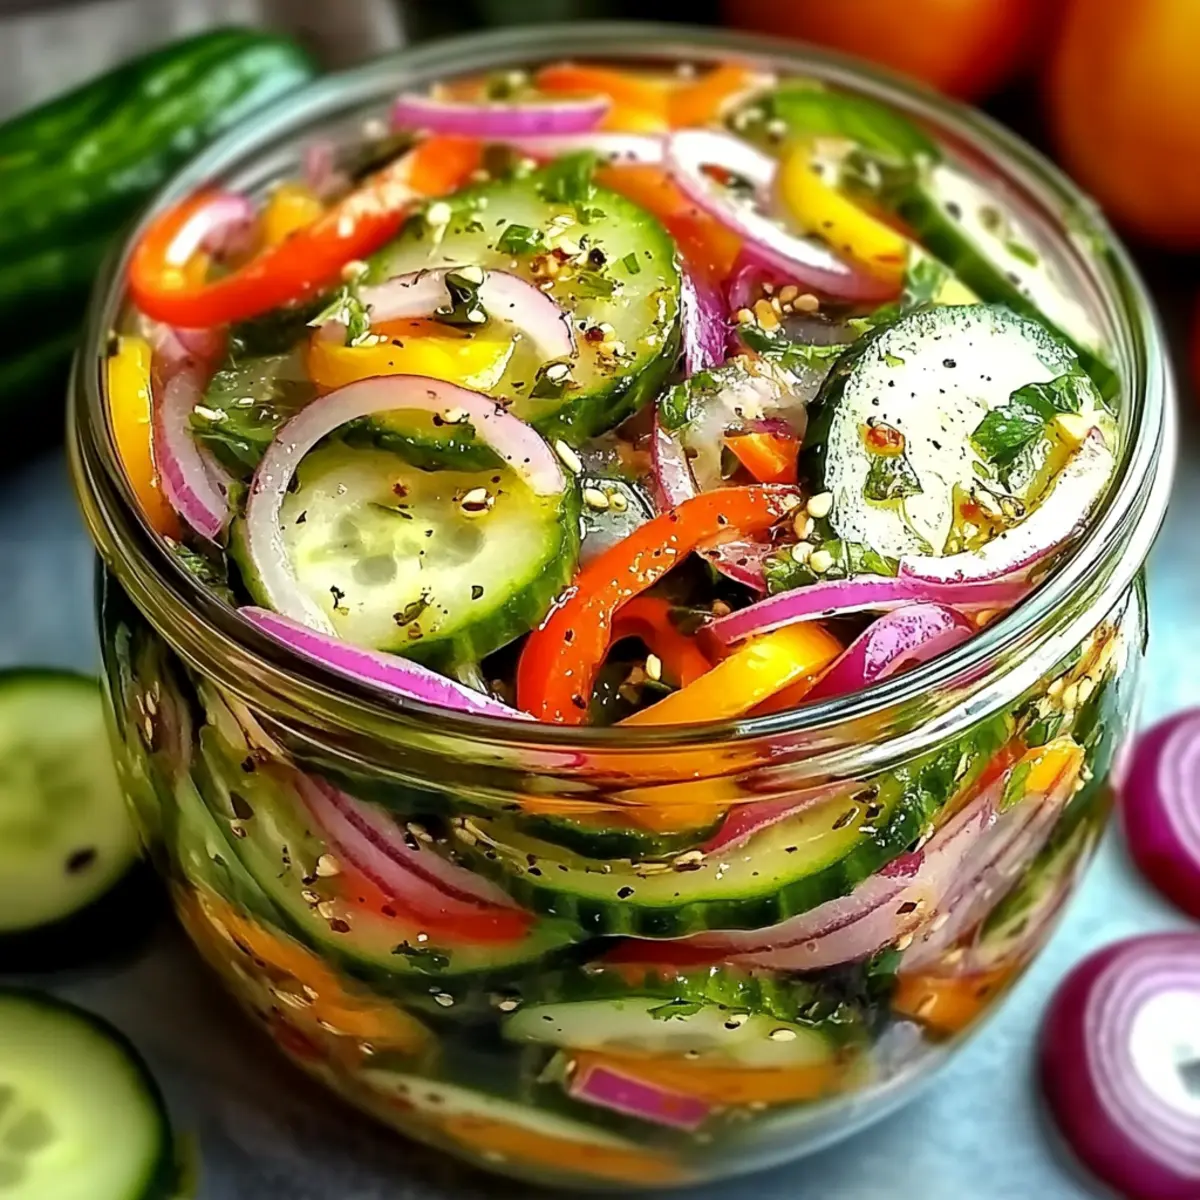
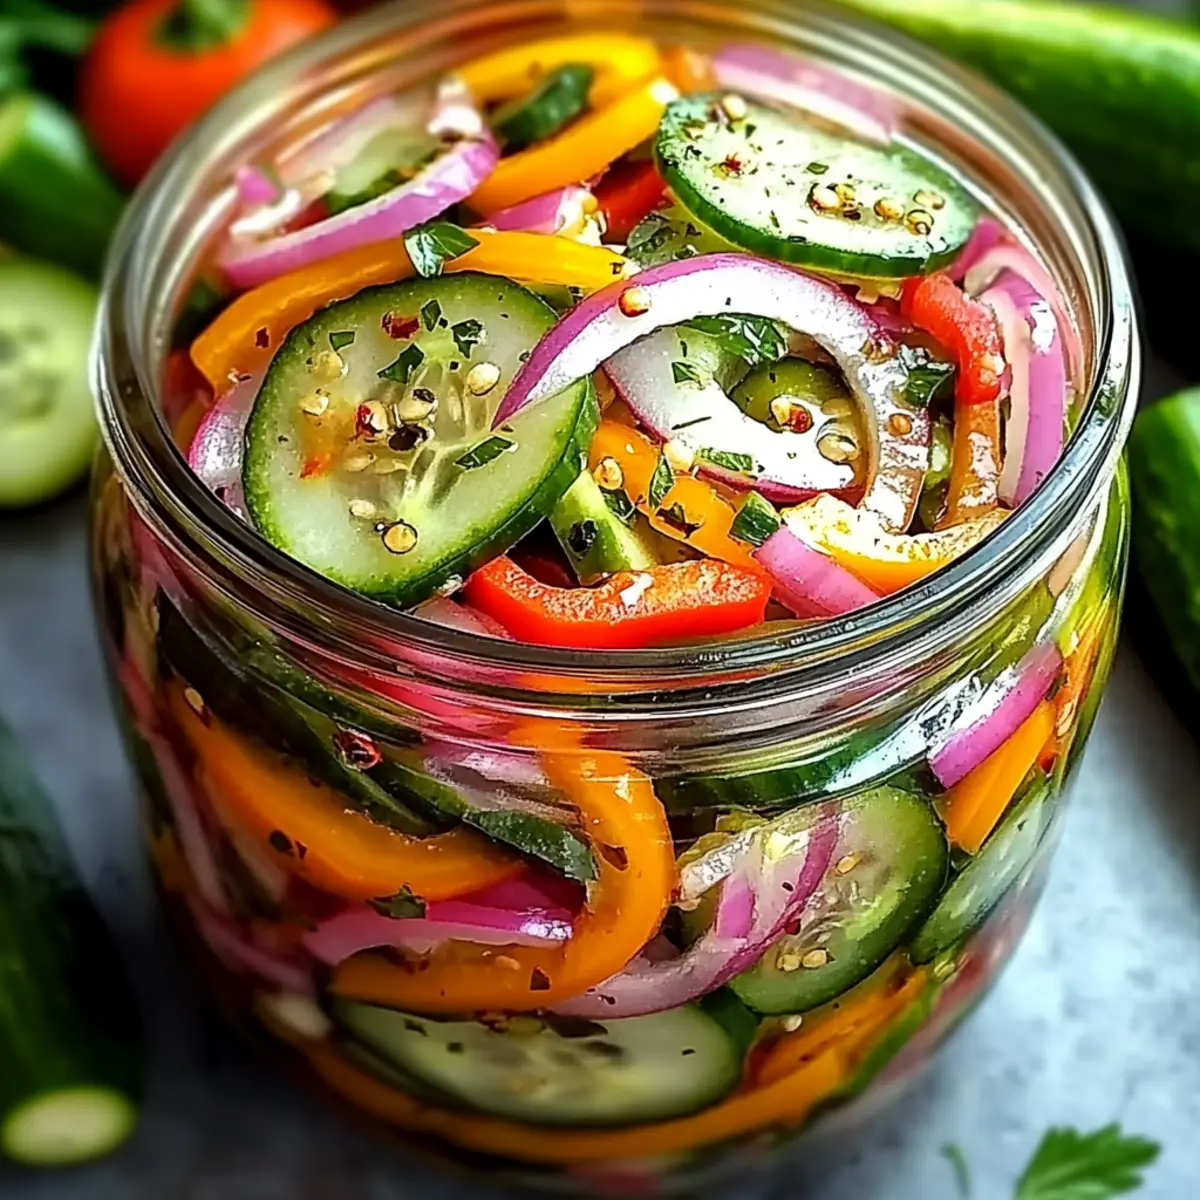
The kitchen can become a whirlwind of clashing flavors, especially when you're craving something fresh amidst leftovers and takeout containers. That’s where my Pickled Cucumber, Onion, and Bell Pepper Salad swoops in like a knight in shining armor! This vibrant dish is not just a feast for the eyes, but it's a quick prep and healthy addition to any meal, making it perfect for those busy days when you still want to serve something homemade. The crunchy texture and tangy flavor will have everyone at the table singing its praises, and the best part? You can customize it to suit your taste buds! Curious about how easy it is to whip up this refreshing side dish? Let's dive right in!
Why is this salad a must-try?
Quick Prep: This salad comes together in minutes, making it the perfect solution for those rushed weeknights or impromptu gatherings.
Customizable Flavors: With options to swap in your favorite veggies or vinegars, each batch can be uniquely yours!
Healthy Choice: Low in calories and high in vitamins, it’s guilt-free indulgence for health-conscious eaters.
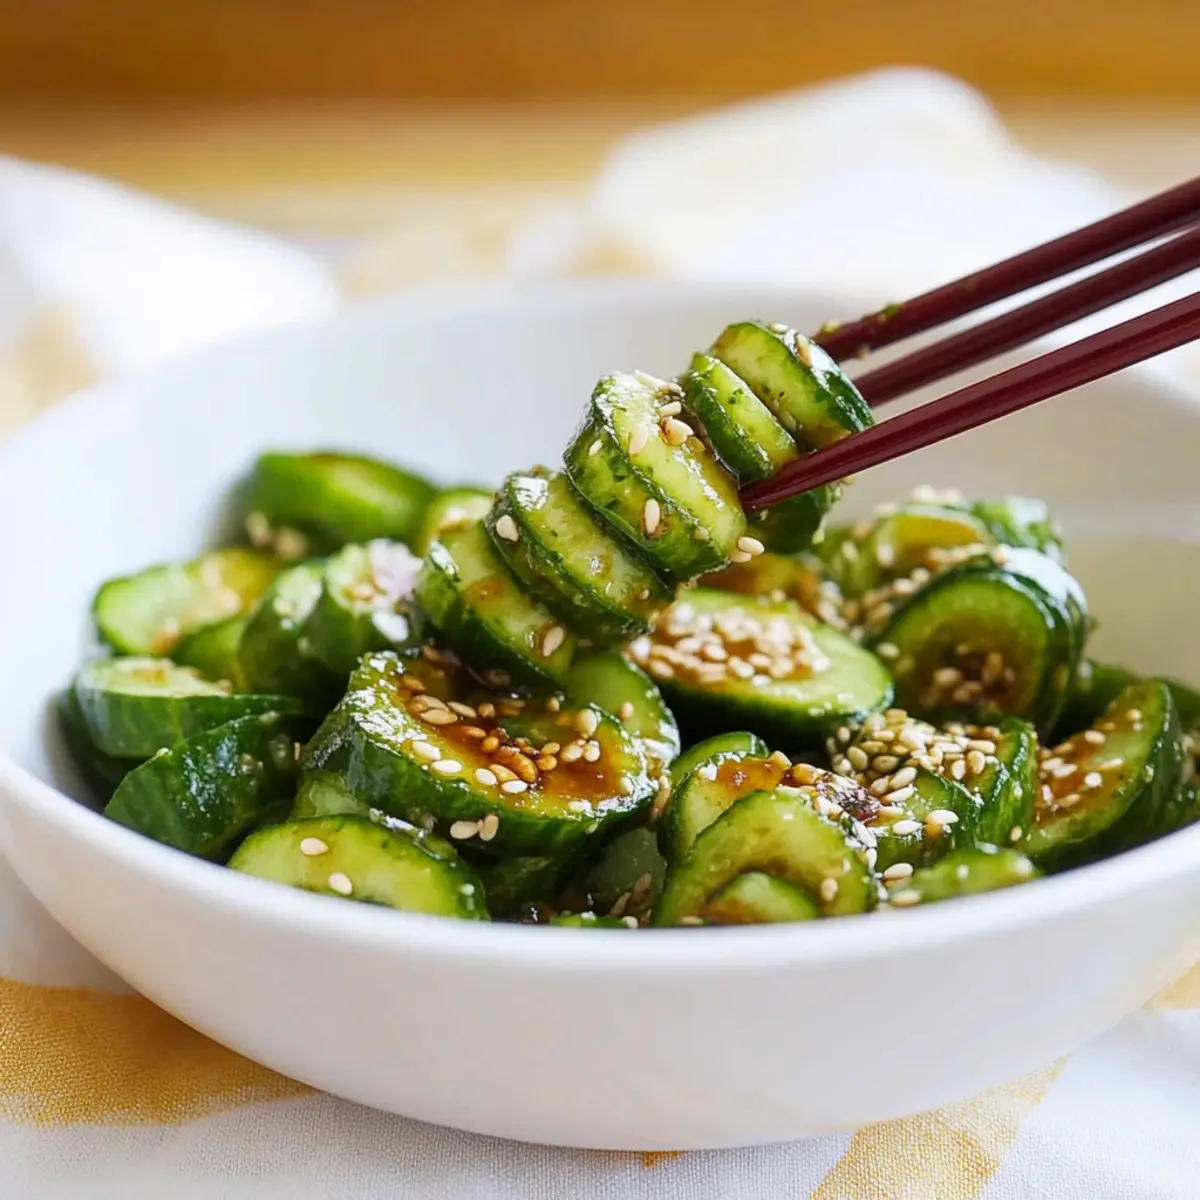
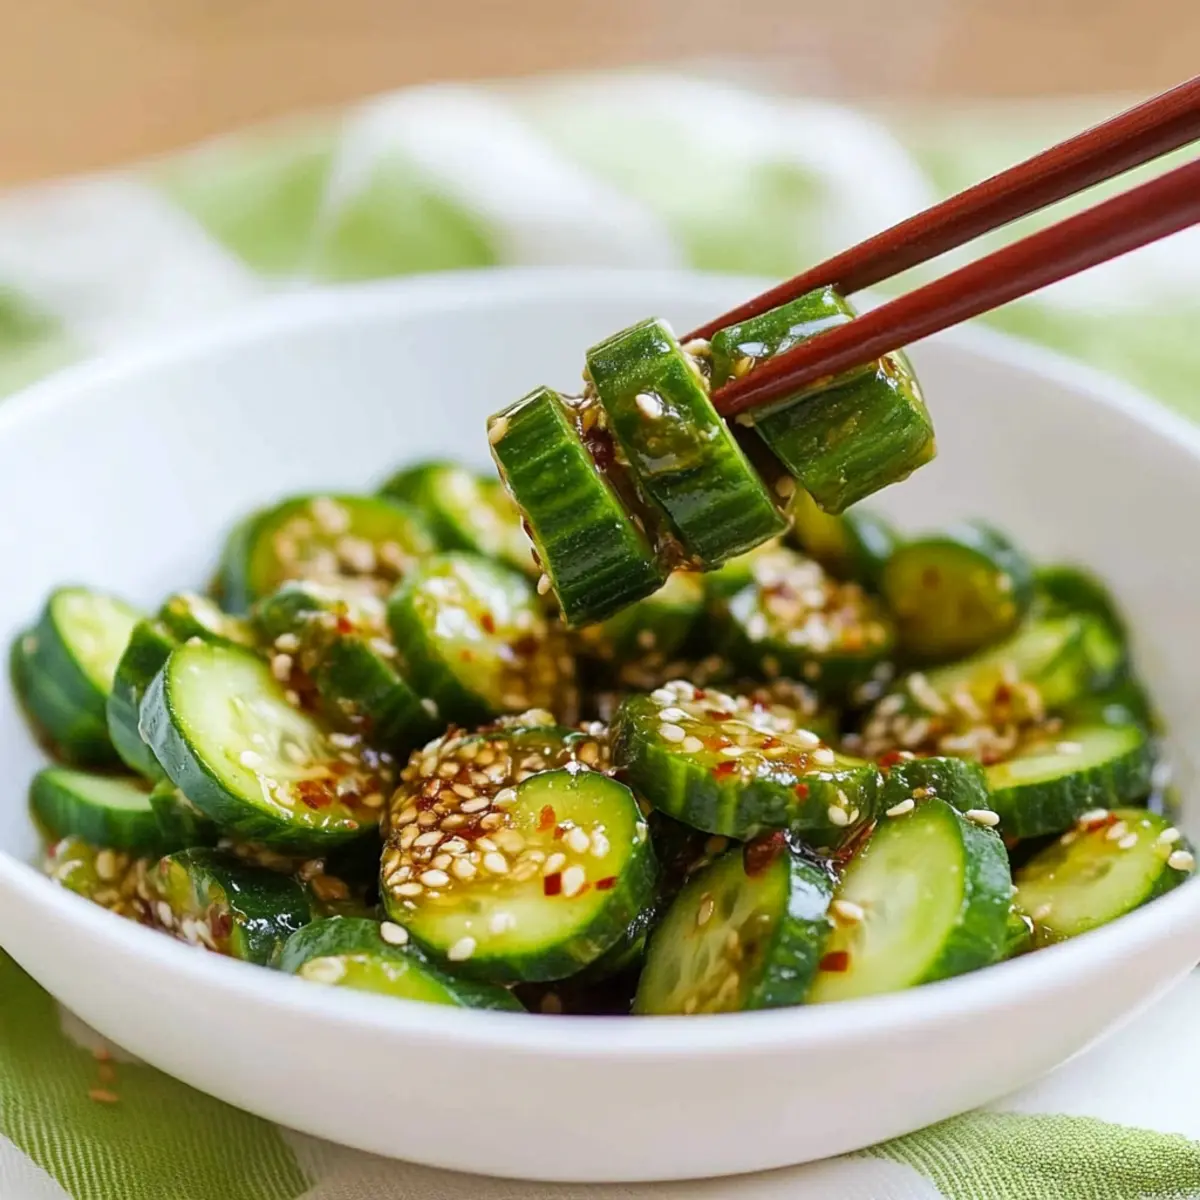
Crunchy Delight: Enjoy the satisfying crunch that brightens up any meal, whether paired with grilled meats or tucked into a sandwich.
Make-Ahead Wonder: It’s a fantastic option for meal prep; the flavors only improve after marinating! Just like my Chicken Salad Apples, your weeknight meals will thank you!
Pickled Cucumber, Onion, and Bell Pepper Salad Ingredients
For the Salad
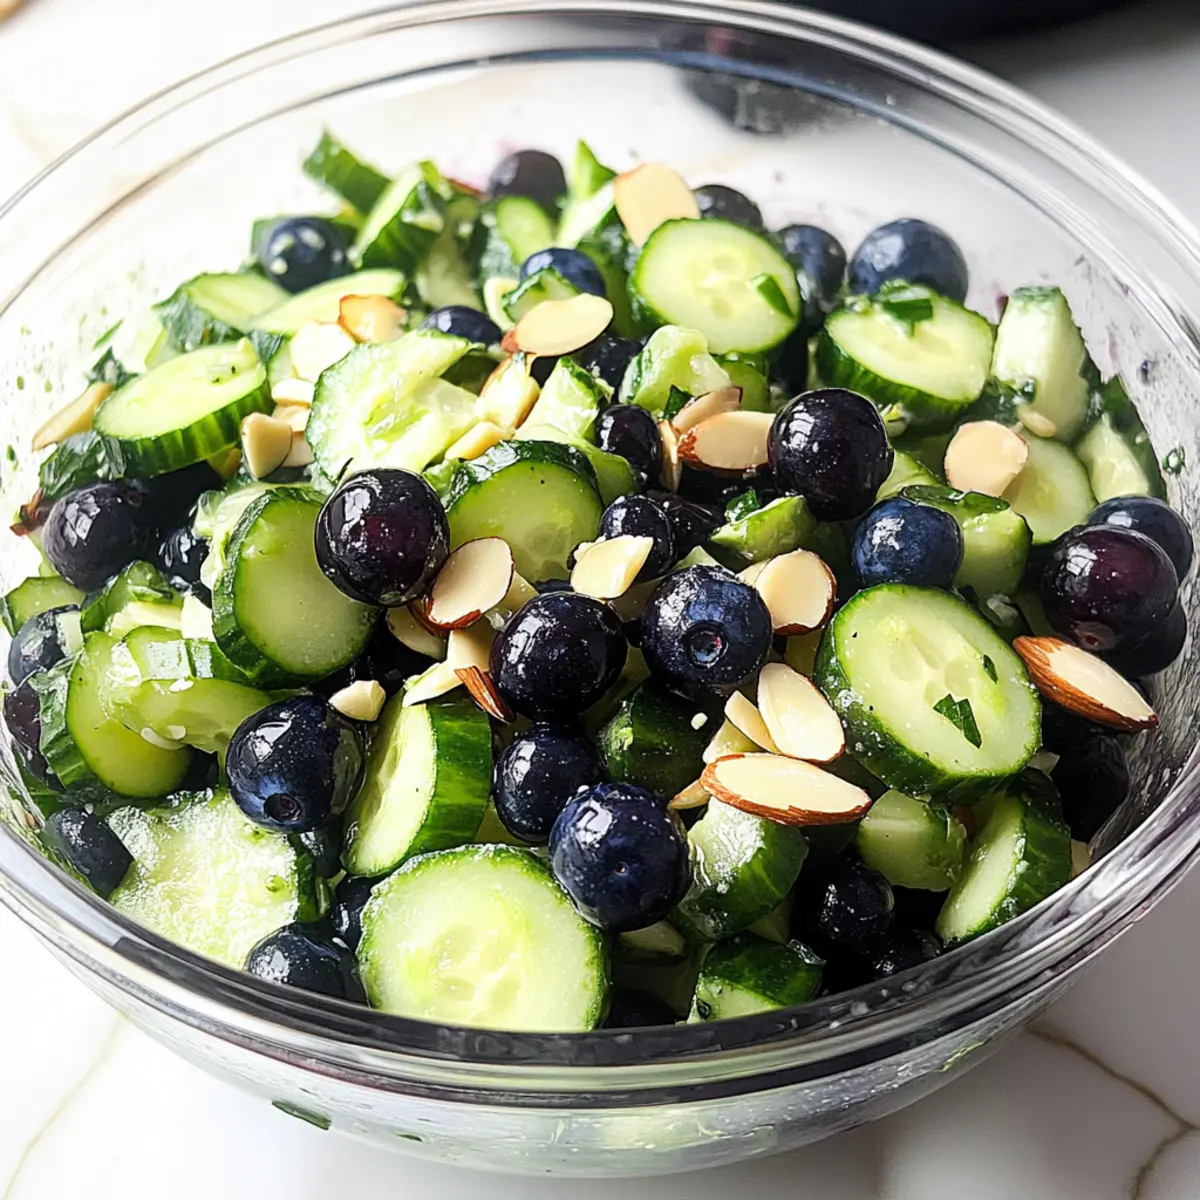
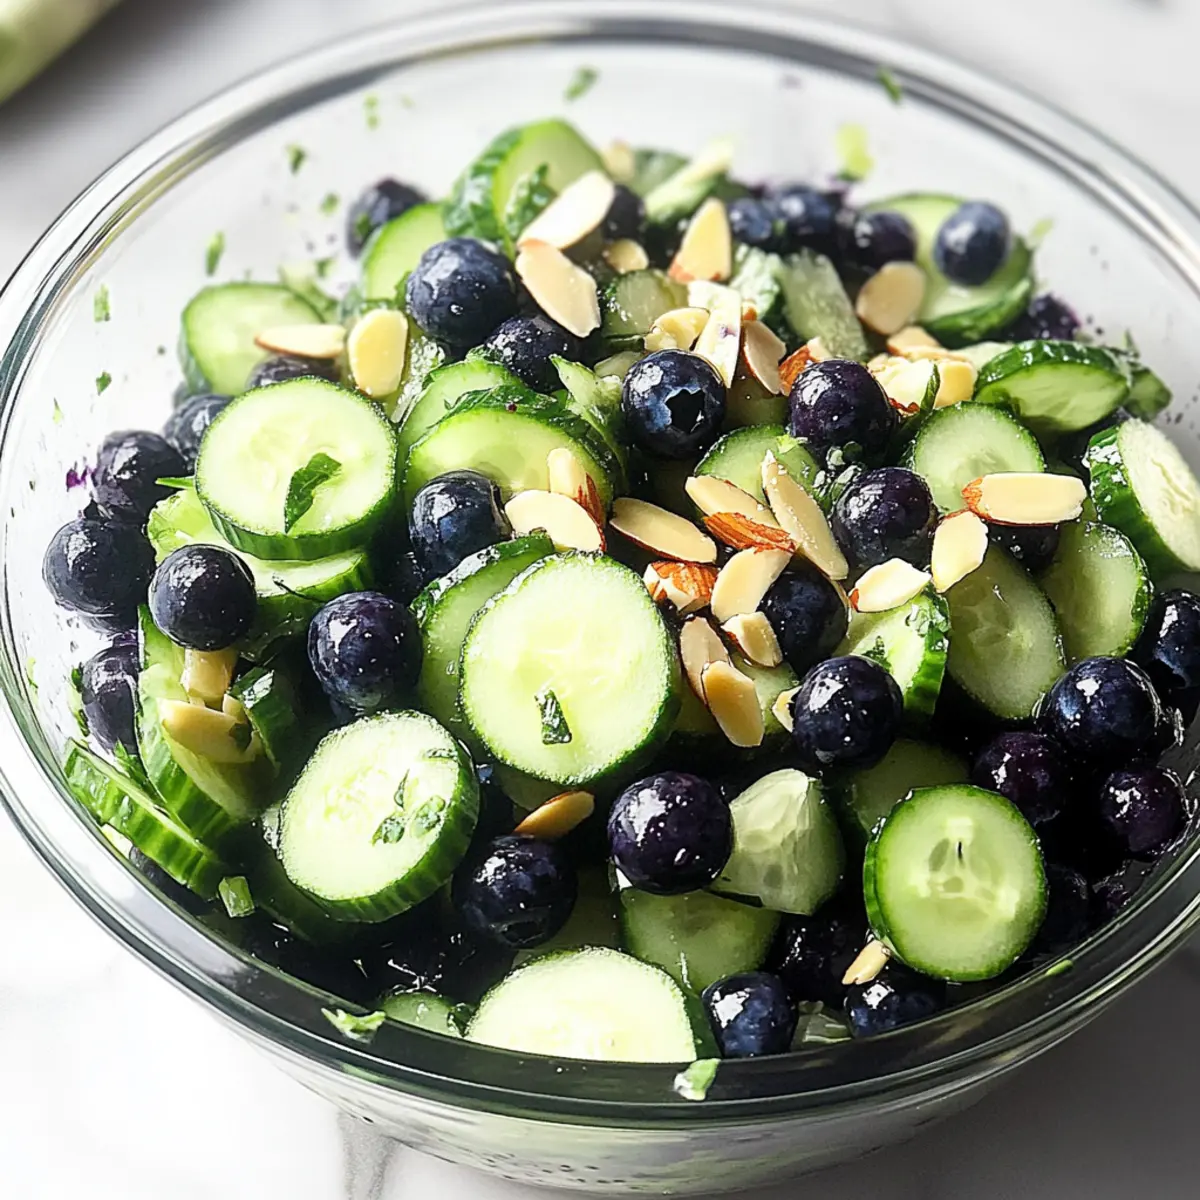
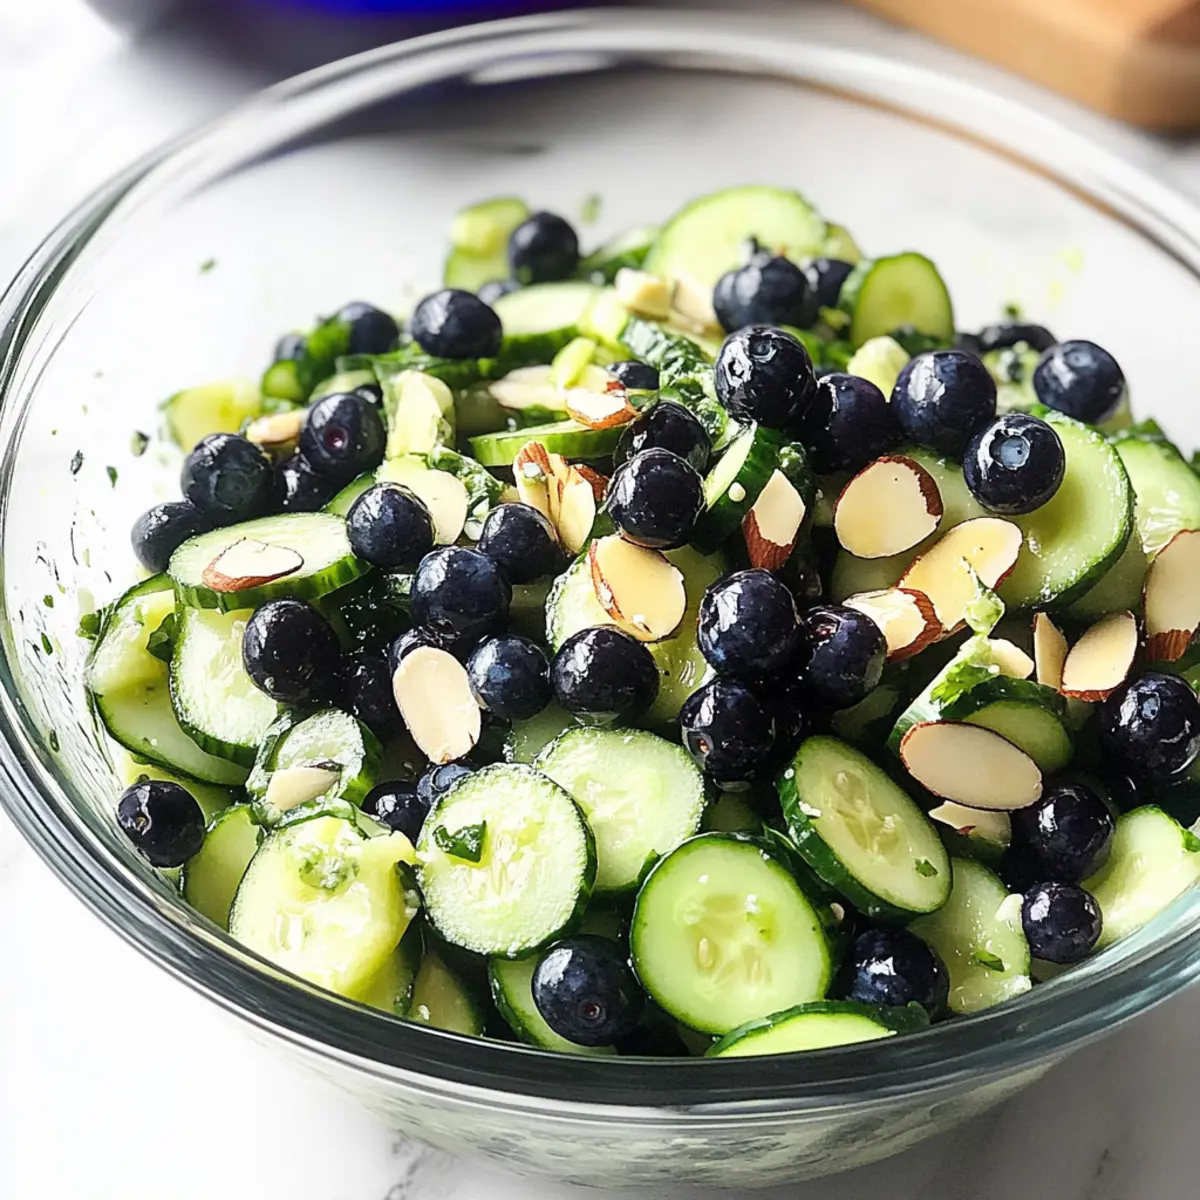
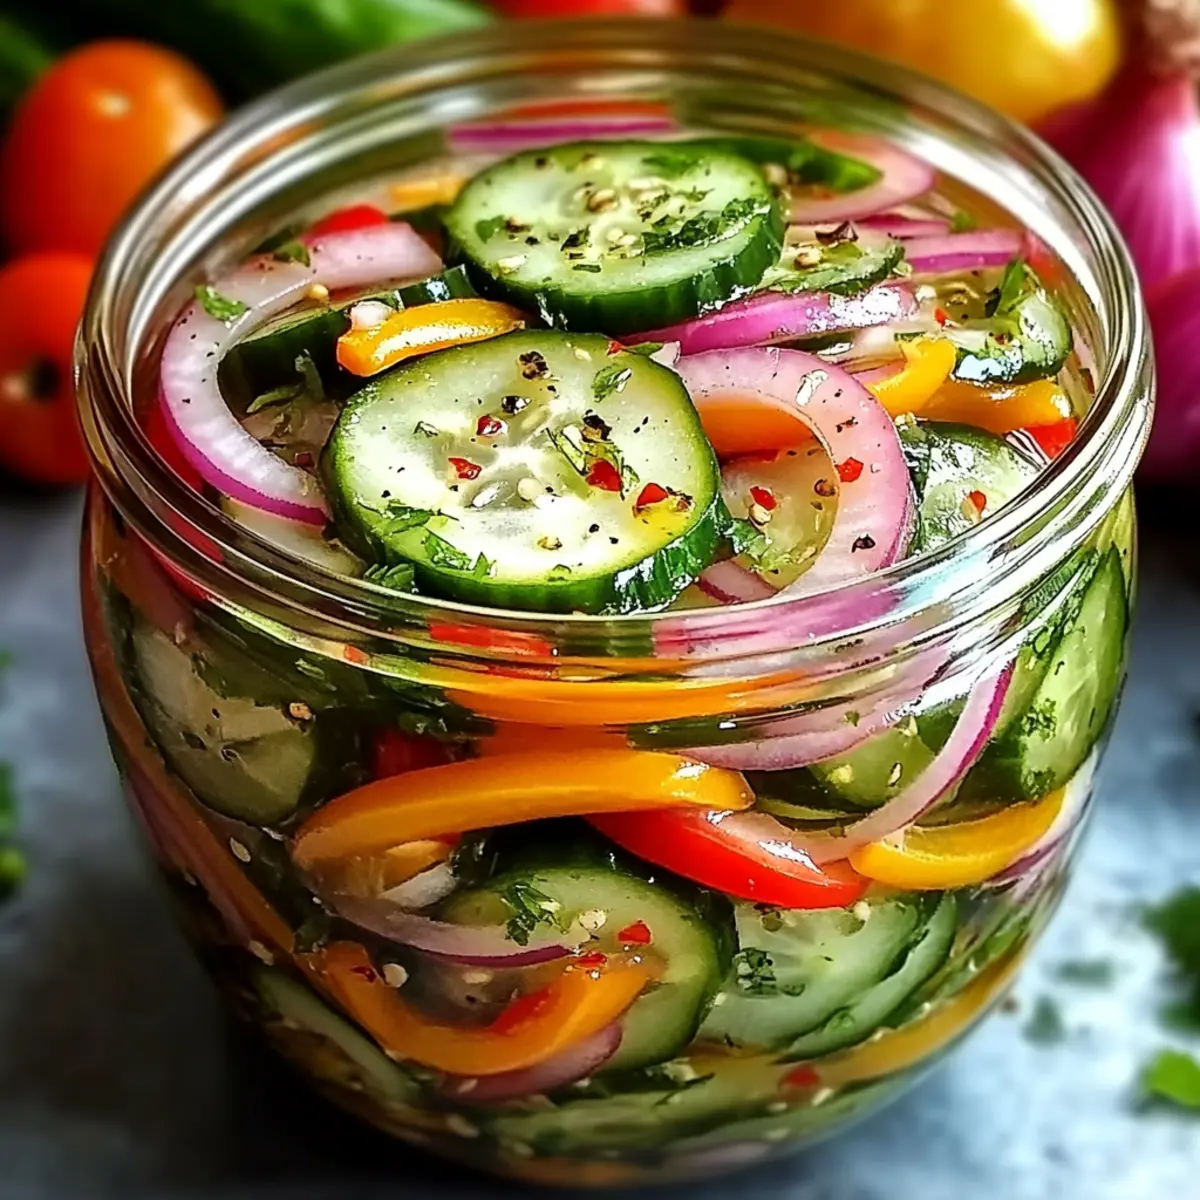
• Cucumbers – Crisp and cool to add a refreshing bite. Substitution Note: Any variety can be used, such as English or Persian cucumbers.
• Red Onion – Offers a sweet and slightly tangy flavor. Substitution Note: Yellow or white onion may be used for a milder taste.
• Bell Pepper – Provides sweetness and color; any color bell pepper works. Substitution Note: Other varieties like jalapeños can add heat.
For the Pickling Solution
• White Vinegar (1 cup) – Provides the essential tangy punch for pickling. Substitution Note: Apple cider vinegar or rice vinegar can be used for a different flavor.
• Water (1 cup) – Balances the acidity of the vinegar.
• Sugar (1/2 cup) – Balances the vinegar's acidity; adjust to taste. Substitution Note: Honey or agave syrup can be used for a natural sweetener.
• Salt (1 tablespoon) – Enhances flavor and helps preserve the vegetables.
• Black Pepper (1 teaspoon) – Adds mild heat that complements the sweetness.
• Garlic Powder (1 teaspoon) – Introduces an additional layer of flavor.
• Dill (optional; 1 teaspoon) – A fragrant herb that elevates the taste profile. Substitution Note: Fresh herbs like parsley can be swapped in.
Step‑by‑Step Instructions for Pickled Cucumber, Onion, and Bell Pepper Salad
Step 1: Prepare the Vegetables
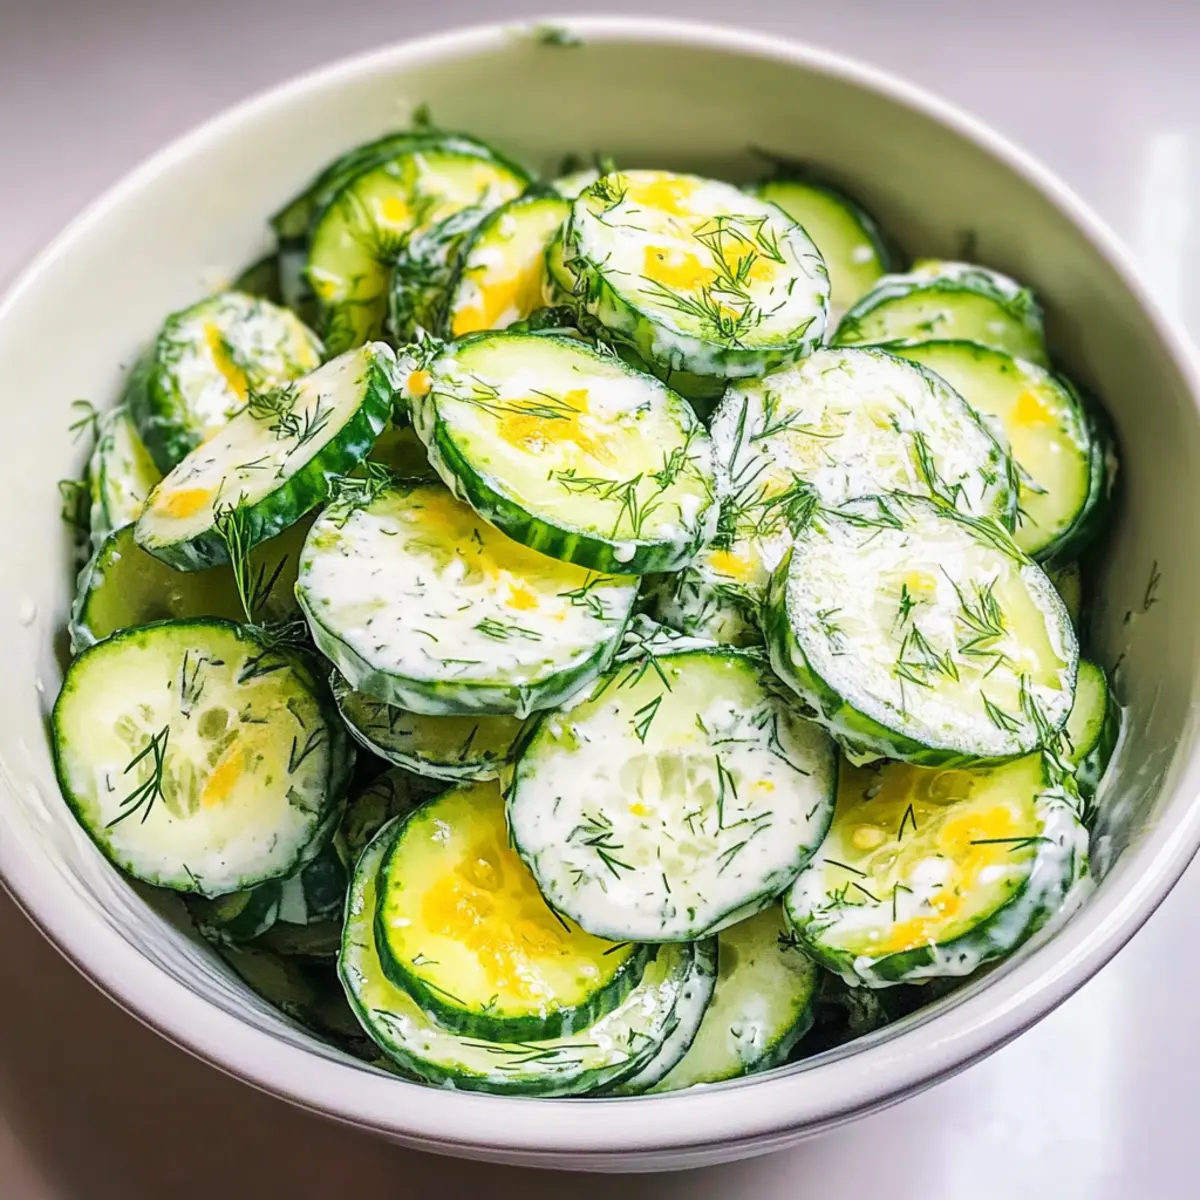
Begin by washing the cucumbers, red onion, and bell pepper under cool running water to remove any dirt. Using a sharp knife, slice the cucumbers and bell pepper into thin rounds, and the onion into thin strips, aiming for uniformity to ensure even pickling. Set these colorful vegetables aside in a large mixing bowl, where they will mingle shortly with the tangy brine.
Step 2: Make the Pickling Solution
In a medium bowl, combine the white vinegar, water, sugar, salt, black pepper, garlic powder, and optional dill. Whisk these ingredients together vigorously until the sugar and salt are fully dissolved, creating a glossy and fragrant pickling solution. This zesty mix will give your Pickled Cucumber, Onion, and Bell Pepper Salad its signature flavor, so make sure it’s well combined before proceeding to the next step.
Step 3: Combine Ingredients
Carefully pour the pickling solution over the sliced cucumbers, onion, and bell pepper in the large mixing bowl. Using tongs or a wooden spoon, gently toss the vegetables with the brine to ensure each piece is well-coated with the delightful mixture. As the vegetables absorb the brine, you’ll notice them starting to glisten, indicating they’re ready for marinating.
Step 4: Marinate in the Refrigerator
Cover the bowl with plastic wrap or transfer the salad into a jar with a tight-fitting lid. Place it in the refrigerator to marinate for at least 1 hour, but for the best flavor, let it sit overnight. The colors will deepen, and the veggies will soften slightly as they absorb the tangy flavors, creating a visually stunning and delicious Pickled Cucumber, Onion, and Bell Pepper Salad.
Step 5: Serve and Enjoy
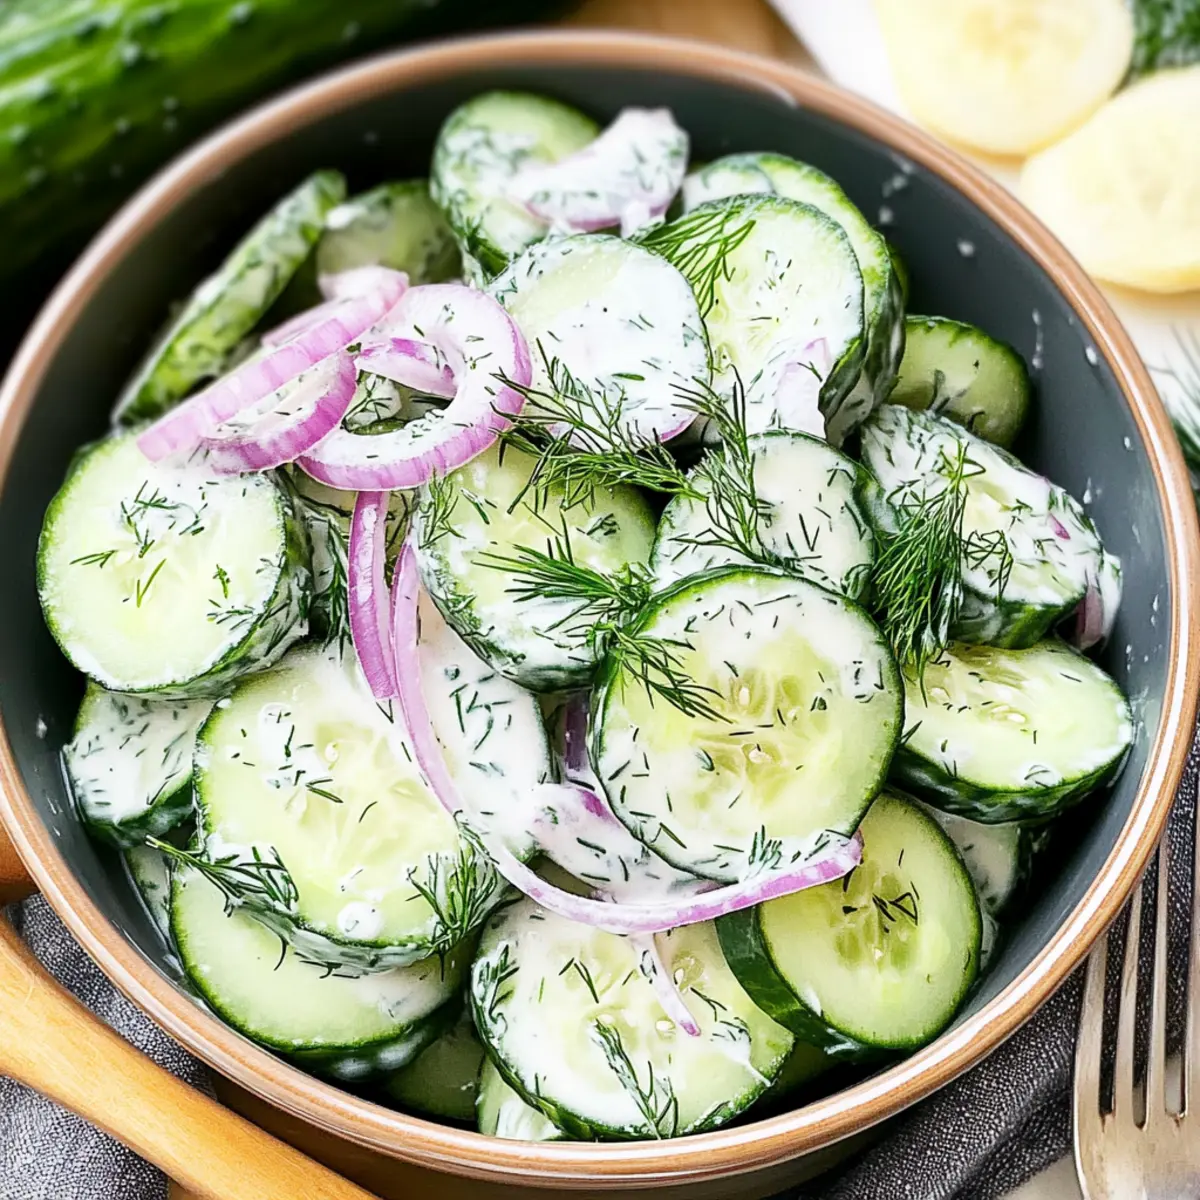
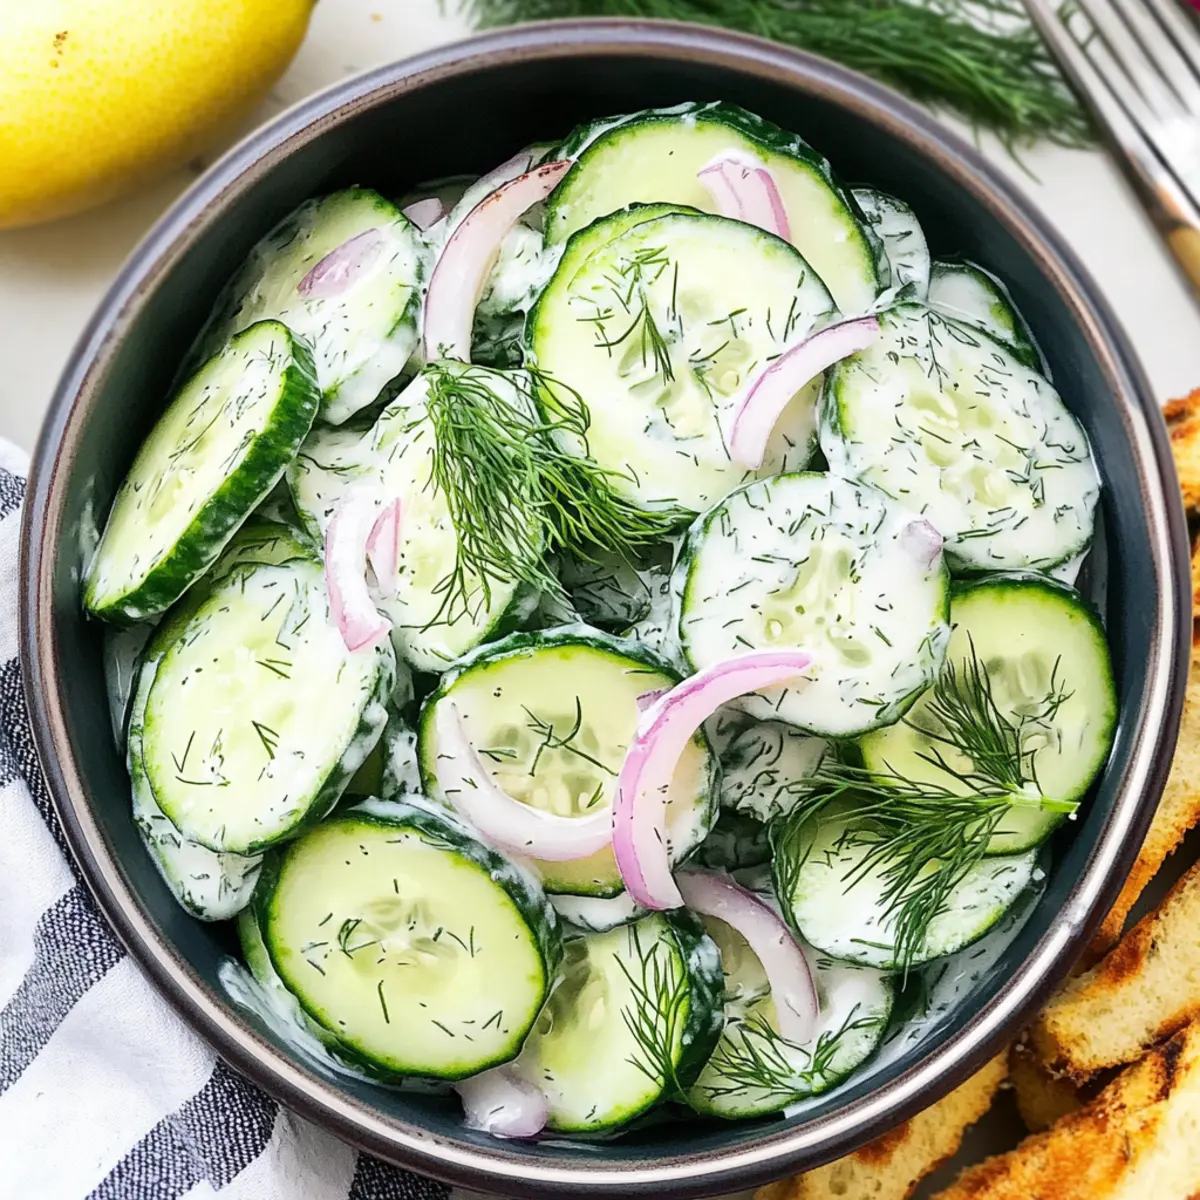
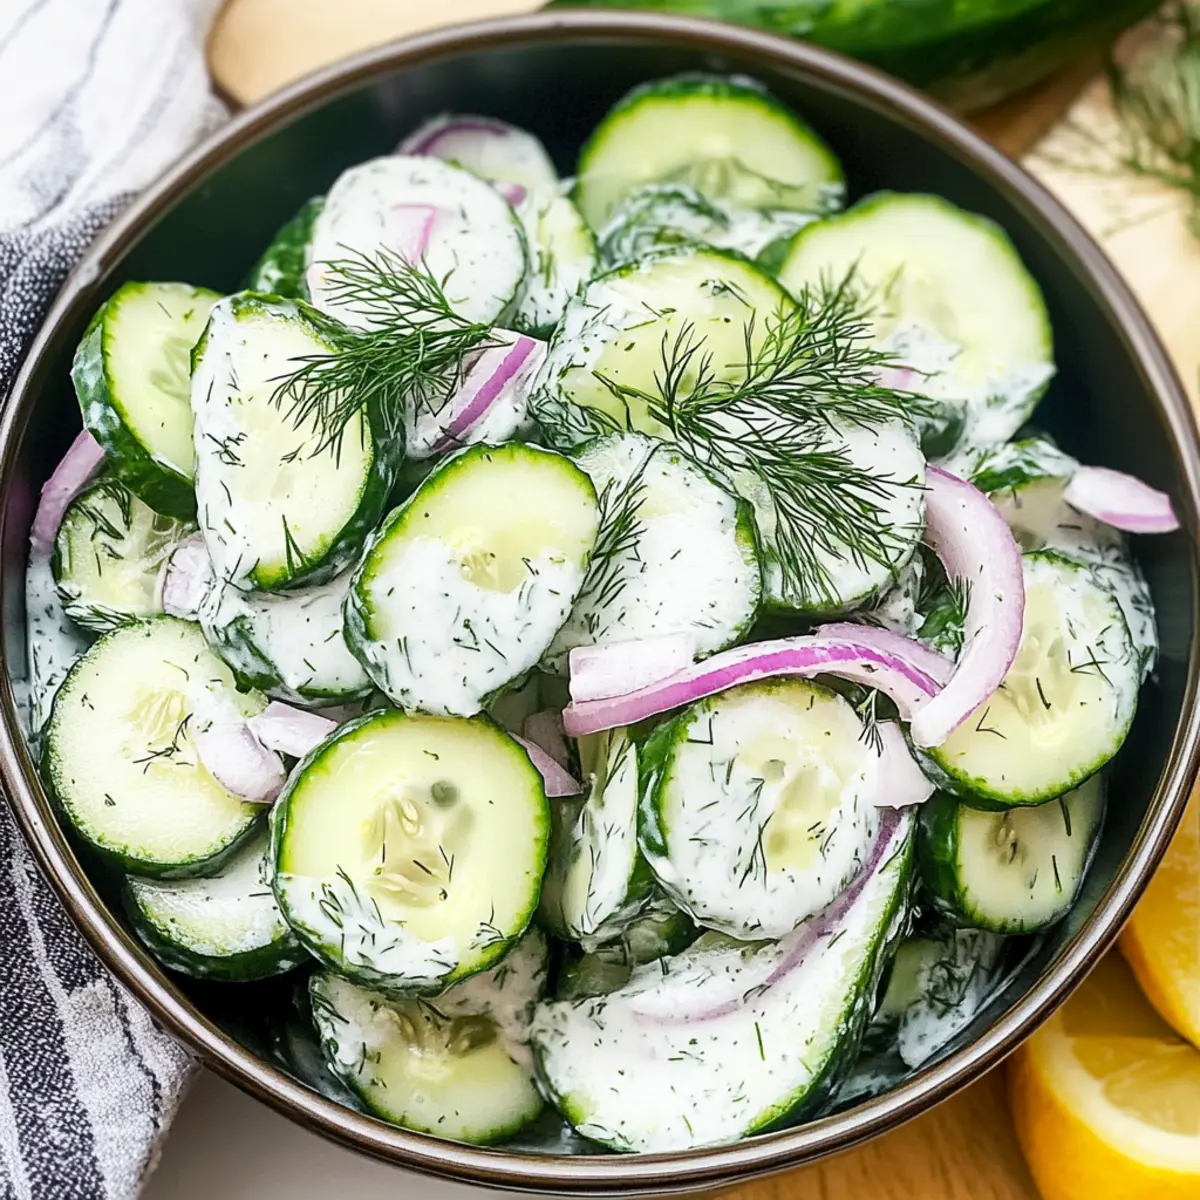
Once the marinating time is up, give the Pickled Cucumber, Onion, and Bell Pepper Salad a gentle stir to redistribute the brine. Serve this refreshing dish chilled as a tasty side option for your favorite meals, like grilled meats or tacos. The vibrant flavors and crunchy textures will make this salad a highlight at your dining table, promising smiles all around!
Pickled Cucumber, Onion, and Bell Pepper Salad Variations
Customize this refreshing salad to fit your cravings and the season's bounty!
- Low-Sugar Twist: Reduce or eliminate sugar for a lighter pickling solution; consider using a splash of fruit juice for sweetness.
- Fruity Flavor: Add diced mango or pineapple for a sweet contrast that elevates your salad's flavor profile, perfect for summer barbecues.
- Spicy Kick: Mix in sliced jalapeños or crushed red pepper flakes to the pickling solution for a delightful heat that excites your palate.
- Herbed Up: Swap in fresh herbs like basil or cilantro instead of dill to give the salad a unique, aromatic lift that brightens each bite.
- Grain Bowl Addition: Toss a portion of this pickled salad into grain bowls, making satisfying meals packed with flavors; it pairs wonderfully with quinoa or brown rice.
- Crunchy Add-ins: Include shredded carrots or sliced radishes for additional crunch and vibrant color, making every bite a texture delight!
- Vinegar Variety: Experiment with apple cider or balsamic vinegar instead of white vinegar, creating a robust flavor twist that adds depth to the salad.
- Creamy Layer: Serve it alongside a dollop of avocado yogurt or a creamy dressing for a richer complement, transforming it into a more filling dish.
Embrace your creativity, and don't forget to check out my Avocado Egg Salad for more delicious meal ideas!
What to Serve with Tangy Pickled Cucumber, Onion, and Bell Pepper Salad
Embrace the essence of vibrant flavors and textures as you create a memorable meal alongside this delightful salad.
-
Grilled Chicken Breasts: Juicy, smoky chicken is an ideal counterpart, balancing the tang of the salad with hearty protein.
-
Fish Tacos: Load your tortillas with flaky fish and fresh toppings, then add this salad for a refreshing crunch—perfect for taco night!
-
Quinoa Bowl: Dress up a wholesome bowl of quinoa with roasted veggies and chickpeas, using this salad to enhance the colorful mix with its zest.
-
Barbecue Ribs: The tangy notes of the salad complement the rich flavors of slow-cooked ribs, adding a fresh contrast that will excite your palate.
-
Bread and Cheese Platter: Create an appetizer spread with artisan bread and assorted cheeses, featuring this salad for a burst of color and taste.
-
Margaritas: A crisp, refreshing margarita pairs wonderfully, balancing the salad's tang while enhancing your dining experience with fun flavors.
-
Lemon Sorbet: Finish your meal on a light note with a scoop of lemon sorbet—its brightness echoes the tang of the salad in sweet harmony.
Pairing these additions with your Tangy Pickled Cucumber, Onion, and Bell Pepper Salad will help ensure your meal is not only satisfying but also brimming with delightful contrasts!
How to Store and Freeze Pickled Cucumber, Onion, and Bell Pepper Salad
Fridge: Store in an airtight container in the refrigerator for up to one week. The flavor deepens as it sits, making it fantastic for meal prep.
Freezer: It’s not recommended to freeze this salad due to the texture change that occurs after thawing. Enjoy it fresh!
Serving Suggestions: This salad is perfect when served cold, so keep it chilled until you’re ready to serve it alongside your favorite dishes.
Reheating: No reheating needed! Enjoy this refreshing Pickled Cucumber, Onion, and Bell Pepper Salad straight from the fridge for a delightful crunch at any meal.
Make Ahead Options
This Pickled Cucumber, Onion, and Bell Pepper Salad is a fantastic choice for meal prep enthusiasts! You can slice the cucumbers, onions, and bell peppers up to 24 hours in advance and store them in an airtight container in the refrigerator to maintain their crispness. Additionally, you can whip up the tangy pickling solution ahead of time—just refrigerate the mixture for up to 3 days until you're ready to combine it with the veggies. When you're ready to serve, simply toss the prepped vegetables with the pickling solution, allow them to marinate for at least an hour (preferably overnight), and enjoy this refreshing salad at its best!
Expert Tips for Pickled Cucumber, Onion, and Bell Pepper Salad
-
Slice Thinly: Ensure cucumbers and peppers are sliced thinly for optimal flavor absorption and crunch. This will enhance the overall texture of your Pickled Cucumber, Onion, and Bell Pepper Salad.
-
Adjust Sweetness: Taste the pickling solution before marinating. You can easily tweak the sugar level to suit your taste; just remember, it balances the vinegar’s acidity.
-
Spice It Up: For an extra kick, consider adding crushed red pepper flakes or sliced jalapeños to the pickling solution. This little tweak can elevate your Pickled Cucumber, Onion, and Bell Pepper Salad!
-
Mix & Match: Don’t hesitate to customize! Feel free to substitute with your favorite vegetables like cherry tomatoes or shredded carrots for unique variations each time.
-
Marinate Properly: For the best flavor, marinate overnight if possible. This gives the vegetables ample time to soak up the tangy brine and develop their delicious taste.
-
Serve Cold: This salad is best served cold. Chill it for at least one hour to ensure all those refreshing flavors mingle beautifully before serving.
Pickled Cucumber, Onion, and Bell Pepper Salad Recipe FAQs
How do I know if my cucumbers are ripe?
Absolutely! Ripe cucumbers should be firm with a smooth and glossy skin. Look for vibrant green color without any dark spots or blemishes. If they feel soft or have wrinkles, they may be past their prime.
What is the best way to store leftovers of this salad?
Very! Store any leftover Pickled Cucumber, Onion, and Bell Pepper Salad in an airtight container in the refrigerator. It will stay fresh for up to 1 week. Remember, the flavors will deepen as it sits, making it even more delicious!
Can I freeze Pickled Cucumber, Onion, and Bell Pepper Salad?
It's not recommended to freeze this salad! Freezing can compromise the crunchy texture of the veggies, leading to mushiness upon thawing. Enjoy it fresh for the best taste and crunch!
What if my salad doesn't taste tangy enough?
No worries! If you find the flavors are lacking, you can adjust by adding a little more vinegar or a pinch of salt. Let it marinate a bit longer in the fridge—this will help the veggies fully absorb the brine and enhance the flavor profile!
Are there any allergy concerns with this salad?
Definitely! This salad is generally safe for most diets; however, if you're sensitive to certain ingredients, be cautious with vinegar and the optional herbs. Always check for personal allergies. For pet owners, be mindful that garlic powder and onions can be harmful to pets, so keep the salad out of their reach.
How do I customize this salad?
So easy! Feel free to remix the ingredients based on your preference. You can swap in other crunchy veggies like carrots or radishes, or even add fruits like mango for an unexpected twist! Try different vinegars like apple cider or honey for an exciting take on flavor. The more the merrier when it comes to variations!
Tangy Pickled Cucumber, Onion, and Bell Pepper Salad Bliss
Ingredients
Equipment
Method
- Wash the cucumbers, red onion, and bell pepper under cool running water.
- Slice the cucumbers and bell pepper into thin rounds, and the onion into thin strips.
- Place the vegetables into a large mixing bowl.
- In a medium bowl, combine the white vinegar, water, sugar, salt, black pepper, garlic powder, and optional dill. Whisk until dissolved.
- Pour the pickling solution over the vegetables in the mixing bowl and toss to coat.
- Cover with plastic wrap or transfer to a jar, then refrigerate for at least 1 hour (overnight for best flavor).
- Stir the salad gently before serving chilled as a side dish.