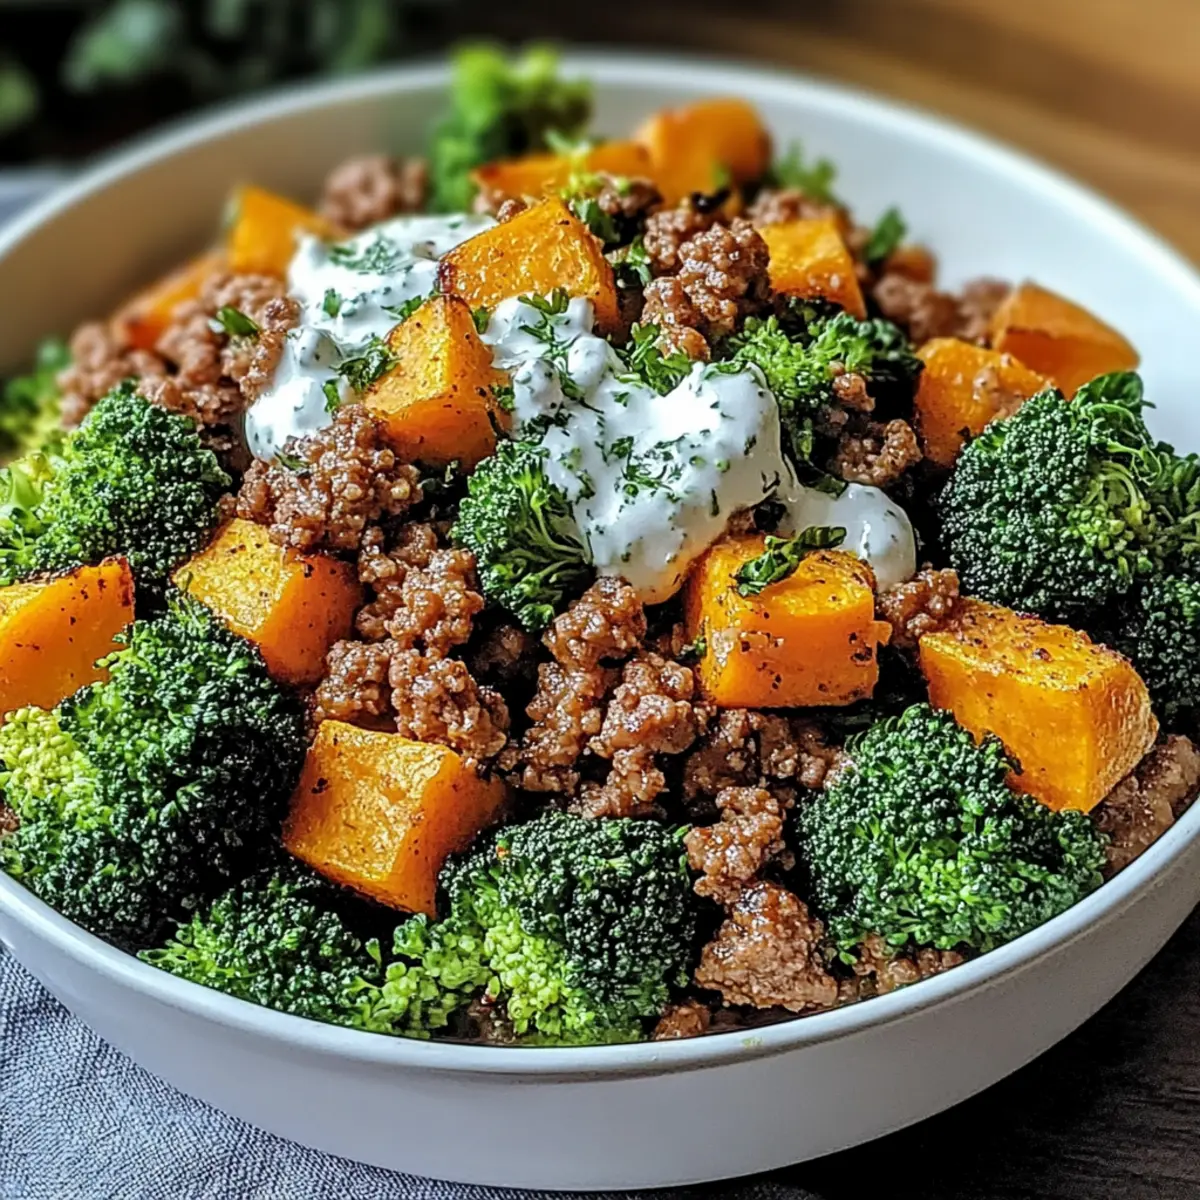
When I stumbled upon a bag of sweet potatoes in my pantry, a lightbulb went off—it was time to whip up a meal that’s not only comforting but also nutritious. Enter my Nutritious Ground Turkey and Sweet Potato Bowls, a delightful dish that captures the essence of home-cooked goodness. Packed with tender ground turkey, naturally sweet sweet potatoes, and vibrant broccoli, this recipe is a game-changer for anyone looking to embrace healthier eating habits while keeping meal prep effortless. In just 45 minutes, you can create a colorful bowl that’s rich in protein and fiber, perfect whether you’re cooking for family or prepping for busy weekdays ahead. Curious about the delicious variations you can make? Let’s dive in!
Why are Ground Turkey and Sweet Potato Bowls a hit?
Nutrient-Packed Goodness: This recipe is brimming with wholesome ingredients that work together to deliver essential vitamins, fiber, and protein, making it a well-rounded meal choice.
Customizable Flavors: Whether you prefer a little heat or extra crunch, these bowls are easily tailored to suit your taste. Add some chopped zucchini or spice it up with paprika!
Meal Prep Hero: Perfect for busy weeks, you can prepare these bowls in advance and store them in the fridge, ensuring healthy meals are just a quick reheat away.
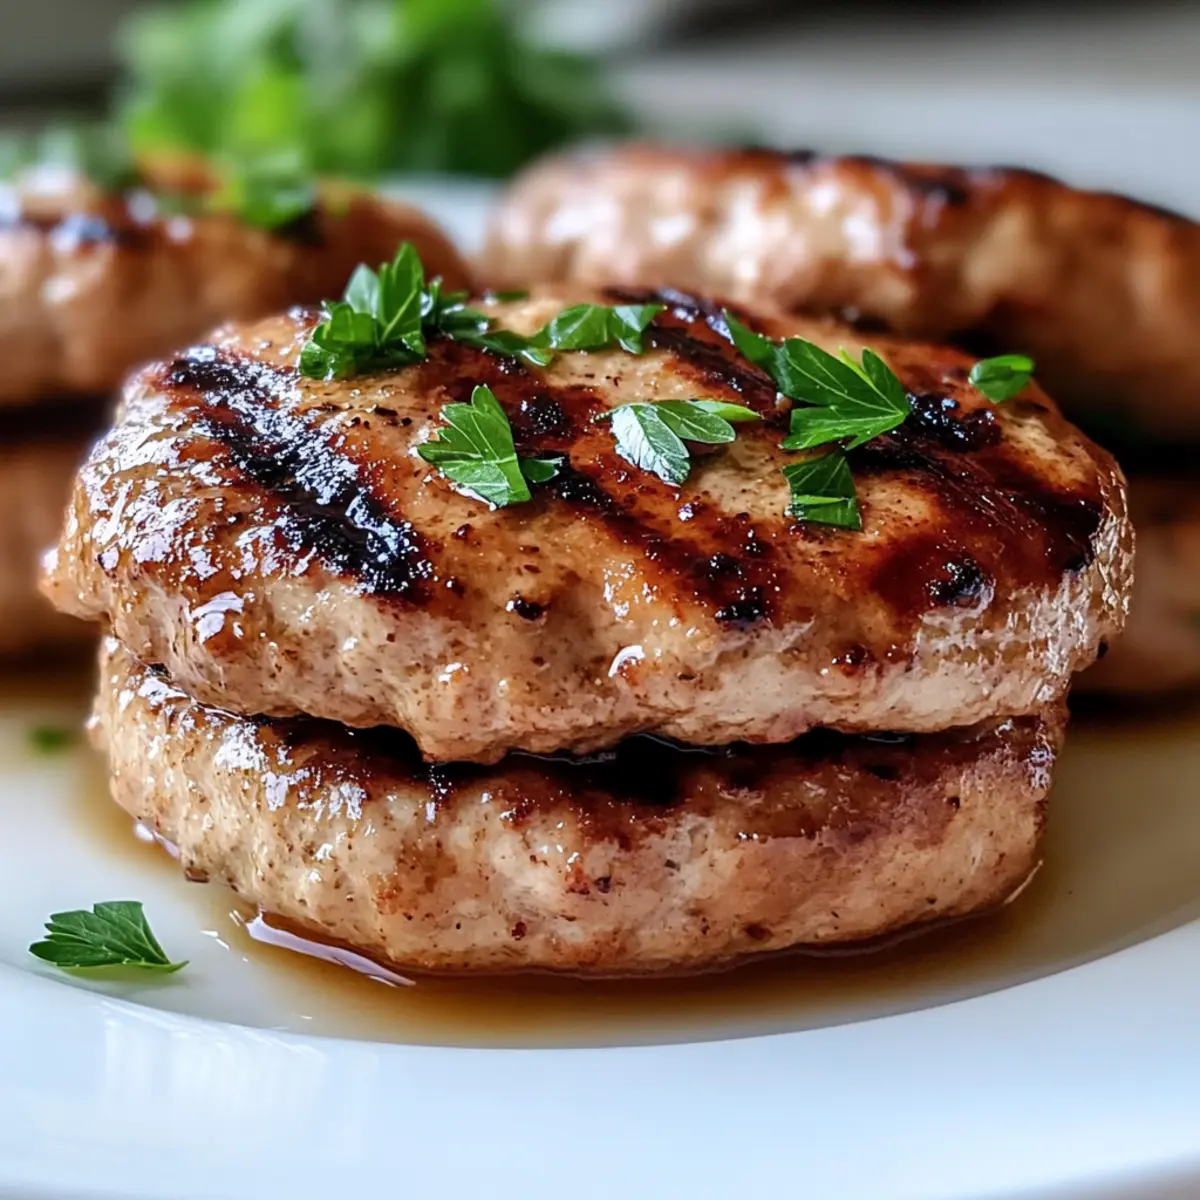
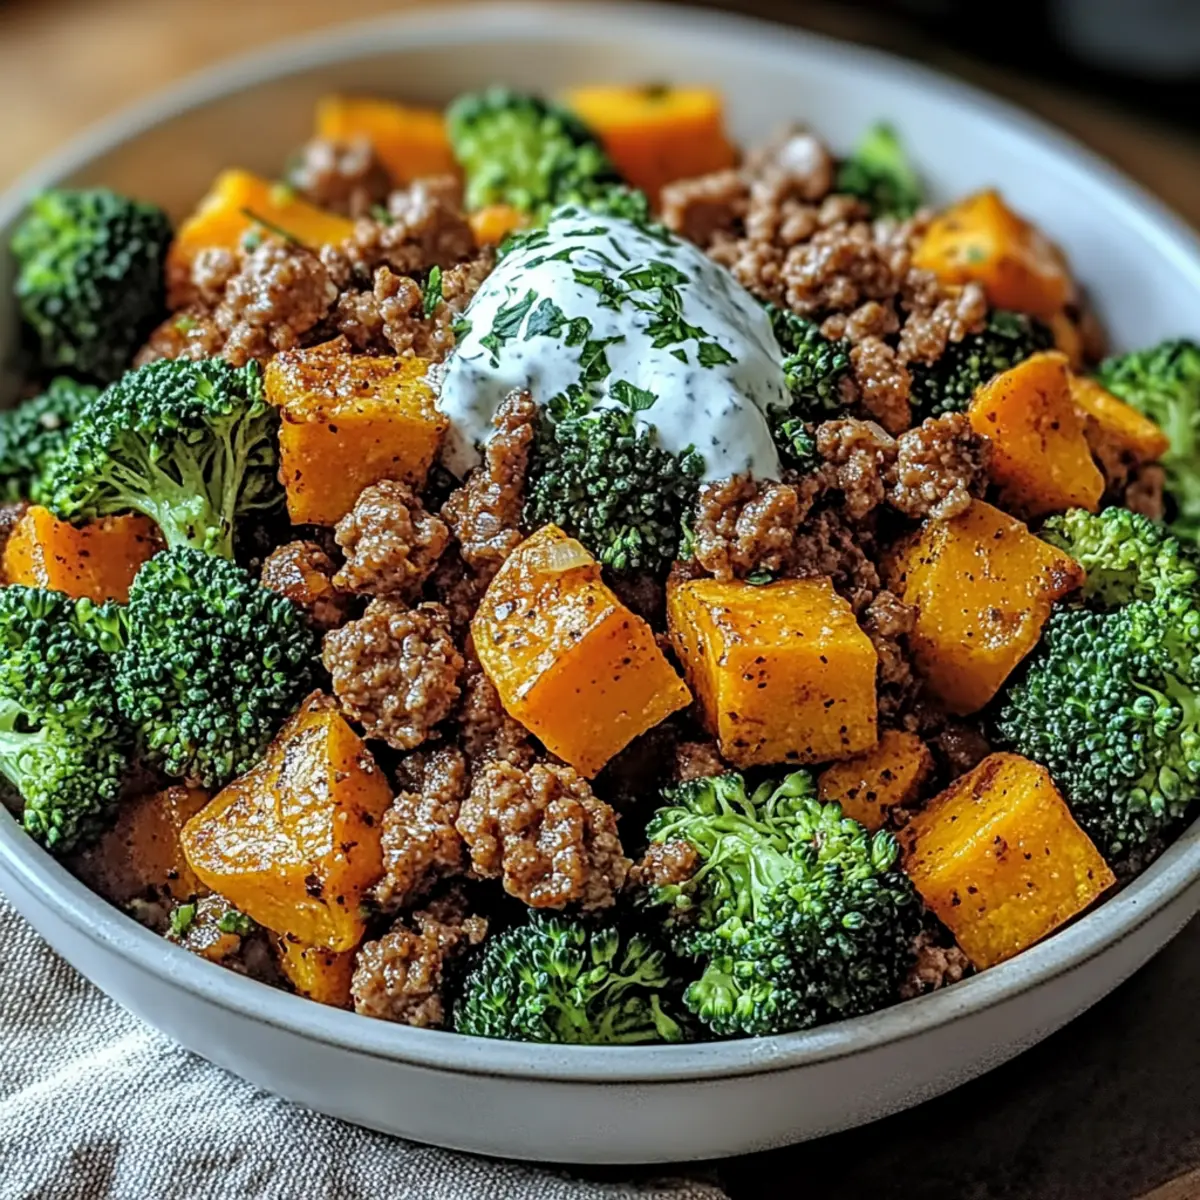
Comforting and Satisfying: The combination of textured sweet potatoes and savory turkey feels like a warm hug on a plate, appealing to everyone, from foodies to the fussy eaters in your family.
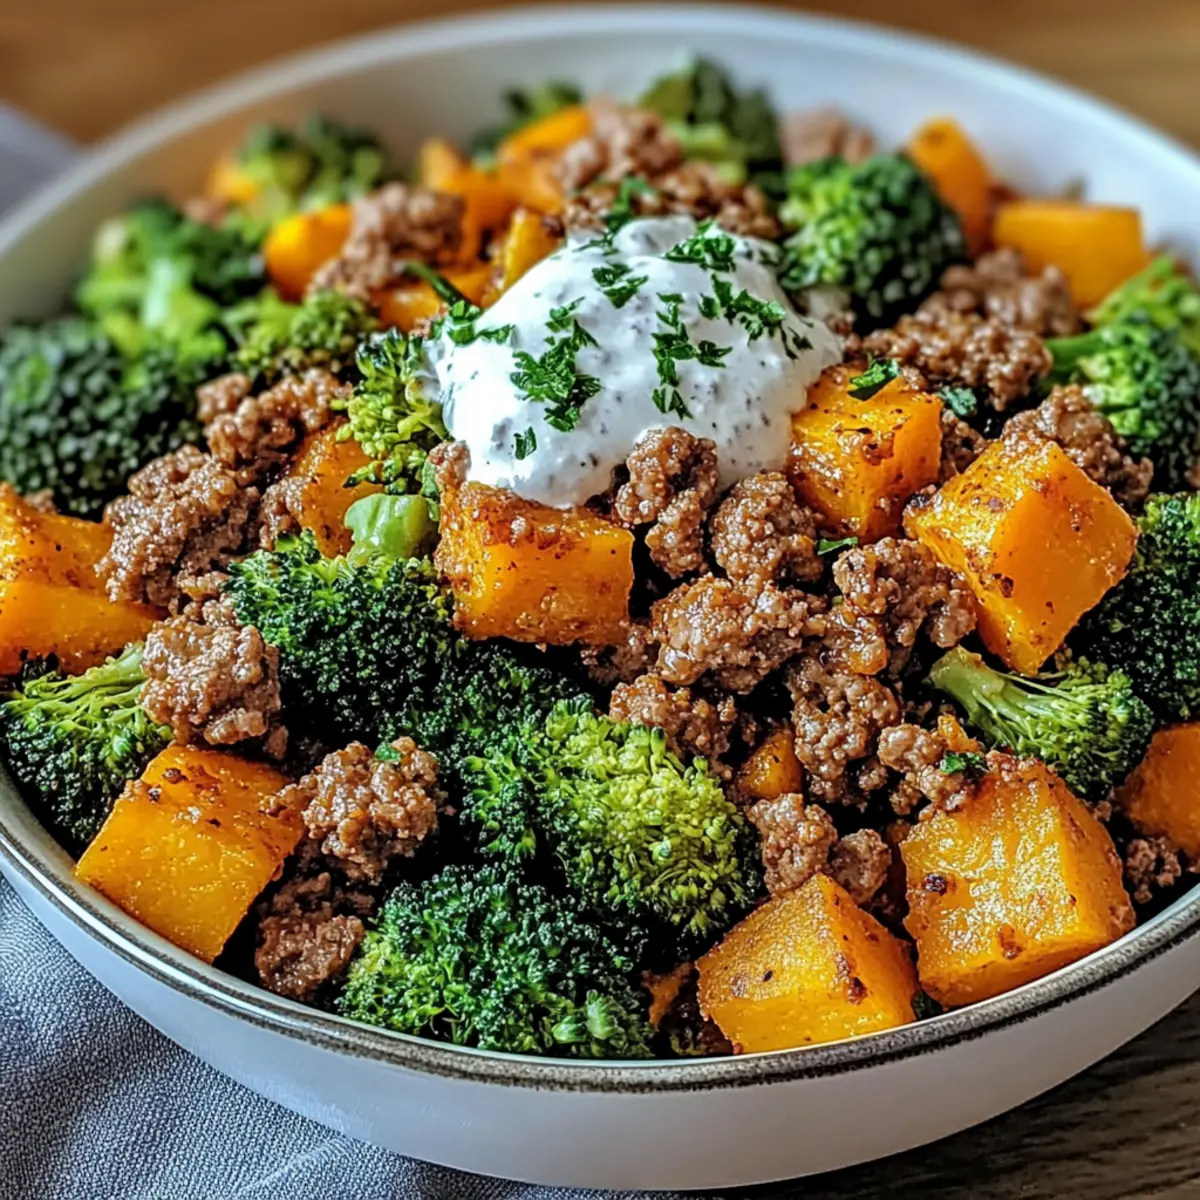
Vibrant Presentation: The colorful mix of ingredients not only pleases the palate but also makes for an eye-catching dish that’s perfect for sharing on social media. If you love wholesome meals, you might also want to check out my Smoky Sweet Potatoes for a fresh twist!
Ground Turkey and Sweet Potato Bowl Ingredients
For the Protein
• Ground Turkey – A lean protein source that keeps your dish nutritious; you can swap it for ground chicken or beef for variety.
For the Vegetables
• Sweet Potatoes – Their natural sweetness elevates flavor and provides fiber; ensure they’re fork-tender for the best texture.
• Broccoli – Adds a nice crunch and is packed with vitamins; feel free to substitute with bell peppers or spinach for a twist.
For Cooking
• Olive Oil – This healthy fat helps brown the turkey to perfection while adding healthy fats.
• Salt & Pepper – Essential for enhancing the dish's flavor; adjust according to your personal preference.
Make your Ground Turkey and Sweet Potato Bowls as unique as you!
Step‑by‑Step Instructions for Ground Turkey and Sweet Potato Bowls
Step 1: Heat the Oil
Begin by heating 2 tablespoons of olive oil in a large skillet over medium heat. Wait for the oil to shimmer, which indicates it's ready for cooking. This step is crucial as it ensures the ground turkey browns nicely, contributing to the flavor of your Ground Turkey and Sweet Potato Bowls.
Step 2: Cook the Turkey
Add 1 pound of ground turkey to the skillet, using a spatula to break it apart. Cook for about 7-10 minutes, stirring occasionally, until the turkey is browned and no longer pink. You'll know it's done when it has a nice golden color, adding a savory base for your bowls.
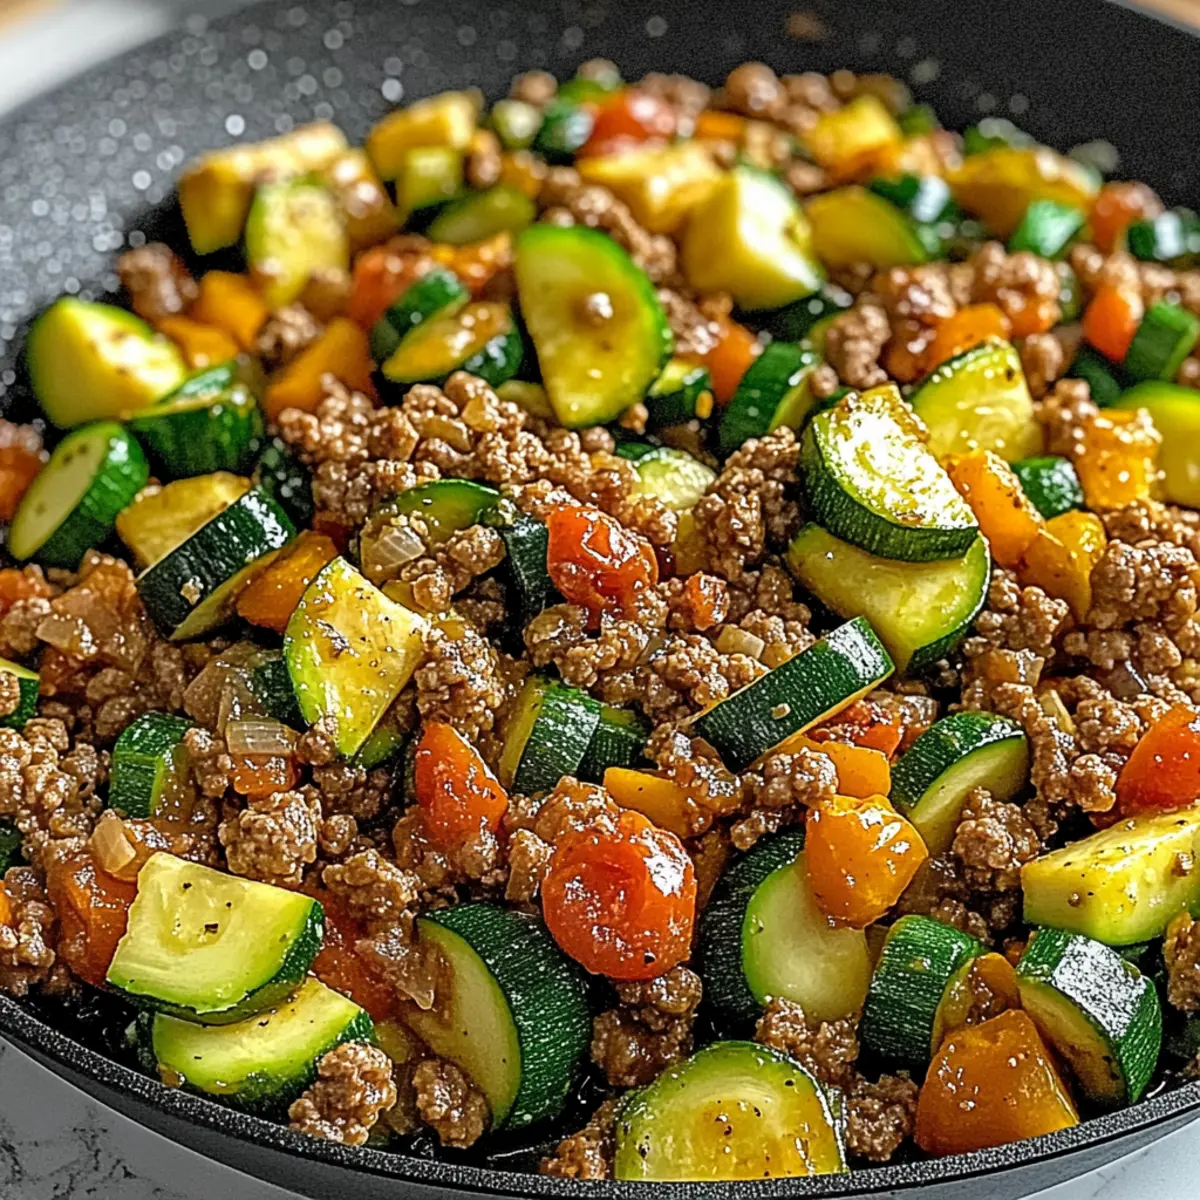
Step 3: Incorporate Vegetables
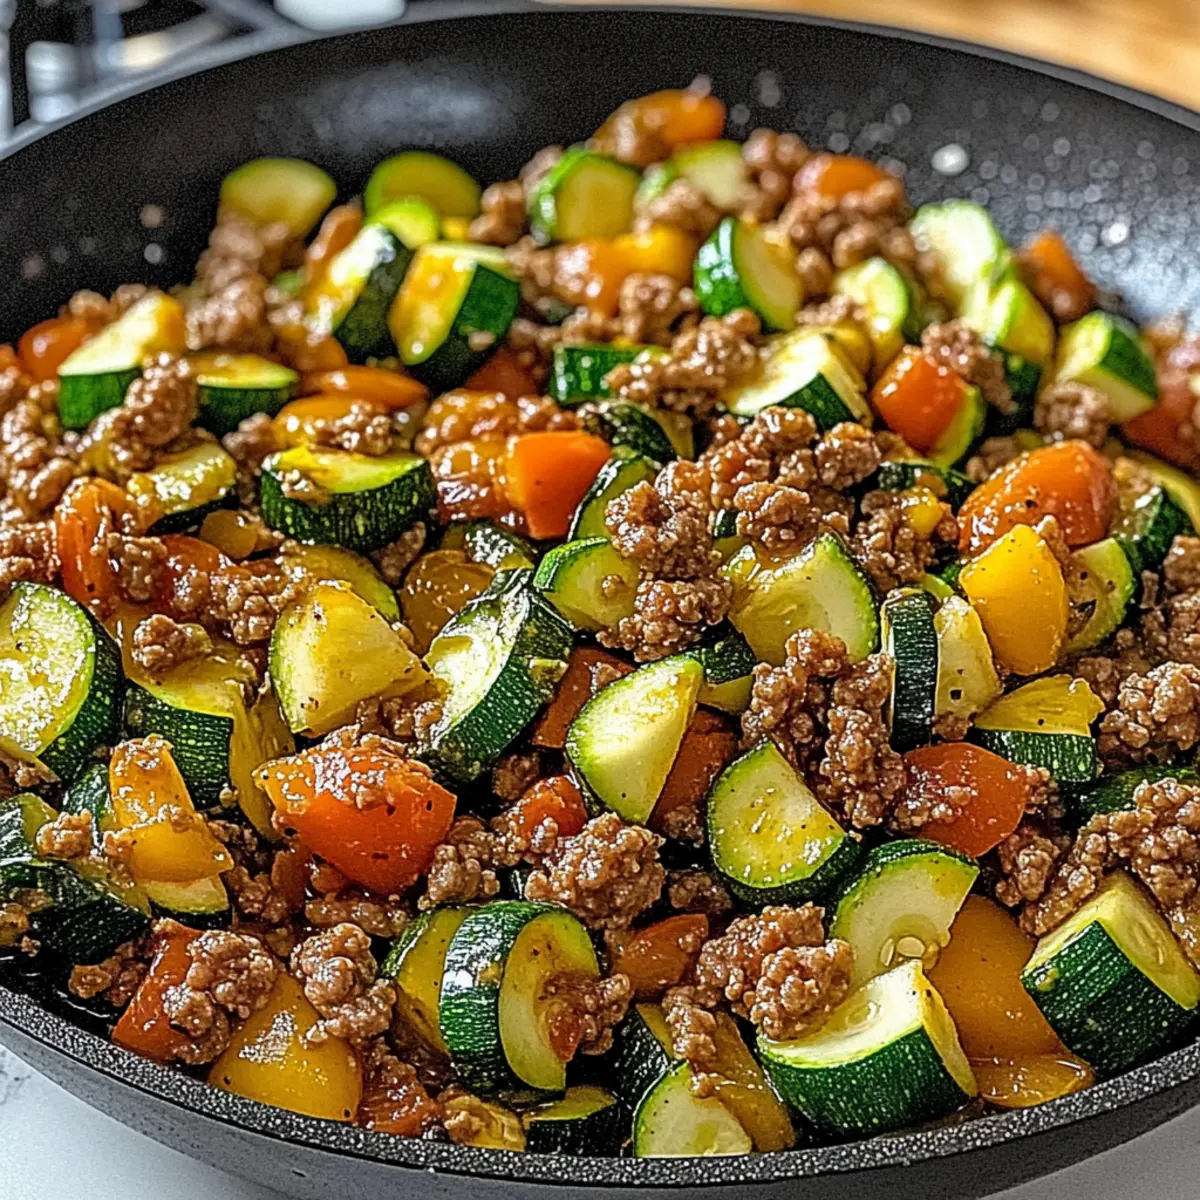
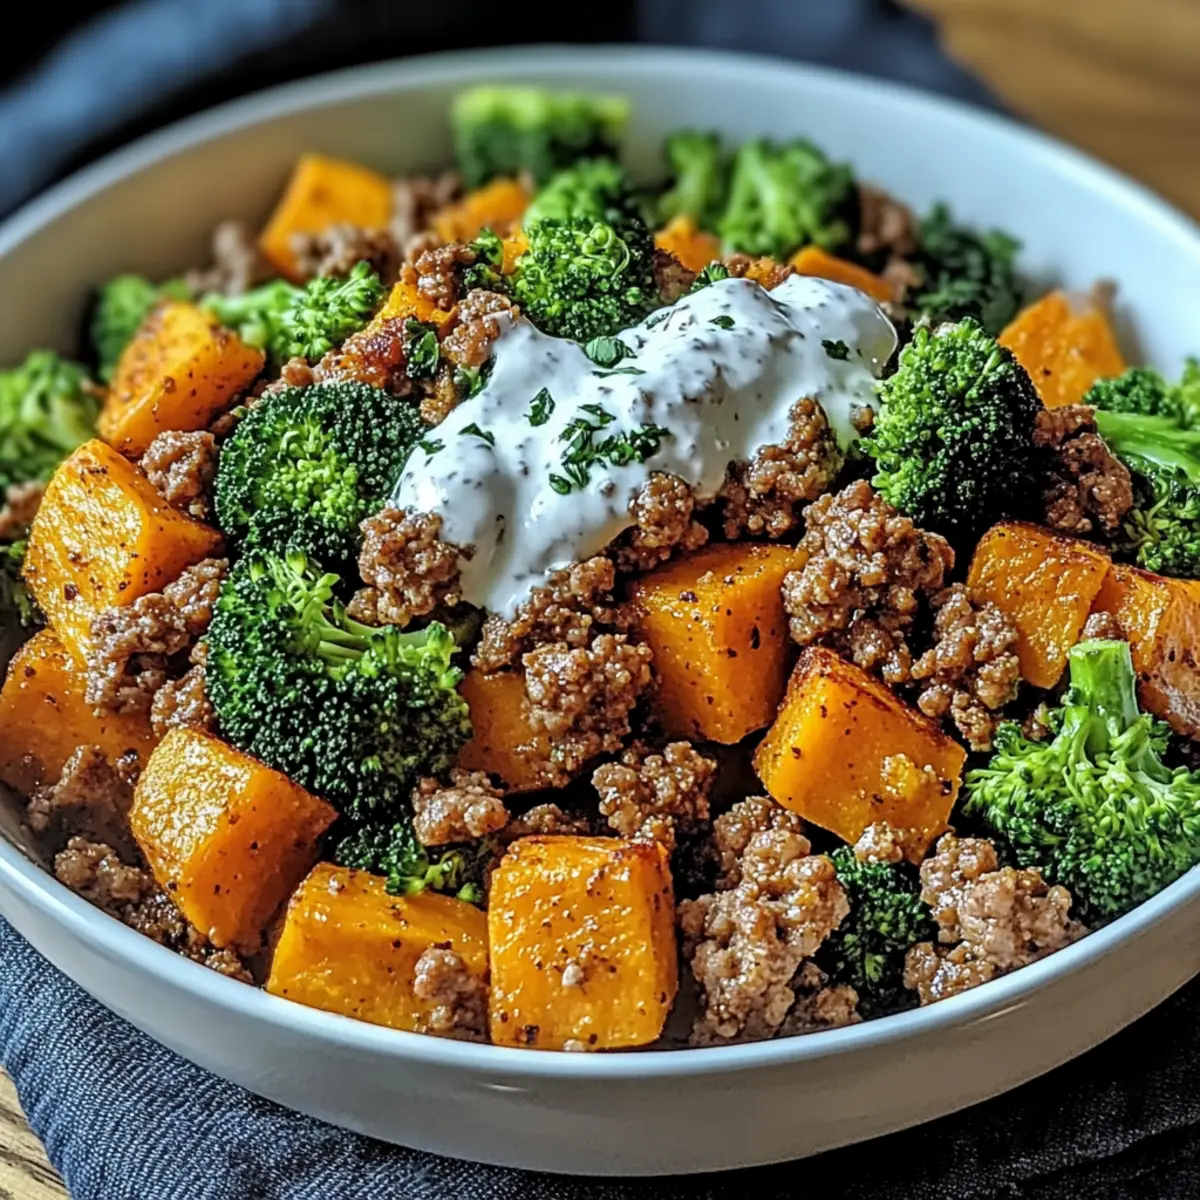
Mix in 2 medium diced sweet potatoes and 1 cup of chopped broccoli to the skillet, seasoning generously with salt and pepper. Stir well to combine all ingredients evenly. This step not only adds nutrition but also brings vibrant flavors and textures to your Ground Turkey and Sweet Potato Bowls.
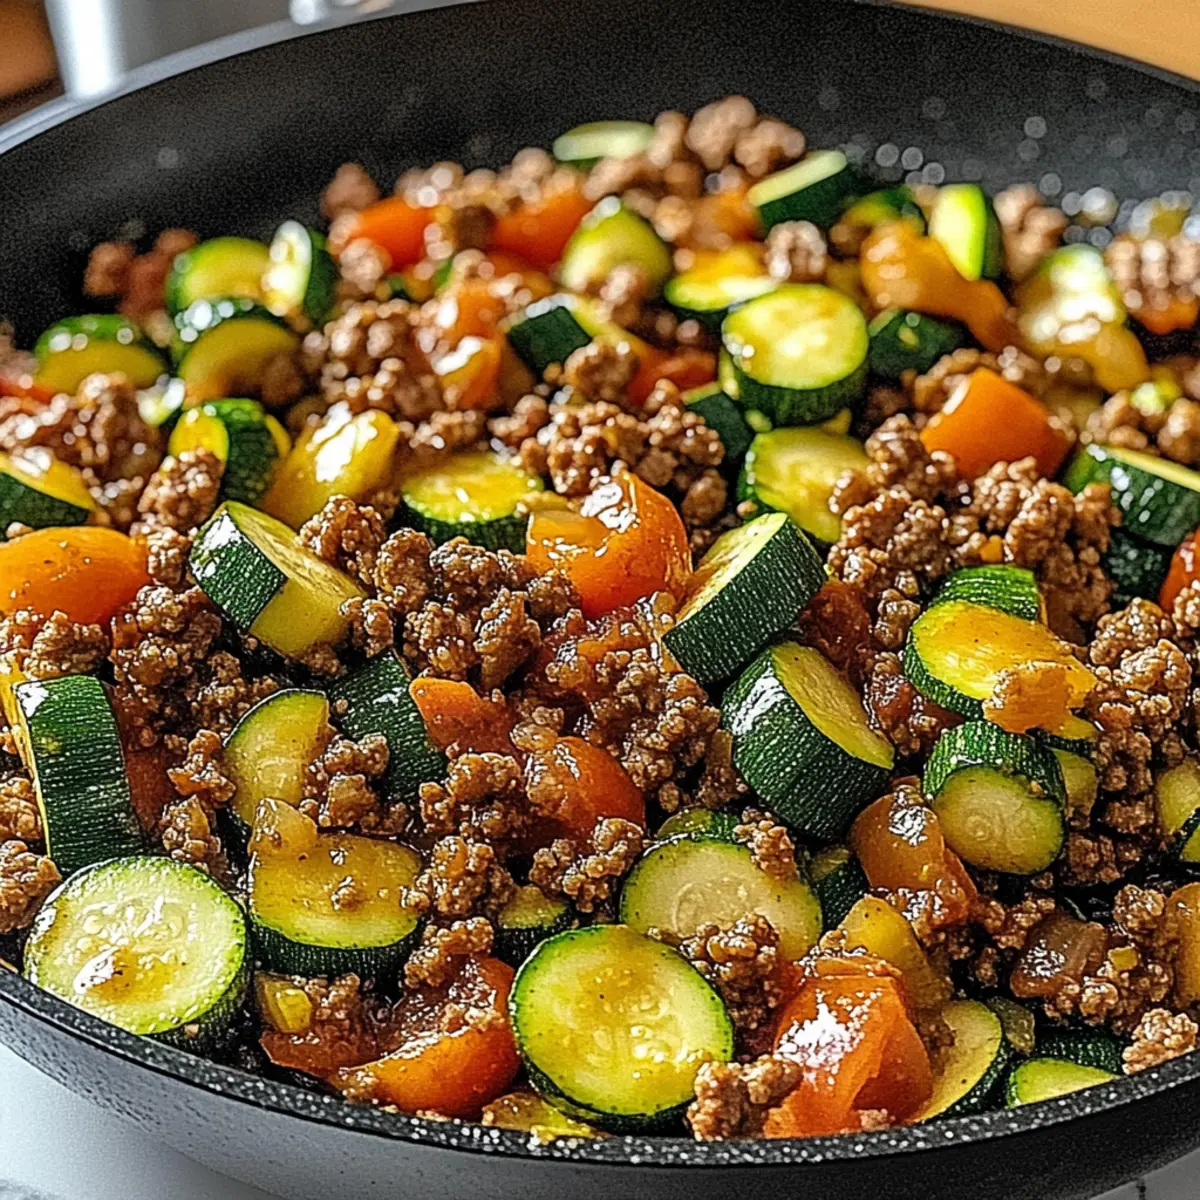
Step 4: Cover and Simmer
Cover the skillet with a lid and let everything cook for 15-20 minutes. Stir occasionally, and watch for the sweet potatoes to become fork-tender while the broccoli turns bright green. This simmers the flavors together beautifully, making each bite of the bowls deliciously satisfying.
Step 5: Adjust Seasonings
Once the sweet potatoes are tender, taste your mix and adjust the seasoning as needed. If you desire a little extra flavor, feel free to add more salt and pepper. Ensuring the right balance makes all the difference in elevating your Ground Turkey and Sweet Potato Bowls.
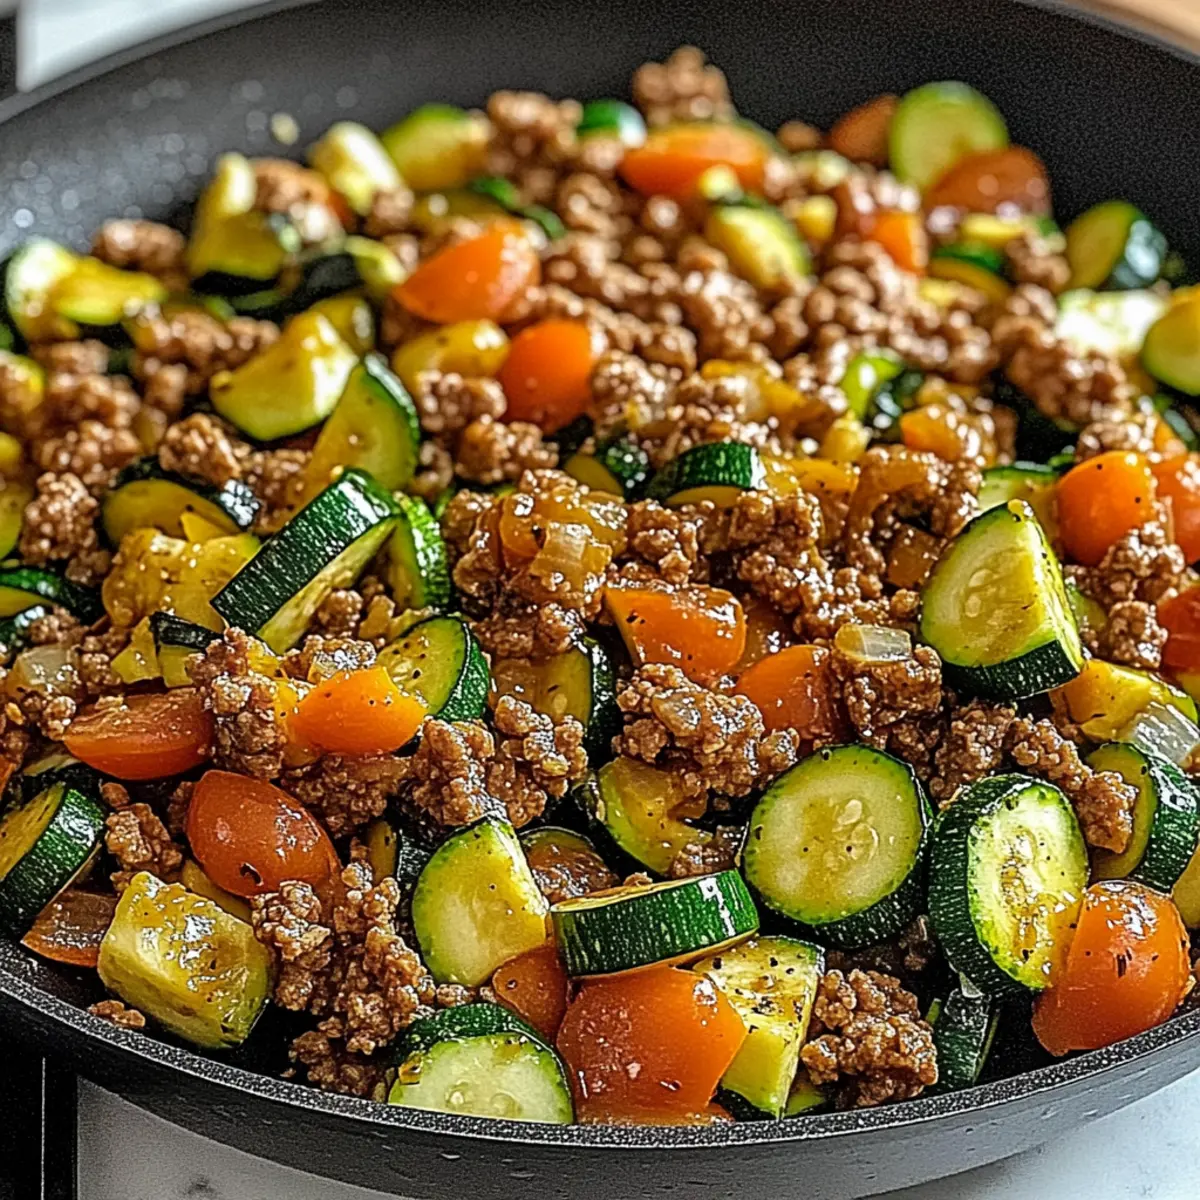
Step 6: Serve and Enjoy
Carefully scoop the mixture into individual bowls, ensuring each serving has a hearty mix of turkey, sweet potatoes, and broccoli. Take a moment to appreciate the vibrant presentation, then dig in and savor the comforting flavors of your homemade meal.
Make Ahead Options
These Nutritious Ground Turkey and Sweet Potato Bowls are perfect for meal prep enthusiasts! You can cook the entire dish up to 3 days in advance; just ensure to cool it completely before transferring to airtight containers. For best results, refrigerate and reheat for optimal texture—it’ll still be deliciously satisfying! If you're short on time, consider prepping the ground turkey and vegetables (chopped sweet potatoes and broccoli) up to 24 hours ahead. Simply store them separately in the refrigerator, and when you're ready to serve, cook everything together in one skillet as instructed. This way, you’ll have wonderful homemade bowls ready to enjoy with minimal effort after a long day!
Expert Tips for Ground Turkey and Sweet Potato Bowls
-
Perfect Sweet Potatoes: Keep an eye on your sweet potatoes to ensure they’re fork-tender but not mushy; overcooking can lead to a less appealing texture.
-
Nutritious Additions: Boost the nutrient content by adding chopped zucchini or spinach; these veggies blend well without overpowering the flavors of your Ground Turkey and Sweet Potato Bowls.
-
Sealing in Flavor: When covering the skillet, ensure it's snug to trap steam; this helps the vegetables cook evenly and enhances the overall flavor of the dish.
-
Make-Ahead Meals: Store leftovers in airtight containers for up to 4 days, making it easy to reheat and enjoy a wholesome meal throughout your busy week.
-
Spice It Up: Don’t shy away from experimenting with spices! Add paprika, cumin, or even a touch of chili powder for a customized kick that complements the turkey beautifully.
What to Serve with Nutritious Ground Turkey and Sweet Potato Bowls
Let your meal shine by pairing these vibrant bowls with delightful sides that enhance every bite.
-
Crispy Green Salad: A refreshing mix of greens and crunchy vegetables adds a crisp contrast to the warm, hearty bowls. Toss in a balsamic vinaigrette for zing!
-
Creamy Avocado Toast: The rich, creamy texture of ripe avocado provides a luxurious contrast, making it a perfect companion to your nutritious bowls.
-
Quinoa Pilaf: This nutty, fluffy side not only complements the sweetness of the potatoes but also adds extra protein and fiber to your meal.
-
Roasted Brussels Sprouts: Their crispy exterior and tender inside, seasoned simply with olive oil and garlic, elevate your meal's flavor and texture. The caramelization brings joy to every bite!
-
Steamed Asparagus: Lightly steamed with a sprinkle of lemon, asparagus offers a fresh and elegant touch, balancing the richness of the ground turkey.
-
Fresh Fruit Salad: A zingy fruit medley adds a refreshing sweetness that brightens your meal, creating a harmonious finish to your savory bowls.
-
Herbal Iced Tea: Sip on iced tea infused with fresh mint or lemon to cool off and cleanse your palate, enhancing the wholesome experience of your healthy meal.
-
Dark Chocolate Mousse: For a sweet treat, indulge in a light and airy chocolate mousse that provides a satisfying and rich end to your meal. A little goes a long way!
Each of these sides brings its unique flavors and textures, rounding out your Nutritious Ground Turkey and Sweet Potato Bowls with delicious variety.
Storage Tips for Ground Turkey and Sweet Potato Bowls
Fridge: Store any leftovers in an airtight container for up to 4 days, ensuring you keep your delicious Ground Turkey and Sweet Potato Bowls fresh and ready for quick meals.
Freezer: If you want to save them for later, freeze your bowls in individual portions using airtight containers or freezer bags for up to 3 months, perfect for meal prep.
Reheating: When it's time to enjoy your bowls again, reheat them in the microwave until heated through, about 2-3 minutes, or in a skillet over medium heat for a fresher taste.
Cooling: Allow your bowls to cool completely before storing them in the fridge or freezer to maintain texture and flavor.
Ground Turkey and Sweet Potato Bowls Variations
Feel free to personalize your Ground Turkey and Sweet Potato Bowls with these delightful variations that will excite your palate!
-
Dairy-Free: Swap olive oil for coconut oil and skip cheese to keep it completely dairy-free while still satisfying.
-
Vegetarian Option: Replace ground turkey with black beans or lentils to create a hearty, plant-based bowl that’s high in fiber and protein.
-
Spicy Kick: Add diced jalapeños or a pinch of cayenne pepper while cooking the turkey to bring up the heat and spice things up!
-
Flavorful Herbs: Mix in fresh herbs such as cilantro or parsley before serving for a burst of freshness and fragrant aroma that will elevate every bite.
-
Grain Swap: Instead of sweet potatoes, use quinoa or brown rice as the base to add a nutty flavor and varied texture to your bowl.
-
Roasted Vegetables: Roasting the broccoli instead of sautéing can add a deliciously crunchy texture. Simply toss the broccoli in olive oil, salt, and pepper, and roast until tender.
-
Nutty Crunch: Top your bowls with toasted walnuts or sliced almonds for an added layer of crunch and nutty flavor, making every bite even more enjoyable.
-
Meal Prep Masterpiece: Prepare multiple servings at once and freeze them individually. For an easy meal, simply thaw overnight and reheat when you're ready to enjoy. You can also explore my recipe for Sweet Potato Casserole for another delicious, meal prep-friendly dish!
Ground Turkey and Sweet Potato Bowls Recipe FAQs
What type of ground turkey should I use?
I recommend using lean ground turkey to keep your dish healthy without sacrificing flavor. Ground turkey breast has a lower fat content, while ground dark turkey is juicier. You can also substitute it with ground chicken, beef, or lamb if desired!
How do I know when sweet potatoes are ripe and ready to use?
When selecting sweet potatoes, look for ones that are firm with smooth skin, free from dark spots and bruises. They should feel heavy for their size. Avoid any sweet potatoes with soft areas; these might be past their prime.
What is the best way to store leftovers?
Store any leftover Ground Turkey and Sweet Potato Bowls in airtight containers in the refrigerator for up to 4 days. Ensure they cool completely before sealing to avoid excess moisture, which can lead to sogginess. When stored correctly, they’ll be tasty and ready for midweek meals!
Can I freeze these bowls?
Absolutely! To freeze, let the cooked bowls cool completely, then portion them into airtight containers or freezer bags, ensuring you remove as much air as possible. They can be frozen for up to 3 months. When ready to eat, thaw gradually in the refrigerator and reheat in the microwave or stovetop.
What if my sweet potatoes become mushy during cooking?
If your sweet potatoes become mushy, they may have been overcooked. To avoid this, ensure you’re cooking them just until fork-tender, which should take about 15-20 minutes covered. If they do turn out mushy, consider mashing them lightly and mixing them back into the turkey for a creamy texture boost in your bowls.
Are there any allergy considerations with this recipe?
Yes, it’s essential to be aware of food allergies. This recipe is free from common allergens like gluten and dairy, but always check your ingredients. If you're cooking for someone with specific dietary needs, consider using vegetables they can tolerate and that fit into their dietary restrictions. Substitute olive oil with avocado oil for an alternative fat source if needed.
Savory Ground Turkey and Sweet Potato Bowls for a Wholesome Meal
Ingredients
Equipment
Method
- Heat the oil by warming 2 tablespoons of olive oil in a large skillet over medium heat until shimmering.
- Cook the turkey by adding 1 pound of ground turkey, breaking it apart, and cooking for about 7-10 minutes until browned.
- Incorporate vegetables by mixing in 2 medium diced sweet potatoes and 1 cup of chopped broccoli, seasoning with salt and pepper.
- Cover and simmer for 15-20 minutes until sweet potatoes are fork-tender and broccoli is bright green.
- Adjust seasonings to taste, adding more salt and pepper if desired for flavor.
- Serve the hearty mixture into individual bowls and enjoy your comforting meal.