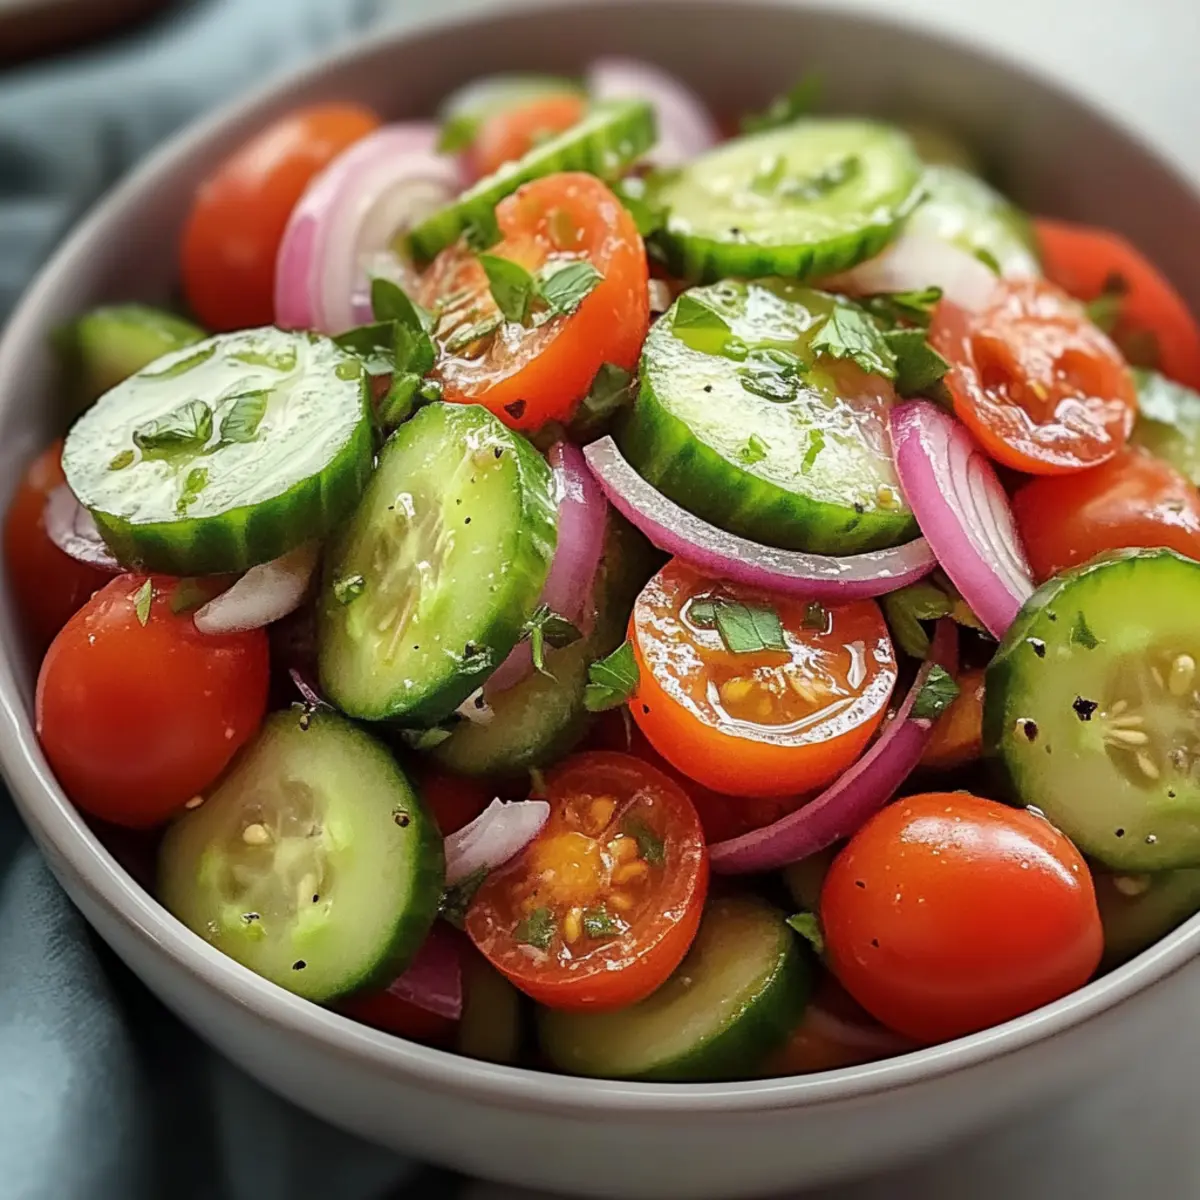
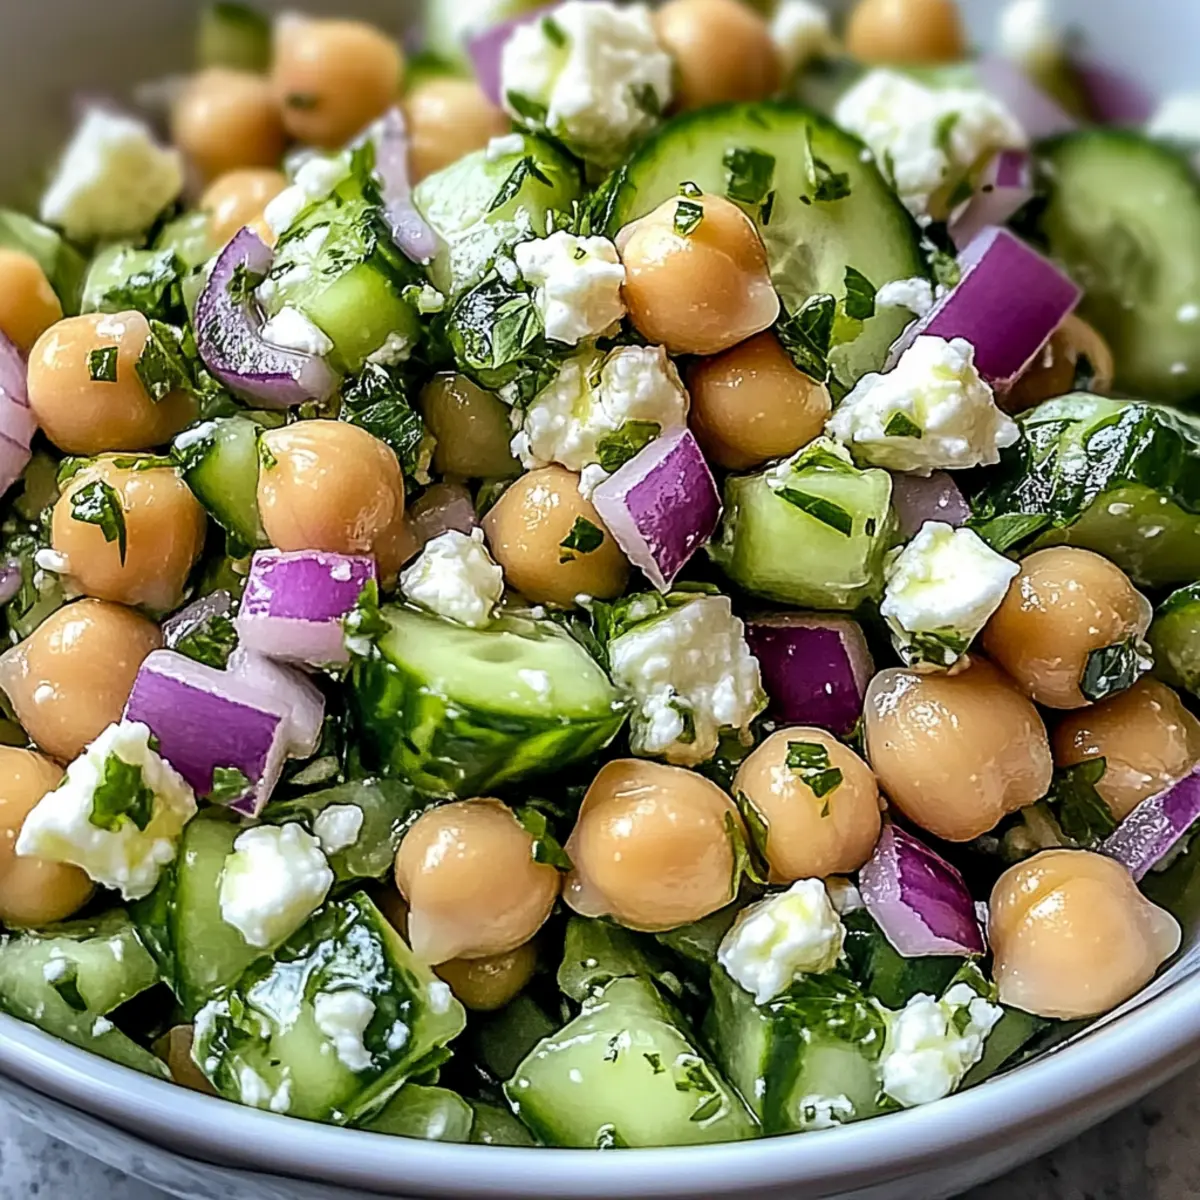
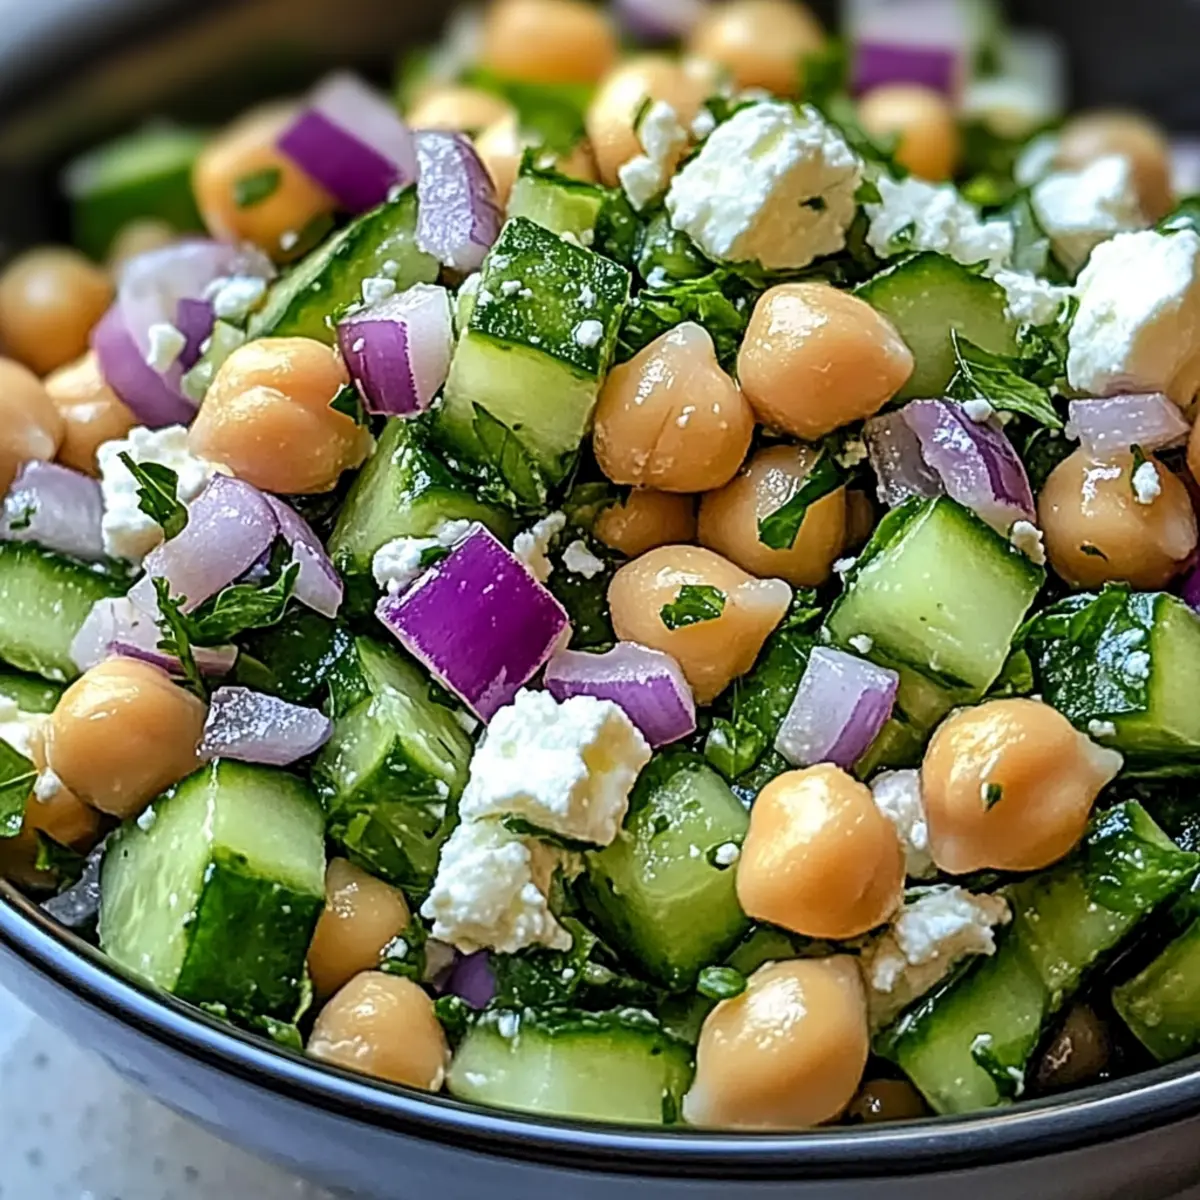
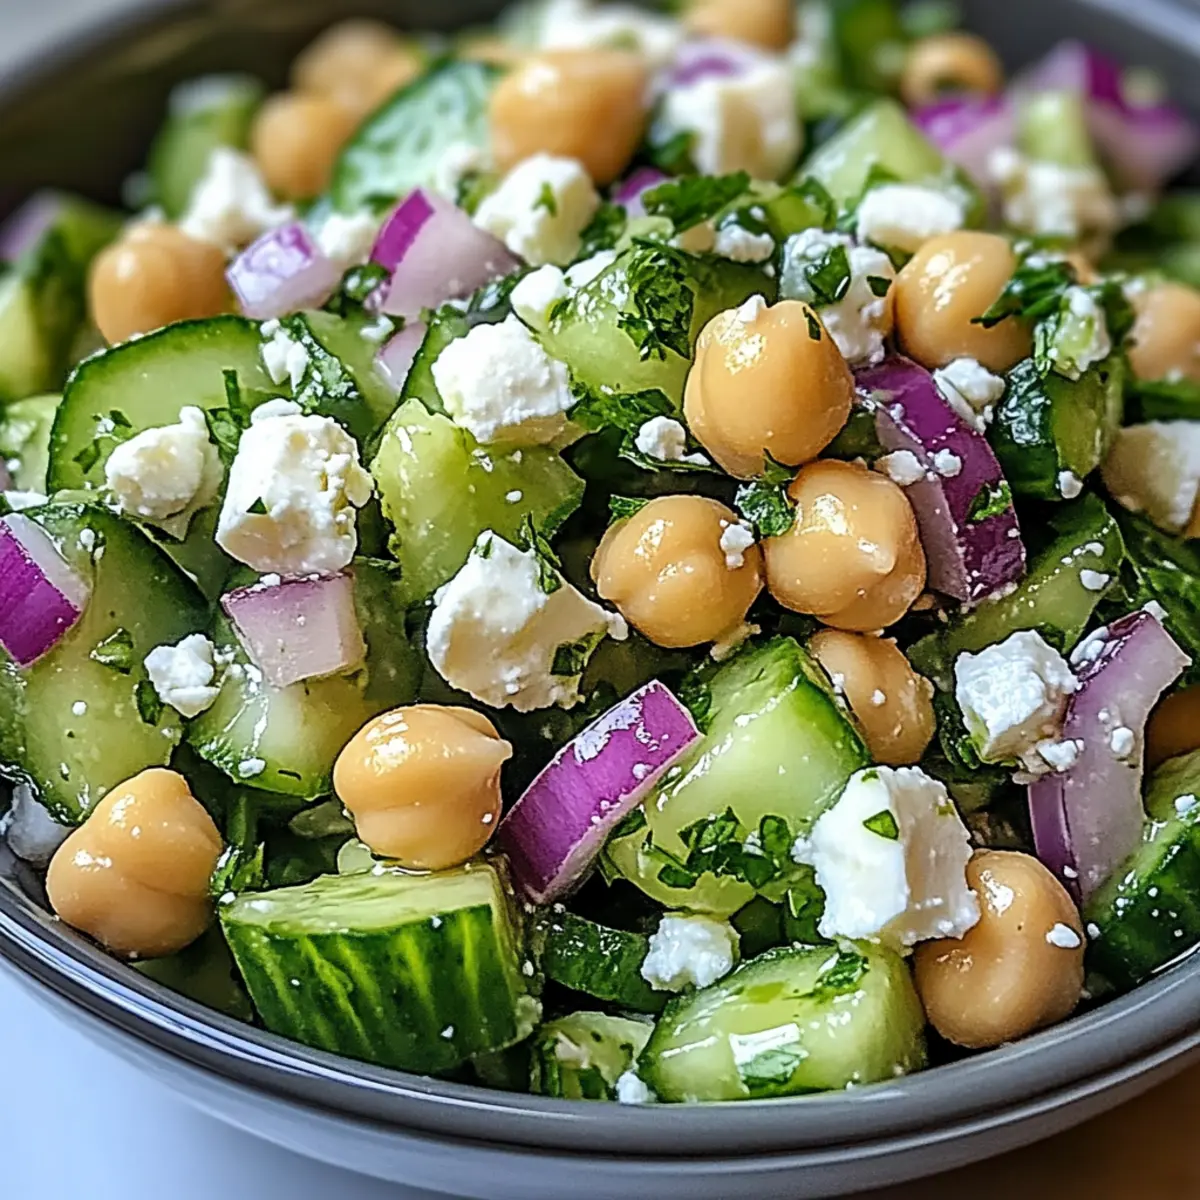
The vibrant colors of summer inspired me to create this Herby Cucumber Salad with Feta and Chickpeas, a delightful mix that bursts with fresh flavor. In just 15 minutes, you'll whip up a nutritious dish that strikes the perfect balance between crunch and creaminess, making it an ideal quick-prep favorite for potlucks or BBQs. The hydrating cucumbers paired with tangy feta and hearty chickpeas not only make for a delicious meal but also a satisfying and wholesome option for meal prep. Are you ready to bring a taste of the Mediterranean to your kitchen? Let's dive into the recipe!
Why is This Salad So Irresistible?
Freshness shines through every bite, making this salad an instant favorite. Protein-packed chickpeas combine perfectly with crunchy cucumbers and creamy feta, ensuring a satisfying meal. Quick preparation in just 15 minutes makes it a busy cook's dream, while its vibrant colors elevate any table setting. Whether as a light lunch or a BBQ side, this versatile dish beats fast food any day! You might also enjoy adding flavors from Tofu Caesar Salad or experimenting with a twist on our Chicken Salad with Apples.
Herby Cucumber Salad Ingredients
For the Salad
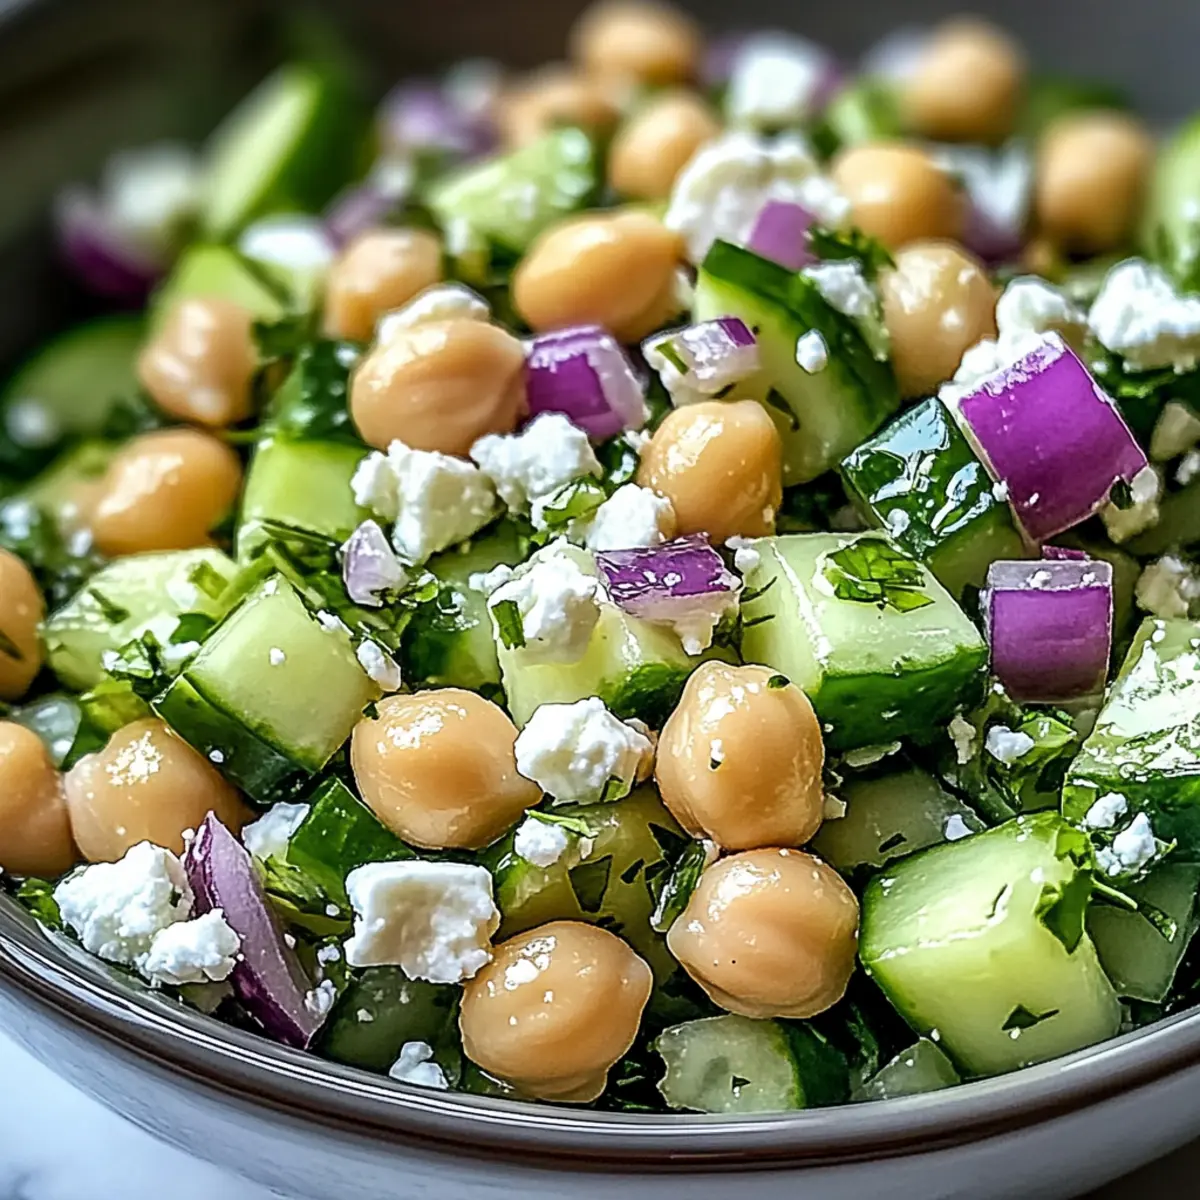
• Cucumbers – Perfect for crunch and hydration; go for English cucumbers for the best texture.
• Chickpeas – Adds heartiness and protein; canned chickpeas are a quick option.
• Feta Cheese – Delivers a creamy, tangy flavor; goat cheese can be a delightful substitute.
• Red Onion – Provides a sharp and colorful touch; consider a mild onion for a gentler bite.
• Garlic – Brightens up the salad; fresh garlic is preferred for its robust flavor.
• Chopped Fresh Herbs (e.g., parsley, dill) – Infuses freshness; feel free to mix and match your favorites.
For the Dressing
• Olive Oil – Adds a rich, smooth layer; opt for extra virgin for the best taste.
• Red Wine Vinegar – Brings bright acidity to the mix; apple cider vinegar works as a good alternative.
• Lemon Juice – Enhances overall freshness with citrus notes; freshly squeezed is always best.
• Salt & Black Pepper – Key for seasoning; adjust to your personal taste.
This Herby Cucumber Salad with Feta and Chickpeas is not just refreshing; it’s a wholesome delight that you can prepare effortlessly!
Step‑by‑Step Instructions for Herby Cucumber Salad with Feta and Chickpeas
Step 1: Prepare the Cucumbers
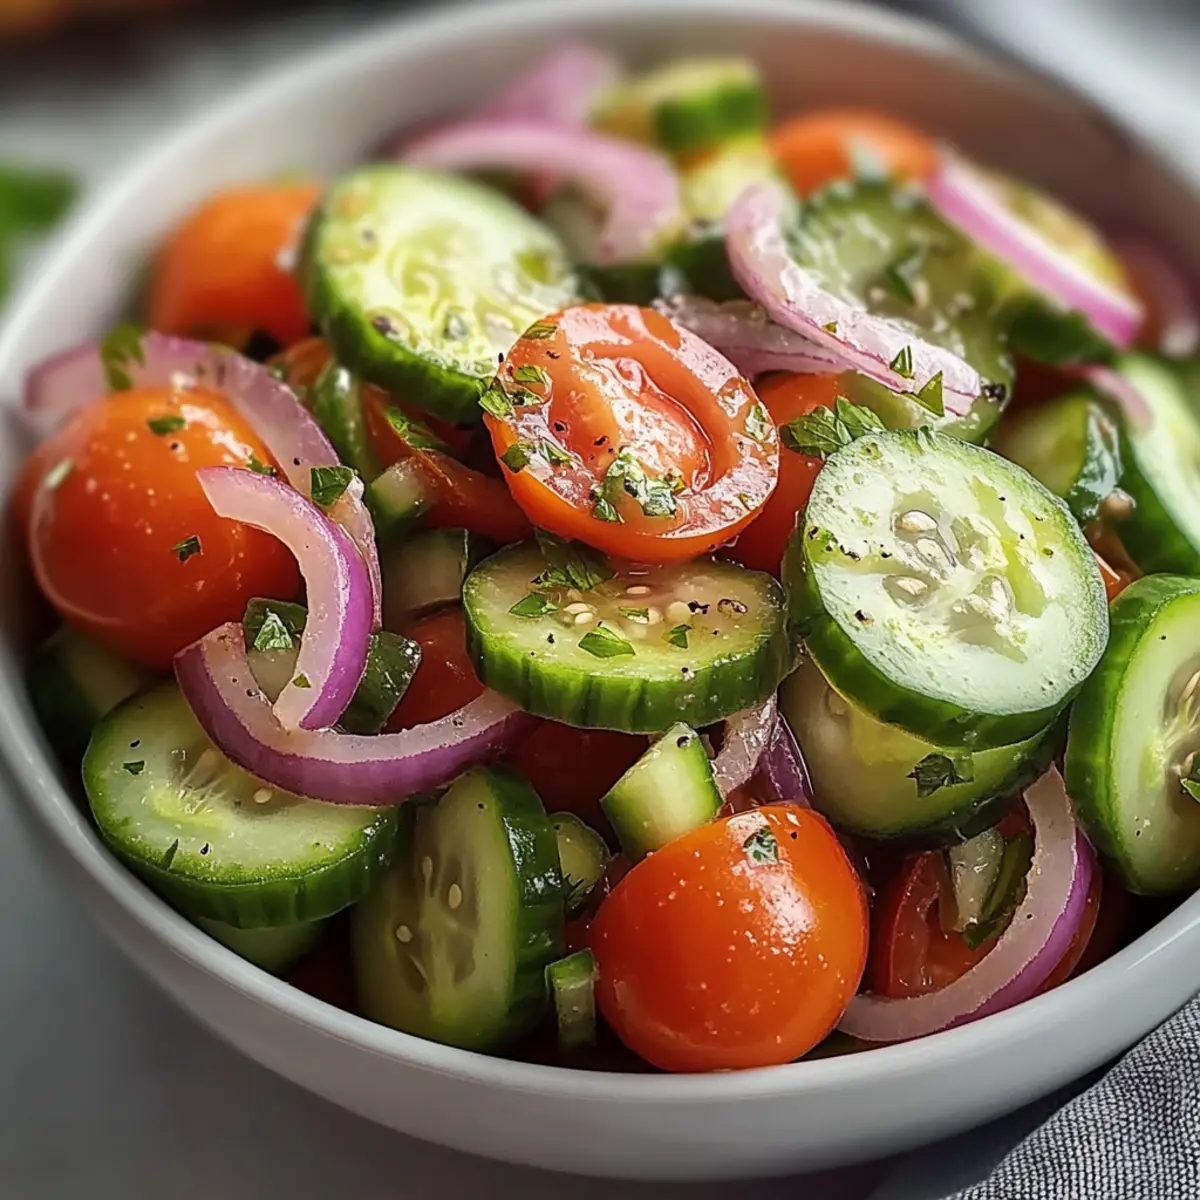
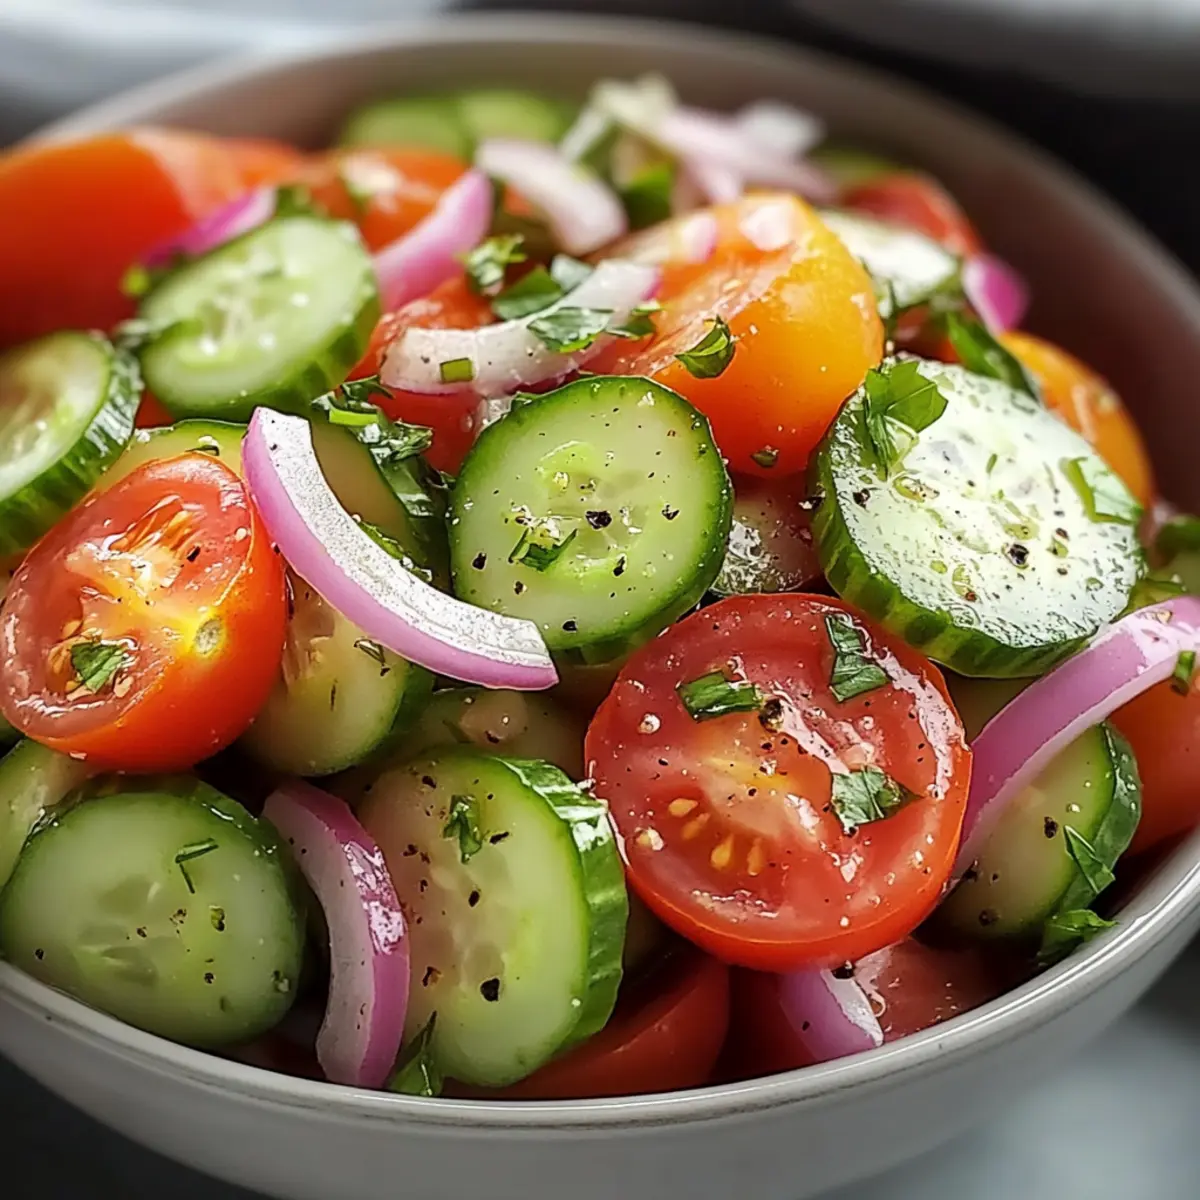
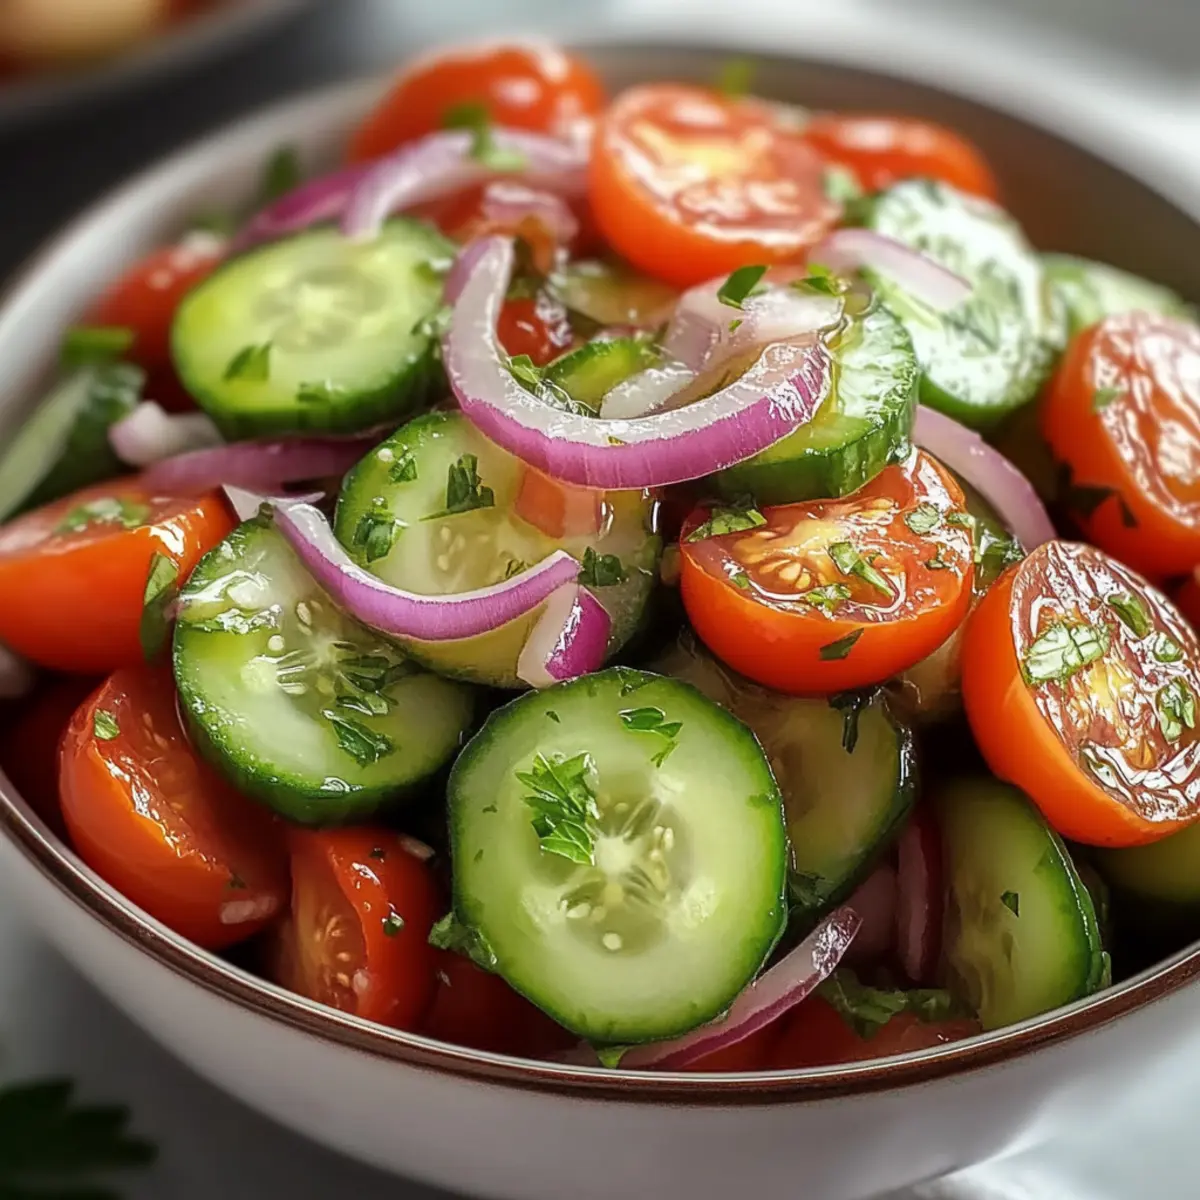
Start by washing the cucumbers thoroughly under cold water. Dice them into bite-sized pieces, approximately half an inch in size, to enhance their crunchiness. Place the chopped cucumbers into a large mixing bowl, where they will serve as the refreshing base of your Herby Cucumber Salad with Feta and Chickpeas.
Step 2: Add the Chickpeas and Other Ingredients
Next, open a can of chickpeas (or use cooked ones if preferred), rinse them under cold water, and drain well. Add the chickpeas to the bowl with cucumbers, followed by diced red onion, crumbled feta cheese, and minced garlic. Scatter in your chopped fresh herbs, such as parsley and dill, to introduce a burst of color and flavor to the salad.
Step 3: Prepare the Dressing
In a separate small bowl, whisk together a generous drizzle of extra virgin olive oil, a splash of red wine vinegar, and the juice of freshly squeezed lemon. This zesty dressing will brighten your Herby Cucumber Salad. Aim for a balanced mixture, adjusting the acidity to your taste.
Step 4: Combine and Season
Pour the prepared dressing over the salad mixture in the large bowl. Sprinkle with salt and black pepper, to taste. Using a large spoon, gently mix everything together until all ingredients are well-coated with the dressing. The vibrant colors from cucumbers and herbs should meld beautifully, creating an inviting dish.
Step 5: Adjust to Taste and Serve
Finally, take a moment to taste your salad and adjust the seasoning if needed. If you desire more acidity, feel free to add a dash more vinegar or lemon juice. Serve the Herby Cucumber Salad with Feta and Chickpeas immediately for a refreshing crunch, or chill it in the refrigerator for at least 30 minutes to enhance the flavors even further.
Herby Cucumber Salad Variations & Substitutions
Customize your dining experience with exciting twists! Here are some delightful variations to personalize your Herby Cucumber Salad with Feta and Chickpeas.
- Mediterranean Vibes: Add Kalamata olives, giving each bite a briny punch that enhances the salad's flavor profile. The tanginess will transport you to a sun-soaked Mediterranean landscape.
- Avocado Boost: Incorporate diced avocado for a creamy texture that complements the feta. Its richness pairs beautifully with the crunchy cucumbers.
- Spicy Kick: Toss in diced jalapeños or a sprinkle of red pepper flakes for a spicy twist that awakens your taste buds. This will add excitement while keeping the salad refreshingly light!
- Grain Power: Mix in cooked quinoa or farro for added heartiness and a nutritious base that transforms the salad into a more filling meal. Each grain adds a delightful chew, enhancing your experience.
- Sweet Contrast: Include diced bell peppers or cherry tomatoes to introduce a subtle sweetness, balancing the tangy feta and sharp onions perfectly. The pop of color brightens up your dish!
- Nutty Crunch: Scatter roasted nuts like almonds or pistachios for a satisfying crunch and a boost of healthy fats. Their nutty flavor will add a delightful depth to the salad.
- Fresh Herb Swap: Experiment with fresh herbs, substituting basil or mint for parsley and dill to create a unique flavor profile that resonates with your palate. This individuality will make every serving special!
- Creamy Dressing: For a richer dressing, blend in a dollop of Greek yogurt or tahini to enhance creaminess while maintaining that refreshing zest. This addition will transform your salad into an indulgently creamy delight.
For even more inspiration, consider pairing this refreshing salad with our Pan-Fried Shrimp with Cabbage Slaw and Gochujang Mayo or explore the freshness of a Skillet Pasta with Sun-Dried Tomatoes, Walnuts, and Feta. Enjoy experimenting!
Expert Tips for Herby Cucumber Salad
• Chill for Flavor: Allowing the salad to chill for at least 30 minutes lets the flavors meld beautifully and enhances the overall taste.
• Herb Customization: Experiment with different herbs such as mint or basil to personalize the herb profile of your Herby Cucumber Salad with Feta and Chickpeas.
• Cucumber Choice: Use English cucumbers for the best texture. Avoid regular cucumbers that may have a waxy skin and larger seeds.
• Prepping Ahead: Make the salad ahead of time but keep the dressing separate until you're ready to serve, ensuring a crisp and fresh texture.
• Storage Tips: Store leftovers in an airtight container in the fridge for up to 4 days, but keep the dressing separate to maintain freshness.
What to Serve with Herby Cucumber Salad with Feta and Chickpeas
This vibrant salad can become a star in a delightful Mediterranean meal, making it easy to complement with other dishes.
- Grilled Lemon Chicken: The zesty flavors of the chicken enhance the salad's freshness, creating a well-rounded plate.
- Quinoa Tabouli: With its hearty grains and herbs, this dish mirrors the salad's Mediterranean flair while adding texture.
- Hummus Platter: An assortment of creamy hummus pairs beautifully, bringing a rich and flavorful dip that rounds out the meal.
- Pita Bread: Soft, warm pita serves as a delicious vessel for enjoying the salad, making it great for a light lunch.
- Roasted Vegetables: Caramelized veggies add depth and warmth to your table, contrasting the cool crunch of the salad.
- Fizzy Sparkling Water: A refreshing drink option that cleanses the palate, enhancing the bright flavors of your meal.
Make Ahead Options
These Herby Cucumber Salad with Feta and Chickpeas are perfect for busy weeknights and meal prep enthusiasts! You can chop the cucumbers, herbs, and red onion up to 24 hours in advance and store them in an airtight container in the refrigerator to keep them fresh. Additionally, the chickpeas can be rinsed and combined with the chopped ingredients ahead of time, but it's best to add the feta and the dressing just before serving to maintain their quality and texture. When ready to enjoy, simply mix everything together, season to taste, and you'll have a vibrant, delicious salad at your fingertips, ready to impress your family or guests!
Storage Tips for Herby Cucumber Salad with Feta and Chickpeas
Fridge: Keep your Herby Cucumber Salad in an airtight container for up to 4 days. Make sure to store the dressing separately to ensure the salad remains crisp.
Room Temperature: It's best to avoid leaving the salad out for more than 2 hours, especially in warm weather, to maintain freshness and food safety.
Chill Before Serving: To enhance the flavors, chill the salad in the fridge for at least 30 minutes before serving. This time allows the ingredients to meld beautifully.
Freezing: Avoid freezing the salad, as cucumbers will turn mushy upon thawing. If you need to freeze chickpeas, do so separately for optimal texture.
Herby Cucumber Salad with Feta and Chickpeas Recipe FAQs
How do I choose the best cucumbers?
Absolutely! For the best crunch and flavor, go for English cucumbers. They have thinner skins and fewer seeds. Look for cucumbers that are firm, without dark spots or wrinkles. If you can’t find English cucumbers, thin-skinned varieties will work too.
How should I store leftovers from my salad?
I recommend keeping your Herby Cucumber Salad in an airtight container in the fridge. It will stay fresh for up to 4 days. For the best taste, store the dressing separately to maintain that satisfying crunch of the cucumbers.
Can I freeze this salad?
Very! I advise against freezing the entire salad because cucumbers will become mushy once thawed. However, if you’d like to freeze chickpeas, you can do so by placing them in a single layer on a baking sheet to freeze individually, then transfer them to a freezer bag for up to 3 months.
What should I do if my salad is too tangy?
If you find your salad is too tangy for your taste, simply add a touch of honey or maple syrup to balance the flavors. Start with a teaspoon, mix it in, and taste again. Alternatively, adding more cucumbers can help neutralize the tanginess while enhancing the freshness of your Herby Cucumber Salad with Feta and Chickpeas.
Can I make this salad in advance?
Absolutely! Preparing your Herby Cucumber Salad ahead of time is a fantastic idea. Just make sure to keep the dressing separate until you're ready to serve. This way, you’ll maintain the freshness and crispness of the veggies, ensuring that every bite is as delightful as the first.
Herby Cucumber Salad with Feta and Chickpeas: A Fresh Boost
Ingredients
Equipment
Method
- Wash the cucumbers thoroughly and dice them into bite-sized pieces.
- Add the chopped cucumbers to a large mixing bowl.
- Rinse and drain the chickpeas, then add to the bowl.
- Add diced red onion, crumbled feta, and minced garlic.
- In a small bowl, whisk together olive oil, red wine vinegar, and lemon juice.
- Pour the dressing over the salad and mix gently.
- Adjust seasoning with salt and black pepper to taste.
- Chill for at least 30 minutes before serving.