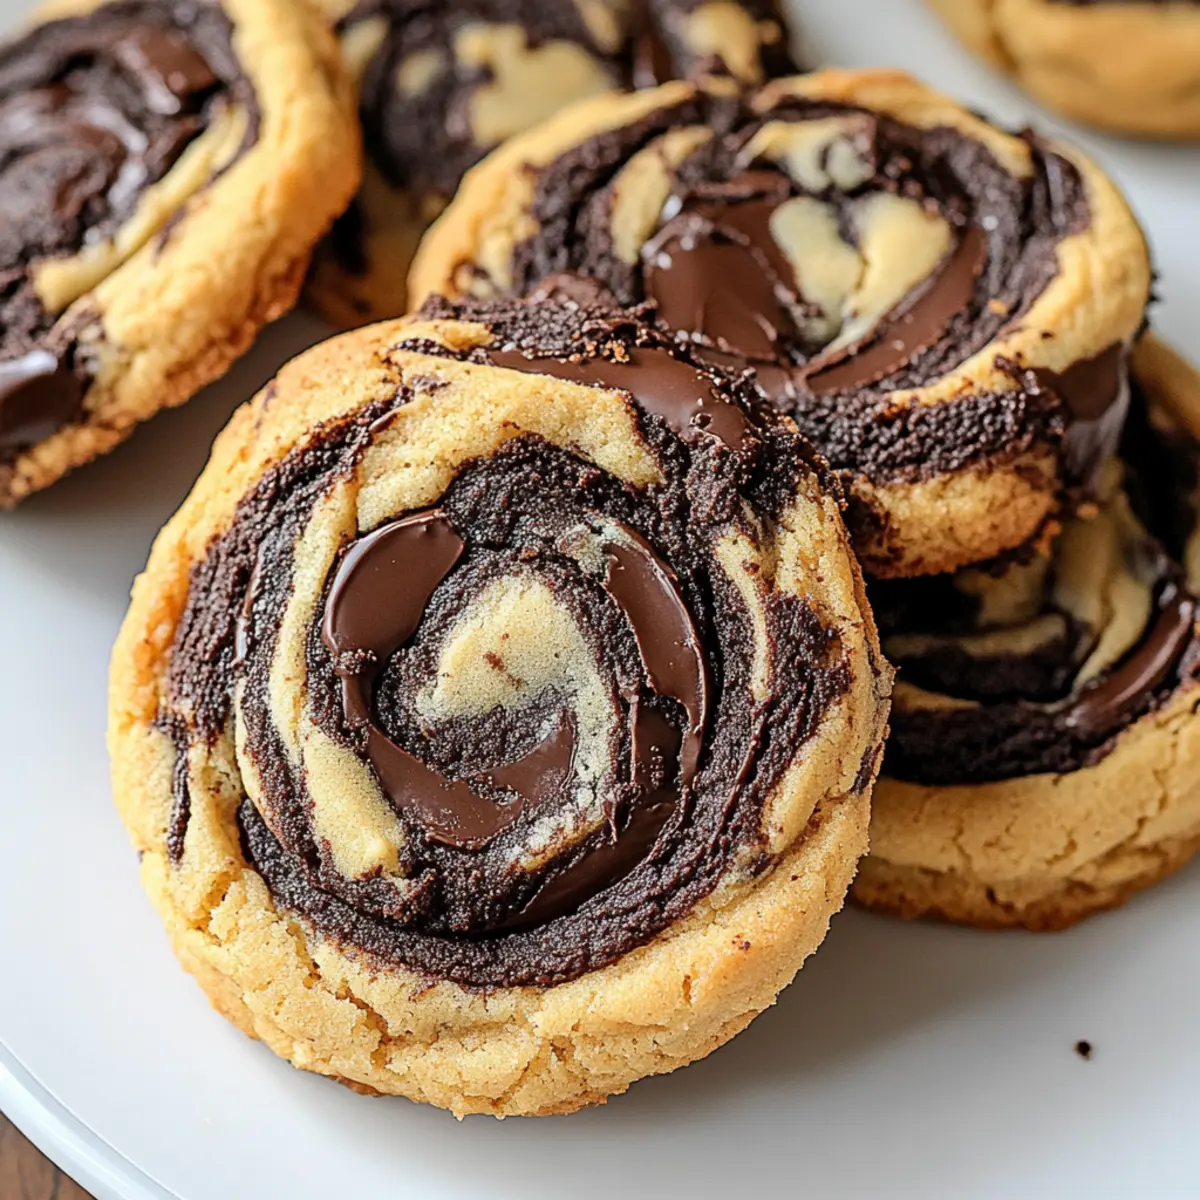
You know that moment when you taste something so rich and chocolaty that it transports you straight back to childhood? That's exactly what these M&M’s brownies do for me. They’re not just a dessert; they’re a celebration in a pan. Fudgy, easy-to-make, and a guaranteed crowd-pleaser, this recipe brings joy and color with every vibrant M&M that dances atop the gooey surface. Whether you’re hosting a gathering or simply in need of a sweet pick-me-up, this chocolate dream is here to satisfy your cravings. Plus, you can customize these treats to fit any occasion by mixing up the colors of M&M’s! Have you ever thought about how satisfying it is to bake something both scrumptious and fun? Let's dive in!
Why Are M&M's Brownies So Irresistible?
Fudgy Perfection: These brownies are a chocolate lover's dream, oozing with rich, fudgy goodness that will have you reaching for seconds.
Easy to Make: With just a handful of ingredients and minimal steps, you’ll have these mouthwatering brownies ready in no time.
Customizable Fun: Feel free to swap in your favorite M&M colors for holidays or celebrations, making them as unique as your love for chocolate! Want more ideas? Check out my Pumpkin Brownies Decadent for a seasonal twist.
Crowd-Pleaser: Perfect for gatherings, these brownies ensure that there will be smiles all around when you serve them.
Delightful Textures: Each bite features a slightly crackly top, with a gooey center and bursts of sweetness from the M&M's. Trust me; this recipe will keep everyone coming back for more!
M&M's Brownies Ingredients
For the Brownies
• Semi-Sweet Chocolate – Adds rich chocolate flavor and moisture; for a deeper flavor, consider bittersweet or dark chocolate.
• Unsalted Butter – Provides fat for richness; you can use salted butter but skip the added salt.
• Granulated Sugar – Sweetens and contributes to fudginess; combine with brown sugar for enhanced flavor.
• Brown Sugar – Adds moisture and a caramel taste; it makes your brownies extra chewy.
• Eggs – Provides structure; remember to add them one at a time for the best texture.
• Cocoa Powder – Boosts the chocolate flavor; unsweetened cocoa is great but may lighten the color slightly.
• Vanilla Extract – Essential for a rich flavor; don’t skip this key ingredient!
• Flour – The main structure; if gluten-free is needed, substitute 1:1 with a blend containing xanthan gum.
• Salt – Enhances flavor; can be left out if you're using salted butter.
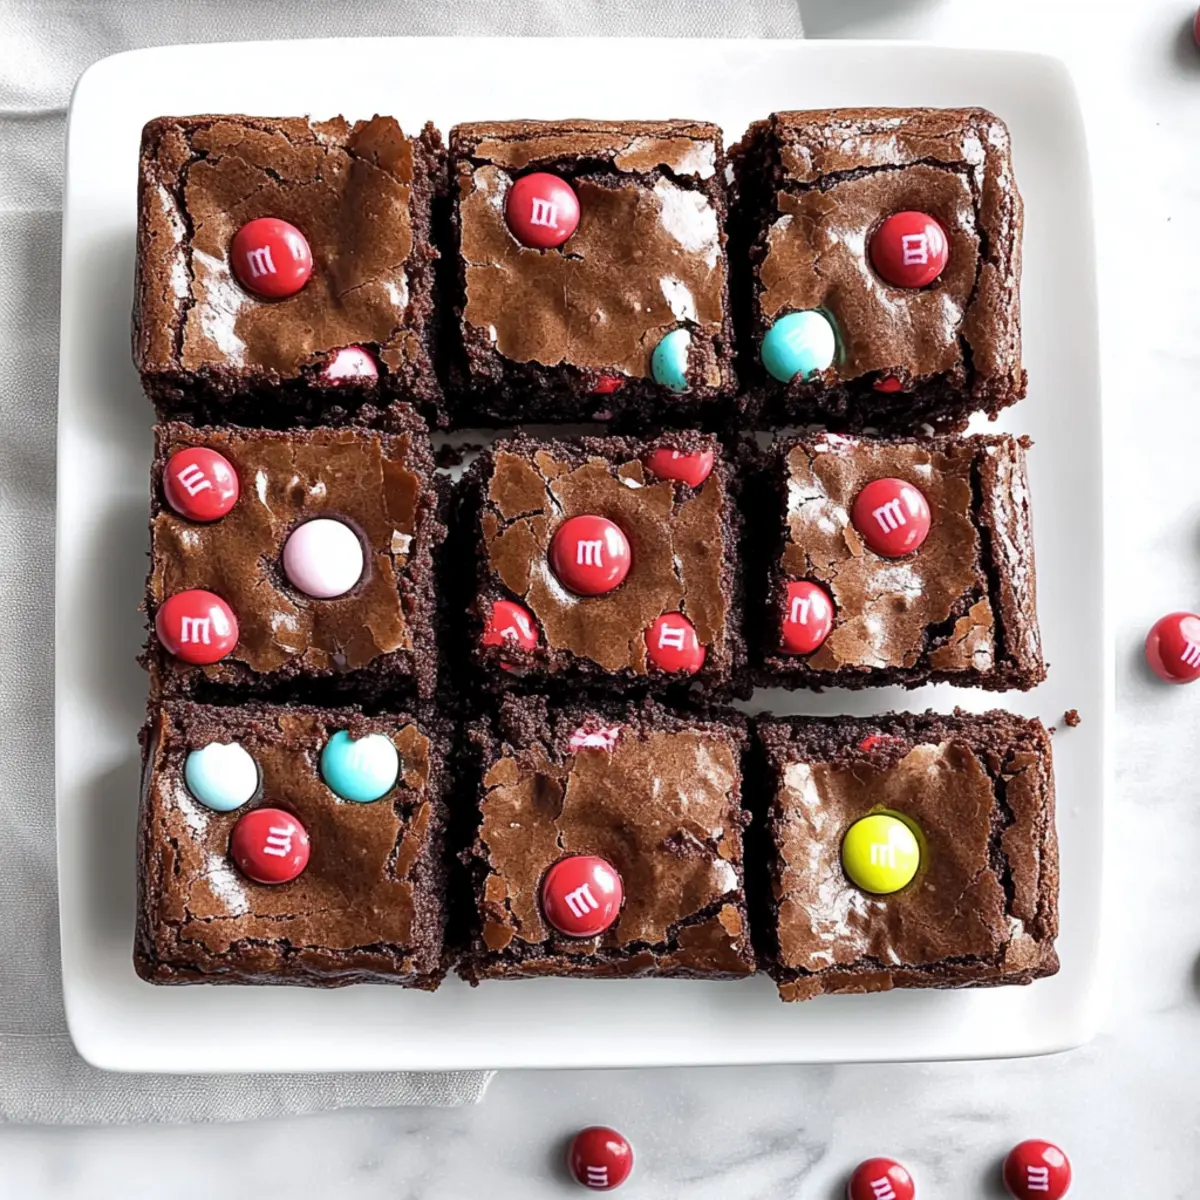
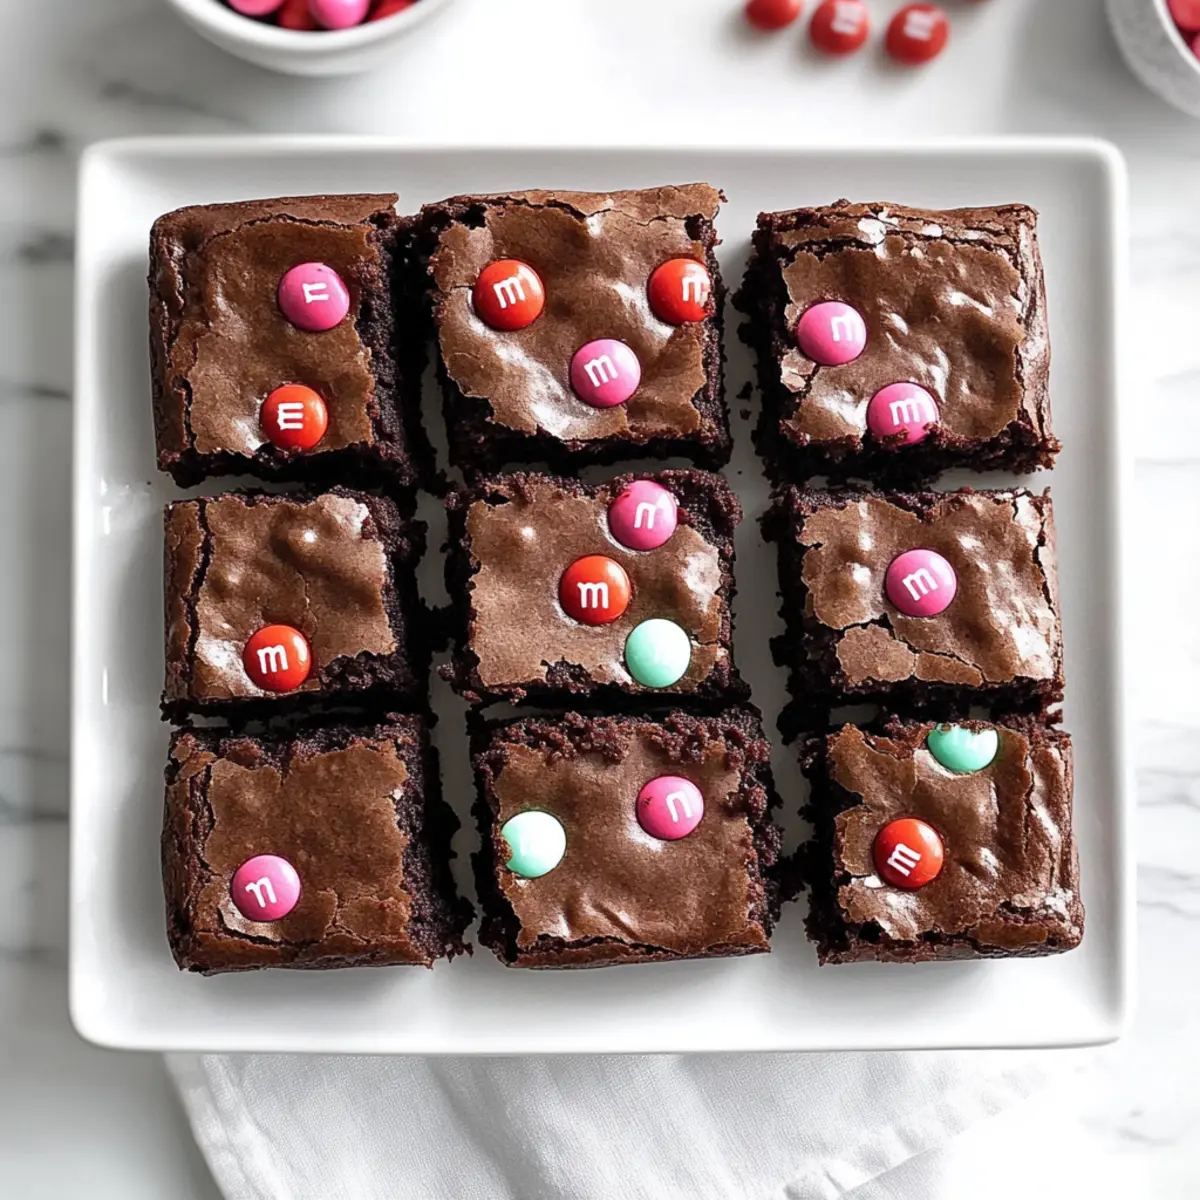
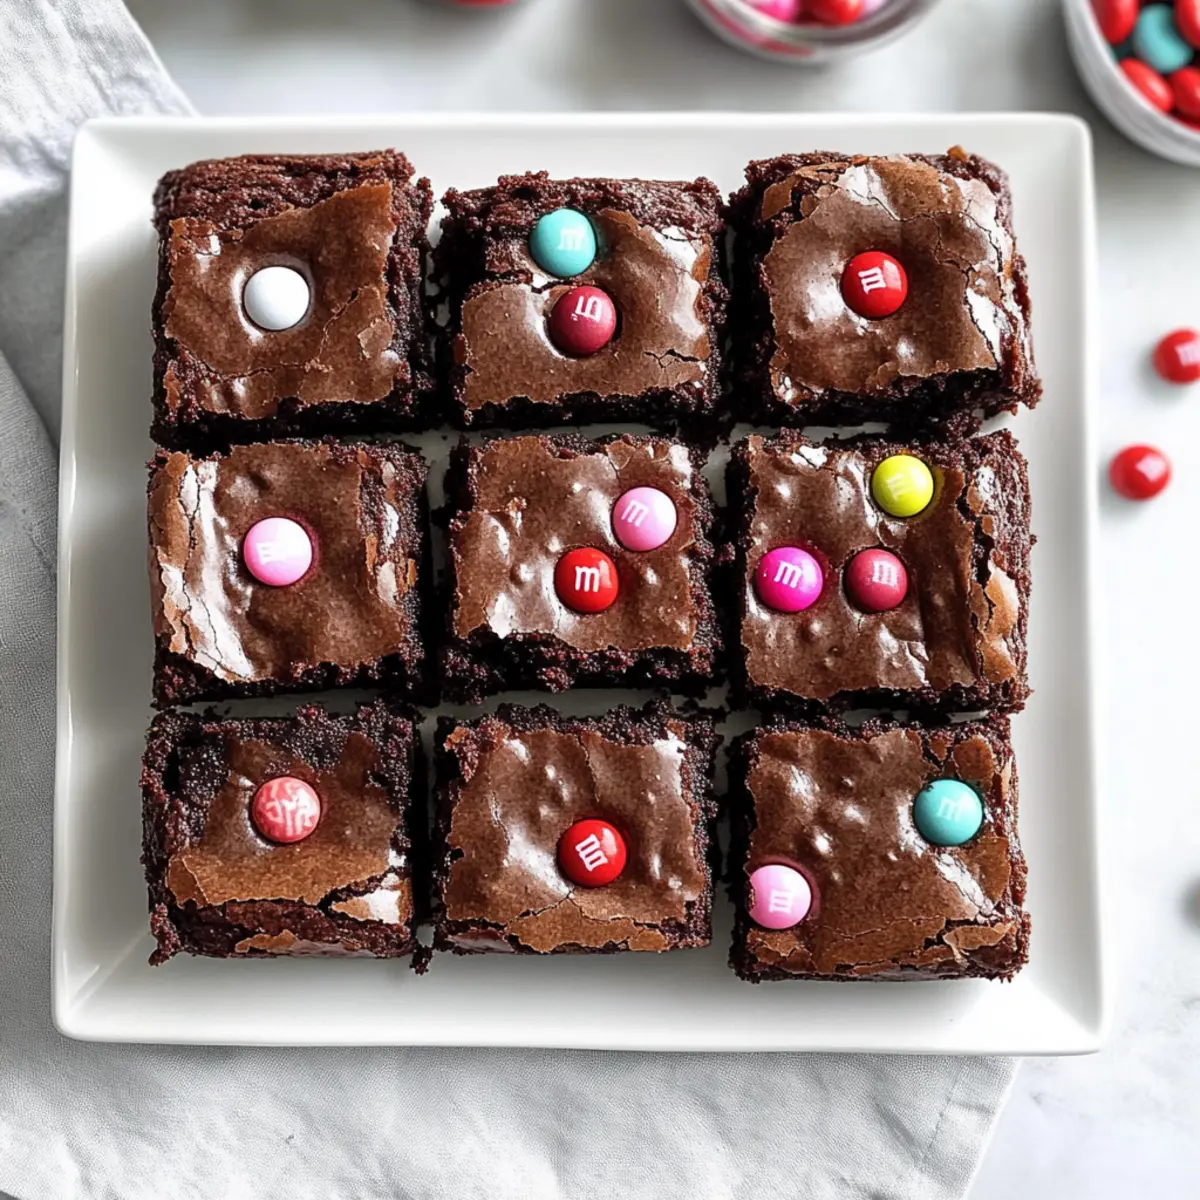
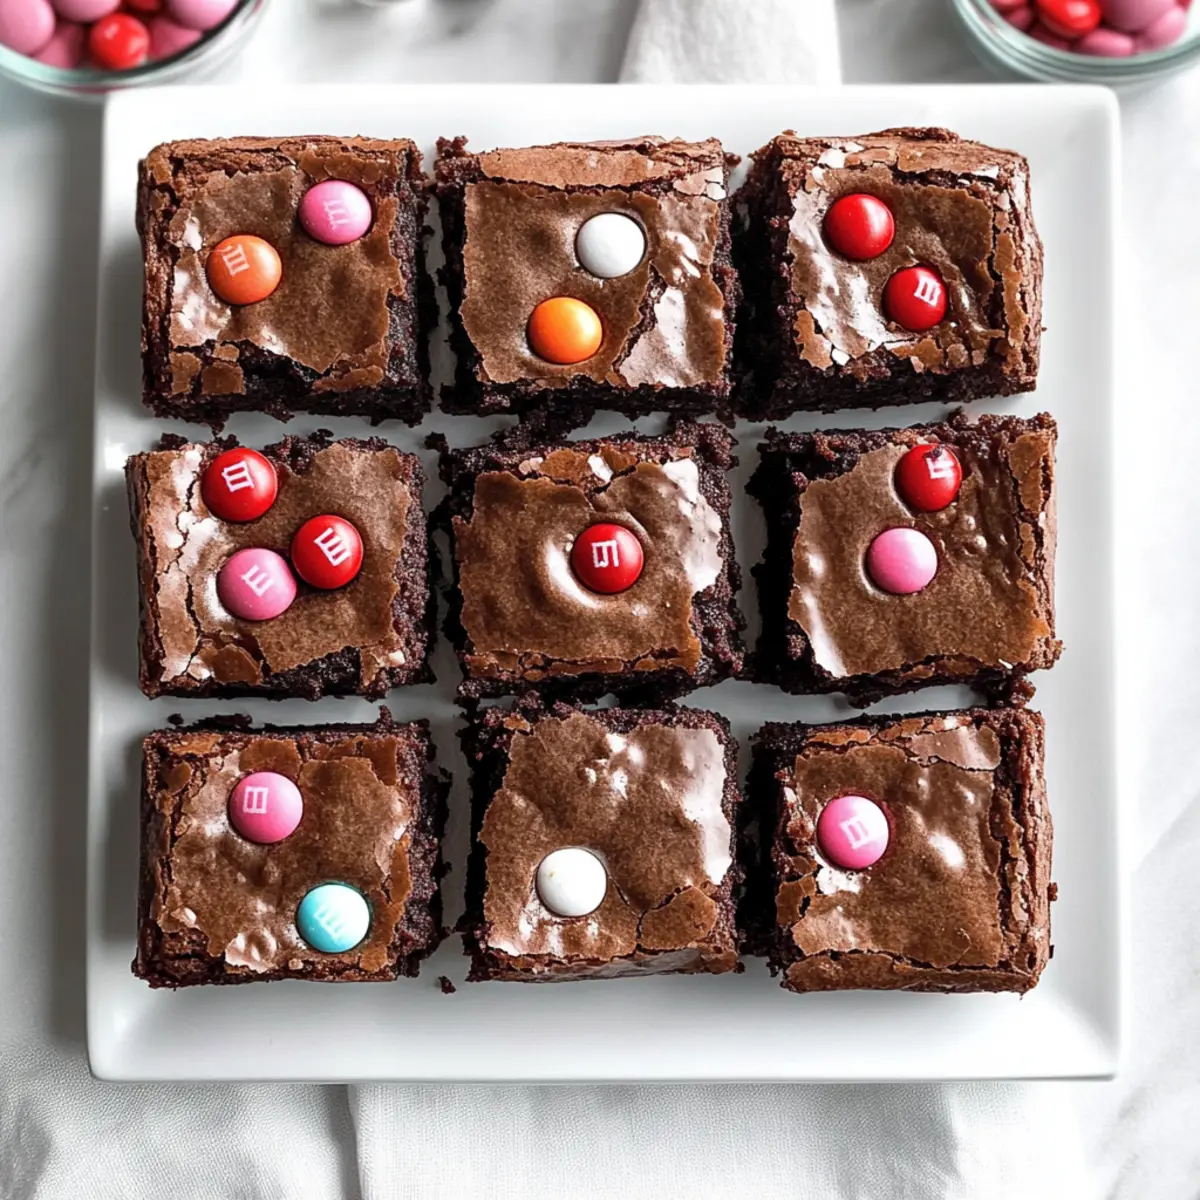
• M&M's Candies – Adds sweetness and vibrant color; feel free to mix different colors for fun and festive looks!
For Serving
• Vanilla Ice Cream – A classic pairing that balances the chocolate richness beautifully.
• Whipped Cream – Adds a light, creamy texture; perfect for topping those warm brownies.
This delightful M&M's Brownies recipe is sure to be a hit, turning any gathering into a joyous celebration!
Step‑by‑Step Instructions for M&M’s Brownies
Step 1: Melt the Chocolate Mixture
Begin by melting the semi-sweet chocolate and unsalted butter together in a double boiler over medium heat, stirring until smooth and glossy, which usually takes about 5-7 minutes. Remove the bowl from heat, then mix in both granulated and brown sugar until well combined. Allow the mixture to cool for about 5-10 minutes while you prepare the next steps.
Step 2: Incorporate the Eggs
Once the chocolate mixture has cooled slightly, add the eggs one at a time, making sure to beat well after each addition. This step is crucial for achieving the rich and fudgy texture of your M&M’s brownies. Continue to mix until the batter looks shiny and smooth, then proceed to the next step.
Step 3: Add Dry Ingredients
Gently fold in the cocoa powder, salt, and vanilla extract, mixing until fully combined. Be careful not to overmix; a few small streaks are okay at this stage. This step enhances the chocolate flavor and incorporates necessary ingredients for your moist M&M’s brownies, creating a luscious chocolate base.
Step 4: Fold in the Flour
Now, sift in the flour and gently fold it into the batter with a spatula until just a few streaks of flour remain. This helps maintain the fudgy texture you’re aiming for. Avoid overworking the batter to keep your brownies rich and chewy. Once combined, you’re ready for the baking dish.
Step 5: Prepare the Baking Dish
Line an 8 x 8-inch baking dish with parchment paper for easy removal later. Pour the brownie batter into the prepared dish, smoothing the top with a spatula to create an even layer. This ensures that your M&M’s brownies bake evenly, giving each slice a perfect shape.
Step 6: Add the M&M's
Sprinkle a generous amount of M&M’s on top of the brownie batter, making sure they are spread evenly. Don’t press them into the mixture, as they will sink slightly during baking, creating delightful pockets of color and sweetness in each bite of your fudgy brownies.
Step 7: Bake the Brownies
Preheat your oven to 350°F (175°C) and place the baking dish inside. Bake for 45-50 minutes, or until the edges are set but the center is slightly gooey. A toothpick inserted into the side should come out with a few moist crumbs clinging to it. This ensures your brownies will be decadently fudgy.
Step 8: Cool and Slice
Allow the brownies to cool completely in the baking dish for about 30-45 minutes before lifting them out using the parchment paper. Once cooled, slice them into squares, revealing the colorful M&M’s throughout. Enjoy the rich, fudgy goodness of your homemade M&M’s brownies!
Storage Tips for M&M's Brownies
Room Temperature: Store brownies in an airtight container at room temperature for up to 3 days. This keeps them moist and fudgy, maintaining their delightful texture.
Fridge: If you want them to last a bit longer, brownies can be refrigerated for up to a week. Just be sure to wrap them tightly to prevent drying out.
Freezer: For longer storage, freeze brownies for up to 3 months. Cut them into squares, wrap each piece in plastic wrap, and place them in a freezer-safe container.
Reheating: Enjoy brownies warm by gently reheating in the microwave for about 10-15 seconds, bringing back that melt-in-your-mouth experience every chocolate lover craves!
Make Ahead Options
These M&M's brownies are a fantastic make-ahead treat for busy home cooks! You can prepare the brownie batter up to 24 hours in advance; simply mix it and store it in an airtight container in the refrigerator. For the best results, line your baking dish with parchment paper and keep it ready, but avoid adding the M&M's until you're ready to bake. This prevents any color bleeding and ensures they remain vibrant. When you’re ready to bake, pour the batter into the prepared dish, sprinkle the M&M's on top, and bake as directed. You’ll have freshly baked brownies that are just as delicious as if you made them on the spot!
Expert Tips for M&M's Brownies
Use Room Temperature Eggs: This helps with emulsification, resulting in a smoother batter and a fudgier end product.
Mind the Baking Time: Avoid overbaking your brownies; they should be slightly gooey in the center for that ideal fudgy texture.
Customize M&M Colors: Tailor your brownies for any occasion by using seasonal M&M colors, adding a festive touch to your treats!
Store Properly: Keep brownies in an airtight container at room temperature for up to 3 days for the best texture and flavor retention.
Don’t Overmix: When incorporating the flour, mix only until just combined to maintain the desired fudginess in your M&M's brownies.
What to Serve with M&M's Brownies
There's nothing quite like pairing a rich chocolate dessert with delightful complementing flavors for the ultimate indulgent experience.
- Vanilla Ice Cream: A classic choice that balances the fudginess of the brownies, providing a creamy, cool contrast.
- Whipped Cream: Light and fluffy, it adds a touch of elegance and extra sweetness, perfect for those warm brownie moments.
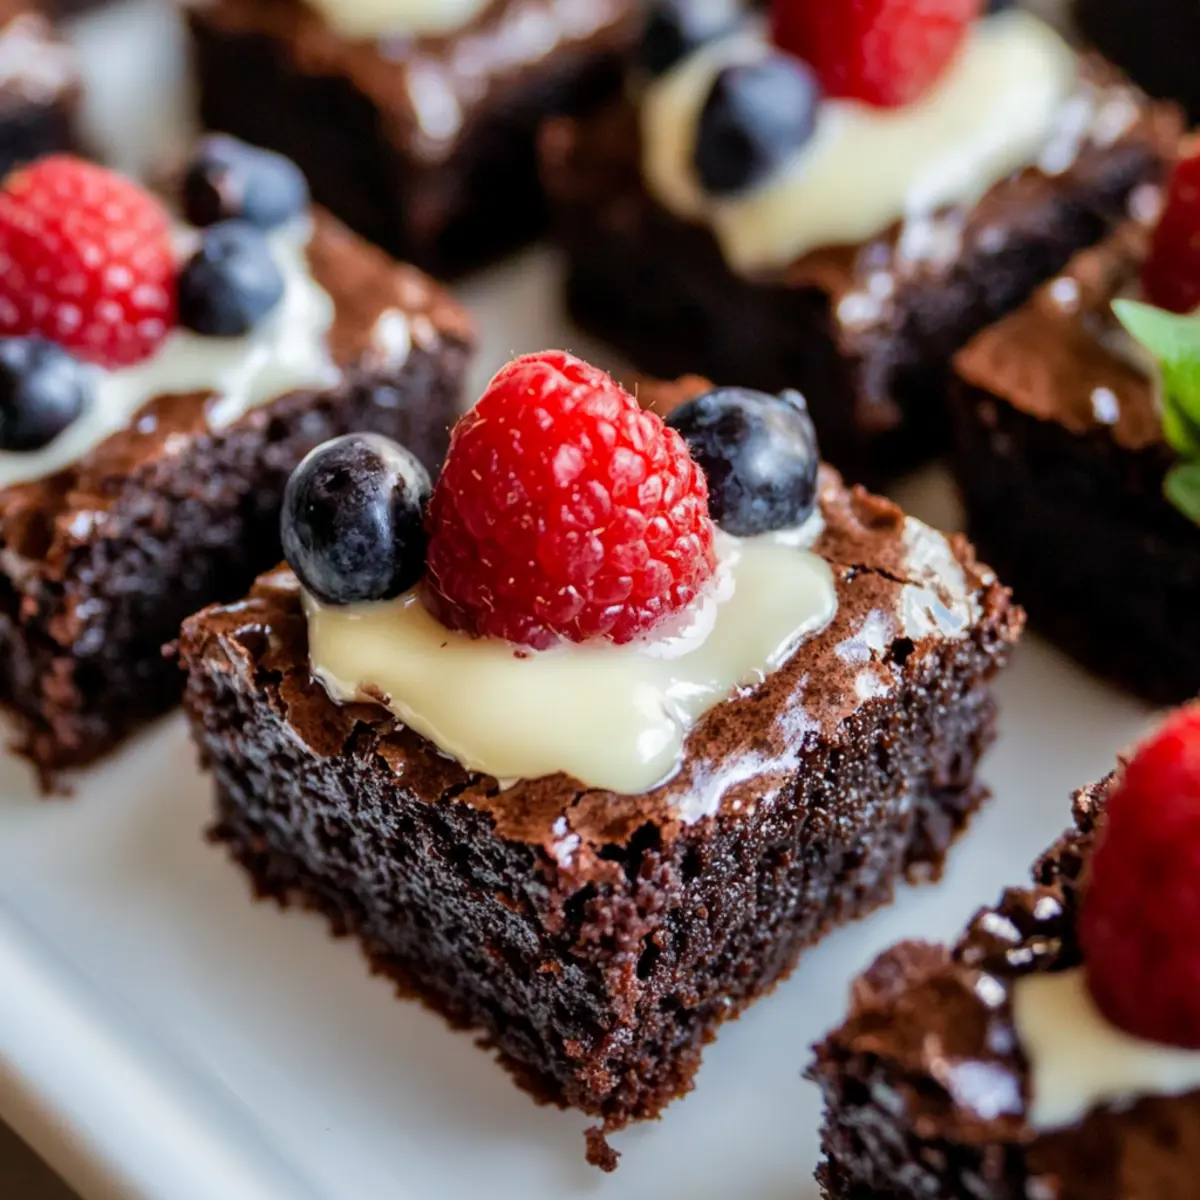
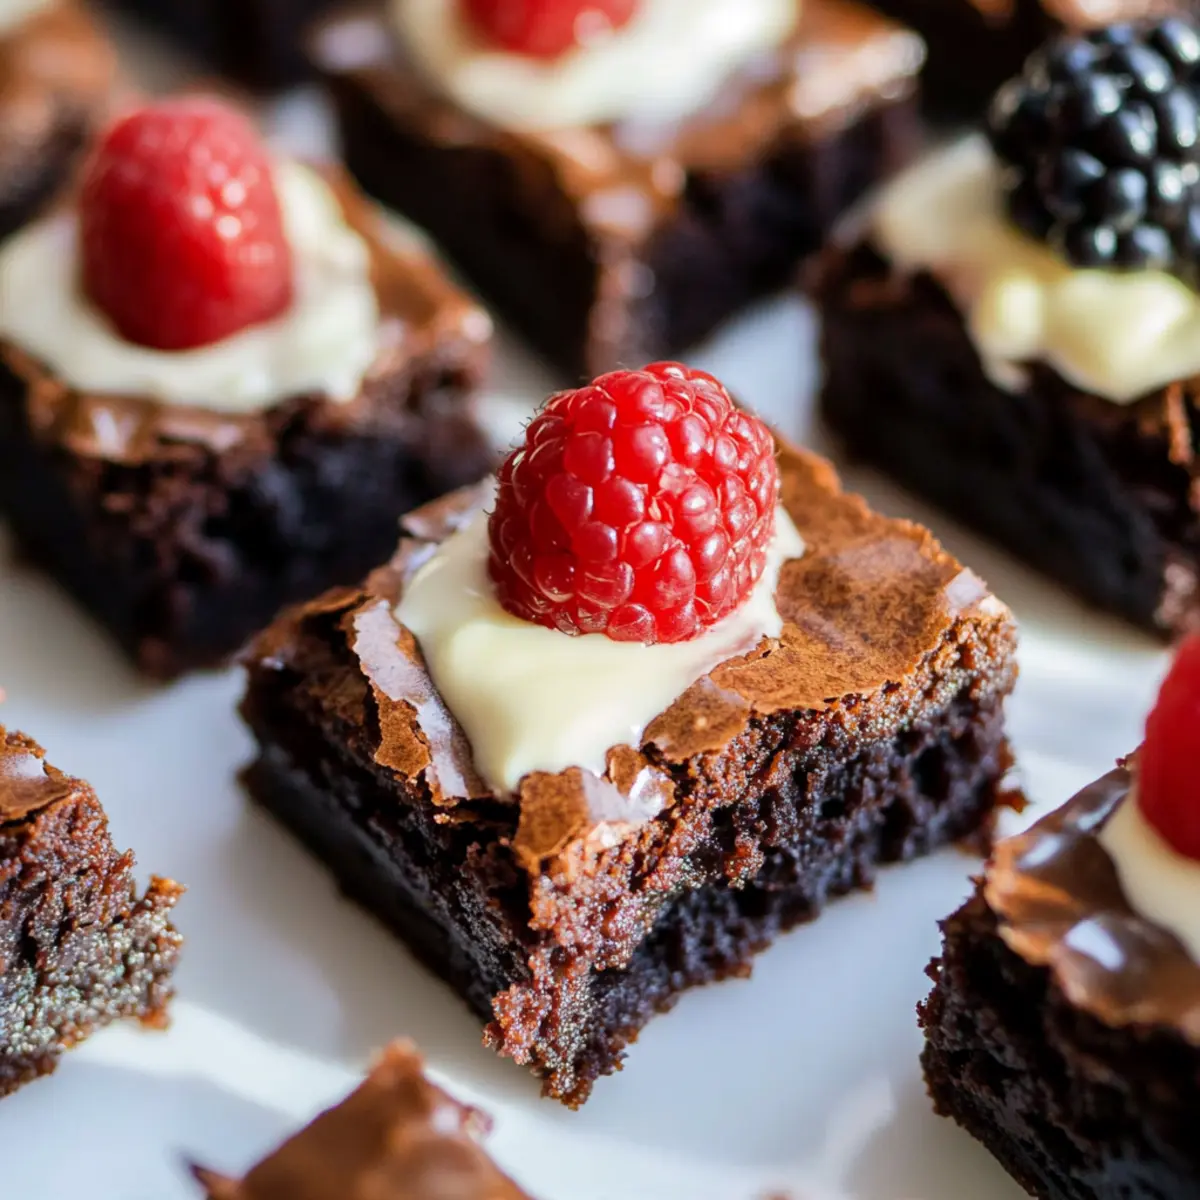
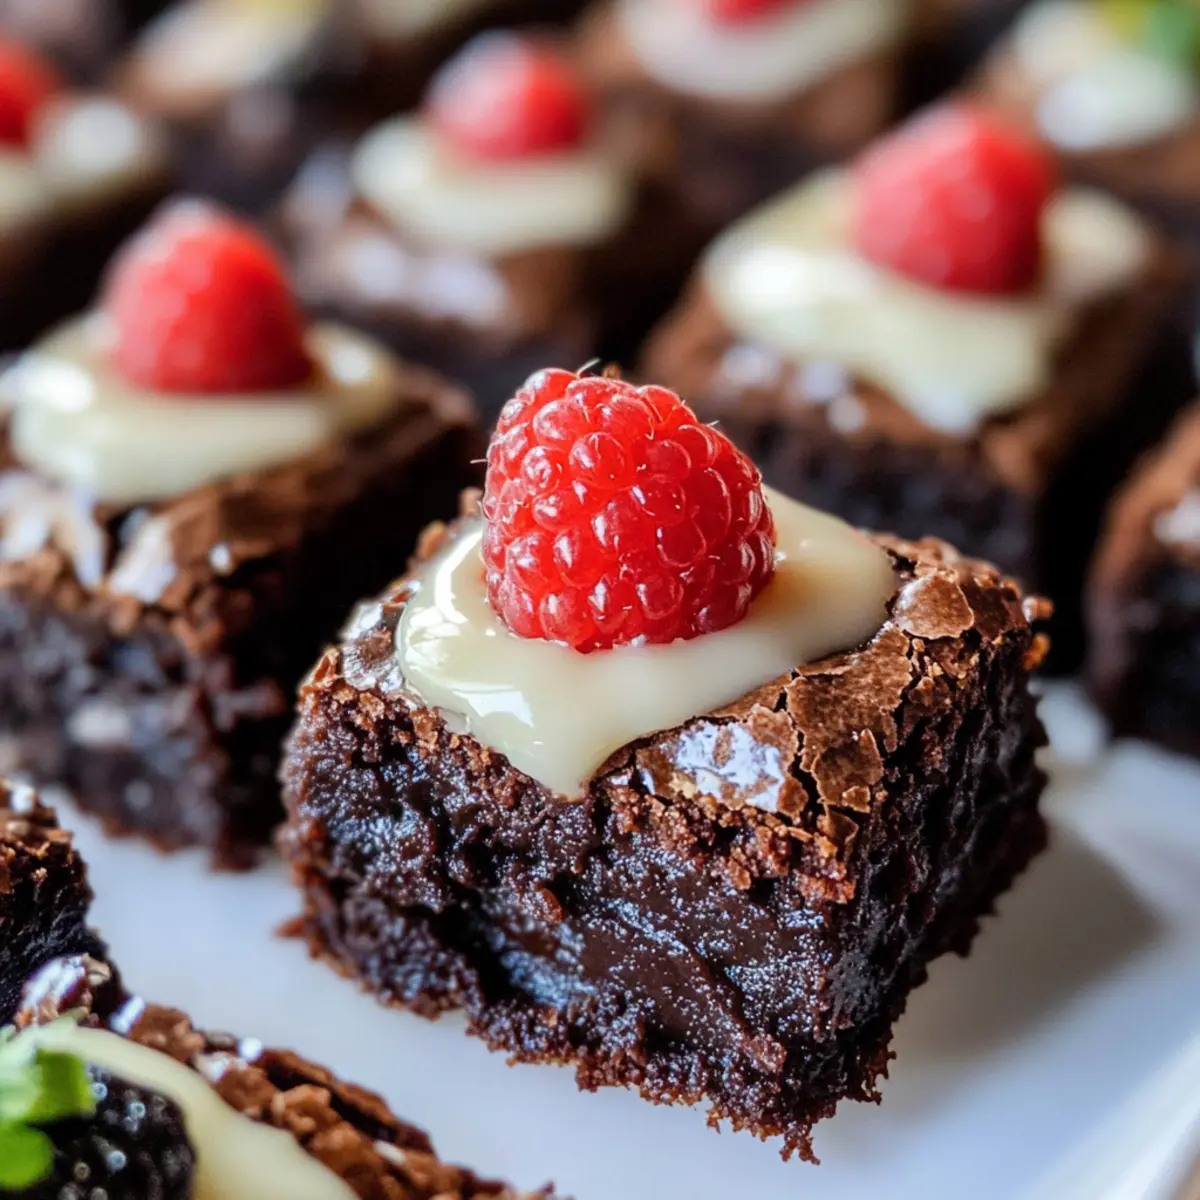
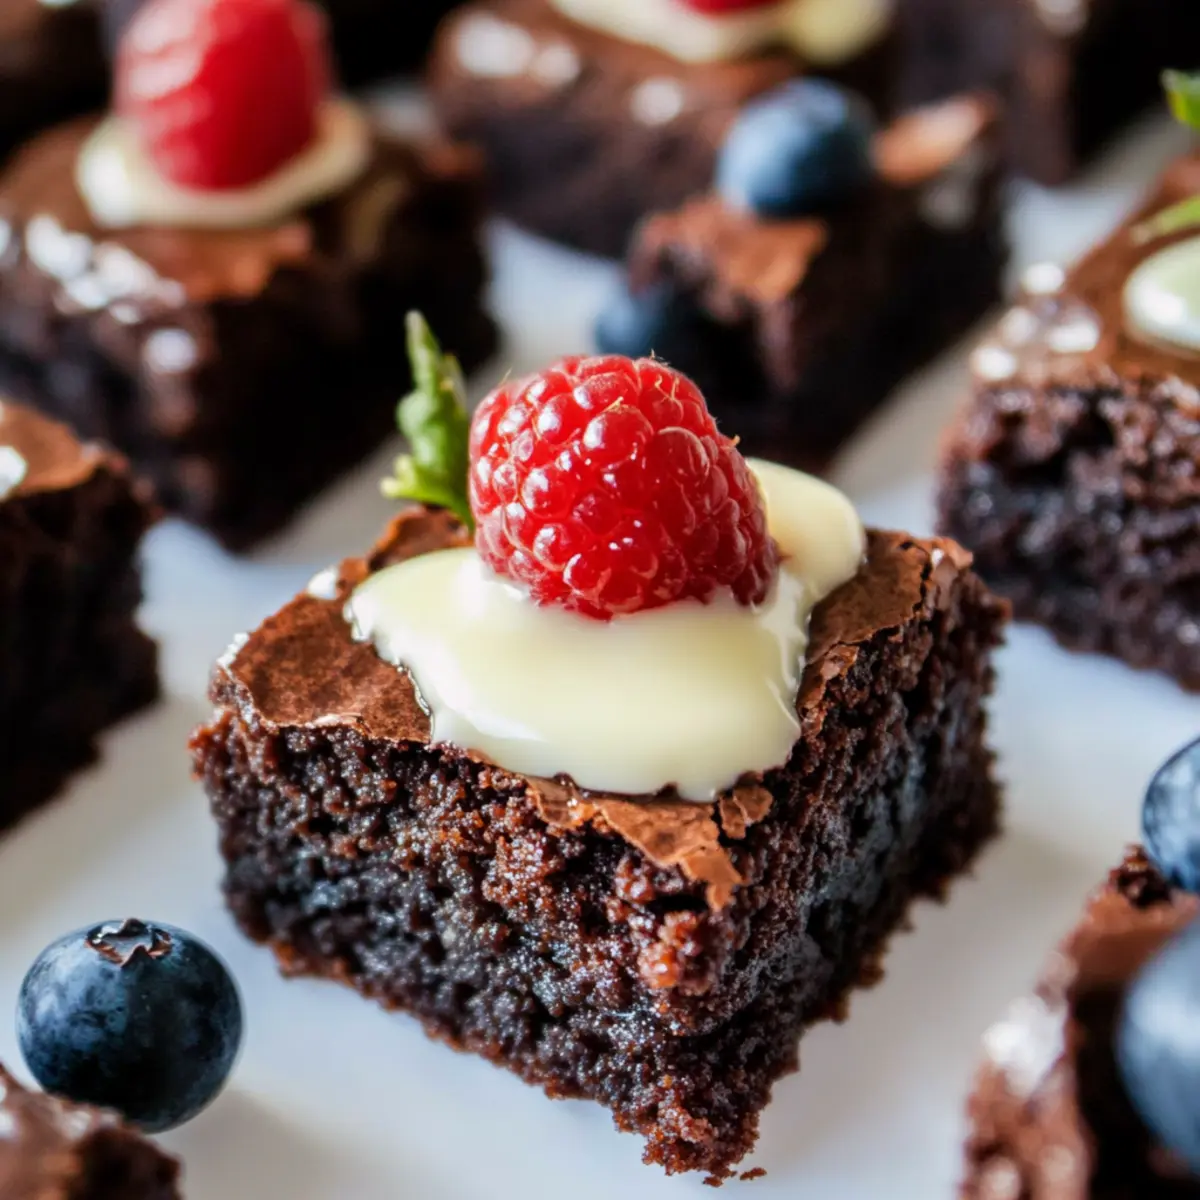
- Fresh Berries: Juicy raspberries or strawberries bring a tart freshness that cuts through the chocolate richness, offering a vibrant twist.
- Chocolate Sauce: For the ultimate chocolate lover's extravagance, drizzle warm chocolate sauce over the brownies for a decadent finish.
- Coffee: A freshly brewed cup enhances the chocolate flavor, creating a delightful pairing that is perfect for an afternoon treat.
- Mint Chocolate Chip Ice Cream: Adds a refreshing minty twist to the classic brownie combination, making each bite feel extra special.
- Caramel Sauce: Drizzle on top for a sweet and sticky treat, enriching the brownies with a sumptuous layer of gooey goodness.
- Milk: A simple glass of cold milk is always a crowd-pleaser, balancing out the richness of the brownies beautifully.
- Chocolate-Covered Strawberries: Elevate your dessert table by serving chocolate-covered strawberries alongside for a fun, shared treat.
Variations & Substitutions for M&M’s Brownies
Feel free to let your creativity shine and customize these brownies to match your taste and occasion!
- Nutty Delight: Add chopped walnuts or pecans for a crunchy texture contrast that complements the fudginess beautifully.
- Gluten-Free Option: Substitute regular flour with gluten-free flour to cater to dietary needs without sacrificing flavor.
- Peanut Butter Swirl: Incorporate swirls of peanut butter in the batter before baking for a deliciously nutty twist.
- Minty Fresh: Replace regular M&M's with mint-flavored ones for a refreshing take; pair them with a scoop of vanilla ice cream!
- Double the Recipe: Use a 9 x 13 pan and double your ingredients for larger gatherings. Everyone will want to take some home!
- Spicy Kick: Add a sprinkle of cayenne pepper to the batter for a surprising heat that balances the sweetness.
- Seasonal Colors: Swap M&M’s for themed colors—think pastel hues for spring or red, white, and blue for patriotic events. Tailoring these brownies can make any celebration special.
- Chocolate Chip Upgrade: Mix in chocolate chips alongside the M&M's for an even deeper chocolate experience. For an alternative, consider my Pumpkin Brownies Decadent for a seasonal flavor exploration!
Enjoy experimenting with these variations to create your perfect M&M's brownies!
M&M's Brownies Recipe FAQs
How do I select the right chocolate for M&M's brownies?
Absolutely! For the best flavor, I recommend using semi-sweet chocolate. If you're looking for a bolder taste, bittersweet or dark chocolate can elevate your brownies. Just be mindful that darker chocolate will result in a more intense flavor profile, so choose based on your personal preference for sweetness.
What’s the best way to store M&M's brownies?
To maintain their rich, fudgy texture, store your M&M's brownies in an airtight container at room temperature for up to 3 days. If you want them to last longer, they can be refrigerated for about a week—just make sure to wrap them well so they don't dry out! For longer storage, freeze the brownies wrapped individually in plastic wrap inside a freezer-safe container; they can last up to 3 months this way.
Can I freeze M&M's brownies, and how should I do it?
Yes, you can definitely freeze M&M's brownies! After baking and cooling completely, cut them into squares. Wrap each brownie tightly in plastic wrap and then place them in a freezer-safe container or zip-top bag. Make sure to label them with the date, and they will stay fresh for up to 3 months. When you’re ready to enjoy, simply thaw them in the fridge overnight or at room temperature for a few hours.
What should I do if my brownies are too dry?
If you find your M&M's brownies are coming out dry, there are a couple of troubleshooting tips to keep in mind. First, ensure that you’re not overbaking them; they should be slightly gooey when you pull them out—look for firm edges and a soft center, with a toothpick coming out with a few moist crumbs. If they turn out dry after baking, consider adding a dollop of whipped cream or a scoop of vanilla ice cream to enhance moisture and flavor when serving!
Are these brownies safe for people with nut allergies?
Yes, these M&M's brownies can be safe for those with nut allergies as the base recipe doesn't include any nuts. However, always check the packaging of your M&M's and other ingredients to ensure they are produced in nut-free facilities. If you're uncertain, it’s best to swap in alternative candies or chocolate chips that are explicitly labeled as nut-free to prevent any allergic reactions.
Can I customize the M&M's for special occasions?
Very much! The beauty of M&M's brownies lies in their versatility. You can easily swap in seasonal M&M's, such as red and green for Christmas or pastel colors for Easter. This not only adds a festive flair but also makes your brownies even more appealing for any celebration or get-together!
Fudgy M&M’s Brownies That Will Steal Your Heart!
Ingredients
Equipment
Method
- Melt the semi-sweet chocolate and unsalted butter together in a double boiler over medium heat, stirring until smooth and glossy, about 5-7 minutes.
- Remove from heat and mix in granulated and brown sugar until well combined. Allow to cool for 5-10 minutes.
- Add the eggs one at a time, beating well after each addition until the batter looks shiny and smooth.
- Gently fold in the cocoa powder, salt, and vanilla extract until fully combined.
- Sift in the flour and gently fold it in until just a few streaks of flour remain.
- Line an 8 x 8-inch baking dish with parchment paper. Pour the batter into the dish, smoothing the top.
- Sprinkle M&M’s on top of the batter, evenly spreading them without pressing down.
- Preheat the oven to 350°F (175°C) and bake for 45-50 minutes until the edges are set and the center is slightly gooey.
- Allow the brownies to cool completely in the dish for 30-45 minutes before slicing into squares.