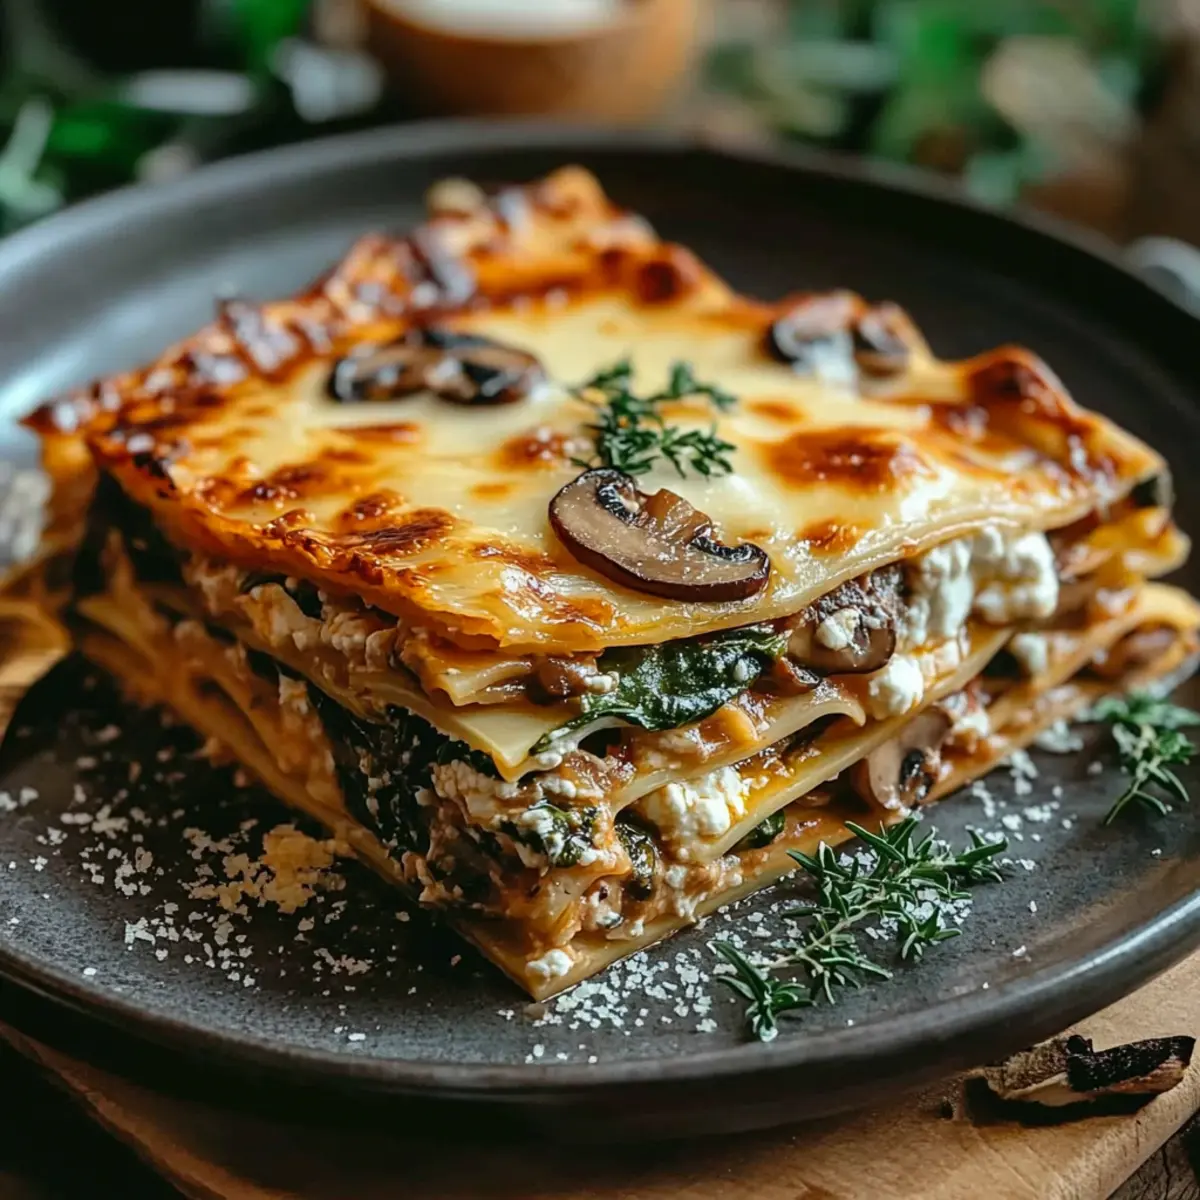
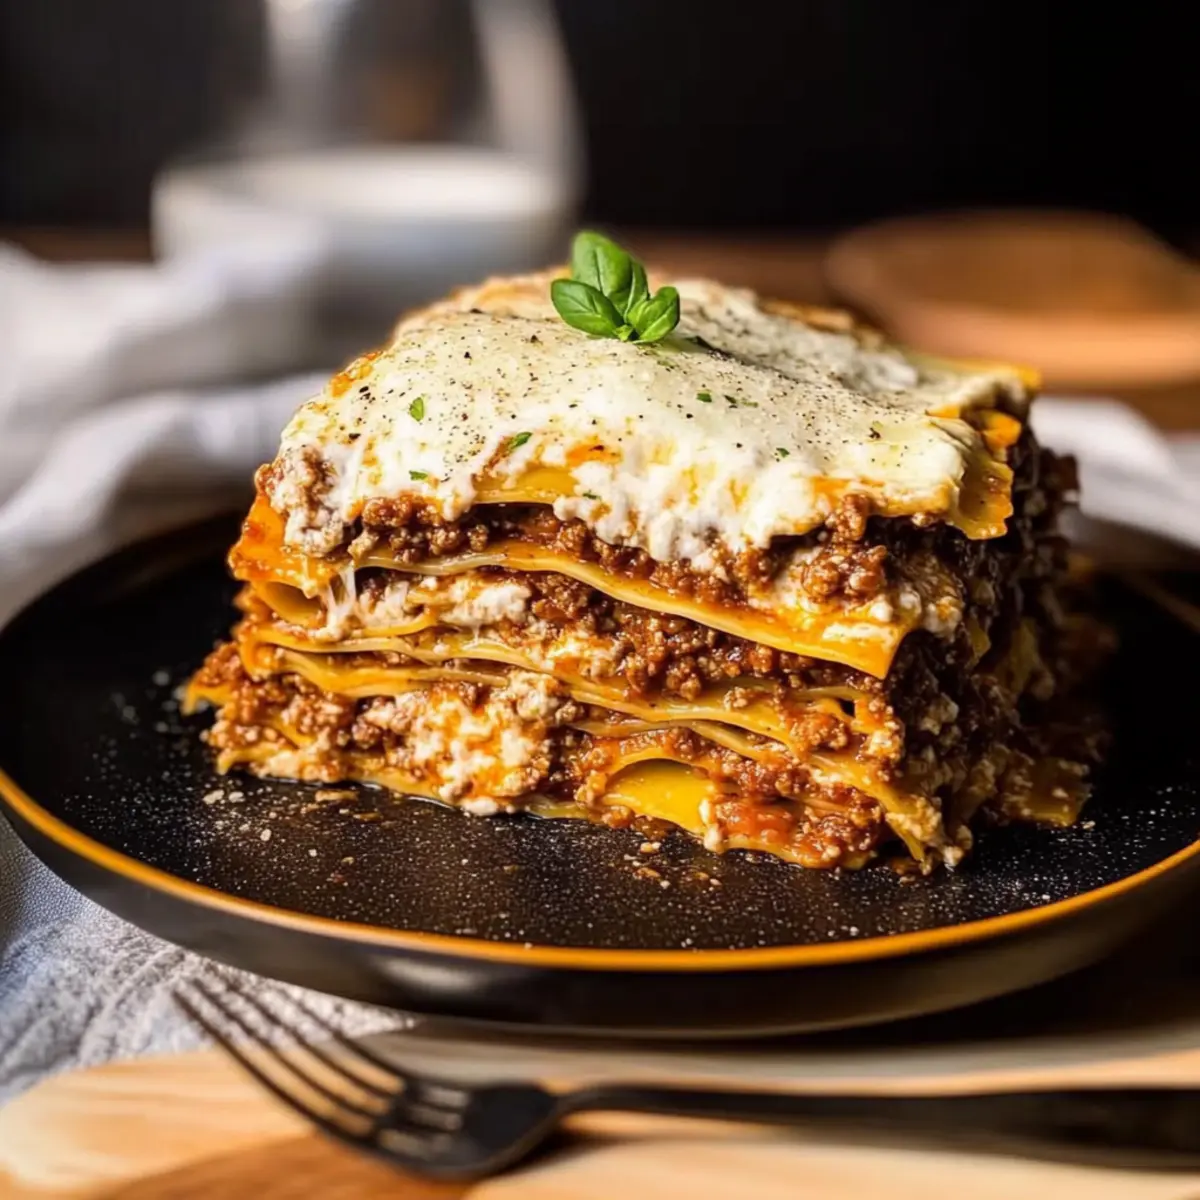
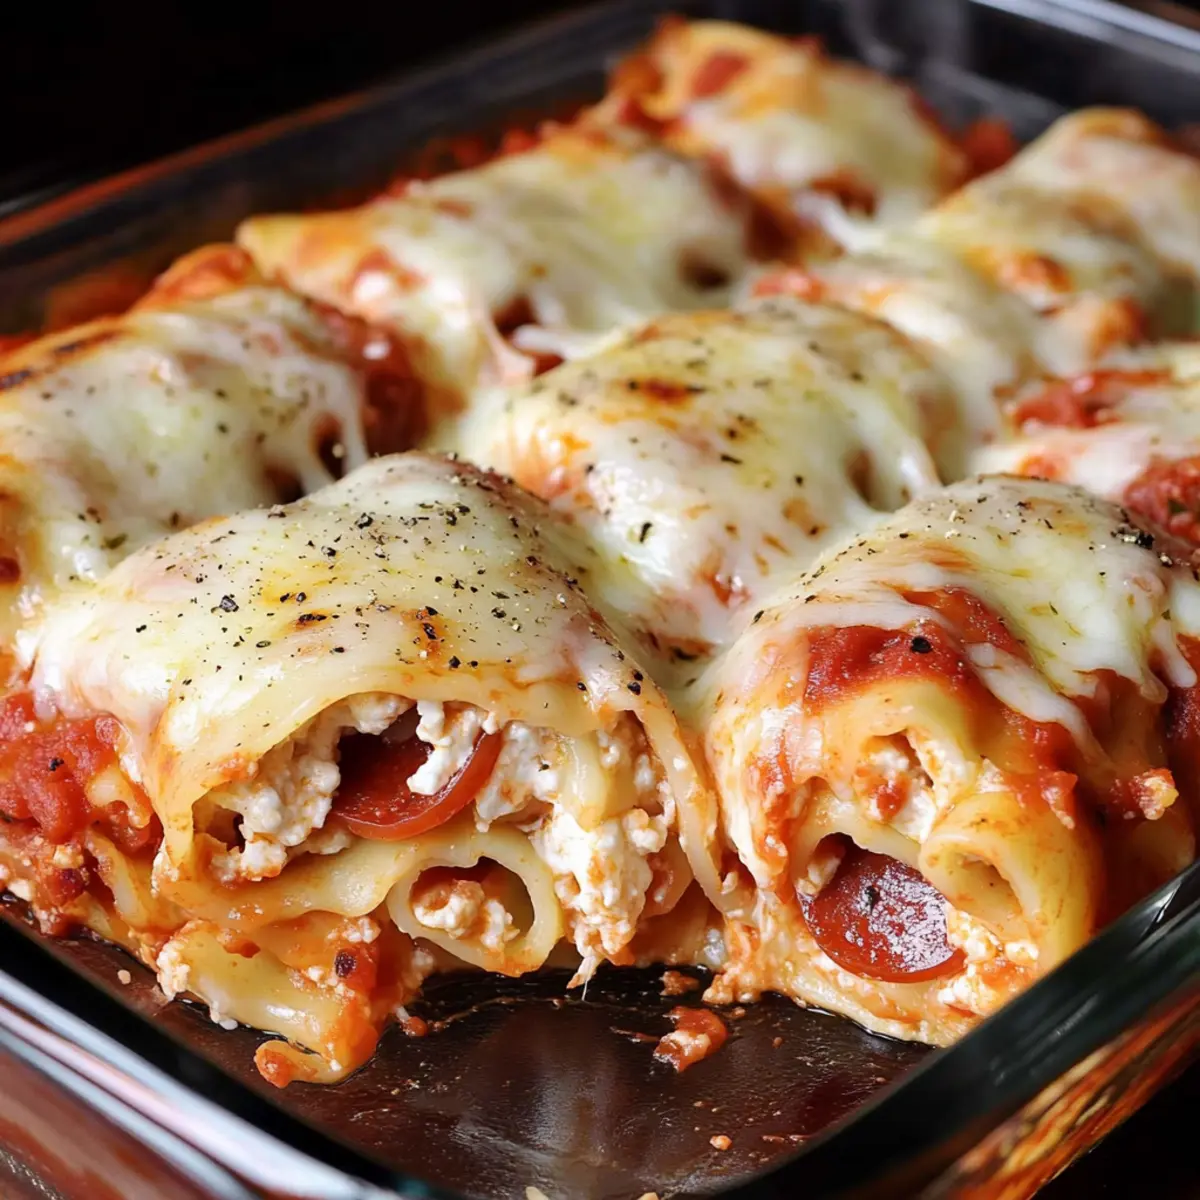
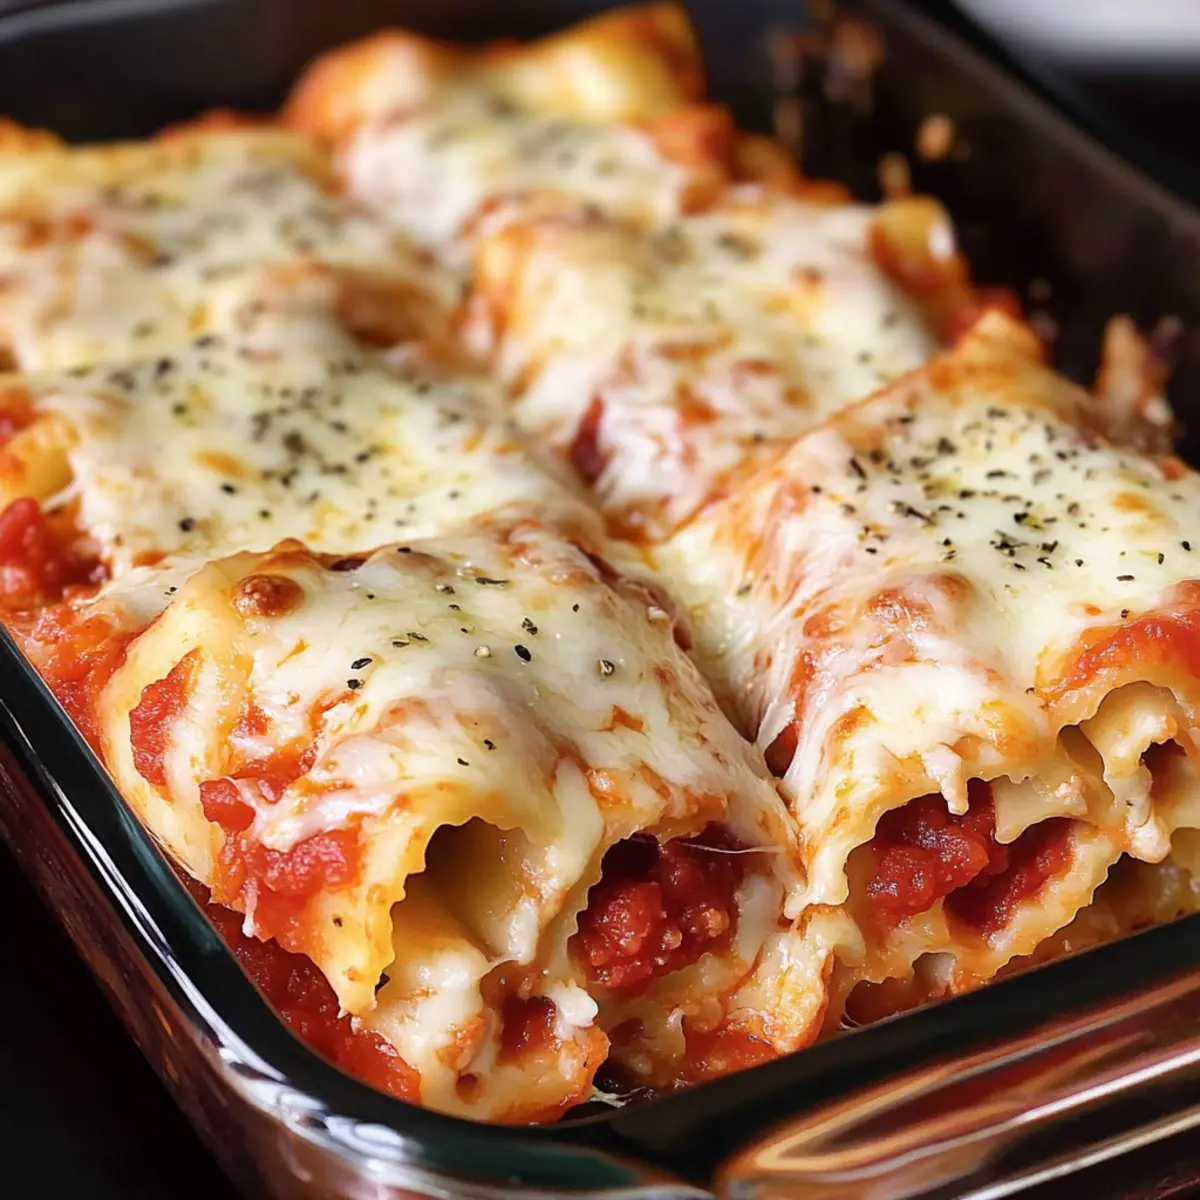
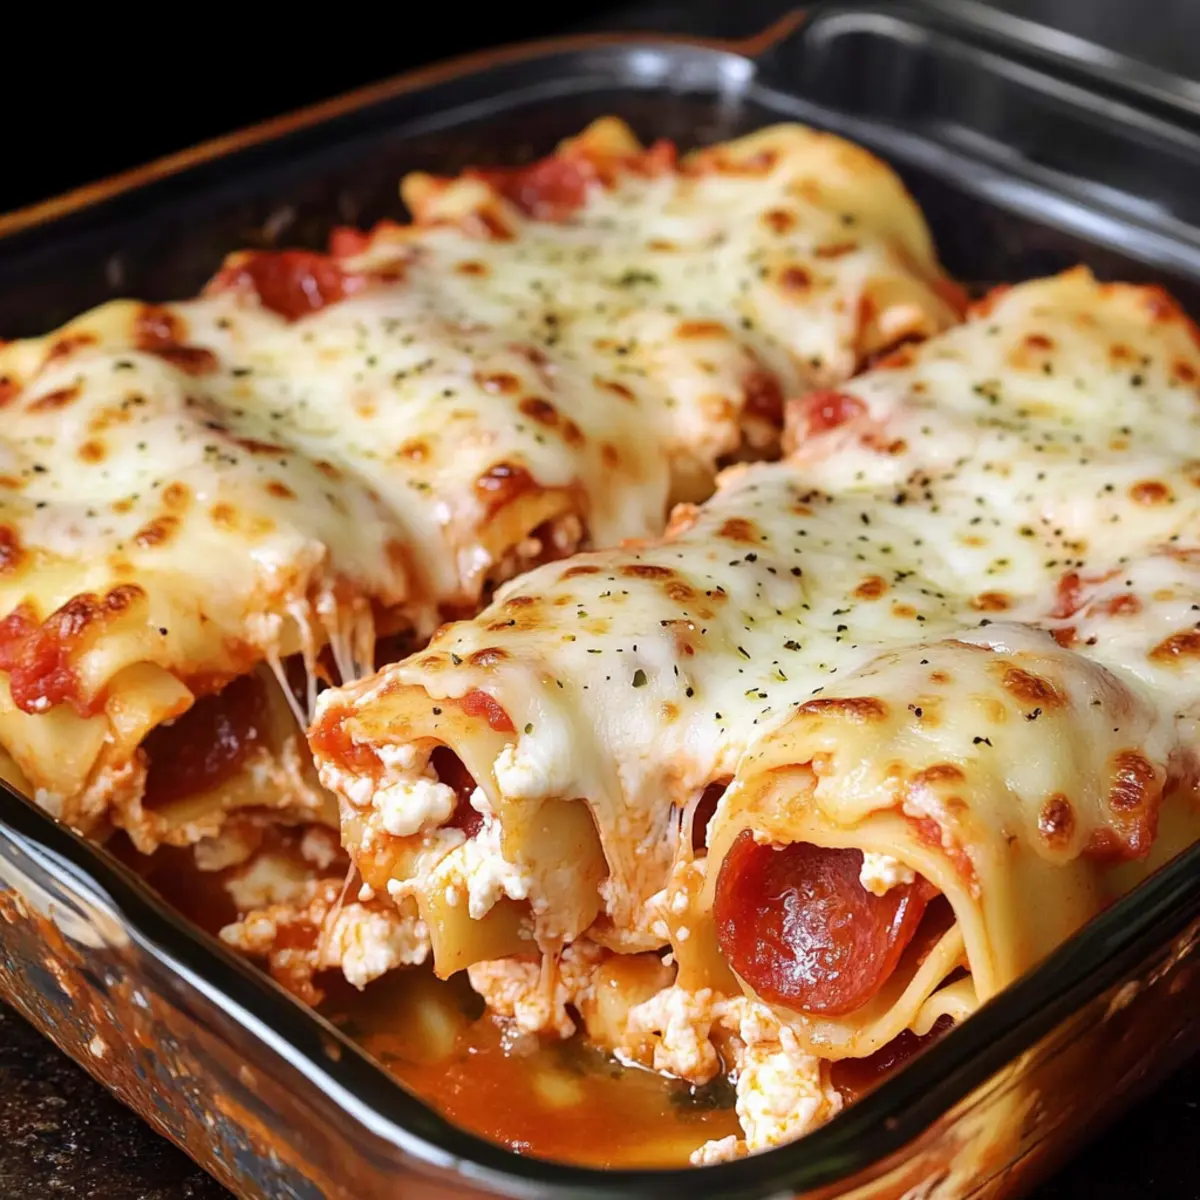
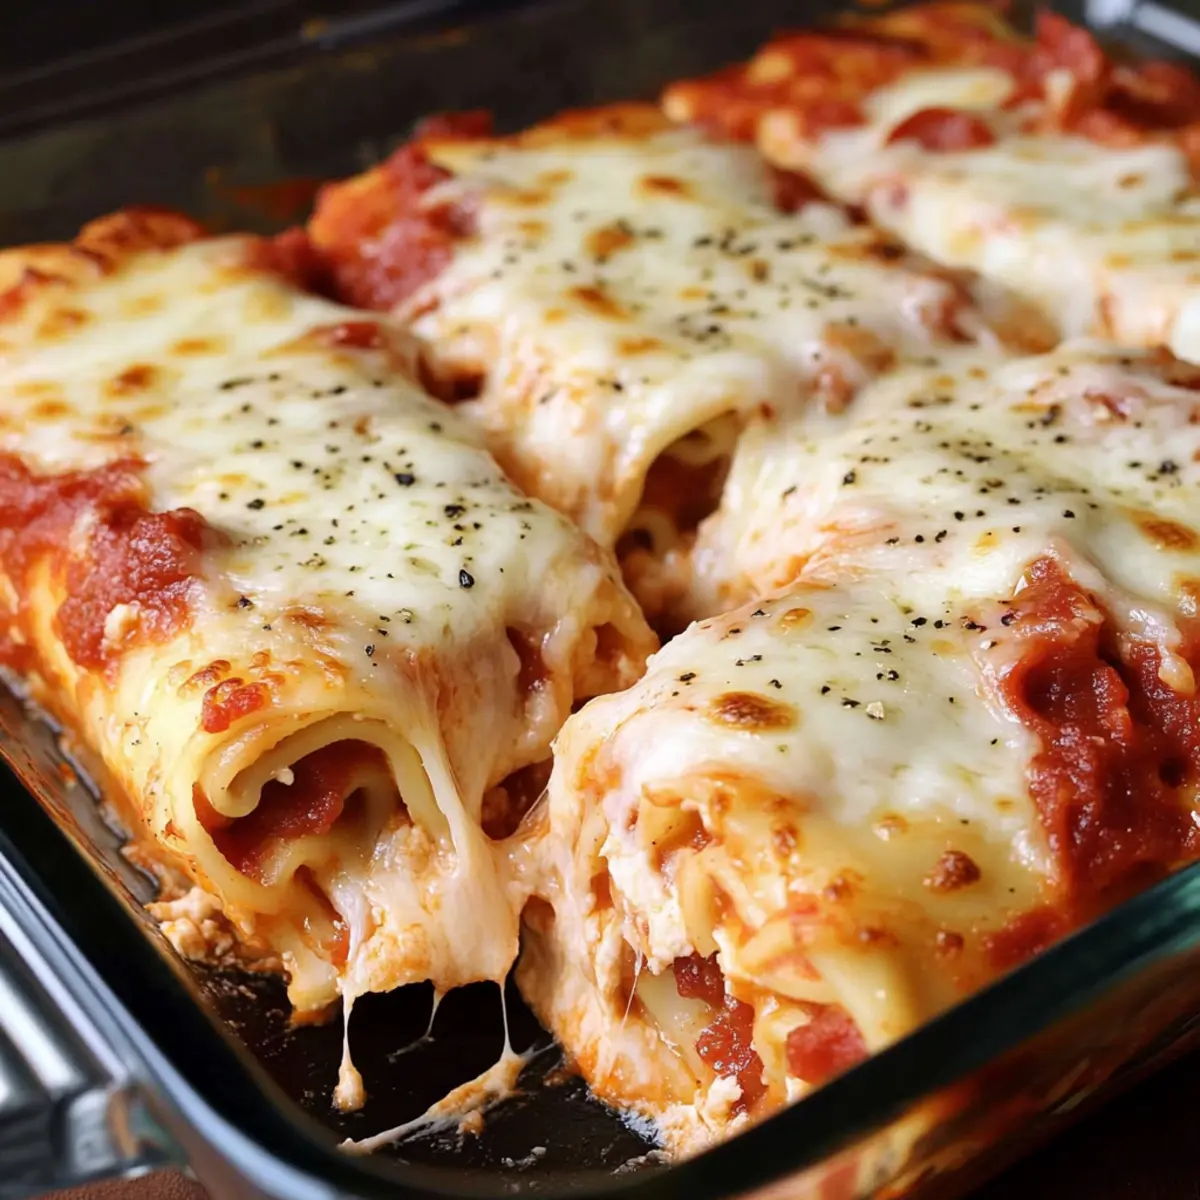
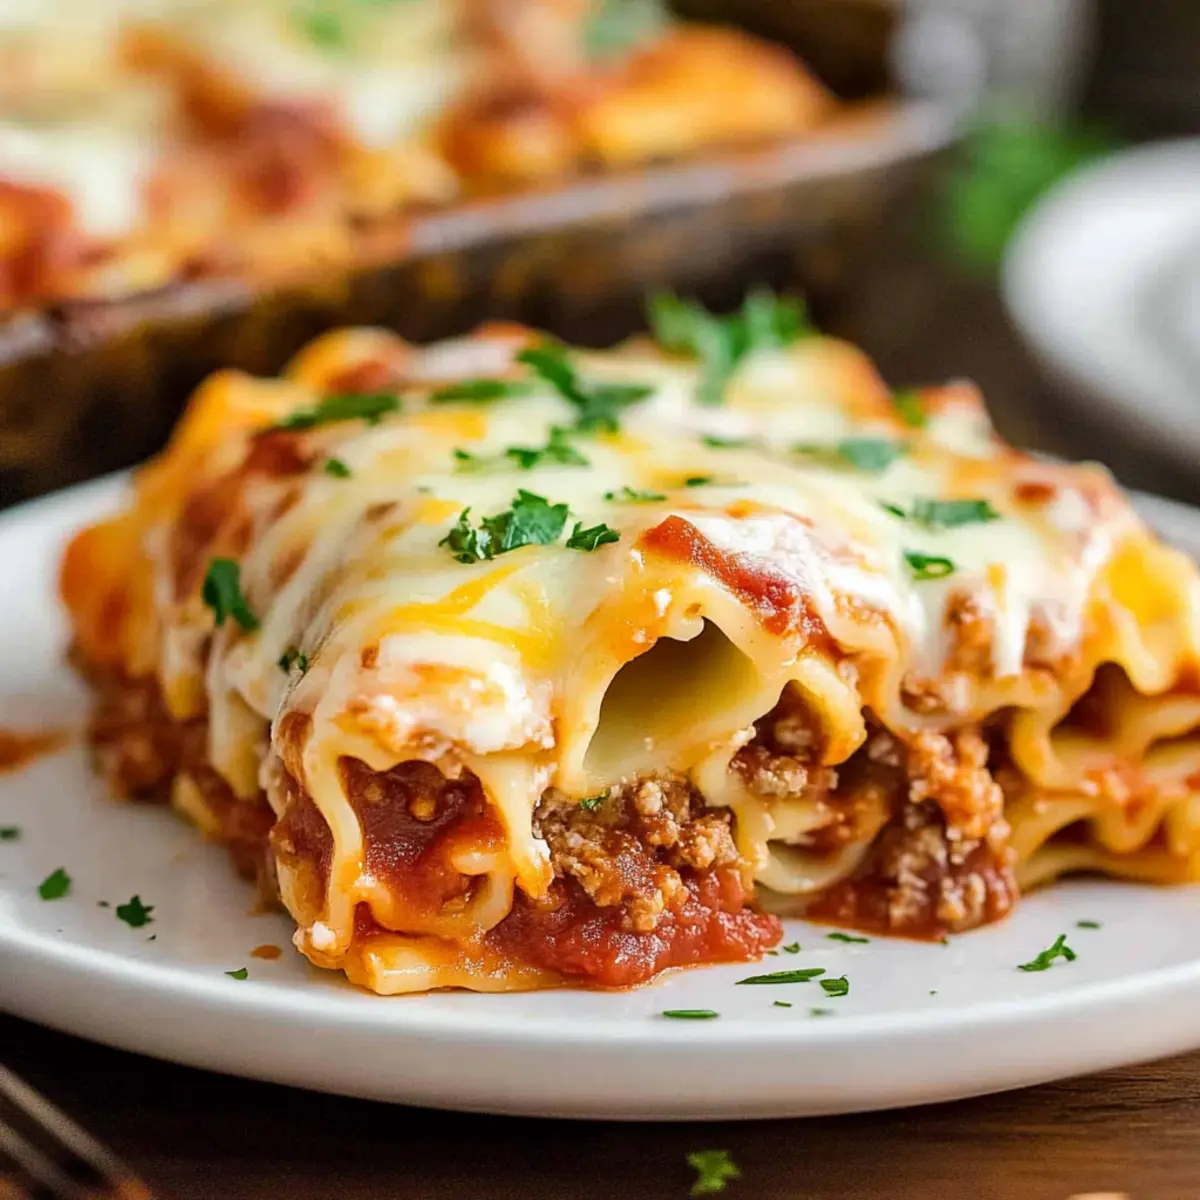
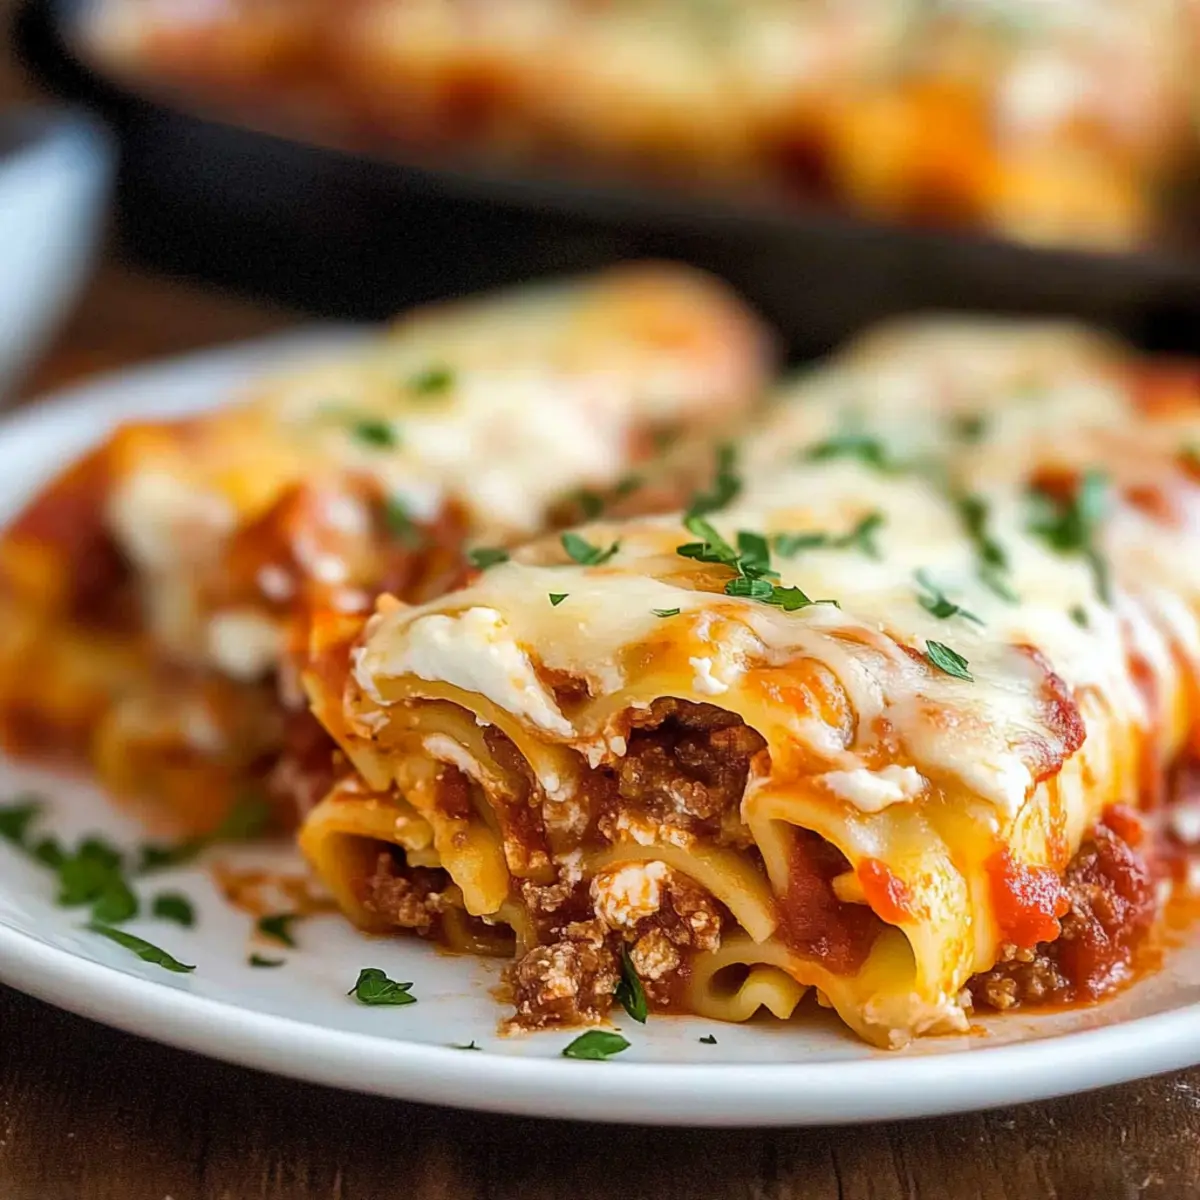
As I pulled open the oven door, the rich aroma of marinara and melted cheese instantly transported me to my childhood family dinners. These Easy Lasagna Roll-Ups are a delightful way to reinvent a classic favorite, wrapping all the comforting goodness of traditional lasagna into a portable, easy-to-serve format. With their cheesy filling and layers of savory flavors, they’re not just a dish; they're a solution for busy weeknights and a fun meal prep idea. Whip them up ahead of time, and you'll have a fantastic, freezer-friendly option that's perfect for unexpected guests or family gatherings. Are you curious about how to get started on this delicious journey? Let’s dive in!

Why Are These Lasagna Roll-Ups a Must-Try?
Comforting, Creamy Layers: These roll-ups offer the rich flavors of traditional lasagna with a fun, modern twist!
Make-Ahead Magic: Perfect for busy lives, they can be assembled ahead of time and stored in the fridge, ensuring a hassle-free dinner.
Family Approved: With gooey cheese and savory meat sauce, it’s a dish that both kids and adults will love.
Freezer-Friendly Delight: Easily freeze them for later—ideal for unexpected guests or spontaneous cravings.
Versatile Options: Want a lighter meal? Just swap out the meat for vegetables and explore different cheeses for a personalized touch!
Get ready for a delightful dining experience that transforms the way you serve up classic comfort food!
Lasagna Roll Ups Ingredients
• Dive into these scrumptious Lasagna Roll Ups by gathering these essential ingredients!
For the Noodles
- Lasagna Noodles – Cook according to package instructions for the perfect al dente texture.
For the Meat Sauce
- Ground Beef (85% lean) – Provides a rich, meaty flavor; swap with ground turkey for a lighter option.
- Marinara Sauce – Adds moisture and depth; try homemade or store-bought for convenience.
- Diced Onion – Enhances sweetness; shallots can be used for a milder taste.
- Garlic Cloves – Add aromatic goodness; use freshly minced for the best flavor.
- Sea Salt – Essential for seasoning; adjust according to taste for a balanced flavor.
- Black Pepper – Delivers a slight kick; white pepper can be used for a milder option.
- Dried Oregano – Offers classic Italian herb notes; fresh oregano works for a robust flavor.
For the Cheesy Filling
- Ricotta Cheese – Provides creaminess and helps bind the filling; mix with a large egg for the best consistency.
- Large Egg – Binds the cheese mixture; ensure it's at room temperature for smooth incorporation.
- Parmesan Cheese (shredded) – Adds a salty, nutty flavor; Pecorino Romano is a delightful substitute.
- Mozzarella Cheese (shredded, divided) – Best for its gooey texture; low-moisture mozzarella yields optimal melting.
For Garnish
- Parsley (chopped) – Offers freshness and color; basil can be a lovely herbal swap.
Get ready to create mouthwatering Lasagna Roll Ups that will have your family coming back for seconds!
Step‑by‑Step Instructions for Lasagna Roll Ups
Step 1: Cook the Noodles
Preheat your oven to 375°F (190°C). Bring a large pot of salted water to a boil, then add the lasagna noodles, cooking them until al dente according to package instructions, usually about 8-10 minutes. Drain the noodles and lay them flat on a baking sheet lined with parchment paper to cool, preventing them from sticking together.
Step 2: Prepare Meat Sauce
In a large skillet over medium-high heat, add the ground beef. Sauté until browned and no longer pink, around 5-7 minutes. Mix in the diced onion and continue to cook until softened, approximately 3-4 minutes. Stir in minced garlic, dried oregano, sea salt, black pepper, and marinara sauce, letting the mixture simmer for about 5 minutes until heated through and fragrant.
Step 3: Mix Cheesy Filling
In a mixing bowl, combine ricotta cheese, the large egg, shredded Parmesan, 1.5 cups of shredded mozzarella, and chopped parsley. Stir well until the mixture is evenly blended and creamy. This cheesy filling will contribute rich flavor and texture to your Lasagna Roll Ups, ensuring each bite is satisfying and delicious.
Step 4: Assemble Roll-Ups
On a clean, flat surface, lay out the cooked lasagna noodles. Spread a generous amount of the cheesy filling over each noodle, leaving the edges free. Add a spoonful of the prepared meat sauce in the center of each noodle, then carefully roll them up from one end to the other, ensuring the filling stays snug inside each roll.
Step 5: Prepare for Baking
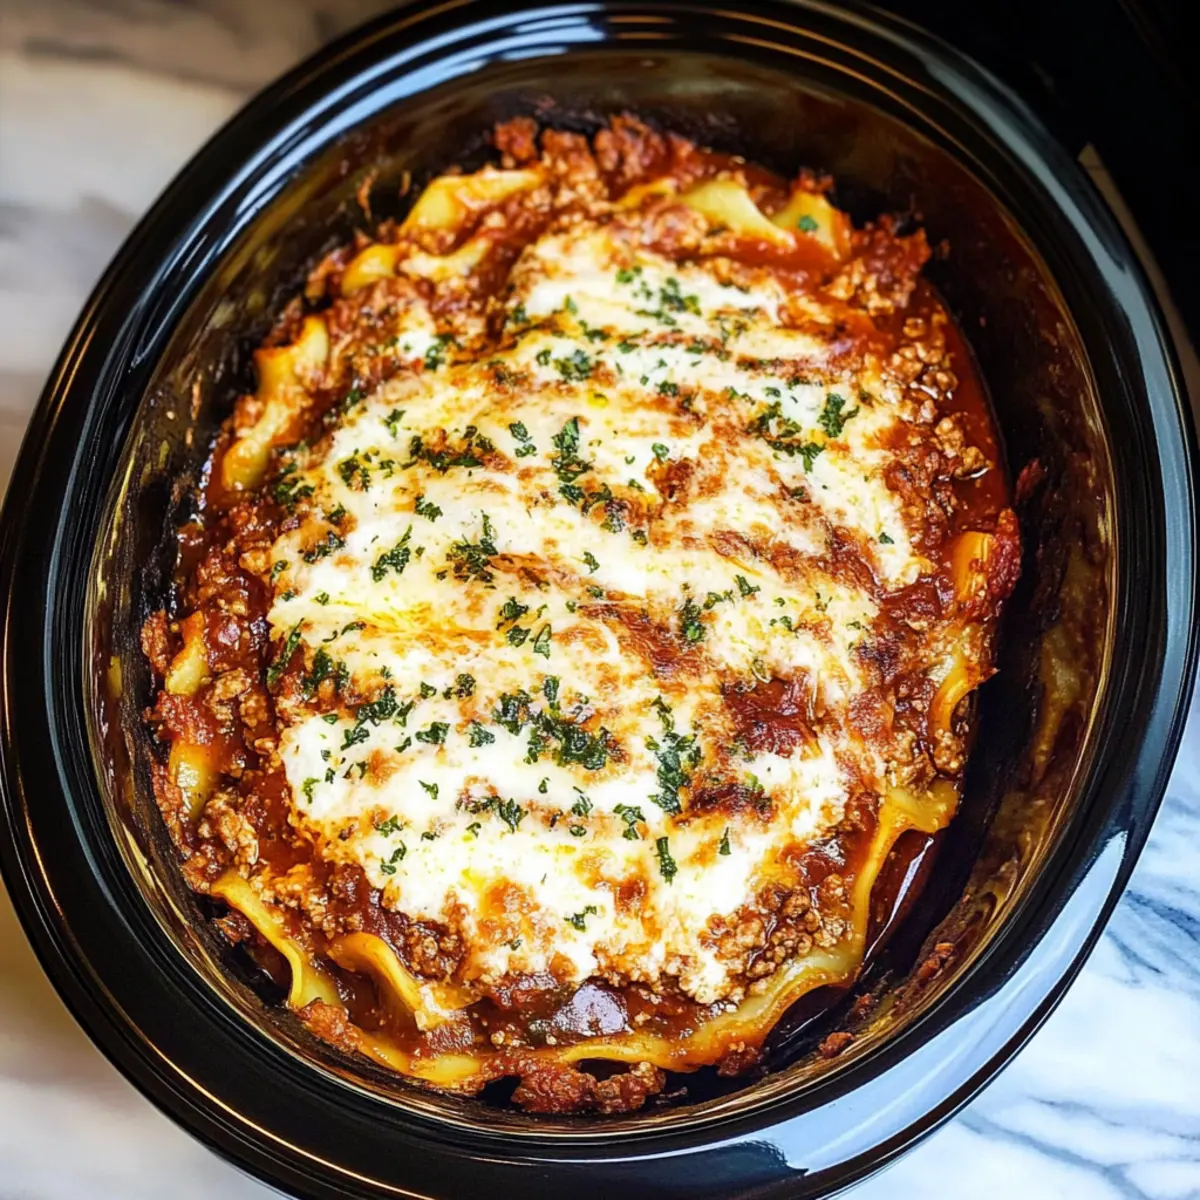
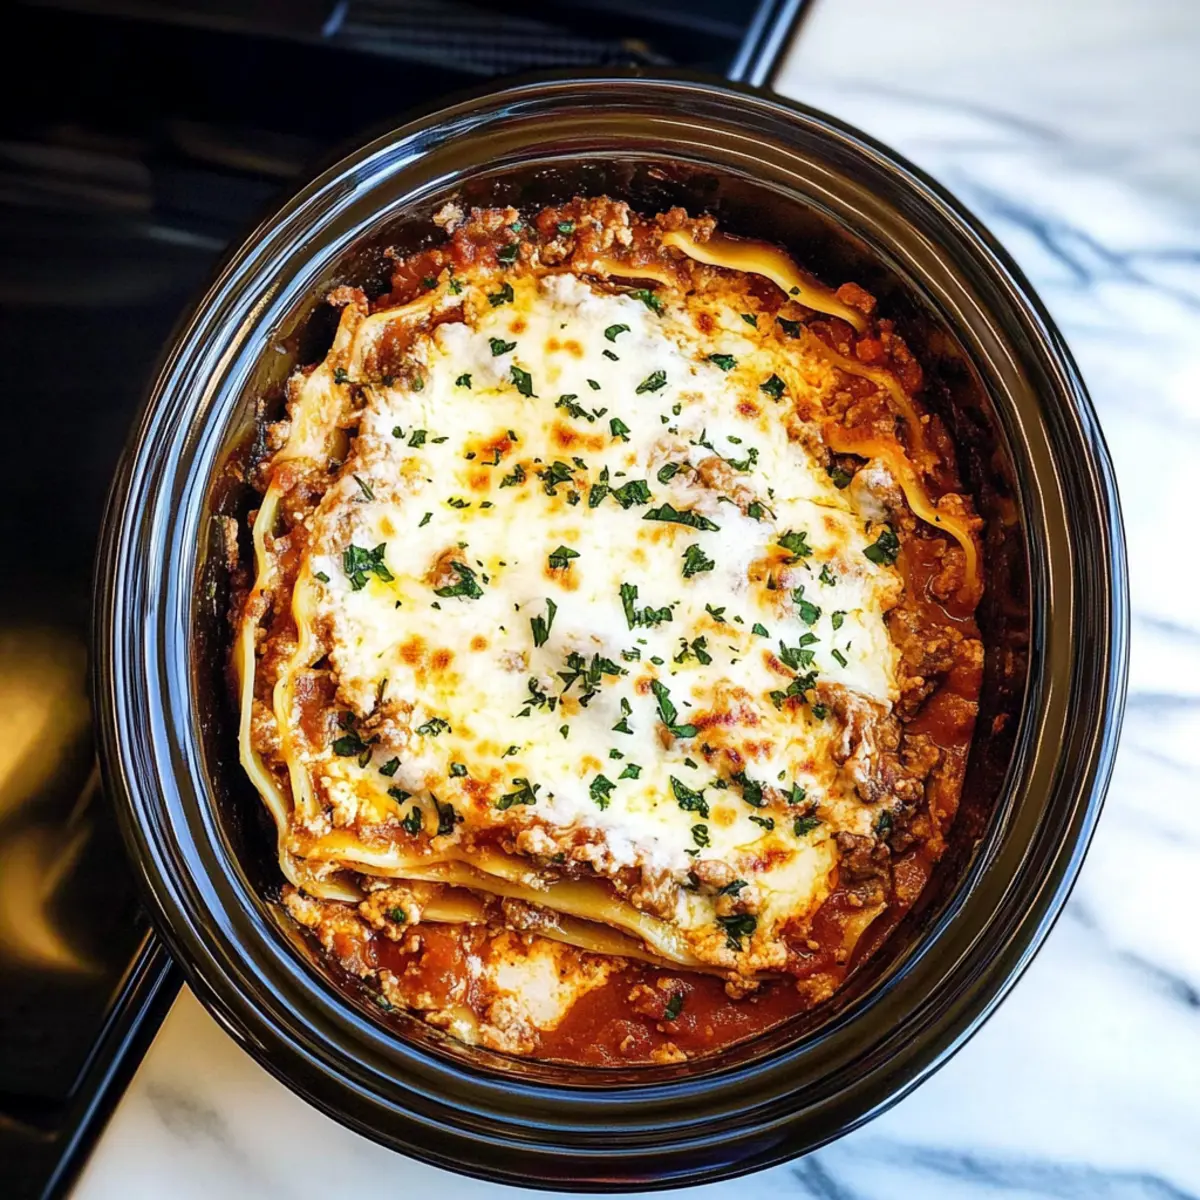
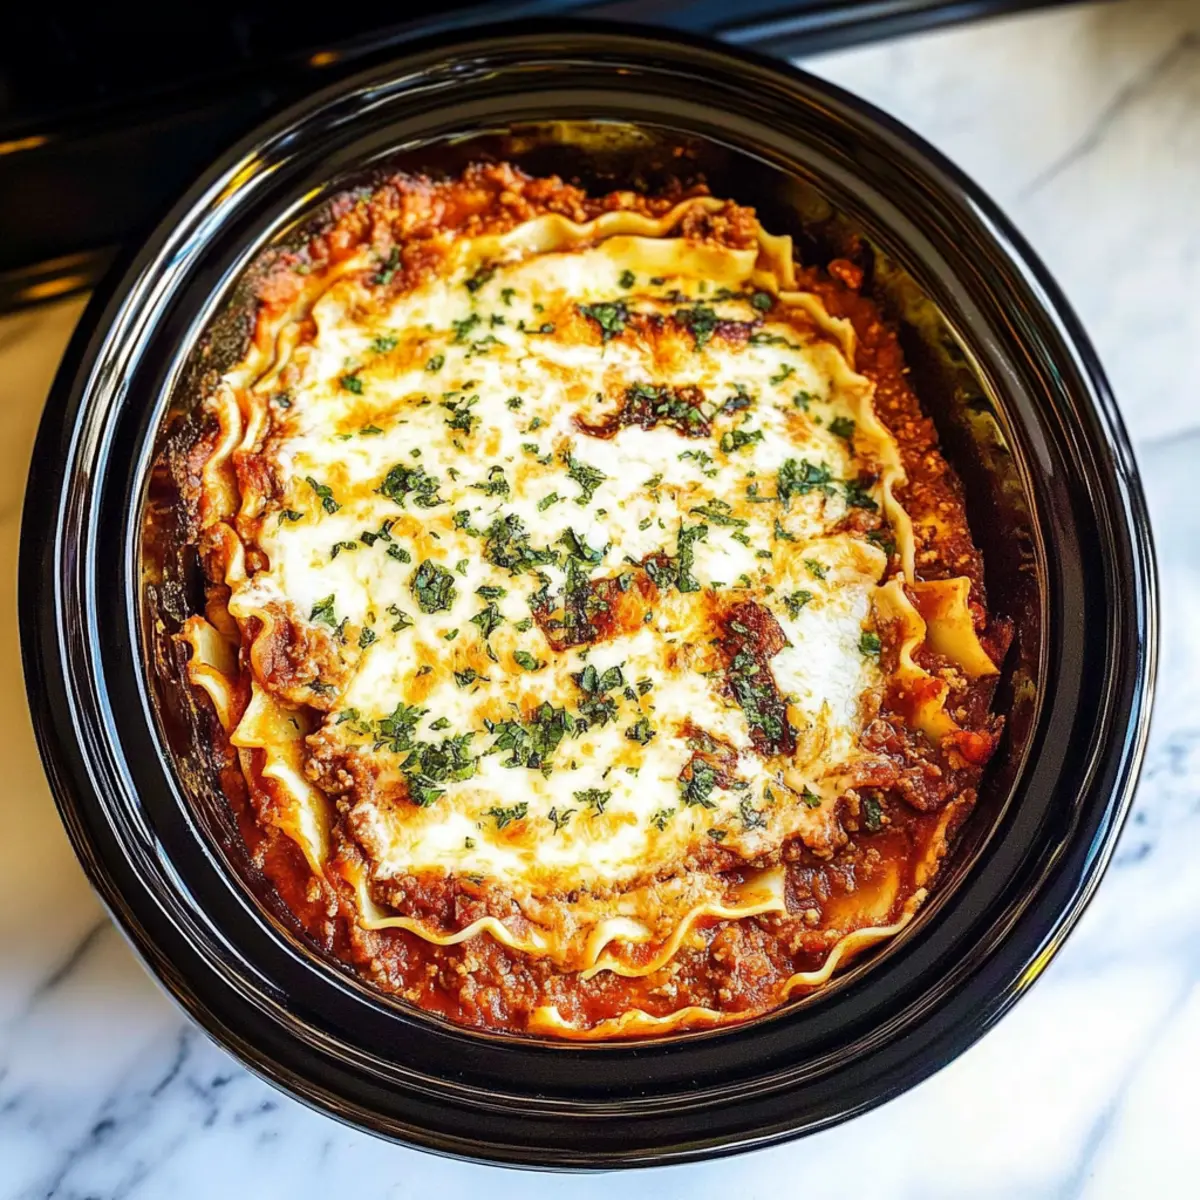
Spread a layer of remaining meat sauce evenly across the bottom of a large casserole dish. Place the assembled Lasagna Roll Ups seam-side down in the dish, packing them closely together. Pour any leftover meat sauce on top, then sprinkle the remaining mozzarella evenly across the surface. Cover the dish tightly with aluminum foil.
Step 6: Bake
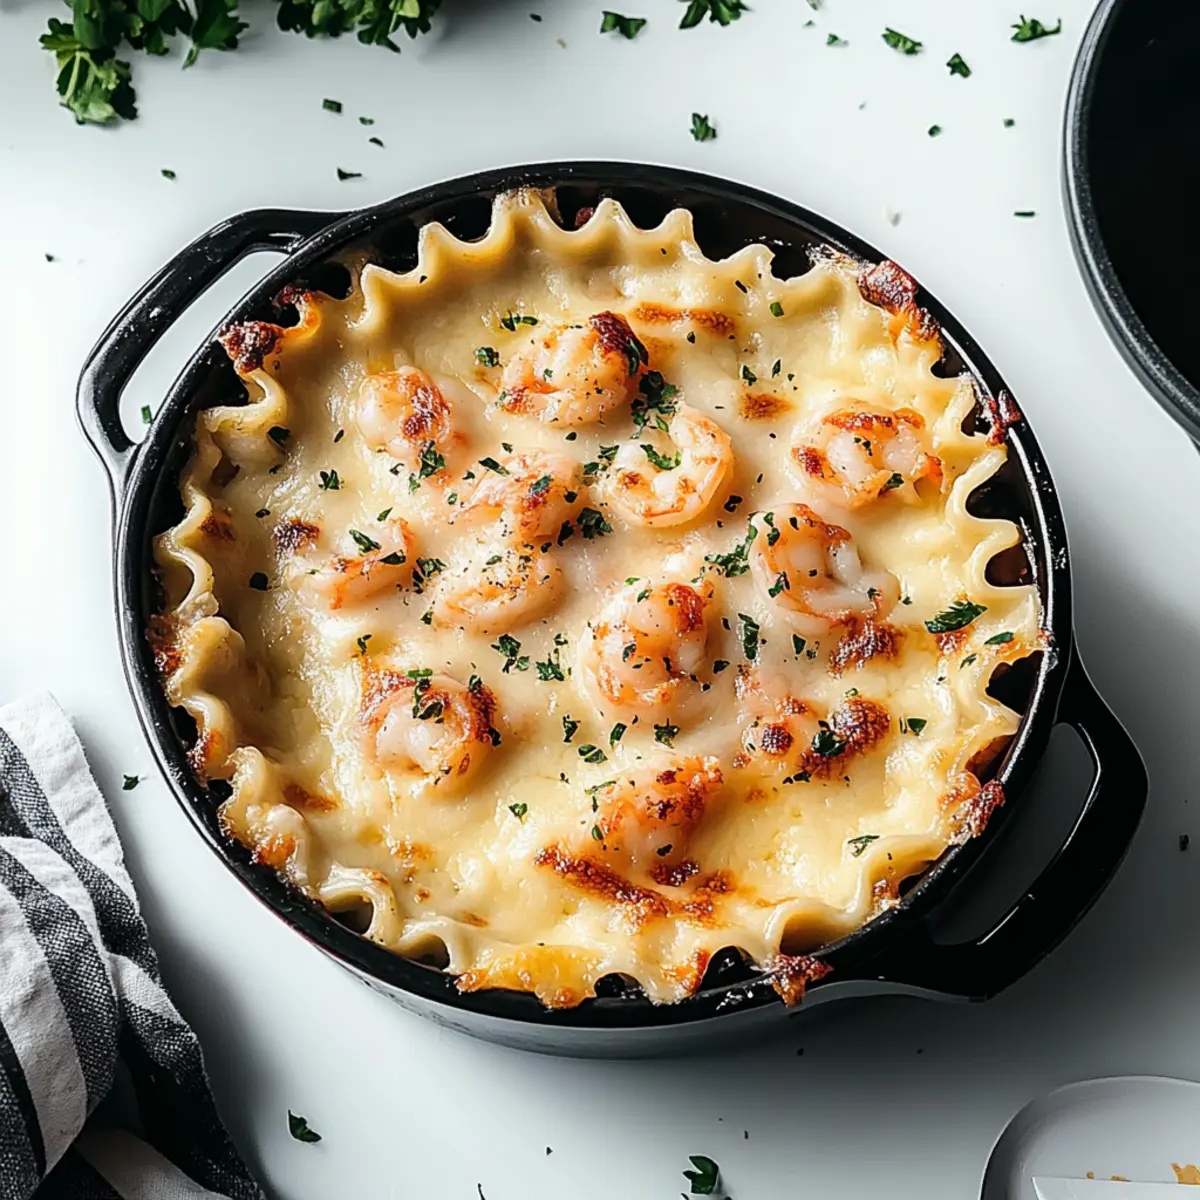
Bake the covered Lasagna Roll Ups in the preheated oven for about 40 minutes. After baking, carefully remove the foil and broil the dish for an additional 2-3 minutes, until the cheese is bubbly and golden brown. Keep an eye on it to prevent burning, and let the delicious aroma fill your kitchen as they finish baking.
Step 7: Garnish and Serve
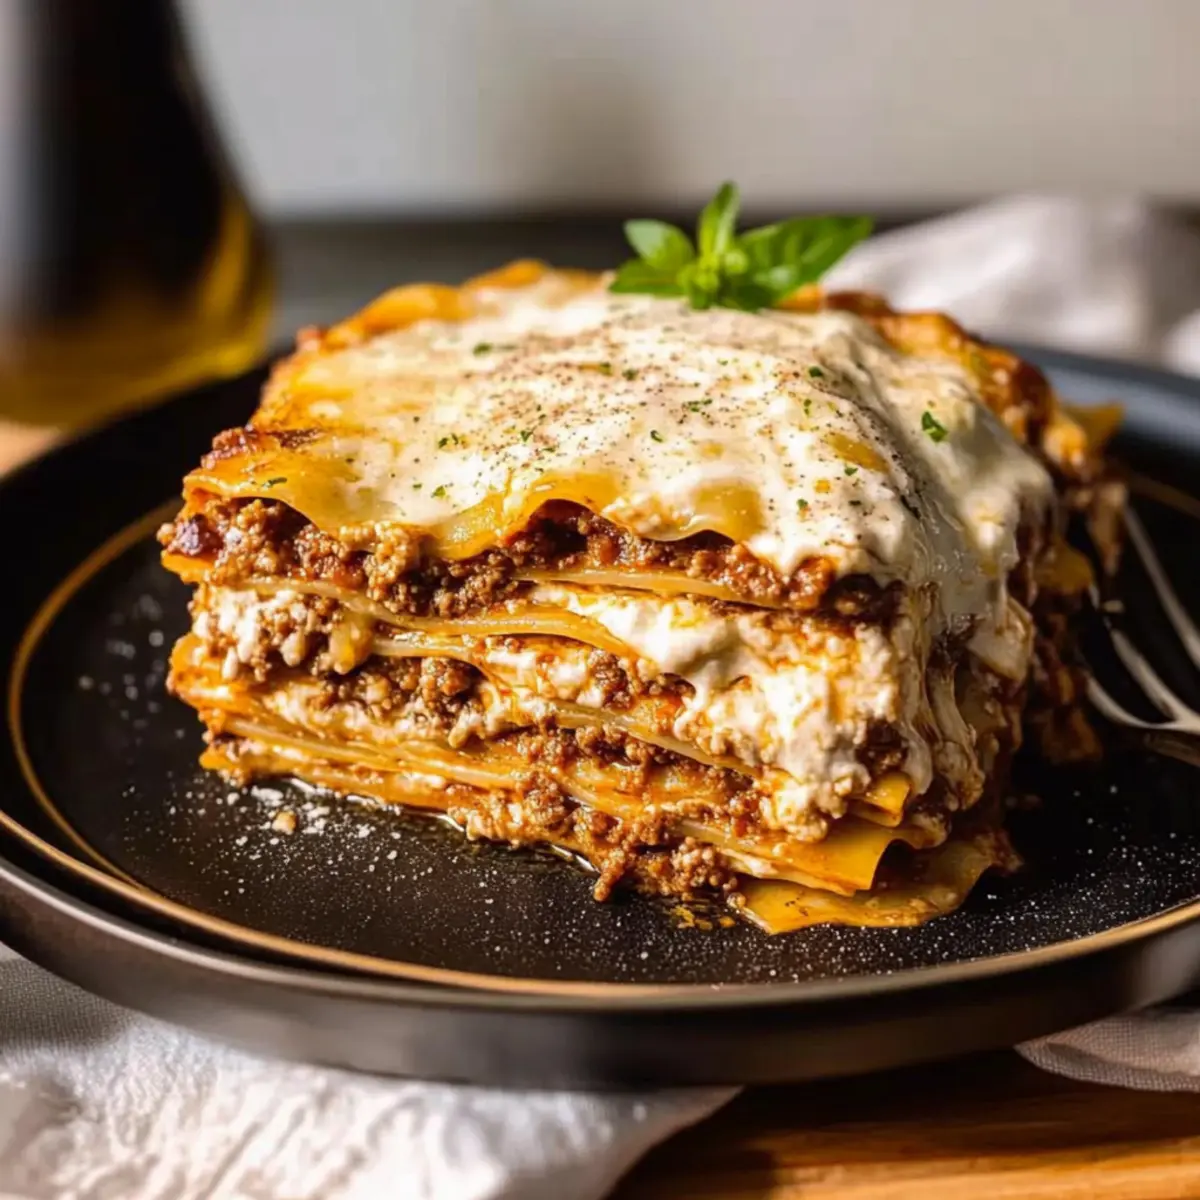
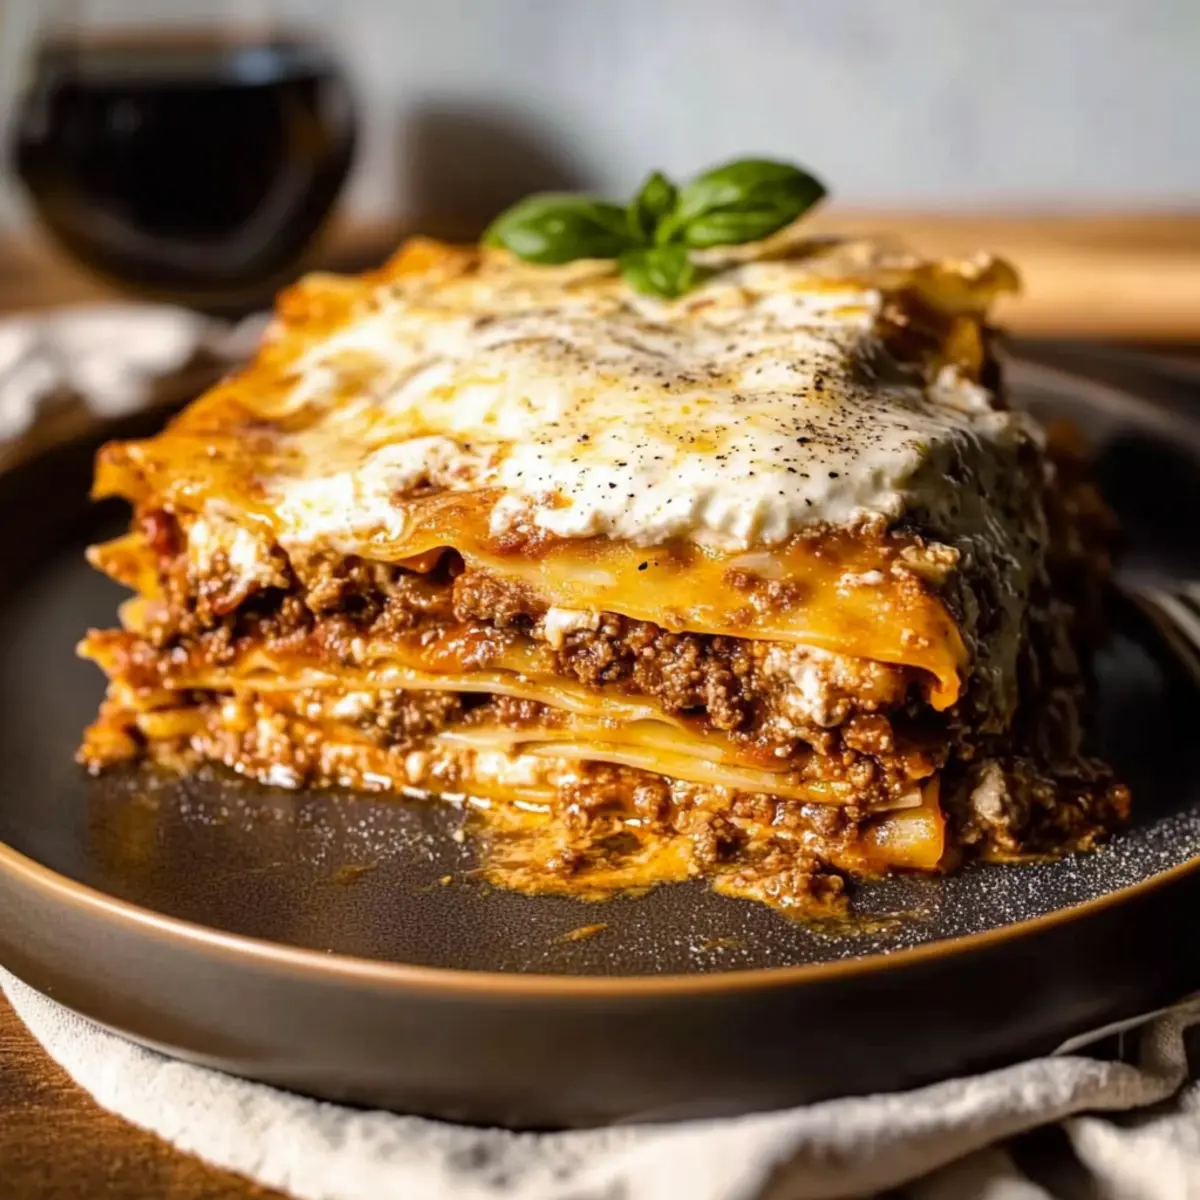
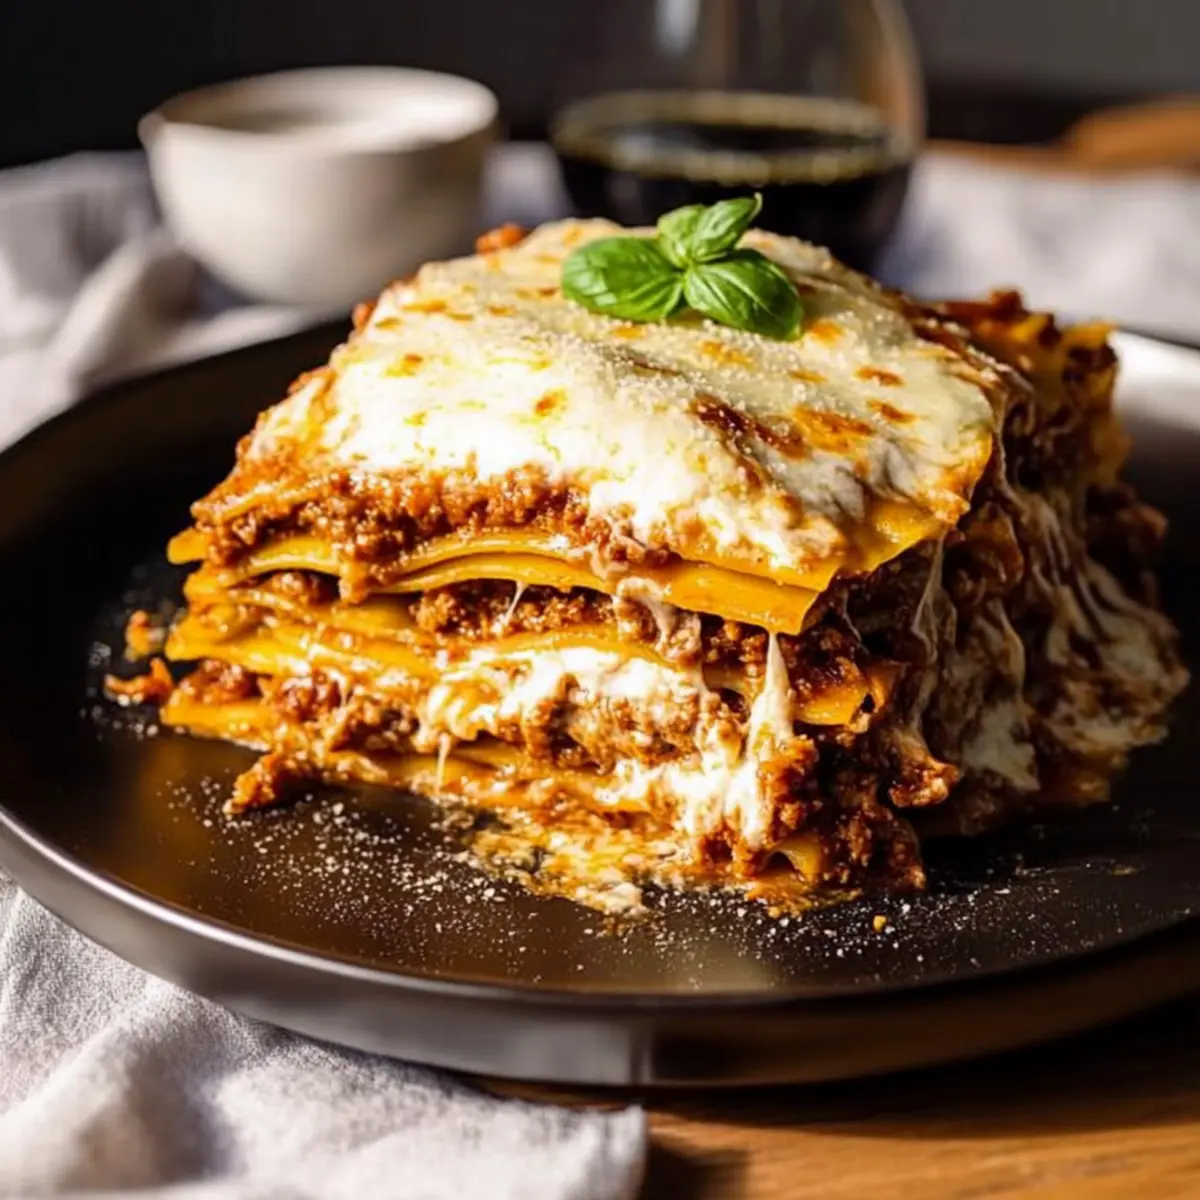
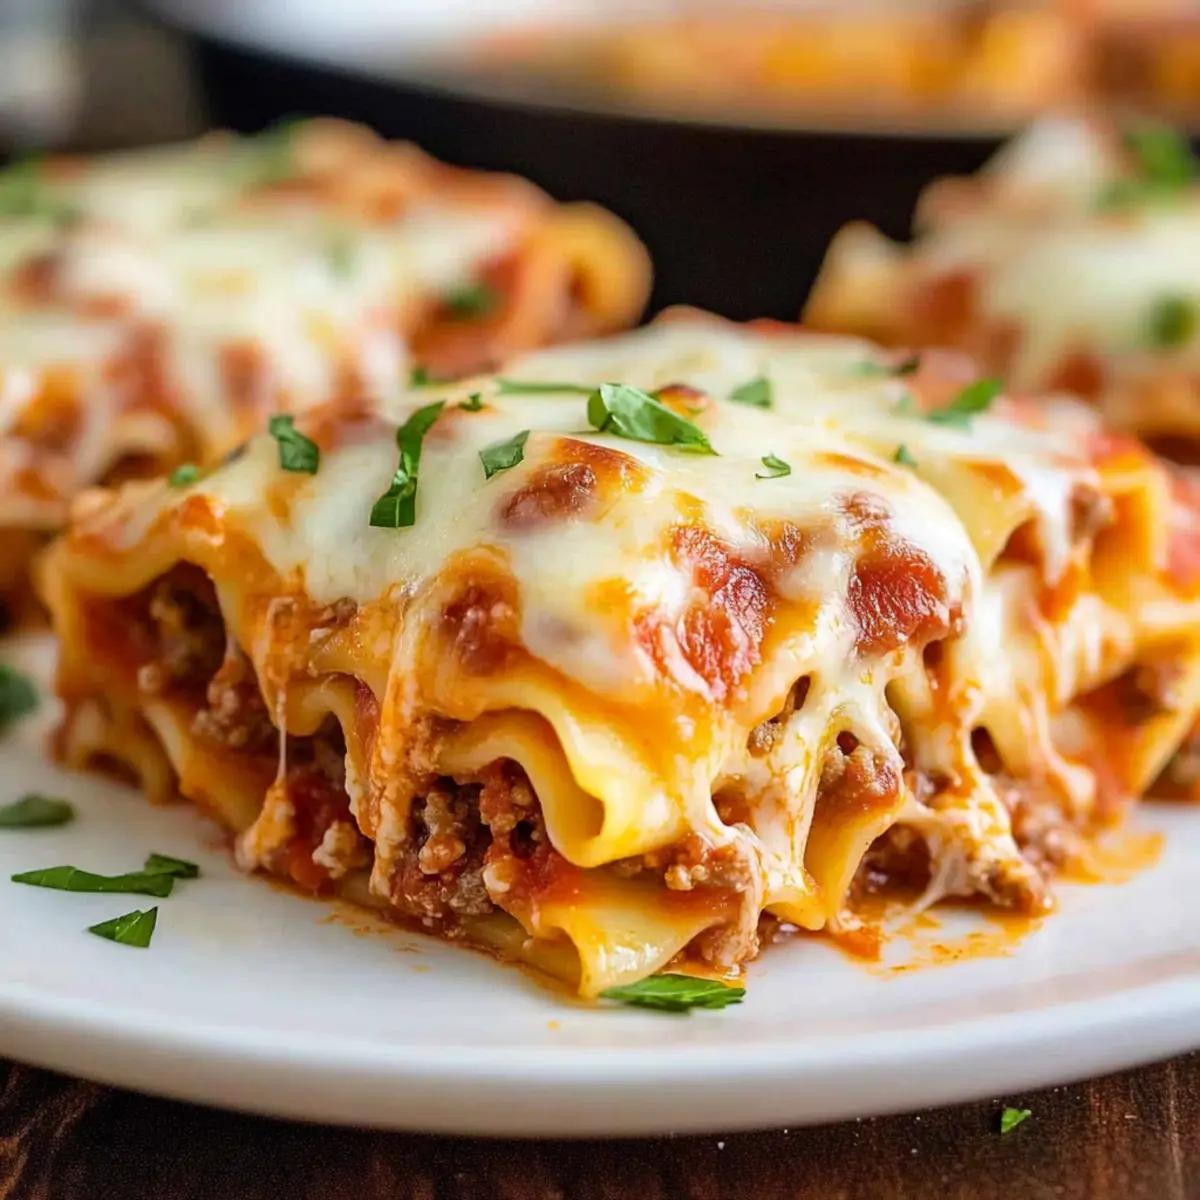
Once baked to perfection, remove the Lasagna Roll Ups from the oven and allow them to cool for about 5 minutes. This resting time will make them easier to serve. Garnish with freshly chopped parsley for a pop of color and added freshness, then slice and serve hot for your family to enjoy!
What to Serve with Easy Lasagna Roll-Ups
Create a well-rounded meal that delights the senses and complements the cheesy goodness of each roll-up.
-
Crusty Garlic Bread: Perfect for soaking up the savory marinara sauce, its crispy texture adds a satisfying contrast.
-
Classic Caesar Salad: Fresh romaine with crisp croutons and a tangy dressing brightens the meal, balancing the richness of lasagna.
-
Steamed Broccoli: This quick, vibrant green side offers a nutritious crunch that pairs harmoniously with hearty flavors.
-
Roasted Vegetables: Seasoned roasted bell peppers, zucchini, and carrots bring sweetness and a comforting warmth to the dining experience.
-
Italian-Style Antipasto Platter: A delightful spread of cured meats, olives, and cheeses creates a festive atmosphere, perfect for sharing before the main course.
-
Red Wine: A glass of full-bodied Chianti enhances each bite, echoing the dish's Italian roots while elevating your dining moment.
-
Tiramisu: Finish off the meal with this creamy, coffee-flavored dessert, providing a sweet contrast that will leave everyone wanting more.
Transform your dining table into a gathering of warm family memories as you serve up these delightful enhancements alongside your Easy Lasagna Roll-Ups!
How to Store and Freeze Lasagna Roll-Ups
Fridge: Store your Lasagna Roll-Ups in an airtight container for up to 3 days after baking, keeping them fresh and flavorful.
Freezer: For longer storage, freeze unbaked roll-ups tightly wrapped in foil or placed in an airtight container for up to 3 months.
Reheating: When ready to enjoy, thaw overnight in the fridge, then bake at 375°F (190°C) for about 25-30 minutes, covered, until heated through.
Make-Ahead: These roll-ups can be assembled a day in advance and stored uncooked in the fridge, ready for a quick pop into the oven when you need a comforting meal.
Make Ahead Options
These Easy Lasagna Roll-Ups are a lifesaver for busy weeknights! You can assemble the roll-ups up to 24 hours in advance by preparing them in a casserole dish and covering tightly with plastic wrap or foil. This keeps the noodles from drying out and preserves all their cheesy goodness. If you want to prep even further, you can freeze them before baking for up to 3 months; just be sure to wrap them tightly in foil or place them in an airtight container. When you’re ready to cook, simply thaw overnight in the refrigerator and bake as directed. With these make-ahead options, enjoying a comforting, homemade dinner has never been easier!
Expert Tips for Lasagna Roll-Ups
-
Cook Al Dente: Make sure to cook the noodles until al dente for best texture and to prevent sogginess once filled.
-
Prevent Sticking: Lay the noodles flat after draining to avoid them sticking together as they cool.
-
Layer Wisely: Always start with sauce at the bottom of the baking dish to prevent the roll-ups from drying out during baking.
-
Foil Placement: Use aluminum foil to cover the dish, but ensure it doesn’t touch the cheese to avoid sticking and tearing.
-
Resting Time: Allow the Lasagna Roll-Ups to cool for a few minutes before serving; this helps them keep their shape when plated.
-
Freezer Tip: If planning to freeze, tightly wrap the roll-ups in foil or an airtight container before storing to maintain freshness.
Lasagna Roll-Ups Variations & Substitutions
Customize your Lasagna Roll-Ups with these delicious twists and swaps that will elevate your dish!
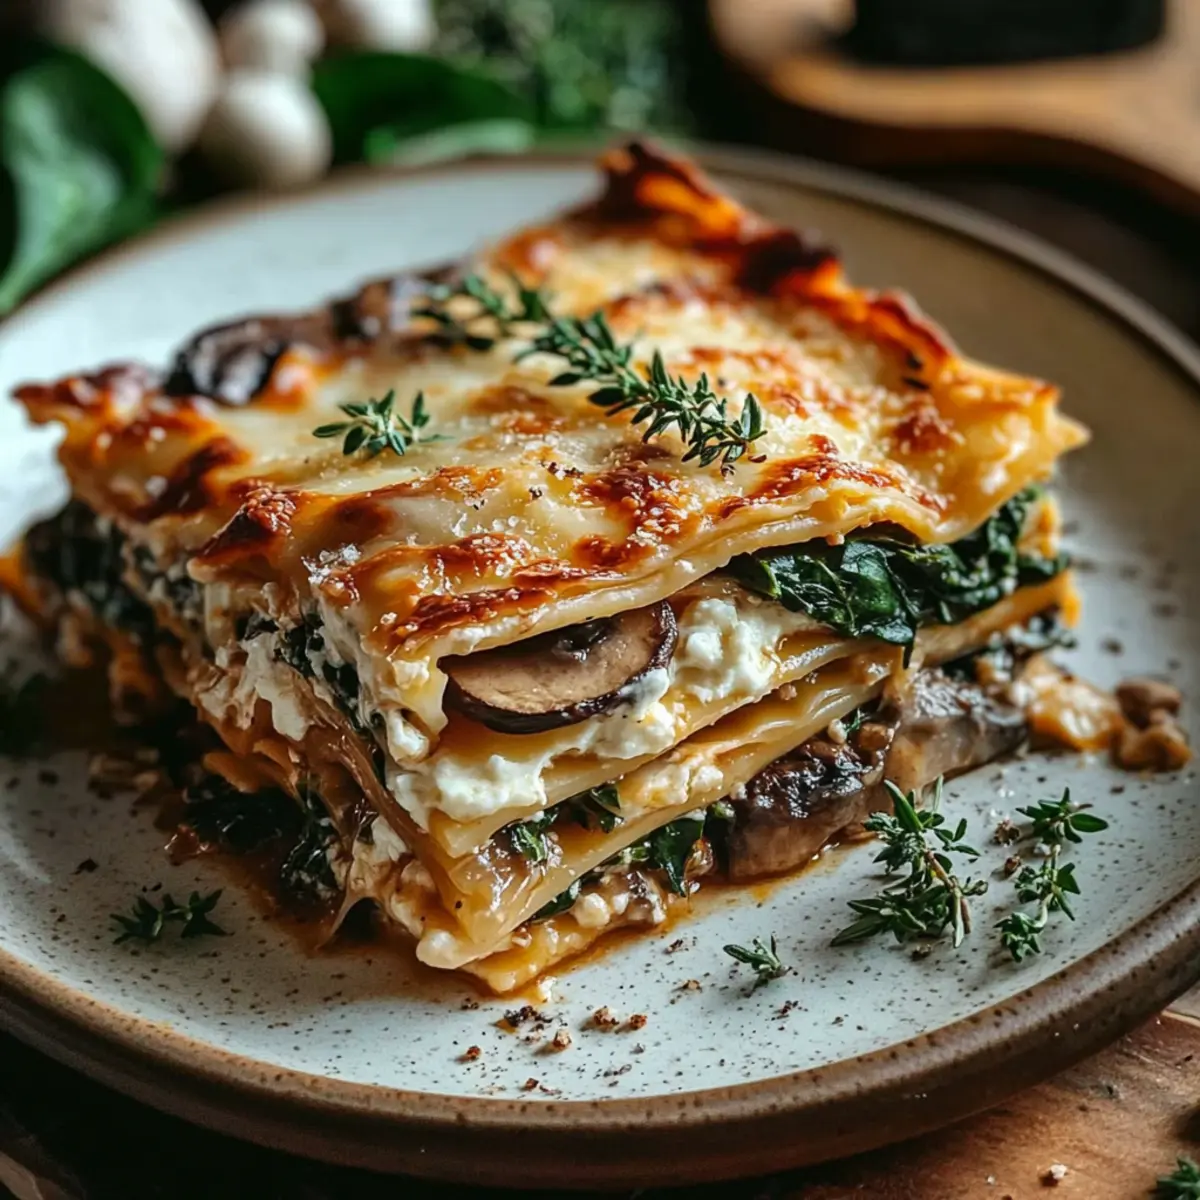
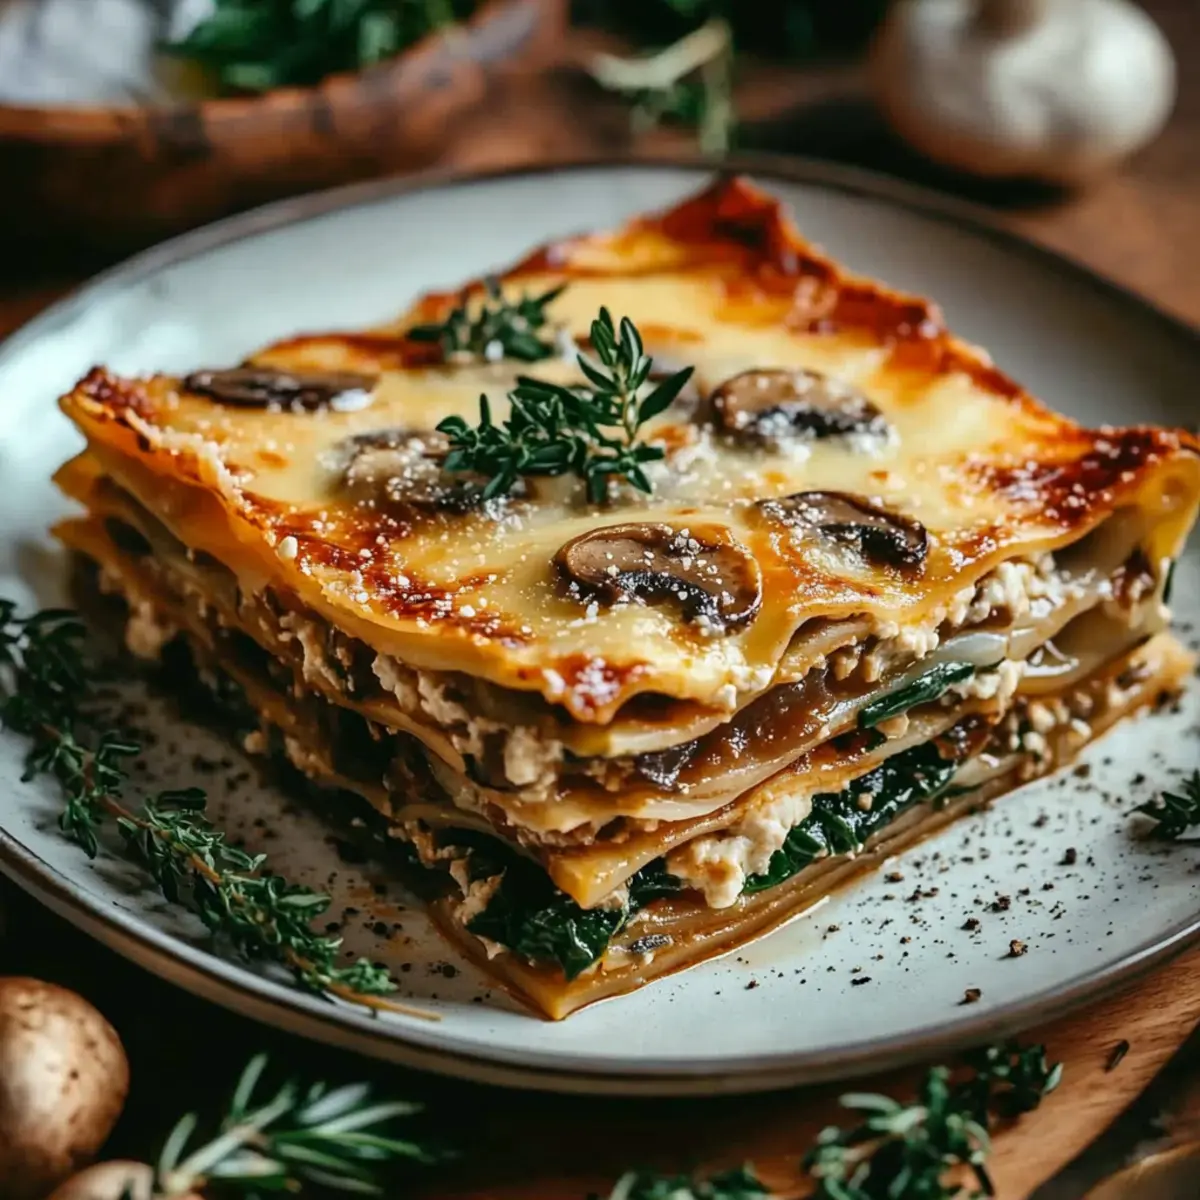
- Vegetarian Option: Swap out the ground beef for sautéed spinach and mushrooms. This hearty alternative remains flavorful and satisfying.
- Cheese Variety: Experiment with different cheeses such as goat cheese or feta for a tangy twist. These alternatives can introduce a delightful complexity to the filling.
- Sauce Variation: Try using alfredo sauce or pesto in place of marinara for an exciting flavor reimagining. Whether creamy or herbal, your taste buds will thank you!
- Gluten-Free Noodles: Use gluten-free lasagna noodles to accommodate dietary restrictions. Just ensure they cook according to their package instructions for best results.
- Spicy Kick: Add red pepper flakes or diced jalapeños to the meat sauce for an exciting heat that brings your roll-ups to life. This spice can give your dish a fun, zesty character.
- Creamy Spin: Fold in some cream cheese or mascarpone cheese into the ricotta mixture for an ultra-creamy filling. The texture becomes luxuriously rich, making every bite indulgent.
- Nutty Flavor Boost: Stir in a handful of toasted pine nuts or walnuts into the meat sauce. This can add a pleasant crunch and contrasting taste to the soft noodles.
- Herb Enhancements: Swap parsley for fresh basil or thyme to infuse fragrant, herbaceous notes. Changing up the herbs can freshen the flavor profile beautifully.
Once you try these variations, you might want to explore more comforting options, like my Pumpkin Cinnamon Roll or other delightful spins on classic recipes!
Lasagna Roll Ups Recipe FAQs
How do I choose the best lasagna noodles?
When selecting lasagna noodles, look for high-quality, traditional dried noodles or no-boil options. If using regular noodles, be sure to cook them al dente according to the package instructions, typically about 8-10 minutes. This ensures they hold their shape during assembly and baking.
How do I store leftover Lasagna Roll-Ups?
Store your Lasagna Roll-Ups in an airtight container in the refrigerator for up to 3 days. Make sure to let them cool completely before sealing to maintain their freshness. For easy reheating, simply cover the dish with foil when baking.
Can I freeze Lasagna Roll-Ups?
Absolutely! You can freeze unbaked Lasagna Roll-Ups for up to 3 months. Tightly wrap them in foil or place them in an airtight container before freezing. To cook from frozen, thaw them overnight in the fridge, then bake at 375°F (190°C) for about 30-35 minutes until heated through.
What should I do if my filling is too runny?
If your filling seems too runny, try adding an extra tablespoon of ricotta or some breadcrumbs to help absorb excess moisture. Additionally, you can drain any extra liquid from the cooked meat sauce before assembling the roll-ups to create a firmer consistency.
Are there any dietary considerations for this recipe?
Yes! If you're cooking for someone with dietary restrictions, consider using ground turkey as a leaner alternative to beef and opting for gluten-free lasagna noodles. For a vegetarian option, swap out the meat for sautéed vegetables like spinach or mushrooms, and use plant-based cheeses if dairy-free is preferred.
How can I successfully reheat frozen Lasagna Roll-Ups?
To reheat frozen Lasagna Roll-Ups, first, thaw them in the refrigerator overnight. Then, preheat your oven to 375°F (190°C) and bake for 25-30 minutes, covered with foil, until they are heated through and bubbly. For a crispy top, remove the foil during the last 5 minutes of cooking.
Savory Lasagna Roll Ups: Easy, Cheesy Family Delight
Ingredients
Equipment
Method
- Preheat your oven to 375°F (190°C). Bring a large pot of salted water to a boil, then add the lasagna noodles, cooking until al dente, about 8-10 minutes. Drain and lay flat on parchment paper to cool.
- In a large skillet over medium-high heat, add the ground beef and sauté until browned, around 5-7 minutes. Mix in diced onion and cook until softened, approximately 3-4 minutes. Stir in minced garlic, dried oregano, sea salt, black pepper, and marinara sauce; let simmer for about 5 minutes.
- In a mixing bowl, combine ricotta cheese, large egg, shredded Parmesan, 1.5 cups of shredded mozzarella, and chopped parsley. Stir well until evenly blended and creamy.
- Lay out cooked noodles on a clean surface. Spread cheesy filling over each noodle, leaving edges free. Add meat sauce in center and roll up from one end to the other.
- Spread remaining meat sauce at the bottom of a casserole dish. Place roll-ups seam-side down and pour leftover meat sauce on top. Sprinkle remaining mozzarella and cover with foil.
- Bake covered for about 40 minutes. Remove foil and broil for an additional 2-3 minutes, until cheese is bubbly and golden brown.
- Let roll-ups cool for 5 minutes before serving. Garnish with parsley and serve hot.