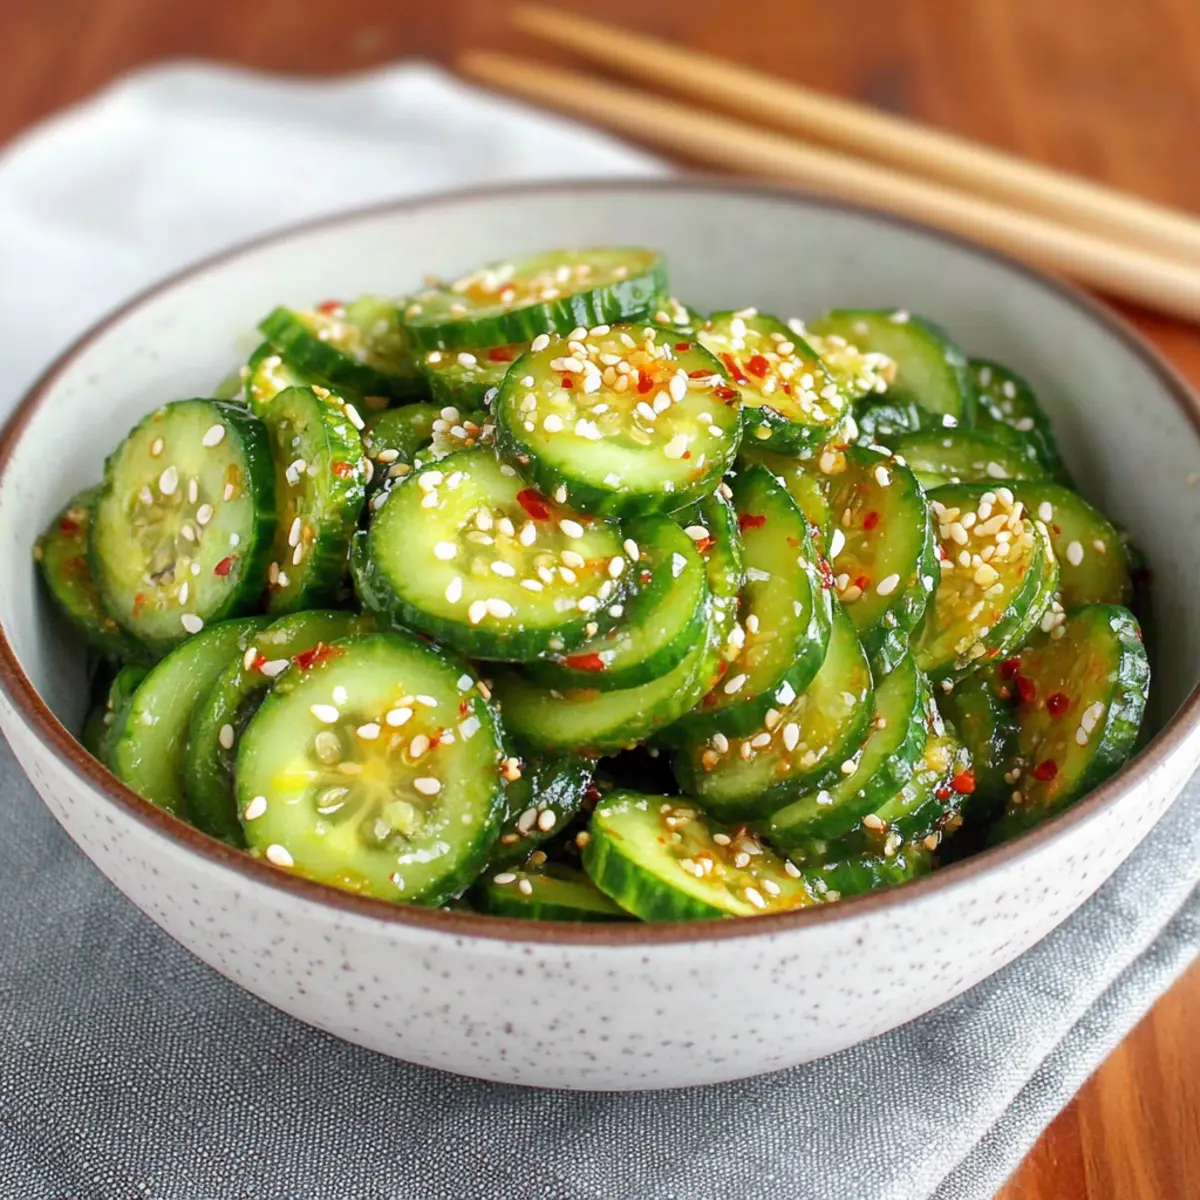
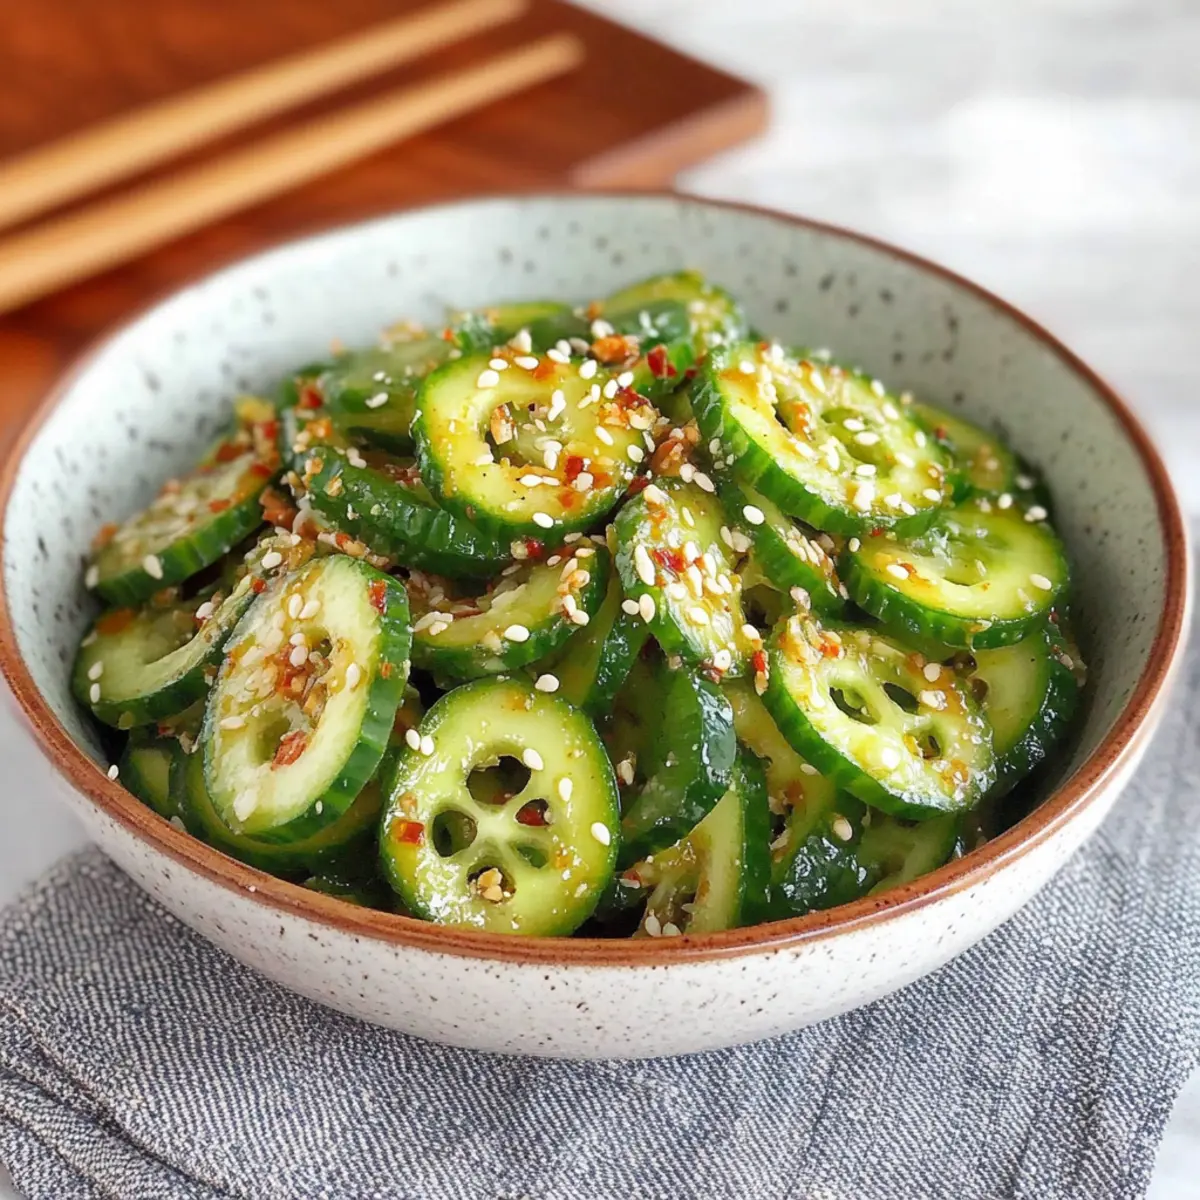
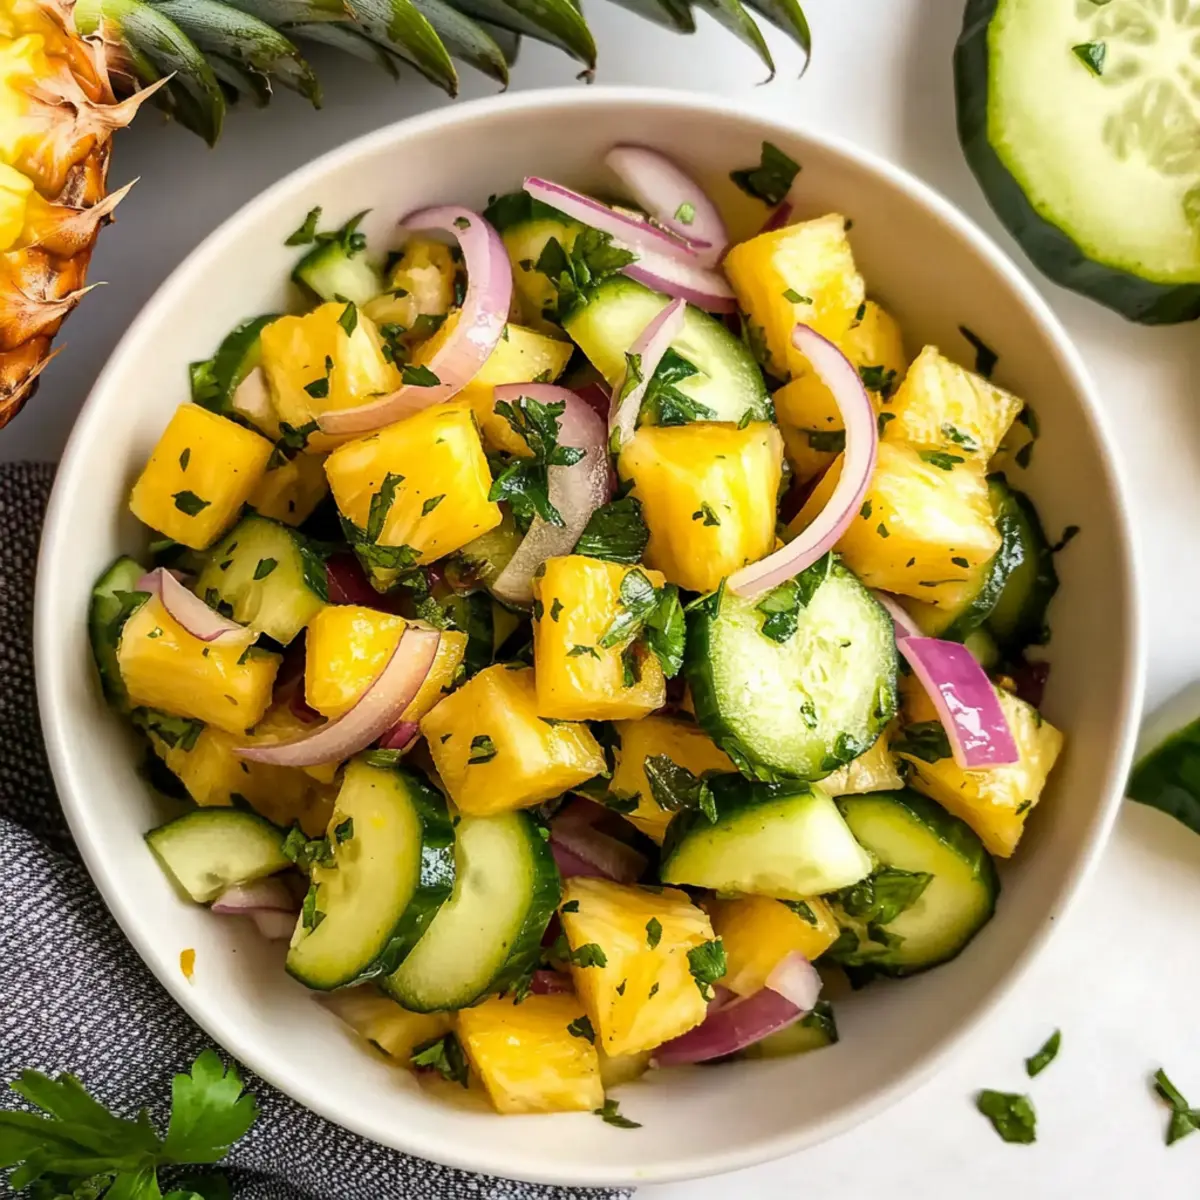
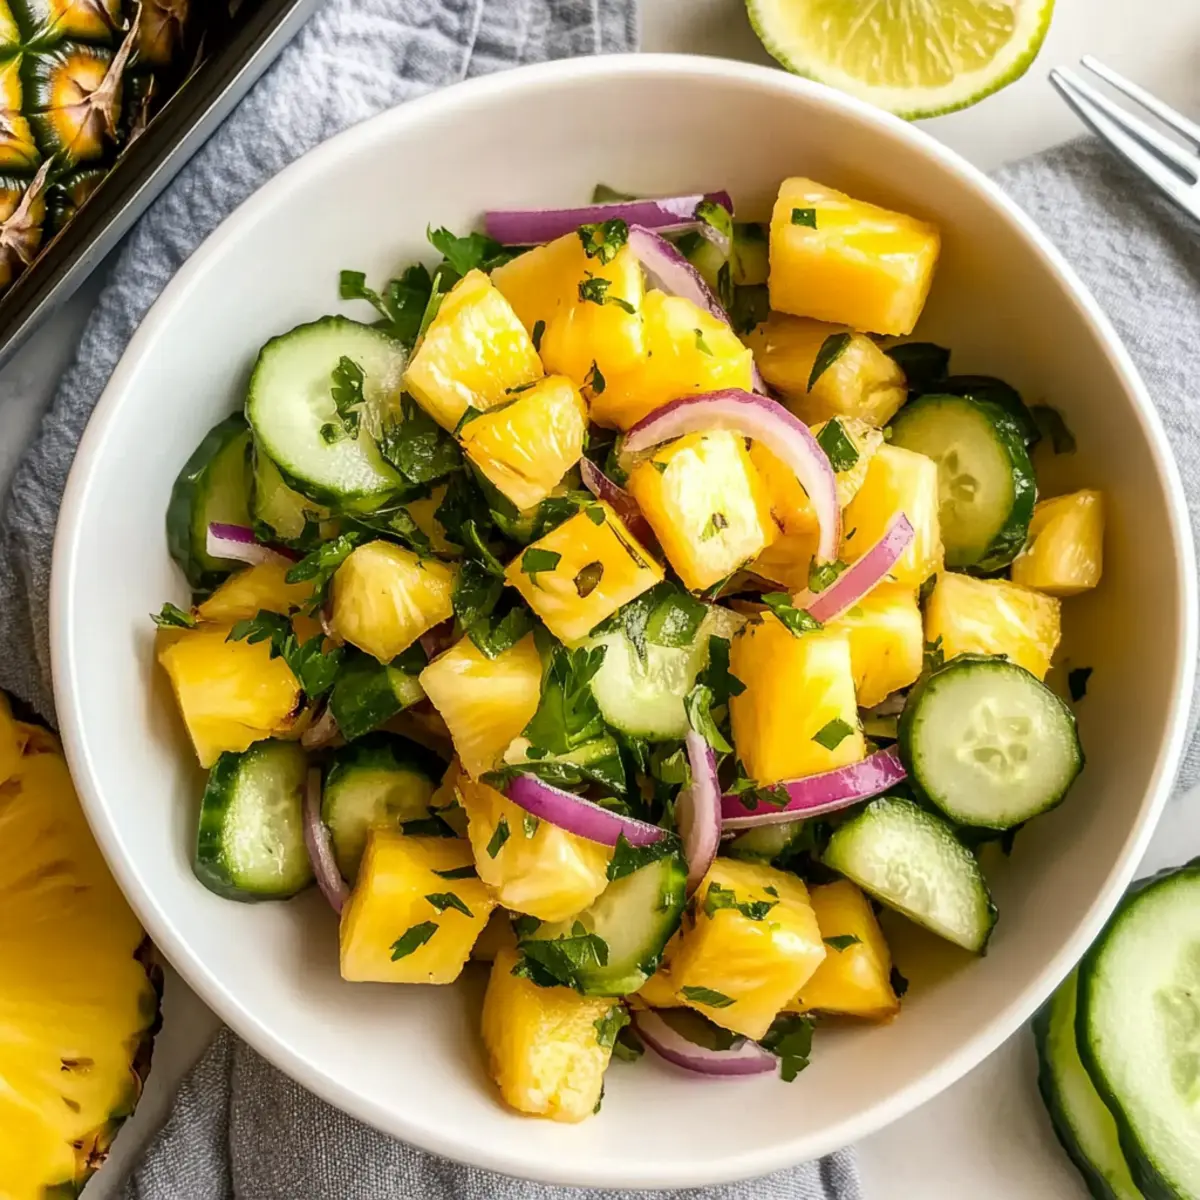
As the sun starts to set and temperatures begin to rise, I find myself craving something fresh and vibrant—a dish that brings back memories of summer picnics. Enter my go-to Pineapple Cucumber Salad! This delightful creation marries the sweetness of juicy pineapple with the refreshing crunch of cucumber, creating a light side that bursts with flavor. Tossed in a zesty lime dressing, it’s not only a perfect complement to any grilled dish but also a quick, fuss-free addition to your meal prep. Plus, it’s gluten-free and offers a vegan option when you swap honey for agave. So, are you ready to dive into this tropical-inspired treat? Let’s add a bit of sunshine to your plate!
Why is Pineapple Cucumber Salad a Must-Try?
Bright flavors come together in this easy salad, making it a standout choice for any summer gathering. Customizable to your taste, you can add mango or even a hint of heat with jalapeños! Healthy and light, it’s gluten-free and can easily become vegan by using agave. Perfect for prepping in advance, the salad keeps well in the fridge, making it a stress-free option for potlucks or barbecues. Serve alongside grilled meats or as a refreshing snack, and don't forget to check out options like Jello Salad Cottage for more delightful side dishes!
Pineapple Cucumber Salad Ingredients
For the Salad
- Pineapple – Adds a sweet, tropical flavor; ensure it’s ripe for the best taste, or you can use drained canned pineapple.
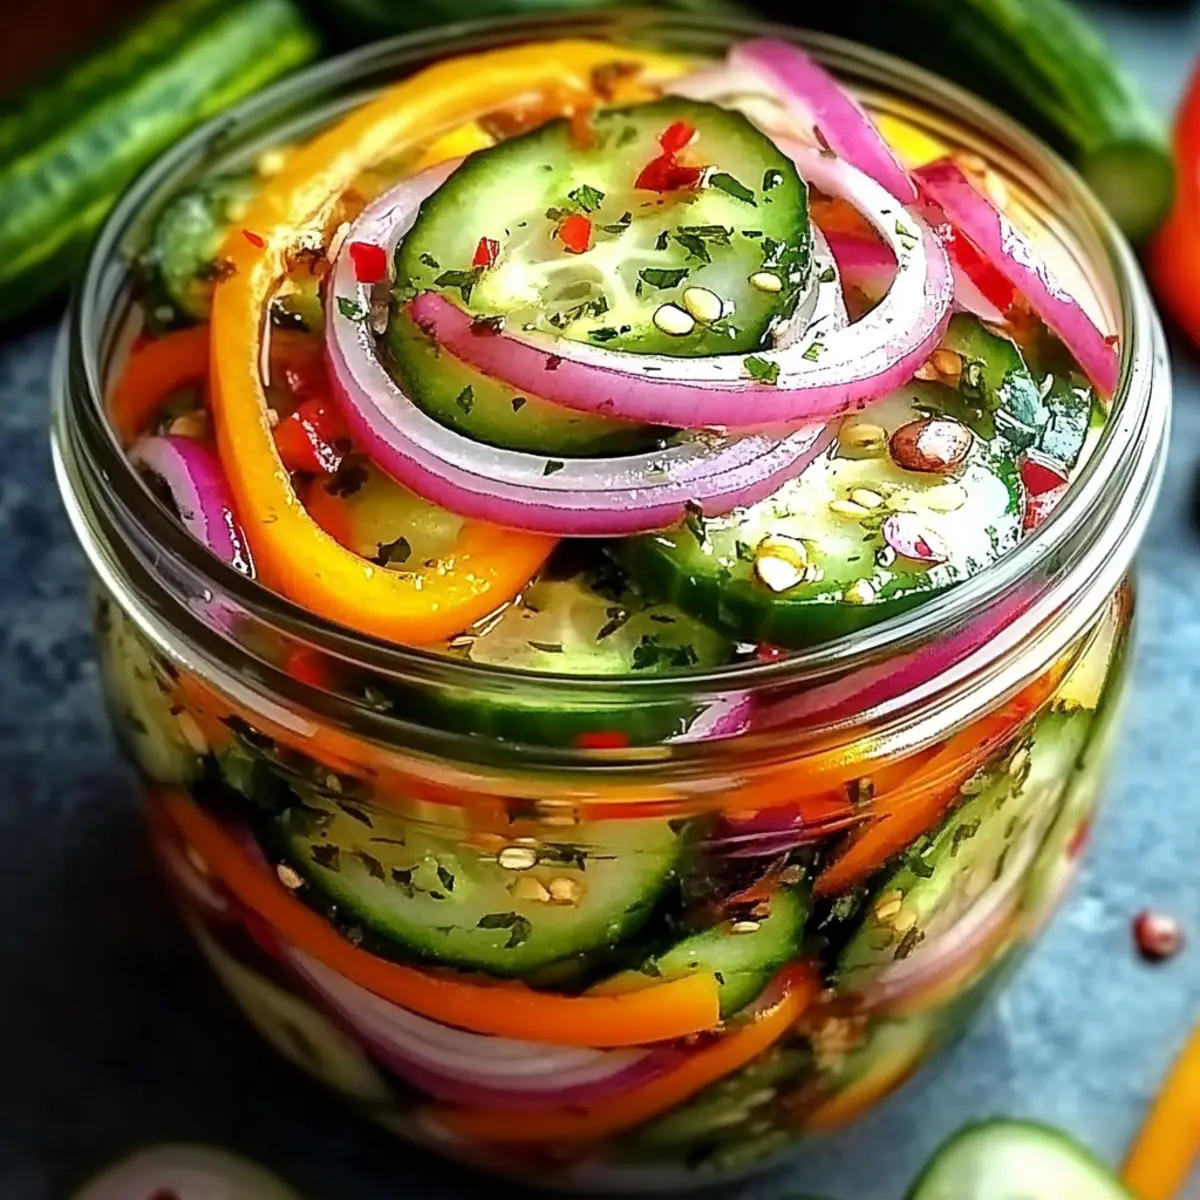
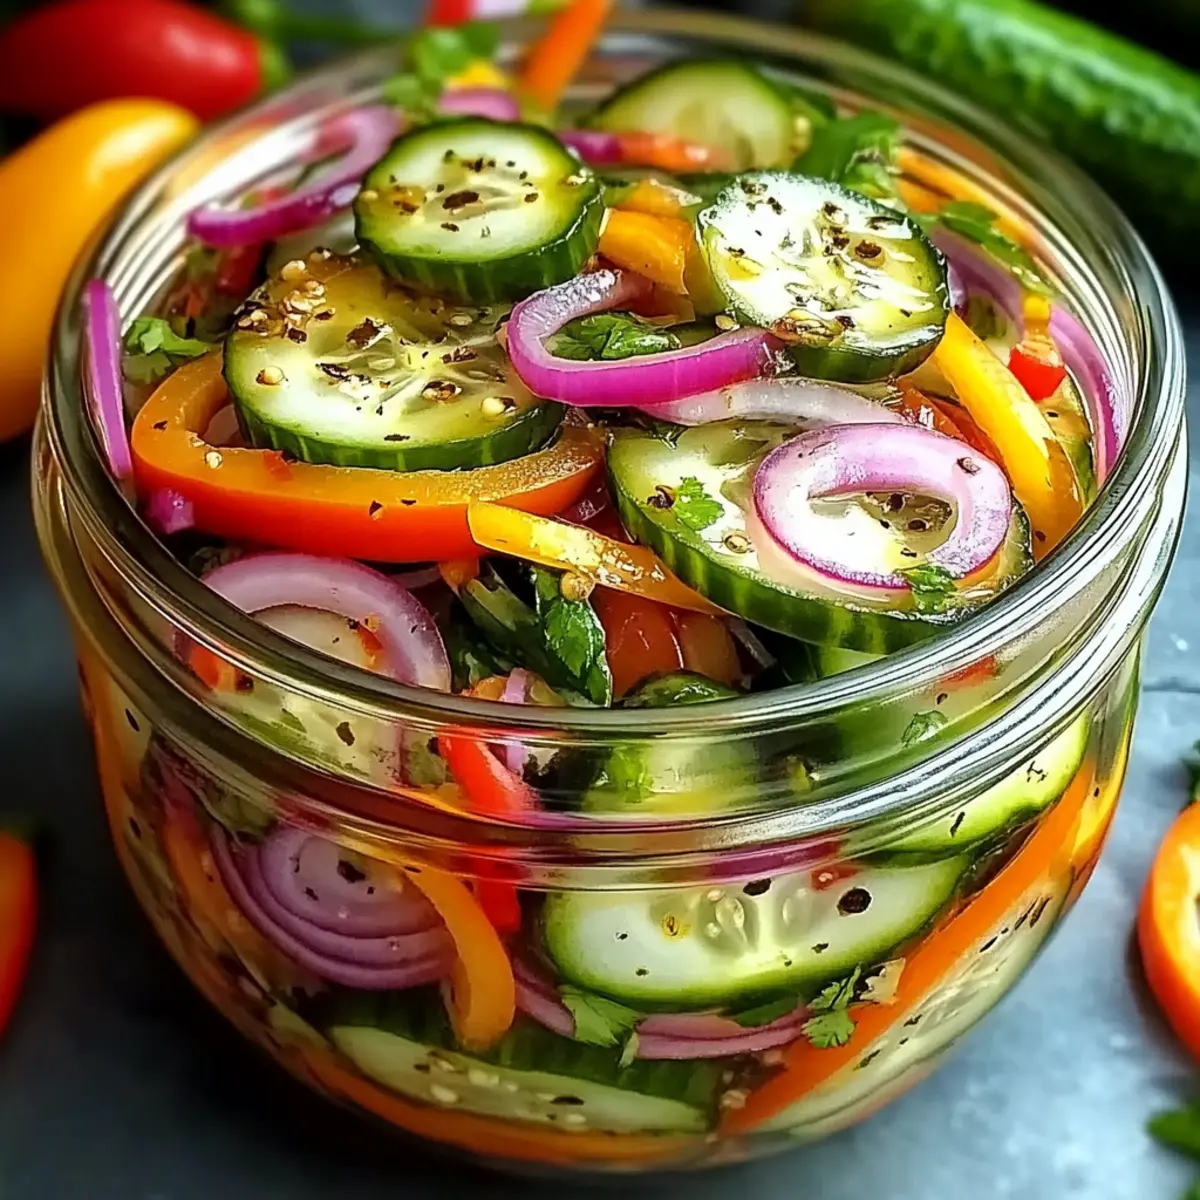
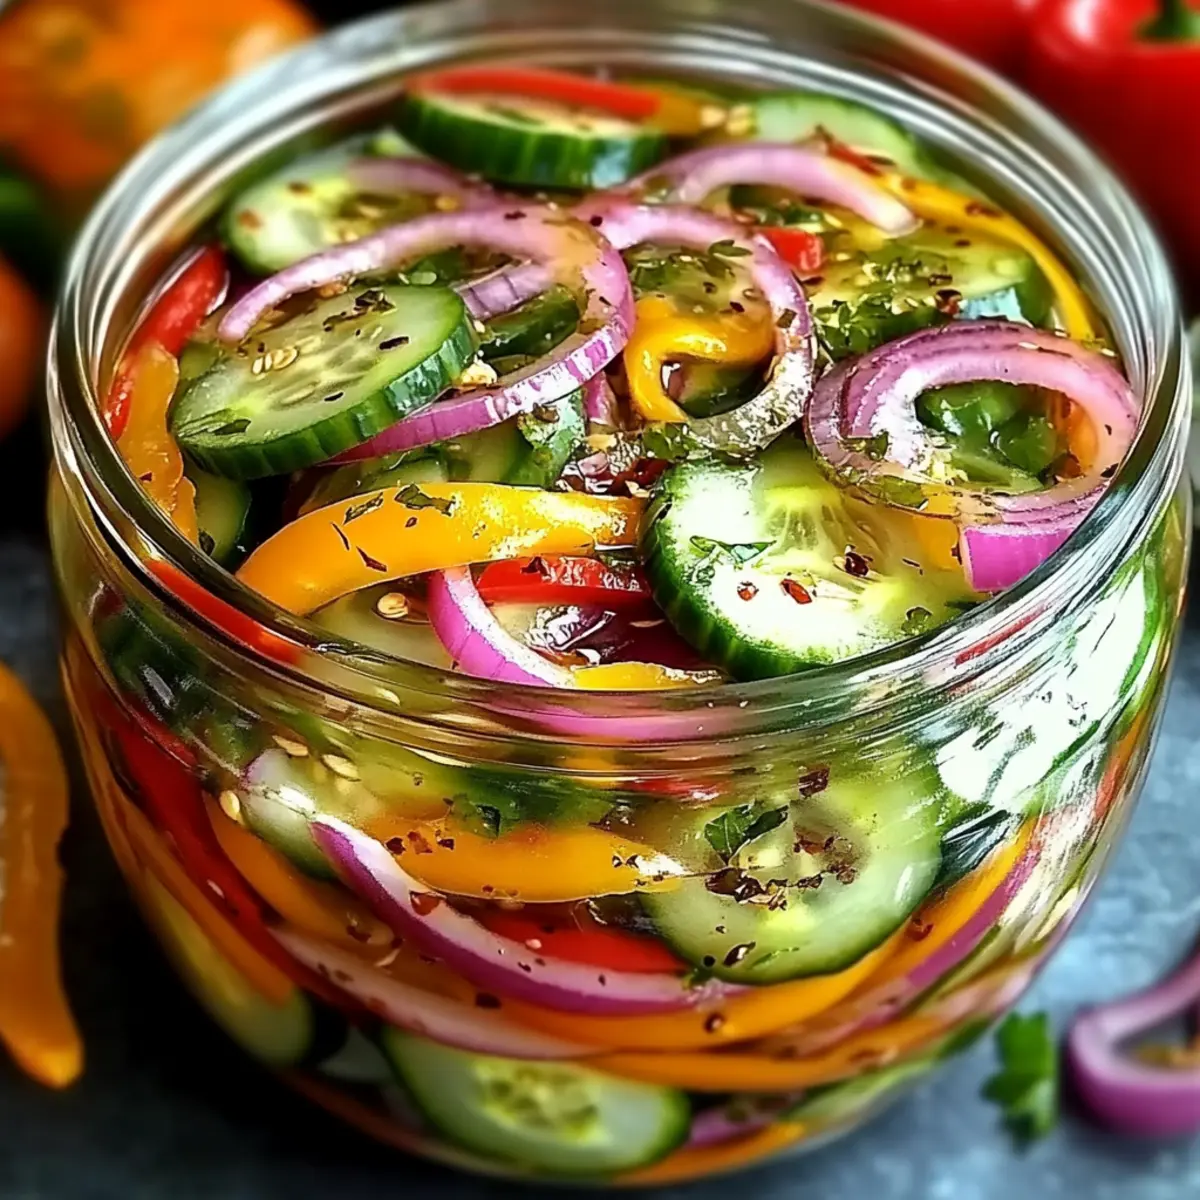
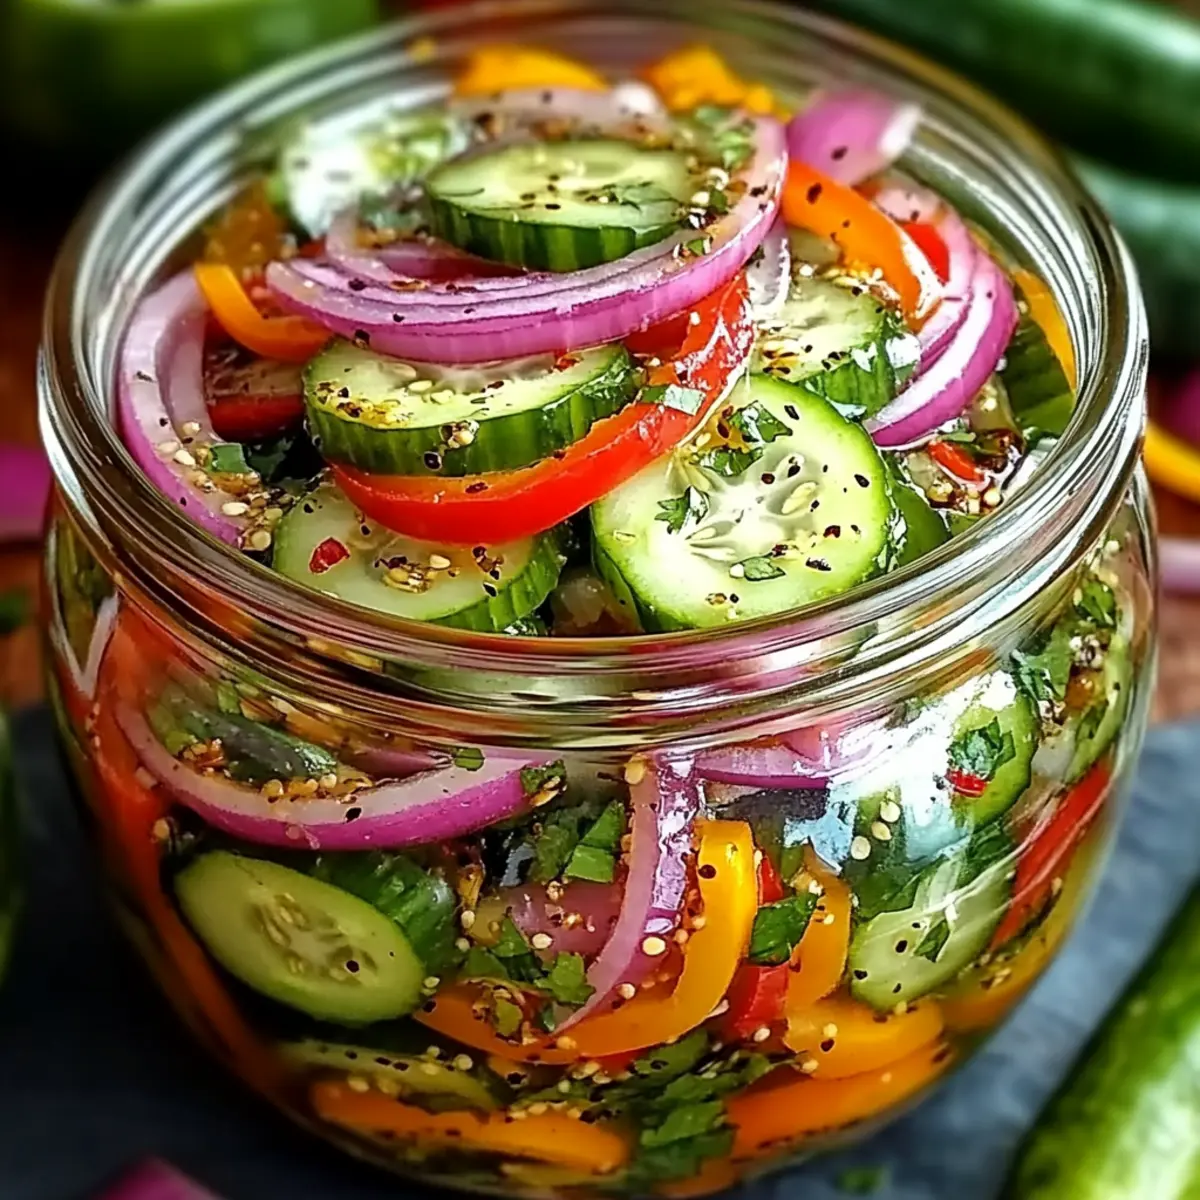
- Cucumber – Provides a refreshing crunch; choose firm varieties like English or Persian for optimal texture.
- Red Onion – Offers a subtle bite and beautiful color contrast; slice thinly to keep the flavors balanced.
- Cilantro – Fresh herb that elevates the salad; if you prefer, mint works well as a delightful alternative.
For the Dressing
- Lime Juice – Brings essential acidity and brightness; freshly squeezed lime juice enhances flavor, but lemon juice is a suitable substitute.
- Olive Oil – Adds a touch of richness to the dressing; go for extra virgin olive oil for the most flavor.
- Honey or Agave Nectar – Balances tart lime with a touch of sweetness; use agave for a vegan-friendly option.
- Salt and Black Pepper – Essential for enhancing overall flavor; adjust according to your taste preferences.
This refreshing Pineapple Cucumber Salad will not only brighten your meals but also keep things light and delicious!
Step‑by‑Step Instructions for Pineapple Cucumber Salad
Step 1: Combine Ingredients
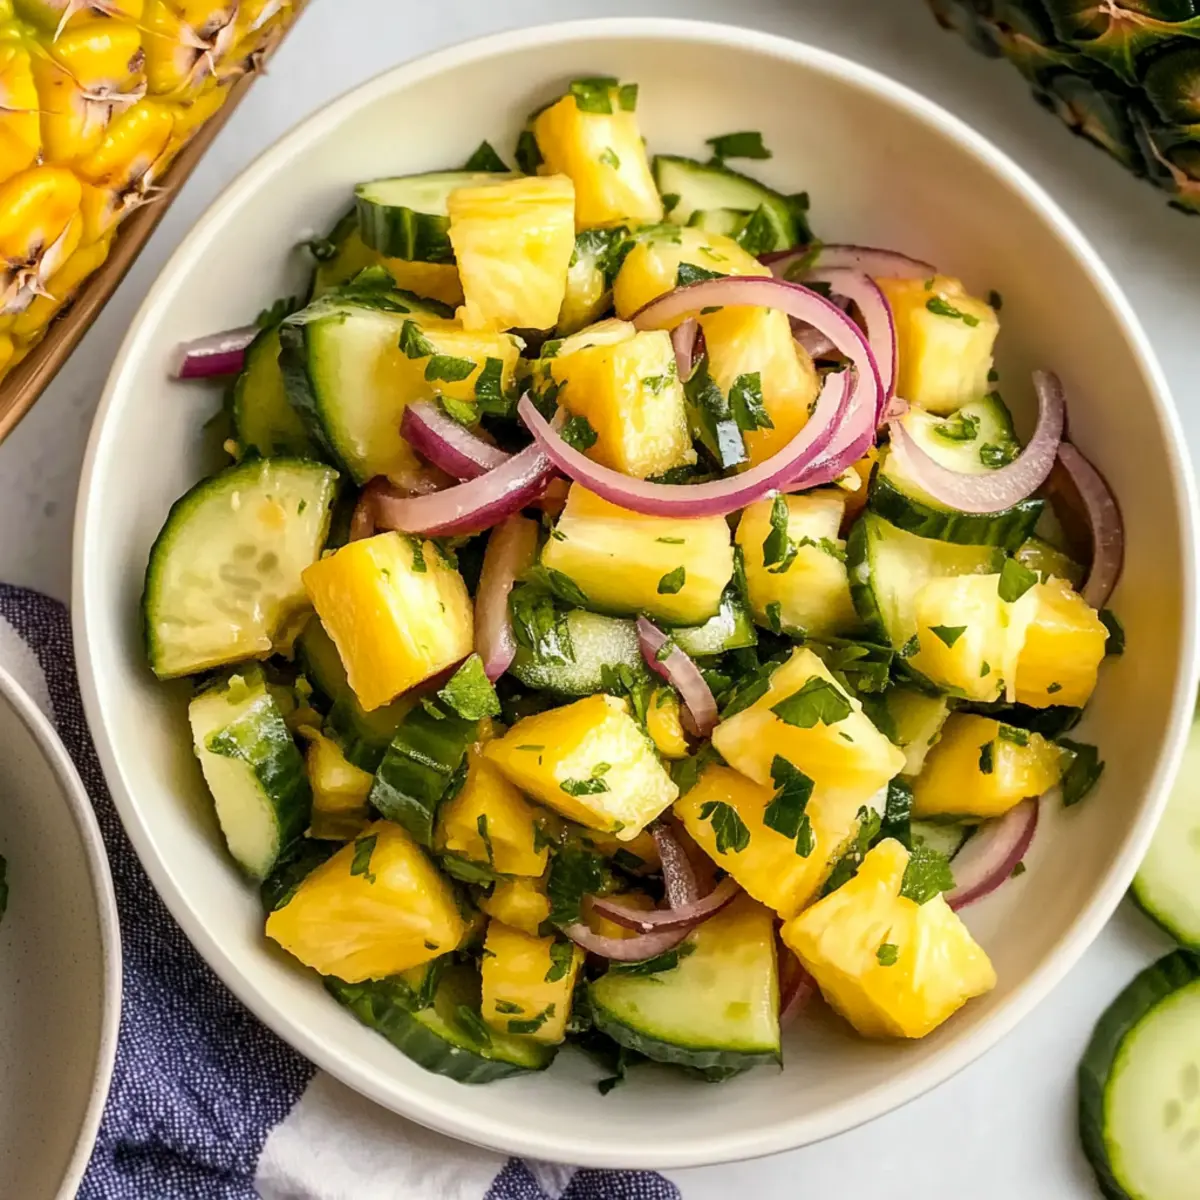
In a large mixing bowl, add 2 cups of diced ripe pineapple, 1 cup of thinly sliced cucumber, ½ cup of thinly sliced red onion, and ¼ cup of chopped cilantro. Gently toss these ingredients with a spatula until well combined, ensuring each component is evenly distributed, creating a colorful medley that captures the essence of a refreshing Pineapple Cucumber Salad.
Step 2: Make Dressing
In a separate small bowl, whisk together ¼ cup of freshly squeezed lime juice, 3 tablespoons of extra virgin olive oil, 1 tablespoon of honey or agave, and a pinch of salt and black pepper. Whisk vigorously for about 30 seconds until the mixture is well emulsified and smooth, allowing the bright acidity and sweetness to harmonize, setting the stage for a zesty dressing that will elevate your salad.
Step 3: Mix and Serve
Pour the dressing over the salad mixture, and gently toss everything together using the spatula until all ingredients are thoroughly coated. For the best flavor and freshness, serve immediately, or if desired, allow the salad to chill in the refrigerator for about 15 minutes. This will enhance the flavors of the Pineapple Cucumber Salad, creating a chill-worthy dish perfect for warm days.
Step 4: Adjust Seasoning
Before serving, taste the salad and adjust seasoning as needed by adding extra salt or lime juice. If you prefer a kick, consider integrating finely chopped jalapeños at this stage. The goal is to achieve a balanced flavor profile that complements the sweetness of the pineapple and the crunch of the cucumber, ensuring every bite is delightful.
Step 5: Serve and Enjoy
Transfer the refreshed Pineapple Cucumber Salad into a serving bowl or individual plates. Garnish with a few sprigs of cilantro for a pop of color and serve chilled. This vibrant dish not only pairs beautifully with grilled meats but also stands alone as a light snack, embodying the essence of a sunny day on your plate.

What to Serve with Refreshing Pineapple Cucumber Salad?
As the delightful flavors of the Pineapple Cucumber Salad dance on your palate, consider these perfect pairings to create a complete and satisfying meal.
-
Grilled Chicken Skewers: Juicy and smoky, these skewers bring a savory depth that complements the salad's sweetness beautifully.
-
Fish Tacos: Light and zesty, fish tacos enhance the tropical vibe of the salad while adding an irresistible crunch.
-
Quinoa Salad: This nutty, protein-packed salad adds a hearty touch and enhances the freshness of the pineapple and cucumber.
-
Chips and Guacamole: Crunchy chips paired with creamy guacamole provide a delightful contrast, making every bite exciting and satisfying.
-
Lemonade or Iced Tea: Both drinks are refreshing complements that echo the bright flavors of the salad, keeping you cool on warm days.
-
Mango Sorbet: For dessert, the silken mango sorbet enhances the tropical theme while offering a refreshing finish to your meal.
A combination of these pairings will surely turn your meal into a feast, bringing together flavors and textures that speak to every summer gathering and picnic!
How to Store and Freeze Pineapple Cucumber Salad
- Fridge: Store the salad in an airtight container for up to 4 hours in the refrigerator. To keep the flavors fresh, add delicate ingredients like cilantro just before serving.
- Freezer: This salad is best enjoyed fresh and isn’t recommended for freezing, as the texture of cucumbers may become mushy upon thawing.
- Room Temperature: If serving outdoors, keep the salad cool and serve within 2 hours to ensure freshness and safety.
- Reheating: No reheating is necessary; enjoy the Pineapple Cucumber Salad chilled for the best flavor experience.
Pineapple Cucumber Salad Variations
Feel free to personalize your Pineapple Cucumber Salad with these delightful customizations that will excite your taste buds!
-
Extra Sweetness: Add chunks of ripe mango or papaya for an added layer of tropical sweetness. These fruits harmonize beautifully with the pineapple, creating a symphony of flavors that will transport you to a sun-soaked beach.
-
Herb Swap: Replace cilantro with fresh mint or basil for a unique herbaceous twist. Each herb brings its own distinct flavor profile, enhancing the salad’s brightness while keeping it refreshing.
-
Heat It Up: Incorporate finely chopped jalapeños or a sprinkle of red pepper flakes for a spicy kick. The contrast of heat against the salad's sweetness provides an exhilarating burst that will awaken your palate.
-
Nutty Crunch: Sprinkle in some toasted sunflower seeds or chopped nuts for added texture and a delightful crunch. This variation not only elevates the salad's mouthfeel but also adds healthy fats that'll keep you satisfied.
-
Zesty Citrus: Experiment with other citrus juices like lemon or orange in place of lime. Each option will bring its unique zing, enhancing the brightness of the salad with a different vibe.
-
Creamy Addition: Fold in some crumbled feta or avocado for a creamier element. The creaminess from these ingredients pairs wonderfully with the crunchy cucumbers and juicy pineapple.
-
Tropical Medley: Mix in other tropical fruits, like kiwi or passion fruit, to create a vibrant fruit salad. This allows you to showcase the best of seasonal fruits and take your salad to the next level.
-
Sweet and Savory: Toss in some diced bell peppers for a sweet crunch or even a hint of savory. Their crisp texture and fresh flavor complement the pineapple and cucumber perfectly.
Feel free to explore these variations, and don’t forget to check out other delightful ideas like Avocado Egg Salad or Buffalo Tofu with Caesar Salad for more fresh delights!
Make Ahead Options
Preparing the Pineapple Cucumber Salad ahead of time is a fantastic way to save time during busy days! You can chop the pineapple, cucumber, and red onion up to 24 hours in advance and store them in an airtight container in the refrigerator. To maintain freshness, hold off on adding the cilantro and the dressing until just before serving. When you're ready to enjoy, simply toss all the prepped ingredients together with the dressing and adjust seasoning as needed. This ensures the salad remains crisp and bursting with flavor, making your meal prep effortless while delivering delicious, tropical brightness at your table!
Expert Tips for Pineapple Cucumber Salad
-
Marinate for Flavor: Allow the salad to sit in the refrigerator for at least 30 minutes before serving. This helps the flavors meld together beautifully.
-
Fresh is Best: Use freshly squeezed lime juice rather than bottled to maximize the bright, tangy flavor in your Pineapple Cucumber Salad.
-
Keep It Crunchy: If preparing in advance, add cilantro just before serving to maintain its freshness and prevent wilting.
-
Taste Before Serving: Adjust salt and acidity to your liking right before serving, especially if you’ve used different pineapple or lime ratios.
-
Customize to Your Preference: Feel free to experiment with additional ingredients like mango or jalapeños to elevate the flavors and spice level of the salad.
Pineapple Cucumber Salad Recipe FAQs
How do I know if my pineapple is ripe?
Absolutely! For the best flavor, look for a pineapple that is golden-yellow, especially at the base. It should have a sweet smell at the stem end and yield slightly to pressure when you give it a gentle squeeze. If there are any dark spots or wrinkling, the pineapple may be overripe.
How should I store leftover Pineapple Cucumber Salad?
Great question! Store any leftovers in an airtight container in the refrigerator for up to 4 hours. To maintain the salad's freshness, I recommend adding the cilantro just before serving. This will help keep its vibrant flavor and texture!
Can I freeze Pineapple Cucumber Salad?
The more the merrier, but in this case, the salad is best enjoyed fresh! Freezing is not advisable as cucumbers tend to get mushy when thawed. If you're looking for a long-lasting treat, consider preparing a fruit salad with ingredients that freeze well, like berries or pineapple chunks.
What should I do if my salad is too sour?
If your Pineapple Cucumber Salad is tasting too sour, don’t worry! You can balance out the acidity by adding a bit more honey or agave. Start with an additional teaspoon, mix it in, and taste again. If still too tangy, add a pinch of salt; it can help mellow the flavors beautifully.
Is this recipe pet-friendly?
Very! While the ingredients in Pineapple Cucumber Salad—pineapple, cucumber, and cilantro—are generally safe for pets, always keep in mind any allergies or sensitivities your furry friends may have. It’s best to keep serve them small amounts as a treat, especially the pineapple, as it’s high in sugar.
Are there gluten-free options in Pineapple Cucumber Salad?
Of course! This Pineapple Cucumber Salad is naturally gluten-free! Just ensure that any ingredients you choose, especially processed items like honey, are certified gluten-free, if that’s a dietary requirement for you. Enjoy this colorful dish guilt-free!
Chill Out with This Zesty Pineapple Cucumber Salad Recipe
Ingredients
Equipment
Method
- In a large mixing bowl, add the diced pineapple, cucumber, red onion, and cilantro. Gently toss until well combined.
- In a separate small bowl, whisk together lime juice, olive oil, honey or agave, and a pinch of salt and black pepper until emulsified.
- Pour the dressing over the salad mixture and gently toss until coated. Serve immediately or chill for 15 minutes.
- Taste the salad and adjust seasoning with salt or lime juice as needed. Consider adding jalapeños for a kick.
- Transfer the salad to a serving bowl, garnish with cilantro, and serve chilled.