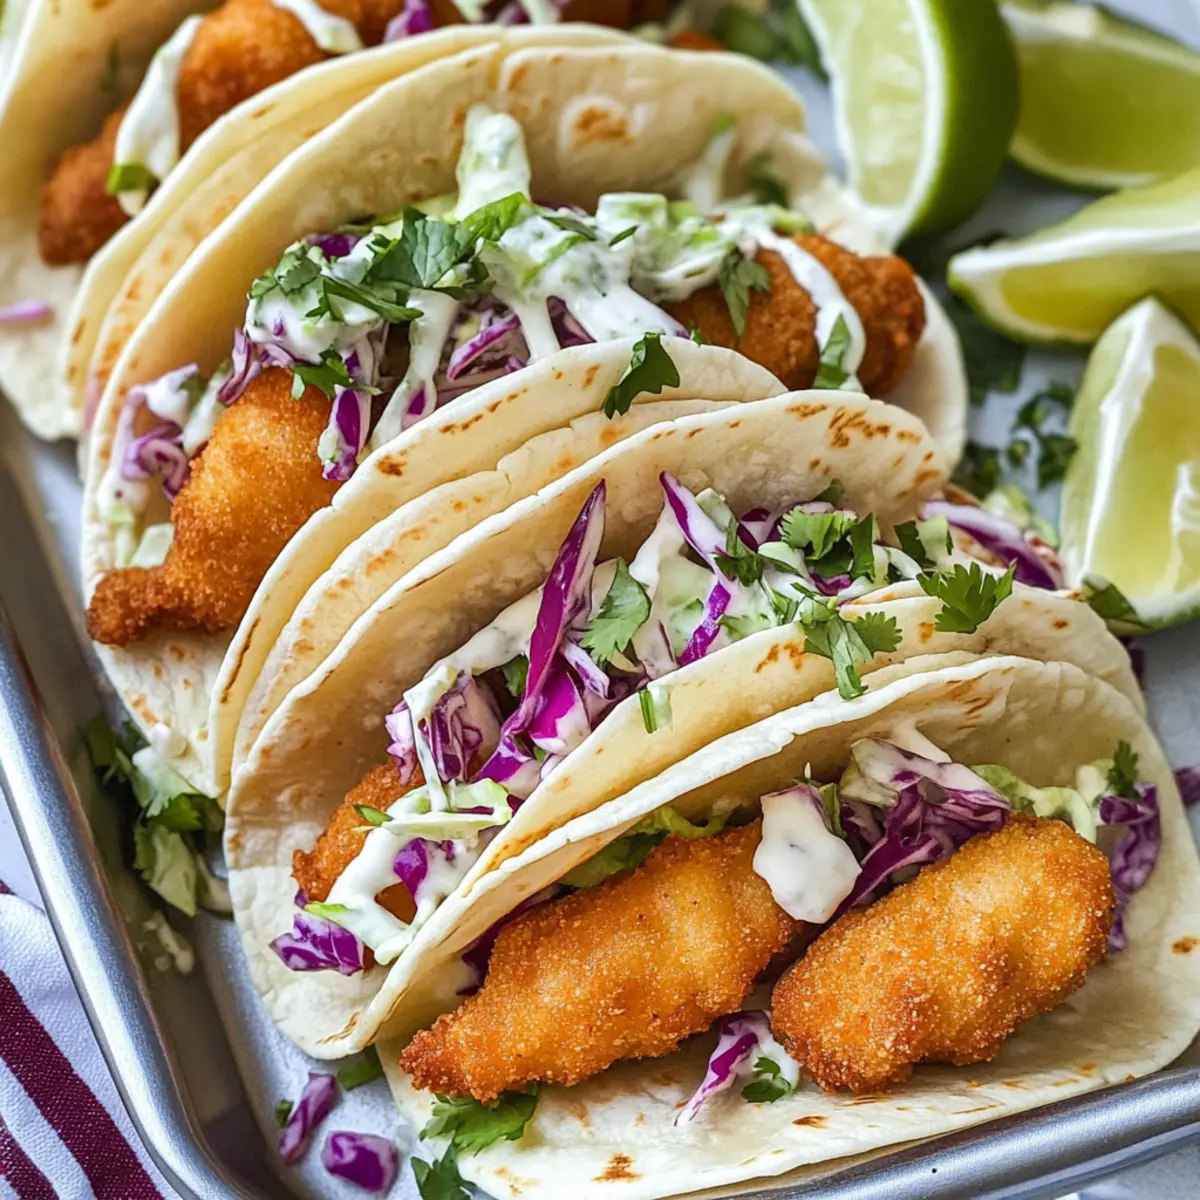
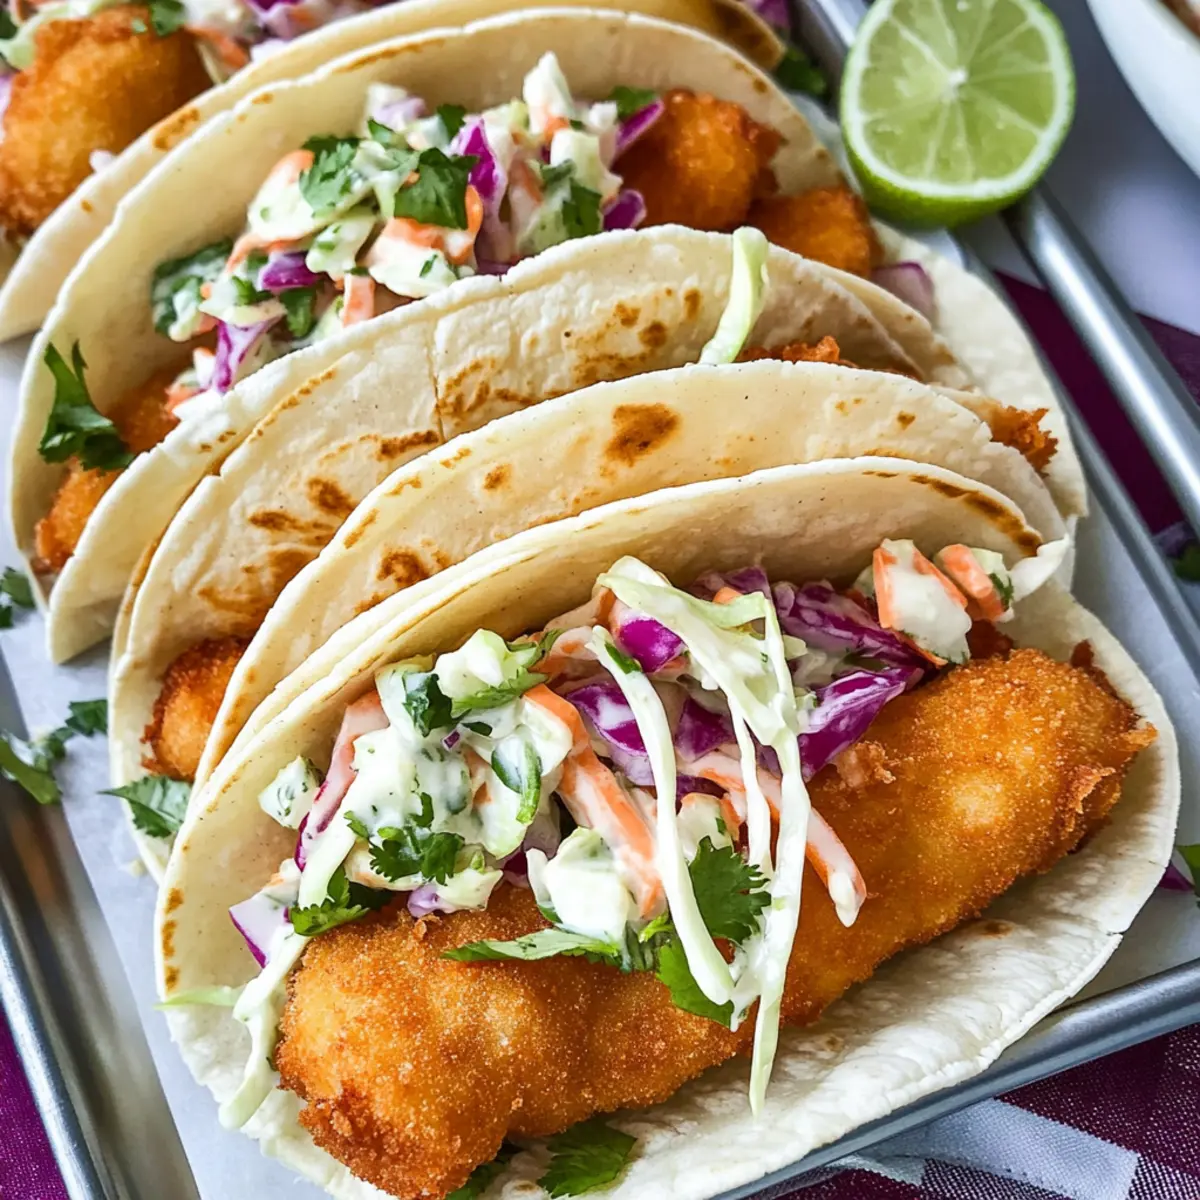
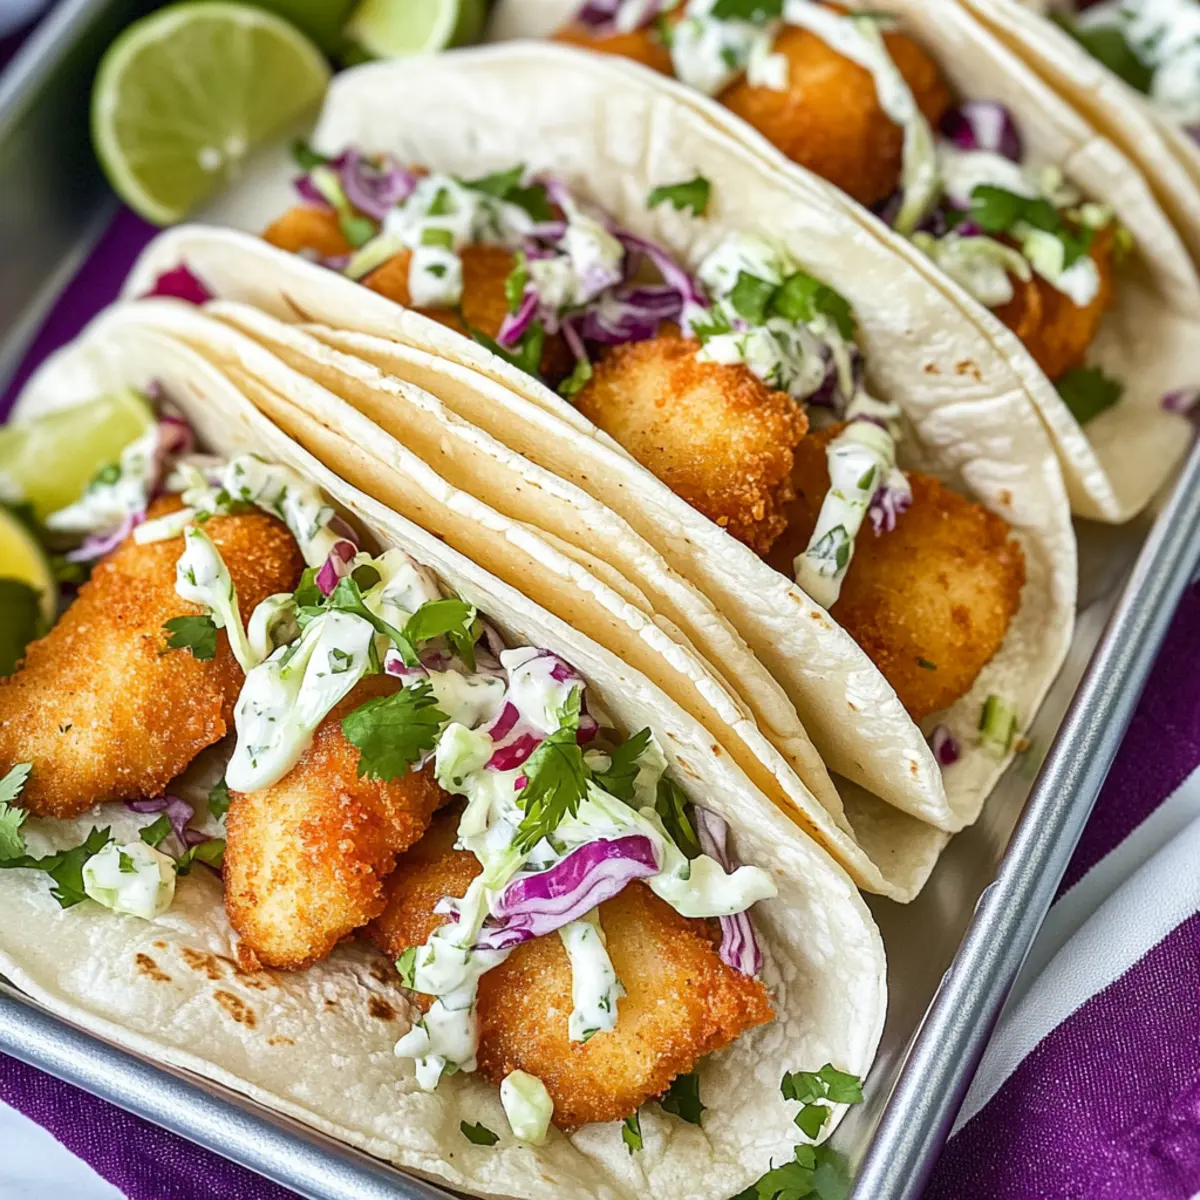
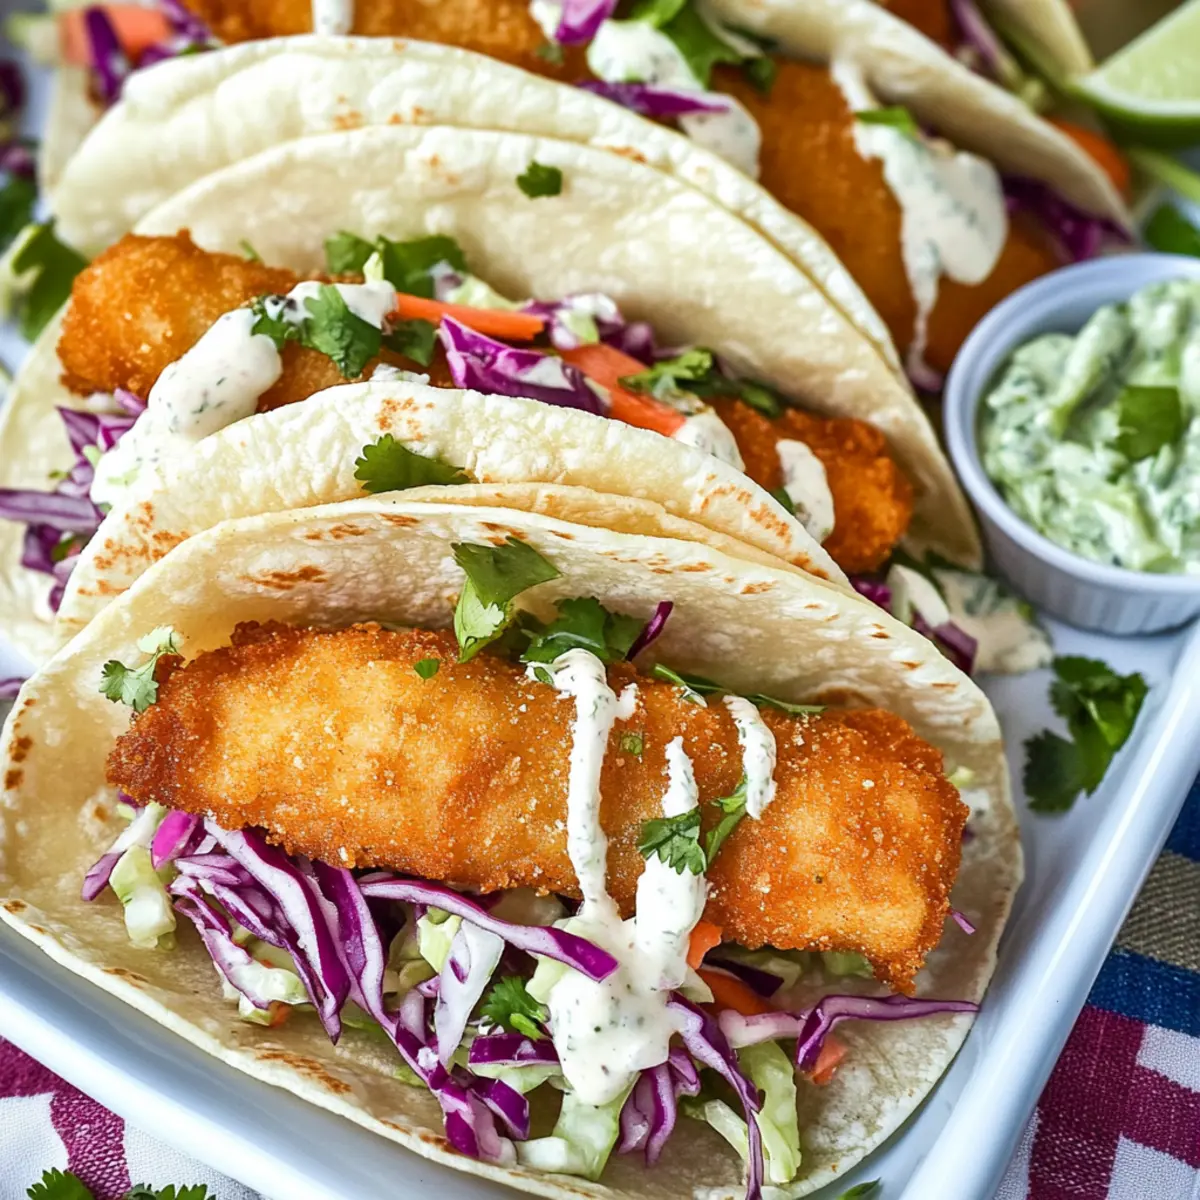
As the sizzle of frying fish fills the kitchen, a wave of anticipation sweeps over me. Nothing beats the joy of creating crispy Beer Battered Fish Tacos with Cilantro Slaw right at home, especially on a busy weeknight. This recipe combines flaky, tender fish coated in a perfectly golden batter with a refreshing, tangy slaw—resulting in a dish that's not just delicious but also incredibly quick to whip up. It transforms taco night into a fun family feast that everyone will race to the table for. Plus, with so many fish options and customizable toppings, you can make this dish uniquely yours! Are you ready to dive into a meal that will elevate your dinner plans?
Why are these fish tacos a game-changer?
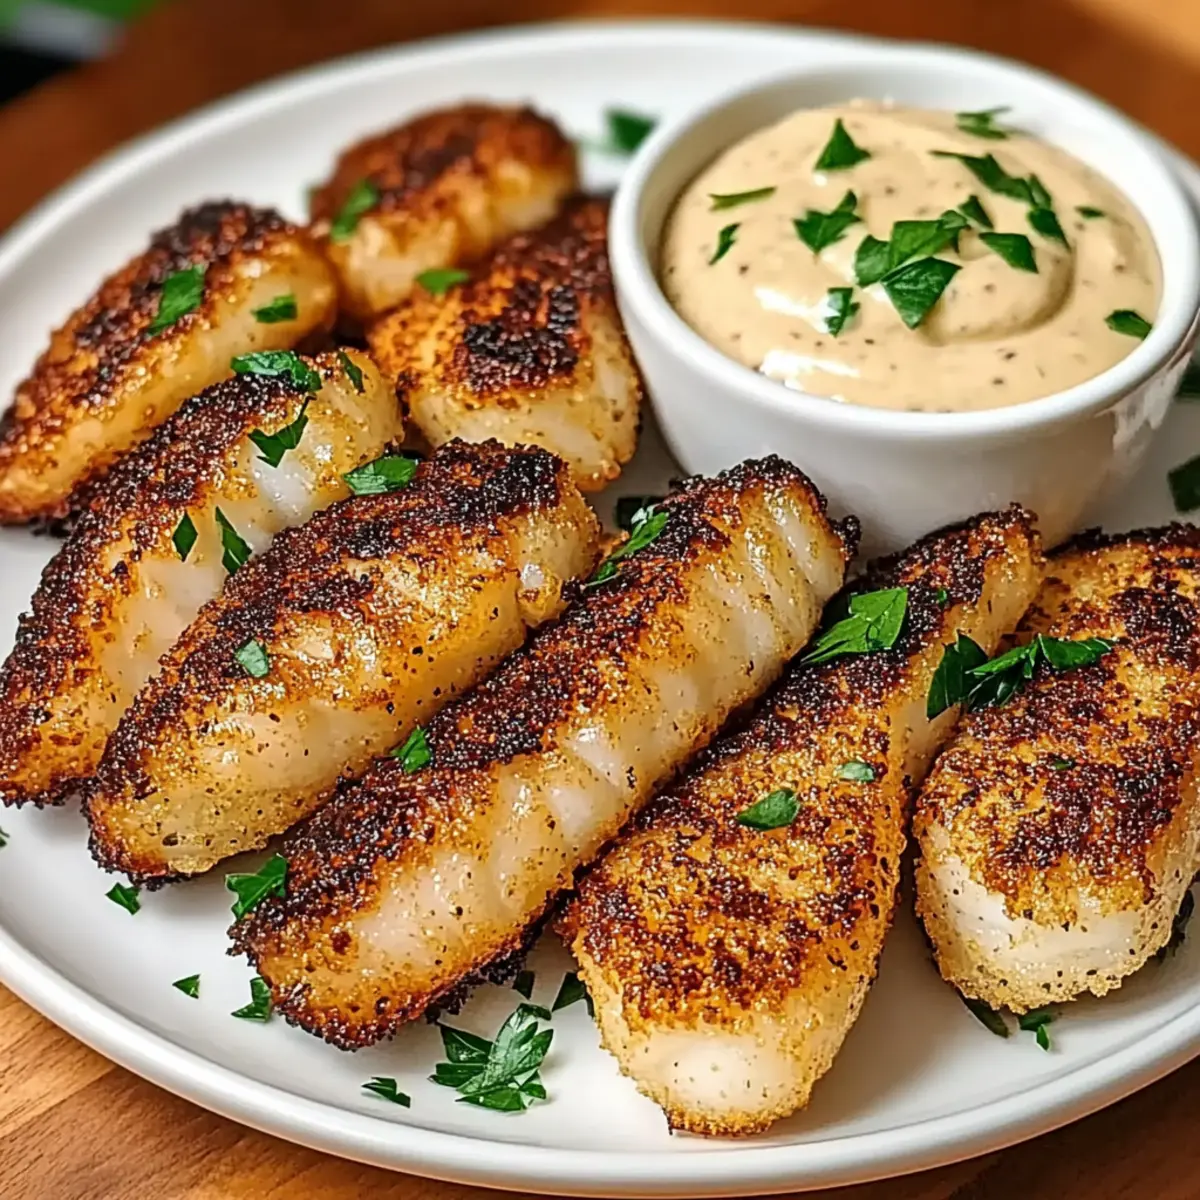
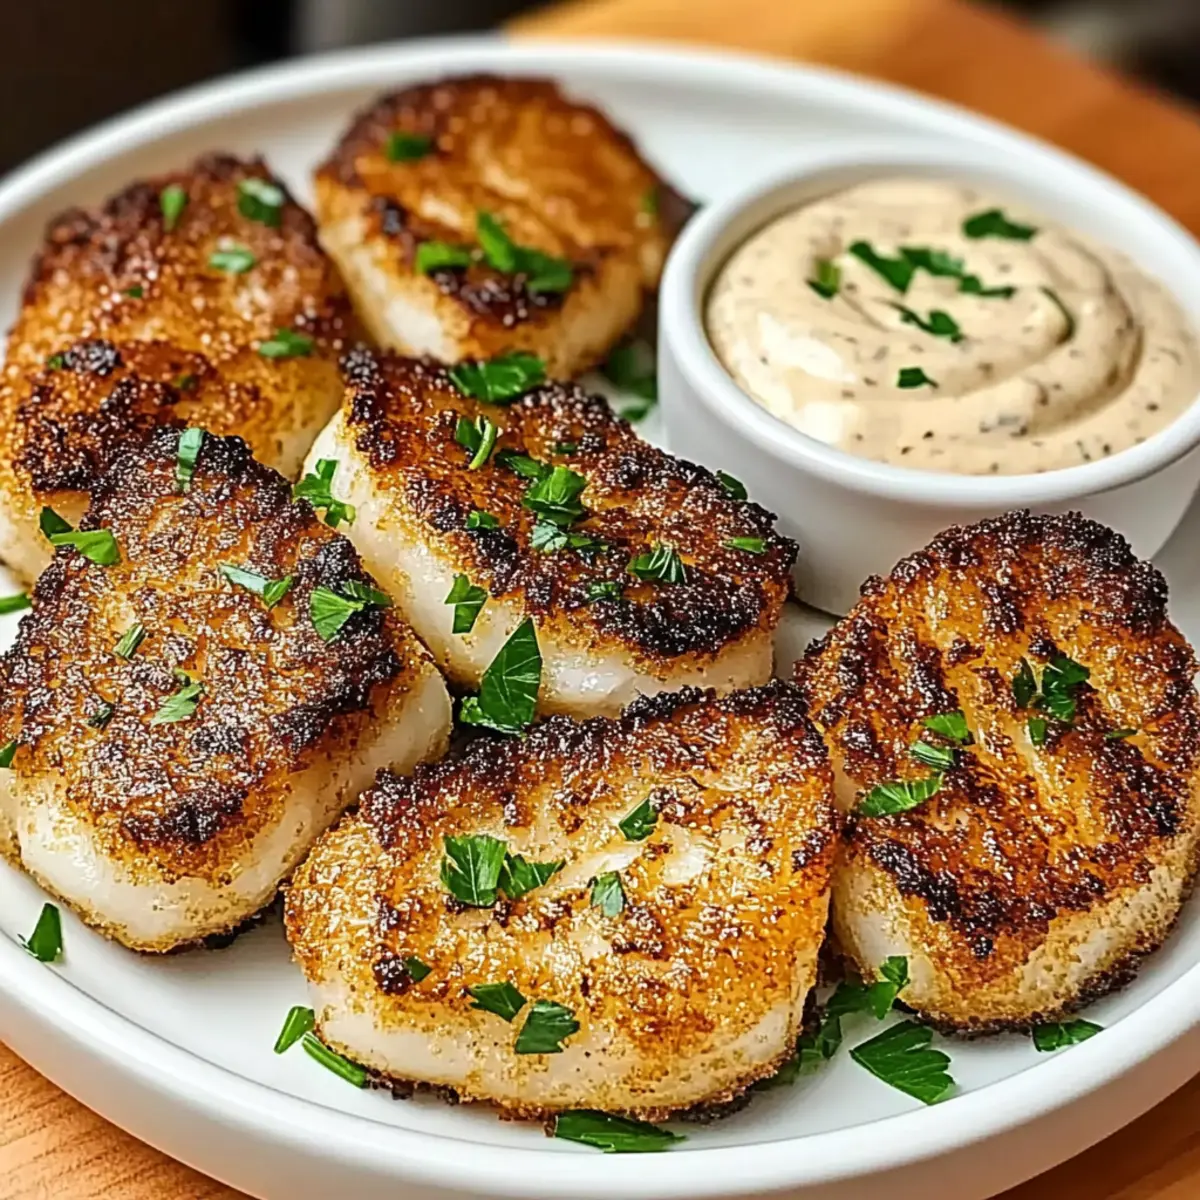
Crispy Perfection: With a light, beer-infused batter, these fish tacos deliver a satisfying crunch that’s hard to resist.
Refreshingly Tangy: The cilantro slaw adds a vibrant zing, balancing the richness of the fried fish beautifully.
Quick & Easy: Perfect for busy weeknights, these tacos can be thrown together in no time, ensuring everyone can enjoy a homemade meal.
Customizable: Whether you choose cod or tilapia, the options are endless, letting you tailor them to your family's taste. Want a little extra kick? Add jalapeños or sriracha!
Family Favorite: Kids and adults alike will love the fun, hands-on experience of crafting their own tacos, making this dish a hit for any dinner table.
For more seafood delights, check out my Fried Shrimp Cabbage or Shrimp Tacos Zesty for additional inspiration!
Beer Battered Fish Taco Ingredients
• For the ultimate crispy experience, gather these essential ingredients for your Beer Battered Fish Tacos with Cilantro Slaw.
For the Batter
- All-Purpose Flour – Provides the structure needed for a robust batter; substitute with gluten-free flour if preferred.
- Cornstarch – Ensures a delightful crispiness that can't be matched; no substitutions recommended for the best results.
- Paprika – Adds a subtle warmth and earthiness; consider smoked paprika for a unique twist.
- Baking Powder – Creates a light texture by leavening the batter; ensure it's fresh for optimal effectiveness.
- Beer – Infuses flavor and lightness into the batter; any lager or ale works, or use sparkling water for a non-alcoholic option.
- Egg – Acts as a binder for the batter ingredients; a flax egg can be used for a vegan alternative.
For the Fish
- Firm White Fish (e.g., Cod, Catfish) – The backbone of your tacos, providing tender, flaky bites; try tilapia or halibut for variety.
- Salt & Pepper – Essential for seasoning your fish; adjust to taste before frying.
For the Slaw
- Cabbage Slaw (or coleslaw mix) – Adds a crunchy texture; a mix of green cabbage and carrots works wonderfully.
- Green Onions – Bring a mild onion flavor to the slaw; substitute red onions for a sharper taste.
- Cilantro – Adds a bright, fresh note to the slaw; feel free to omit if you're not a fan of this herb.
- Lime Juice – Provides the acidity needed to balance flavors; fresh lime juice is always preferred!
- Apple Cider Vinegar – Contributes tanginess to the slaw; white vinegar can be used as a substitute.
- Vegetable Oil – Necessary for frying; choose a neutral oil like canola or sunflower for best results.
- Sugar – Helps balance the acidity in the slaw; adjust according to personal taste.
- Salt – Enhances the overall flavor of the slaw; tailor it to your liking.
For the Tacos
- Corn Tortillas – The ideal base for your tacos; flour tortillas can be used for a softer experience.
Once you have these ingredients, you’re ready to create a truly unforgettable taco night focused on Beer Battered Fish Tacos with Cilantro Slaw!
Step‑by‑Step Instructions for Beer Battered Fish Tacos with Cilantro Slaw
Step 1: Prepare the Beer Batter
In a mixing bowl, whisk together 1 cup of all-purpose flour, 1/3 cup of cornstarch, 1 teaspoon of paprika, and 1 teaspoon of baking powder until well combined. Slowly pour in 1 cup of beer and add 1 beaten egg, stirring until the batter is mixed but still slightly lumpy. This light batter will give your Beer Battered Fish Tacos the perfect crispy texture.
Step 2: Prepare the Fish
Thaw your firm white fish fillets, like cod or catfish, and pat them dry with paper towels to remove excess moisture. Season both sides generously with salt and pepper. Dredge the fish in a bit of flour to help the batter adhere, then dip each piece into the prepared beer batter, ensuring a nice even coating for that fried crunch.
Step 3: Fry the Fish
In a heavy skillet, heat about 2 inches of vegetable oil over medium heat (around 350°F) until it shimmers. Carefully add 3-4 battered fish pieces to the hot oil, frying them for about 2-4 minutes on each side until they turn golden brown and crispy. Keep an eye on them, and use a slotted spoon to transfer the fried fish to a plate lined with paper towels to drain excess oil.
Step 4: Make the Cilantro Slaw
In a large bowl, combine 2 cups of cabbage slaw (or coleslaw mix), 2 chopped green onions, and 1/4 cup of chopped cilantro. Drizzle in the juice of 1 lime, 1 tablespoon of apple cider vinegar, and a tablespoon of vegetable oil. Add a pinch of sugar and salt, tossing everything together until well mixed. Let the slaw chill for at least 10 minutes to allow the flavors to meld and develop, giving a refreshing touch to your tacos.
Step 5: Assemble Tacos
Warm your corn tortillas in a dry skillet over low heat for about 1 minute on each side until pliable. Take a tortilla and lay down a few pieces of the crispy fried fish, then generously top them with the cilantro slaw. Each bite of these Beer Battered Fish Tacos with Cilantro Slaw will burst with crunchy and flavorful goodness! Serve immediately and savor the delight of homemade tacos.
How to Store and Freeze Beer Battered Fish Tacos
- Room Temperature: Best enjoyed fresh, but if you have leftovers, keep fried fish at room temperature for up to 1 hour before transferring to the fridge.
- Fridge: Store leftover fish and cilantro slaw in separate airtight containers for optimal freshness. They'll last up to 2 days; reheat fish in the oven at 375°F to regain crispiness.
- Freezer: You can freeze fried fish by placing it on a baking sheet until firm, then transferring to a freezer bag for up to 1 month. Reheat directly from frozen, ensuring proper crispiness.
- Reheating: For the best results, reheat the beer battered fish in an air fryer or oven. Avoid microwaving as it can make the batter soggy. Enjoy your Beer Battered Fish Tacos with Cilantro Slaw at their best!
Beer Battered Fish Tacos Variations
Embrace the joy of customizing your tacos with these delightful twists and swaps!
- Spicy Slaw: Add diced jalapeños or a splash of sriracha to the slaw for a fiery kick that perfectly complements the crispy fish.
- Crispy Fried Fish Alternatives: Experiment with other firm fish like tilapia or halibut for a unique flavor; each option brings its own character to the dish.
- Vegan Option: Use a flax egg instead of a regular egg for the batter, and opt for a delicious plant-based fish alternative.
- Herb-Infused Slaw: Try adding fresh mint or parsley along with the cilantro for a refreshing twist that’ll brighten up your taco assembly.
- Creamy Avocado: Top your tacos with slices of creamy avocado for added richness and creaminess, balancing the crunch of the slaw.
- Zesty Crema: Enhance with a drizzle of zesty crema or sour cream mixed with lime juice to create a deliciously smooth contrast to the crispy fish.
- Tortilla Swap: Use flour tortillas instead of corn if you prefer a softer base; they’re perfect for wrapping the filling snugly.
For more ways to spice up your dinner routine, why not try these alternatives like Air Fryer Fish or indulge in my Crispy Fish Taco Bowls? Enjoy the wonderful flavors as you make these tacos your own!
What to Serve with Crispy Beer Battered Fish Tacos with Tangy Cilantro Slaw
Set the stage for a culinary fiesta with delightful pairings that will make your homemade tacos truly shine.
-
Creamy Avocado Dip: This smooth, rich dip balances the crispy fish perfectly, providing a luscious addition that everyone loves. It enhances the flavor while adding extra creaminess to each bite.
-
Mexican Street Corn Salad: The sweetness of fresh corn, combined with lime and cheese, pairs beautifully with the tangy slaw, creating a colorful and vibrant side that screams summer!
-
Zesty Rice and Beans: The hearty textures of seasoned rice and beans complement the lightness of the tacos, creating a satisfying plate that keeps everyone full. Plus, it’s a classic Mexican side that belongs on your table!
-
Chilled Cerveza: A cold Mexican lager perfectly accompanies the crispy fish, refreshing your palate and enhancing your taco night vibe. The light carbonation cuts through the richness, making each sip a delight.
-
Garden Fresh Salsa: Bright and zesty, a fresh salsa adds an extra layer of flavor and crunch! The tomatoes and cilantro enhance the fresh elements in your tacos, making every bite brighter.
-
Cilantro Lime Rice: The herbaceous notes of cilantro with a hint of lime amplify the flavors of your fish tacos. Its light texture creates a nice contrast to the crispy fish while supporting the dish's fresh theme.
-
Churros with Chocolate Sauce: For a sweet finish, serve churros dusted with cinnamon and sugar. They provide a fun, whimsical touch to complete the meal and are perfect for dipping into warm chocolate sauce.
Make Ahead Options
These Crispy Beer Battered Fish Tacos with Cilantro Slaw are perfect for meal prep aficionados! You can prepare the cilantro slaw up to 24 hours in advance. Simply mix the slaw ingredients, toss well, and refrigerate in an airtight container to keep it fresh and crunchy. Additionally, you can thaw and season the fish fillets ahead of time; just keep them covered in the fridge for up to 3 days. When it's time to serve, simply dip the prepped fish in the batter and fry them to golden perfection. This way, you'll enjoy delicious, homemade tacos with minimal effort after a long day!
Expert Tips for Beer Battered Fish Tacos
Hot Oil: Ensure your oil reaches around 350°F before frying to achieve the perfect crispiness without greasiness.
Batch Frying: Avoid overcrowding the pan; fry fish in small batches to maintain oil temperature for even cooking.
Dry Fish: Pat your fish dry before battering. Excess moisture can lead to soggy tacos and prevent the batter from sticking properly.
Season Well: Don't forget to season the fish with salt and pepper before coating it; this enhances the flavor of your Beer Battered Fish Tacos.
Crispiness Factor: For an extra crunch, consider adding a teaspoon of cayenne pepper or garlic powder to the batter.
Storage Tip: Keep your fried fish and cilantro slaw in separate airtight containers to maintain their freshness and texture for the next day.
Beer Battered Fish Tacos with Cilantro Slaw Recipe FAQs
What type of fish is best to use for beer battered fish tacos?
Absolutely! Firm white fish like cod or catfish is ideal because it holds up well during frying. However, you can also use tilapia, halibut, or even shrimp. The key is to choose a mild-flavored fish that can absorb the batter's flavors without overpowering the dish.
How should I store leftover beer battered fish and slaw?
Very! To maintain optimal freshness, store the fried fish and cilantro slaw in separate airtight containers in the refrigerator. They will stay good for up to 2 days. I often recommend reheating the fish in an oven at 375°F for about 10 minutes to regain that delicious crispiness.
Can I freeze the fried fish from the tacos?
Of course! To freeze the fried fish, first, let them cool completely. Then, place the pieces on a baking sheet lined with parchment paper and freeze until firm, about 1-2 hours. Once firm, transfer the fish to a freezer bag and store for up to 1 month. To reheat, bake directly from frozen in the oven at 375°F for 15-20 minutes.
What should I do if my beer batter isn't crispy?
If your batter isn’t crispy, there could be a couple of factors at play! First, make sure your oil is hot enough—around 350°F is ideal. Secondly, avoid overcrowding the pan; frying too many pieces at once can lower the oil temperature. Lastly, ensure you're frying with dry, well-patted fish to prevent moisture from making the batter soggy.
Are these tacos kid-friendly and suitable for picky eaters?
Yes, definitely! The crispy texture and mild flavors of beer battered fish tacos with cilantro slaw make them a hit even among picky eaters. You can also customize the toppings to suit your family's tastes—try omitting cilantro or adjusting the spice levels to create a kid-friendly version!
What are good alternatives for allergies or dietary restrictions?
For those needing gluten-free options, simply substitute the all-purpose flour with a gluten-free flour blend and use gluten-free beer or sparkling water for the batter. Additionally, for vegan diets, replace the egg with a flax egg (1 tablespoon of ground flaxseed mixed with 3 tablespoons of water), ensuring a delightfully crispy result while catering to dietary needs!
Crispy Beer Battered Fish Tacos with Cilantro Slaw Magic
Ingredients
Equipment
Method
- In a mixing bowl, whisk together all-purpose flour, cornstarch, paprika, and baking powder. Slowly pour in beer and add a beaten egg, stirring until mixed but slightly lumpy.
- Thaw fish fillets and pat dry. Season with salt and pepper, dredge in flour, then dip into the beer batter.
- Heat vegetable oil in a skillet. Fry battered fish for 2-4 minutes on each side until golden brown. Remove and drain on paper towels.
- Combine cabbage slaw, green onions, cilantro, lime juice, apple cider vinegar, vegetable oil, sugar, and salt in a bowl. Toss together and let chill for 10 minutes.
- Warm corn tortillas in a skillet. Assemble tacos with fried fish and top with cilantro slaw. Serve immediately.