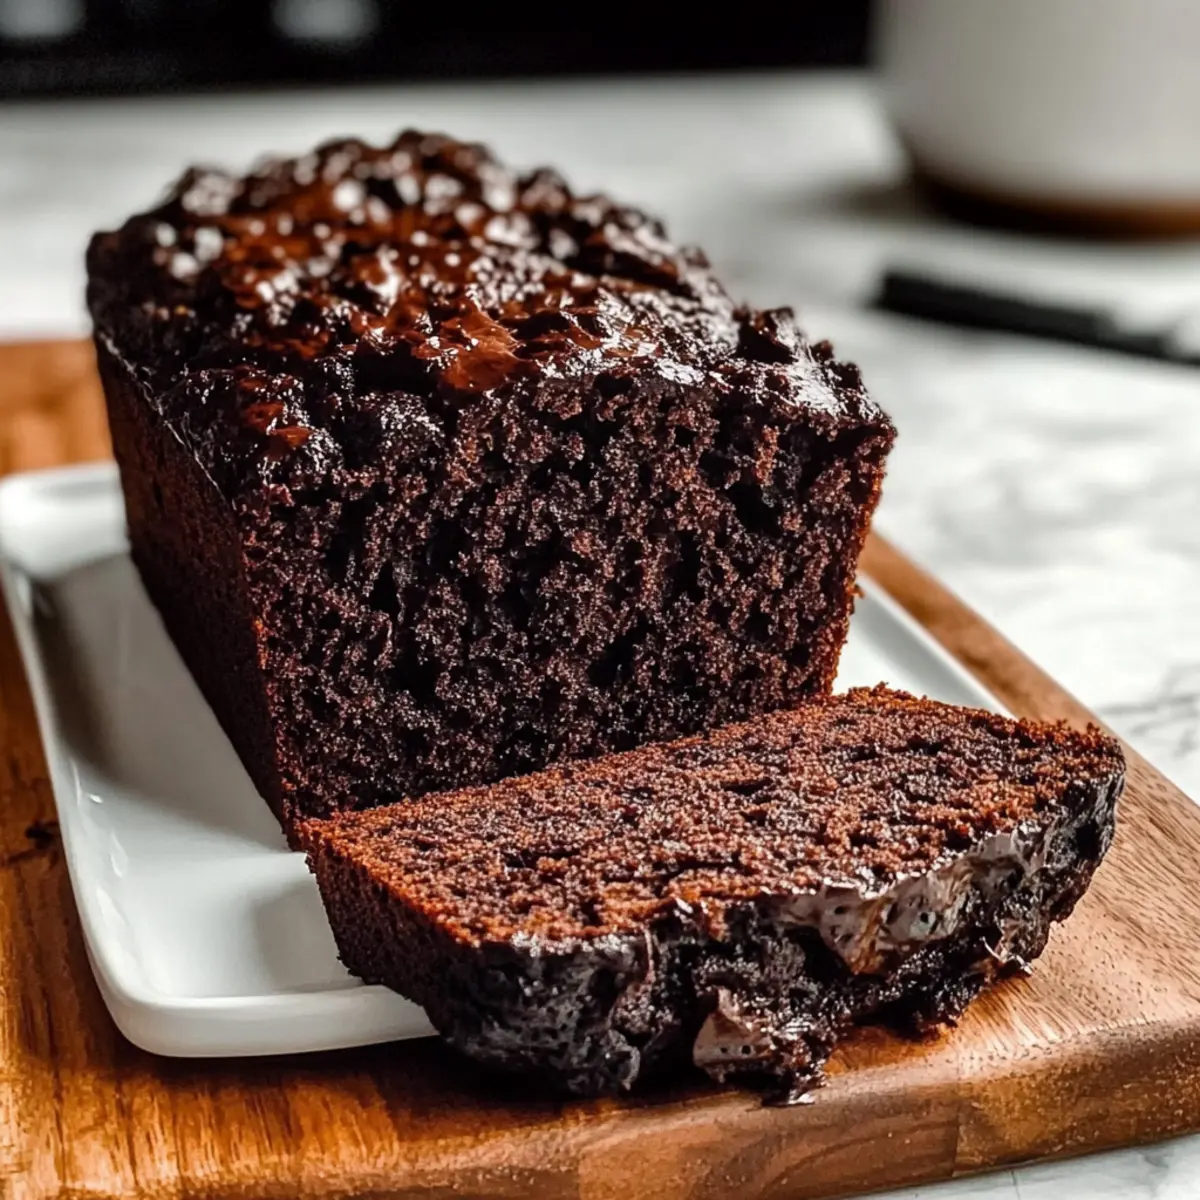
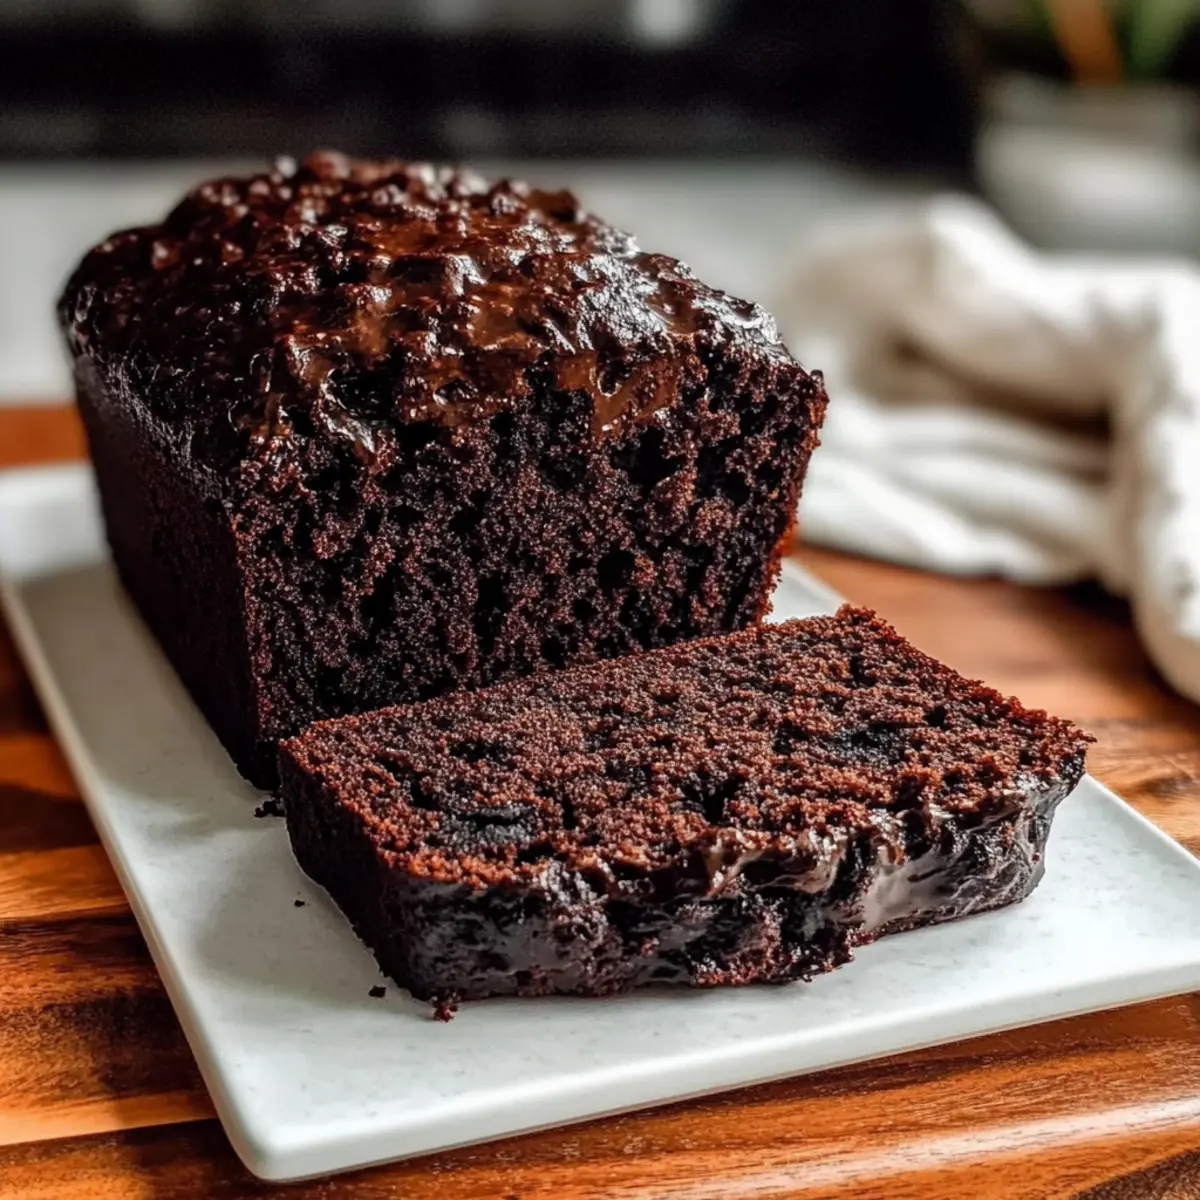
As I pulled the warm loaf from the oven, a rich chocolate aroma filled my kitchen, weaving a warm invitation for anyone who happened to be nearby. This Super Moist Double Chocolate Zucchini Bread is my secret weapon for transforming a standard breakfast into an indulgent affair while sneaking in some hidden veggies. With just the right sweetness and an incredibly moist texture, it's perfect for a cozy morning or a delightful afternoon treat. Plus, it’s a great way to use up that garden-fresh zucchini or leftover produce! Not only does this recipe bring together the joy of baking and the love of chocolate, but it's also an easy way to create a healthier dessert that everyone will enjoy. Curious about how a simple vegetable can elevate your baking game? Let’s dive in!
Why is Zucchini Bread So Irresistible?
Hidden Veggies: This recipe cleverly incorporates zucchini, transforming your typical dessert into a health-friendly treat without sacrificing flavor.
Moist and Delicious: With its rich chocolate flavor, this bread is the epitome of indulgence—lighter than a cake yet just as satisfying.
Quick to Prepare: Perfect for busy mornings or last-minute gatherings, this quick bread can be mixed up in no time, ensuring minimal fuss and maximum flavor.
Perfect Pairing: Enjoy a slice alongside your favorite cup of coffee or tea, making it a delightful breakfast or afternoon snack.
Freezer Friendly: Bake a loaf now and save some for later! This bread freezes exceptionally well—simply store in an airtight container for future cravings.
Dive into this scrumptious Super Moist Double Chocolate Zucchini Bread, and you’ll wonder how you ever lived without it!
Super Moist Double Chocolate Zucchini Bread Ingredients
• To whip up this delightful chocolate treat, gather the following ingredients that turn typical baking into a rich, health-conscious indulgence filled with hidden veggies!
For the Batter
- All-Purpose Flour – Provides structure; swap with whole wheat flour for more nutrition.
- Cocoa Powder – Unsweetened cocoa gives a deep, rich chocolate flavor; Dutch-processed cocoa can give a smoother taste.
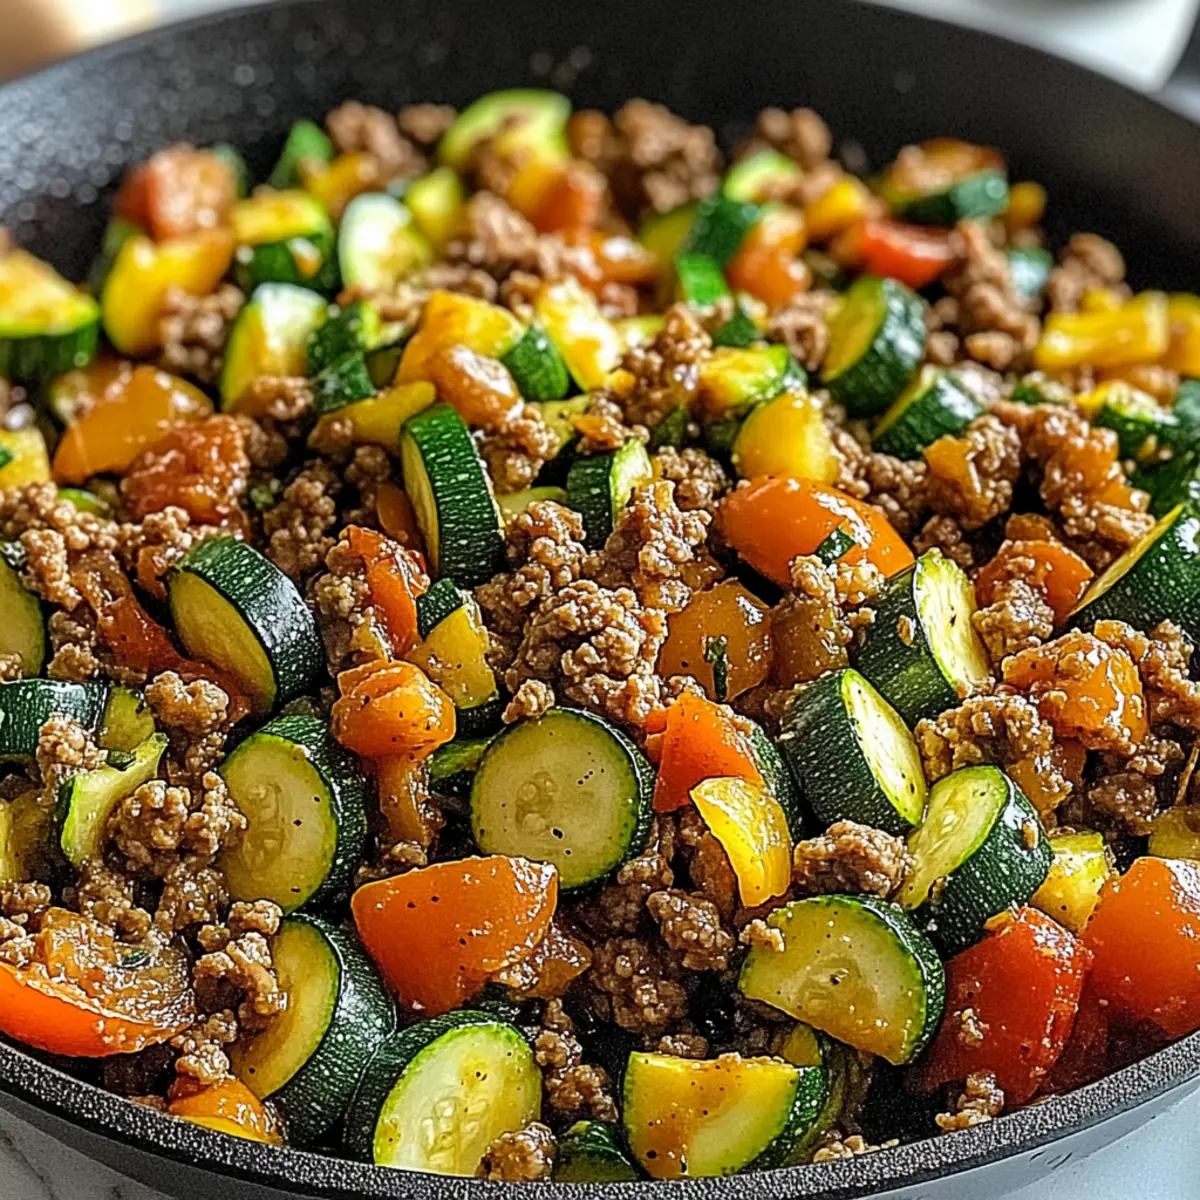
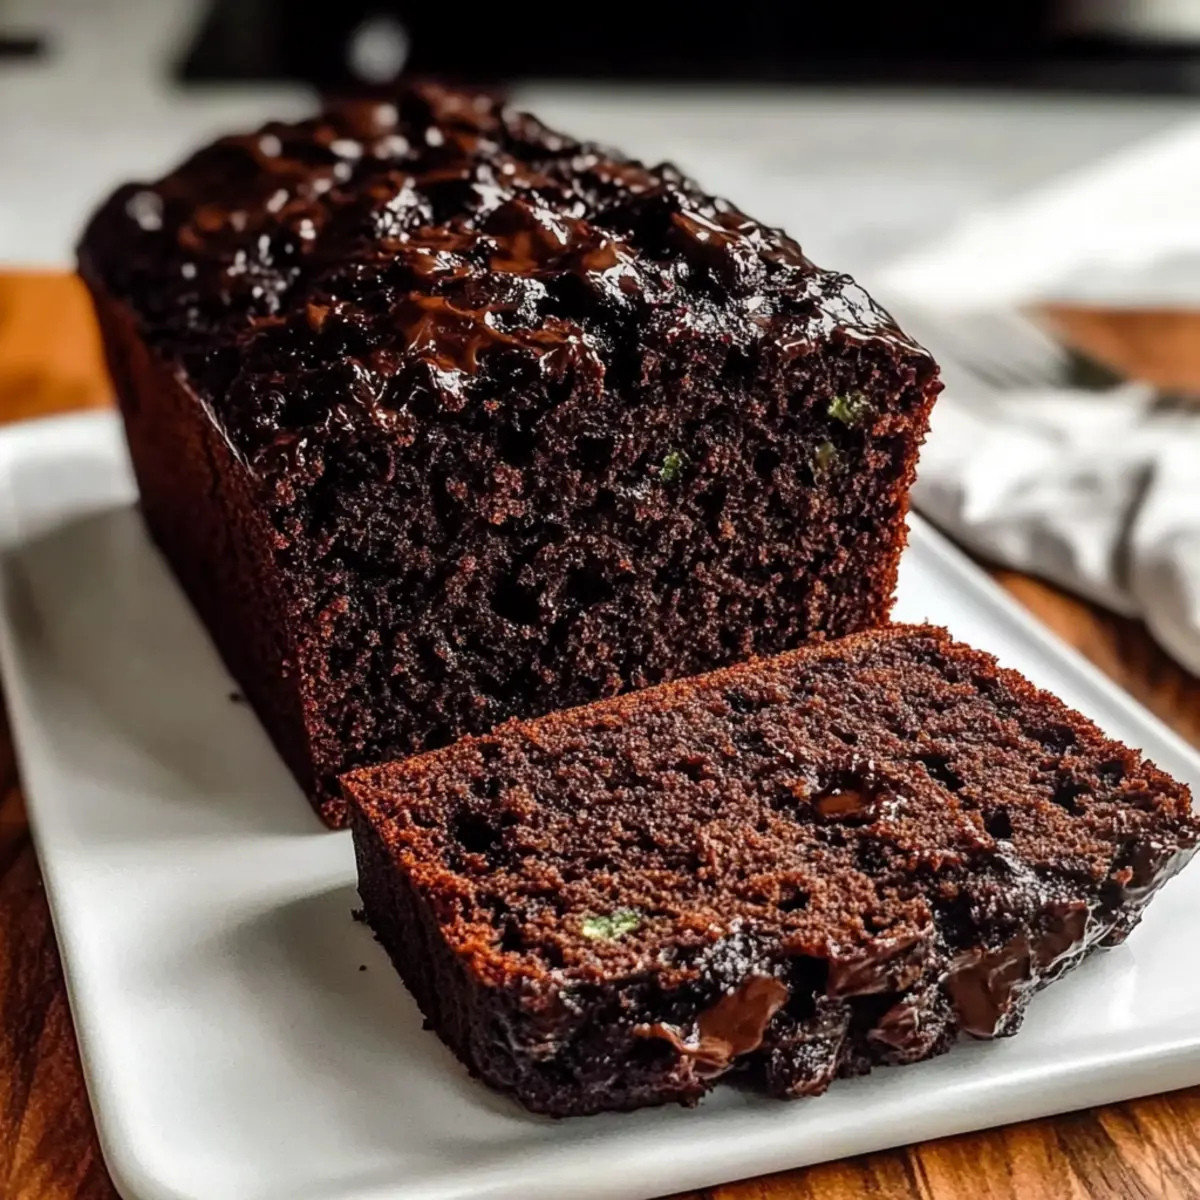
- Zucchini – The star ingredient; freshly grated zucchini adds moisture—don't forget to squeeze out excess liquid!
- Sour Cream/Greek Yogurt – Adds tang and moisture; buttermilk or applesauce can lighten it up.
- Vegetable Oil – Contributes moisture and richness; substitute with melted coconut oil for a different flavor.
- Eggs – Binds everything together while adding lift; absolutely essential for a perfectly moist loaf.
- Granulated Sugar & Brown Sugar – Sweetens the bread, with brown sugar boosting moisture for that tender crumb.
- Vanilla Extract – Enhances overall flavor; it’s optional but truly recommended for a fragrant finish.
- Semi-sweet Chocolate Chips – Extra chocolate goodness; opt for dark chocolate for something richer or milk chocolate for sweetness.
By using these ingredients, you'll get to experience the marvel that is Super Moist Double Chocolate Zucchini Bread—giving dessert a whole new meaning!
Step‑by‑Step Instructions for Super Moist Double Chocolate Zucchini Bread
Step 1: Preheat and Prepare the Pan
Preheat your oven to 350°F (175°C). While it warms up, grab a 9x5 inch loaf pan and grease it with butter or non-stick spray, or line it with parchment paper for easy removal. This will ensure your Super Moist Double Chocolate Zucchini Bread comes out effortlessly once it's baked to perfection.
Step 2: Mix the Dry Ingredients
In a medium-sized bowl, whisk together 1 ¾ cups of all-purpose flour, ¾ cup of unsweetened cocoa powder, 1 teaspoon of baking soda, 1 teaspoon of baking powder, and ½ teaspoon of salt until the mixture is smooth and even. This dry blend is essential for creating that rich chocolate flavor while keeping the texture light and airy. Set this bowl aside once combined.
Step 3: Beat the Sugars and Eggs
In a large mixing bowl, use an electric mixer to beat together 2 large eggs, ¾ cup of granulated sugar, and ½ cup of brown sugar on medium speed for about 3 minutes, until the mixture is light and fluffy. The air incorporated at this stage will help your Super Moist Double Chocolate Zucchini Bread rise beautifully.
Step 4: Add Oil and Vanilla
Pour in ¾ cup of vegetable oil along with 1 teaspoon of vanilla extract to the egg mixture. Blend these ingredients on low speed until fully combined, ensuring the batter maintains its light, airy texture. The oil contributes to the moistness, which is key for this decadent bread.
Step 5: Incorporate Zucchini and Sour Cream
Stir in ½ cup of sour cream and 1 ½ cups of freshly grated zucchini, ensuring that both ingredients are well distributed throughout the batter. The zucchini will add moisture while keeping the bread healthy and irresistible. Make sure to mix gently so the texture remains inviting and fluffy.
Step 6: Combine Wet and Dry Mixtures
Gradually fold the flour mixture into the wet ingredients, being careful to avoid overmixing. Use a spatula to combine the ingredients just until you see no dry flour—this careful technique is crucial for keeping your Super Moist Double Chocolate Zucchini Bread tender and soft.
Step 7: Add the Chocolate Chips
Gently fold in 1 cup of semi-sweet chocolate chips, reserving a handful for topping if desired. This will amp up the chocolatey goodness everyone loves while maintaining a delightful texture in every slice. Make sure the chips are evenly distributed throughout the batter before moving on to the next step.
Step 8: Pour into the Loaf Pan
Carefully pour the batter into your prepared loaf pan, smoothing the top with a spatula for an even bake. If you saved some chocolate chips, sprinkle them on top now for an extra special treat. This step is key to making your loaf visually appealing and delicious.
Step 9: Bake the Bread
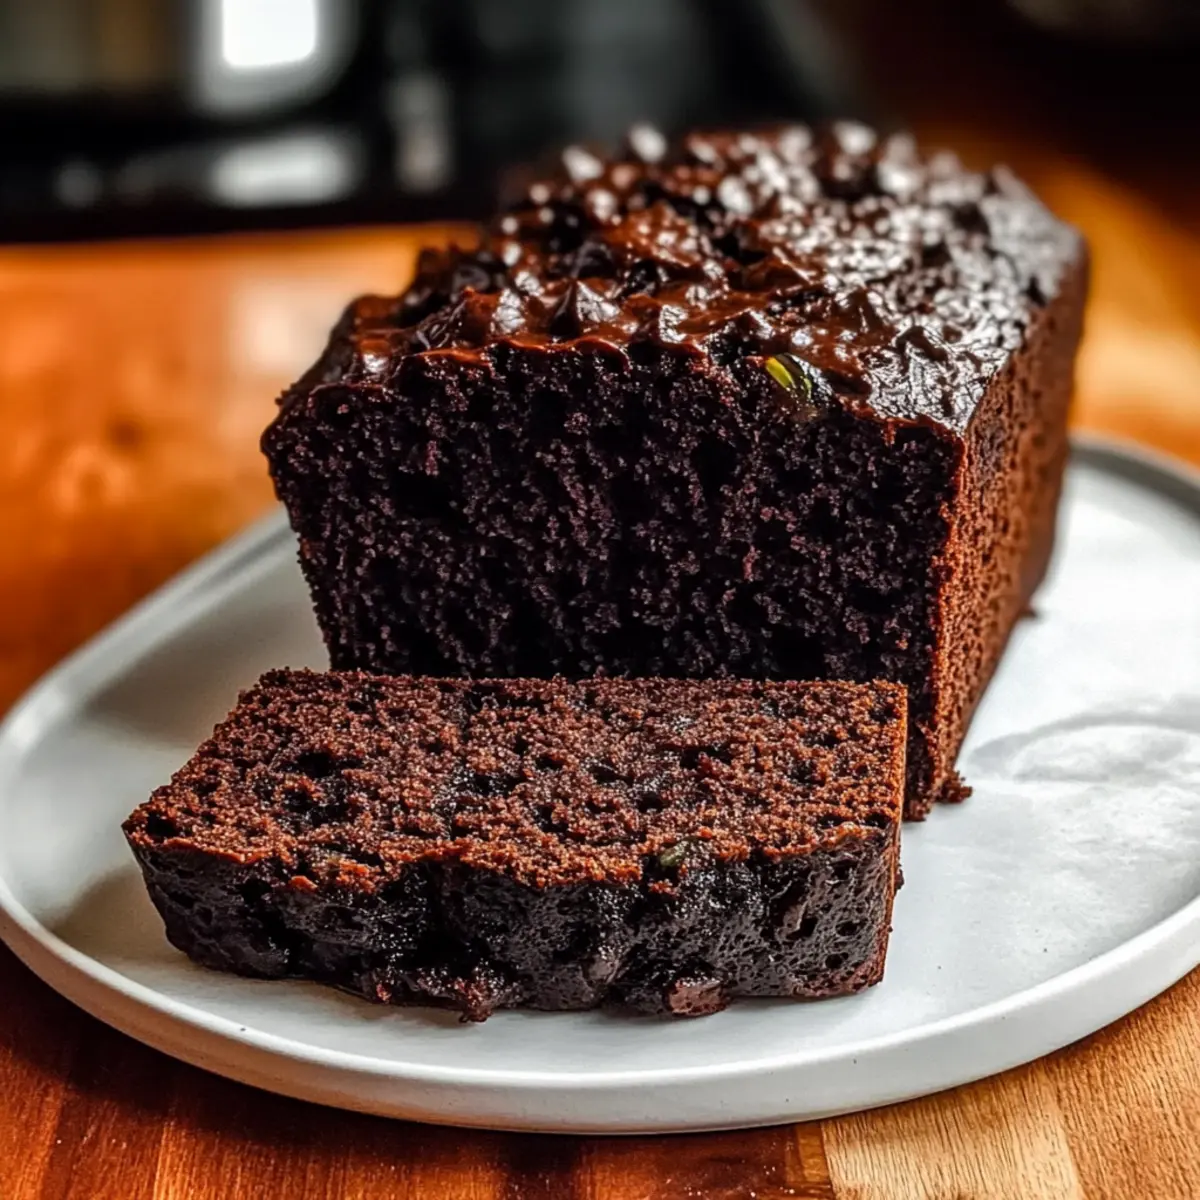
Place the loaf pan in the preheated oven and bake for 55 to 65 minutes. To check for doneness, insert a toothpick into the center of the loaf; it should come out with a few moist crumbs. This step ensures your Super Moist Double Chocolate Zucchini Bread is perfectly baked, neither undercooked nor dry.
Step 10: Cool Before Slicing
Once baked, remove the pan from the oven and let it cool on a wire rack for about 10 minutes. After that, gently turn the loaf out of the pan to cool completely on the rack. Cooling properly is crucial for achieving the ideal texture and allowing the flavors to deepen before slicing into your warm, decadent bread.
Make Ahead Options
These Super Moist Double Chocolate Zucchini Breads are perfect for busy home cooks looking to save time! You can prepare the batter up to 24 hours in advance by mixing all the dry ingredients and separately combining the wet ingredients. Simply refrigerate both mixtures until you're ready to bake. To ensure the best flavor and texture, store the grated zucchini in an airtight container, after squeezing out the excess moisture, so it stays fresh. When you're ready to bake, combine the wet and dry mixtures, fold in the chocolate chips, and bake as directed for a delightful treat that tastes just as fresh as if you made it that day!
How to Store and Freeze Super Moist Double Chocolate Zucchini Bread
- Room Temperature: Keep the bread in an airtight container at room temperature for up to 3 days. This helps maintain moisture while keeping it accessible for quick snacking.
- Fridge: If you prefer to extend shelf life, wrap the bread tightly in plastic wrap and refrigerate for up to 1 week. Just remember to let it come to room temperature before enjoying!
- Freezer: For longer storage, slice the Super Moist Double Chocolate Zucchini Bread and freeze in an airtight container for up to 3 months. This way, you can enjoy a slice whenever the craving strikes.
- Thawing: To thaw, simply leave the wrapped slices at room temperature for about 1-2 hours or microwave them in short intervals until warmed through. Enjoy the freshness!
Super Moist Double Chocolate Zucchini Bread Variations
Feel free to explore these exciting twists that invite your creativity into the kitchen, making each loaf distinctly yours!
-
Whole Wheat Flour: Substitute all-purpose flour for whole wheat flour to add depth and a nutty flavor while boosting nutrition.
-
Chopped Nuts: Add in walnuts or pecans for a delightful crunch that contrasts beautifully with the soft, moist bread. The nuttiness elevates the overall experience!
-
Banana Swap: Replace the zucchini with mashed bananas for a sweeter loaf that’s still packed with moisture and flavor. The banana's natural sweetness pairs perfectly with chocolate!
-
Cocoa Nibs: For a texture twist, consider folding in cocoa nibs for an added crunch and a deeper chocolate flavor dimension.
-
Spice It Up: Add a dash of cinnamon or nutmeg to the batter for warm, aromatic notes. This spice twist can bring a cozy, seasonal touch to your baking.
-
Dairy-Free Option: Swap the sour cream with a silky dairy-free yogurt or applesauce to keep it creamy while making it suitable for non-dairy eaters. Everyone deserves a slice!
-
Dark Chocolate Chunks: Choose dark chocolate chunks instead of semi-sweet chips for a rich, decadent experience that chocolate lovers will cherish.
-
Minty Fresh: Incorporate some peppermint extract to give a refreshing twist, perfect for those who enjoy a hint of mint alongside their chocolate.
These variations not only enhance your Super Moist Double Chocolate Zucchini Bread but also encourage you to experiment further in the kitchen! And remember, if you’re looking for more chocolate-infused treats, check out this delicious Homemade Hot Chocolate.
What to Serve with Super Moist Double Chocolate Zucchini Bread
There's something special about complementing a rich, chocolatey loaf with the right sides, creating a delightful culinary experience.
-
Creamy Mashed Potatoes: The rich, buttery flavor and fluffy texture provide a beautiful contrast to the moist chocolate bread. They make for a comforting combination that feels like a warm hug.
-
Fresh Berries: Bright, juicy strawberries or raspberries add a refreshing tartness, balancing out the sweetness of the bread and enhancing flavors.
-
Whipped Cream: A dollop of lightly sweetened whipped cream elevates your bread to dessert status, providing a luscious contrast with each bite.
-
Nutty Granola: Sprinkle some crunchy granola on top for a delightful texture that adds a nice crunch against the softness of the zucchini bread.
-
Iced Coffee: The smooth, chilled flavors of iced coffee perfectly complement the warmth of the freshly baked loaf while enhancing the cocoa notes.
-
Vanilla Ice Cream: Serve a warm slice with a scoop of vanilla ice cream for an indulgent treat that highlights the chocolate richness with creamy decadence.
-
Chocolate Milk: For the chocoholics, a cold glass of chocolate milk rounds out the experience, keeping the chocolate theme alive.
-
Coconut Macaroons: These chewy delights add a tropical flair to the table, their sweetness marrying beautifully with the chocolate and zucchini flavor.
Expert Tips for Super Moist Double Chocolate Zucchini Bread
- Squeeze Zucchini: Make sure to squeeze out excess moisture from the grated zucchini. This prevents a soggy loaf and maintains the ideal texture.
- Mix Gently: Avoid overmixing the batter! Mixing until just combined will keep your Super Moist Double Chocolate Zucchini Bread light and fluffy.
- Cool in the Pan: Always allow the bread to cool in the pan for 10 minutes before transferring to a wire rack to avoid breaking.
- Check for Doneness: Use a toothpick to test doneness; it should come out with a few moist crumbs for the perfect bake.
- Experiment with Mix-ins: Feel free to add chopped nuts or different types of chocolate chips. This can create a delightful twist on your classic bread!
Super Moist Double Chocolate Zucchini Bread Recipe FAQs
What kind of zucchini should I use for the recipe?
Absolutely! Fresh, garden-fresh zucchini is ideal for this recipe. Look for firm zucchinis without dark spots; those are signs of ripeness. If you find larger zucchinis, you may want to scoop out the seeds for more even grilling.
How should I store leftover zucchini bread?
I recommend storing your Super Moist Double Chocolate Zucchini Bread in an airtight container at room temperature for up to 3 days. Alternatively, you can refrigerate it wrapped tightly in plastic wrap for up to 1 week if you want to extend its freshness.
Can I freeze this chocolate zucchini bread?
Very! To freeze, slice the bread and wrap each slice in plastic wrap, then place them in an airtight container. It will keep well for up to 3 months. When you’re ready to enjoy it, thaw the slices at room temperature for about 1-2 hours or give them a quick zap in the microwave to warm them up.
Why is my zucchini bread turning out soggy?
Oh no, we don’t want that! A common culprit is excess moisture from the zucchini. Be sure to squeeze out as much liquid as possible before mixing it into your batter. Also, avoid overmixing the batter; this helps keep the texture light and fluffy.
Is this recipe suitable for those with allergies?
When accommodating allergies, ingredient substitutions are key! You can make this recipe gluten-free by using a gluten-free baking blend for the all-purpose flour. If you’re avoiding dairy, opt for a dairy-free yogurt or applesauce instead of sour cream.
What is the best way to enjoy the zucchini bread?
The more the merrier! This Super Moist Double Chocolate Zucchini Bread is delectable warm or at room temperature. Serve it alongside a cup of coffee or tea for a cozy breakfast or afternoon snack, and consider adding a dollop of whipped cream or a spread of nut butter for an extra treat.
Super Moist Double Chocolate Zucchini Bread for Guilt-Free Indulgence
Ingredients
Equipment
Method
- Preheat your oven to 350°F (175°C) and prepare a 9x5 inch loaf pan by greasing it or lining it with parchment paper.
- In a medium bowl, whisk together the flour, cocoa powder, baking soda, baking powder, and salt until smooth.
- In a large bowl, beat together the eggs, granulated sugar, and brown sugar with an electric mixer for about 3 minutes.
- Add the vegetable oil and vanilla extract to the egg mixture and blend on low speed.
- Stir in the sour cream and grated zucchini, mixing until well distributed.
- Gently fold the dry mixture into the wet ingredients until just combined.
- Fold in the chocolate chips, reserving a handful for topping if desired.
- Pour the batter into the prepared loaf pan, smoothing the top and adding reserved chocolate chips on top.
- Bake for 55 to 65 minutes, checking with a toothpick for doneness.
- Cool the bread in the pan for 10 minutes before transferring to a wire rack to cool completely.