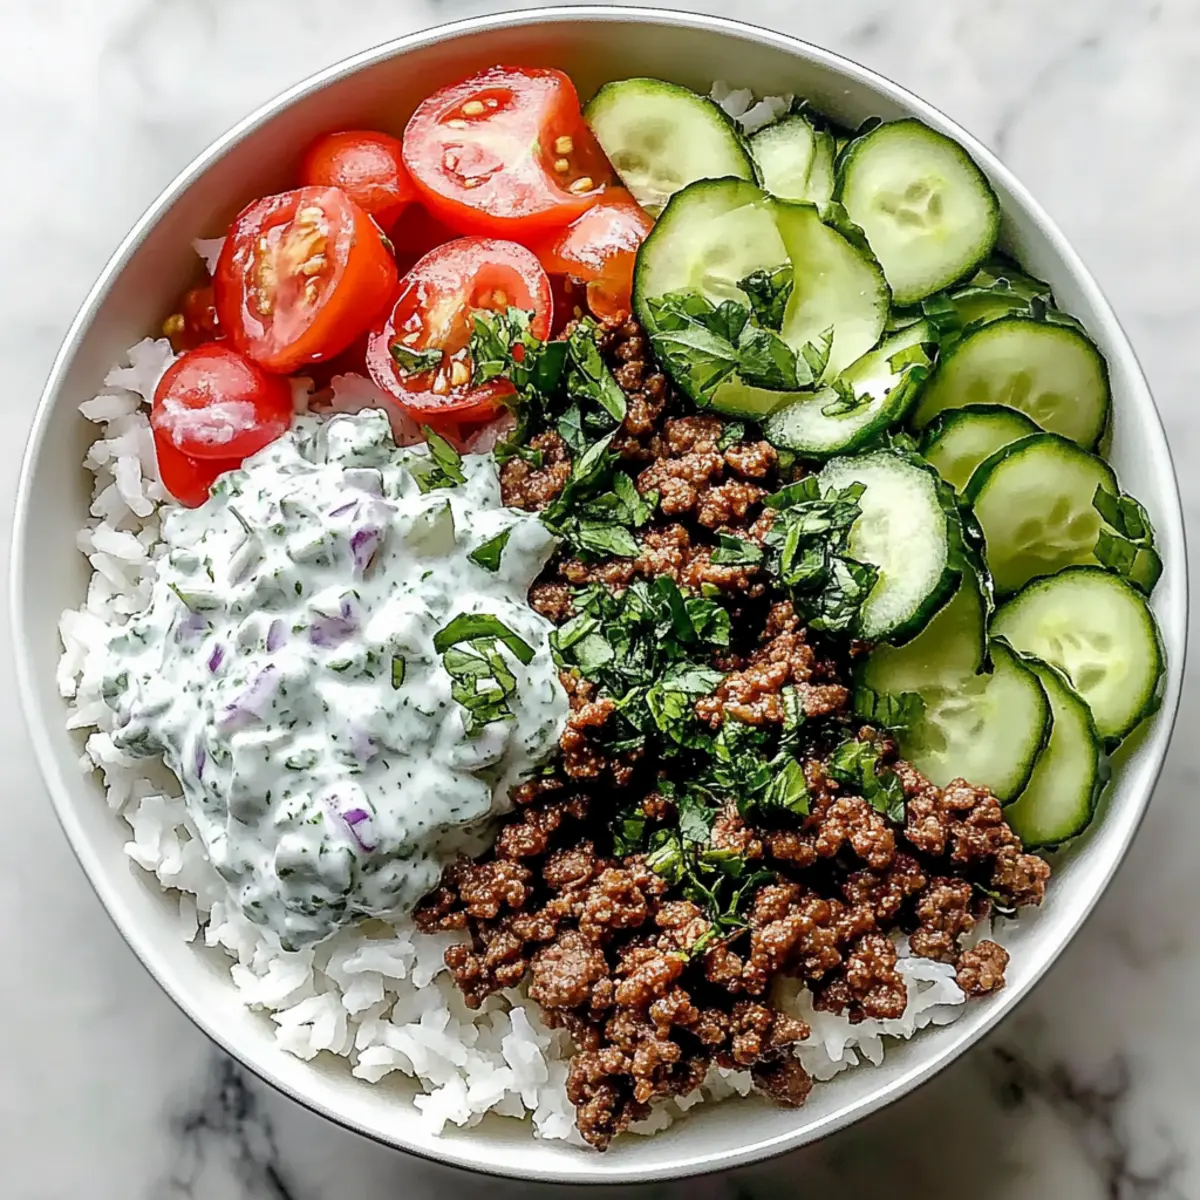
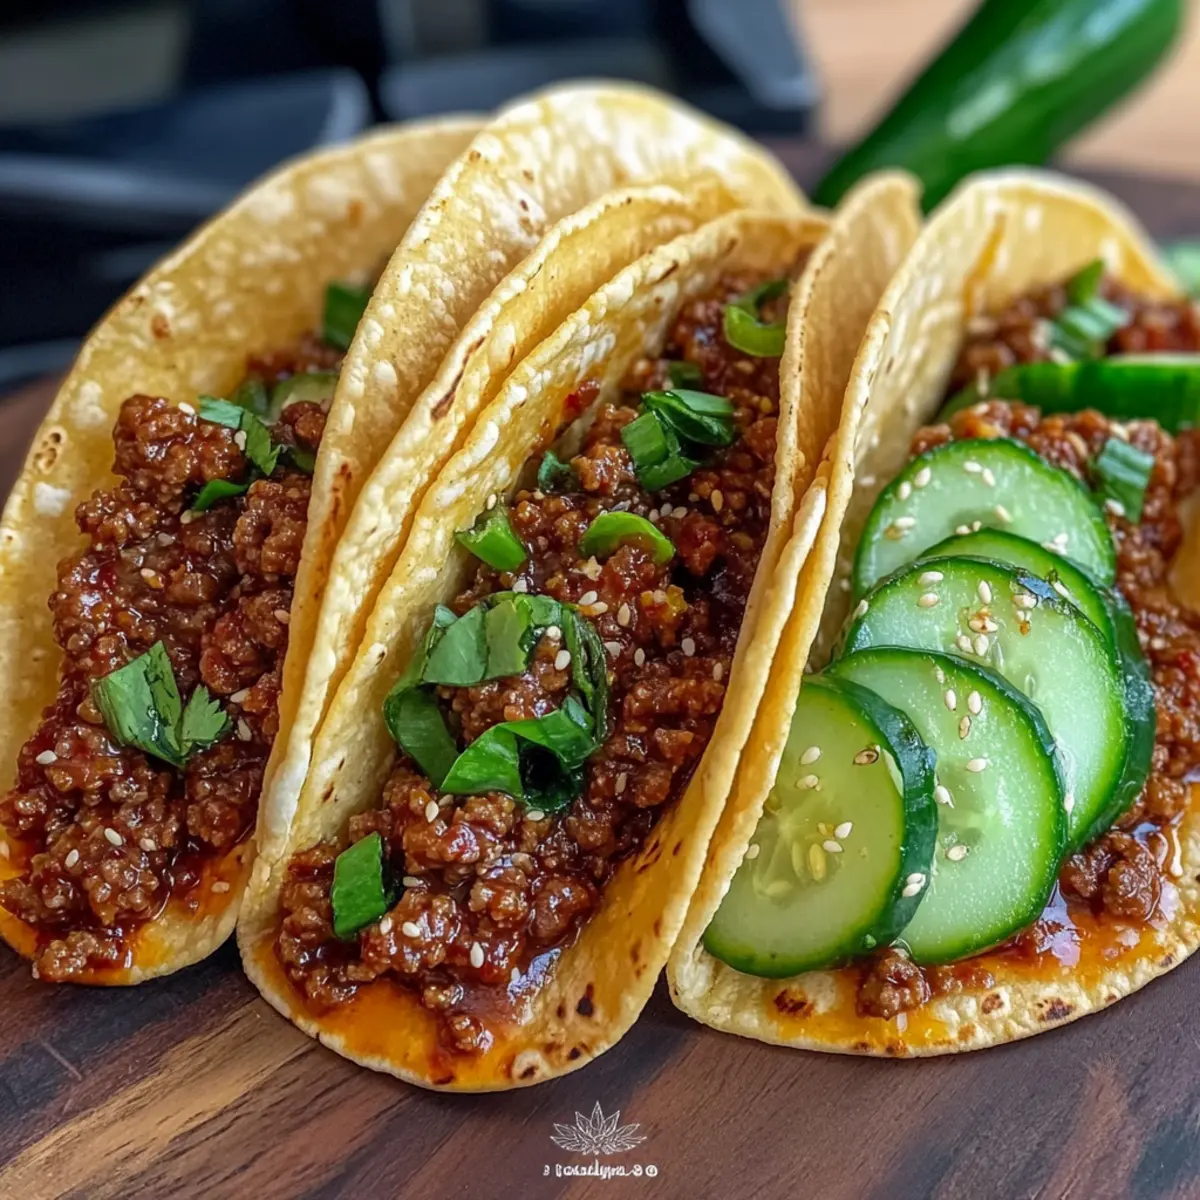
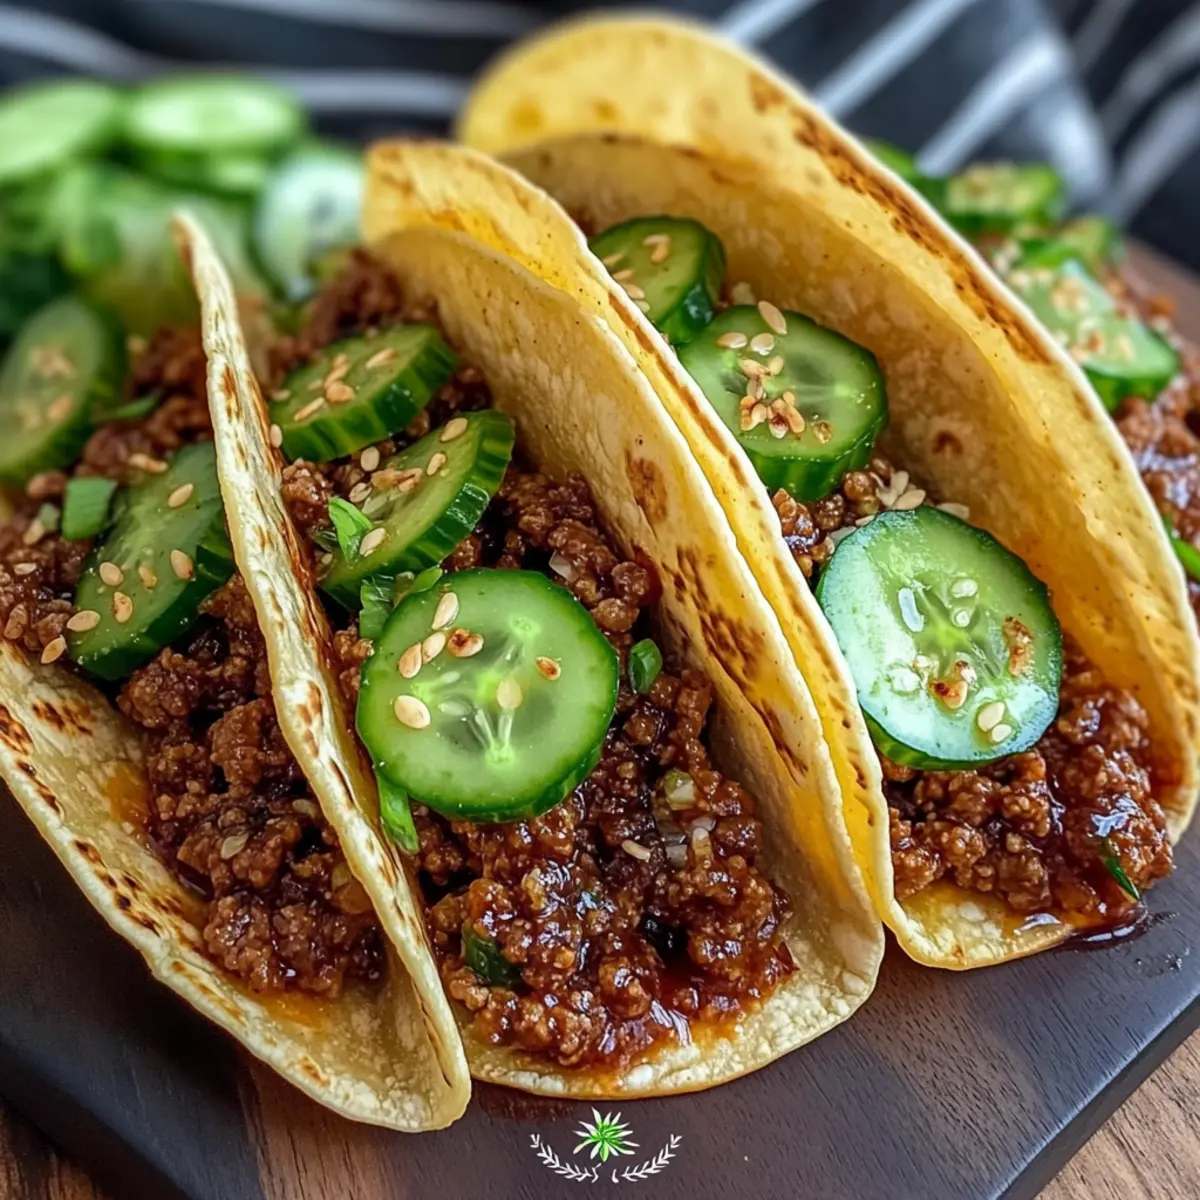
Amidst the chaos of everyday life, there’s magic in finding a dish that feels like a warm hug. Enter my Savory Slow Cooker Korean Ground Beef Tacos with Quick Pickled Cucumber—a delightful creation that brings the heart of Korean flavors into your kitchen with minimal fuss. This easy weeknight meal is perfect for those of us craving something exciting yet achievable, as the slow cooker does all the heavy lifting. Plus, you’ll love how the sweet and salty beef pairs beautifully with the fresh crunch of tangy cucumbers. Whether you’re entertaining friends or enjoying a cozy dinner for one, these tacos deliver a taste of adventure without the hassle. Curious about how to make this irresistible dish your new go-to? Let’s dive in!
Why are these tacos so irresistible?
Convenient Cooking: With a slow cooker, you can toss in your ingredients and let them mingle while you go about your day.
Bold Korean Flavors: The sweet and savory notes of ground beef, paired with fresh cucumbers, elevate taco night to an exciting feast.
Versatile Substitutions: Easily swap ground beef for turkey or chicken, making it perfect for any dietary preference.
Quick Pickling Magic: The vibrant tang of quick pickled cucumbers adds a refreshing crunch that beautifully contrasts with the rich beef.
Crowd-Pleasing Delight: Whether for family meals or gatherings, these tacos will have everyone raving and coming back for seconds!
Check out Unique Shrimp Tacos Zesty for another delicious option to impress your guests.
Slow Cooker Korean Ground Beef Tacos Ingredients
• Get ready for a flavorful adventure!
For the Beef Filling
- Ground Beef – A savory base that provides rich flavor; can be replaced with ground turkey or chicken for a lighter option.
- Soy Sauce – Adds depth of flavor and umami richness; swap with tamari for a gluten-free option.
- Fresh Ginger (grated) – Infuses a bright and aromatic note; avoid using powdered ginger for the best taste.
- Garlic (minced) – Enhances the overall flavor; using fresh minced garlic is key for brightness.
- Gochugaru (Korean chili flakes) – Provides a unique smoky heat; if unavailable, crushed red pepper can stand in nicely.
For the Quick Pickled Cucumbers
- Cucumbers – A refreshing crunch is crucial; slice them thinly for optimal pickling.
- Rice Vinegar – Adds tanginess to the pickles; you can substitute with apple cider vinegar if needed.
- Sugar – Balances the acidity of the vinegar and enhances the overall flavor.
- Salt – Essential for flavoring the pickles; a pinch goes a long way!
For Serving
- Sesame Oil – Stir in at the end to add a rich, nutty aroma; this elevates the overall flavor profile.
- Tortillas – Use them as the vessel for your tacos; corn tortillas are a great gluten-free option.
Enjoy the ease and deliciousness of these Slow Cooker Korean Ground Beef Tacos in your kitchen!
Step‑by‑Step Instructions for Savory Slow Cooker Korean Ground Beef Tacos
Step 1: Prepare Beef Mixture
In your slow cooker, combine 1 pound of ground beef with ¼ cup of soy sauce, 1 tablespoon of grated fresh ginger, 3 cloves of minced garlic, and 1 tablespoon of gochugaru. Stir well to ensure all ingredients are mixed thoroughly. The flavors will meld beautifully as they cook.
Step 2: Cook the Beef
Cover your slow cooker and set it to low heat. Allow the beef mixture to cook for 4 to 5 hours, or until the beef is tender and can be easily crumbled with a fork. Check the doneness at 3.5 hours; the beef should be juicy and well-cooked, ready to absorb the flavors.
Step 3: Make Pickled Cucumbers
While the beef is cooking, prepare your quick pickled cucumbers. In a mixing bowl, combine thinly sliced cucumbers, ½ cup of rice vinegar, 1 tablespoon of sugar, and a pinch of salt. Toss gently and let them sit at room temperature to pickle for approximately 30 minutes, allowing the flavors to develop.
Step 4: Stir and Rest
Once the slow cooking time is up, stir in 1 tablespoon of sesame oil into the beef mixture. Allow the beef to rest, covered, for about 10 minutes in the cooker. This resting period helps retain the juices, making your Savory Slow Cooker Korean Ground Beef Tacos even more flavorful and moist.
Step 5: Assemble Tacos
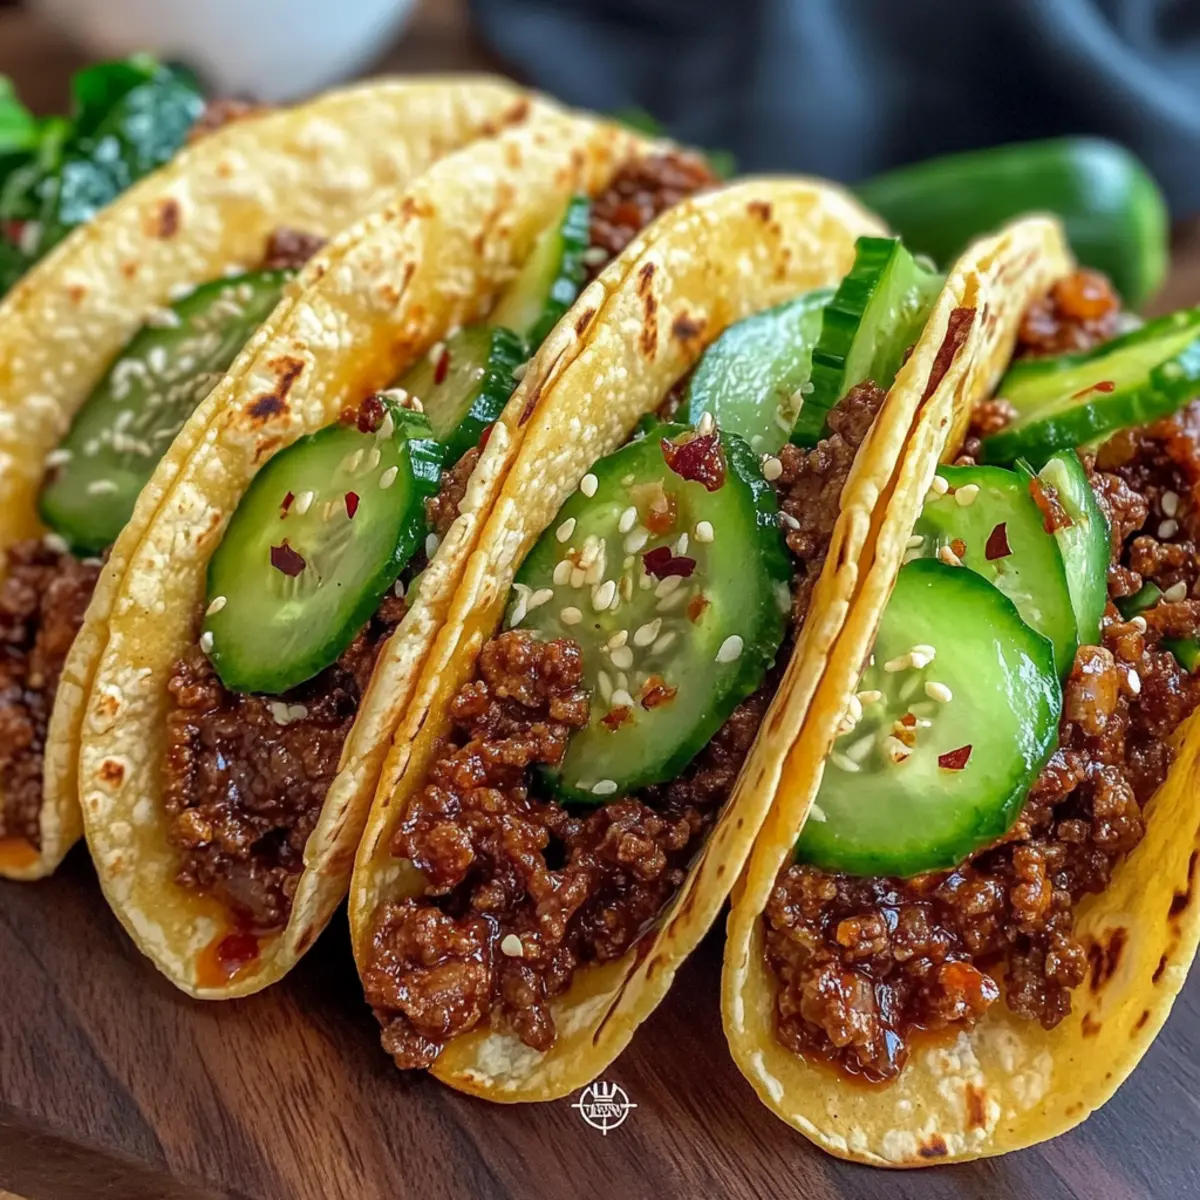
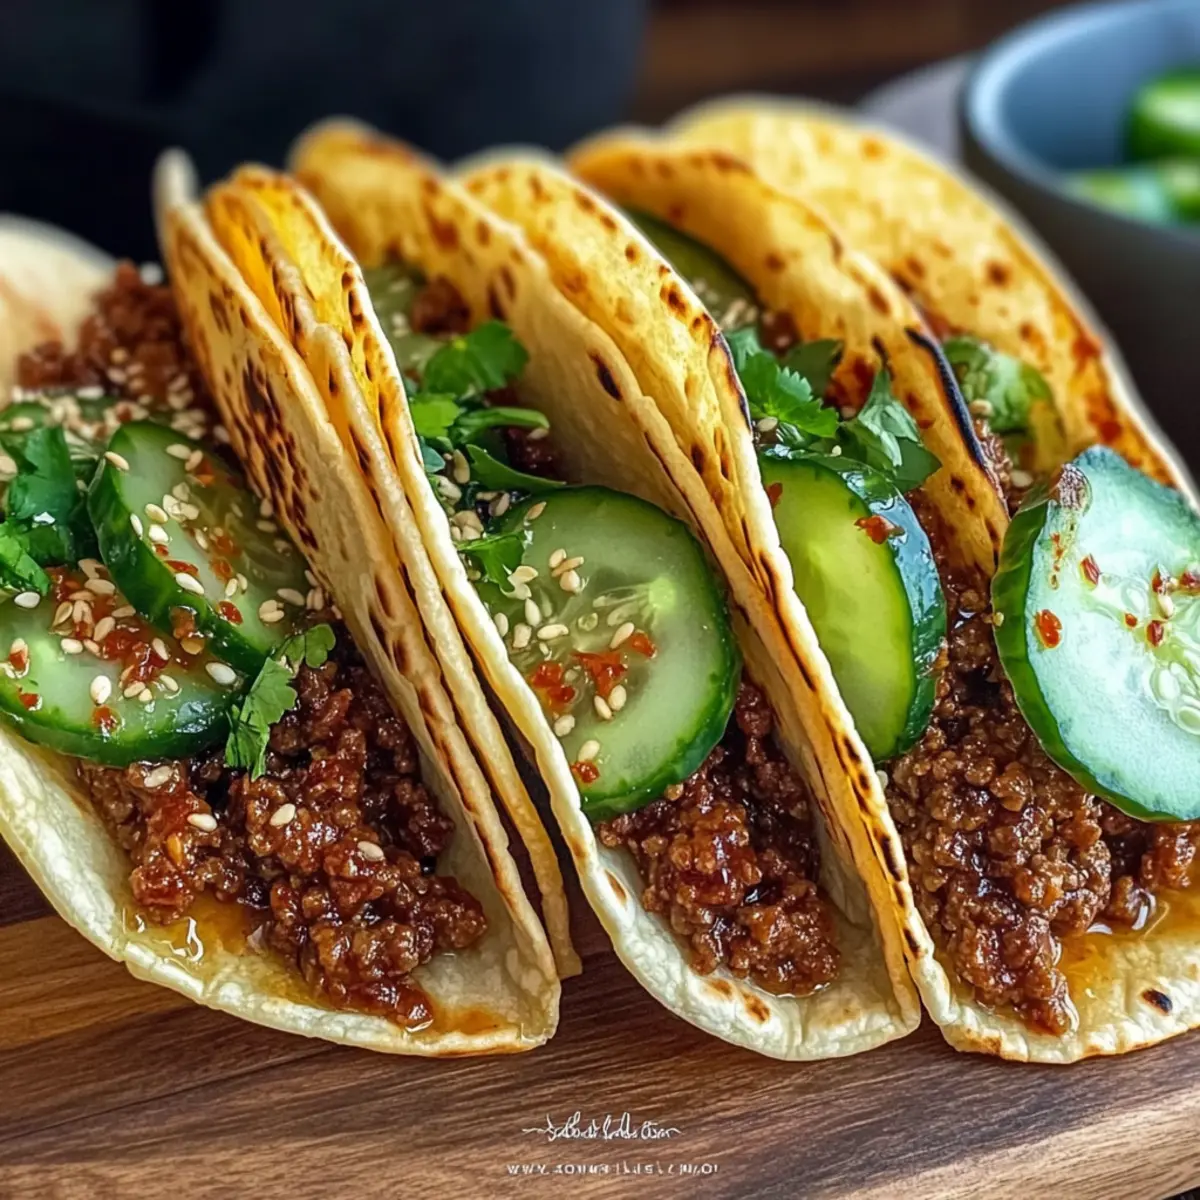
To serve, warm your tortillas in a dry skillet or microwave. Spoon the flavorful beef mixture onto each tortilla, then top generously with the quick pickled cucumbers. The combination of tender beef with the crunch of pickled cucumbers creates a delightful taste experience you won't forget. Enjoy your tacos!
Expert Tips for Slow Cooker Korean Ground Beef Tacos
-
Cook Time Check: Always check your slow cooker’s heat level; some cook hotter than others and can dry out your beef if left too long.
-
Fresh Ingredients: Use fresh ginger and garlic; they significantly enhance the flavor of your beef, making these tacos truly irresistible.
-
Stirring Matters: Don’t forget to stir the beef mixture halfway through cooking. This helps redistribute juices for a more flavorful filling.
-
Accelerated Pickling: If you're short on time, stir the cucumbers every few minutes while they pickle; it speeds up the process and improves flavor absorption.
-
Tortilla Warmth: Warm your tortillas before serving to elevate your taco experience; it keeps them pliable and enhances overall enjoyment with the beef.
Make Ahead Options
These Savory Slow Cooker Korean Ground Beef Tacos are perfect for those bustling weeknights when time is tight! You can prep the beef mixture (combining the ground beef, soy sauce, ginger, garlic, and gochugaru) up to 24 hours in advance; just store it in an airtight container in the refrigerator. The quick pickled cucumbers can also be prepared ahead and stored in the fridge for up to 5 days—they taste even better as the flavors meld! When you're ready to serve, simply let the beef mixture cook in the slow cooker, and make sure to warm the tortillas right before assembly. This efficient meal prep not only saves you time but ensures a delicious, home-cooked flavor that remains just as delightful. Enjoy the convenience of satisfying tacos that come together with minimal effort!
What to Serve with Savory Slow Cooker Korean Ground Beef Tacos
Imagine a perfectly balanced meal that tantalizes your taste buds while offering a variety of textures and flavors to complement your delightful tacos.
-
Asian Slaw: Light and crunchy, this slaw adds a fresh element that elevates the richness of the beef, providing a perfect balance.
-
Steamed Jasmine Rice: A fluffy base that soaks up the savory juices from the tacos, enhancing each bite with satisfying warmth.
-
Fresh Mango Salsa: The sweet tang of mango contrasts beautifully with the savory beef, adding a fruity brightness that refreshes each mouthful.
-
Kimchi: This traditional Korean side offers a spicy, fermented kick that enhances the umami in your tacos, making each bite even more exciting.
-
Cilantro-Lime Quinoa: Packed with nutty flavor, this quinoa dish naturally complements the spices in the beef while adding a nutritious touch.
-
Sparkling Water with Lime: A refreshing drink that cuts through the richness of the meal, cleansing your palate between bites for a satisfying dining experience.
Enhance your taco night by exploring these vibrant pairings and watch your family and friends thoroughly enjoy every moment!
Storage Tips for Slow Cooker Korean Ground Beef Tacos
Fridge: Store leftover beef in an airtight container for up to 3 days. The flavors will deepen and continue to delight with every bite.
Freezer: Freeze the cooled beef mixture for up to 3 months. Portion in freezer bags, ensuring to squeeze out excess air to prevent freezer burn.
Pickled Cucumbers: Quick pickled cucumbers can be kept in the fridge for about 5 days. Store them in a sealed jar to maintain freshness and crunch.
Reheating: When ready to enjoy, gently reheat the beef in a skillet or microwave. Avoid overcooking to keep its juiciness intact, and serve warm in tortillas with cucumbers.
Slow Cooker Korean Ground Beef Tacos Variations
Feel free to shake things up and make these tacos your own—your taste buds will thank you!
-
Turkey or Chicken: Use ground turkey or chicken for a leaner alternative that still packs a flavor punch. Perfect for those looking to cut down on red meat without sacrificing taste!
-
Spicy Twist: Add extra gochugaru or a splash of sriracha to kick up the heat. This adjustment creates a delightful balance between savory and spicy, appealing to adventurous palates.
-
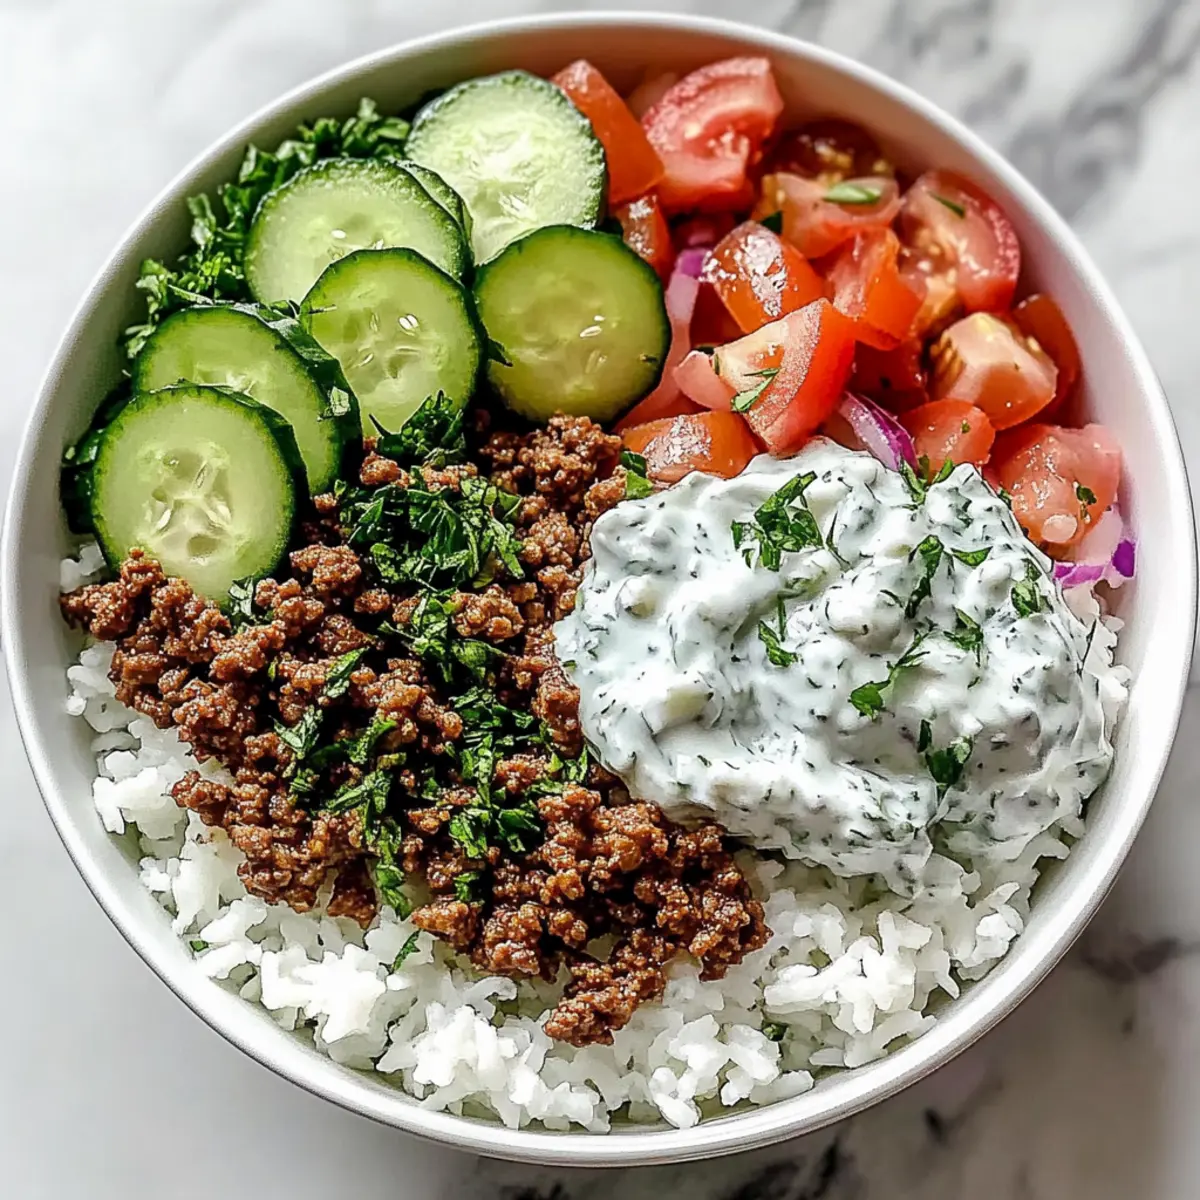
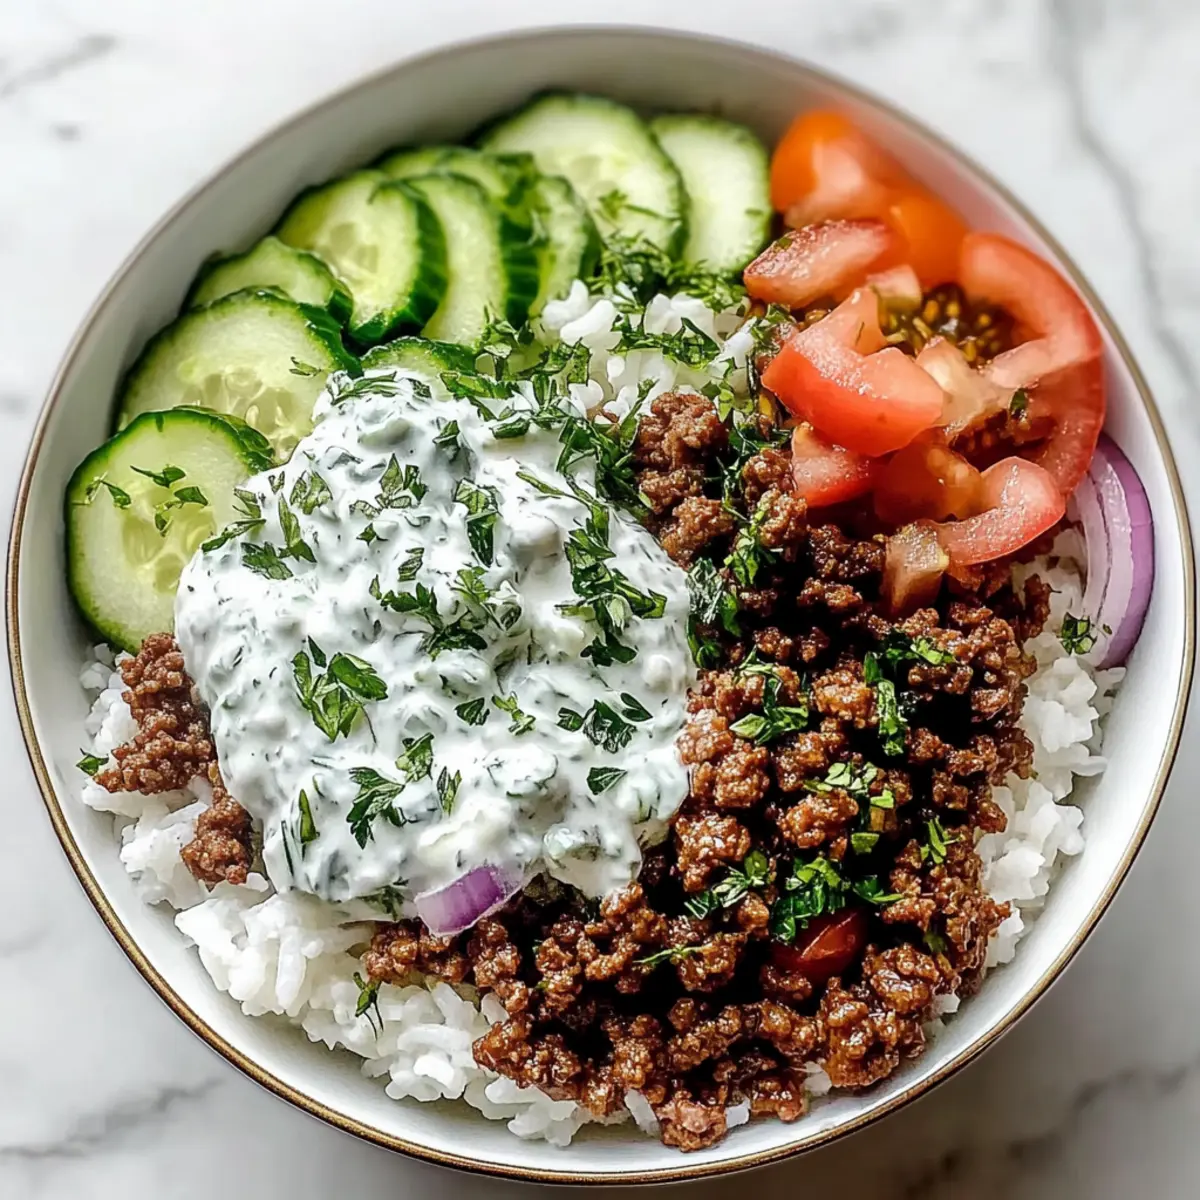
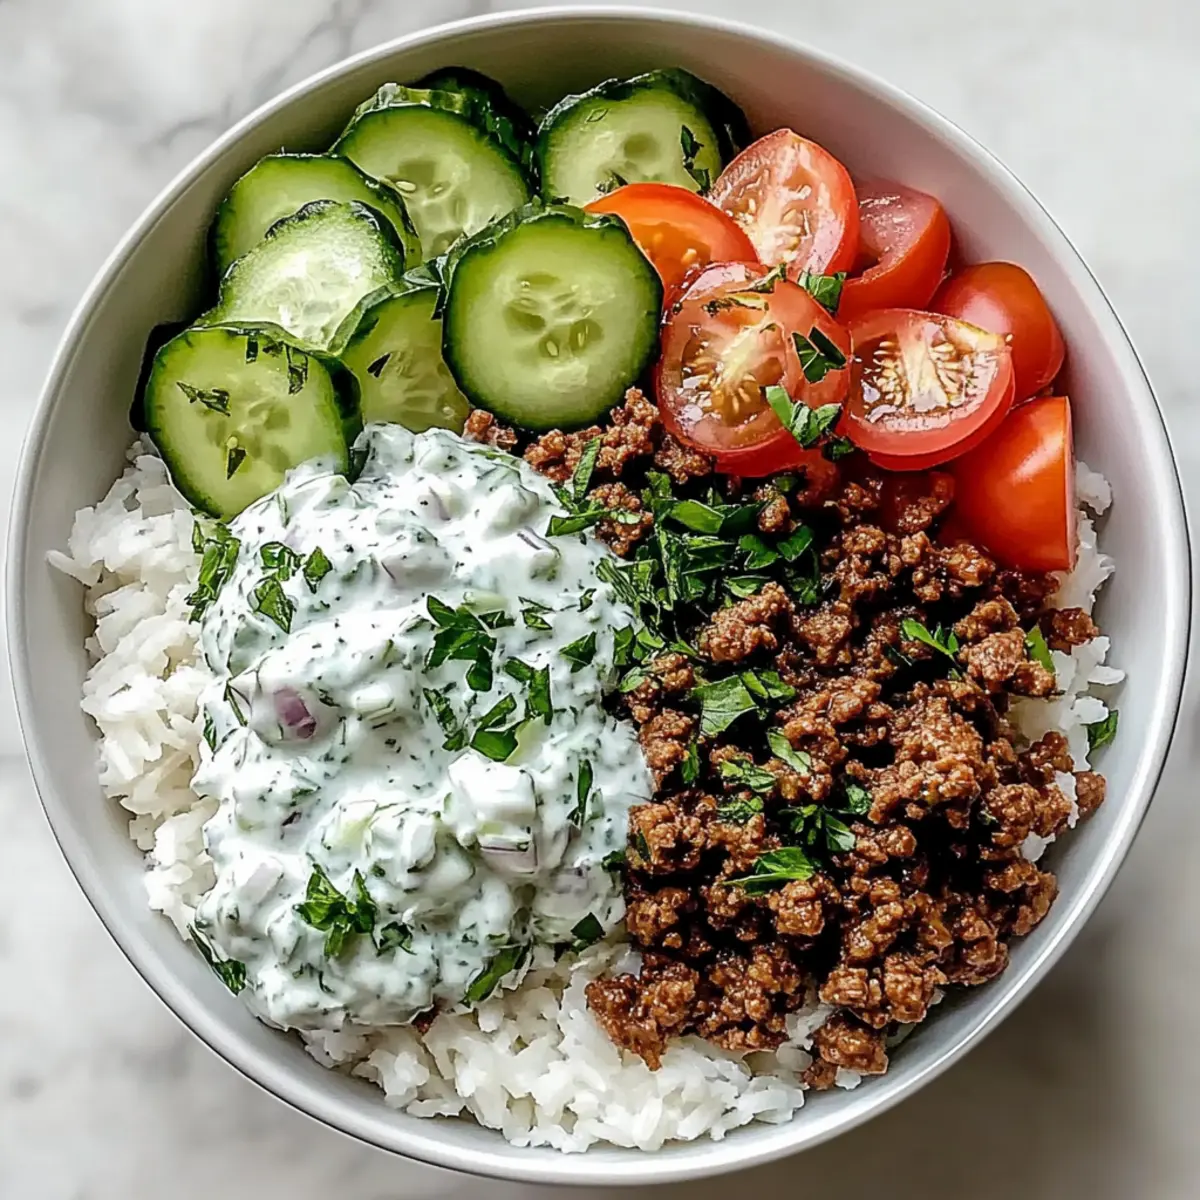
Taco Bowl: Serve the savory beef over rice or cauliflower rice as a taco bowl. This fusion of textures gives you a hearty meal that’s perfect for those who want a fork-friendly option.
-
Kimchi Kick: Top with kimchi for an added layer of flavor that brings both heat and tanginess. This addition not only enhances your taco but also introduces probiotics for gut health!
-
Vegetable Medley: Incorporate shredded carrots or sliced radishes into the pickled cucumbers for an extra crunch and color. This twist not only boosts the nutritional value but also brings a vibrant visual appeal.
-
Citrus Infusion: Add a splash of lime juice to the beef mixture before serving for a zesty finish. The citrus brightens the flavors and adds a refreshing note that enhances each bite.
-
Gluten-Free Delight: Opt for gluten-free soy sauce or tamari to ensure everyone can enjoy these tacos. This simple swap allows you to cater to friends or family with dietary restrictions.
-
Savory Sriracha Dressing: Drizzle a tangy sriracha mayo on top for an added creamy texture. It brings a rich blending of flavors that perfectly complements the beef.
For another flavor-packed option, give these Roasted Corn Tacos a try—your taco night just got more exciting!
Slow Cooker Korean Ground Beef Tacos Recipe FAQs
How do I select the perfect ground beef for these tacos?
Absolutely! Look for ground beef that has a good balance of meat to fat, ideally around 80/20. This ratio helps keep the beef juicy and flavorful during cooking. If you prefer a lighter option, ground turkey or chicken can be excellent substitutes, but be aware they might yield less fat and juiciness.
What is the best way to store leftovers of the beef and pickles?
The beef can be kept in an airtight container in the fridge for up to 3 days. For freezing, portion the cooled beef into freezer bags and store it for up to 3 months. Be sure to remove excess air to prevent freezer burn. The quick pickled cucumbers will stay fresh in the fridge for about 5 days; store them in a sealed jar to keep their crunch.
Can I freeze the Korean ground beef mixture?
Yes! Once the beef has cooled, divide it into meal-sized portions and place it in freezer bags, making sure to remove as much air as possible before sealing. It can be frozen for up to 3 months. To reheat, simply thaw overnight in the refrigerator and reheat gently on the stovetop, stirring occasionally until heated through.
What if my slow cooker runs hot and dries out the beef?
Very important! If you notice this happening, reduce the cooking time. Often, you can start checking for doneness as early as 3.5 hours on low. If your beef appears too dry, consider adding a splash of water, broth, or soy sauce midway through to maintain moisture while cooking.
Are there any dietary considerations for allergies or pets?
Absolutely! This recipe contains soy sauce, which may pose issues for those with soy allergies. For gluten-free options, using tamari is a great alternative. Regarding pet safety, while the beef is safe, avoid sharing any seasoned meat with pets since ingredients like soy sauce and garlic can be harmful to them. Always double-check ingredients if you plan to share your cooking!
How do I know if my pickled cucumbers are done?
You’ll know your pickled cucumbers are ready when they’ve absorbed the flavors and turned slightly translucent. Typically, a 30-minute sit at room temperature works perfectly, but if you want a stronger pickle flavor, leaving them for an hour is also great! Remember to stir occasionally for even flavor distribution.
Savory Slow Cooker Korean Ground Beef Tacos You’ll Crave
Ingredients
Equipment
Method
- In your slow cooker, combine 1 pound of ground beef with ¼ cup of soy sauce, 1 tablespoon of grated fresh ginger, 3 cloves of minced garlic, and 1 tablespoon of gochugaru. Stir well to ensure all ingredients are mixed thoroughly.
- Cover your slow cooker and set it to low heat. Allow the beef mixture to cook for 4 to 5 hours, or until the beef is tender.
- In a mixing bowl, combine thinly sliced cucumbers, ½ cup of rice vinegar, 1 tablespoon of sugar, and a pinch of salt. Toss gently and let them sit at room temperature for approximately 30 minutes.
- Once the slow cooking time is up, stir in 1 tablespoon of sesame oil into the beef mixture. Allow the beef to rest, covered, for about 10 minutes.
- Warm your tortillas in a dry skillet or microwave. Spoon the beef mixture onto each tortilla, then top generously with quick pickled cucumbers. Enjoy your tacos!