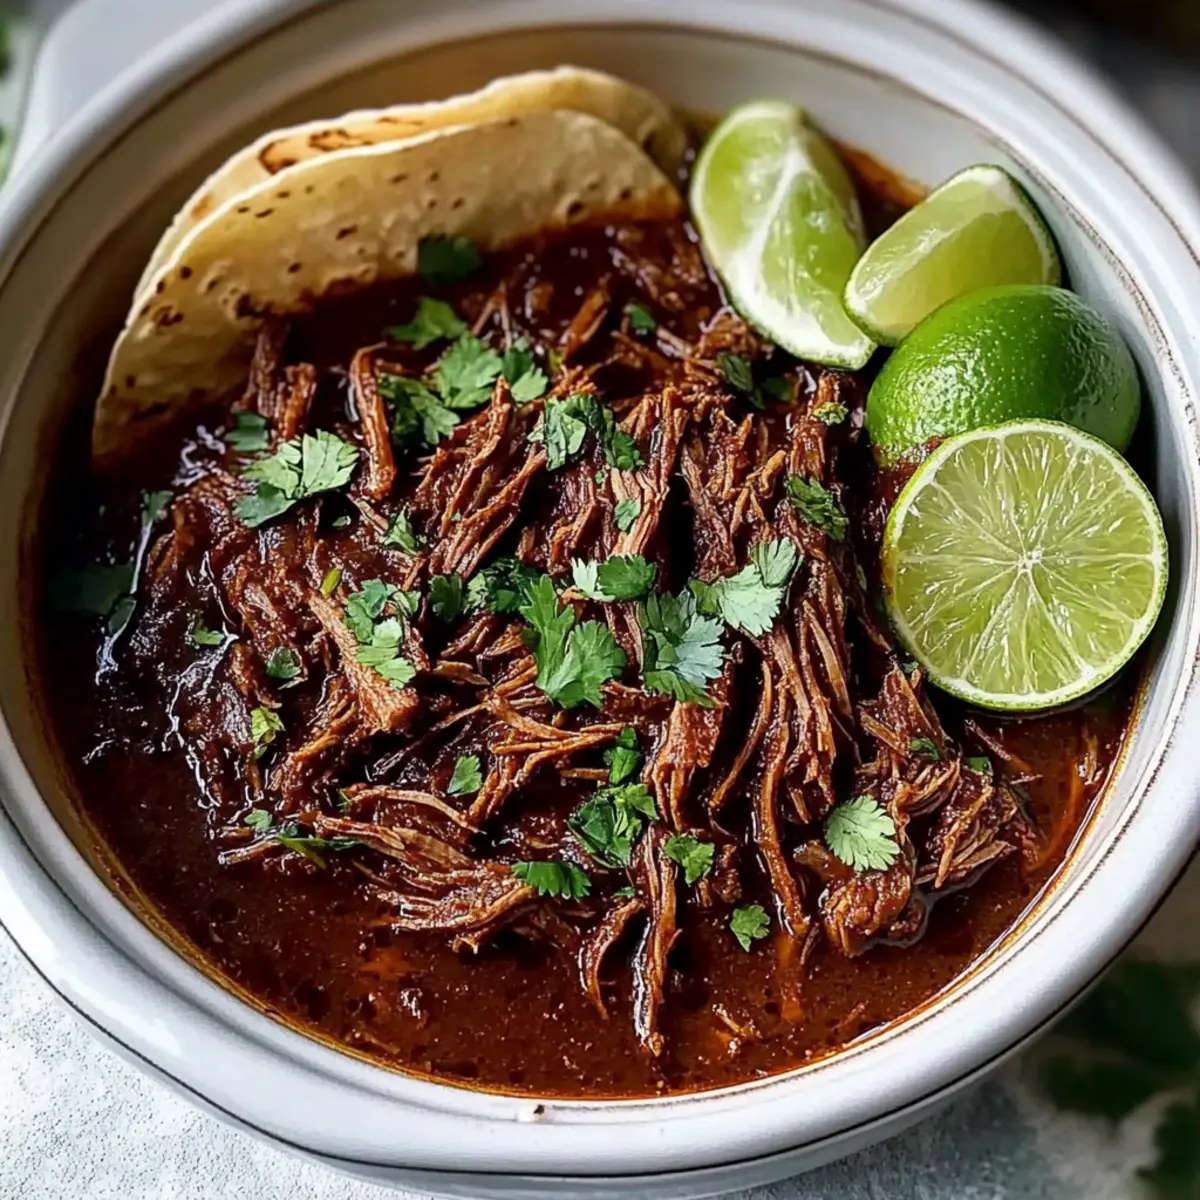
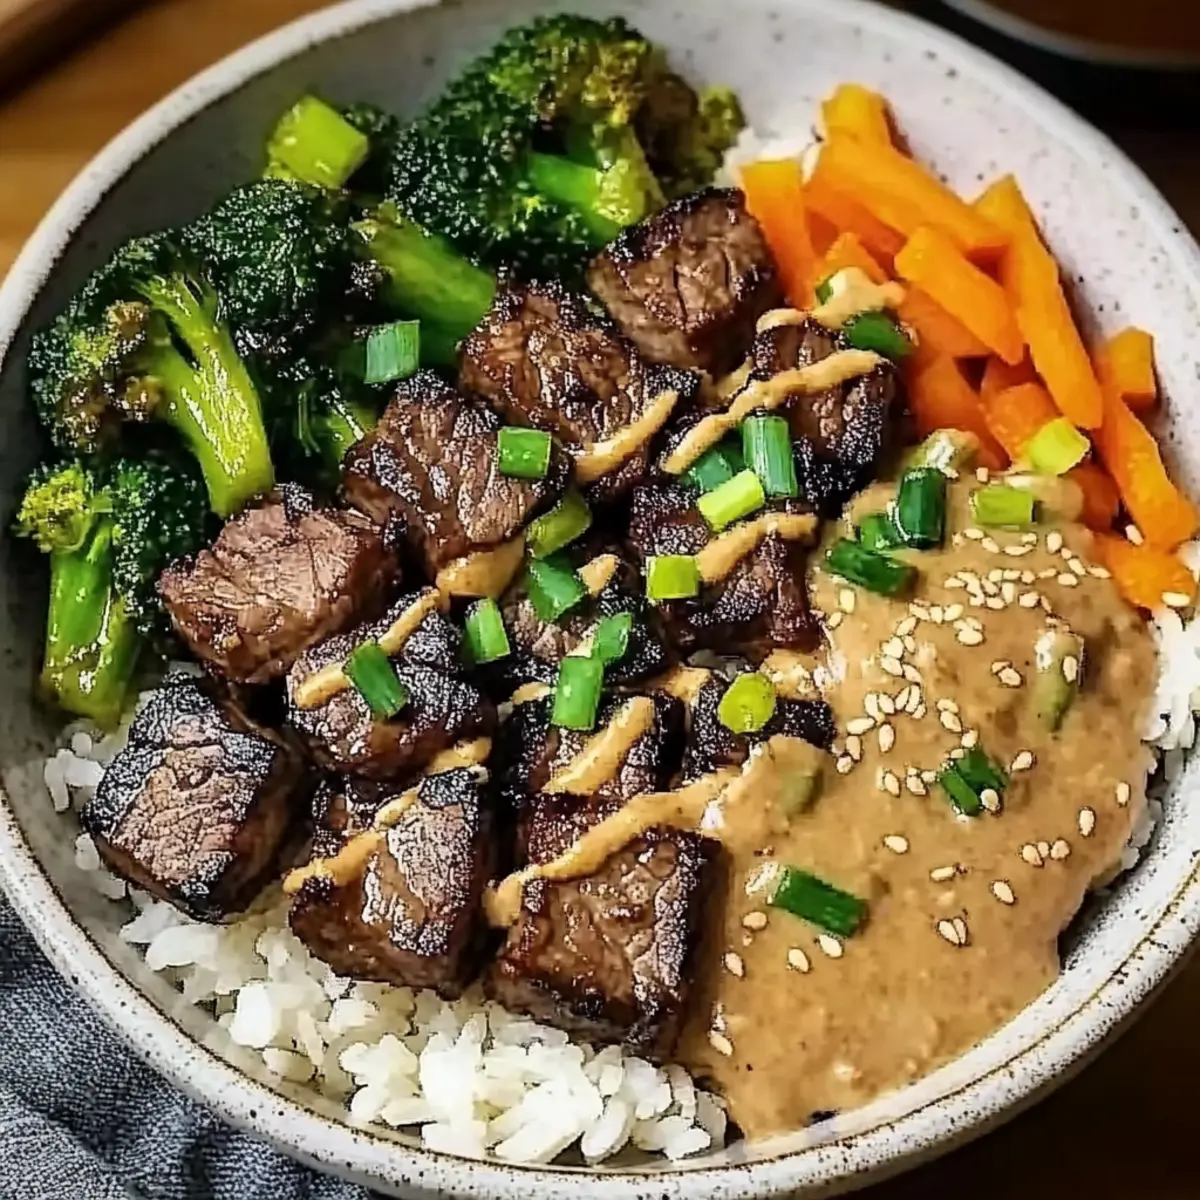
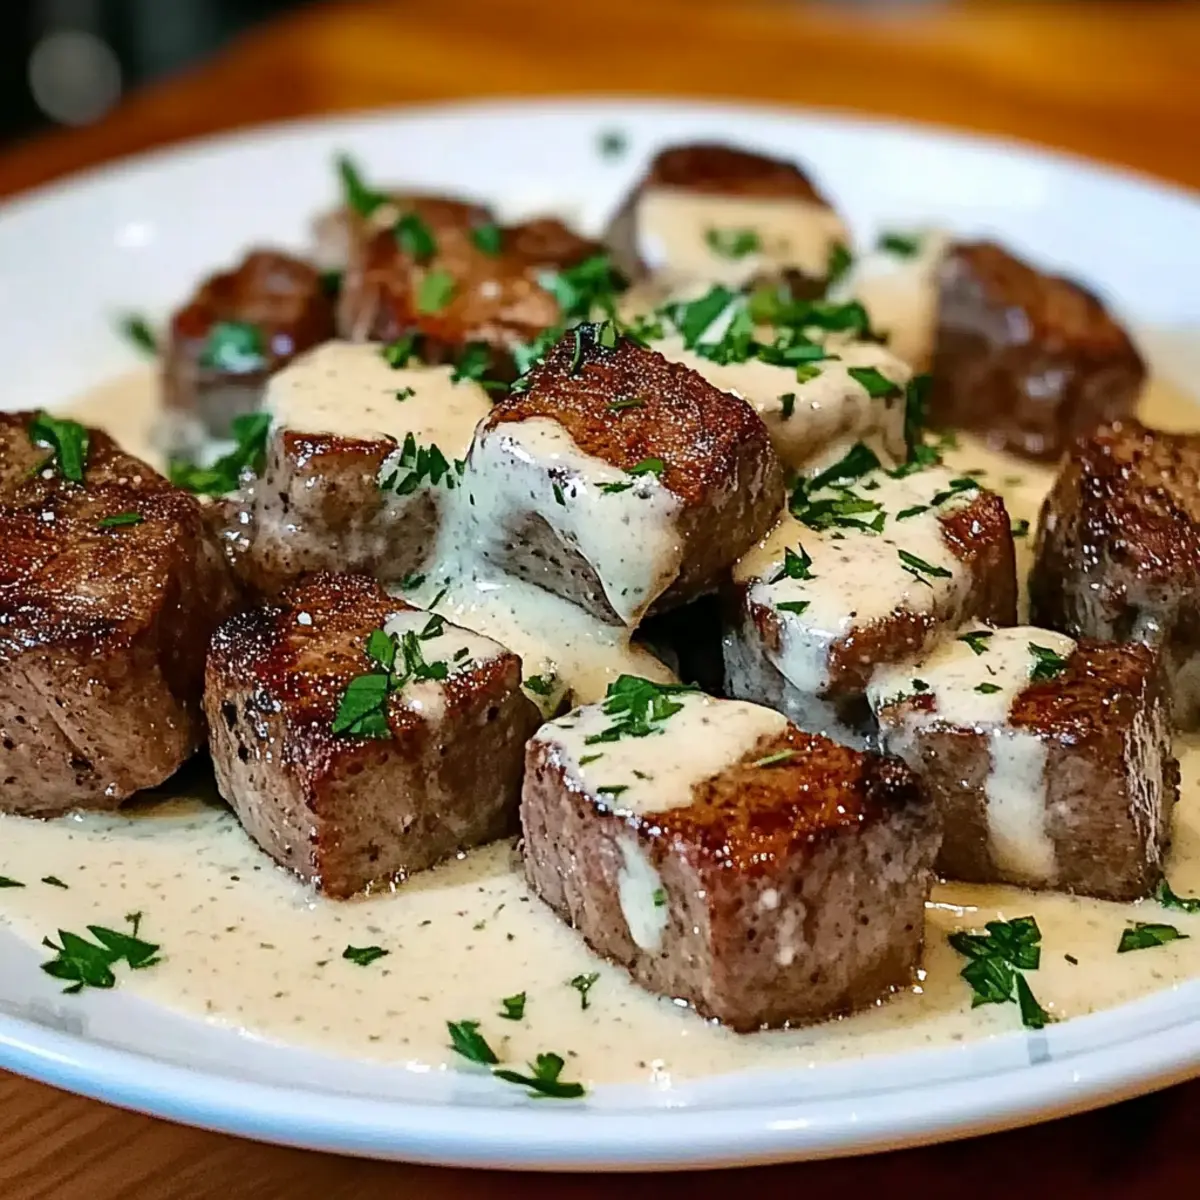
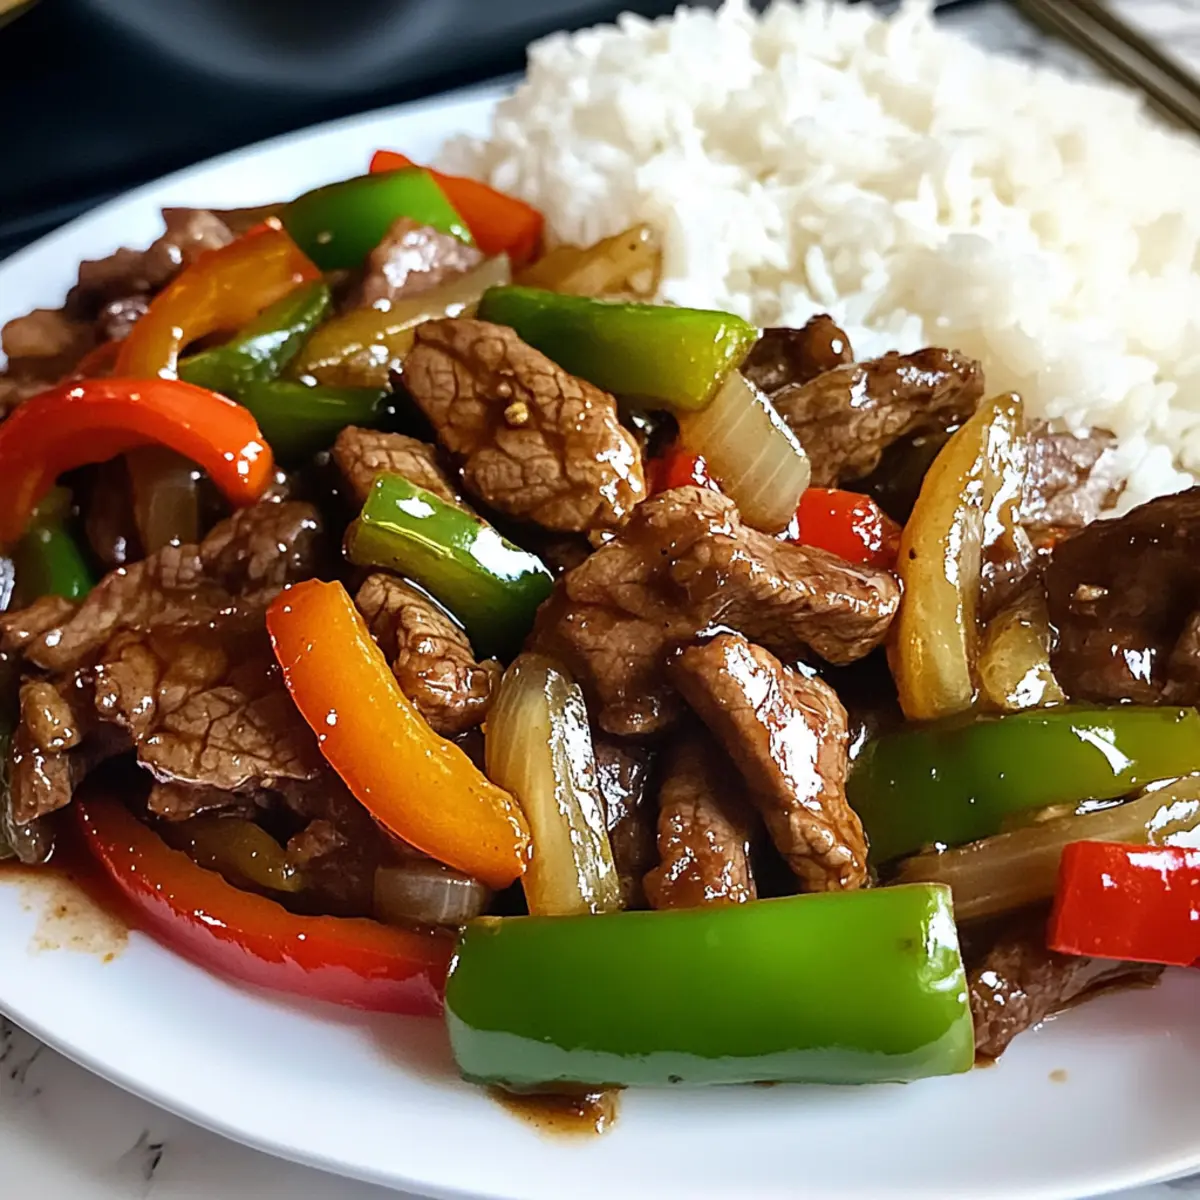
The aroma wafting through my kitchen was a delightful reminder of my last visit to that charming Asian bistro down the block; their best pepper steak has become a source of inspiration for my own cooking adventures. This recipe brings together tender slices of beef, vibrant bell peppers, and a savory soy-based glaze, all served over fluffy rice—a meal that’s not only quick to whip up but also a guaranteed crowd-pleaser for the whole family. The beauty of this dish lies in its simplicity: it can be prepped ahead and cooked in just a flash. If you've ever craved something that feels cozy and satisfying without the hassle of takeout, then this pepper steak is just what you need. Curious to see how easy it is to bring this deliciousness to your table? Let’s dive into the recipe!
Why is this pepper steak special?
Quick and Easy: This dish can be whipped up in no time, perfect for those busy weeknights or spontaneous family dinners.
Mouthwatering Umami: The soy-based glaze defines flavor, mingling sweet and savory notes that will have everyone asking for seconds.
Versatile Ingredients: Feel free to swap in your favorite veggies like mushrooms or broccoli, or even try venison for a twist on the classic beef steak.
Crowd-Pleasing Choice: Everyone—from kids to adults—loves a hearty meal, and this pepper steak is no exception! Pair it with jasmine rice or even vegetable spring rolls for a full feast.
Prep Ahead: Take advantage of make-ahead options—marinate your meat in advance, and enjoy a home-cooked meal with minimal fuss.
Best Pepper Steak Ingredients
• For the Stir-Fry
- 1 Small Onion – Adds depth and sweetness to the dish; can substitute with shallots or green onions.
- 1 Bell Pepper – Provides color and crunch; use a mix of red and green for a beautiful presentation.
- 2 Tablespoons Vegetable Oil – For cooking the steak and vegetables; can substitute with canola or olive oil.
- 1 lb Round Steak, Sirloin, or Venison Steaks – Main protein, thinly sliced for tenderness; marinating overnight enhances flavor.
• For the Sauce
- 2 Tablespoons Soy Sauce – Adds umami and saltiness; opt for low-sodium if preferred.
- 1 Tablespoon Sugar – Balances the saltiness of the soy sauce; reduce if you desire less sweetness.
- 1 teaspoon Corn Starch – Thickens the glaze; can replace with an equal amount of arrowroot powder.
- 1/2 teaspoon Garlic Powder – Adds a savory note; fresh garlic can be used for a fresher flavor.
- 1/4 teaspoon Ground Ginger – Gives warmth and complexity; swap for fresh ginger for a bolder taste.
- Dash Salt and Pepper – Enhances overall seasoning; adjust to personal taste.
• For the Glaze
- 3 Tablespoons Soy Sauce
- 1 Tablespoon Corn Starch
- 1 1/2 Tablespoons Sugar
With these fresh ingredients ready and waiting, you’re just moments away from making the best pepper steak your family will request again and again!
Step‑by‑Step Instructions for Best Pepper Steak
Step 1: Prepare the Ingredients
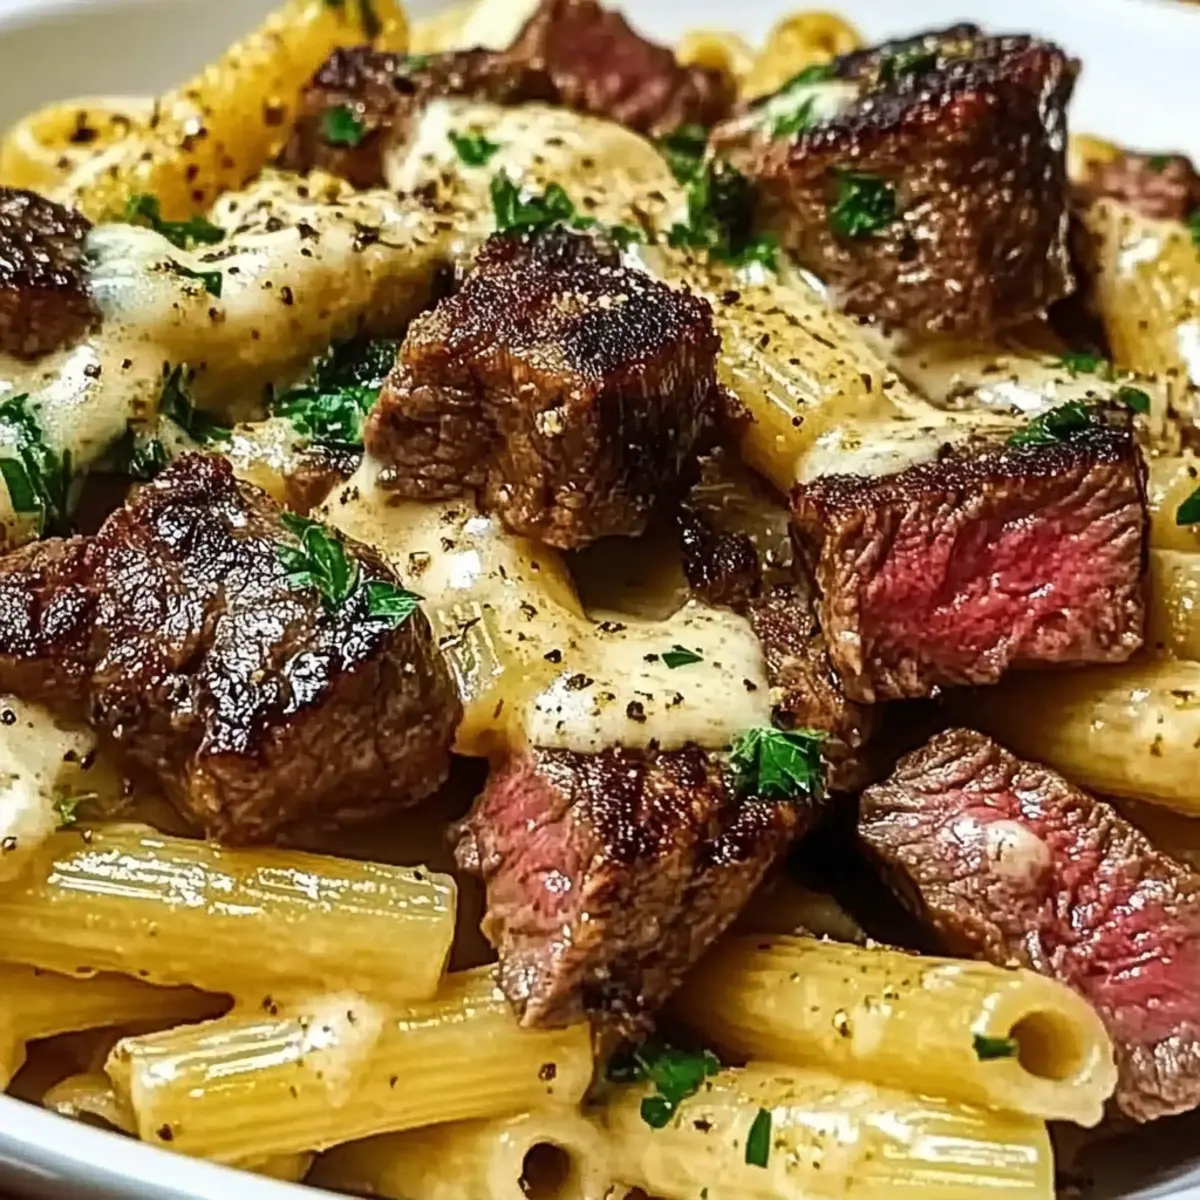
Begin by pre-cutting your steak into thin slices against the grain to ensure tenderness. Slice the onion and bell pepper, then arrange all ingredients separately on your countertop. This prep makes assembly quicker and smoother when it's time to cook the best pepper steak, offering a vibrant visual appeal with colorful veggies ready to shine.
Step 2: Marinate the Steak
In a bowl, combine the sliced beef with soy sauce, corn starch, sugar, garlic powder, ground ginger, and a dash of salt and pepper. Mix well until the beef is coated evenly. Cover with plastic wrap and refrigerate for at least 30 minutes, allowing flavors to meld together effectively. This step is essential for enhancing the savory depth of your pepper steak.
Step 3: Sauté the Vegetables
Heat 1 tablespoon of vegetable oil in a large skillet over medium-high heat. Once the oil shimmers, add the onion and bell pepper. Sauté for about 3-5 minutes until they soften and begin to brown slightly. The vibrant colors should make your kitchen feel alive! Once cooked, transfer the veggies to a plate, leaving them aside as you prepare the steak.
Step 4: Cook the Steak
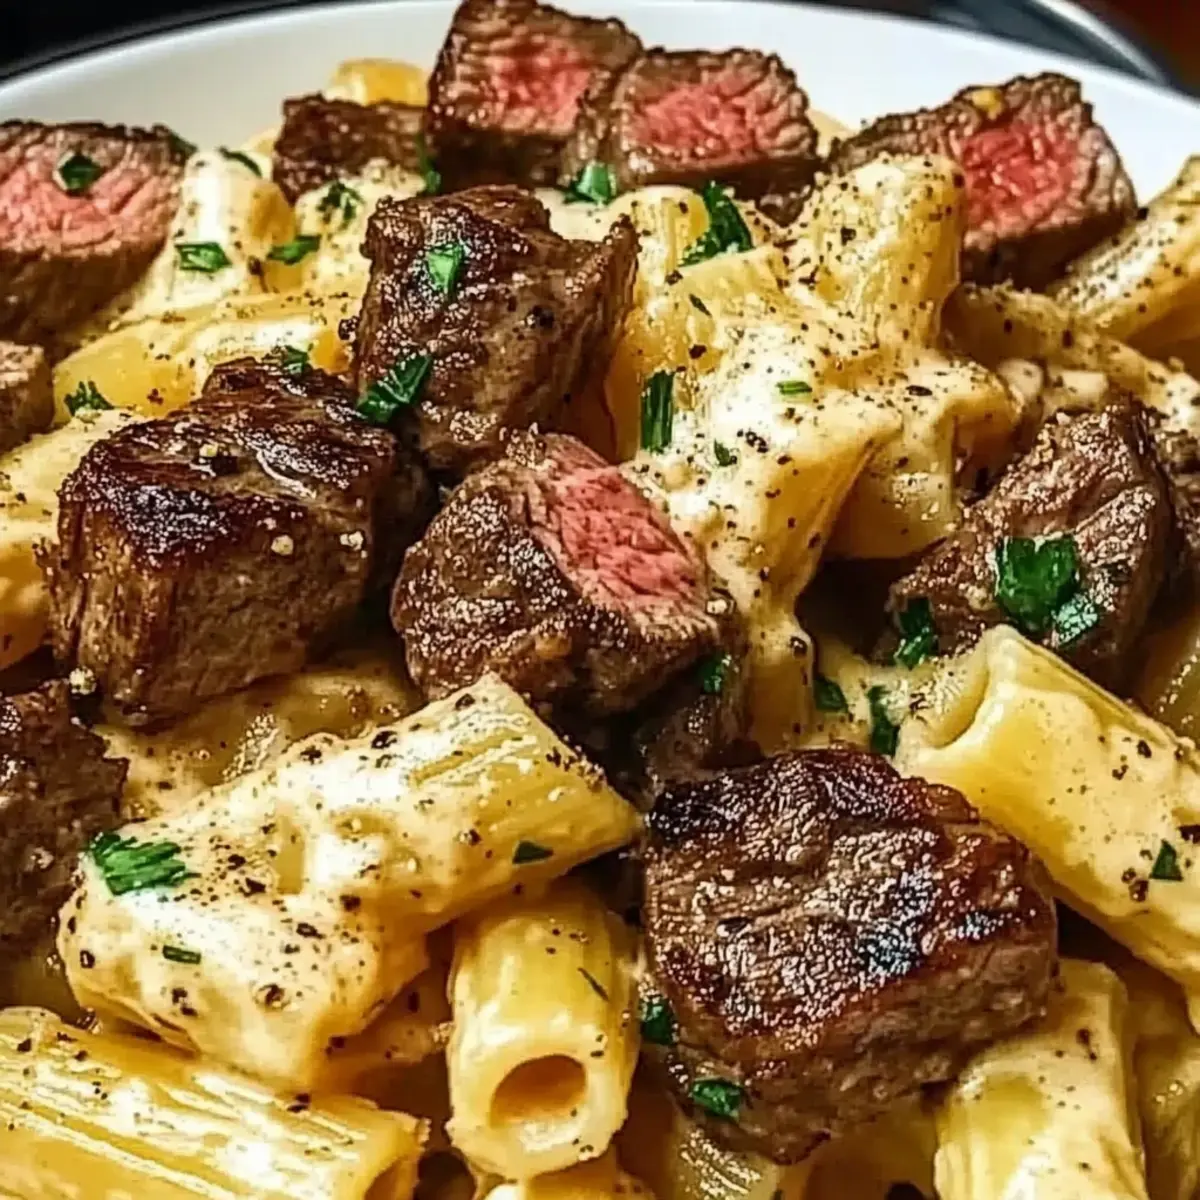
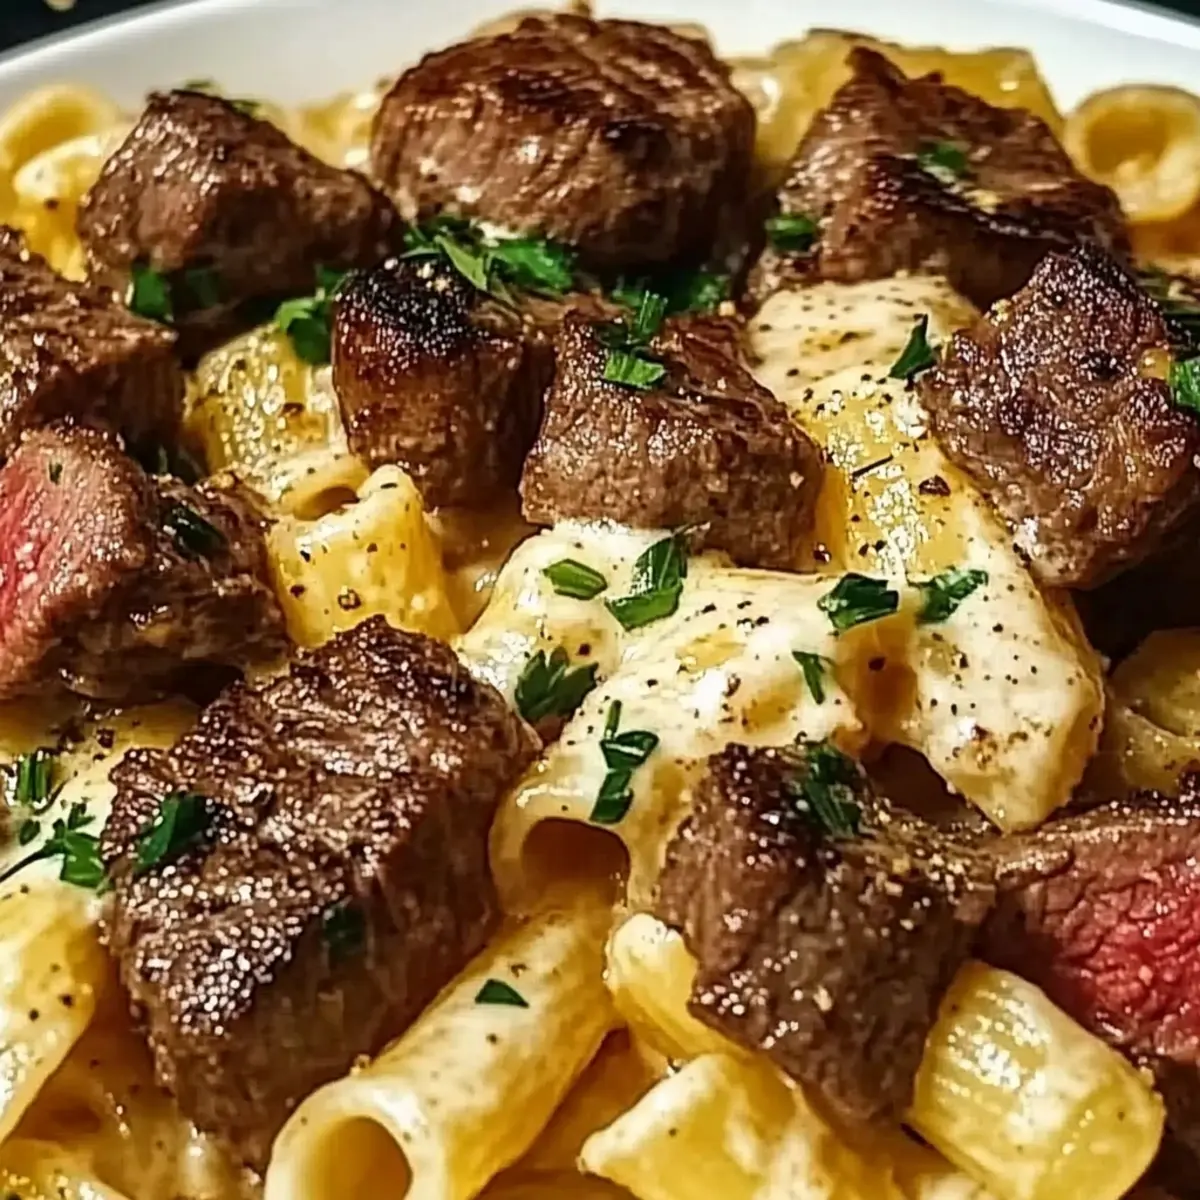
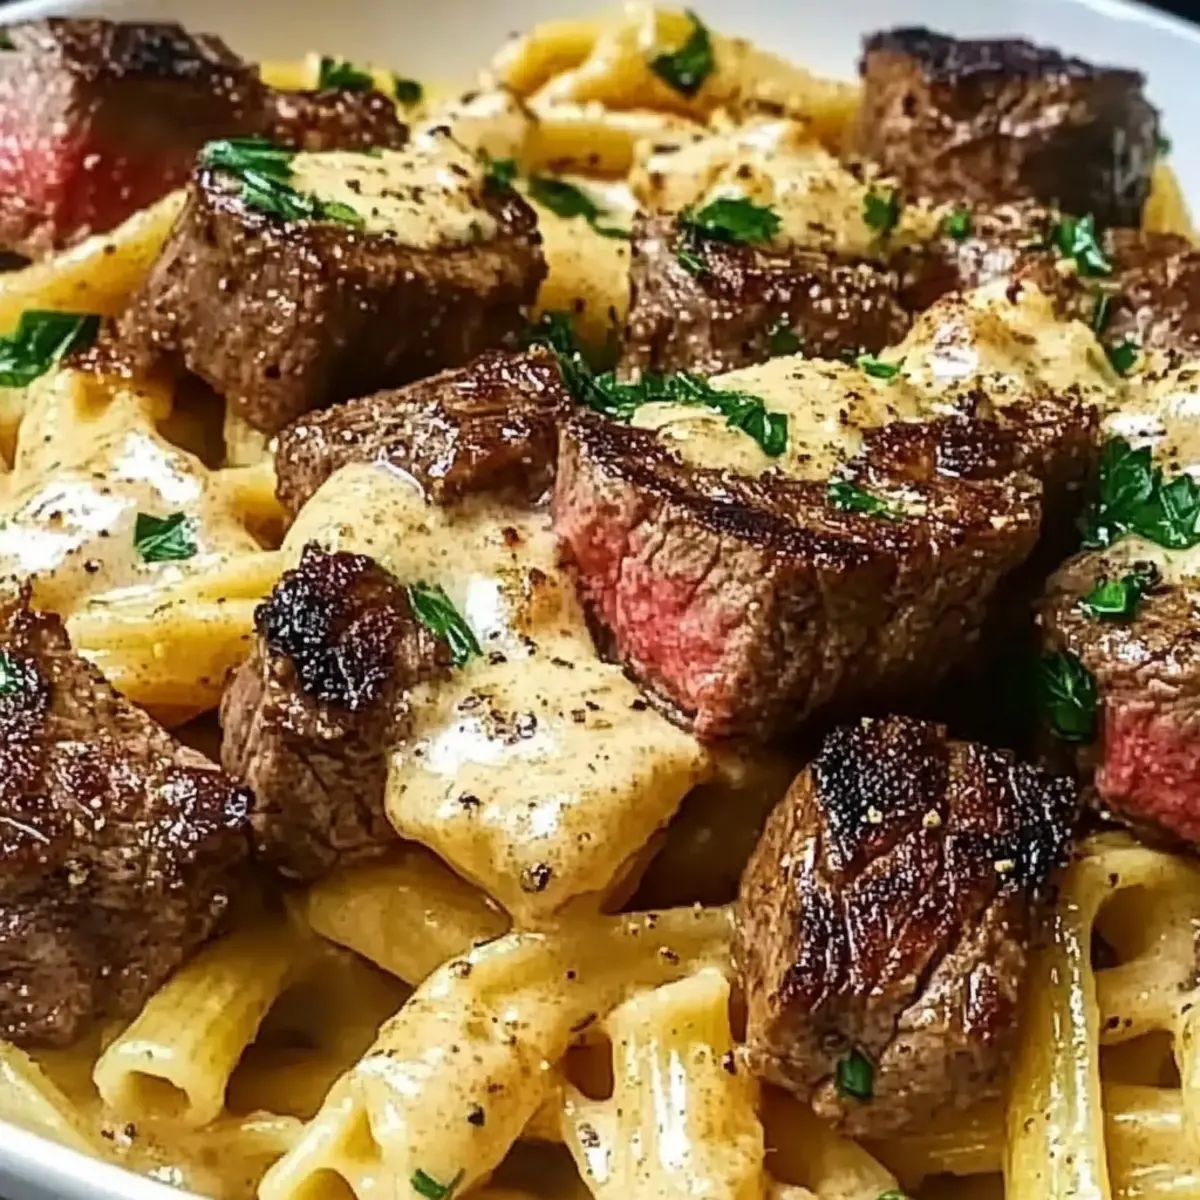
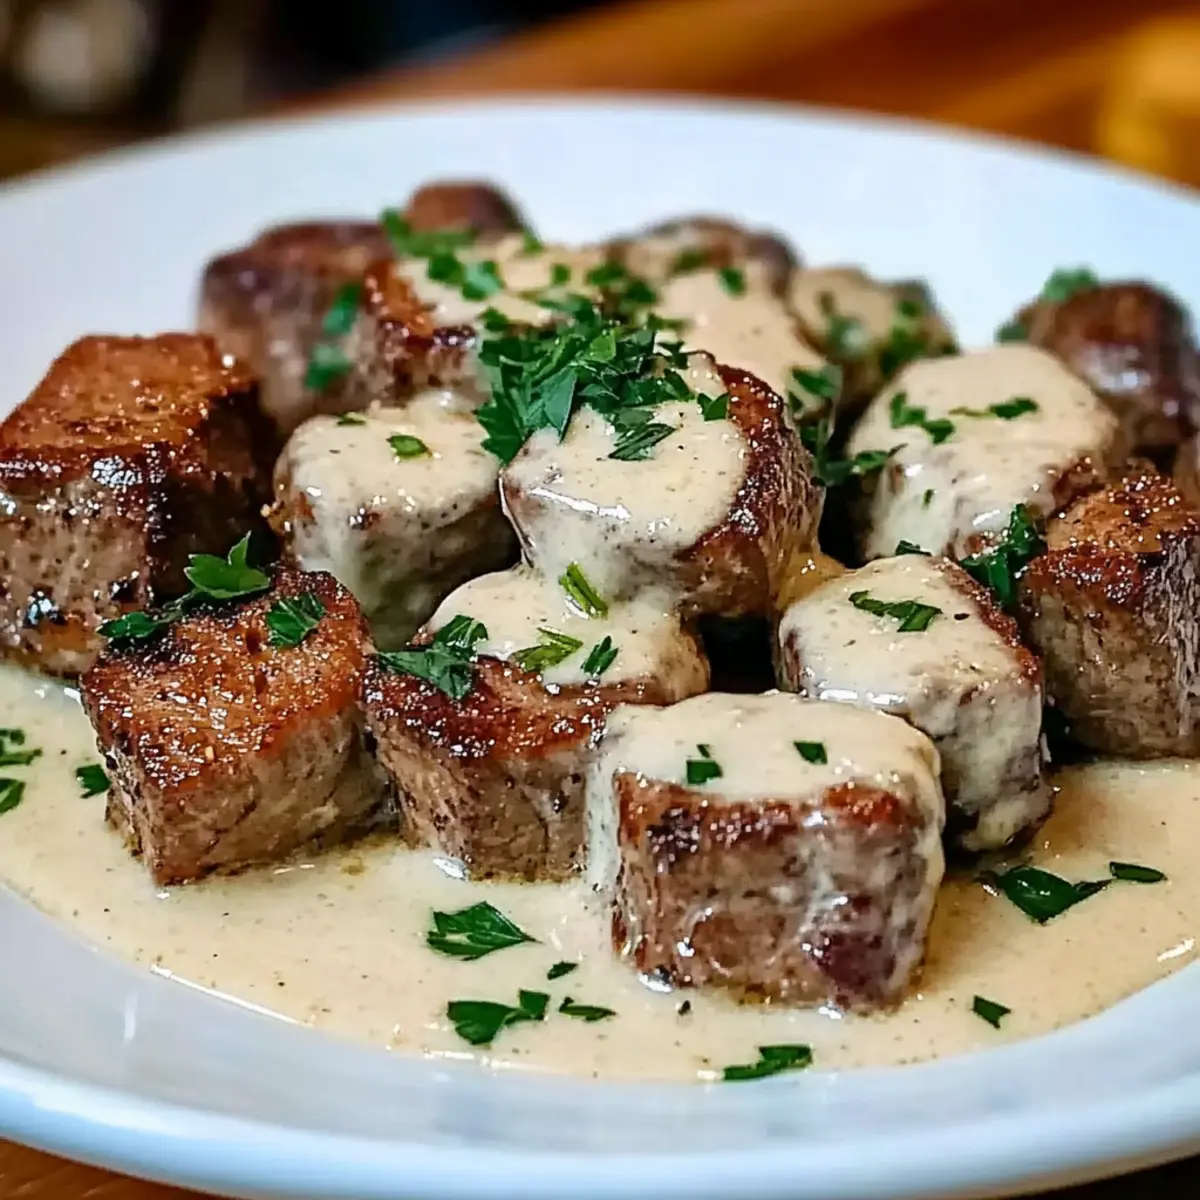
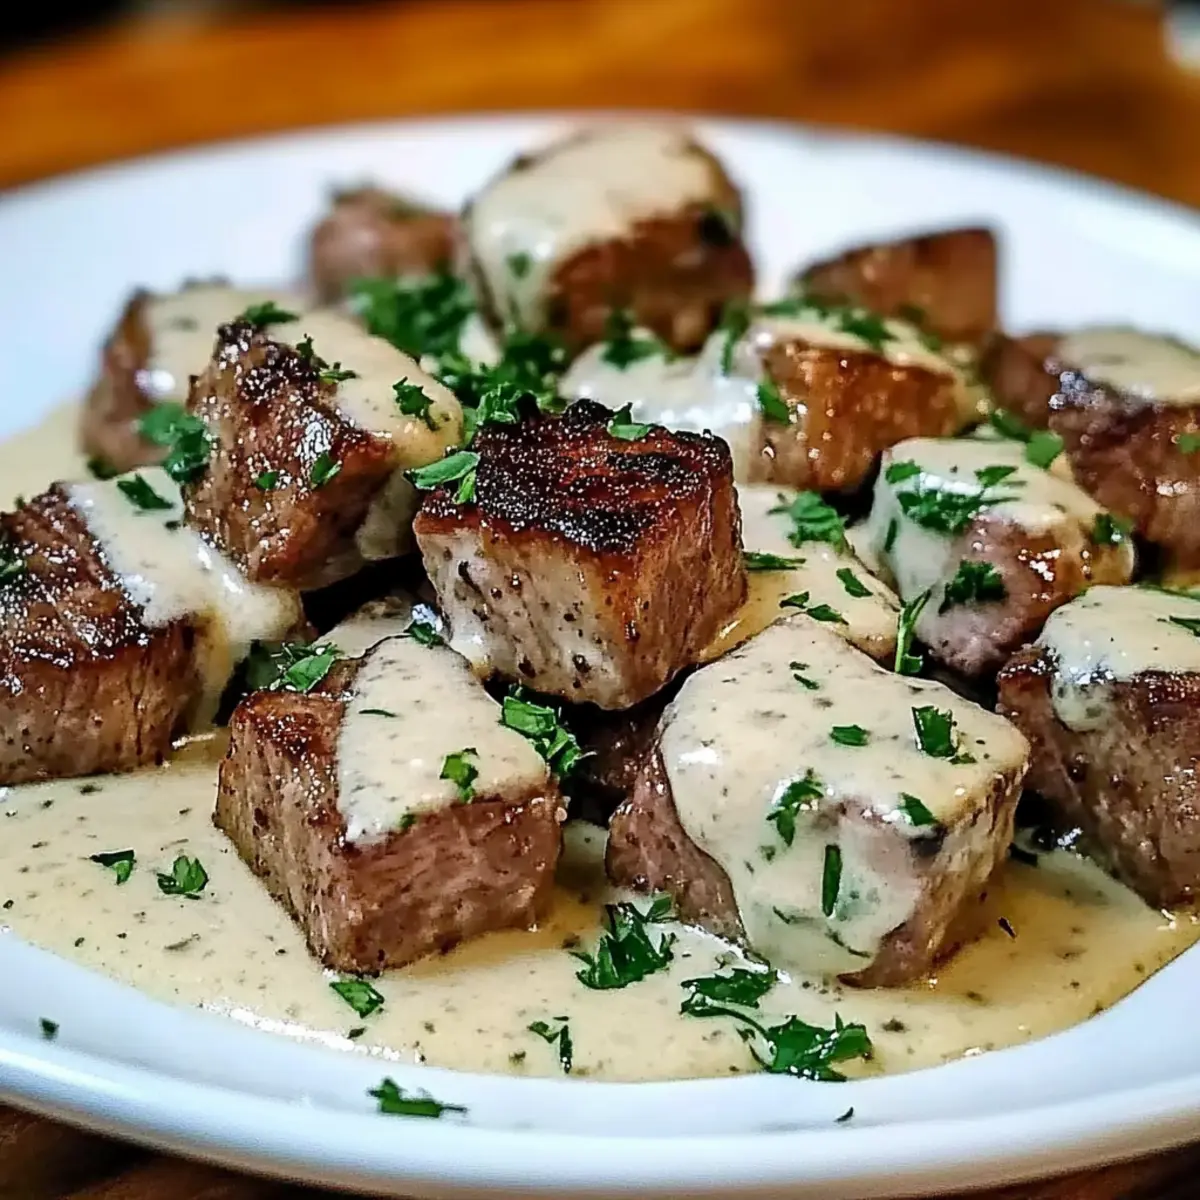
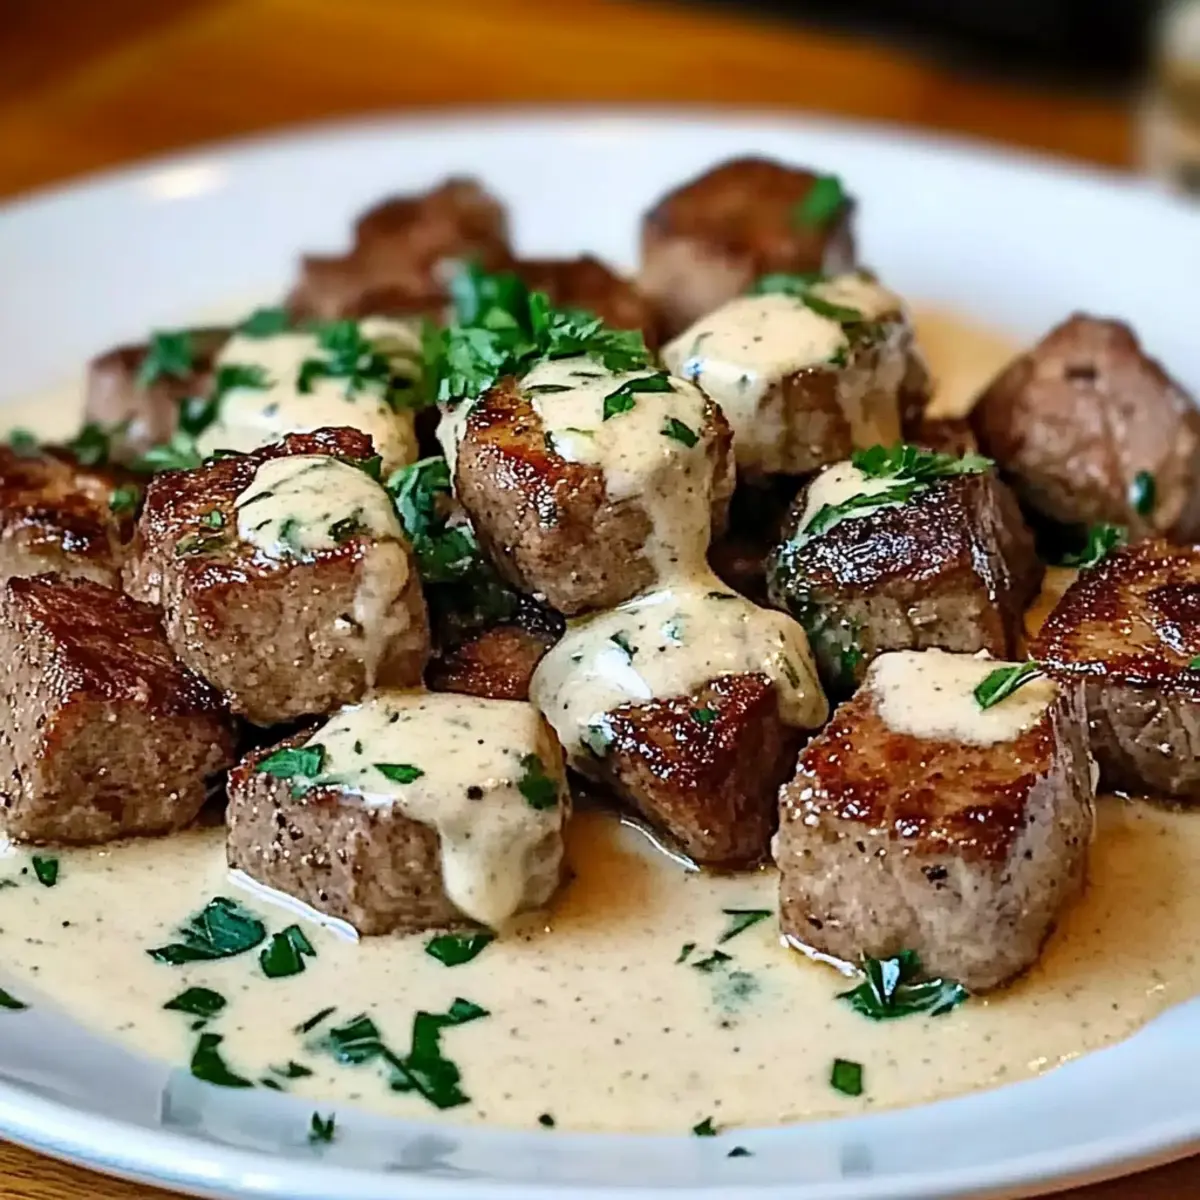
Add another tablespoon of oil to the same skillet over medium-high heat. Once hot, add the marinated beef, spreading it out in a single layer. Cook for about 5-7 minutes, stirring occasionally until the meat is browned but still tender. The sizzling sound and a nice caramelization will signal that your best pepper steak is coming together beautifully.
Step 5: Combine and Glaze
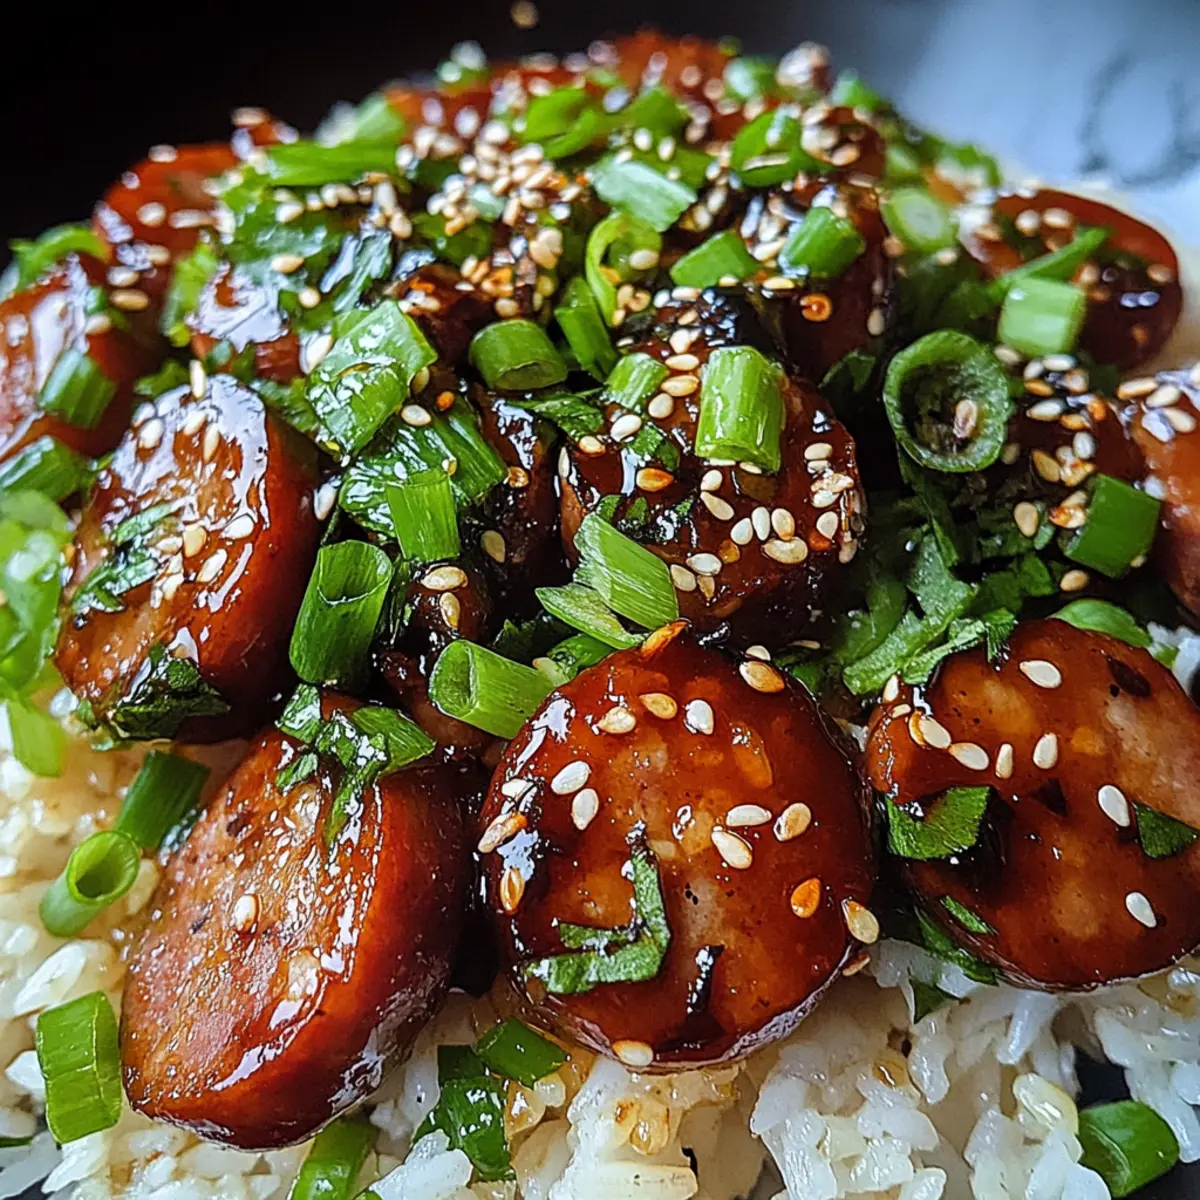
Return the sautéed vegetables to the skillet with the beef. In a separate small bowl, mix 3 tablespoons of soy sauce, 1 tablespoon of corn starch, and 1 1/2 tablespoons of sugar to create your glaze. Pour this mixture over the beef and veggies, then stir. Cook for an additional 1-2 minutes until the glaze thickens and coats everything in a shiny, flavorful embrace.
Step 6: Serve Over Rice
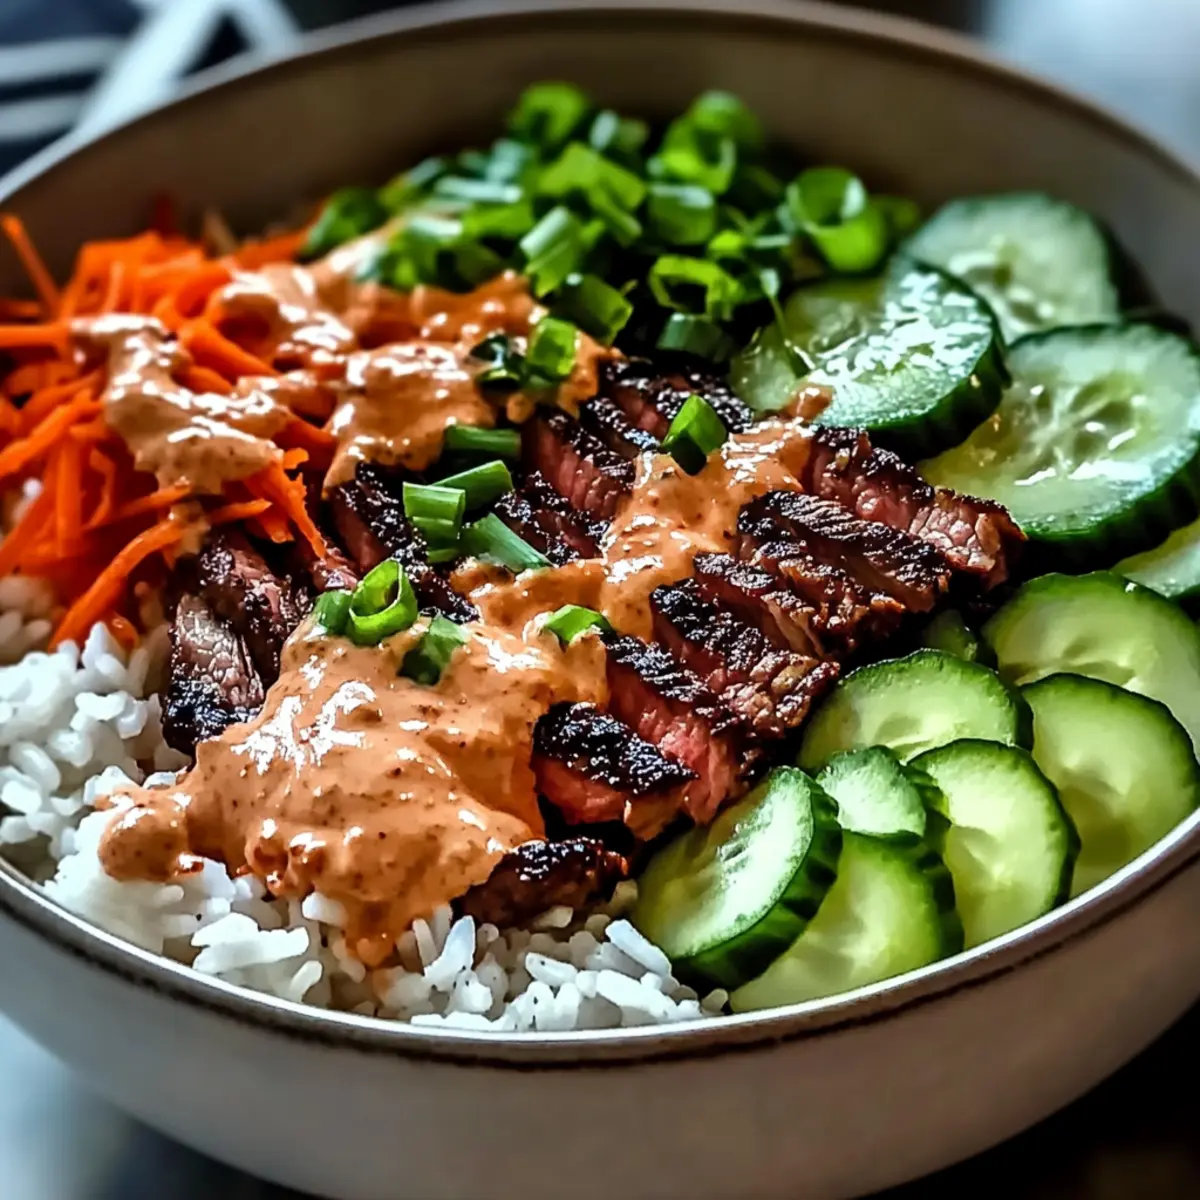
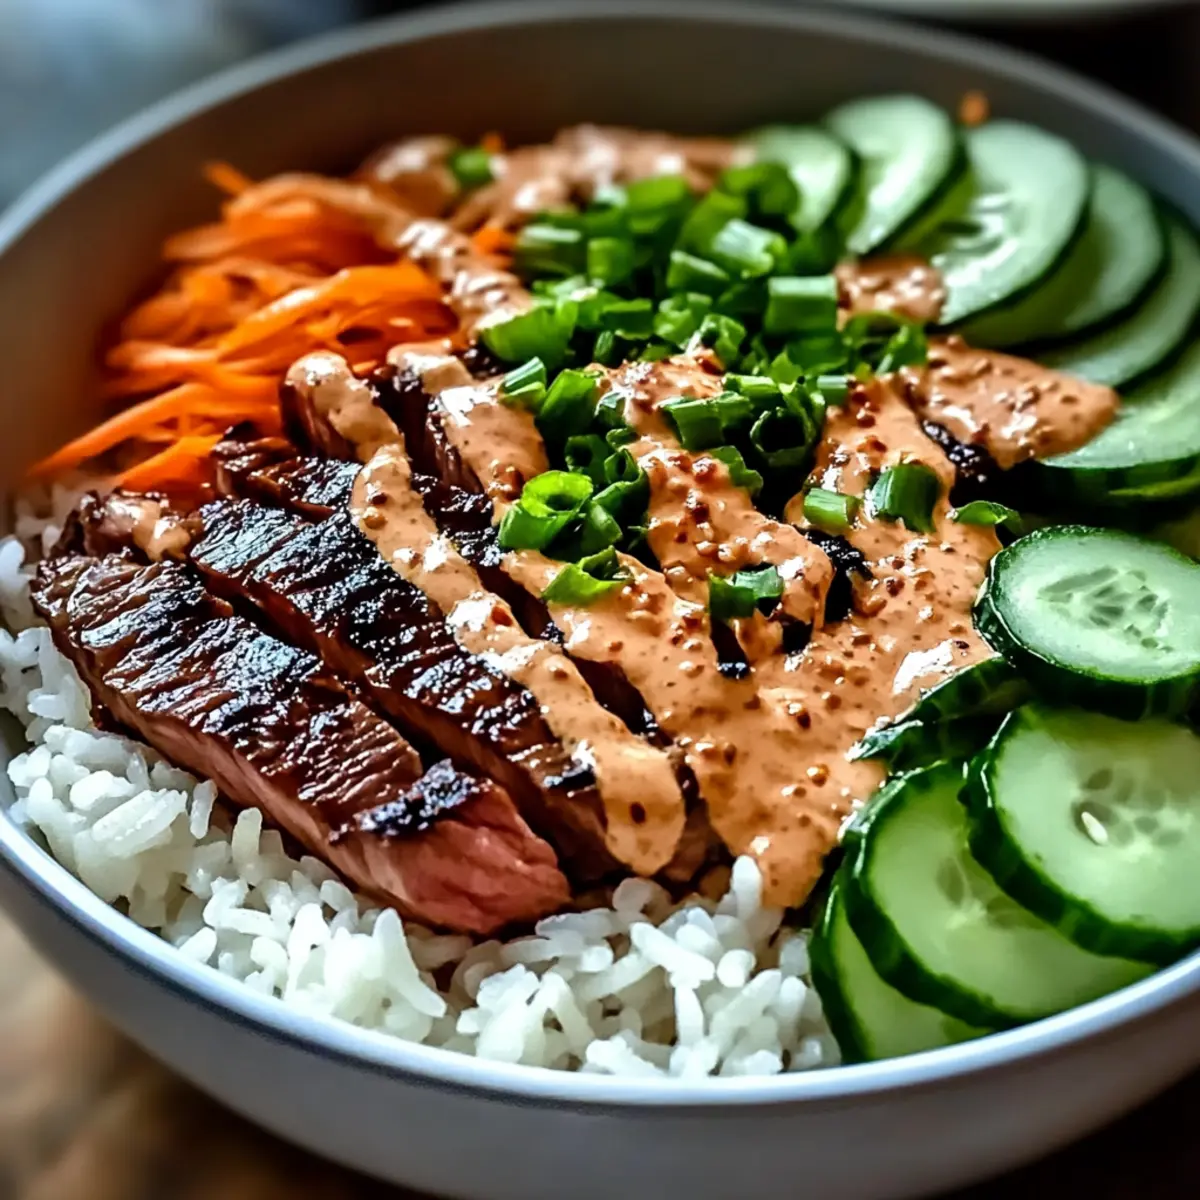
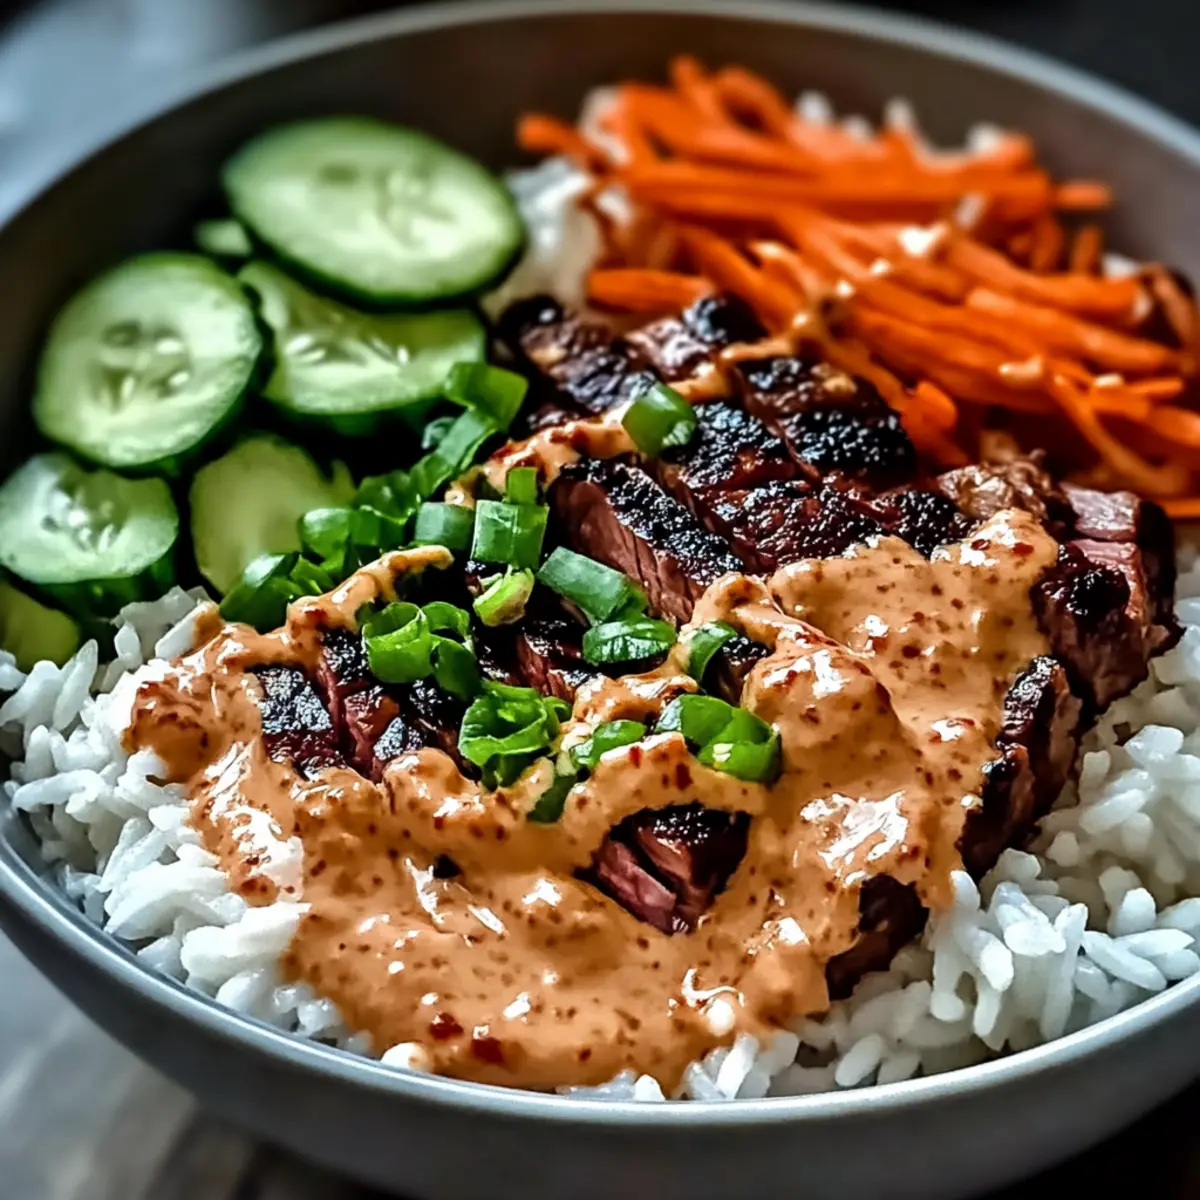
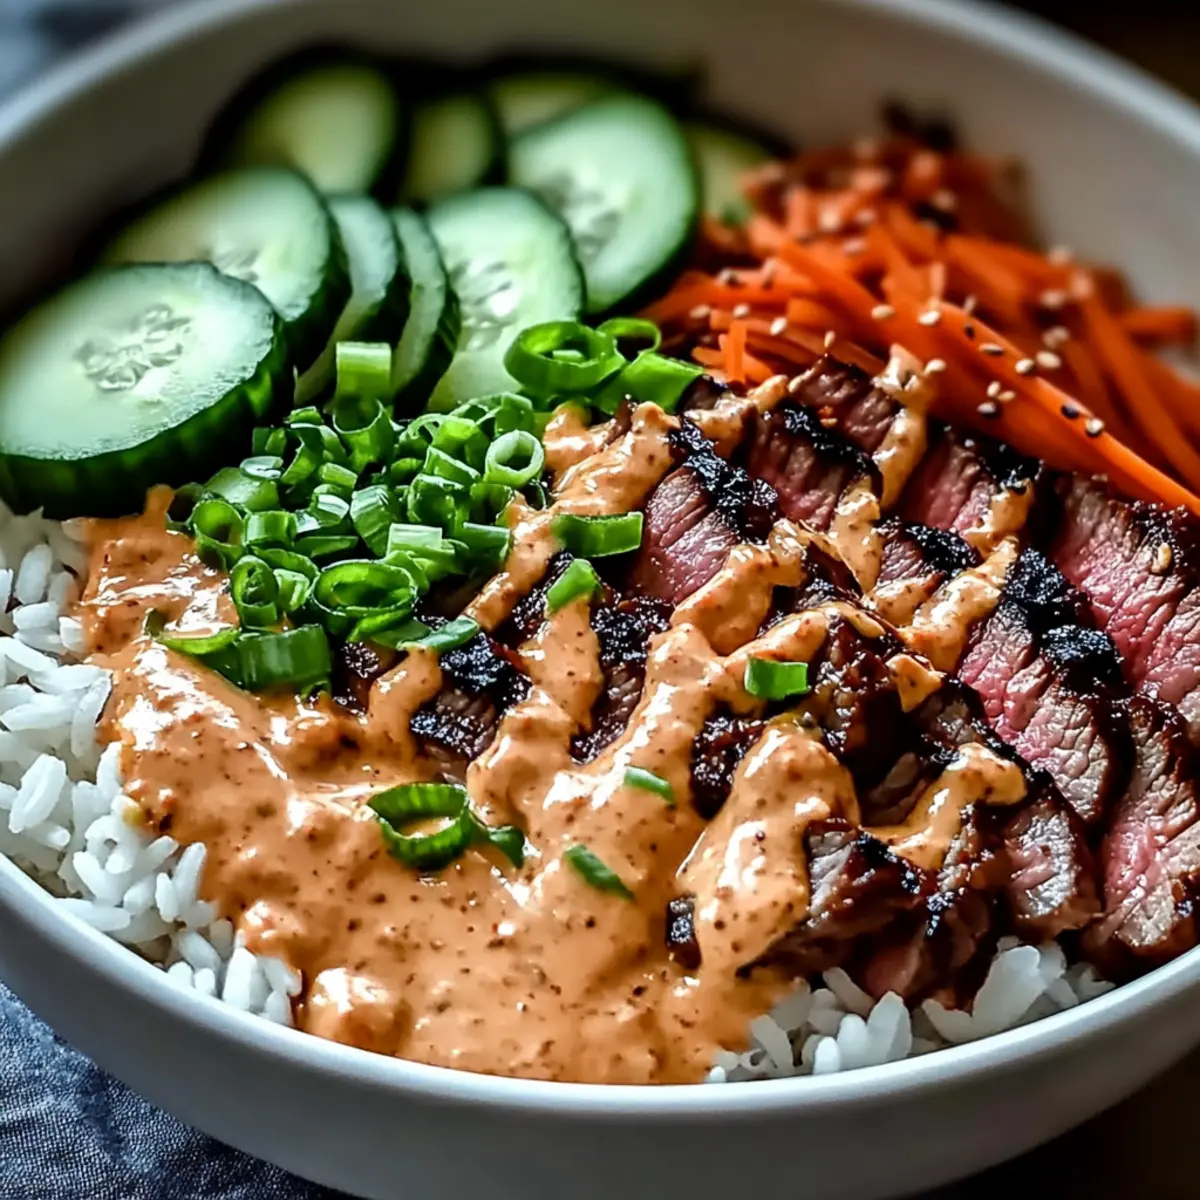
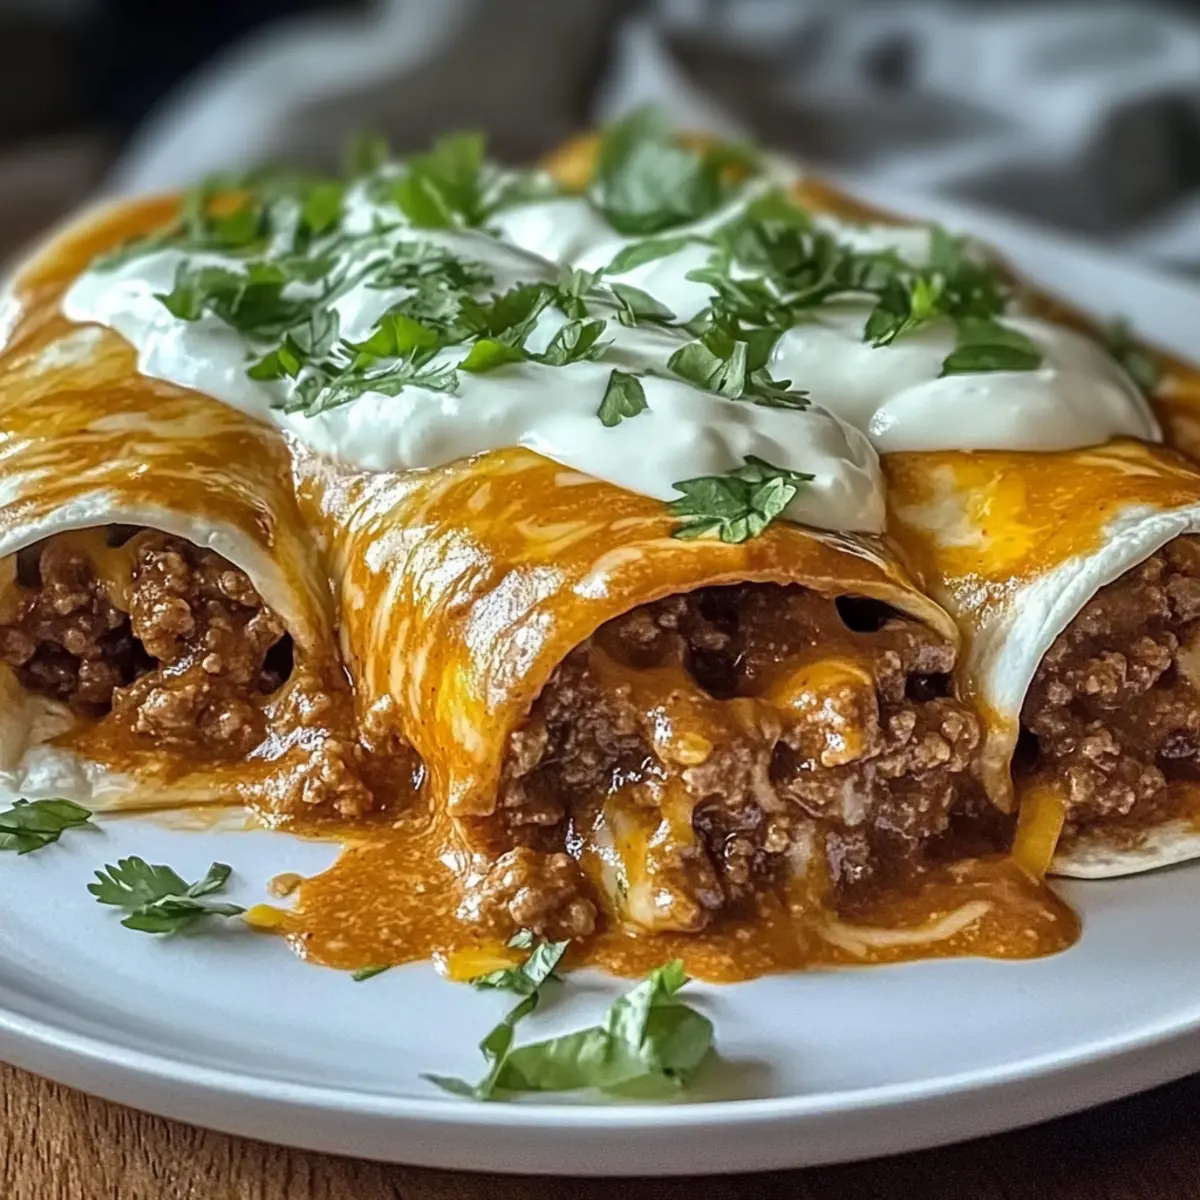
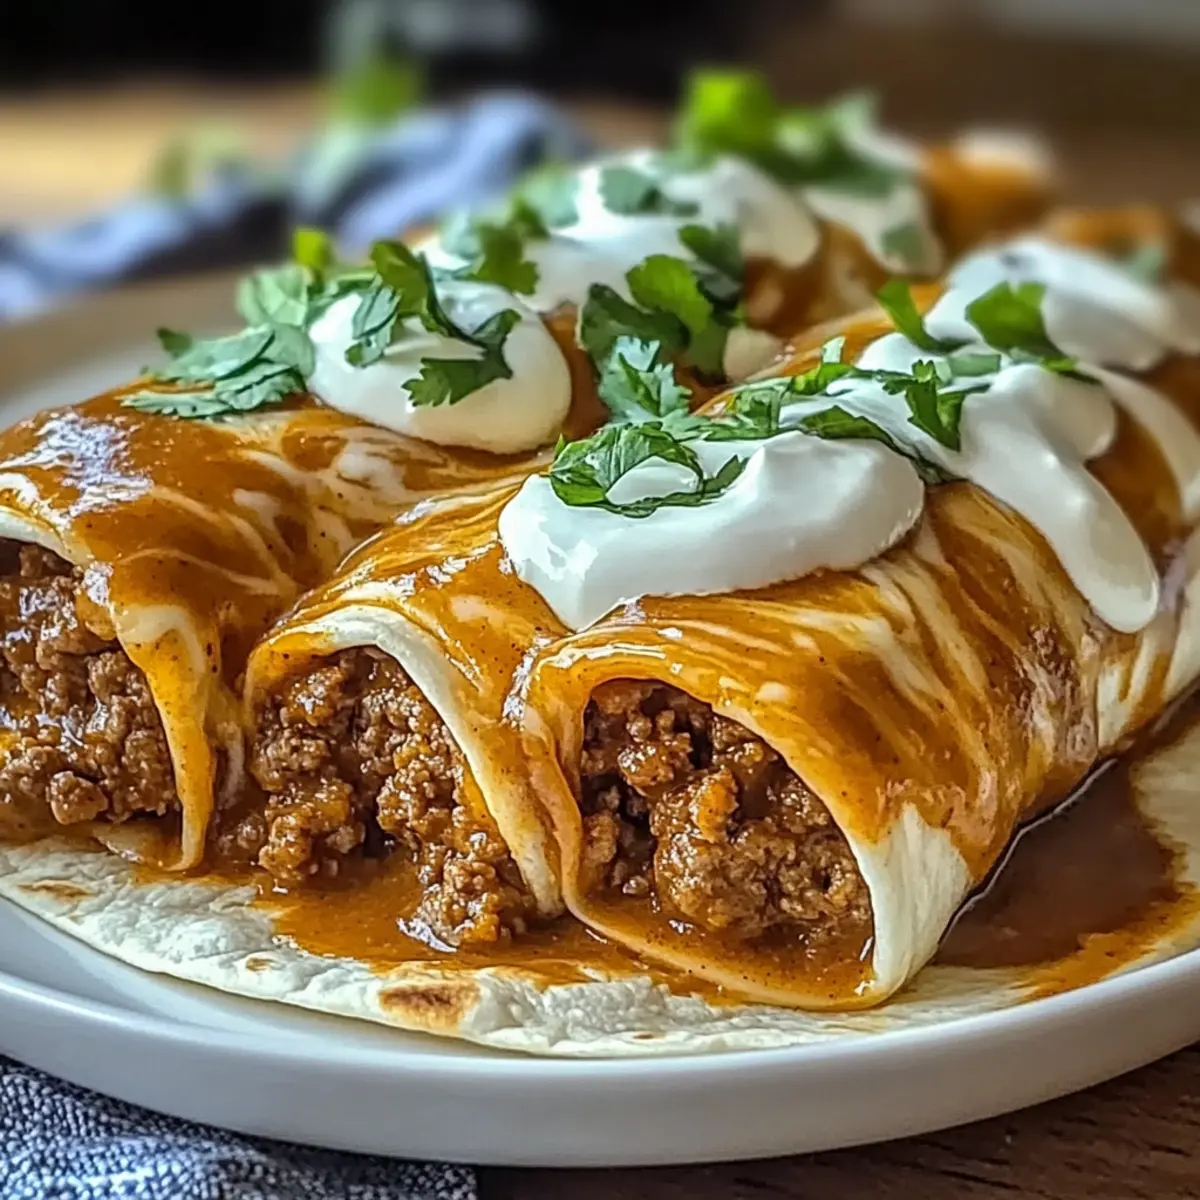
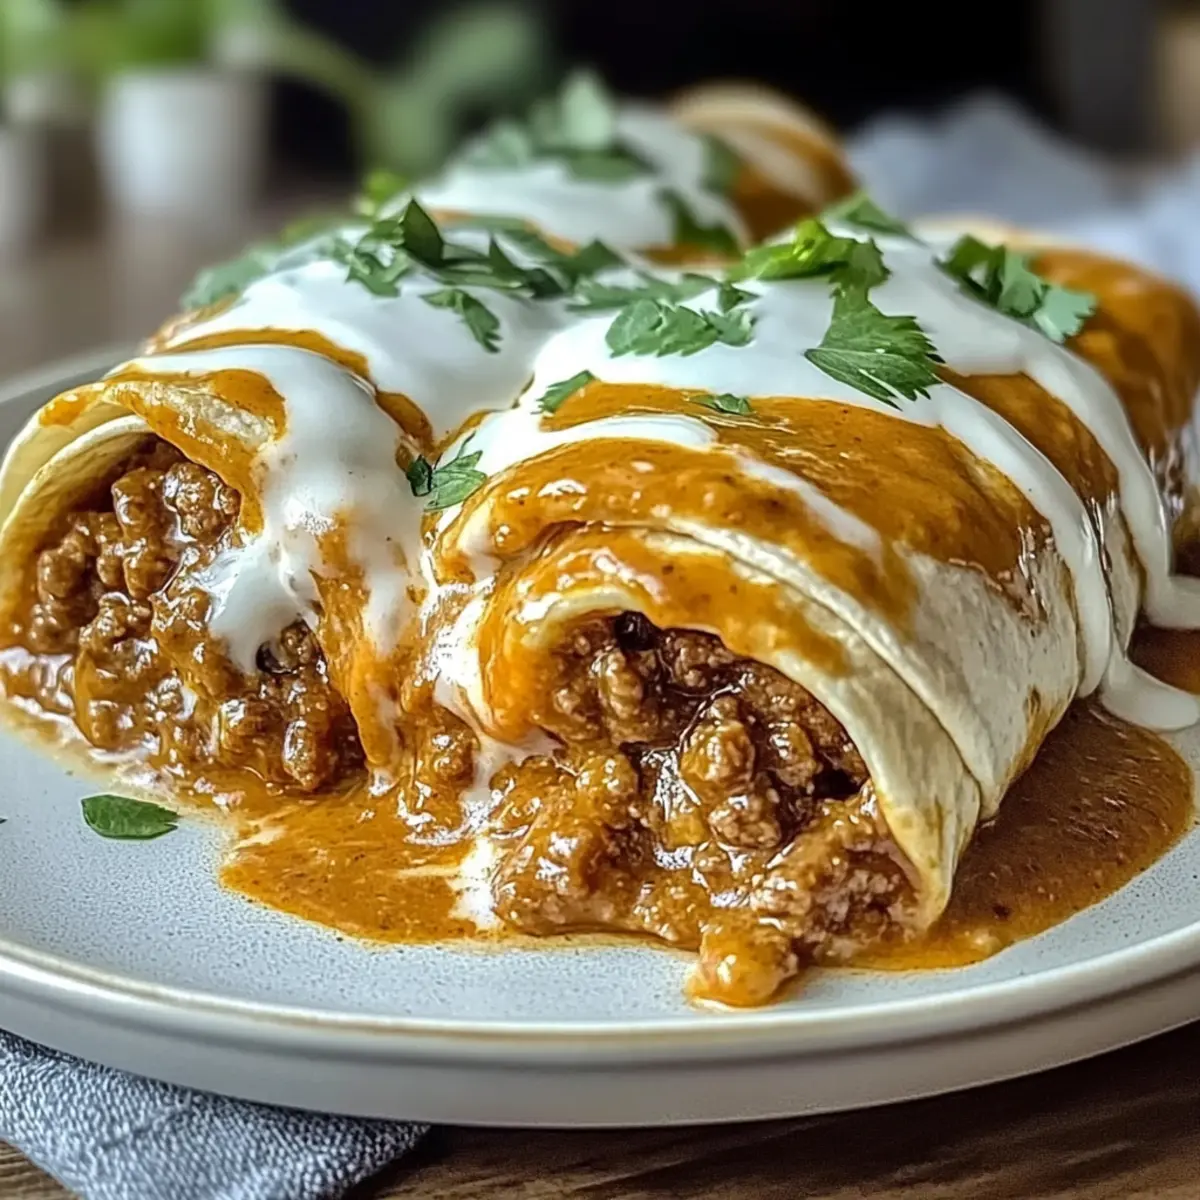
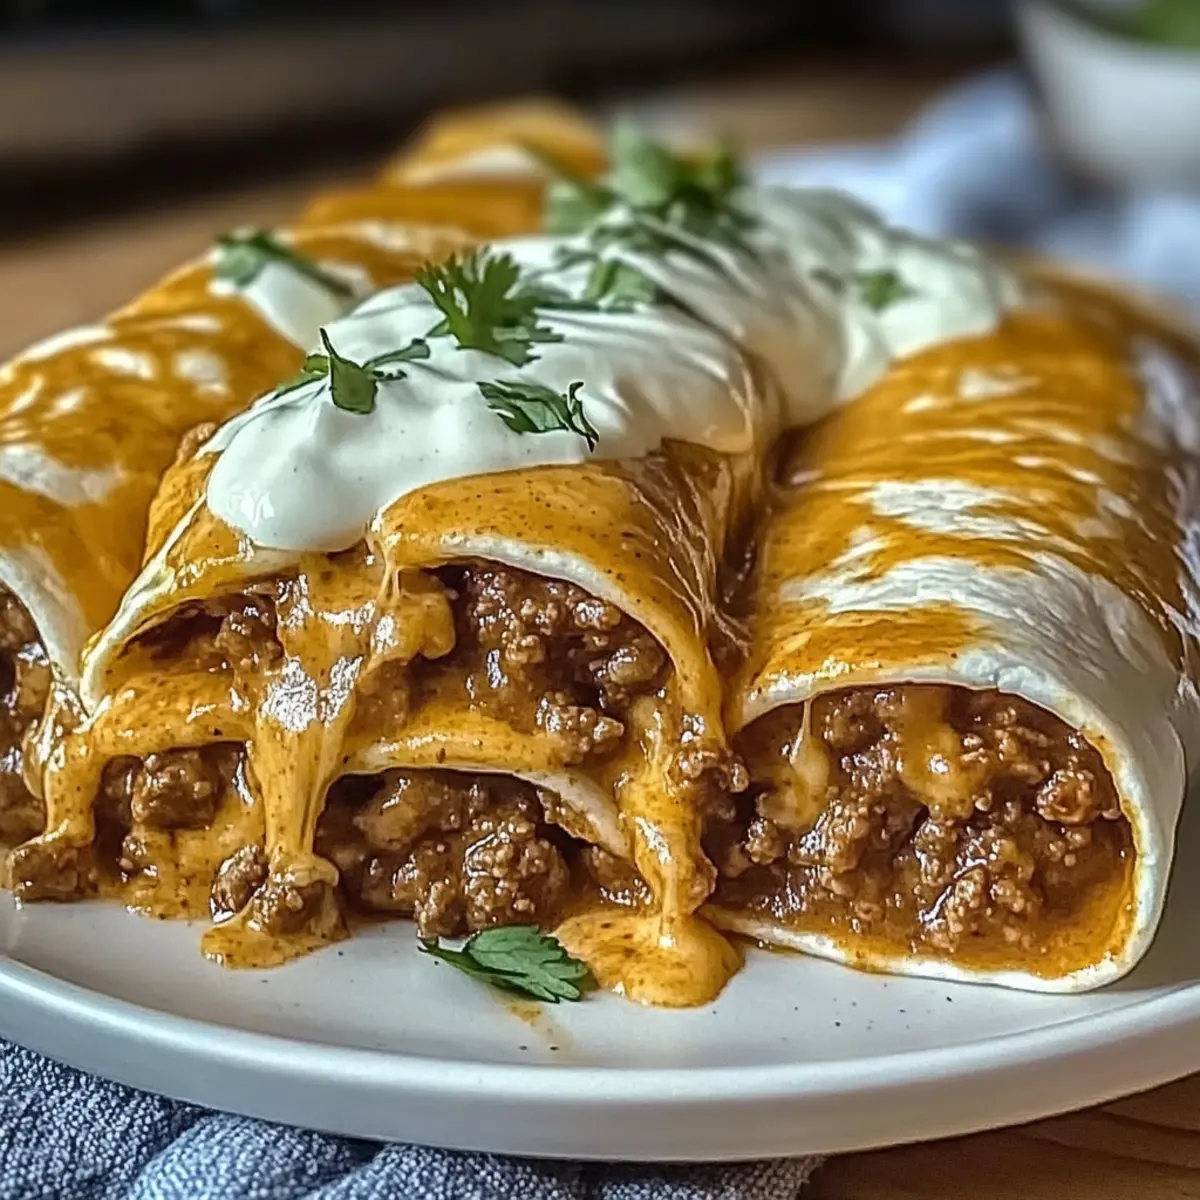
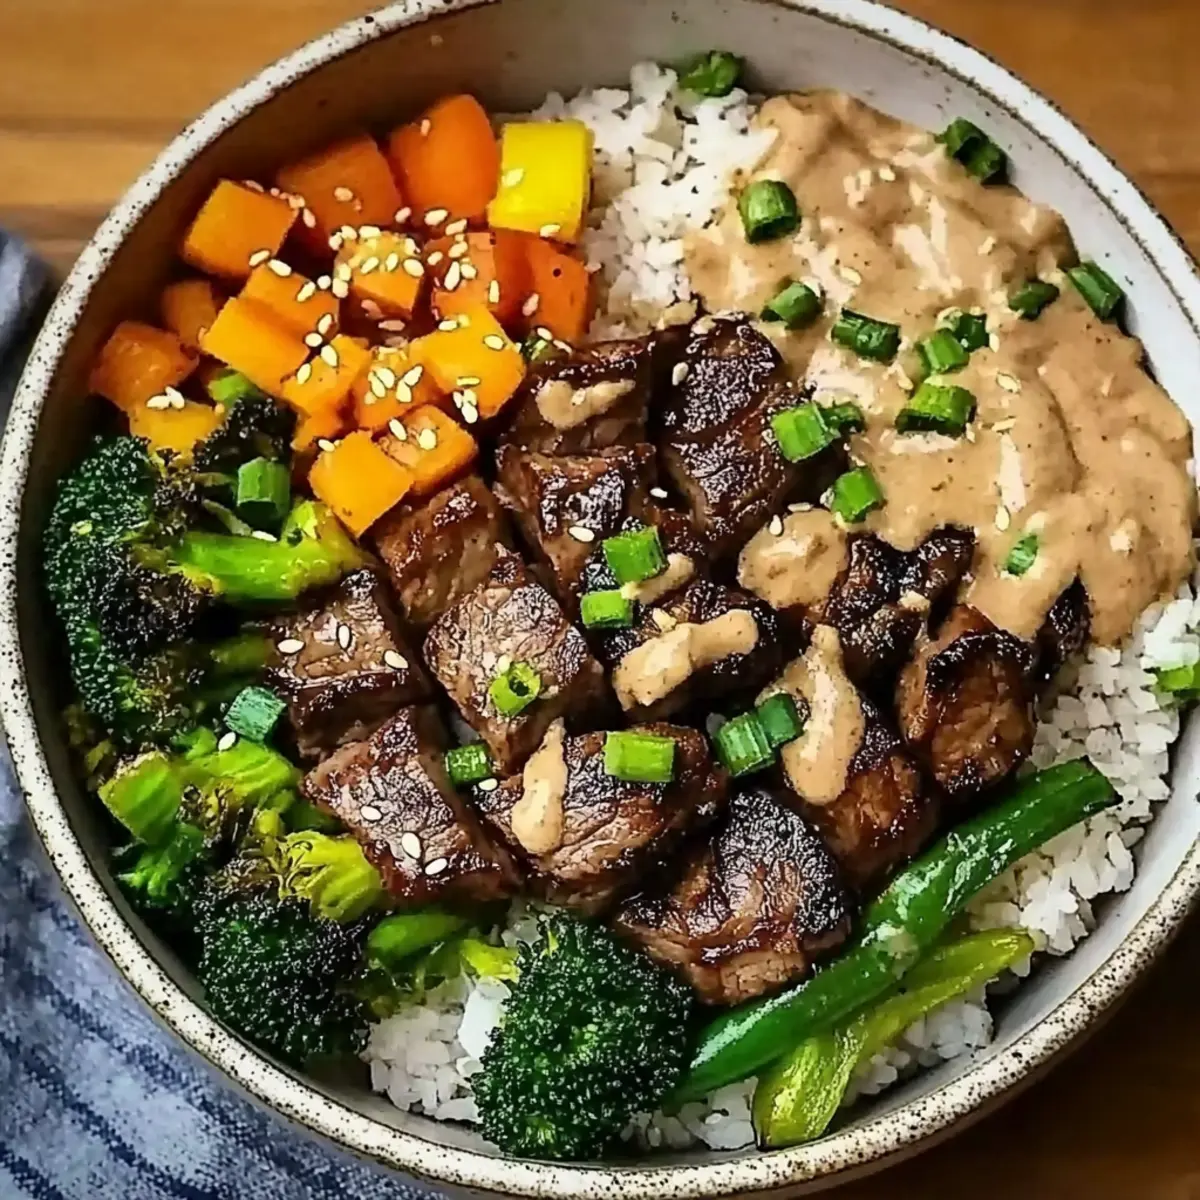
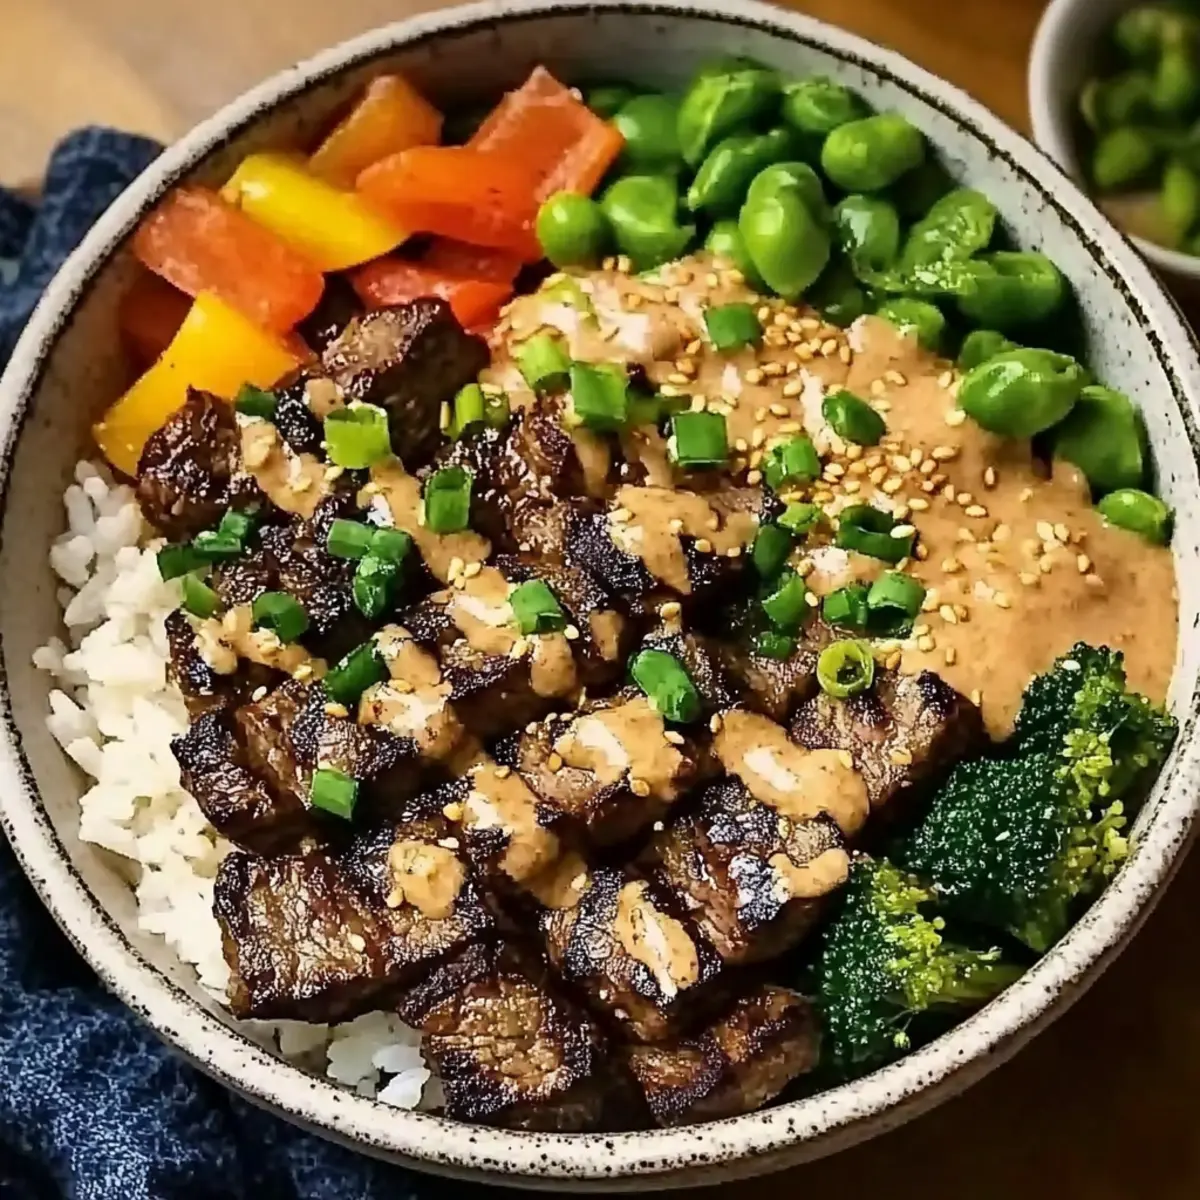
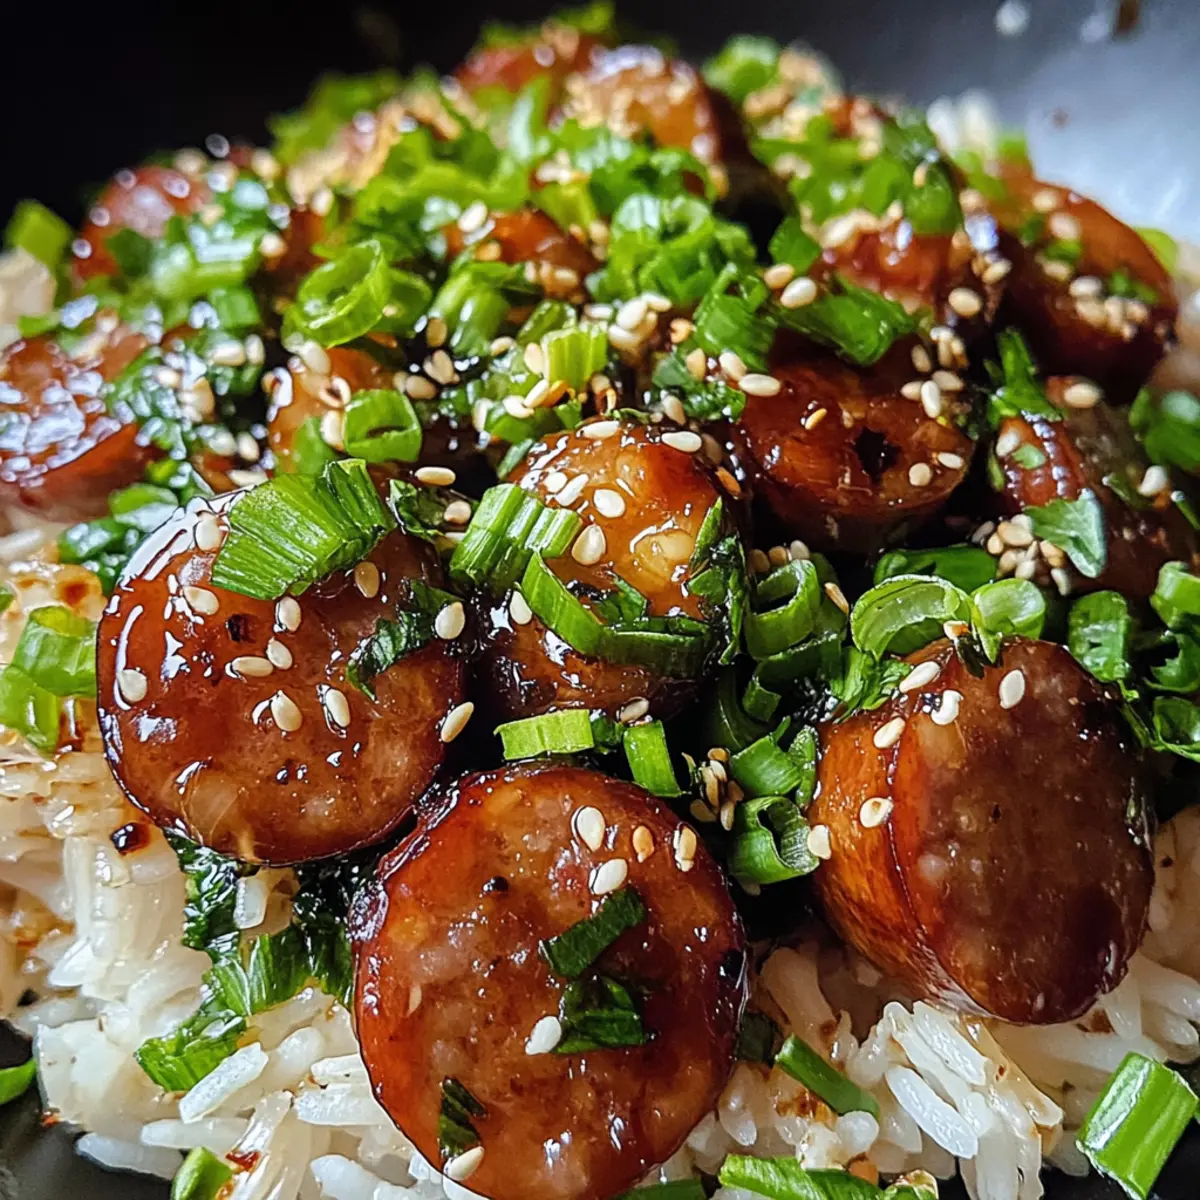
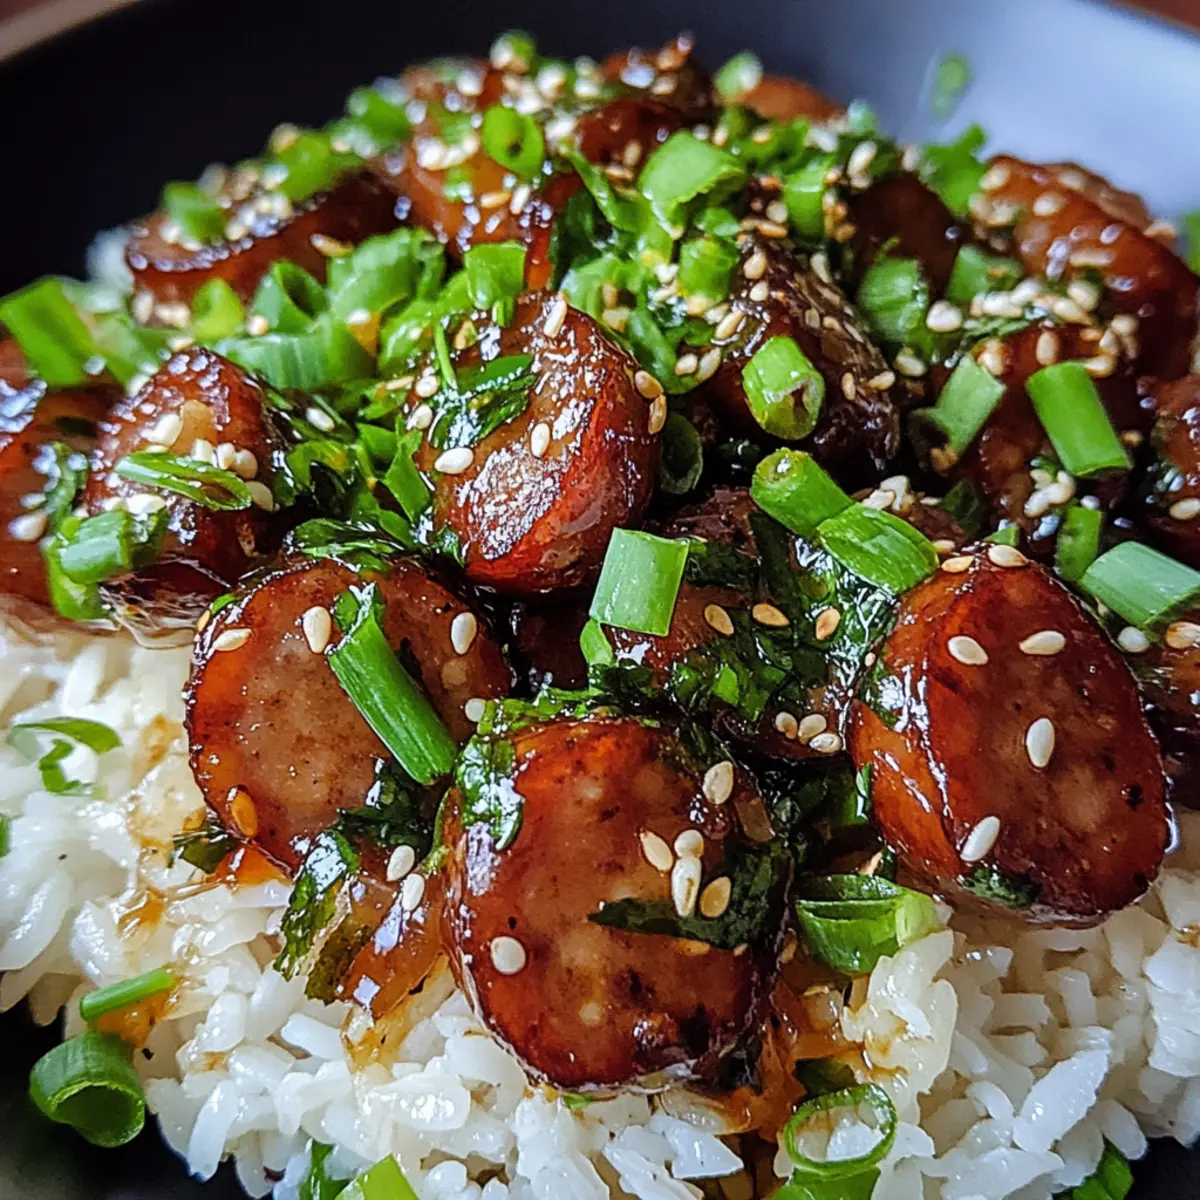
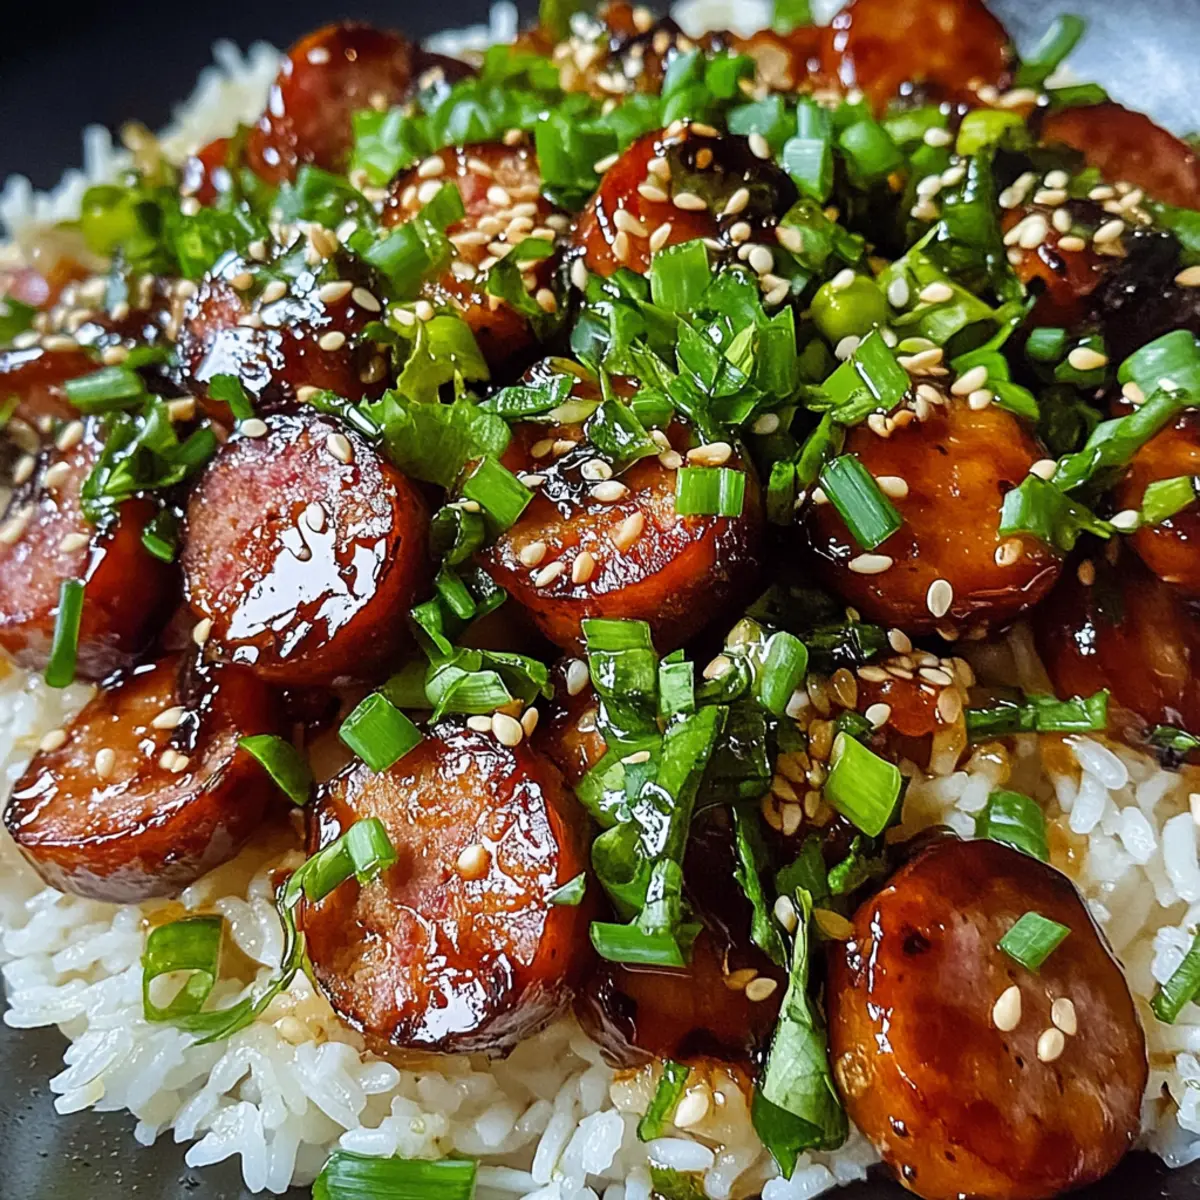
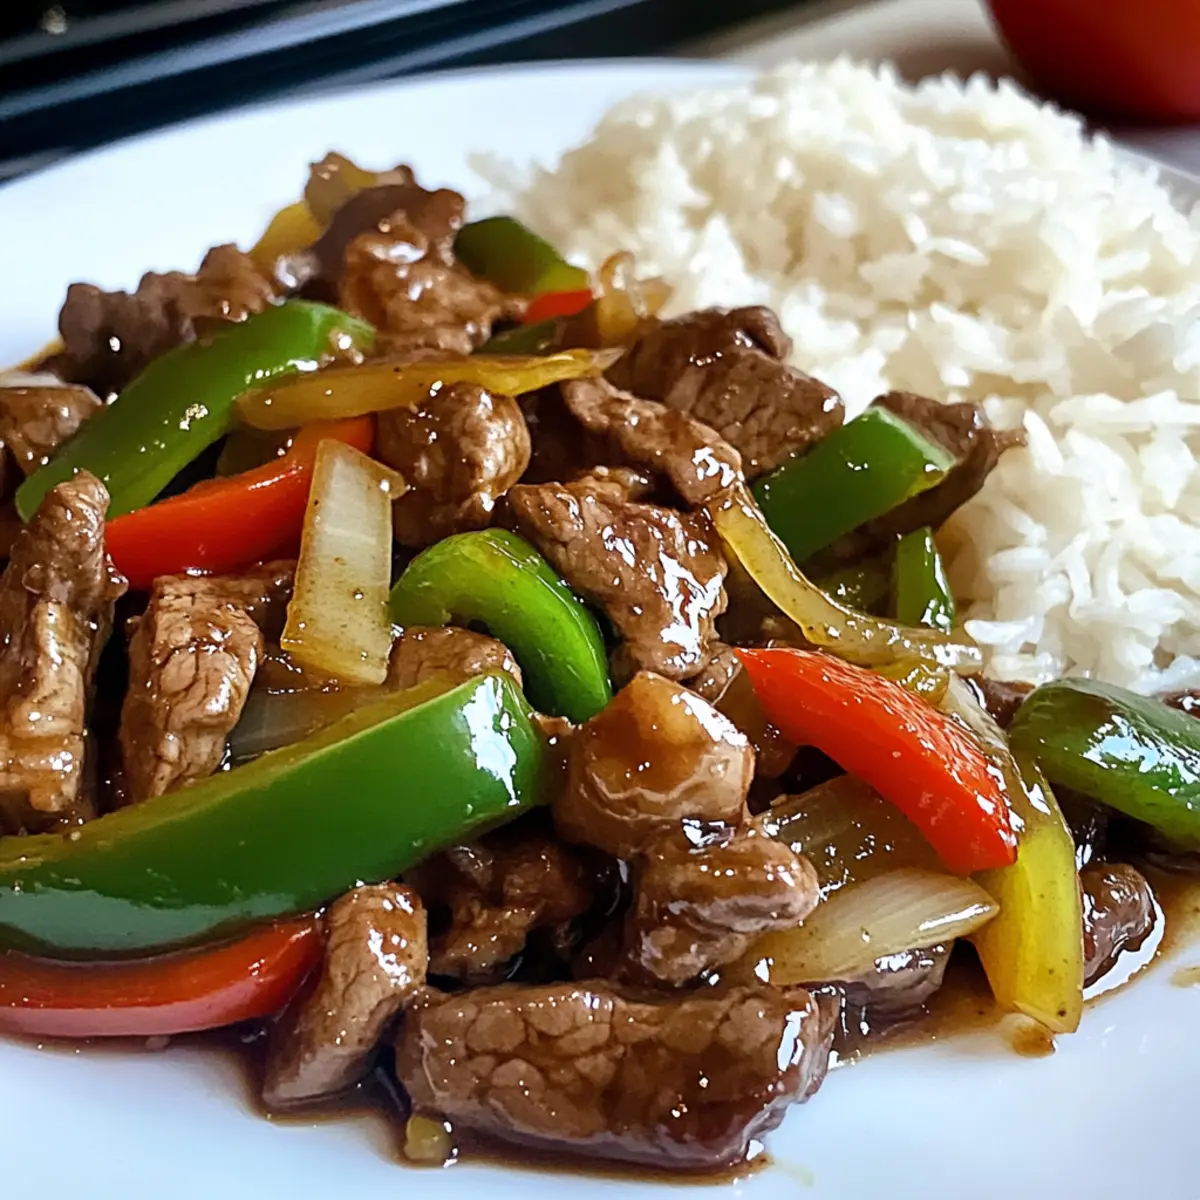
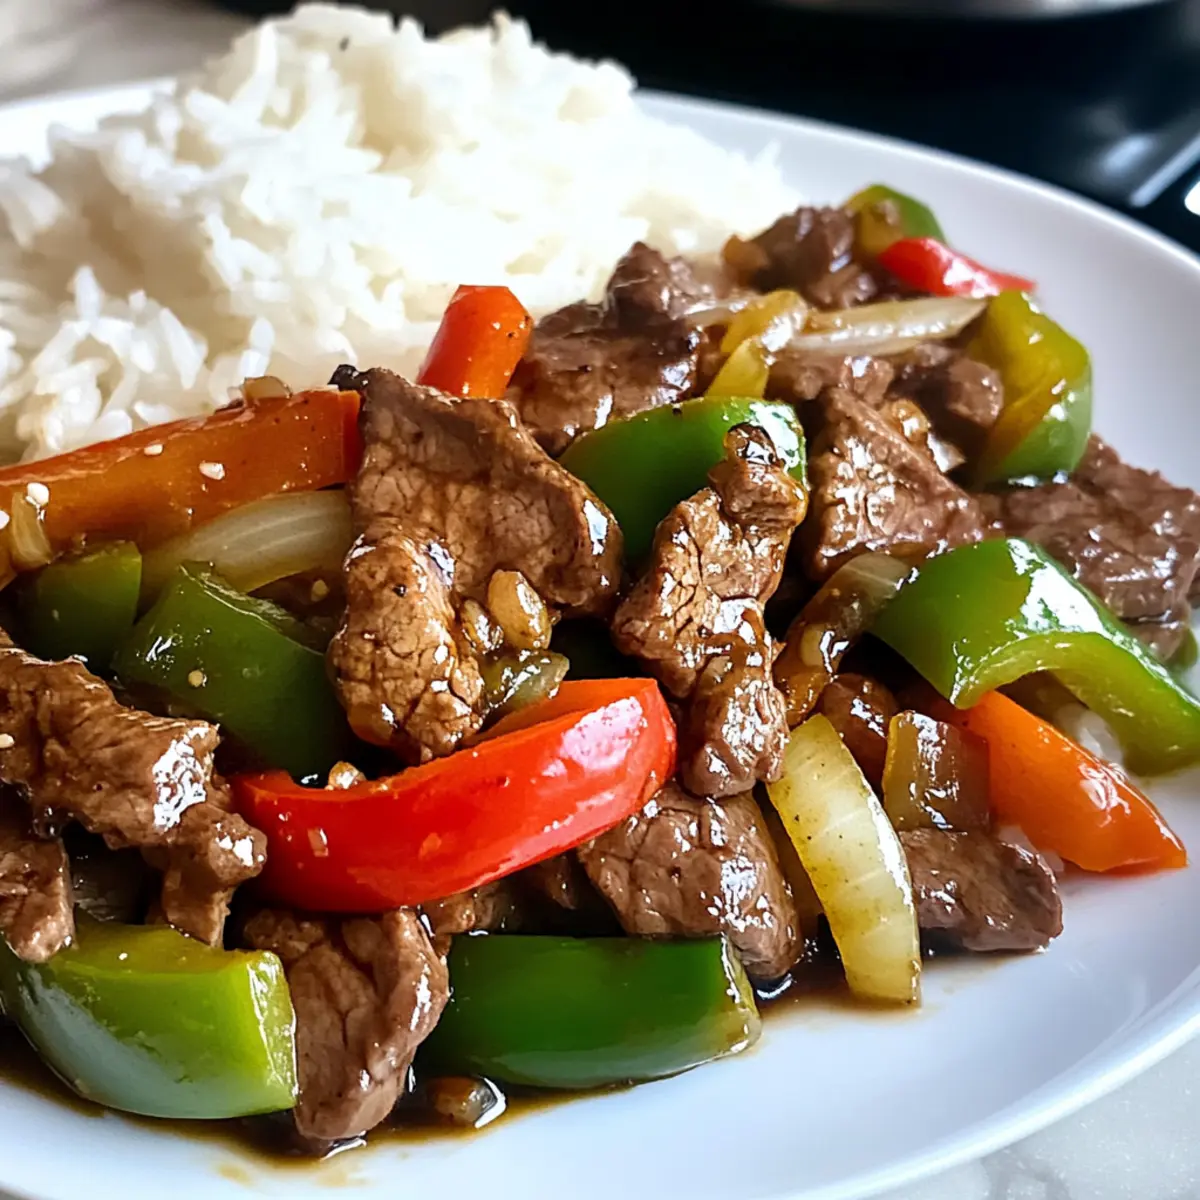
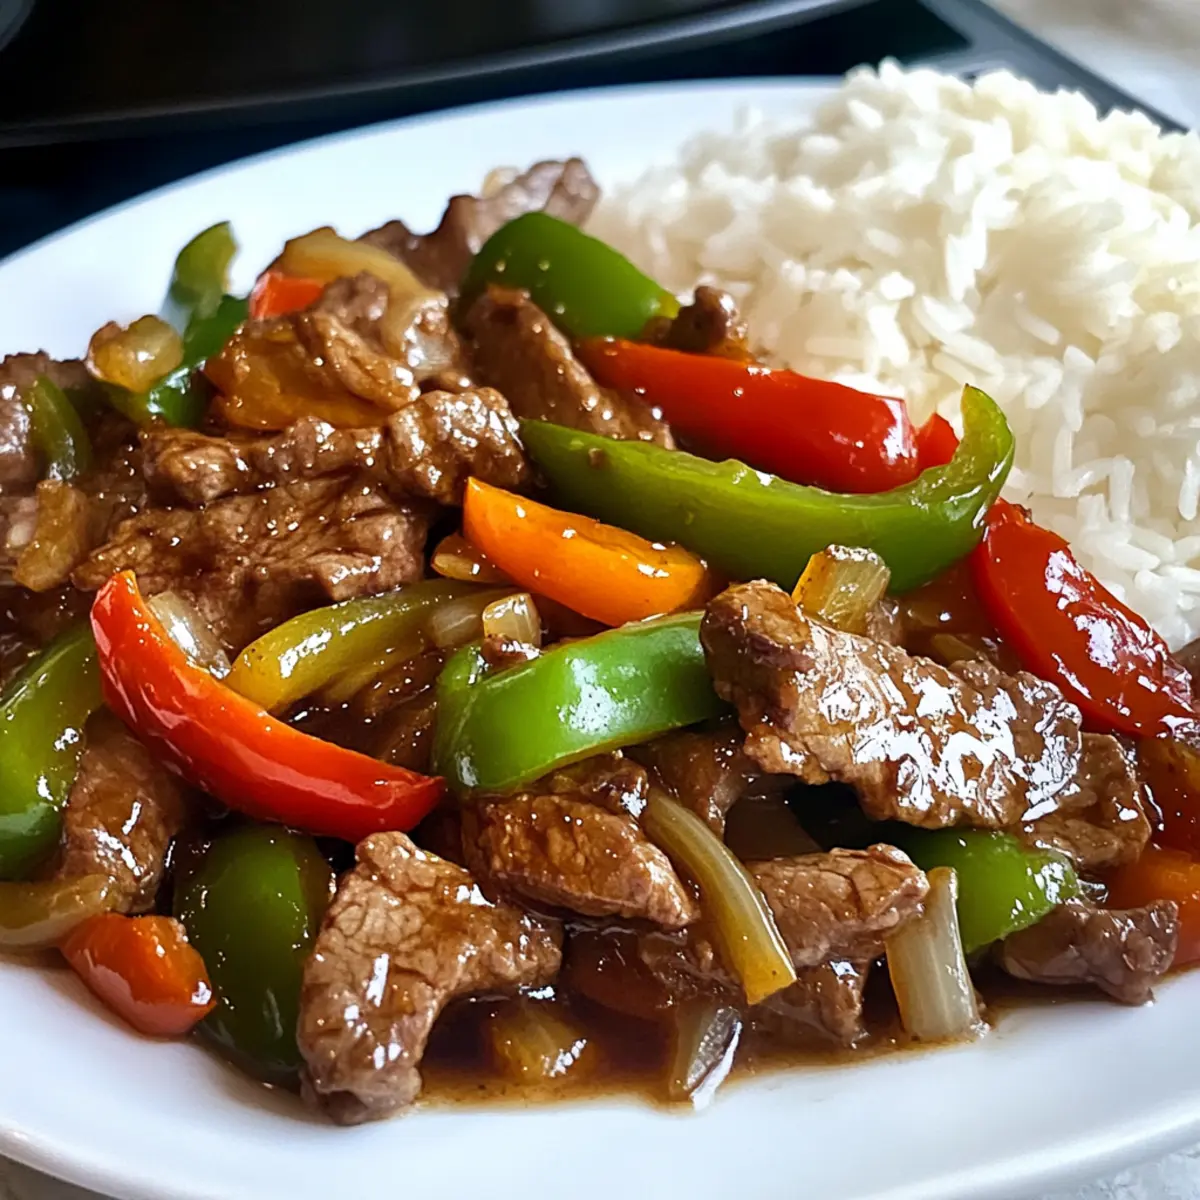
Finally, serve your delicious pepper steak over a fluffy bed of jasmine or brown rice. This combination not only balances the bold flavors, but also absorbs the lovely glaze. With the steak's tender texture and vibrant vegetables atop rice, this meal brings the comforting essence of home cooking straight to your table!
How to Store and Freeze Best Pepper Steak
Fridge: Use an airtight container to store leftover best pepper steak, keeping it fresh for up to 3 days. Reheat on the stove over low heat for optimal texture.
Freezer: If needed, freeze the cooked pepper steak in an airtight container or freezer bag for up to 3 months. Thaw overnight in the fridge before reheating.
Reheating: Gently reheat over medium heat in a skillet with a splash of water or a little oil to maintain moisture. Stir often for even warming and to avoid toughening the meat.
Make-Ahead Tip: Marinate the steak in advance and keep it in the fridge for up to 24 hours before cooking to enhance flavor.
Best Pepper Steak Variations
Feel free to explore endless opportunities to make this recipe your own, adding delightful twists that excite the taste buds!
-
Veggie-Packed: Substitute sliced mushrooms or broccoli to elevate the dish with added nutrients and texture. The earthiness of mushrooms can enhance the umami flavors of the steak.
-
Spicy Kick: For a fiery bite, include chilies or red pepper flakes in the meat marinade. This will add a layer of heat that pairs wonderfully with the savory glaze.
-
Venison Delight: Swap beef for venison steak for a unique, gamey flavor perfect for adventurous eaters. Just remember, the cooking time might vary due to the lean quality of venison.
-
Herb-Infused: Add fresh basil or cilantro as a garnish before serving for a burst of freshness. These aromatic herbs can brighten the flavors and complement the sweetness of the glaze.
-
Saucy Twist: Experiment with different sauces like teriyaki or sweet chili sauce in place of soy for a different flavor profile. This adjustment can create a delightful Asian fusion experience.
-
Whole Grain Upgrade: Serve the pepper steak over quinoa or farro instead of rice. This not only adds a nutty flavor but also increases the protein and fiber content of the meal.
-
Nutty Crunch: Top the finished dish with toasted sesame seeds for an extra crunch. This adds not only a lovely texture but also enhances the overall nutty character of the soy glaze.
-
Citrus Zest: Incorporate a splash of orange or lime juice in the glaze for a zesty brightness that can balance the richness. This little touch can make a significant difference in flavor, taking your dish to the next level.
Explore these variations and let your creativity shine! For more delicious ideas, check out this Cocoa Crusted Steak or try a refreshing Grilled Balsamic Steak Salad for a change of pace.
What to Serve with Best Pepper Steak
The vibrant colors and rich flavors in this dish create a beautiful canvas for a complete meal experience.
- Fluffy Jasmine Rice: Perfectly absorbs the savory soy glaze, creating a delightful balance that enhances the pepper steak.
- Crispy Vegetable Spring Rolls: They add a crunchy contrast to the tender beef, making your meal feel complete and satisfying.
- Steamed Broccoli: Offers a fresh, nutritious crunch while complementing the rich flavors of the steak.
- Stir-fried Bok Choy: This leafy green lends a lightness to the plates and soaks up the delicious sauce for extra flavor.
- Garlic Fried Rice: Adding a garlic aroma and extra dimension, this dish elevates the meal while maintaining Asian-inspired flavors.
- Chilled Cucumber Salad: Refreshing and crunchy, it provides a cool contrast to the warm, savory steak.
- Sesame Noodles: A slight twist on the theme, these noodles are flavor-packed and will fill hungry tummies delightfully.
- Mango Lassi: This sweet, creamy drink brings a cooling element to your meal while enhancing its overall complexity.
- Chocolate Mousse: End on a sweet note with this rich dessert that leaves your guests wanting more after the hearty pepper steak.
Make Ahead Options
These Best Pepper Steak preparations are ideal for busy home cooks looking to save time without sacrificing flavor! You can marinate the sliced beef up to 24 hours in advance, allowing the savory flavors to deepen. Additionally, the vegetables can be chopped and stored in the refrigerator for up to 3 days, keeping their freshness intact. When you're ready to enjoy this delightful dish, simply sauté the prepped veggies before cooking the marinated meat. For the final touch, mix the glaze ingredients just before serving, and heat everything together for that restaurant-quality taste with minimal effort!
Expert Tips for Best Pepper Steak
-
Slice Against the Grain: Ensure tenderness by slicing the steak against the grain. This simple technique makes a significant difference in texture.
-
Prep in Advance: Marinate the steak at least 30 minutes ahead of cooking. This will infuse the meat with flavor, ensuring a delicious best pepper steak.
-
Watch the Heat: Keep an eye on the skillet's temperature while cooking the steak. Too high heat can quickly overcook thin strips, leading to tough meat.
-
Color Matters: Use a mix of bell peppers for color and flavor; it not only enhances the dish's appearance but also offers a variety of nutrients.
-
Thickening Tips: When adding the glaze, stir continuously until it thickens, ensuring every piece of meat and vegetable is beautifully coated for that glossy look.
Best Pepper Steak Recipe FAQs
How do I choose the right bell pepper for this recipe?
Absolutely! For the best pepper steak, I recommend using bell peppers that are firm with smooth skin and vibrant color. Avoid any with dark spots or soft areas, as these may be overripe. You can mix colors for a beautiful presentation—red, yellow, and green not only look lovely together but also bring a range of flavors to your dish.
How long can I store leftover pepper steak?
Leftover best pepper steak can be stored in an airtight container in the refrigerator for up to 3 days. When reheating, I suggest using a skillet over low heat to maintain the tenderness of the beef and freshness of the vegetables. Just add a splash of water or a bit of oil to prevent drying out—nobody likes tough meat!
Can I freeze the pepper steak successfully?
Yes, you can! To freeze, place the cooked pepper steak in an airtight container or freezer bag, ensuring to remove as much air as possible. It can be stored in the freezer for up to 3 months. When you're ready to enjoy it, thaw it overnight in the fridge, then reheat gently in a skillet for the best results. Trust me, it will taste like it's fresh off the stove!
What if I overcook the steak?
Very common! If you happen to overcook the steak and it becomes tough, consider slicing it thinner (if not already) and incorporating it into a stir-fry dish with plenty of sauce or broth. This can help to moisten and soften the meat again while blending it with other flavors. Always remember to use a meat thermometer to avoid overcooking—it should ideally reach 130°F for medium-rare.
Is this recipe safe for my dog?
While your best pepper steak sounds delicious, it’s important to note that dogs should avoid soy sauce, as it contains high amounts of sodium that can be harmful to them. Instead, you could set aside a small portion of the cooked steak before adding the glaze for your furry friend. Just ensure it's plain—no garlic or onions, which are toxic to dogs!
Can I make this recipe gluten-free?
Absolutely! You can easily adapt the best pepper steak to be gluten-free by substituting regular soy sauce with a gluten-free version, such as tamari. This way, you won’t sacrifice flavor while accommodating dietary needs. Enjoy your cooking adventure!
Best Pepper Steak with Savory Soy Glaze for Family Nights
Ingredients
Equipment
Method
- Prepare the ingredients by slicing the steak, onion, and bell pepper and arranging them for cooking.
- Marinate the steak by mixing it with soy sauce, corn starch, sugar, garlic powder, ground ginger, salt, and pepper. Refrigerate for at least 30 minutes.
- Sauté the vegetables in a skillet with vegetable oil for 3-5 minutes, then remove from heat.
- Cook the marinated steak in the same skillet for 5-7 minutes until browned.
- Combine the sautéed vegetables with the beef, add the glaze, and stir. Cook for another 1-2 minutes.
- Serve over jasmine or brown rice.