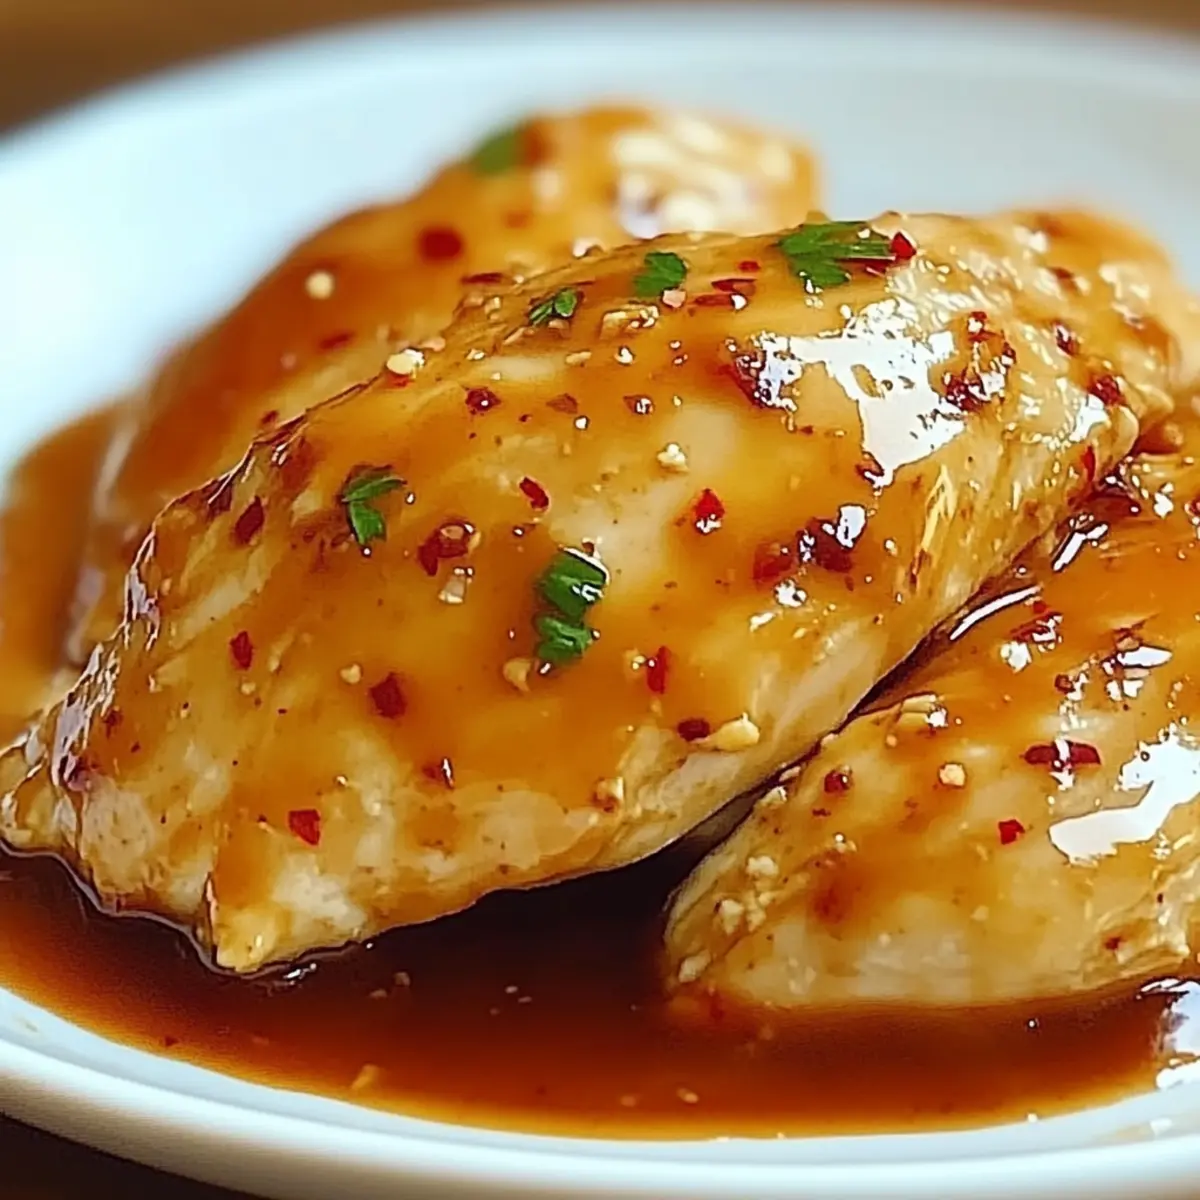
As I stood in the kitchen, the aroma of sizzling chicken mingled with the rich scent of peanut sauce, instantly bringing me back to my favorite Thai restaurant. You'll soon discover how easy it is to recreate that comfort at home with this Quick and Easy Thai Peanut Chicken recipe. Not only is it a lifesaver for busy weeknights—ready in just 30 minutes—but it also invites endless customization. From adjusting the spice level to adding colorful veggies, this dish lets your culinary creativity shine. With a perfect blend of savory and slightly spicy flavors, it's no wonder this Thai Peanut Chicken has become a staple meal in my home. Ready to dive in and impress your taste buds? Let’s get cooking!
Why is Thai Peanut Chicken a Must-Try?
Quick and Easy: This recipe can be on your table in just 30 minutes, making it ideal for bustling weeknights.
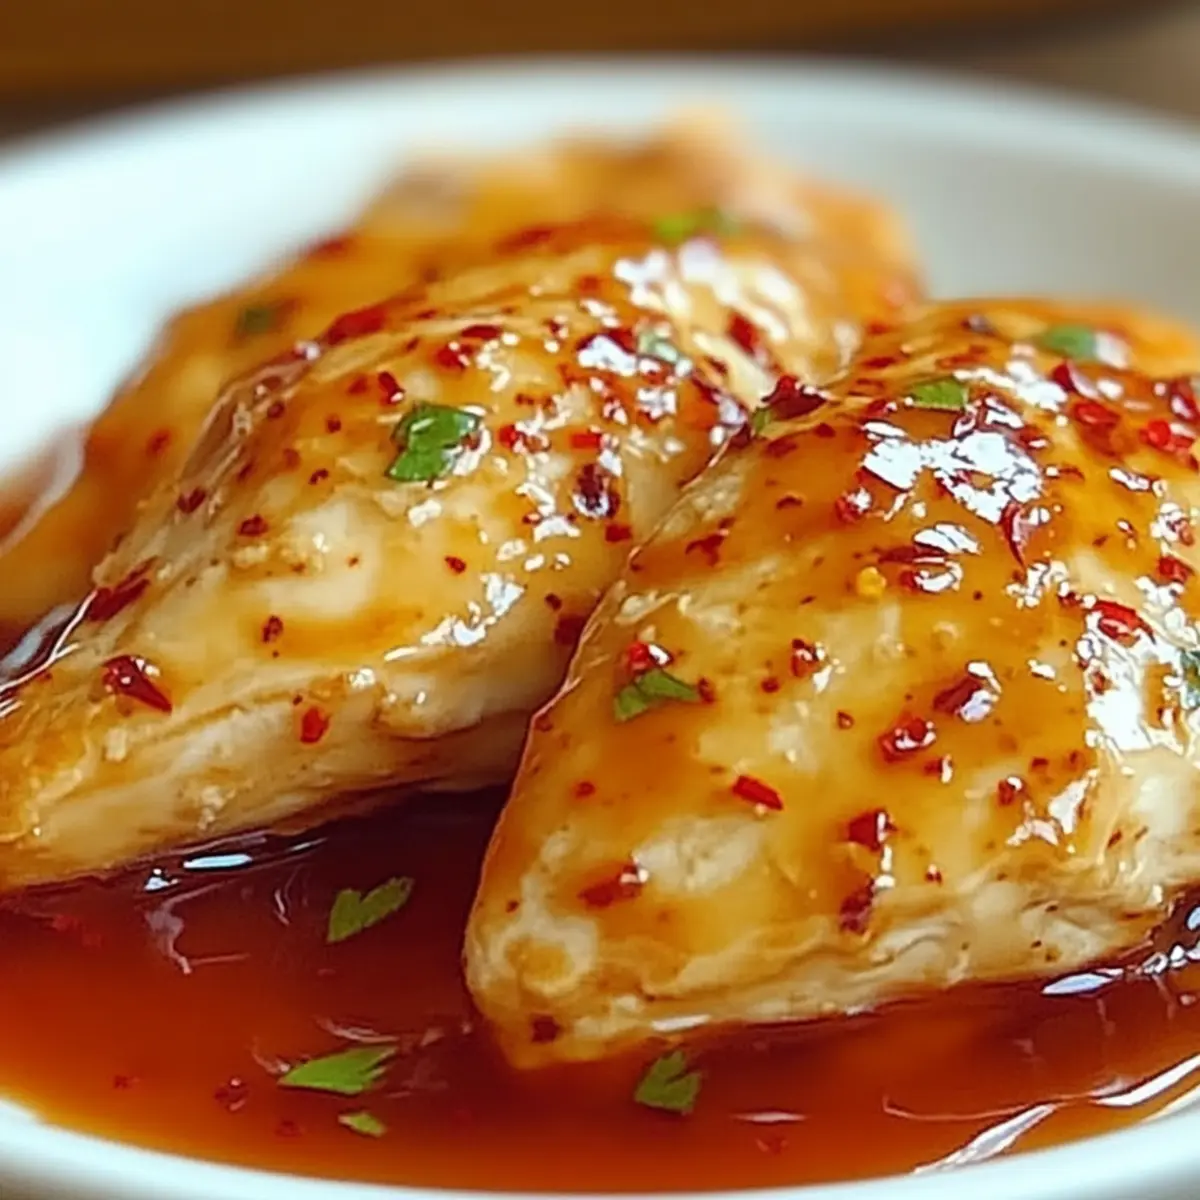
Flavor Explosion: The creamy peanut sauce combined with tender chicken brings comfort food to new heights, delighting your palate with savory and slightly spicy notes.
Customizable: Adjust the spice level with sriracha or swap in your favorite protein-try it with shrimp or tofu for delicious variations.
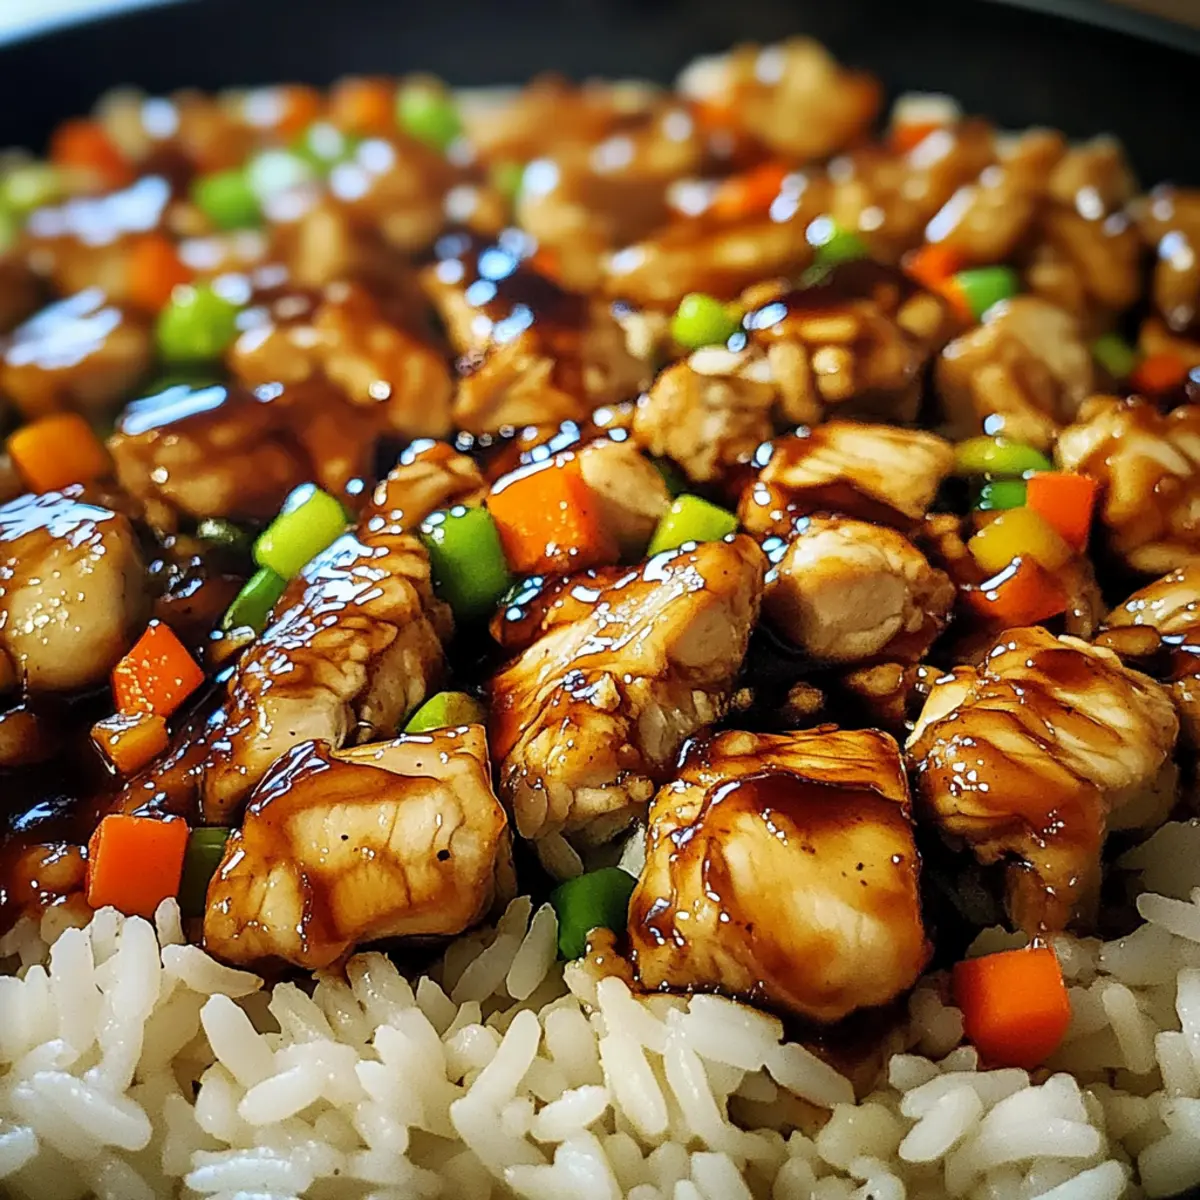
Colorful Veggies: Toss in bell peppers or broccoli to create a visually appealing and nutritious meal, promoting healthy eating alongside great taste.
Crowd-Pleaser: This dish is perfect for entertaining or family dinners; everyone will appreciate its rich flavors and satisfying texture.
Whether you opt for a side of coconut rice or fresh wraps, this Thai Peanut Chicken will surely become a favorite in your home!
Thai Peanut Chicken Ingredients
For the Chicken
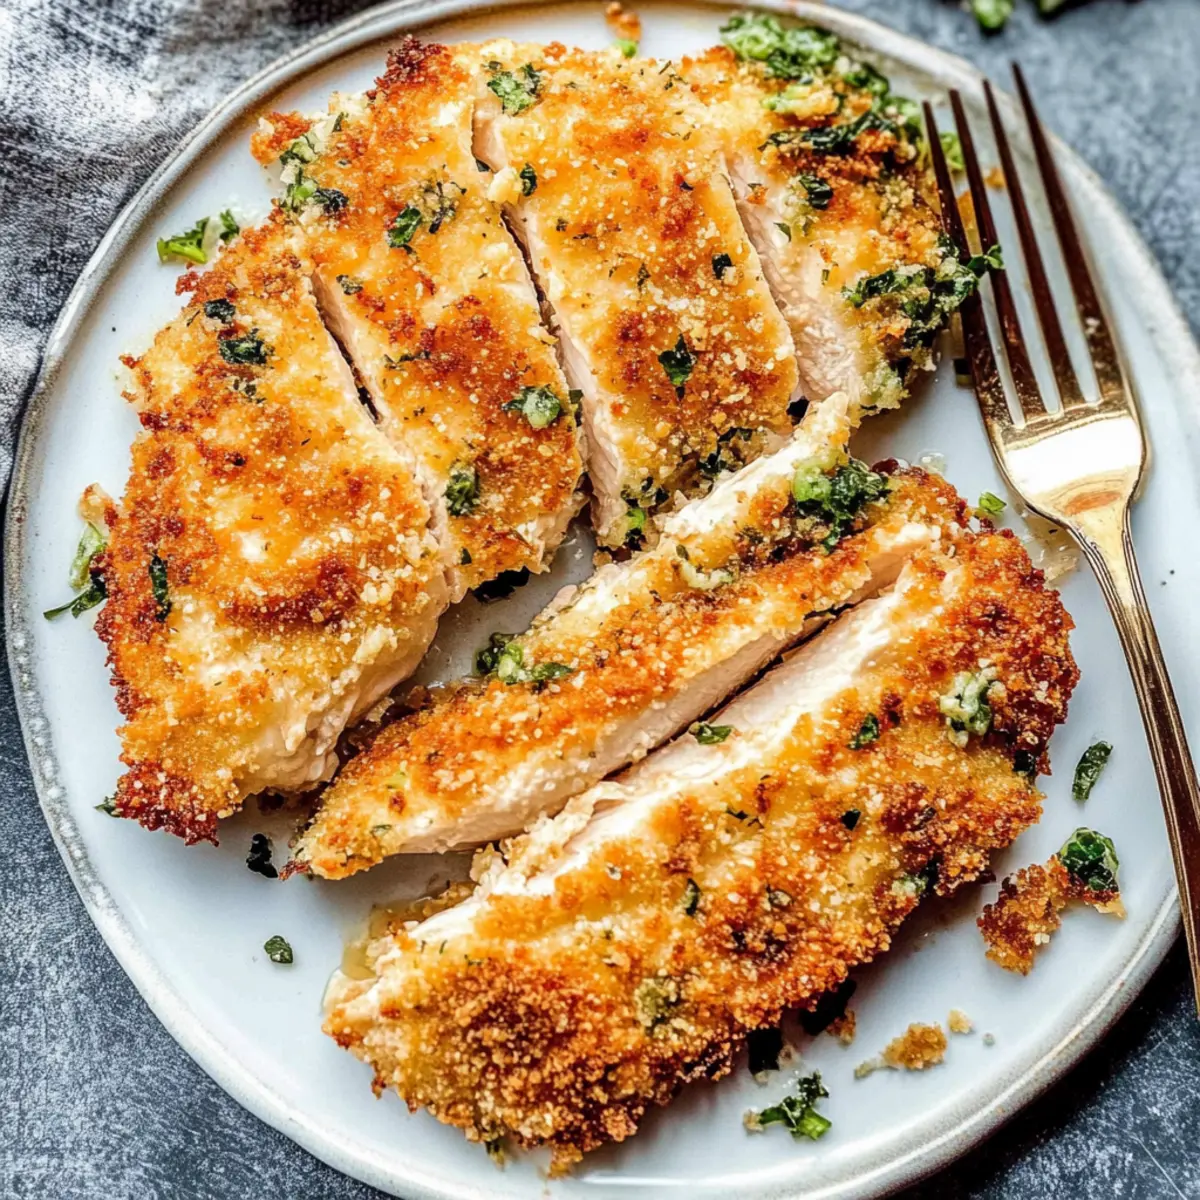
• Boneless, Skinless Chicken Breasts/Thighs – Provides tenderness and flavor; ensure uniform thickness for even cooking.
For the Peanut Sauce
• Peanut Butter – Forms the base of the sauce; adds creaminess and distinct nutty flavor. Substitute with sunflower seed butter for a nut-free version.
• Soy Sauce – Adds umami; use low-sodium soy sauce for a lighter option.
• Sriracha – Offers heat; adjust the amount for your desired spice level—start with less and increase as needed.
• Ginger – Freshly grated ginger enhances flavor; substitute with powdered ginger if fresh isn’t available.
• Garlic – Fresh garlic adds aromatic depth; may substitute with garlic powder in a pinch.
• Oil (for cooking) – Necessary for frying the chicken; can use vegetable or peanut oil.
Optional Vegetables
• Bell Peppers – Add color and nutrition; perfect for enhancing the dish’s flavor and visual appeal.
• Broccoli – Boosts health benefits and adds a satisfying crunch; steam or sauté before serving.
This selection of Thai Peanut Chicken ingredients sets the stage for a delightful, quick, and easy meal that your family will love!
Step‑by‑Step Instructions for Thai Peanut Chicken
Step 1: Marinate the Chicken
In a bowl, combine peanut butter, soy sauce, sriracha, grated ginger, and minced garlic into a smooth marinade. Add your boneless, skinless chicken breasts or thighs, ensuring they're evenly coated. Cover the bowl and refrigerate for at least 30 minutes, allowing the flavors to penetrate the chicken deeply, which is essential for a delicious Thai Peanut Chicken.
Step 2: Heat the Skillet
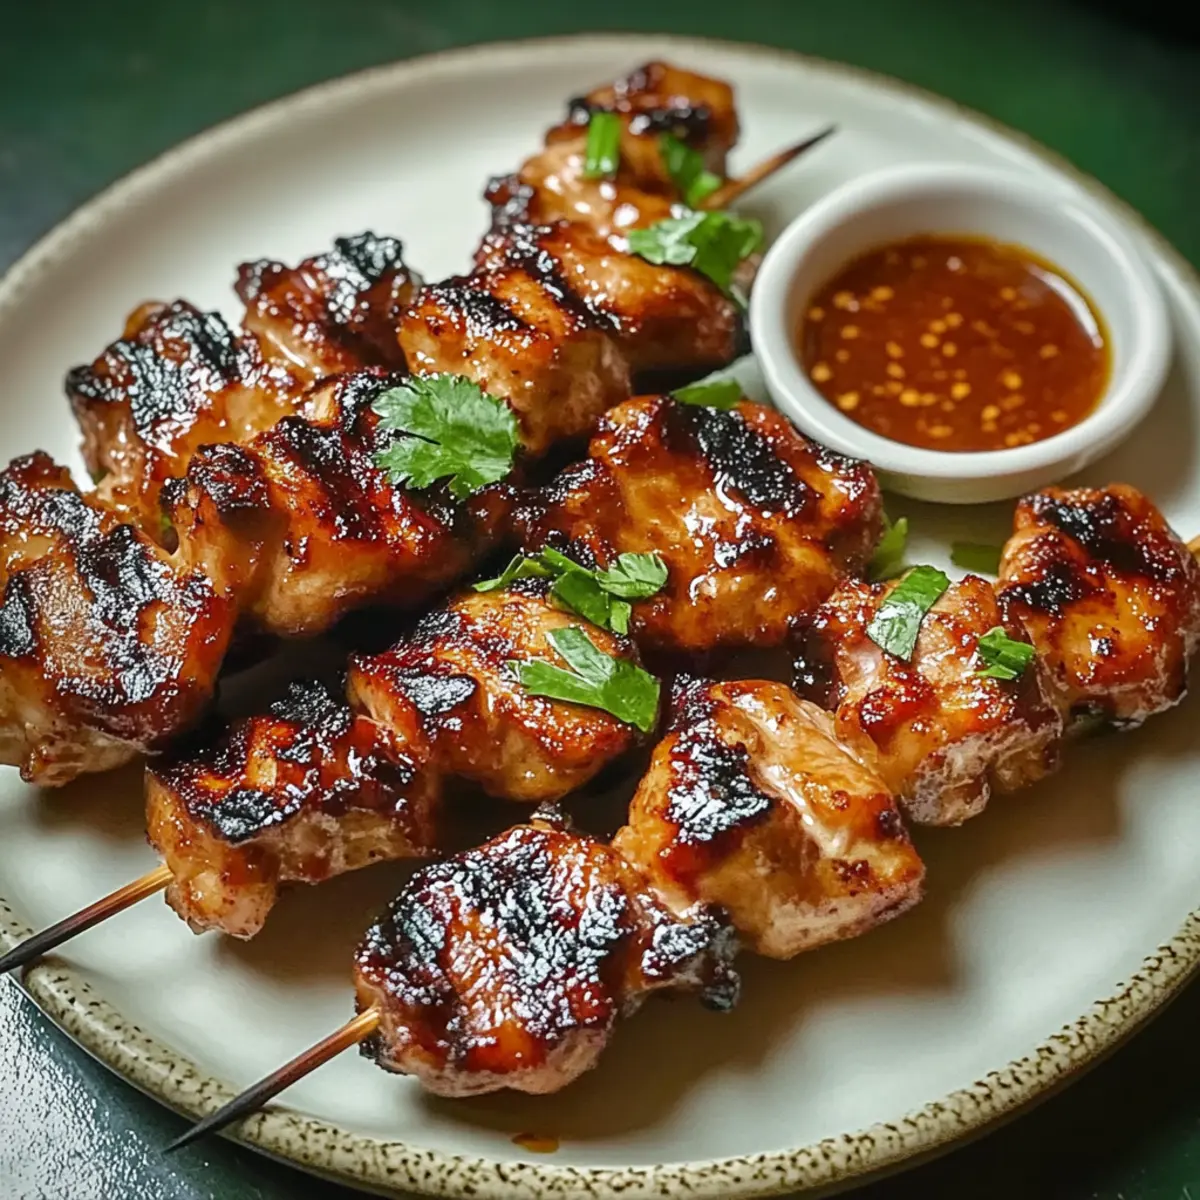
Heat a tablespoon of vegetable or peanut oil in a large skillet over medium-high heat. As the oil shimmers, remove the chicken from the marinade, allowing excess sauce to drip off before placing it in the hot skillet. Sear the chicken for about 5-7 minutes on each side, or until it's golden brown and reaches an internal temperature of 165°F, signifying it’s cooked through.
Step 3: Prepare the Sauce
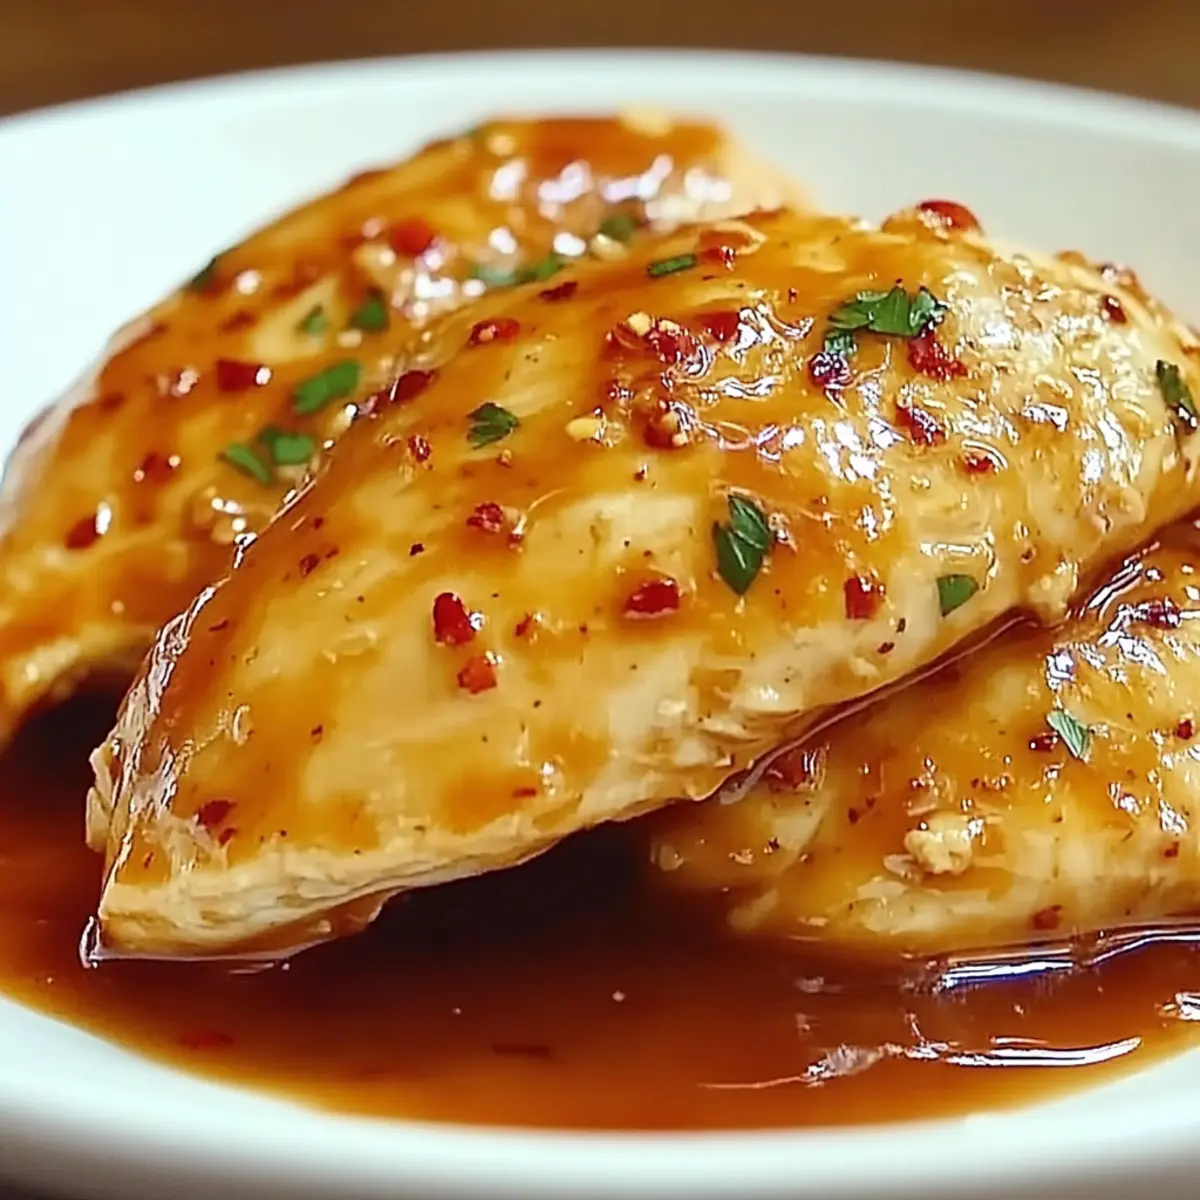
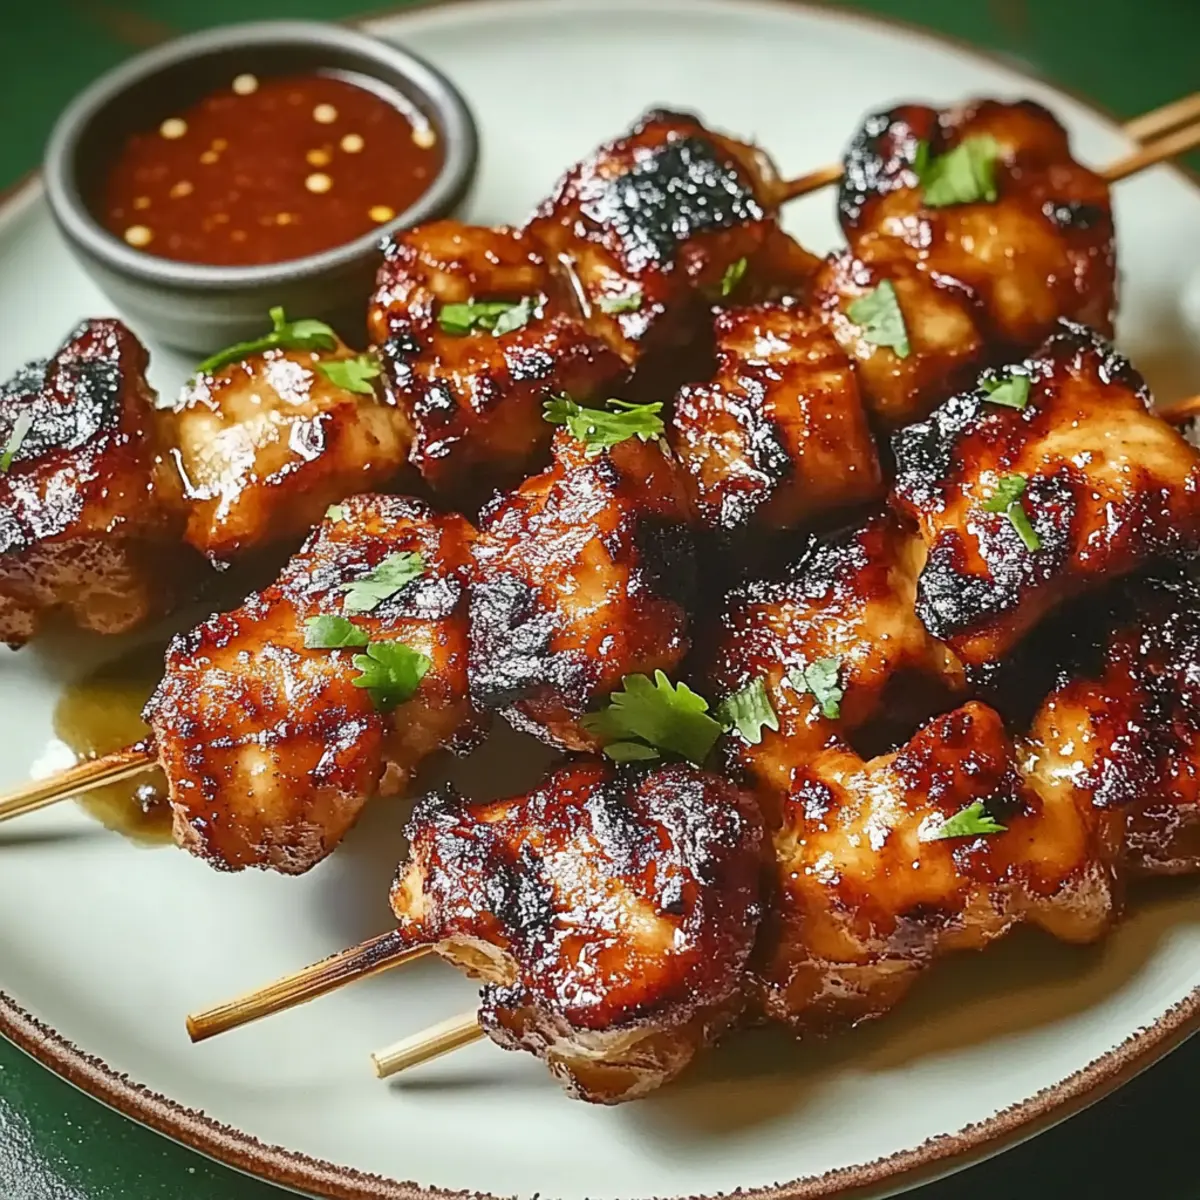
Once the chicken is cooked, remove it from the skillet and set it aside to rest. In the same skillet, pour in the leftover marinade and bring it to a gentle simmer over medium heat. Stir continuously for about 3-5 minutes until the sauce thickens, creating a rich and velvety texture that will beautifully coat your Thai Peanut Chicken.
Step 4: Combine and Serve
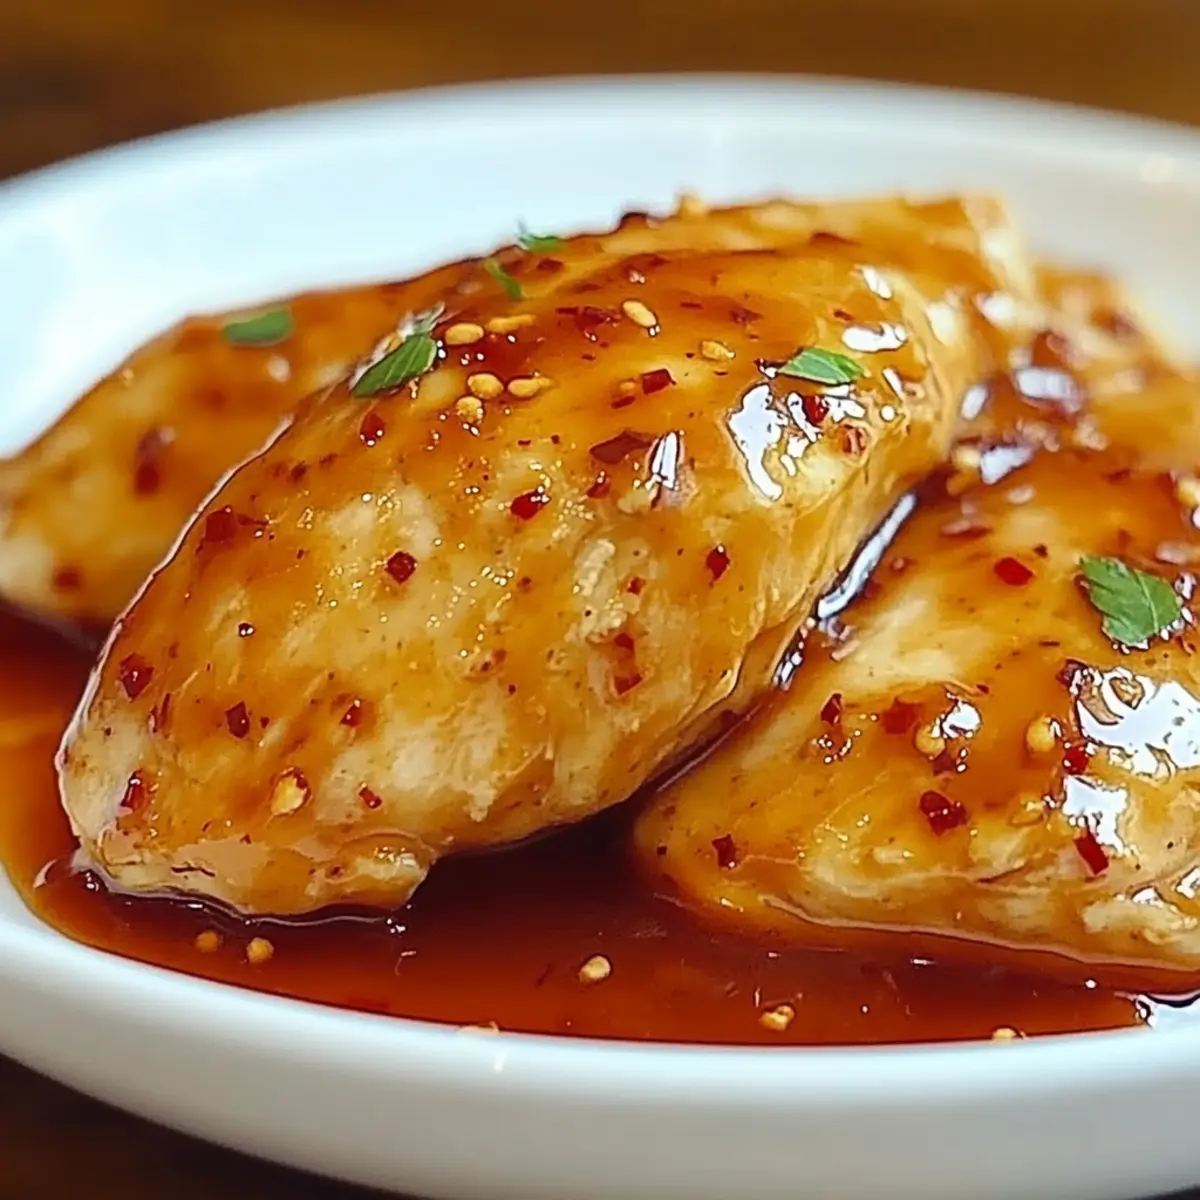
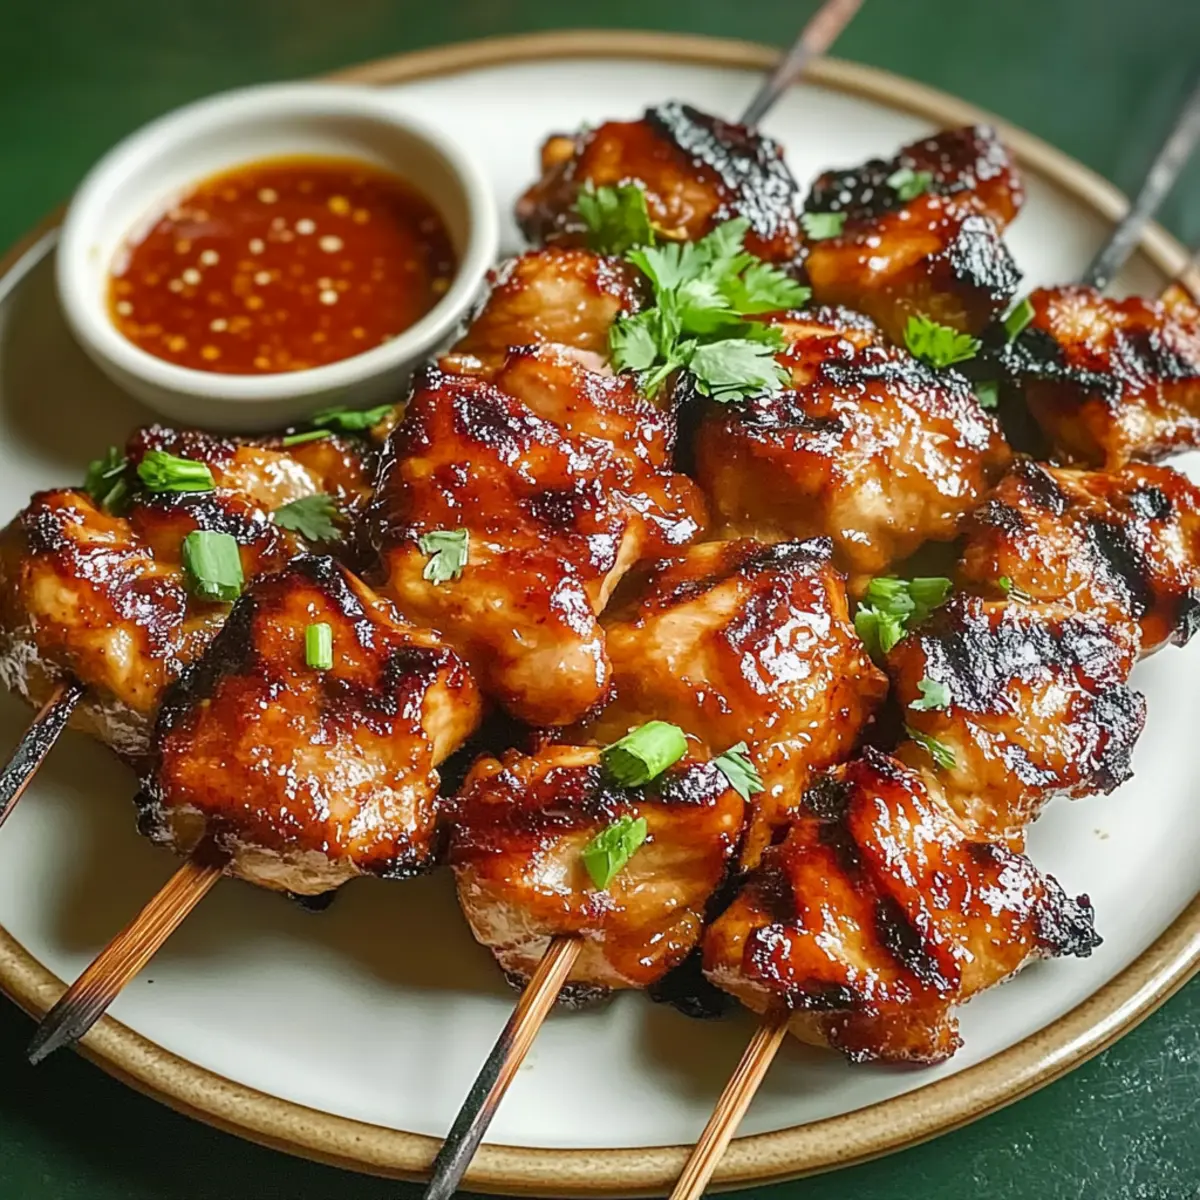
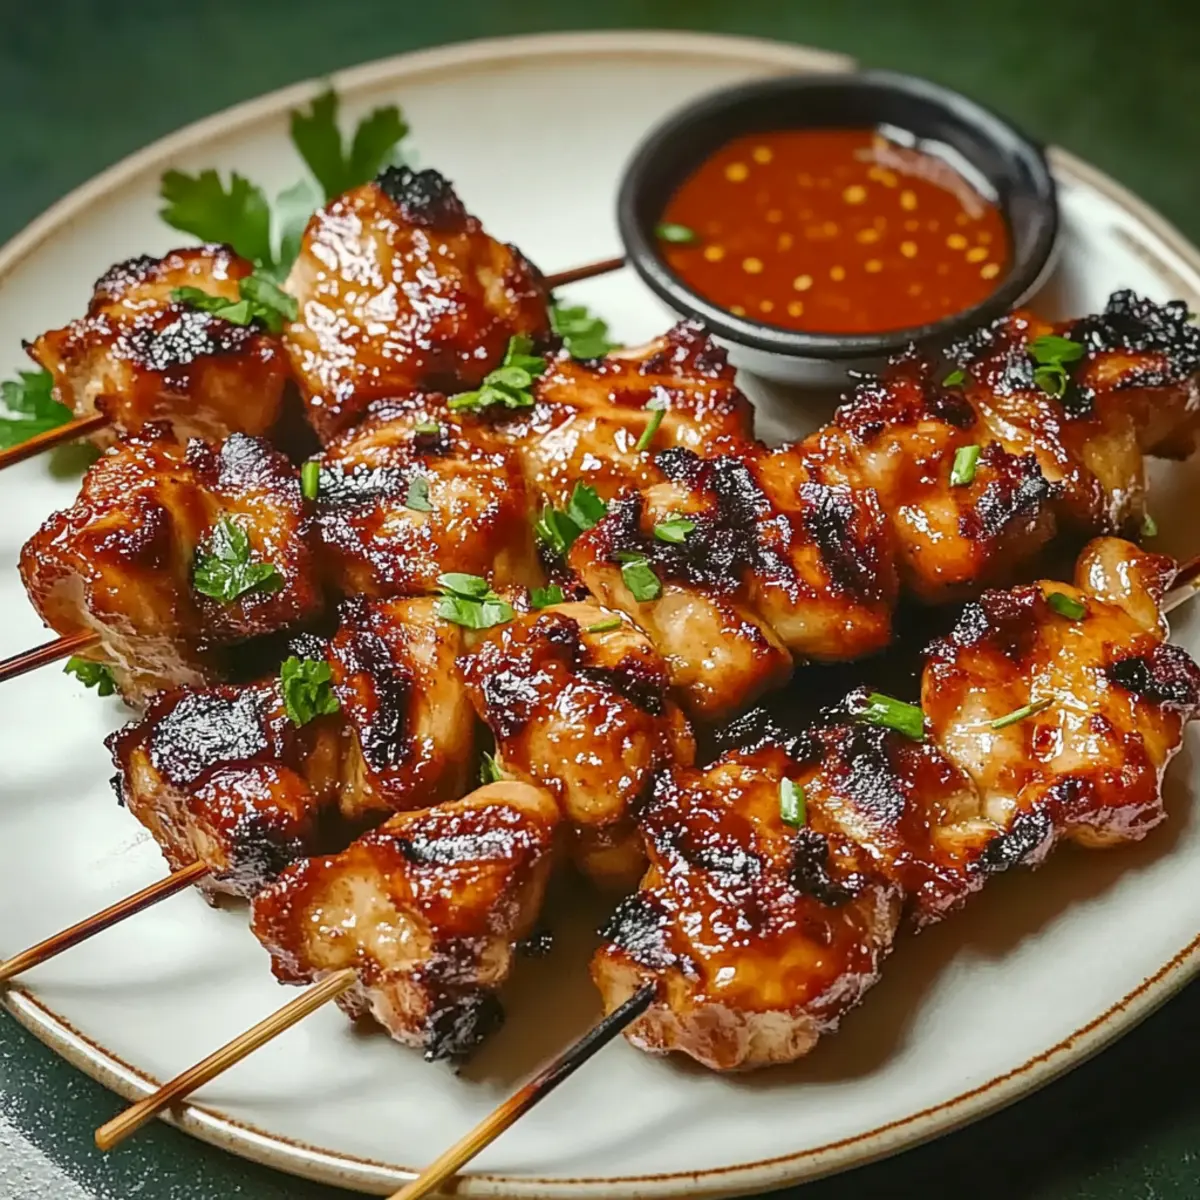
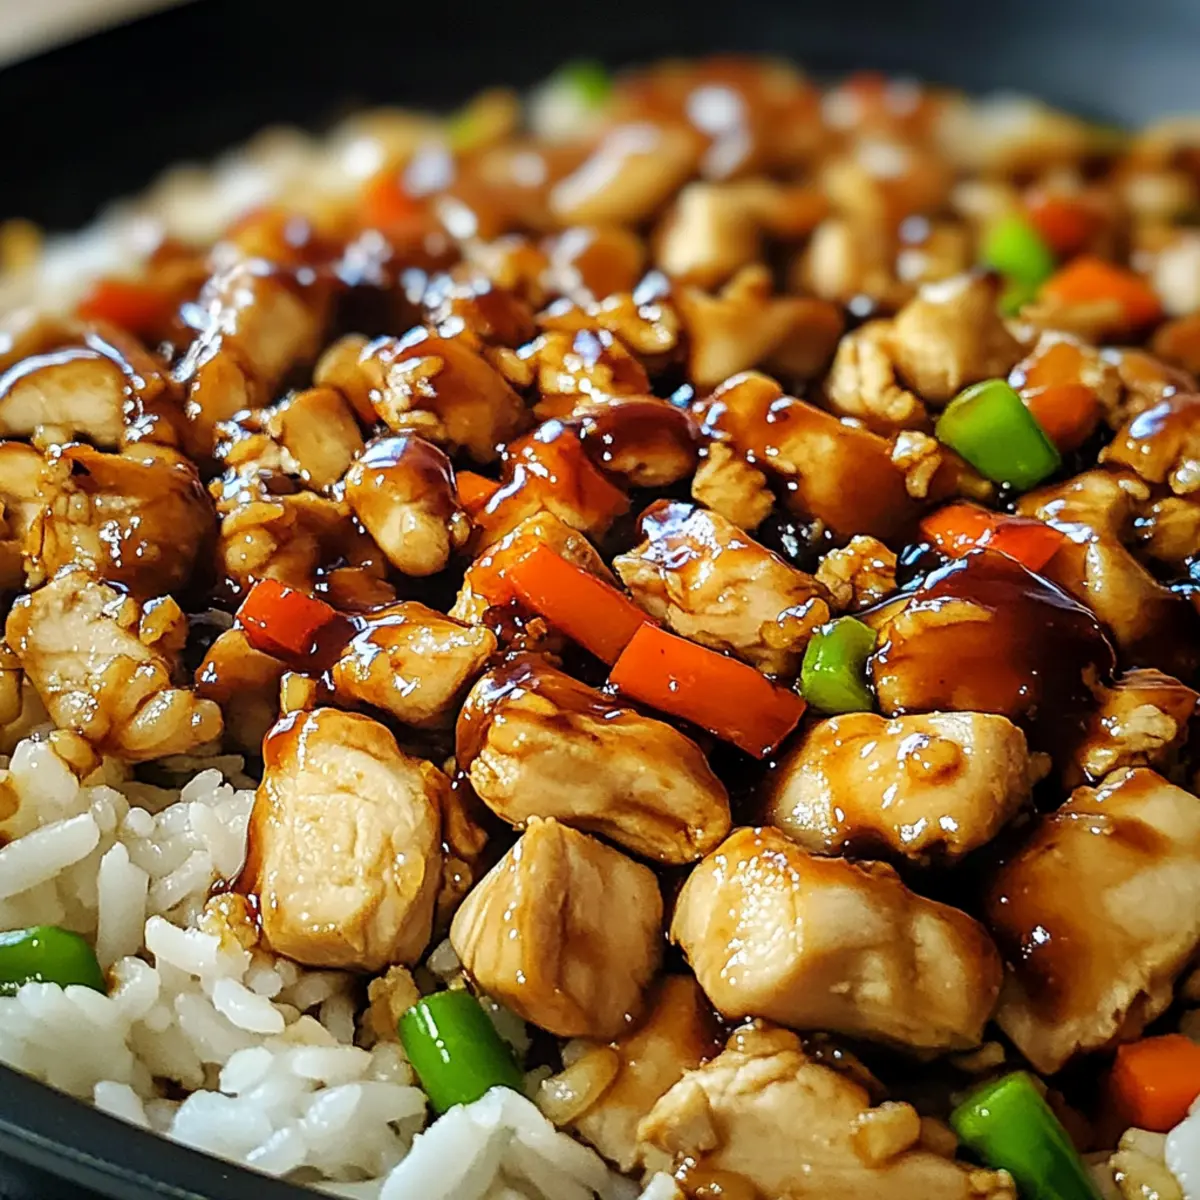
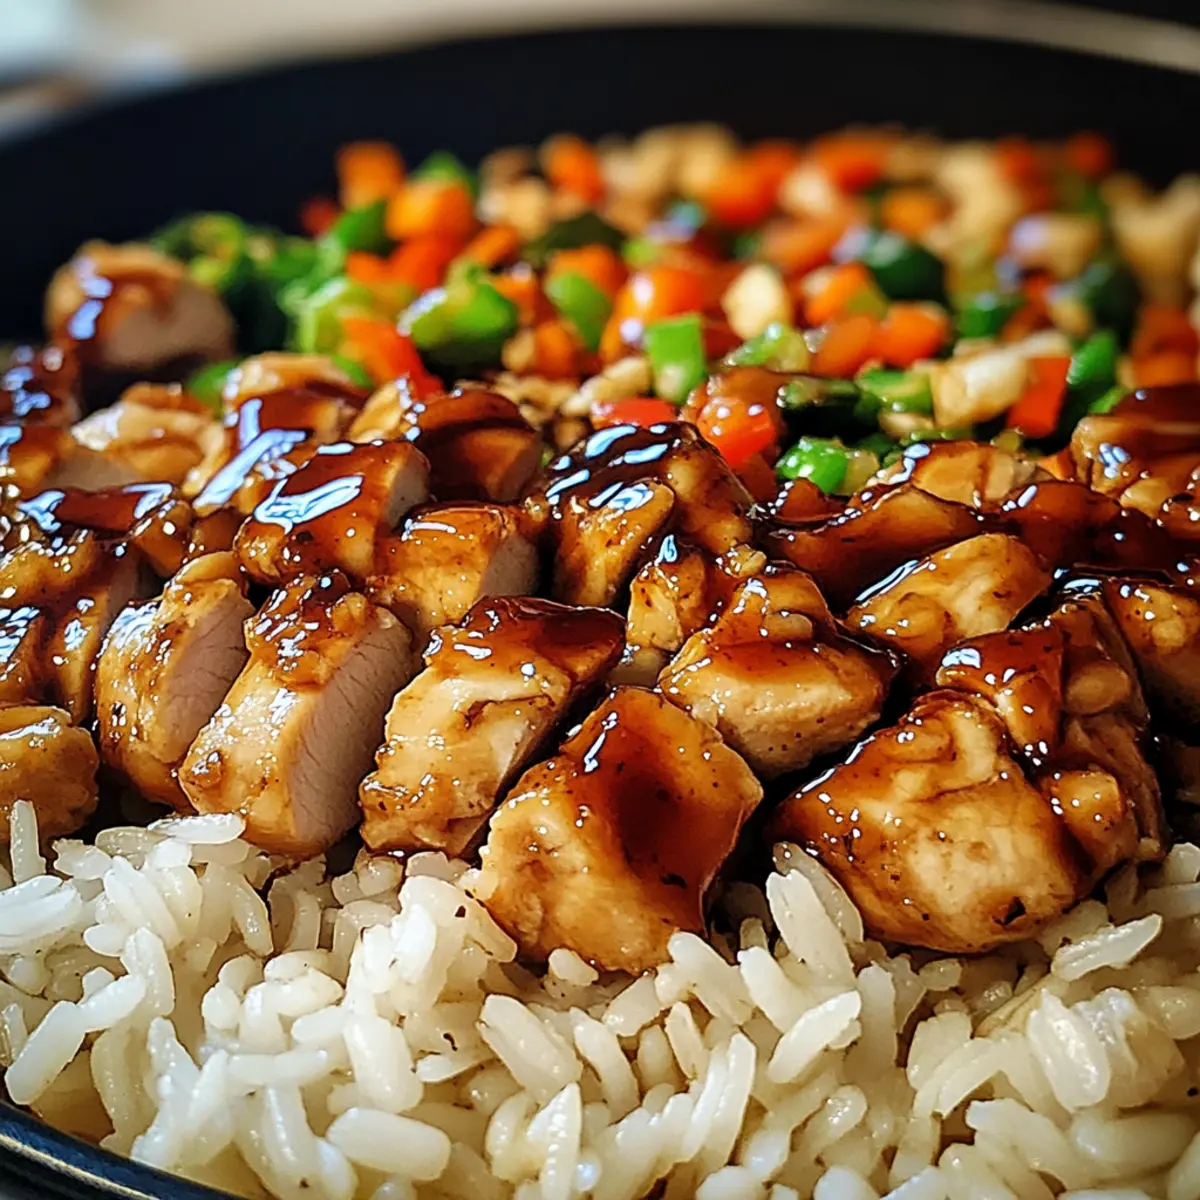
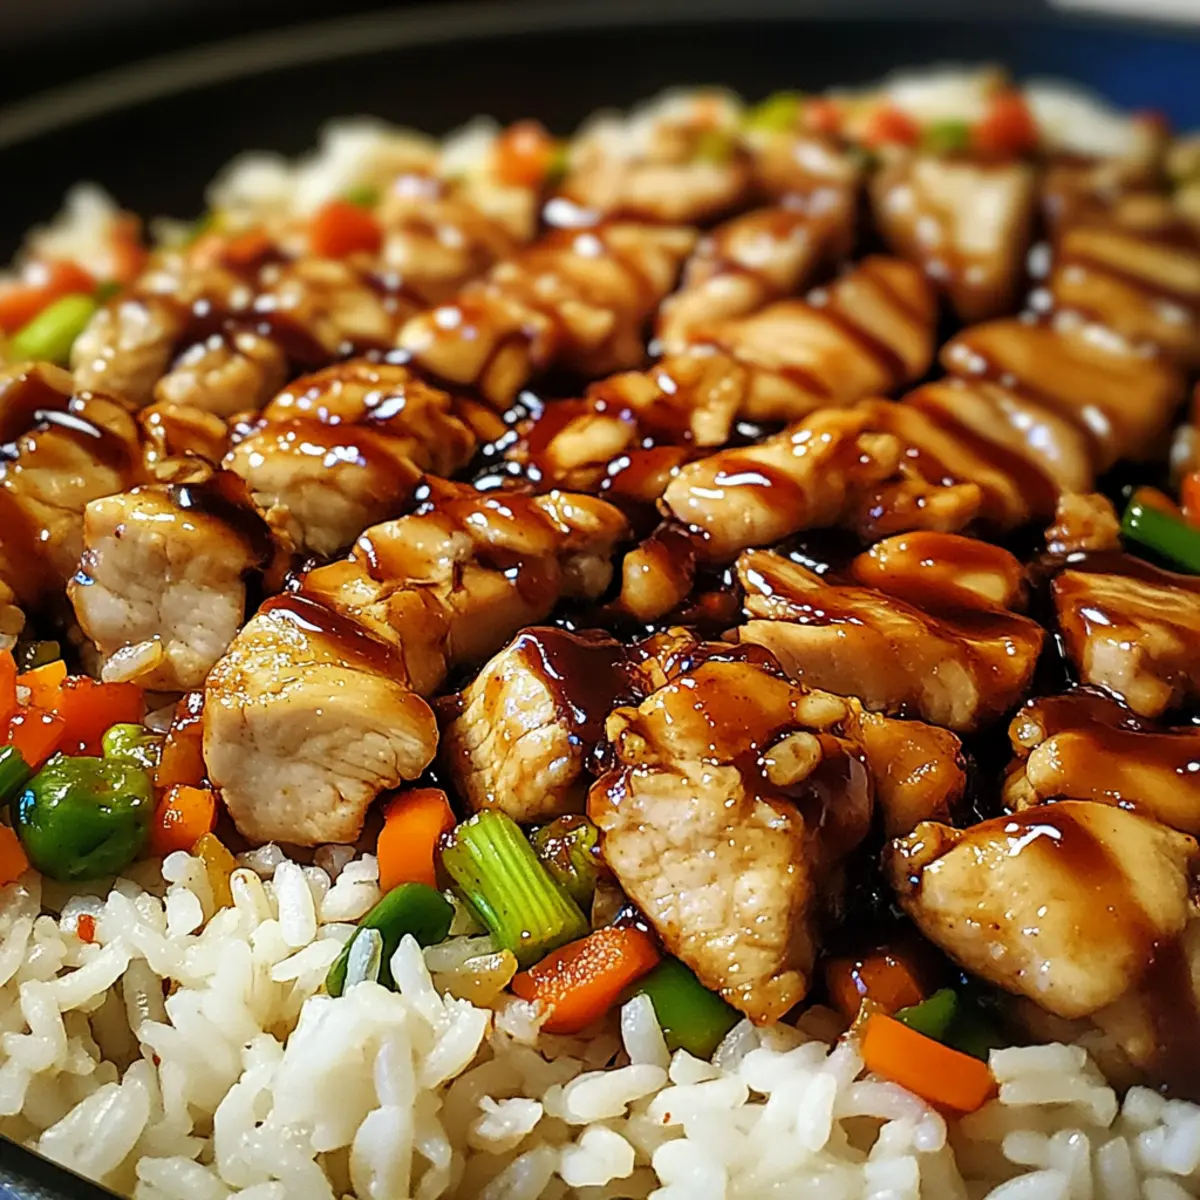
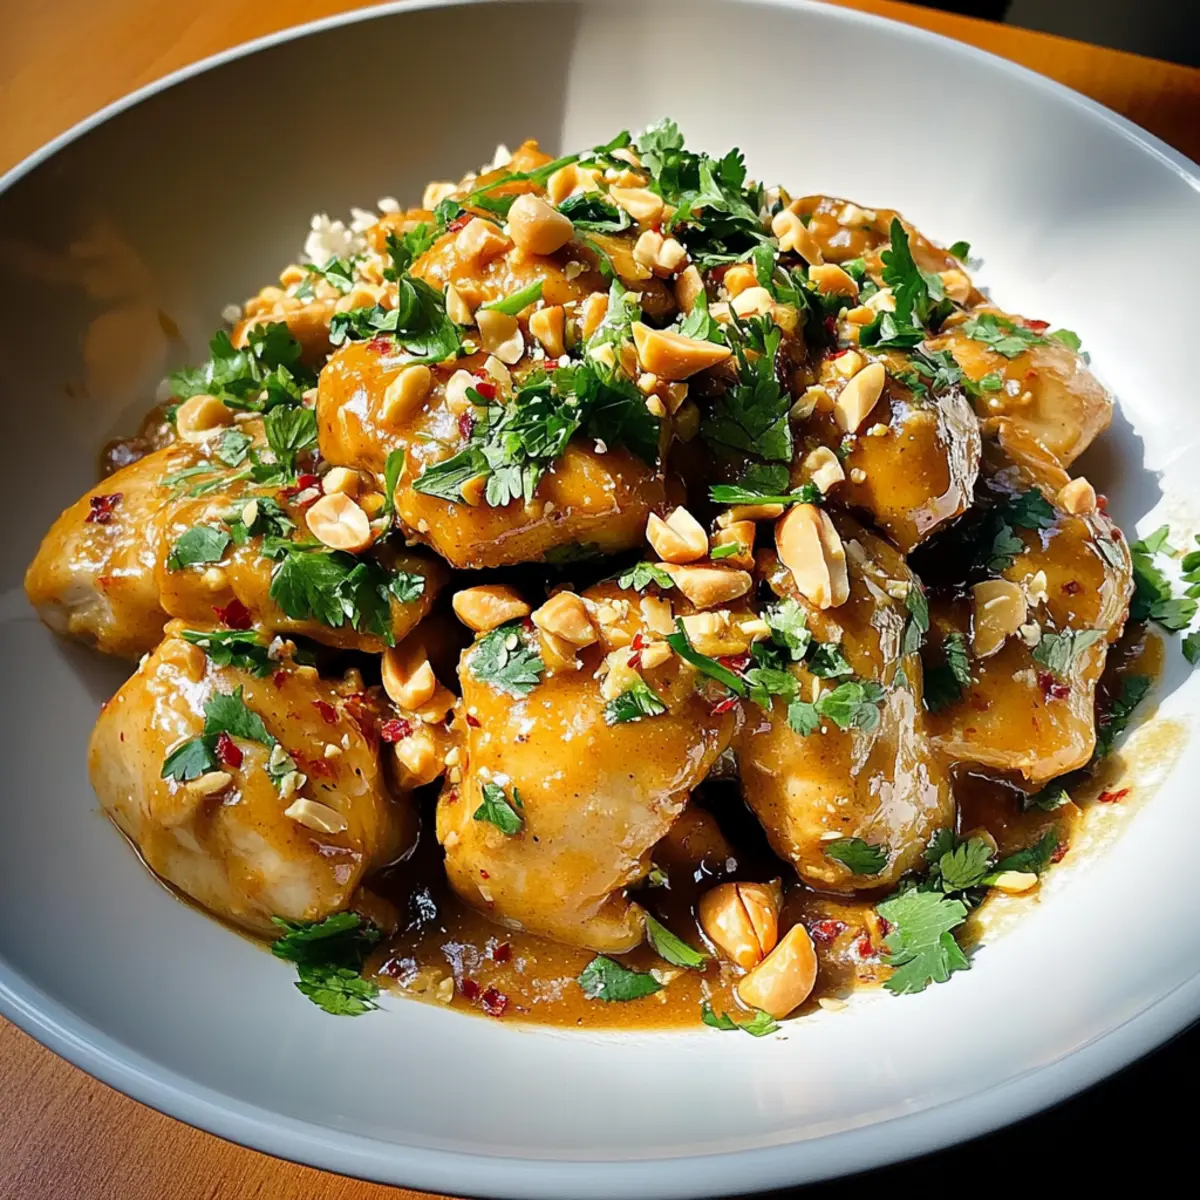
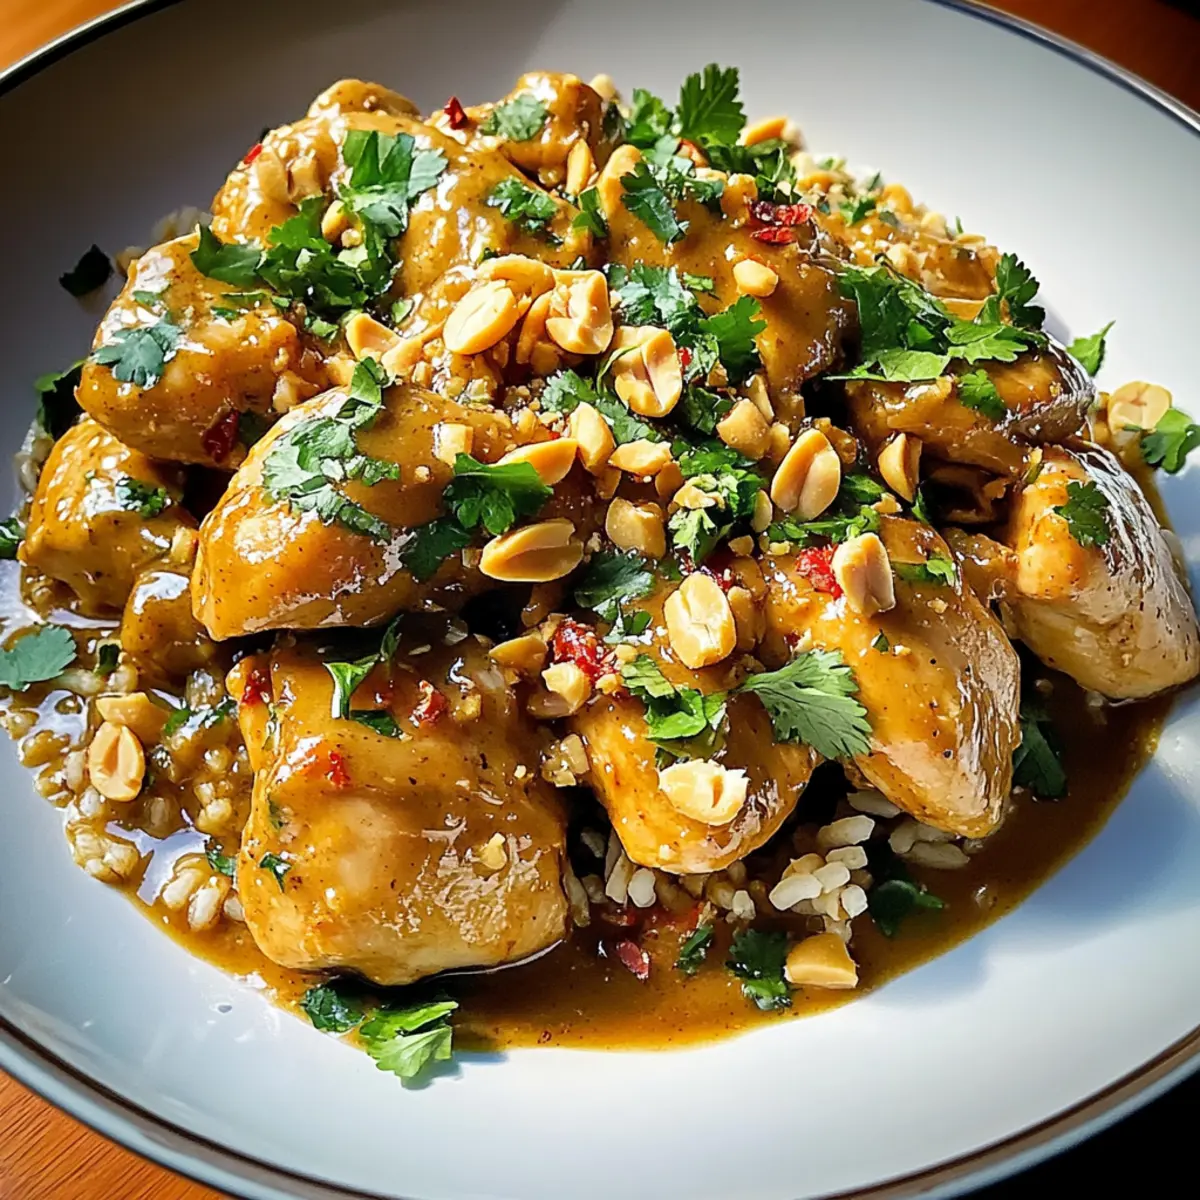
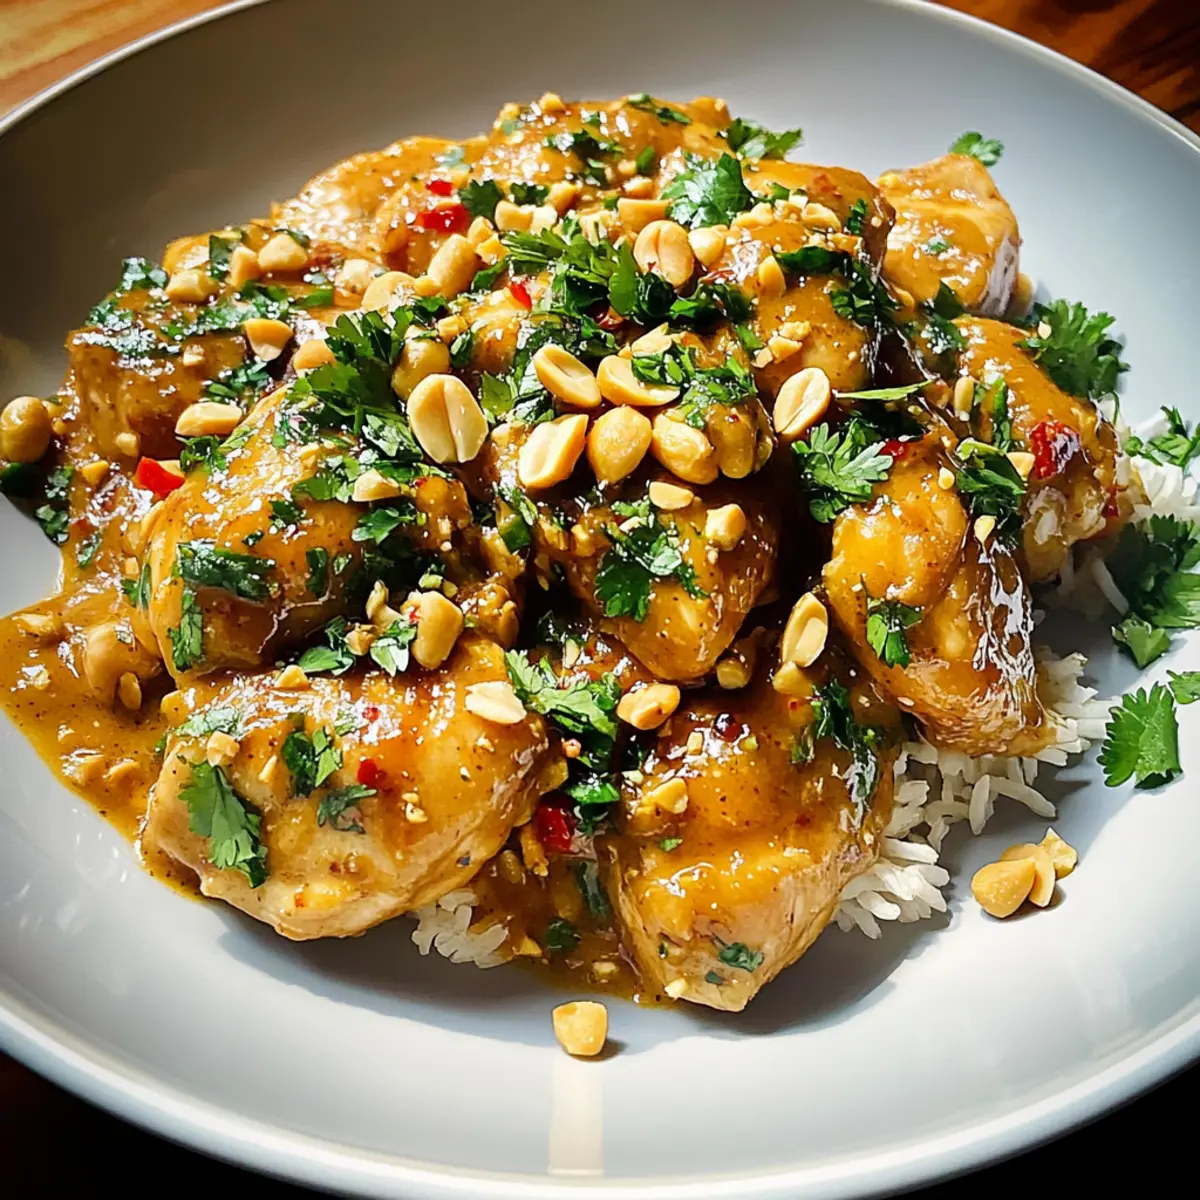
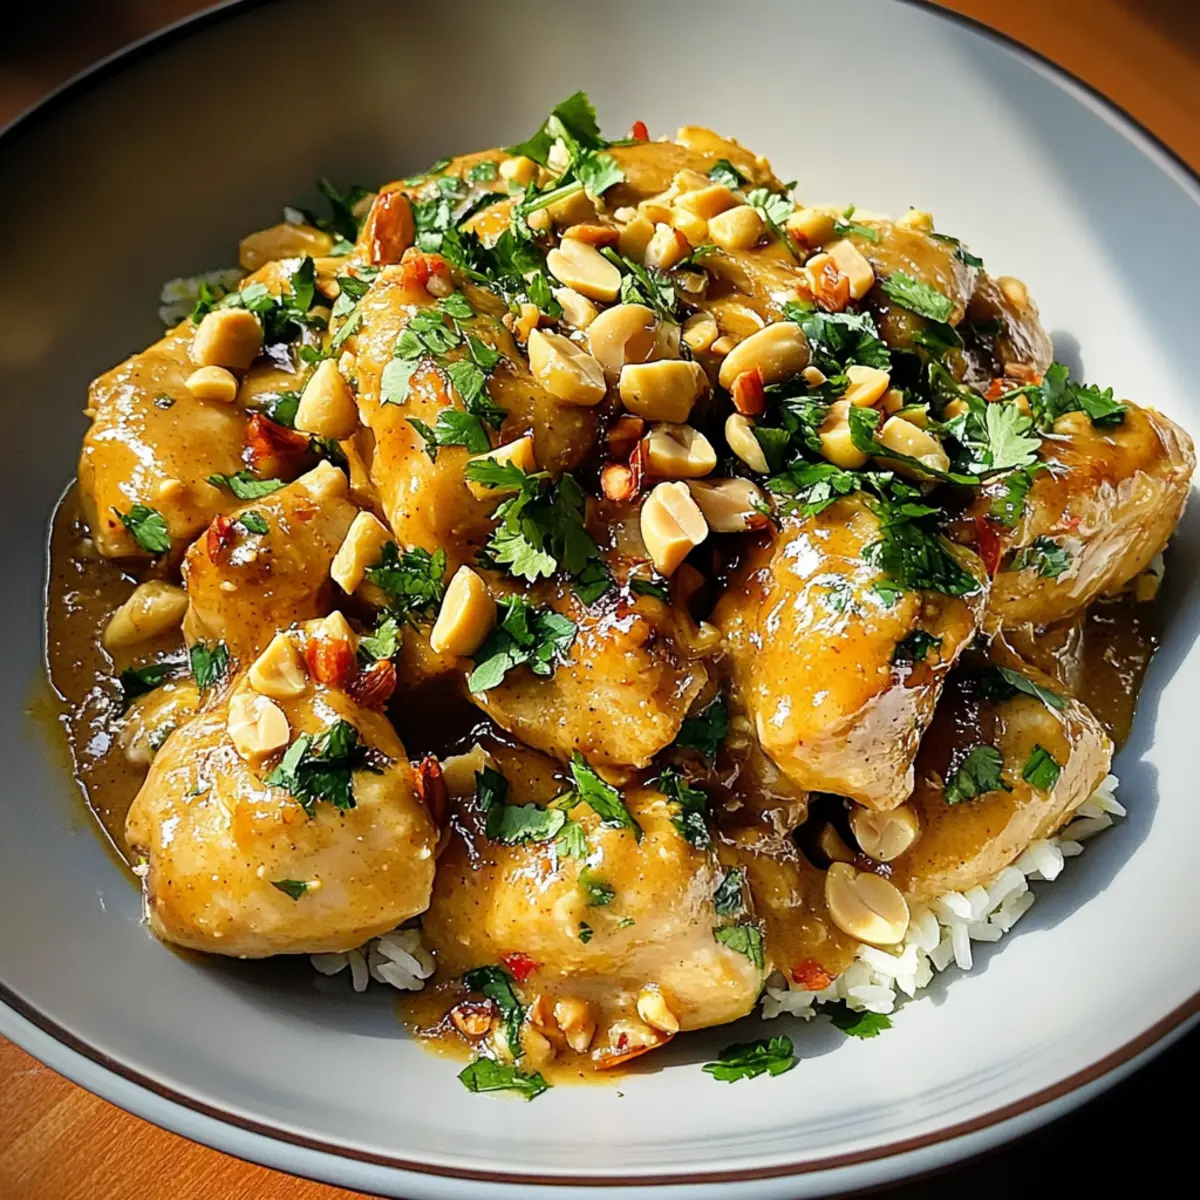
Slice the cooked chicken into strips and return it to the skillet, tossing it gently in the thickened sauce. Serve the chicken warm, drizzled with more peanut sauce over a bed of steamed jasmine rice or your choice of noodles. For added vibrancy, consider garnishing with chopped peanuts and fresh cilantro, elevating the presentation and taste of your delightful Thai Peanut Chicken.
Make Ahead Options
These Thai Peanut Chicken preparations are perfect for busy home cooks! You can marinate the chicken in the flavorful peanut sauce up to 24 hours in advance, ensuring tender, delicious results that save you time. Additionally, feel free to chop your vegetables—like bell peppers and broccoli—up to 3 days ahead; simply store them in an airtight container in the refrigerator to maintain their crispness. When you're ready to cook, heat the oil, sear the chicken, and prepare the sauce as described. This way, you can whip up a comforting meal without the hassle, allowing you to enjoy restaurant-quality Thai Peanut Chicken with minimal effort!
Storage Tips for Thai Peanut Chicken
-
Fridge: Store leftovers in an airtight container for up to 3-4 days. Keeping the Thai Peanut Chicken chilled helps maintain its fresh flavors and texture.
-
Freezer: Freeze cooked Thai Peanut Chicken in a freezer-safe container for 2-3 months. Be sure to label and date the container to keep track.
-
Reheating: When ready to enjoy, thaw overnight in the fridge. Reheat in the microwave or on the stove over low heat until warmed through.
-
Refrigerator Storage: If you plan to make ahead, marinated chicken can be stored in the fridge for up to 24 hours before cooking, enhancing flavors before cooking!
What to Serve with Thai Peanut Chicken
Elevate your meal with delightful side dishes and beverages that complement this creamy, savory dish beautifully.
-
Jasmine Rice: The fluffy texture of jasmine rice soaks up the velvety peanut sauce perfectly, enhancing every mouthful.
-
Stir-Fried Broccoli: Crisp-tender broccoli adds a nutritious crunch while balancing the richness of the peanut sauce with vibrant color and flavor.
-
Asian Slaw: A refreshing slaw packed with cabbage, carrots, and a zingy dressing provides a crisp contrast to the warm chicken.
-
Coconut Rice: Infused with coconut milk, this slightly sweet rice will enhance the tropical notes of the peanut sauce, creating a sumptuous feel.
-
Fresh Vegetable Wraps: Wraps made with lettuce leaves or tortillas filled with colorful veggies bring a refreshing, crunchy element that brightens the dish's flavors.
-
Cucumber Salad: The coolness of a cucumber salad dressed in rice vinegar lightens the overall meal, providing a zesty counterpoint to the creamy chicken.
-
Mango Lassi: For a refreshing drink, this creamy yogurt-based beverage complements the spice of the chicken while adding a hint of sweetness.
-
Chili Garlic Noodles: Spice things up with some chili garlic noodles, offering a satisfying chewiness and additional heat that pairs beautifully with the dish.
-
Peanut Butter Cookies: Finish off your meal with a nutty treat; these cookies echo the flavors of the main dish in a delightful way.
Each pairing ensures a well-rounded dining experience, turning your Thai Peanut Chicken into a truly memorable feast!
Expert Tips for Thai Peanut Chicken
-
Marination Magic: Always marinate the chicken for at least 30 minutes; it deepens the flavor profile of your Thai Peanut Chicken.
-
Avoid Overcooking: Keep an eye on cooking time—overcooking can make your chicken dry. Aim for 165°F for the best texture.
-
Customize Spice Level: Start with a smaller amount of sriracha for the peanut sauce and gradually increase to suit your taste.
-
Fresh Ingredients Matter: Use fresh garlic and ginger for maximum flavor; dried alternatives work in a pinch but won't have the same depth.
-
Sizzle and Simmer: After cooking the chicken, simmer the marinade to create a velvety sauce that clings beautifully to the chicken, enhancing each bite.
Thai Peanut Chicken Variations & Substitutions
Customize your Thai Peanut Chicken to delight your taste buds and accommodate different dietary preferences. Let your culinary imagination run wild!
-
Protein Swap: Replace chicken with shrimp, tofu, or beef for a hearty twist. Adjust cooking times—shrimp cooks faster, while beef may need a bit longer!
-
Nut-Free Option: Use sunflower seed butter instead of peanut butter for a nut-free peanut sauce. This swap keeps the creamy texture while accommodating allergies.
-
Noodle Variety: Experiment with rice noodles, whole wheat noodles, or even zoodles for a low-carb option. Each type offers a unique texture, adding fun to your meal.
-
Vegetable Boost: Toss in colorful veggies like snap peas, carrots, or bell peppers for added nutrition. Not only do they enhance the visual appeal, but they also bring crunch and flavor.
-
Spice it Up: Adjust the spice level by increasing or decreasing the amount of sriracha. For more heat, consider adding chopped Thai chili peppers or a sprinkle of red pepper flakes.
-
Flavor Enhancers: Add a splash of lime juice or zest to the sauce for a refreshing tang. It brightens up the dish beautifully and complements the rich flavors.
-
Curry Twist: Stir in a teaspoon of red or green curry paste to the marinade for a deeper, aromatic flavor profile. It’s a delightful spin on the classic dish!
-
Grain Companion: Instead of jasmine rice, serve with quinoa or cauliflower rice for a nutritious grain alternative. Both options pair wonderfully with the creamy peanut sauce.
Feel free to explore and mix in these variations as you prepare your Thai Peanut Chicken! And if you're in the mood for more delectable chicken options, check out my Honey Garlic Chicken or indulge in the comforting flavors of Crock Pot Chicken for more inspiration!
Thai Peanut Chicken Recipe FAQs
How do I choose the best chicken for Thai Peanut Chicken?
Absolutely! Choose boneless, skinless chicken breasts or thighs for this dish, as they provide the best tenderness and flavor. Always look for chicken that is pink and free from dark spots. For uniform cooking, opt for chicken pieces that are about the same thickness.
How should I store leftover Thai Peanut Chicken?
Store leftovers in an airtight container in the refrigerator for up to 3-4 days. This helps preserve the flavor and texture. Make sure to let it cool to room temperature before sealing to avoid moisture buildup.
Can I freeze Thai Peanut Chicken?
Yes, you can! Freeze cooked Thai Peanut Chicken in a freezer-safe container for up to 2-3 months. Be sure to label the container with the date. When you’re ready to eat, thaw it overnight in the fridge and reheat gently in the microwave or on the stovetop until heated through.
What should I do if my Thai Peanut Chicken sauce is too thick?
Very! If your sauce turns out thicker than desired, simply whisk in a little warm water or chicken broth to reach your preferred consistency. Add it gradually while simmering over low heat, and stir until uniformly mixed.
Can I customize this recipe for dietary needs?
Of course! If you’re looking for a nut-free version, substitute peanut butter with sunflower seed butter. Additionally, you can adjust the spice level by varying the amount of sriracha, and feel free to swap in vegetables according to your preference or dietary restrictions.
Is Thai Peanut Chicken safe for pets?
It's best to avoid giving your pets any Thai Peanut Chicken, as ingredients like garlic and onion are toxic to dogs and cats. Always check for potential allergies in pets before sharing any human food.
Irresistible Thai Peanut Chicken That's Quick and Easy to Make
Ingredients
Equipment
Method
- In a bowl, combine peanut butter, soy sauce, sriracha, grated ginger, and minced garlic to make a smooth marinade. Add chicken, coat evenly, cover, and refrigerate for at least 30 minutes.
- Heat oil in a skillet over medium-high heat. Remove chicken from marinade, allowing excess to drip off. Sear chicken for 5-7 minutes on each side until golden brown and cooked through.
- Remove chicken and set aside. In the same skillet, pour in the leftover marinade and simmer for 3-5 minutes until the sauce thickens.
- Slice cooked chicken into strips and toss in skillet with thickened sauce. Serve warm over rice or noodles, garnished with chopped peanuts and fresh cilantro.