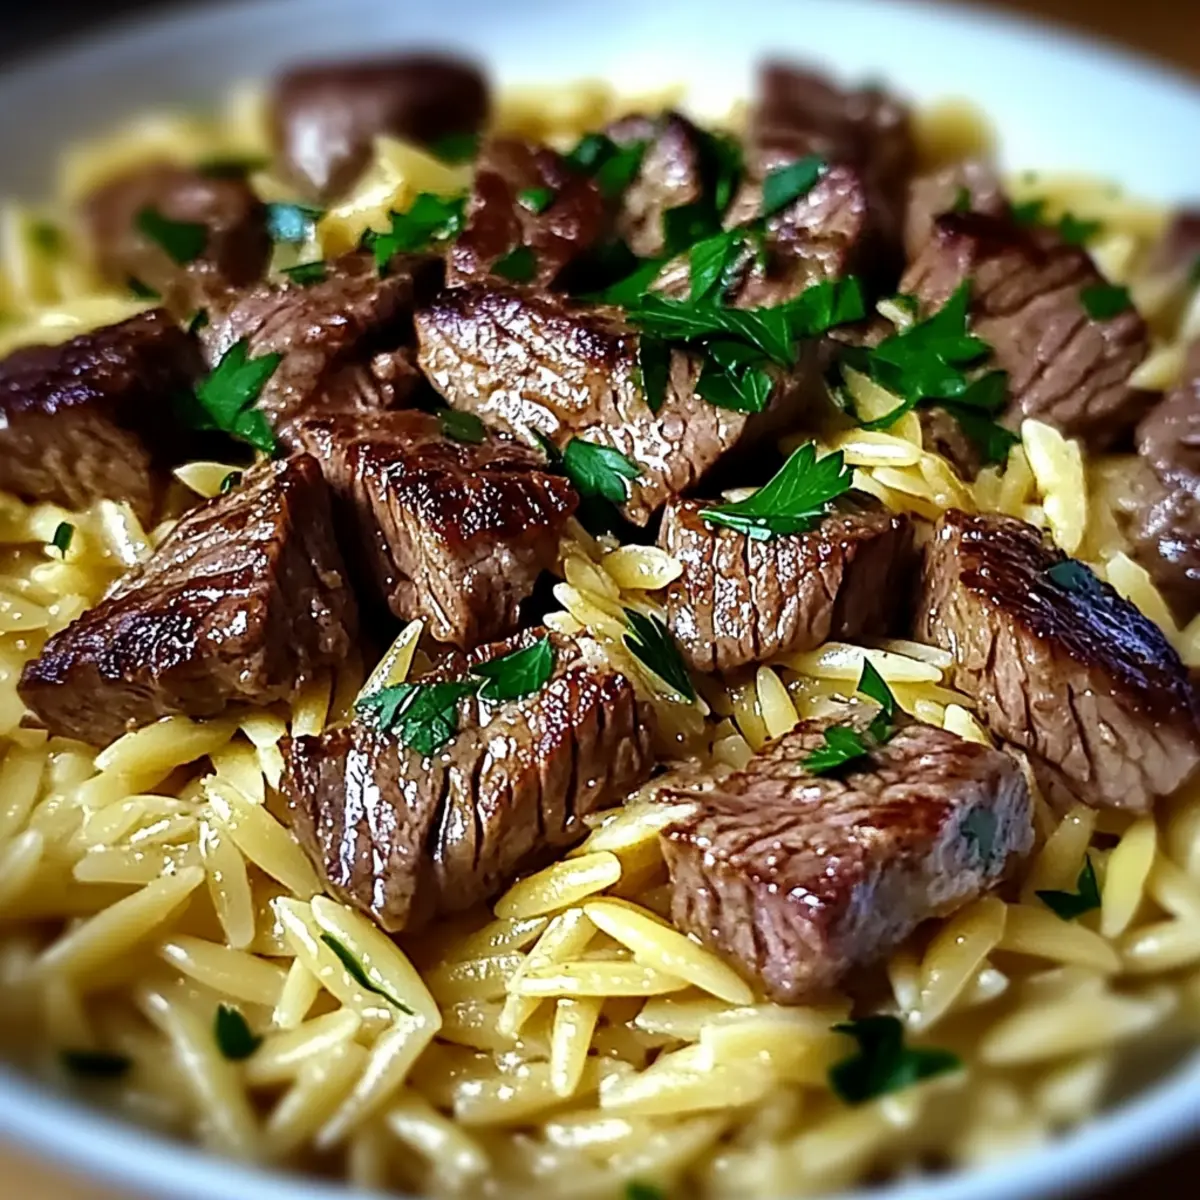
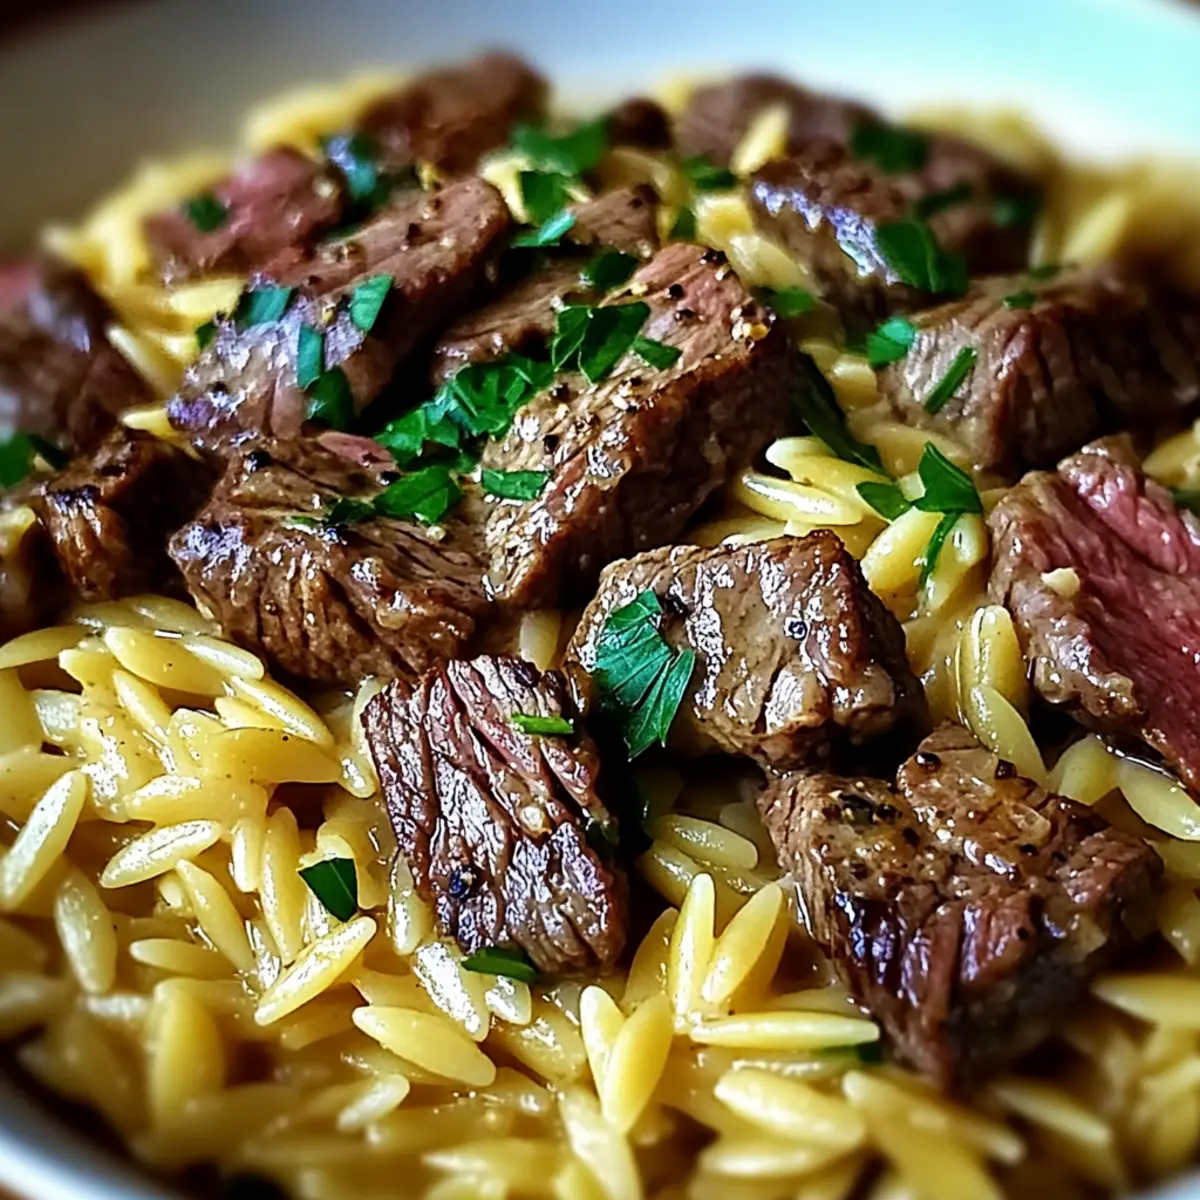
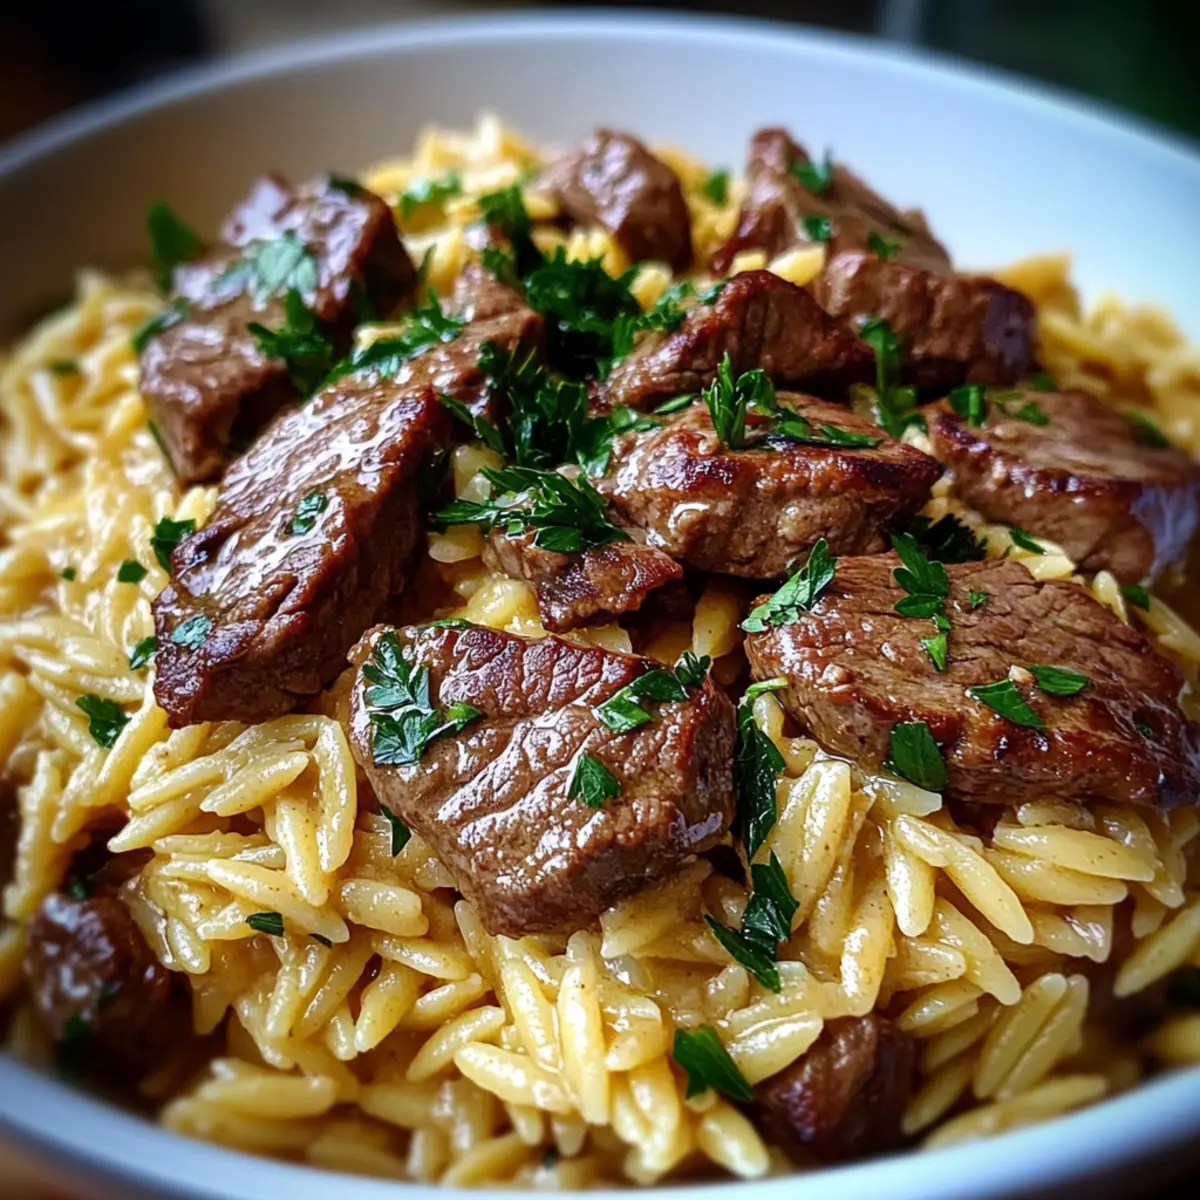
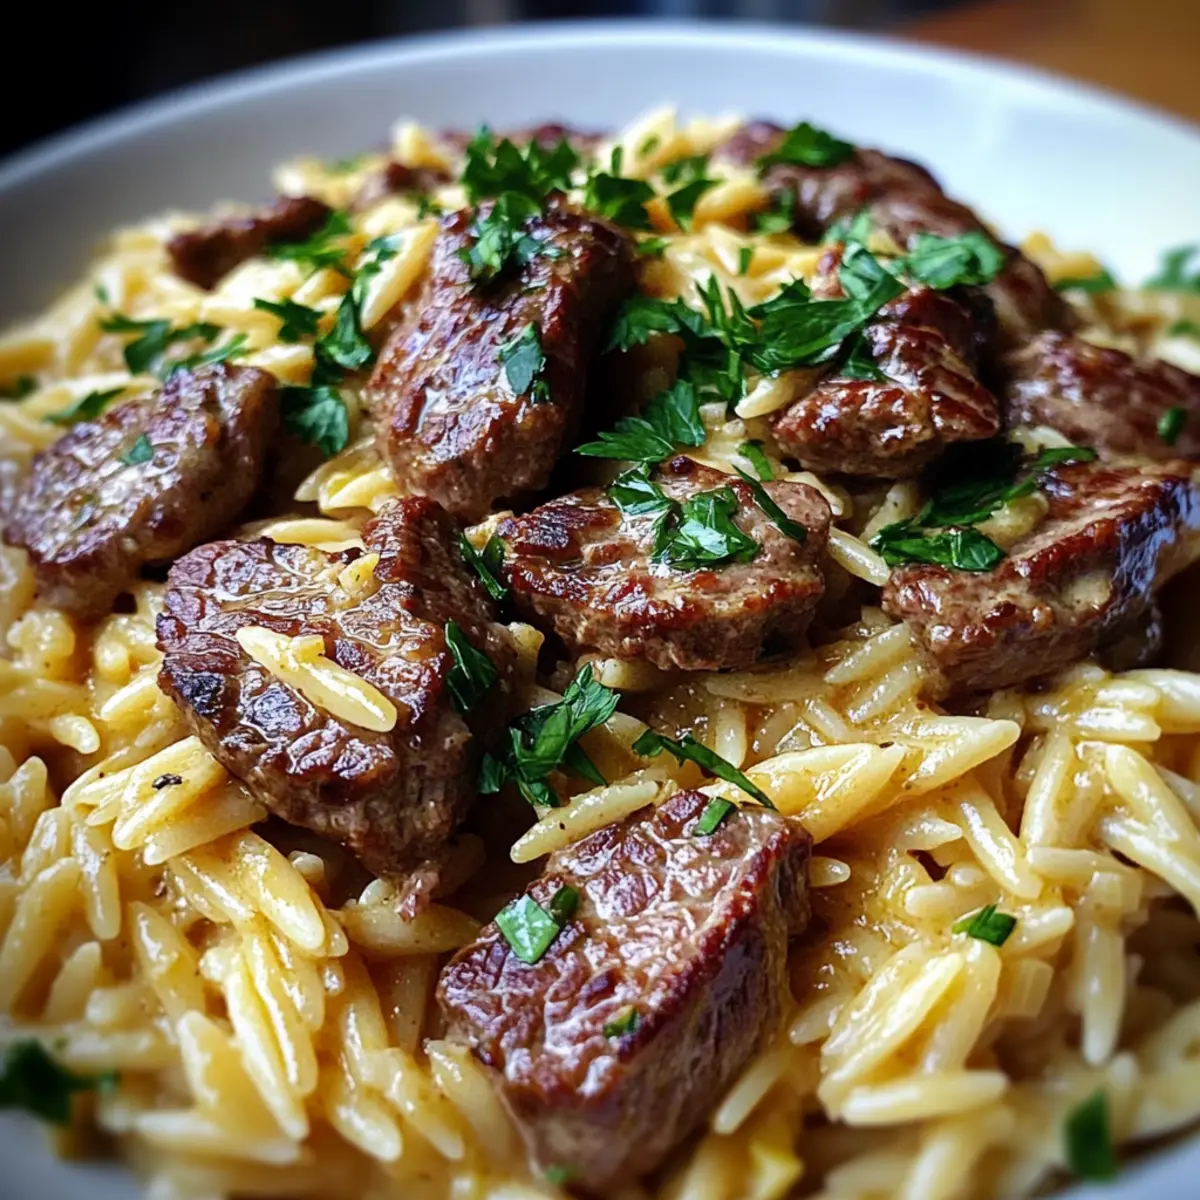
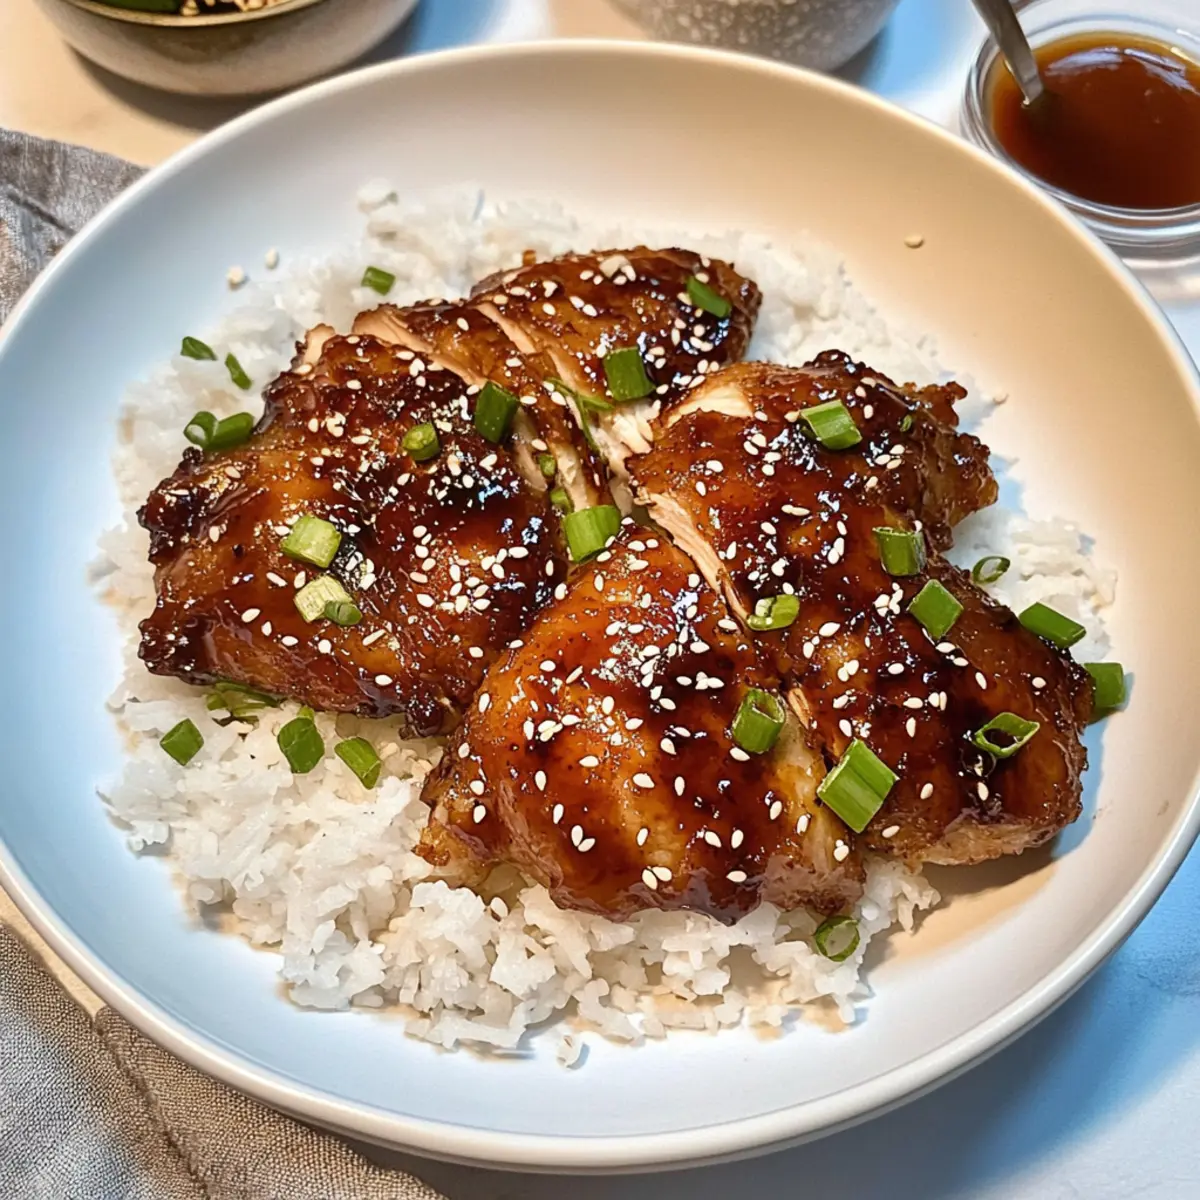
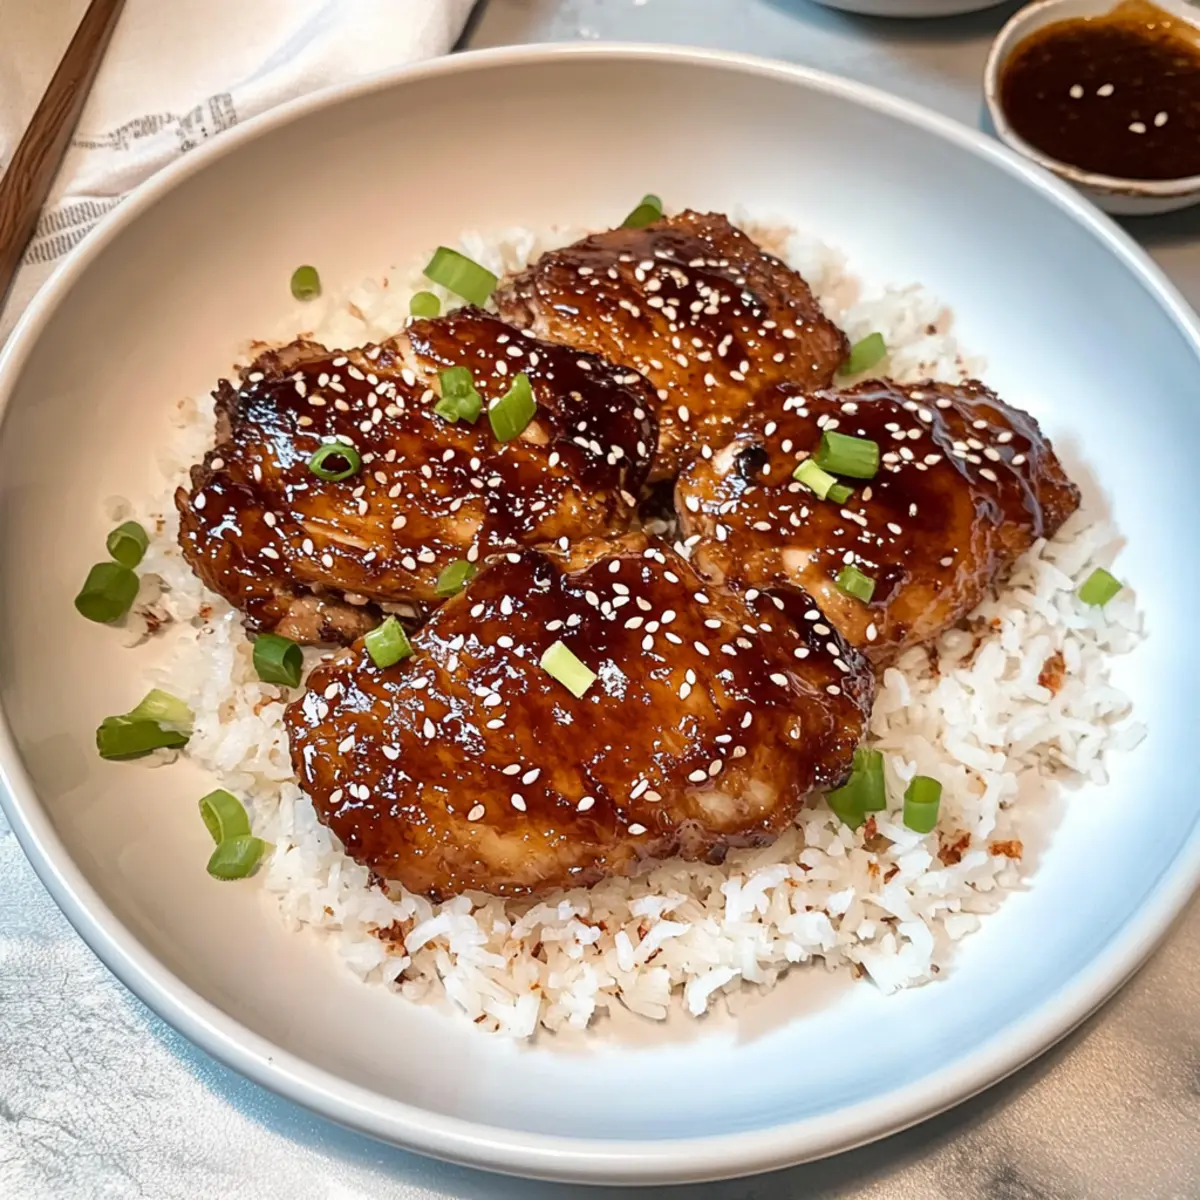
The aroma hit me like a warm hug as I walked into the kitchen, instantly transporting me to an inviting Asian eatery. Soy Glazed Chicken is my go-to dish when I crave something quick and easy without sacrificing flavor. This recipe beautifully balances the savory soy sauce with a touch of honey, creating a sticky glaze that clings to crispy chicken, whether you choose boneless thighs or your favorite cut. Perfect for busy weeknights or meal prep, this dish is not only satisfying but also customizable—feel free to swap in tofu for a vegetarian twist! Pair it with warm rice and veggies for a wholesome meal that will leave everyone wanting seconds. Curious about how to whip up this delightful culinary experience? Let’s dive in!
What Makes This Soy Glazed Chicken Special?
Quick, this recipe comes together swiftly, making it ideal for busy weeknights. Satisfying flavor shines through with the savory soy sauce balanced by sweet honey, appealing to everyone at the dinner table. Versatile options await as you can easily swap chicken cuts or even try tofu for a vegetarian alternative! Crowd-pleasing appeal ensures everyone will be begging for seconds. Customizable sauce allows you to adjust flavors to suit your taste preferences, promising a unique experience with every bite. Plus, meal prep friendly, you can whip up a batch ahead of time and savor the delicious leftovers throughout the week.
Soy Glazed Chicken Ingredients
• Here’s everything you need to whip up this delicious dish!
For the Chicken
- Boneless chicken thighs – a juicier and faster-cooking option than bone-in cuts, perfect for this recipe.
- Cornstarch – helps create a crispy exterior while keeping the chicken moist.
- Kosher salt & black pepper – essential for seasoning and enhancing all the flavors.
For the Sauce
- Soy sauce – the star of the show, adding a rich umami to the glaze.
- Dark soy sauce – brings an extra layer of sweetness and depth to the sauce.
- Honey – balances out the saltiness for a delectable sweetness that makes this soy glazed chicken irresistible.
- Unsalted butter – adds richness to the sauce and aids in deglazing the pan for flavor.
- Five-spice powder – introduces aromatic complexity; consider substituting with allspice if needed.
- Garlic – a must for sharp, savory flavor; can swap for garlic powder in a pinch.
For the Garnish
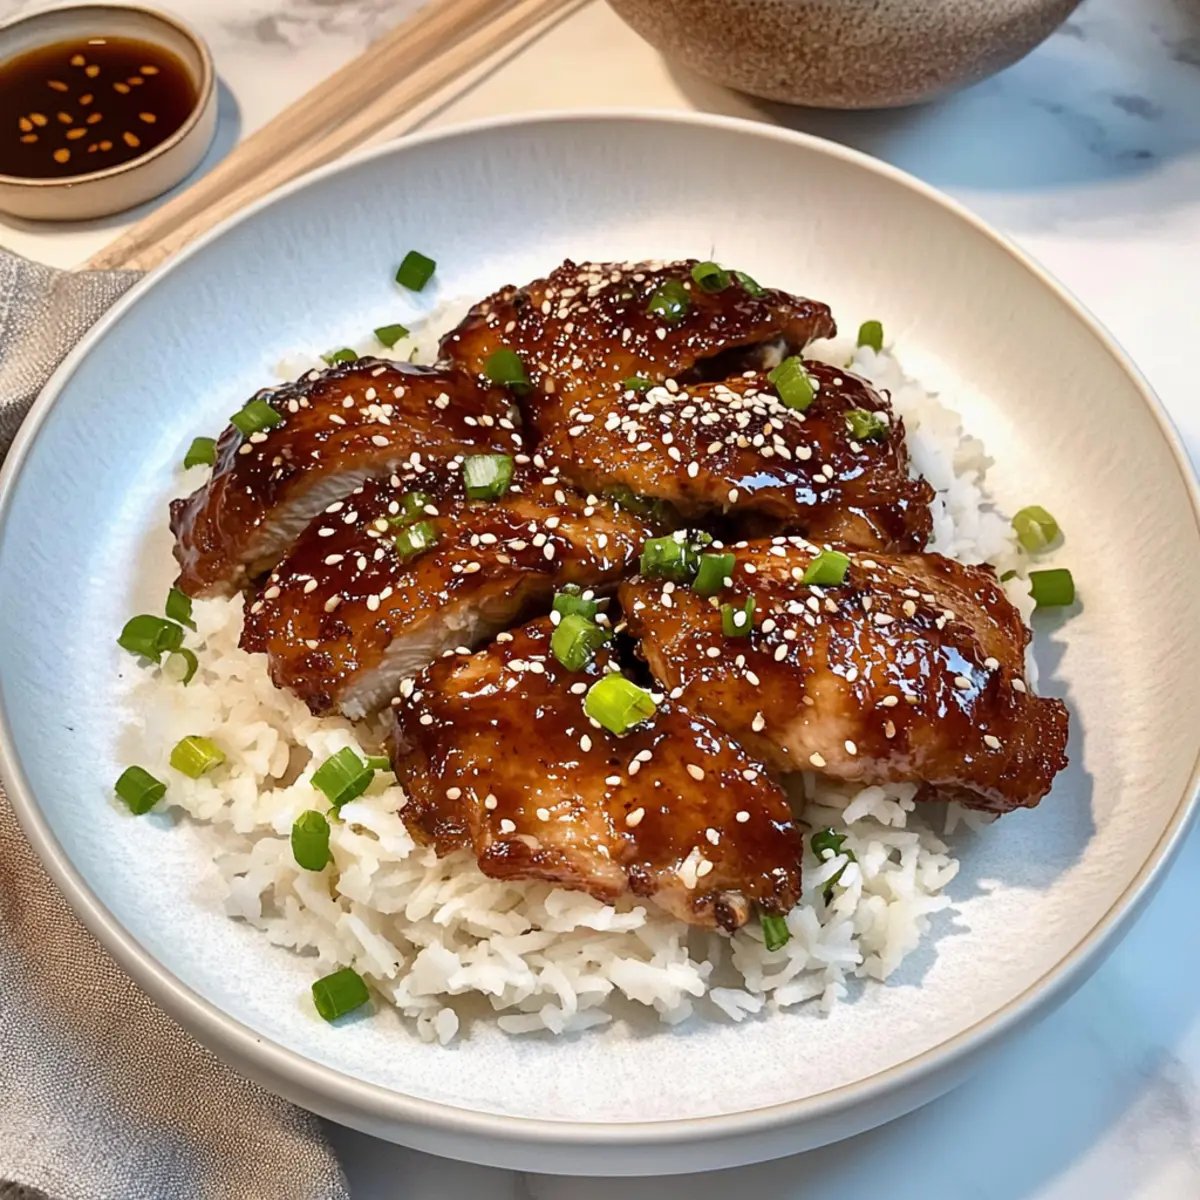
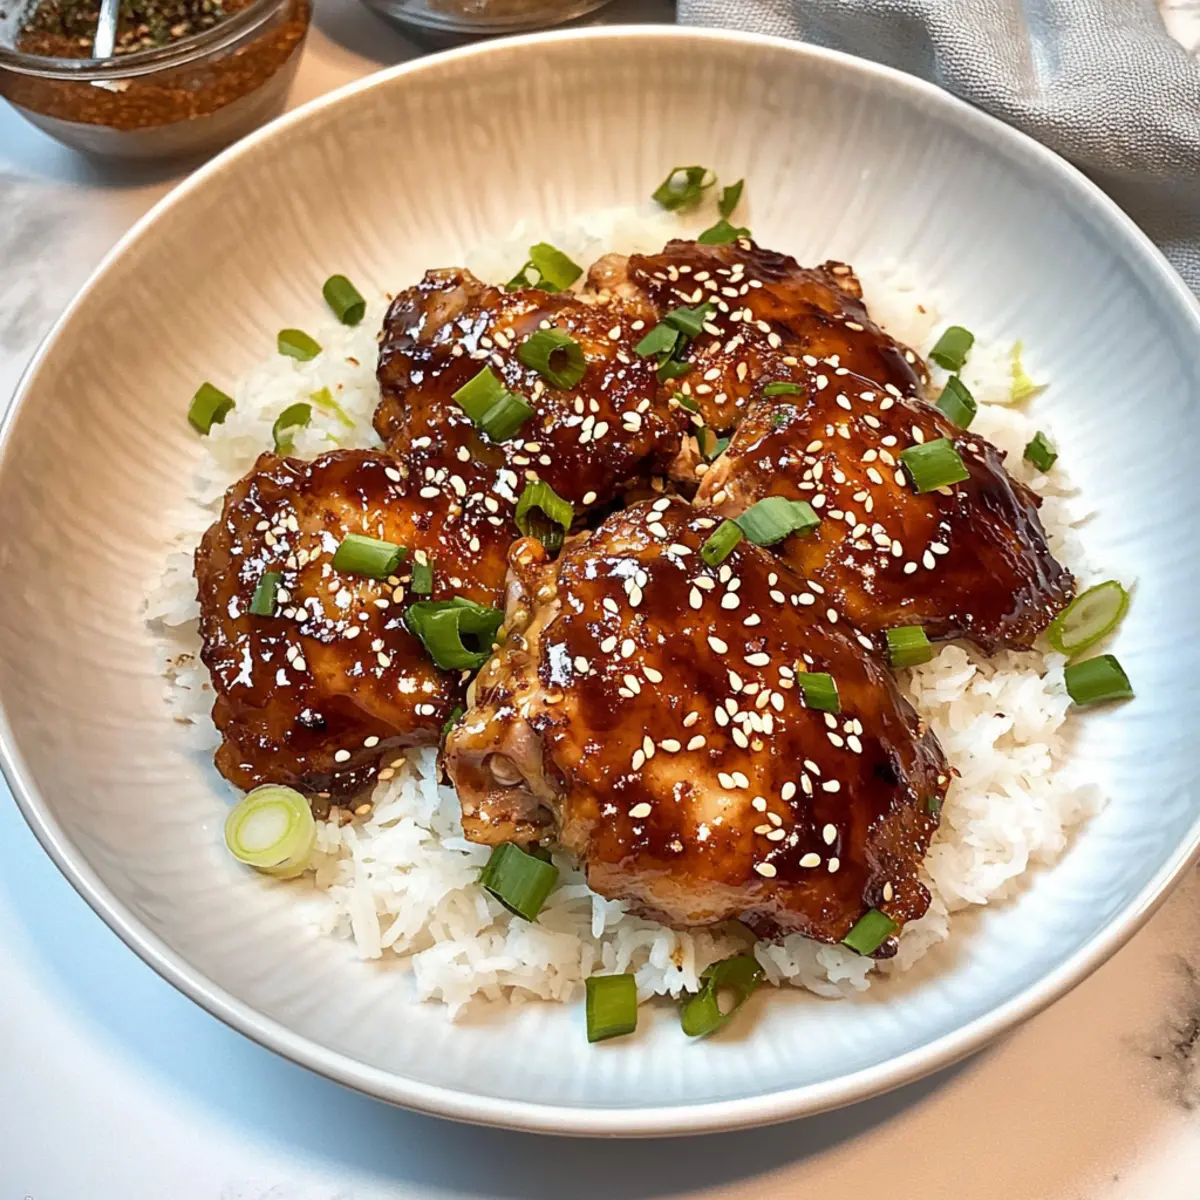
- Sesame seeds – sprinkle them on for added texture and visual appeal.
- Scallion – brings freshness and vibrant color to your finished dish.
- Oil (for frying) – necessary for achieving that irresistible crispy coating on the chicken.
Step‑by‑Step Instructions for Soy Glazed Chicken
Step 1: Prepare the Chicken
Start by patting the boneless chicken thighs dry with paper towels; this step is crucial for achieving crispy skin. Season both sides of the chicken with kosher salt and black pepper to enhance the flavors. Then, in a bowl, combine cornstarch with some salt and pepper, coating the chicken evenly to create a perfect barrier for moisture during cooking.
Step 2: Heat the Oil
In a large skillet, heat about 2 tablespoons of oil over medium-high heat until it shimmers. Carefully place the coated chicken thighs into the hot skillet, ensuring not to overcrowd the pan for the best results. Fry the chicken for 5-7 minutes on each side until it develops a golden-brown and crispy exterior, ensuring the internal temperature reaches 165°F.
Step 3: Make the Sauce
Once the chicken is cooked, remove it from the skillet and set aside on a plate. In the same pan, reduce the heat to medium and add 1 tablespoon of unsalted butter, scraping up any flavorful bits stuck to the bottom. After the butter melts, add the soy sauce, dark soy sauce, honey, five-spice powder, and minced garlic, stirring well to combine all the ingredients.
Step 4: Thicken the Sauce
Allow the sauce to simmer for about 5 minutes on medium heat, stirring occasionally. As it cooks, it should thicken slightly, creating a sticky glaze perfect for the Soy Glazed Chicken. Keep an eye on the sauce to prevent it from burning; you want it to coat the back of a spoon beautifully.
Step 5: Coat the Chicken
Return the crispy chicken thighs to the pan, ensuring each piece is thoroughly coated in the aromatic sauce. Gently toss them around for a minute or two, allowing the chicken to absorb the fantastic flavors of the soy glaze. If desired, cook for an additional minute until the sauce clings to the chicken.
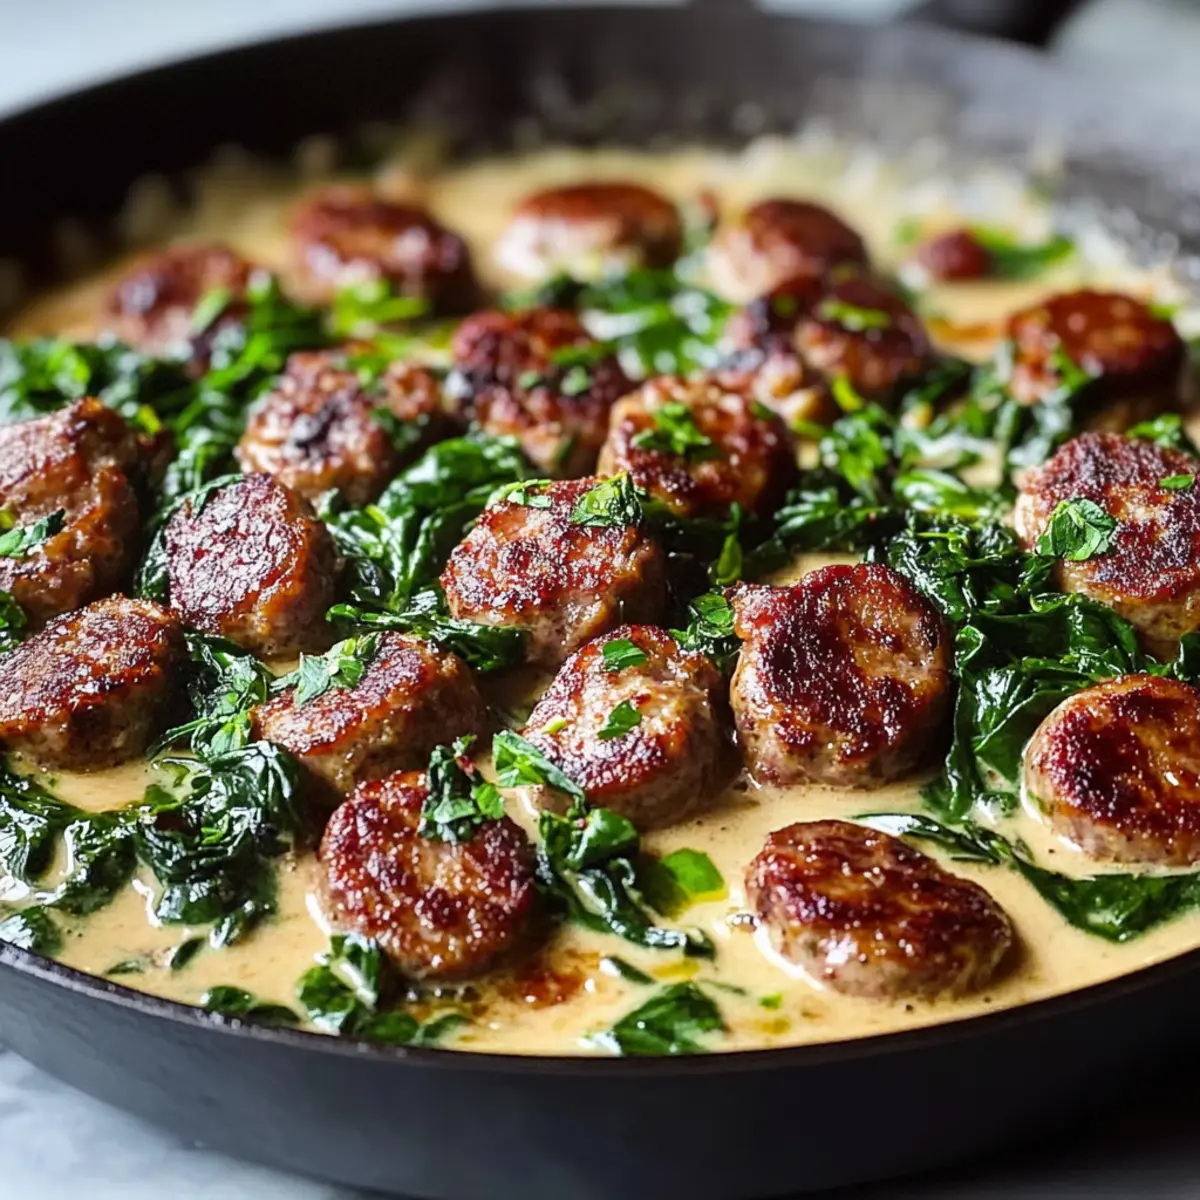
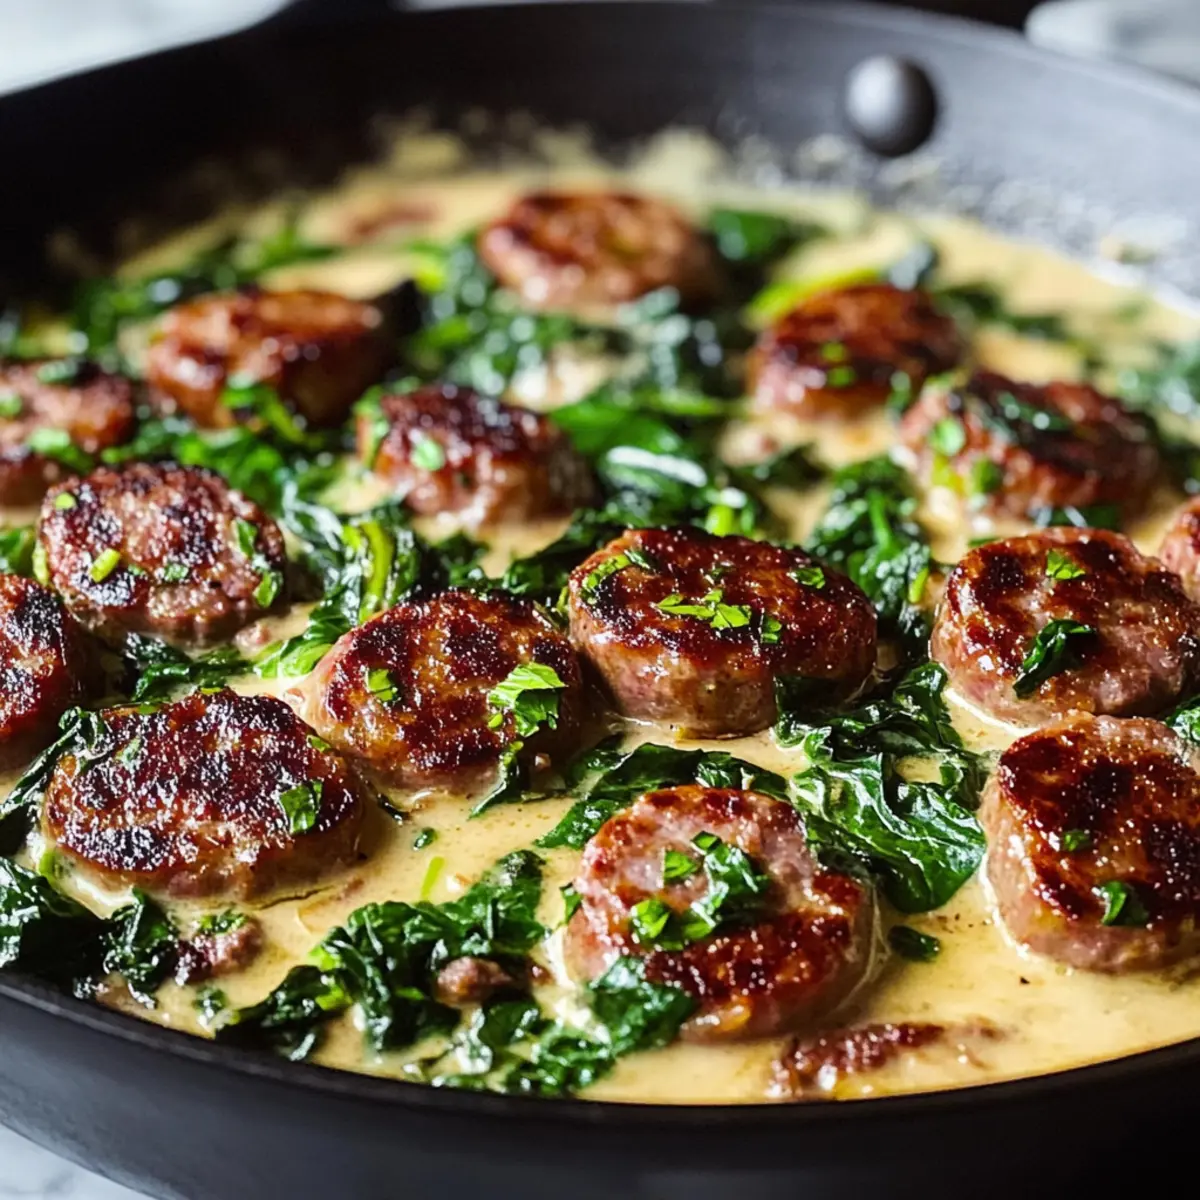
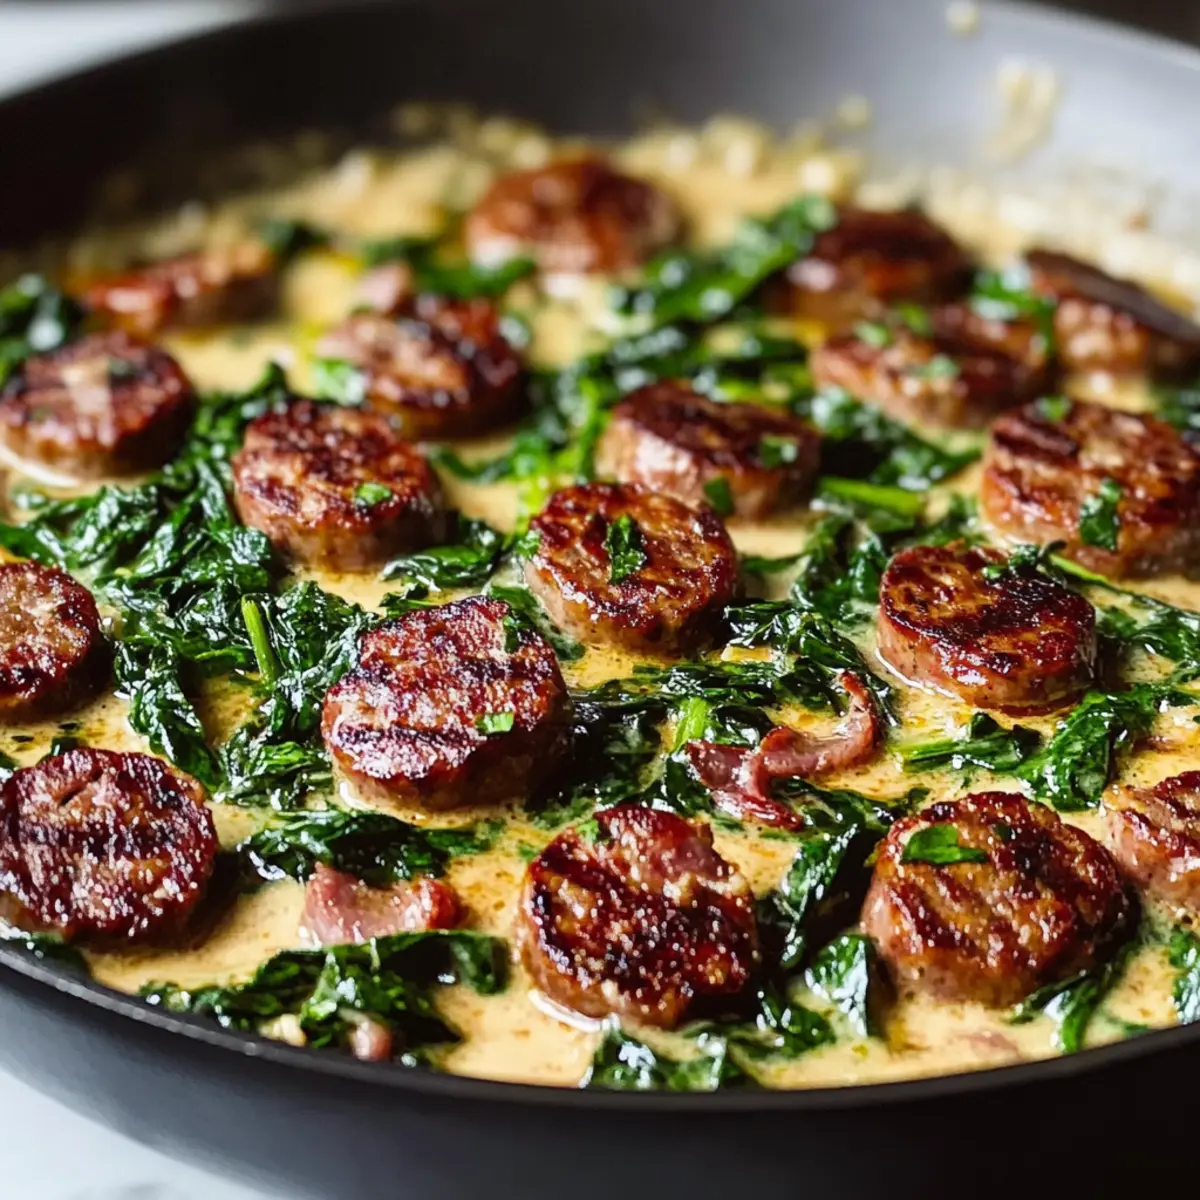
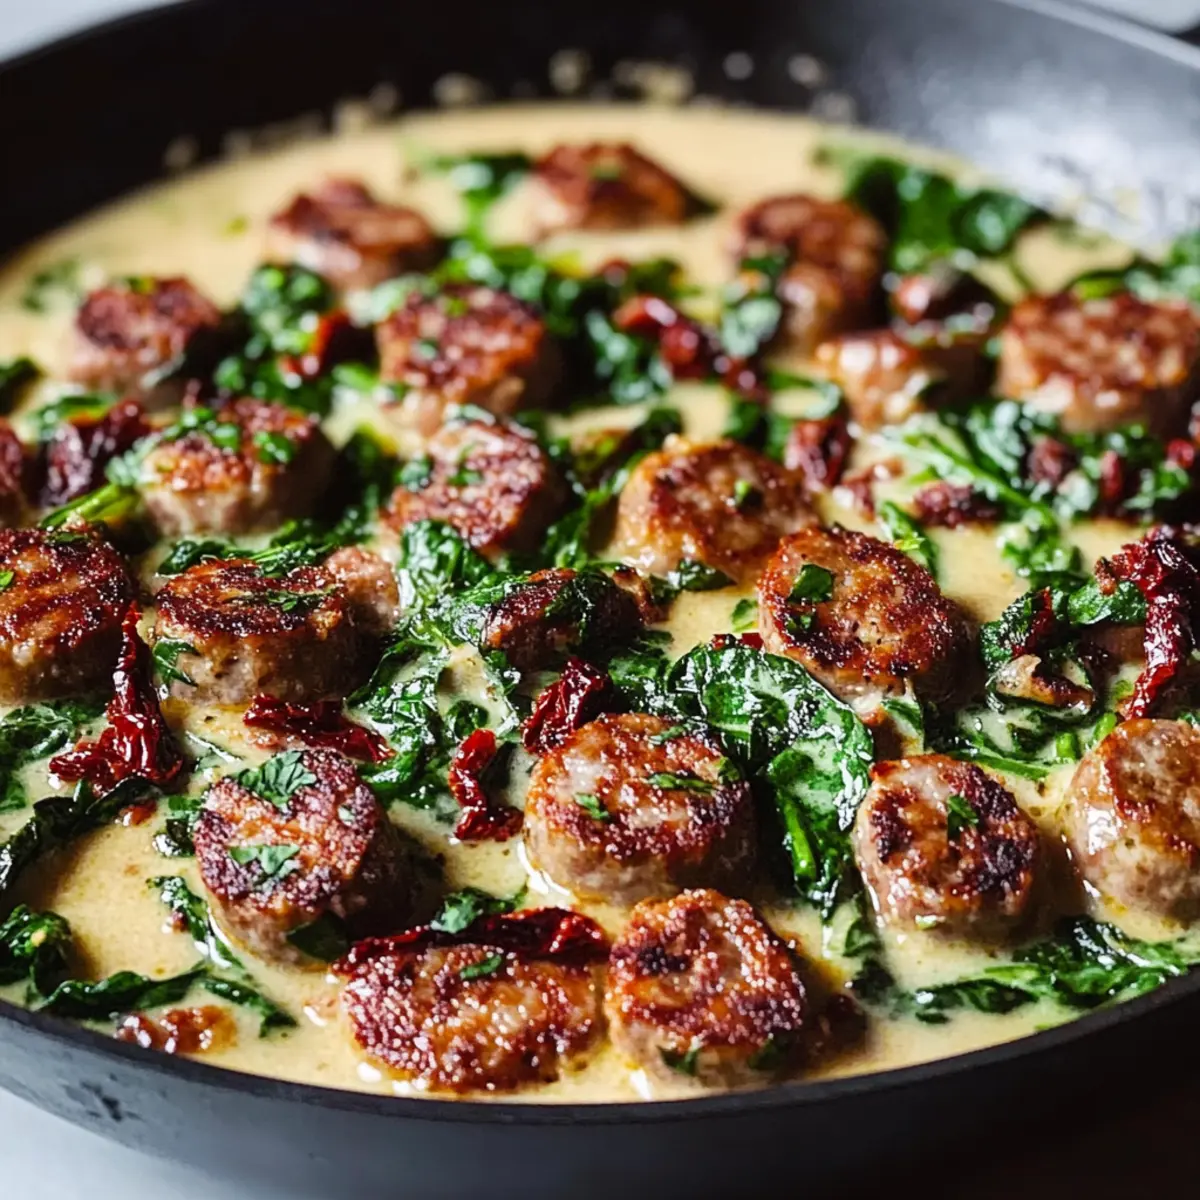
Step 6: Serve and Garnish
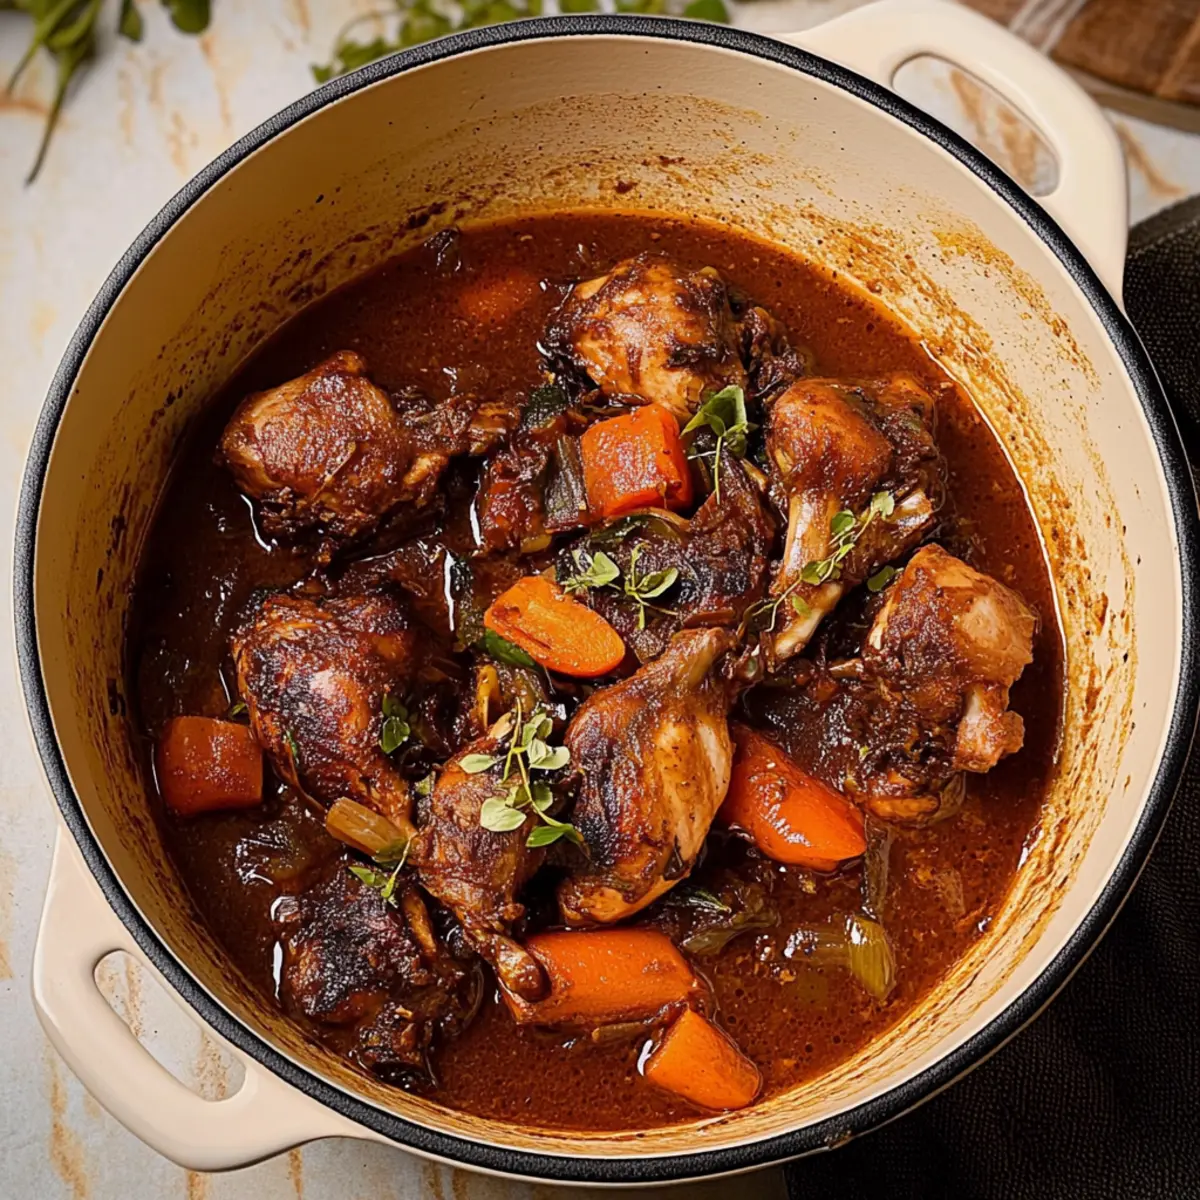
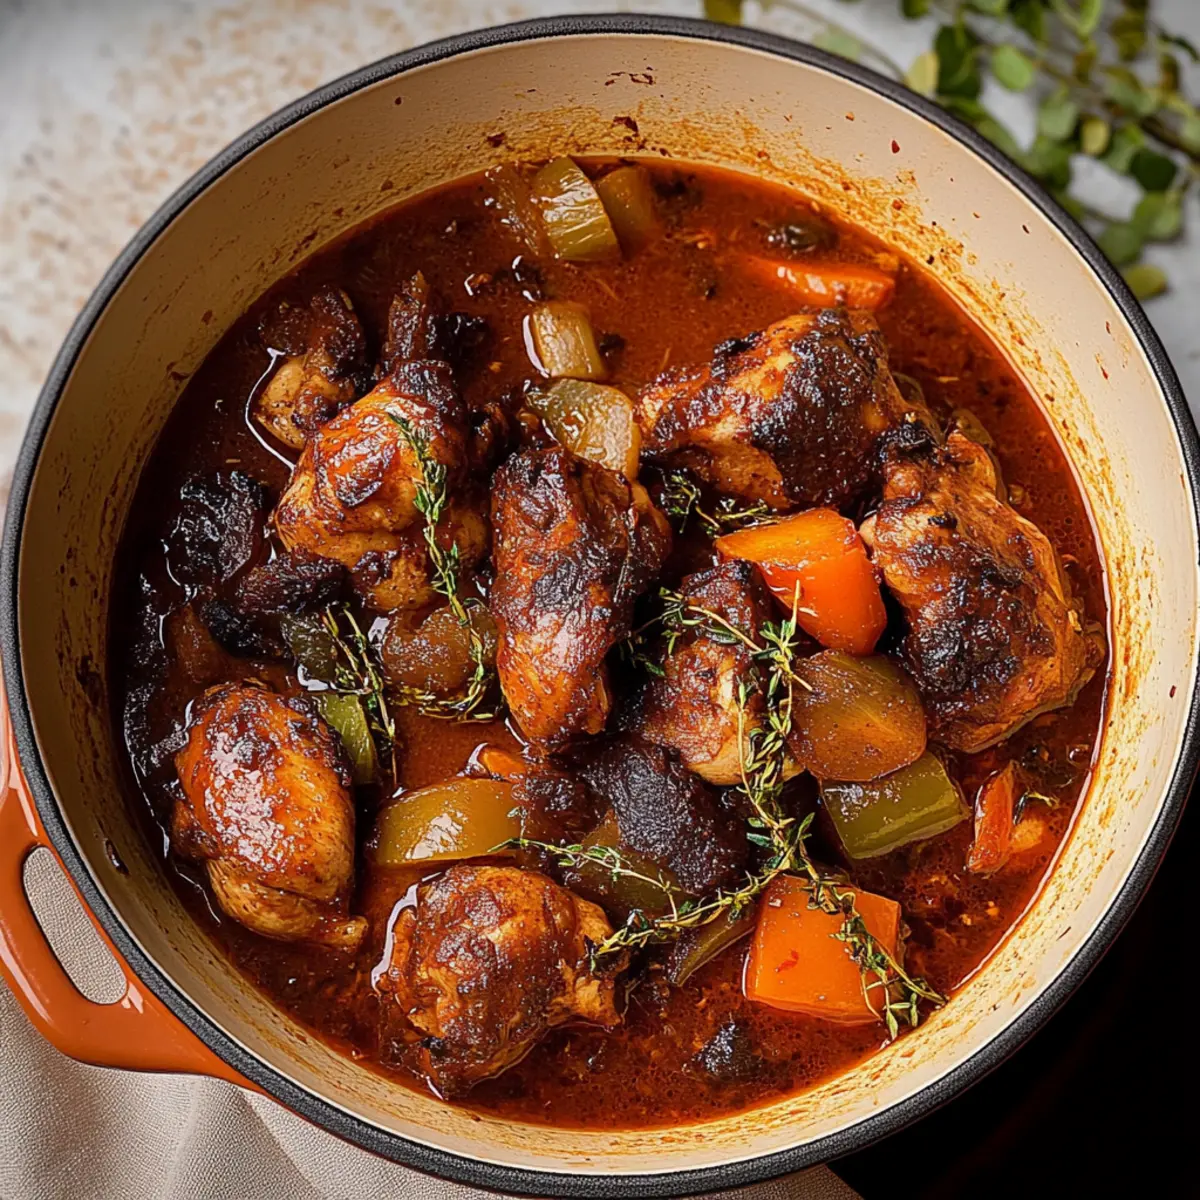
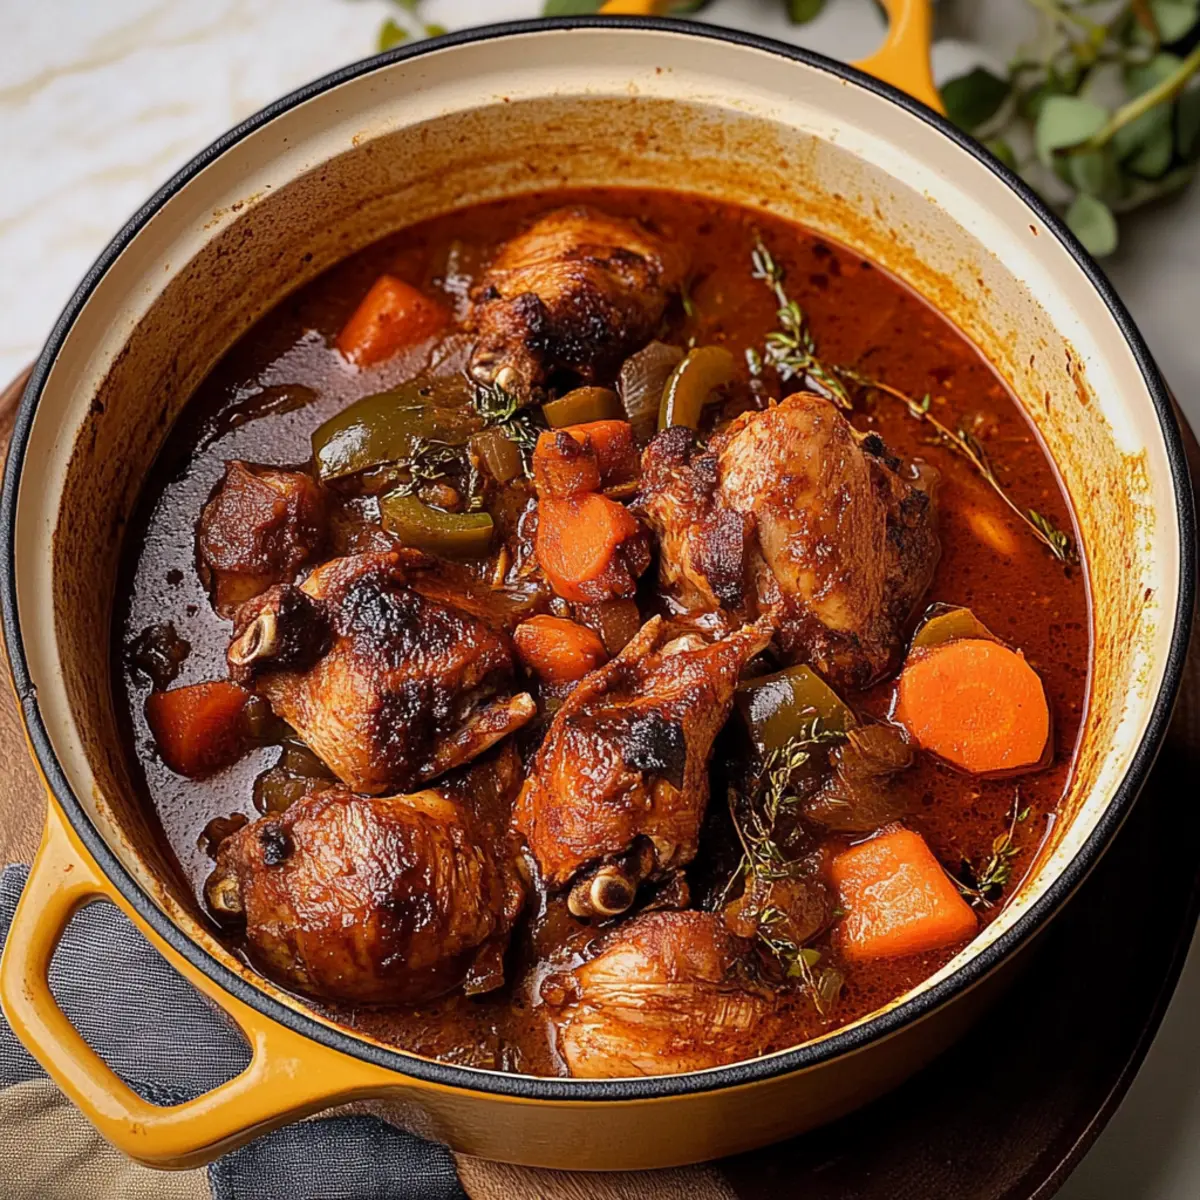
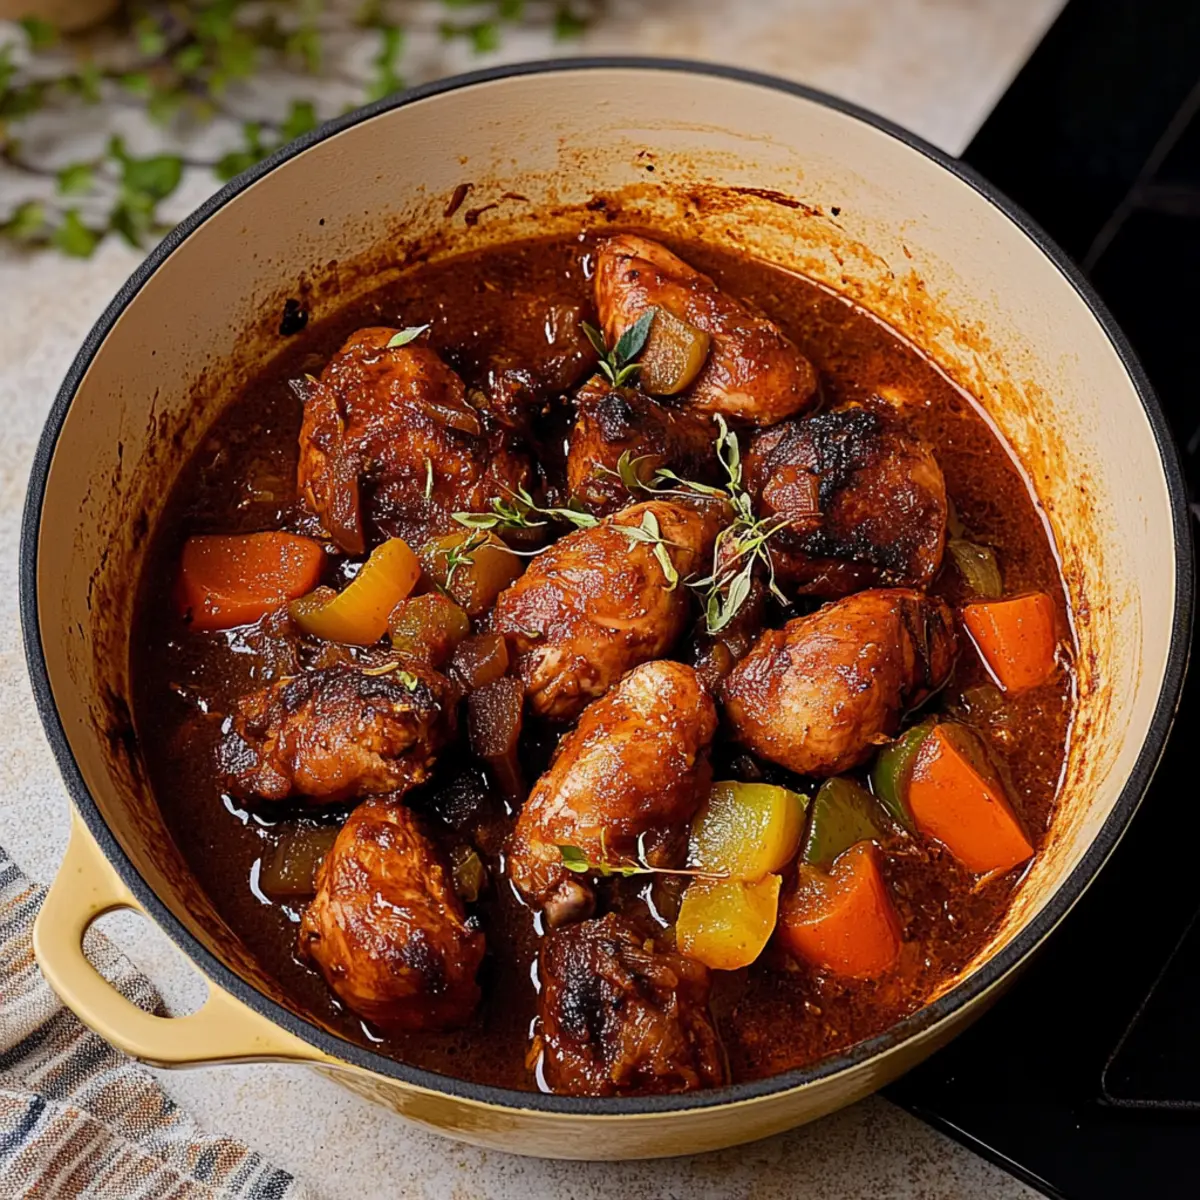
To finish off your Soy Glazed Chicken, slice the chicken into bite-sized pieces for easier serving. Plate the chicken and generously drizzle any remaining sauce over the top. Finally, garnish with toasted sesame seeds and freshly chopped scallions for a delightful crunch and color that will elevate your dish.
How to Store and Freeze Soy Glazed Chicken
- Fridge: Store leftover soy glazed chicken in an airtight container for up to 5 days to preserve its great flavor and texture.
- Freezer: For longer storage, freeze the chicken in an airtight container or freezer bag for up to 3 months; just be aware that freezing may affect the glaze's texture upon thawing.
- Reheating: To reheat, thaw in the fridge overnight for best results, then warm in a skillet over medium heat, adding a splash of water or chicken broth to help retain moisture.
- Tip: When preparing for meal prep, consider portioning the chicken and sauce separately to maintain the texture when stored.
Expert Tips for Soy Glazed Chicken
-
Pat Dry the Chicken: Ensure your chicken thighs are dry before coating; this crucial step leads to that perfectly crispy skin you crave.
-
Monitor the Heat: Fry the chicken on medium-high heat. Too low, and it'll steam rather than crisp up; too high, and you risk burning the coating.
-
Sauce Balancing: Adjust the sauce ingredients to your liking; if you prefer a sweeter glaze, add more honey! For heat, try incorporating chili flakes.
-
Cooking Time Matters: Always check the internal temperature of the chicken; it should reach 165°F to ensure it's juicy and safe to eat.
-
Garnish for Flavor: Don’t skip the sesame seeds and scallions! They add texture and visual appeal to your delicious Soy Glazed Chicken.
Soy Glazed Chicken Variations
Feel free to get creative with your dish—there are countless ways to make this soy glazed chicken uniquely yours!
-
Different Cuts: Use chicken breasts for a leaner option or drumsticks for juicy, flavorful bites. Each cut brings a different texture and taste to the table.
-
Vegetarian Twist: Swap out chicken for firm tofu or seitan for a satisfying vegetarian adaptation that soaks up that delicious sauce beautifully.
-
Spicy Kick: Add chili flakes or toss in some sliced jalapeños to give your glaze a spicy twist. This bubbling heat can elevate your soy glaze and add excitement to each bite.
-
Ginger Boost: Incorporate fresh ginger into the sauce for an aromatic zing that pairs perfectly with the sweetness of honey, giving it a warming depth of flavor.
-
Citrus Zest: Squeeze in a splash of fresh lime or orange juice towards the end for a tangy brightness, complementing the rich soy sauce beautifully.
-
Savory Herb: Stir in fresh herbs such as cilantro or basil just before serving. Their freshness provides a vibrant contrast to the sticky glaze, enhancing the overall experience.
-
Crunchy Additions: Consider garnishing with chopped peanuts or toasted sesame seeds for an extra layer of texture and a nutty flavor that offers delightful contrast.
-
Rice Variants: Pair with a side of quinoa or brown rice for a healthier grain option, or even cauliflower rice for a low-carb twist. This ensures your meal stays both hearty and wholesome.
As you whip up this delightful dish, remember that it’s all about personal preferences. Whether you prefer a classic taste or a bold flavor adventure, adjustments can make your soy glazed chicken truly special. Don't forget to check out my Honey Garlic Chicken for another scrumptious twist on chicken!
What to Serve with Soy Glazed Chicken
The perfect meal companion can elevate your soy glazed chicken experience, creating a vibrant dinner that tantalizes the senses.
-
Steamed Jasmine Rice: The fluffy, fragrant rice absorbs the sticky glaze, making every bite a flavor-packed delight. It’s a classic pairing that complements the dish beautifully.
-
Sautéed Bok Choy: Crisp-tender bok choy adds a fresh, crunchy element that perfectly contrasts the rich, savory chicken. Toss it in a little garlic and soy for an extra layer of flavor.
-
Roasted Sweet Potatoes: Their natural sweetness balances out the savory soy glaze, providing a tender texture that warms the soul. Plus, the vibrant orange color is visually appealing!
-
Garlic Green Beans: Sautéed in sesame oil and garlic, these crunchy green beans offer a burst of freshness and a slight nuttiness that complements the glaze of the chicken.
-
Cucumber Salad: A refreshing cucumber salad with a tangy vinaigrette brings a bright crunch to your plate. Its acidity cuts through the richness of the soy glazed chicken, enhancing the overall meal experience.
-
Chilled Sake: Pair your meal with a glass of chilled sake, whose subtle notes can match the dish’s umami qualities, providing a lovely tasting harmony throughout dinner.
With these thoughtful pairings, you can create a dinner that’s not only delicious but also satisfying and inviting for family and friends alike.
Make Ahead Options
These Soy Glazed Chicken pieces are perfect for busy cooks looking for meal prep options! You can season and coat the chicken with cornstarch up to 24 hours in advance, which helps maintain its crispy texture. Additionally, you can prepare the sauce by mixing the soy sauces, honey, five-spice powder, and garlic, storing it in the refrigerator for up to 3 days. When it's time to enjoy, simply fry the chicken as directed and toss it in the sauce to reheat. This method ensures your dinner will be just as delightful, saving you valuable time during chaotic weeknights while maintaining restaurant-quality taste at home!
Soy Glazed Chicken Recipe FAQs
How do I select the best chicken for this recipe?
Absolutely! For the best flavor and juiciness in your soy glazed chicken, I recommend using boneless chicken thighs. They cook quickly and remain tender compared to chicken breasts or wings. Look for thighs that are plump and well-colored, avoiding any with dark spots or an unpleasant odor.
What is the best way to store leftovers?
Very good question! Store leftover soy glazed chicken in an airtight container in the refrigerator for up to 5 days. This keeps the flavors intact while maintaining its delicious texture. When reheating, a quick warm-up in a skillet helps revitalize the crunchiness!
Can I freeze soy glazed chicken?
The more the merrier! You can freeze soy glazed chicken for up to 3 months. To do this, let the chicken cool completely, then place it in an airtight container or freezer bag. Remember that the sauce's texture may change after thawing, so it's best to reheat it gently over medium heat for about 5-10 minutes.
How do I troubleshoot if my sauce doesn't thicken?
If your sauce isn't thickening as expected, don't worry! Simply continue to simmer it on low heat for an additional 2-3 minutes. If it remains thin, mix 1-2 teaspoons of cornstarch with a tablespoon of cold water to create a slurry, then stir it into the sauce. Allow it to cook for another minute until it reaches that desirable sticky consistency.
Is this dish suitable for people with dietary restrictions?
Absolutely! If you’re considering dietary needs, note that soy sauce contains gluten, but you can easily replace it with a gluten-free soy sauce for a similar flavor. For a vegetarian option, swap the chicken for firm tofu or seitan and follow the same cooking steps for a delicious adaptation. Always check labels for any allergies, especially if serving to others!
Soy Glazed Chicken That’ll Transform Your Weeknight Dinners
Ingredients
Equipment
Method
- Pat the boneless chicken thighs dry with paper towels and season both sides with kosher salt and black pepper.
- In a bowl, combine cornstarch with salt and pepper, and coat the chicken evenly.
- Heat oil in a skillet over medium-high heat until shimmering. Fry the chicken for 5-7 minutes on each side until golden-brown and cooked through.
- Remove the chicken and in the same skillet, melt butter. Add soy sauces, honey, five-spice powder, and garlic; stir to combine.
- Allow the sauce to simmer for about 5 minutes until it thickens slightly.
- Return the chicken to the pan, coating each piece with the sauce. Cook for another minute if desired.
- Slice the chicken into bite-sized pieces, drizzle with remaining sauce, and garnish with sesame seeds and scallions.