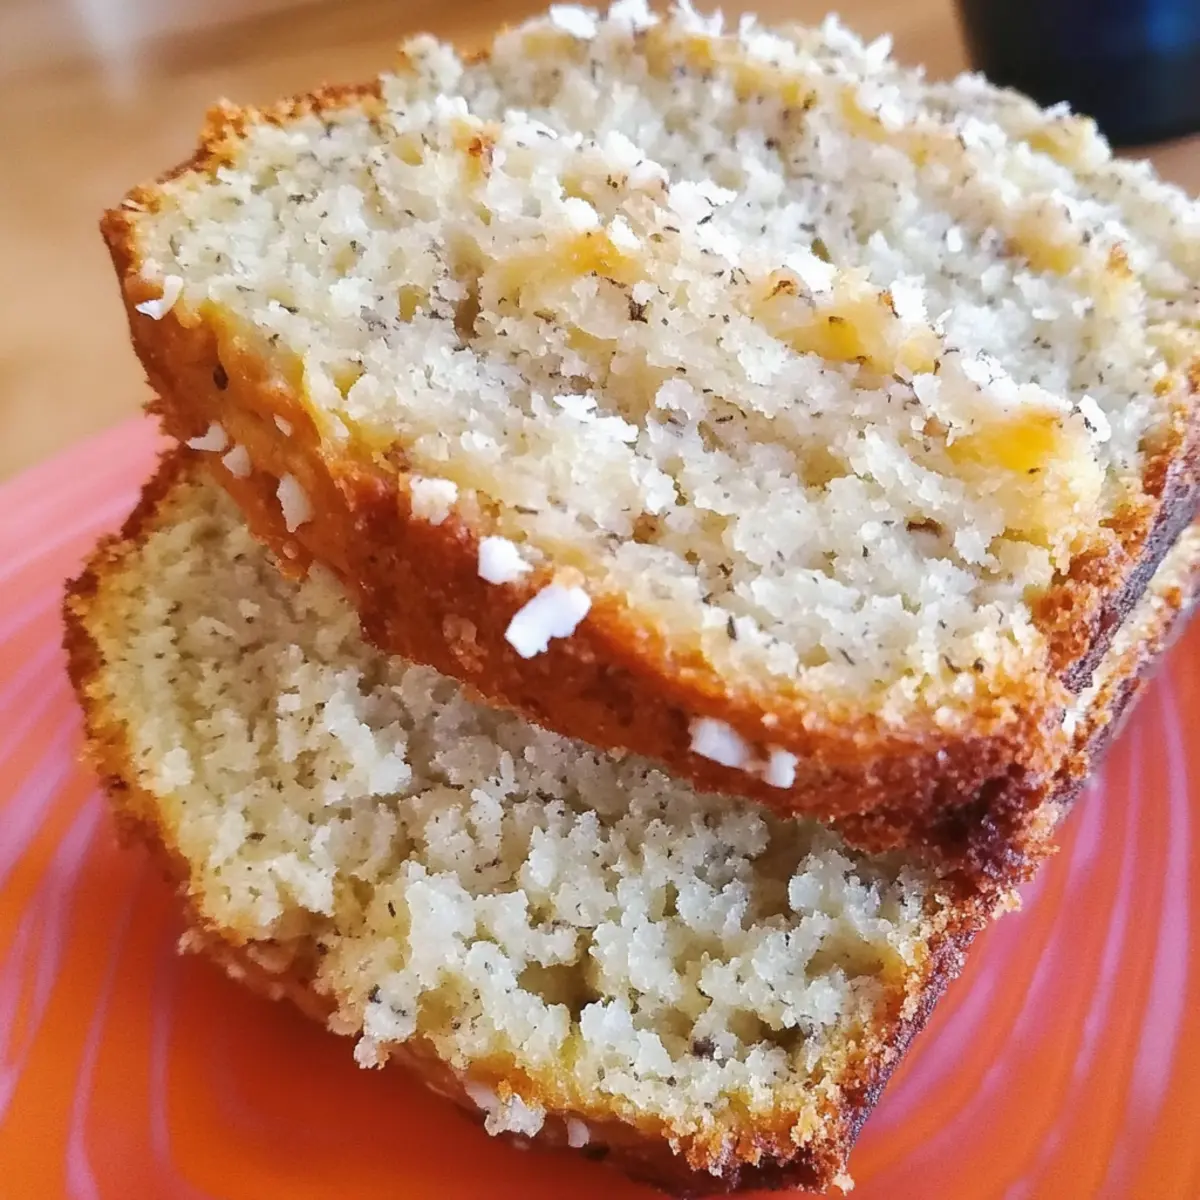
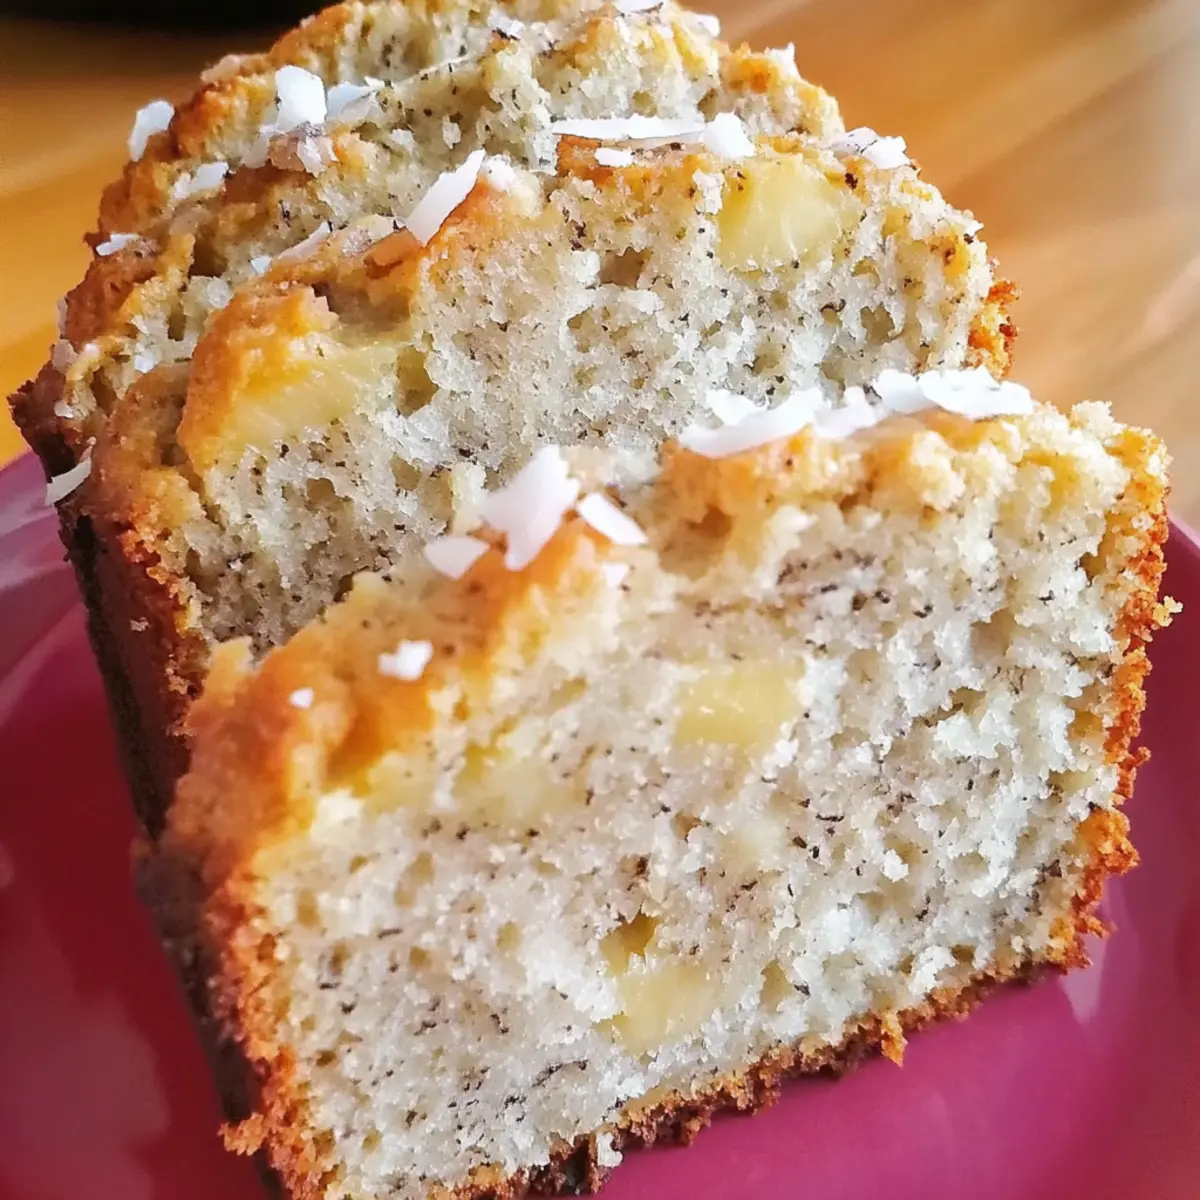
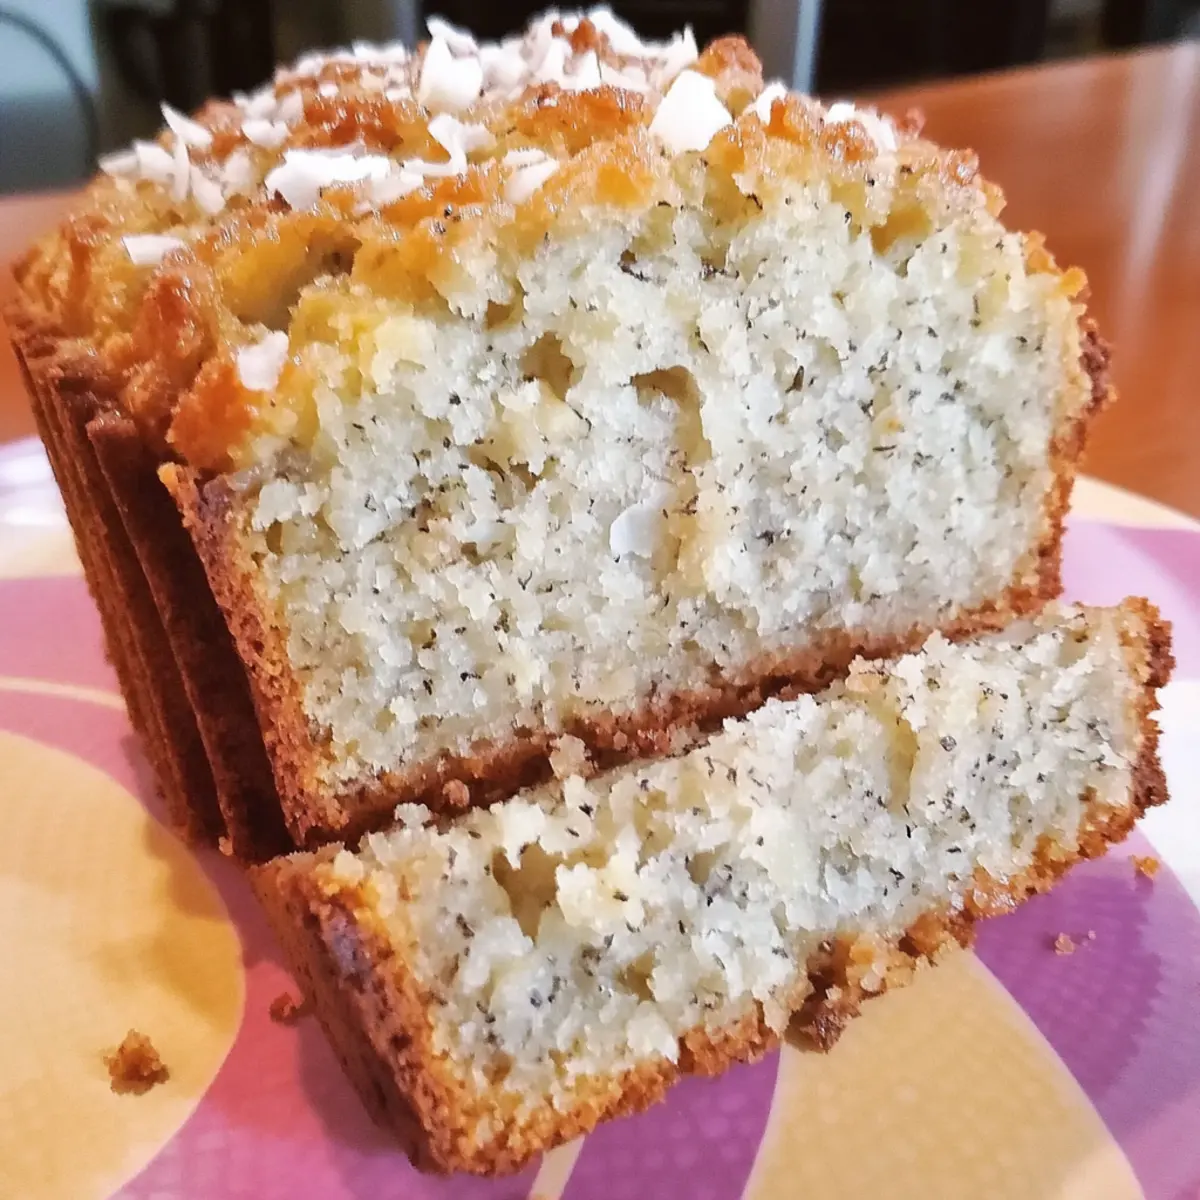
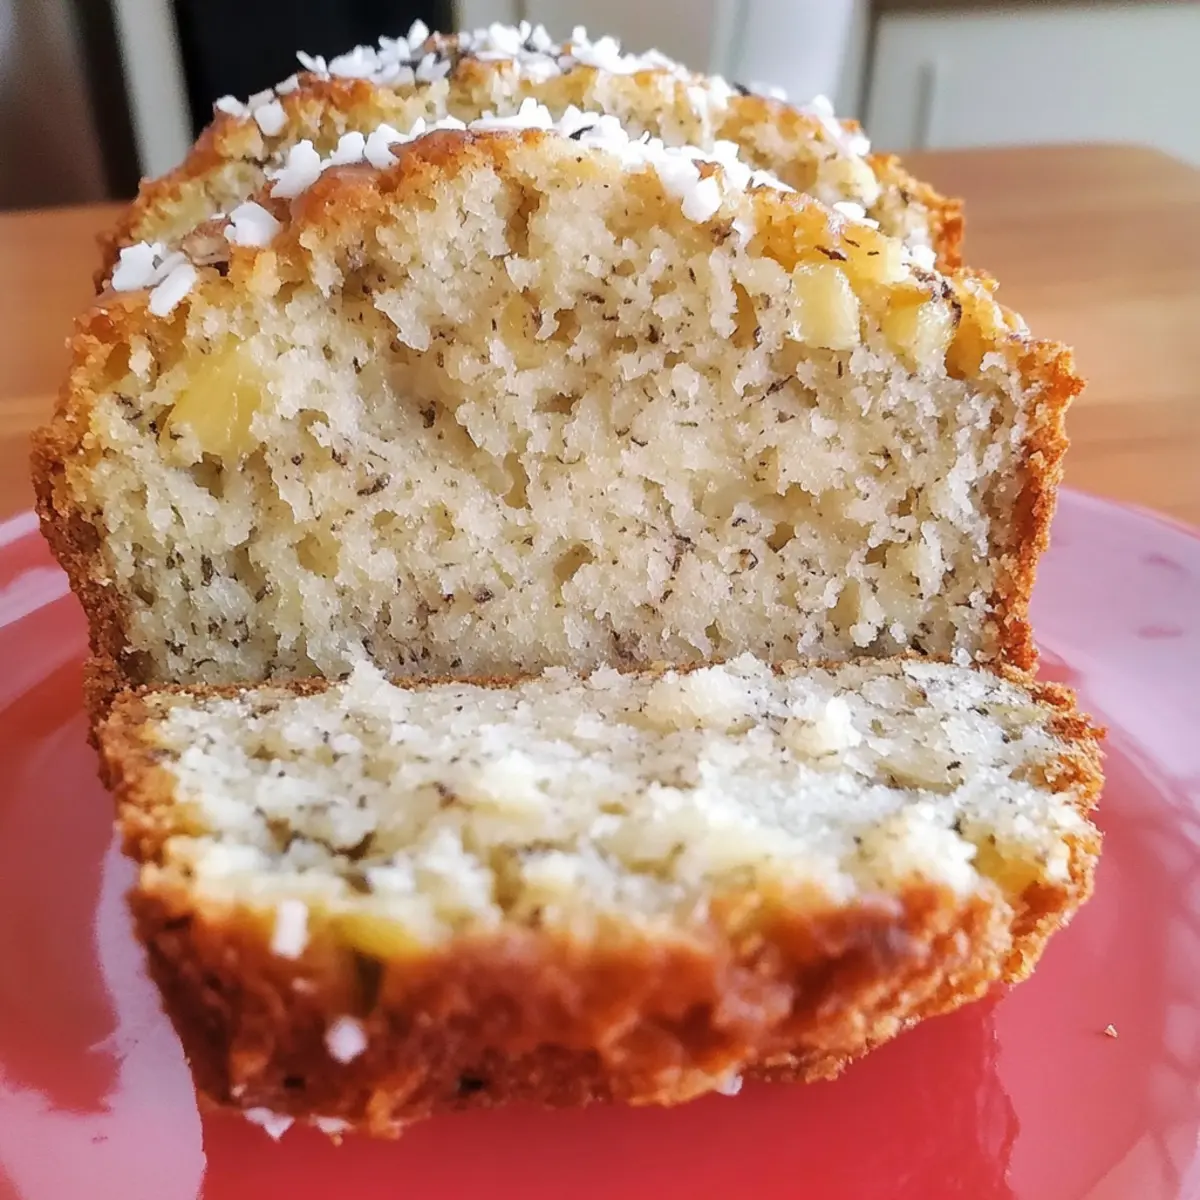
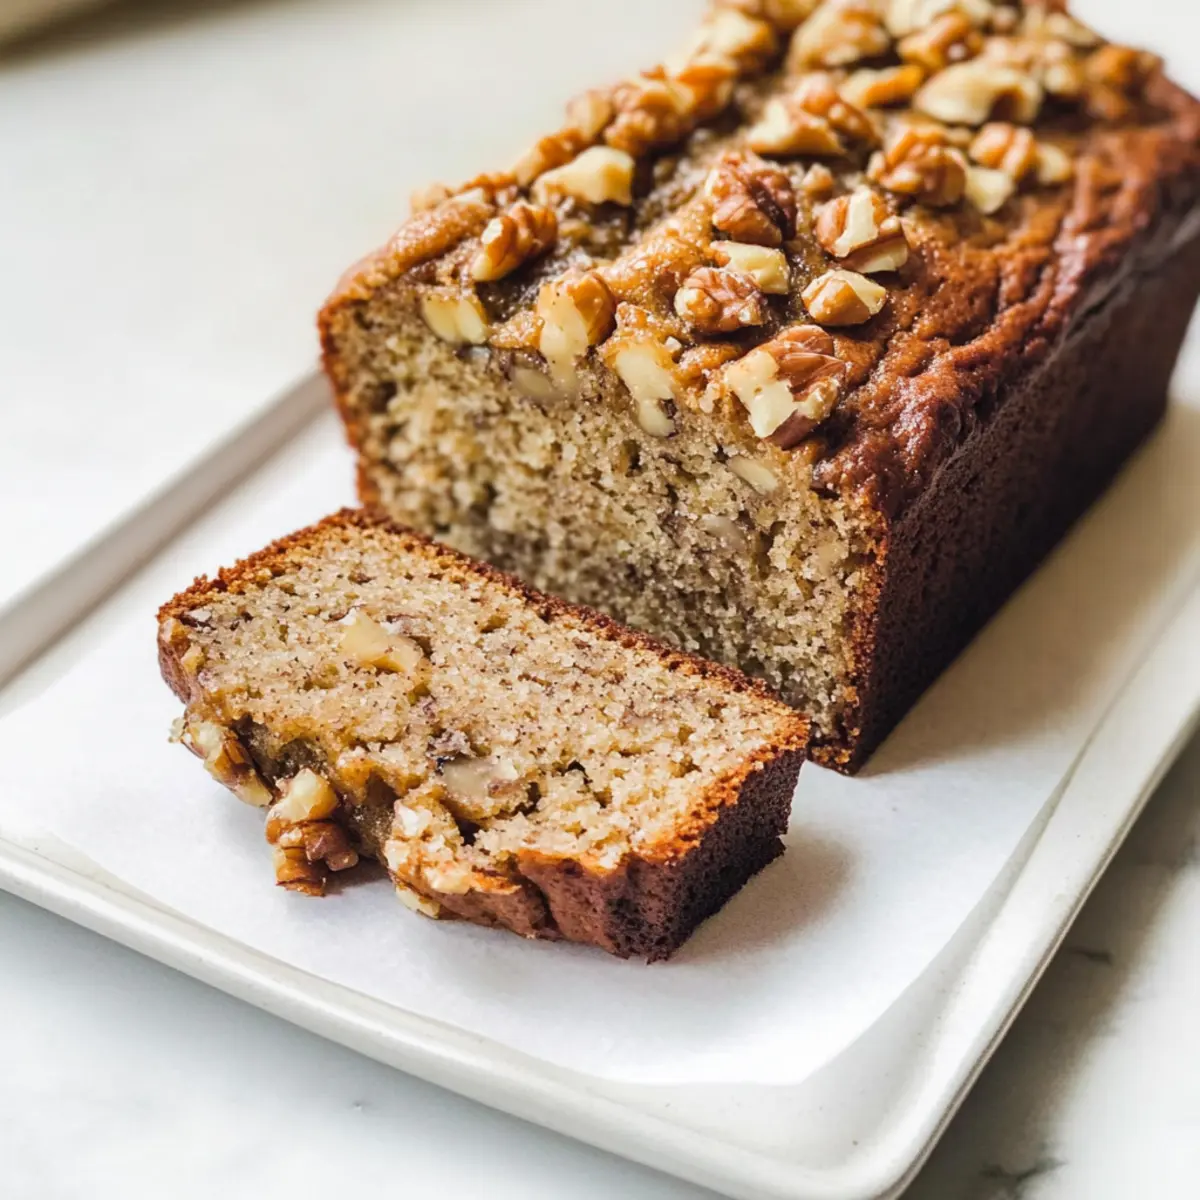
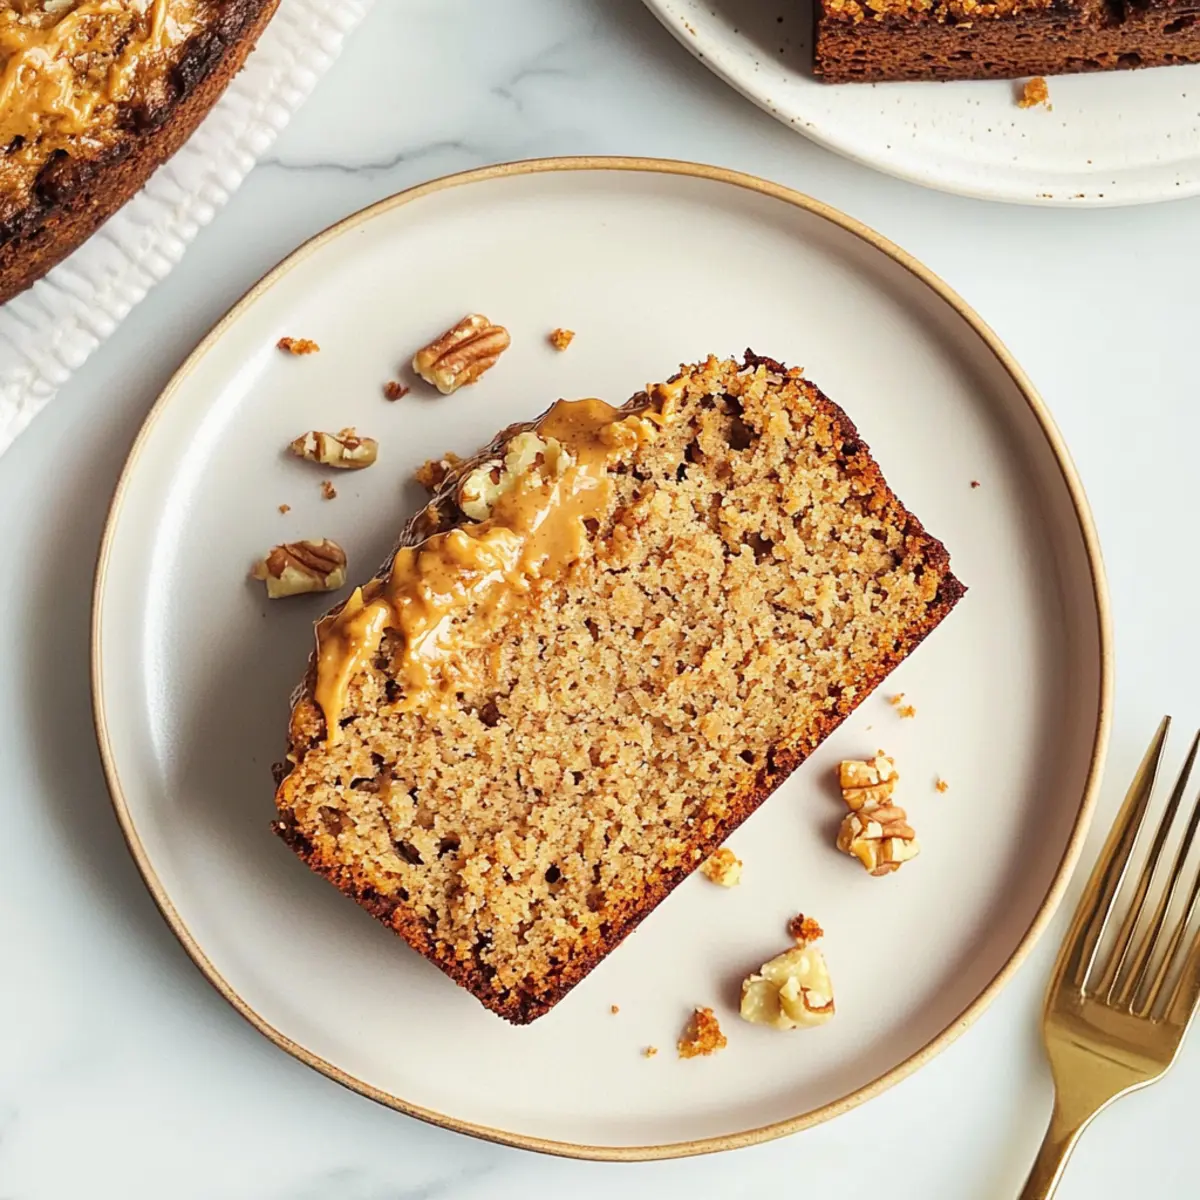
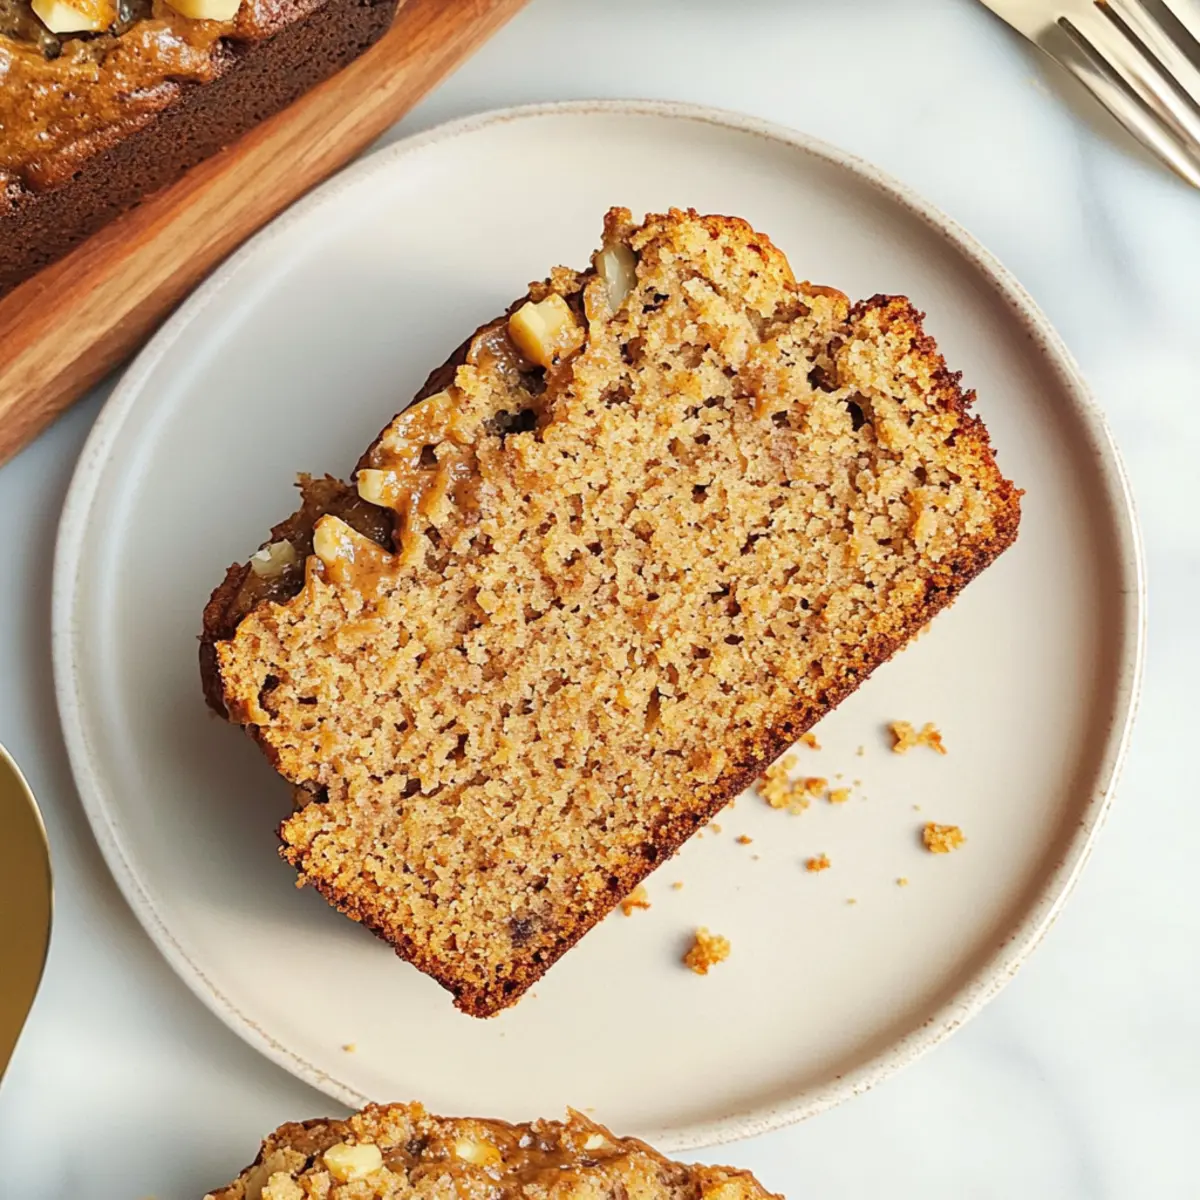
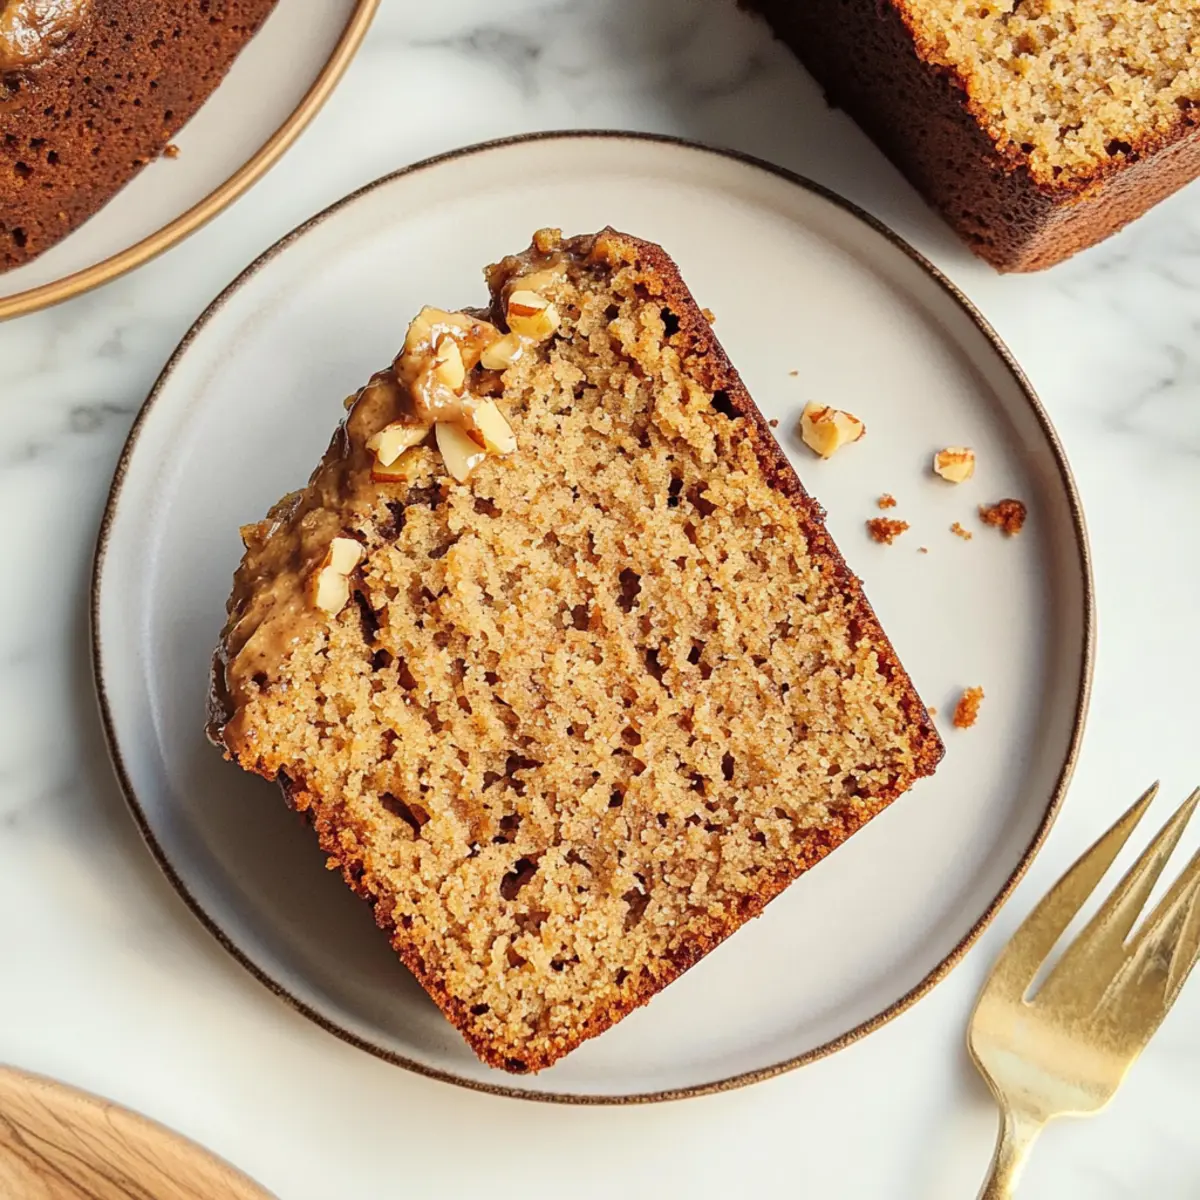
As I peeled back the warm layers of my favorite peanut butter banana bread, the rich, nutty aroma enveloped the kitchen like a comforting hug. This quick and easy treat transforms overripe bananas into something extraordinary, blending them seamlessly with creamy peanut butter for an irresistible flavor surge. Not only is this Peanut Butter Banana Bread a crowd-pleaser, but it also packs a protein punch from the peanut butter, making it a satisfying option for breakfast or a snack. Plus, you can easily customize it with your favorite nuts or a sprinkle of chocolate chips, giving it a delightful twist on a classic. Are you ready to fill your home with the mouthwatering scent of baking bliss? Let’s get started!
Why is this banana bread irresistible?
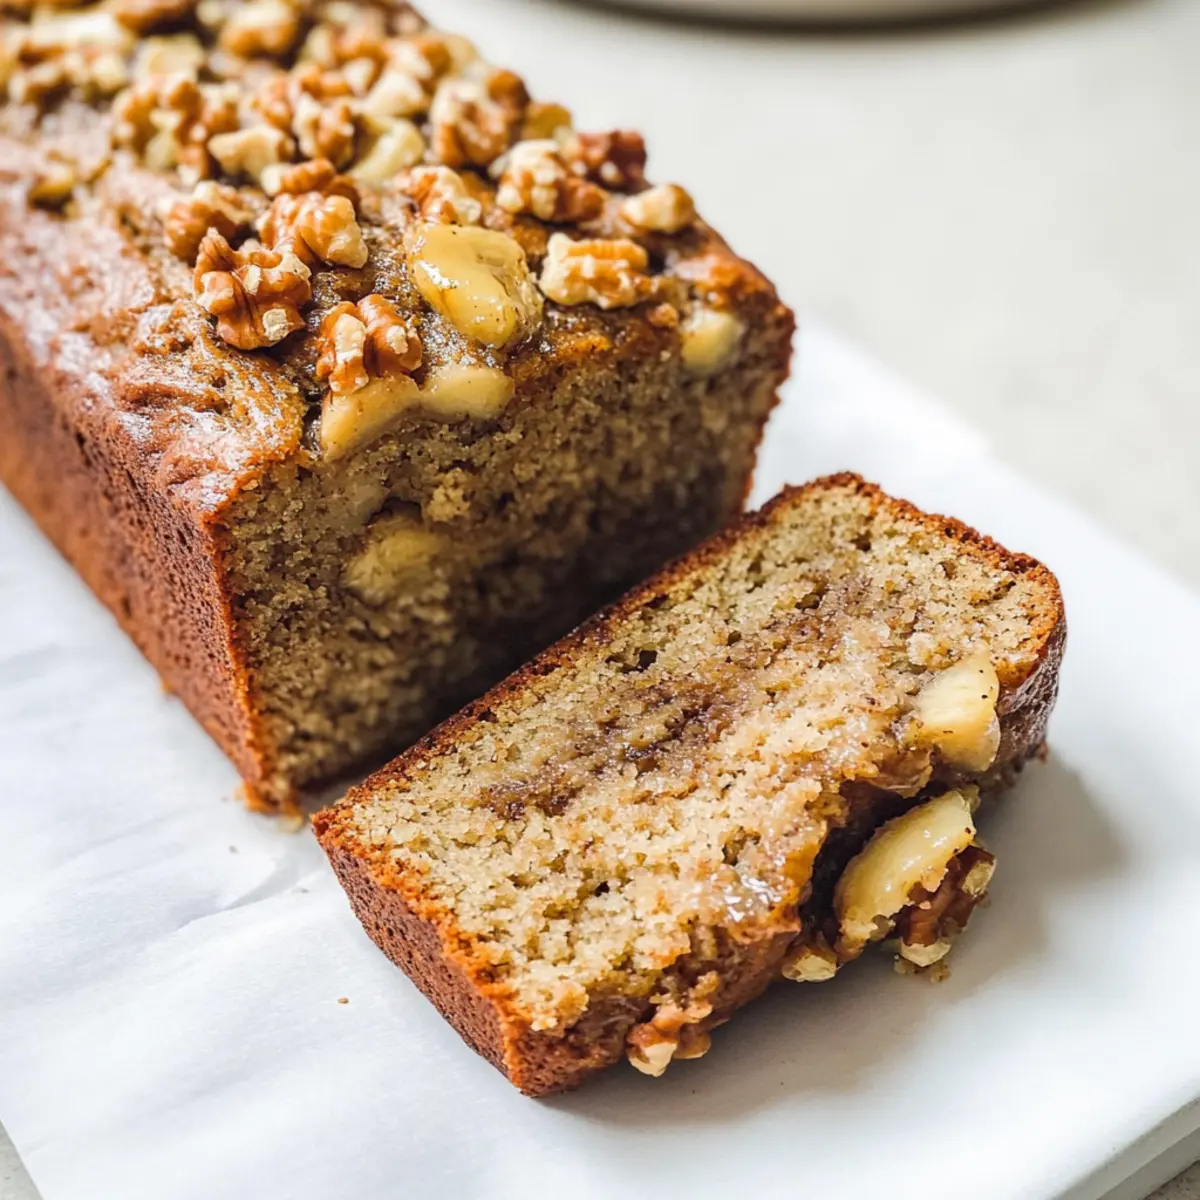
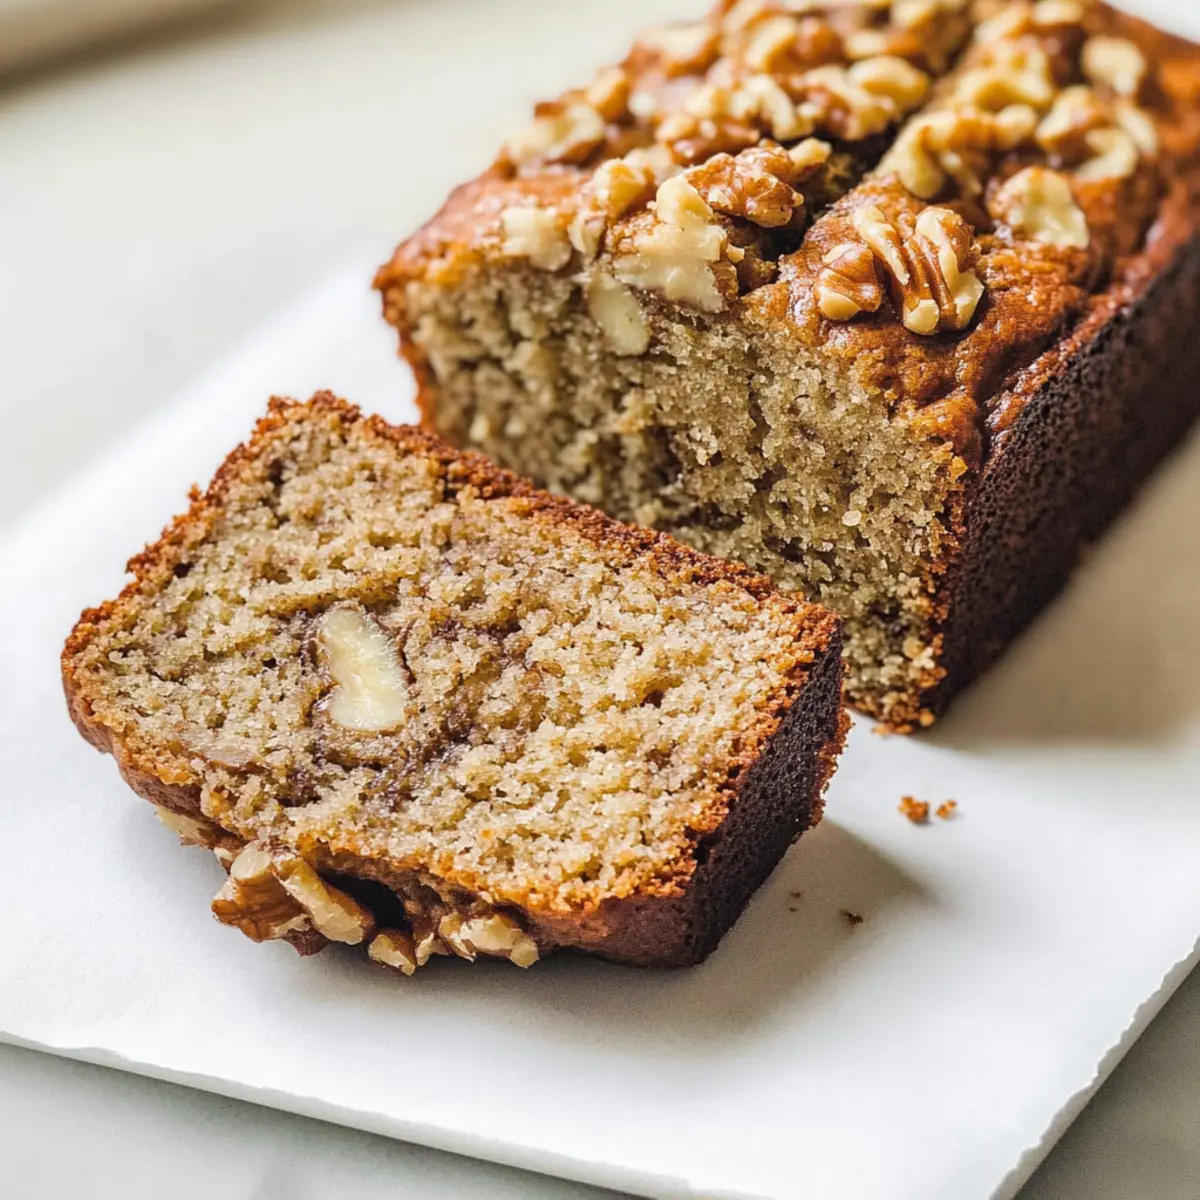
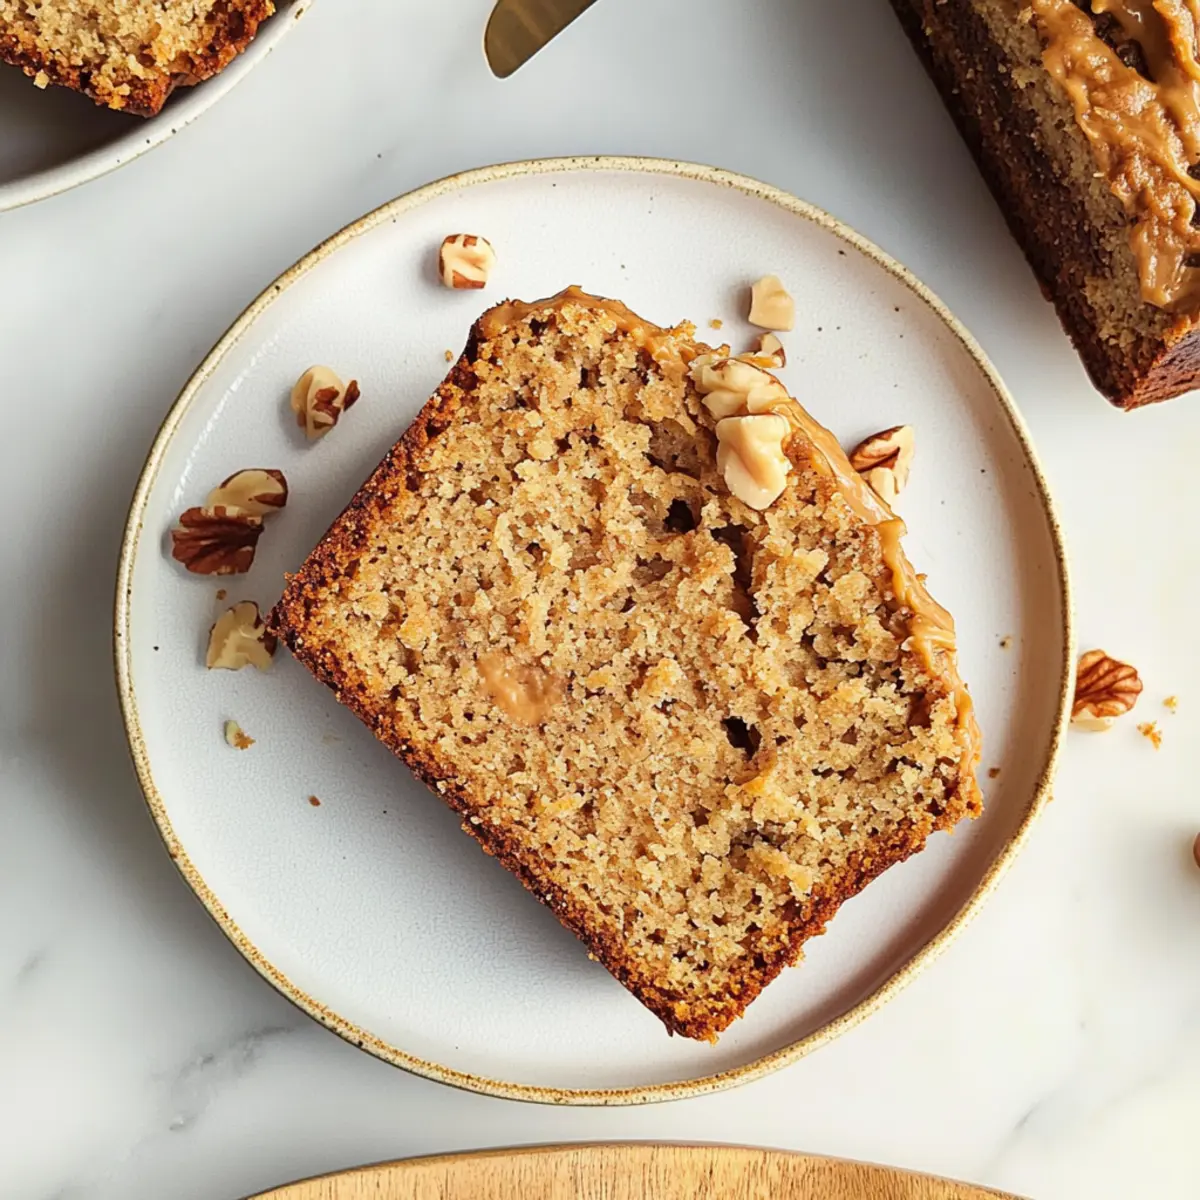
Moist and Tender: The combination of creamy peanut butter and ripe bananas creates a loaf that’s incredibly moist with a tender crumb.
Protein-Packed: Thanks to the peanut butter, this banana bread is a high-protein option that keeps you satisfied—perfect for breakfast or a mid-day snack!
Customizable Delight: Want to make it your own? Add your favorite nuts or chocolate chips for a personal touch.
Quick and Easy: This simple recipe is perfect for busy mornings, taking under an hour from start to finish.
Crowd-Pleasing Flavor: The rich, nutty aroma wafts through your home as it bakes, making it a delightful treat that everyone will love. If you're a fan of comforting morning desserts, don't forget to check out my Cornbread Breakfast Casserole for another fantastic option!
Peanut Butter Banana Bread Ingredients
• Discover the key ingredients for delectable goodness!
For the Batter
- All-Purpose Flour – Provides structure to the bread; substitute with gluten-free flour for a gluten-free option.
- Ground Cinnamon – Adds warmth and flavor; can be replaced with nutmeg for a unique twist.
- Baking Powder – Acts as a leavening agent; ensure it's fresh for the best rise.
- Baking Soda – Enhances rising alongside baking powder; double-check freshness for optimal results.
- Salt – Balances flavors in the bread; omit for low-sodium, though taste will be affected.
- Unsalted Butter – Adds richness and moisture; swap with coconut oil for a dairy-free alternative.
- Light Brown Sugar – Sweetens and provides moisture; you can use granulated sugar for a lighter option.
- Creamy Peanut Butter – Infuses flavor and protein; consider almond butter for a different taste.
- Large Eggs – Binds ingredients and adds moisture; flax egg or applesauce works for a vegan version.
- Vanilla Extract – Imparts a lovely aroma; choose pure vanilla for the best flavor.
- Sour Cream – Contributes moisture and tang; Greek yogurt is a great substitute.
- Mashed Banana – The star of the show for flavor and moisture; overripe bananas are best—aim for 3-4 medium.
- Chopped Nuts (optional) – Adds crunch and texture; feel free to choose your favorites or omit for a nut-free treat.
Feel free to gather these ingredients and experience the magic of making your very own Peanut Butter Banana Bread!
Step‑by‑Step Instructions for Peanut Butter Banana Bread
Step 1: Preheat the Oven
Start by preheating your oven to 350°F (175°C). While it's warming, generously grease a 9" x 5" loaf pan to ensure your Peanut Butter Banana Bread releases easily after baking. This preparation step is crucial for a perfect loaf, so don't skip it!
Step 2: Mix the Dry Ingredients
In a medium bowl, whisk together 1 ½ cups of all-purpose flour, 1 teaspoon of ground cinnamon, 1 teaspoon of baking powder, ½ teaspoon of baking soda, and ½ teaspoon of salt until well combined. This step helps distribute the leavening agents evenly, ensuring a consistent rise throughout the bread.
Step 3: Cream the Wet Ingredients
In a large mixing bowl, beat together ½ cup of unsalted butter, ¾ cup of light brown sugar, and ½ cup of creamy peanut butter using an electric mixer. Mix until the mixture is light and fluffy, which should take about 3 minutes. Next, add 2 large eggs one at a time, mixing until each is fully incorporated, and then blend in 1 teaspoon of vanilla extract.
Step 4: Combine the Mixtures
Gradually add the dry ingredients to the wet mixture, alternating with ½ cup of sour cream. Start and end with the dry mixture, mixing just until combined. This helps prevent overmixing, which can lead to a dense loaf of Peanut Butter Banana Bread. Be gentle to keep the batter light and airy.
Step 5: Add Bananas and Nuts
Now it’s time for the star ingredient! Gently fold in 1 cup of mashed overripe bananas and optional ½ cup of chopped nuts, such as walnuts or pecans, until evenly distributed. Take care not to overwork the batter; the goal is to have just enough blending for a well-combined mixture.
Step 6: Bake the Bread
Pour the batter into your prepared loaf pan, smoothing the top gently with a spatula. Place it in the preheated oven and bake for 50-55 minutes, or until the top is golden brown and a toothpick inserted into the center comes out clean. The delightful aroma will fill your kitchen!
Step 7: Cool the Bread
Once baked, remove the Peanut Butter Banana Bread from the oven and let it cool in the pan for about 10 minutes. This allows it to set a bit before transferring. Carefully turn it out onto a wire rack to cool completely, so it retains its moist texture and can be sliced easily.
Make Ahead Options
These Peanut Butter Banana Bread preparations are perfect for busy home cooks looking to save time! You can mash your bananas and mix your dry ingredients (flour, baking powder, baking soda, cinnamon, and salt) up to 24 hours in advance, storing them separately in airtight containers in the refrigerator. Additionally, you can cream the butter, peanut butter, and sugars, along with the eggs and vanilla, and keep this mixture covered in the fridge for the same duration. When you're ready to bake, simply combine the mixtures and fold in the bananas and nuts, then bake as directed. This way, your homemade Peanut Butter Banana Bread will be just as delicious and moisture-rich as if you made it from scratch that day!
How to Store and Freeze Peanut Butter Banana Bread
Room Temperature: Keep your Peanut Butter Banana Bread in an airtight container for up to 3-4 days to maintain its delicious moistness.
Fridge: If you want to extend the freshness, store it in the fridge for about a week, though it may be slightly less moist than when fresh.
Freezer: For longer storage, slice the bread and wrap it tightly in plastic wrap and then aluminum foil. It will keep well in the freezer for up to 3 months.
Reheating: To enjoy frozen slices, simply thaw overnight in the fridge and warm in the microwave for 10-15 seconds or toast for a few minutes for that fresh-baked feel.
Peanut Butter Banana Bread Variations
Feel free to get creative with this delightful peanut butter banana bread recipe—there are so many tasty twists you can explore!
- Chocolate Chip Twist: Fold in ½ cup of chocolate chips for a sweet, melty surprise in every slice. Who can resist that chocolatey goodness?
- Cinnamon Raisin: Add ½ cup of raisins along with a sprinkle of cinnamon for a comforting twist that brings back memories of grandma's kitchen.
- Nut-Free Delight: Omit all nuts or substitute with sunflower seeds for a nut-free version that’s just as satisfying.
- Vegan Version: Replace eggs with a flax egg (1 tablespoon ground flaxseed + 2.5 tablespoons water) and substitute sour cream with dairy-free yogurt. It’s deliciously moist!
- Spice it Up: Mix in ½ teaspoon of nutmeg or cardamom along with the cinnamon for an aromatic flavor lift that tantalizes the senses.
- Zesty Lemon Loaf: Add the zest of one lemon for a refreshing citrus twist that brightens the rich peanut butter flavor.
- Add Nut Butter Swirls: Create beautiful swirls by adding dollops of almond butter or cashew butter into the batter before baking for an extra nutty bite.
- Chunky Monkey Style: Toss in banana chunks and walnuts for a crunchy, fruity twist that takes it over the top!
Make your homemade peanut butter banana bread truly yours with these fun variations! And if you’re in the mood for more delicious breakfasts, be sure to check out my Cornbread Breakfast Casserole or treat yourself to a delightful Breakfast Banana Split. Enjoy every last bite!
What to Serve With Peanut Butter Banana Bread
Transform your warm, comforting banana bread into a delightful meal or snack by pairing it with scrumptious sides and beverages.
-
Creamy Greek Yogurt: A dollop of creamy yogurt adds a tangy contrast, enhancing the flavors of the bread while providing a satisfying protein boost.
-
Fresh Berries: Juicy strawberries or raspberries bring a burst of freshness that beautifully balances the sweetness of the banana bread.
-
Honey Drizzle: A light drizzle of honey or maple syrup can elevate each slice, adding an extra layer of sweetness that complements the peanut butter.
-
Nutty Granola: Serve with a side of nutty granola for added crunch and texture, creating a wholesome breakfast that's rich in fiber.
-
Cinnamon Sugar Mix: Sprinkling a touch of cinnamon sugar on top of each slice just before serving creates an irresistible, sweet crust that becomes a heavenly treat.
-
Hot Coffee or Tea: Pair your bread with a warm cup of coffee or tea to awaken your senses; the rich flavors of peanut butter and coffee complement each other beautifully.
-
Vanilla Ice Cream: Indulge your sweet tooth by serving a warm slice of peanut butter banana bread with a scoop of vanilla ice cream for the ultimate dessert experience.
-
Chocolate Milkshake: Thick, chocolatey shakes can take it up a notch, making for a delectable treat that kids and adults alike will love!
Expert Tips for Peanut Butter Banana Bread
- Banana Quality: Use overripe bananas for the best sweetness and moisture. They should have brown spots to ensure maximum flavor.
- Avoid Overmixing: Be careful not to overmix the batter when combining wet and dry ingredients; this ensures your Peanut Butter Banana Bread remains tender and fluffy.
- Check Freshness: Always use fresh baking powder and baking soda for optimal rise—old leavening agents can lead to a dense loaf.
- Customize Wisely: If adding chocolate chips or nuts, fold them in gently. Too much mixing can toughen the bread.
- Cool Properly: Let the bread cool in the pan before transferring it to a wire rack, which helps maintain its moist texture.
Peanut Butter Banana Bread Recipe FAQs
What type of bananas should I use for the best flavor?
Absolutely! Opt for overripe bananas with plenty of brown spots. They are sweeter and lend a lovely moisture to the bread, enhancing its overall flavor. Aim for 3-4 medium bananas for this recipe to achieve that beautiful taste and texture!
How should I store leftover Peanut Butter Banana Bread?
To keep your delicious Peanut Butter Banana Bread fresh, store it in an airtight container at room temperature for up to 3-4 days. If you prefer a slightly longer shelf life, you can refrigerate it for about a week, although it may lose a bit of moisture.
Can I freeze Peanut Butter Banana Bread?
Yes! To freeze your Peanut Butter Banana Bread, slice the loaf first for convenience. Wrap each slice tightly in plastic wrap, followed by aluminum foil, to protect it from freezer burn. It will keep well in the freezer for up to 3 months. When you're ready to enjoy it, simply thaw overnight in the fridge and reheat as desired.
What should I do if my banana bread doesn't rise?
Very good question! If your loaf doesn’t rise as expected, first check the freshness of your baking powder and baking soda, as expired agents can result in a dense loaf. Ensure that you're mixing the wet and dry ingredients gently and not overmixing the batter, which can also hinder rise.
Is this recipe safe for people with nut allergies?
If you or your loved ones have nut allergies, you can still enjoy a variation! Simply omit the creamy peanut butter and use sunflower seed butter instead. This will give you a similar texture without the nuts. Just be sure to check all other ingredients for potential allergens.
How do I know when my Peanut Butter Banana Bread is done baking?
The best way to check doneness is by inserting a toothpick into the center of the loaf. If it comes out clean or with just a few moist crumbs, your bread is ready! The top should also be a beautiful golden brown, adding a delightful visual cue that it’s baked to perfection.
Irresistibly Moist Peanut Butter Banana Bread for Cozy Mornings
Ingredients
Equipment
Method
- Preheat your oven to 350°F (175°C) and generously grease a 9" x 5" loaf pan.
- In a medium bowl, whisk together all-purpose flour, ground cinnamon, baking powder, baking soda, and salt until well combined.
- In a large mixing bowl, beat together unsalted butter, light brown sugar, and creamy peanut butter until light and fluffy. Add eggs one at a time, and then blend in vanilla extract.
- Gradually add the dry ingredients to the wet mixture, alternating with sour cream and mixing just until combined.
- Fold in the mashed bananas and optional chopped nuts until evenly distributed.
- Pour the batter into the prepared loaf pan and bake for 50-55 minutes or until a toothpick comes out clean.
- Remove from the oven, let it cool in the pan for 10 minutes, then transfer to a wire rack to cool completely.