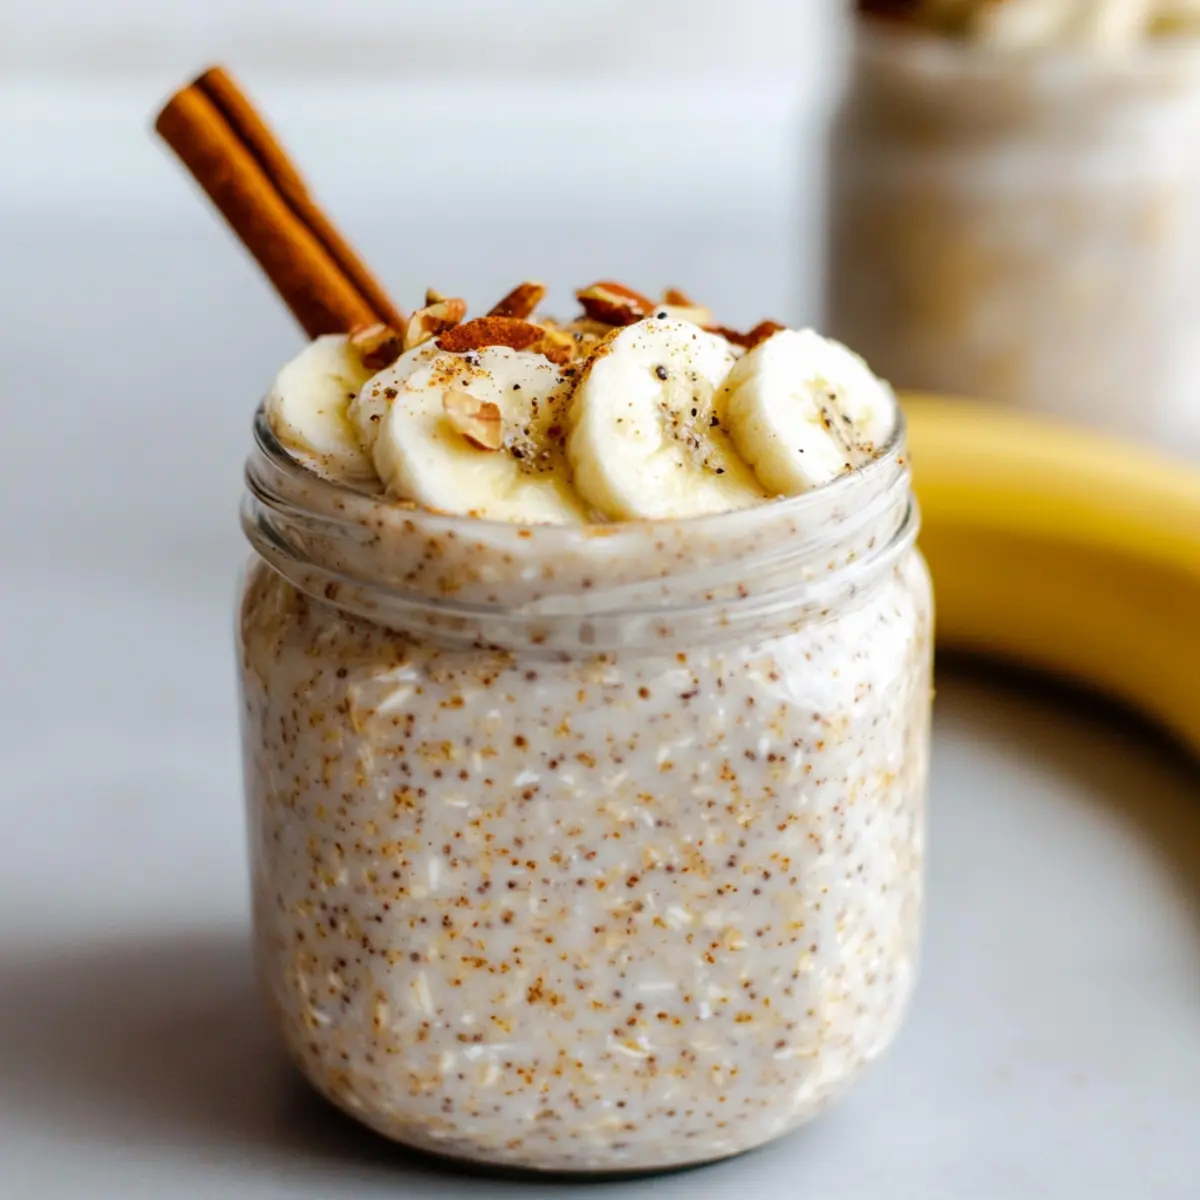
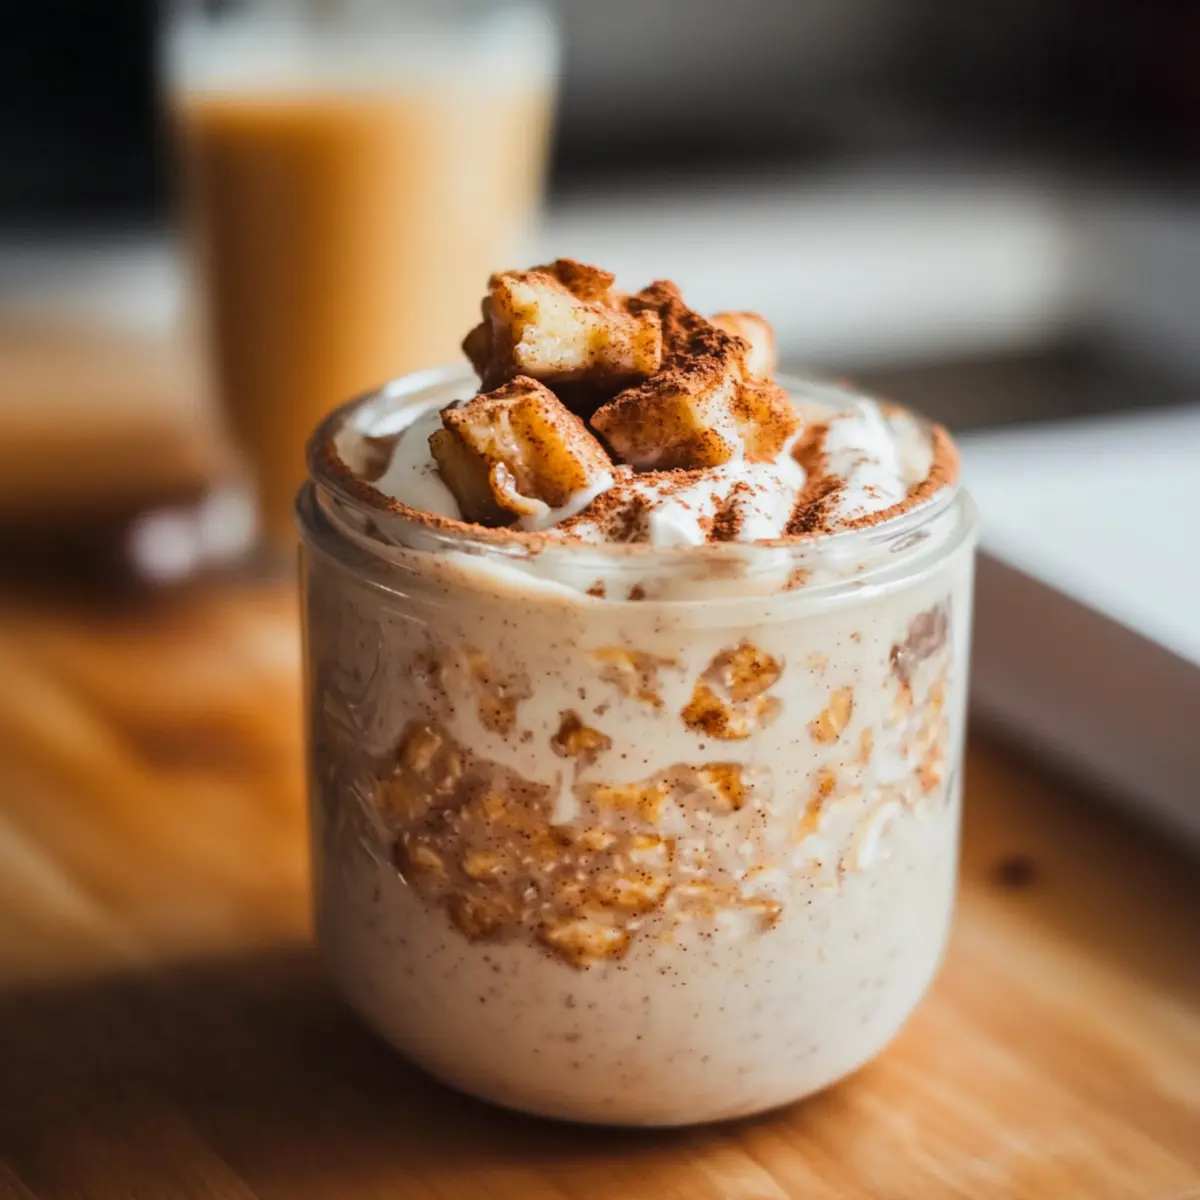
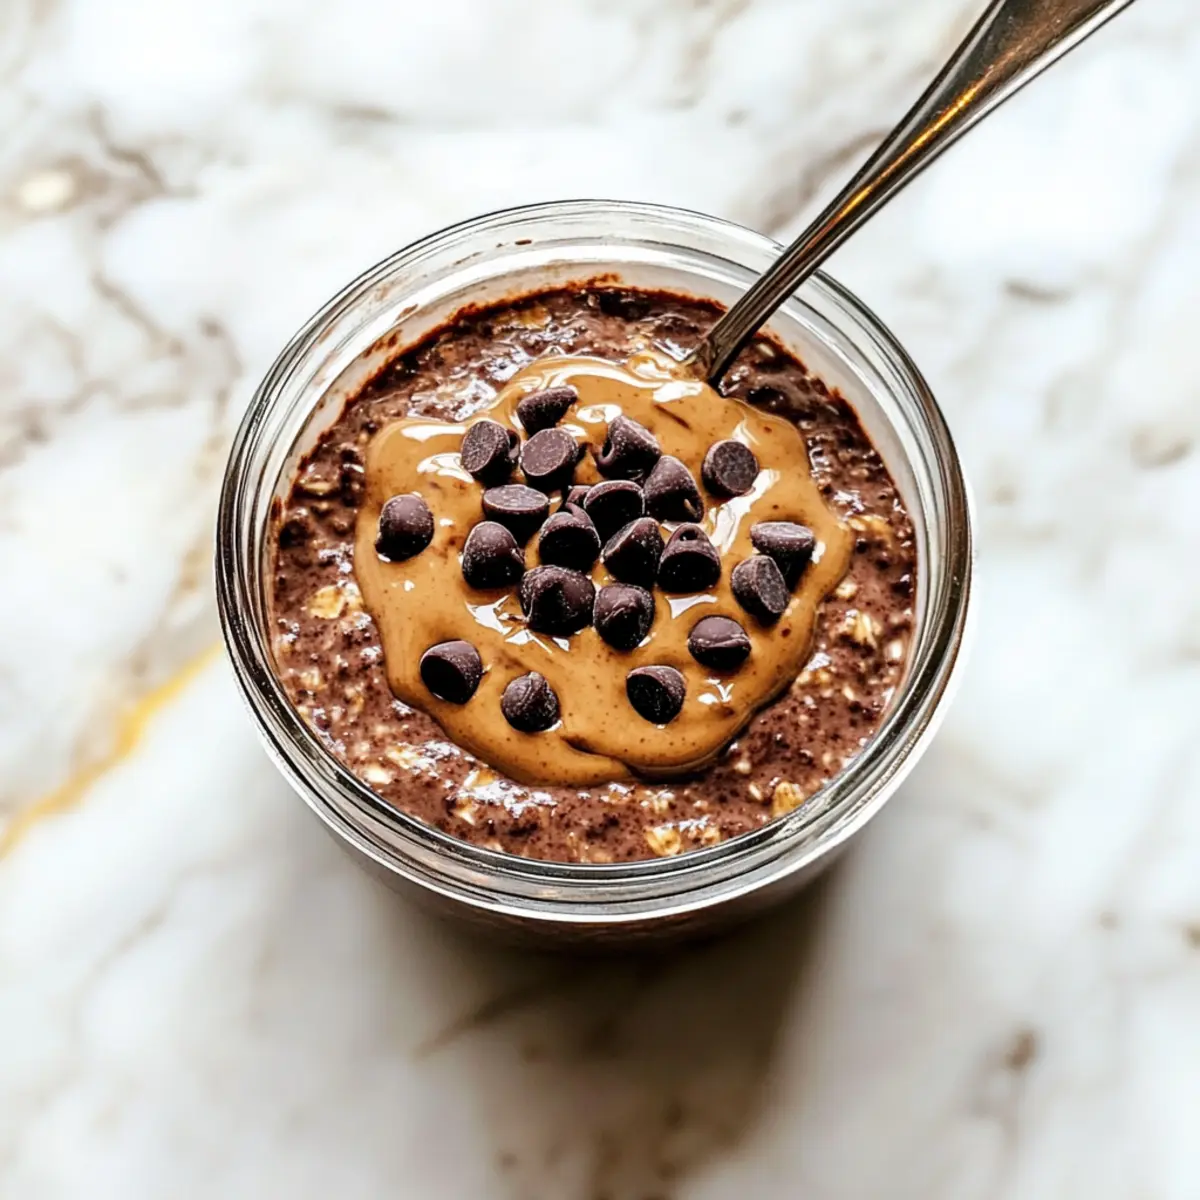
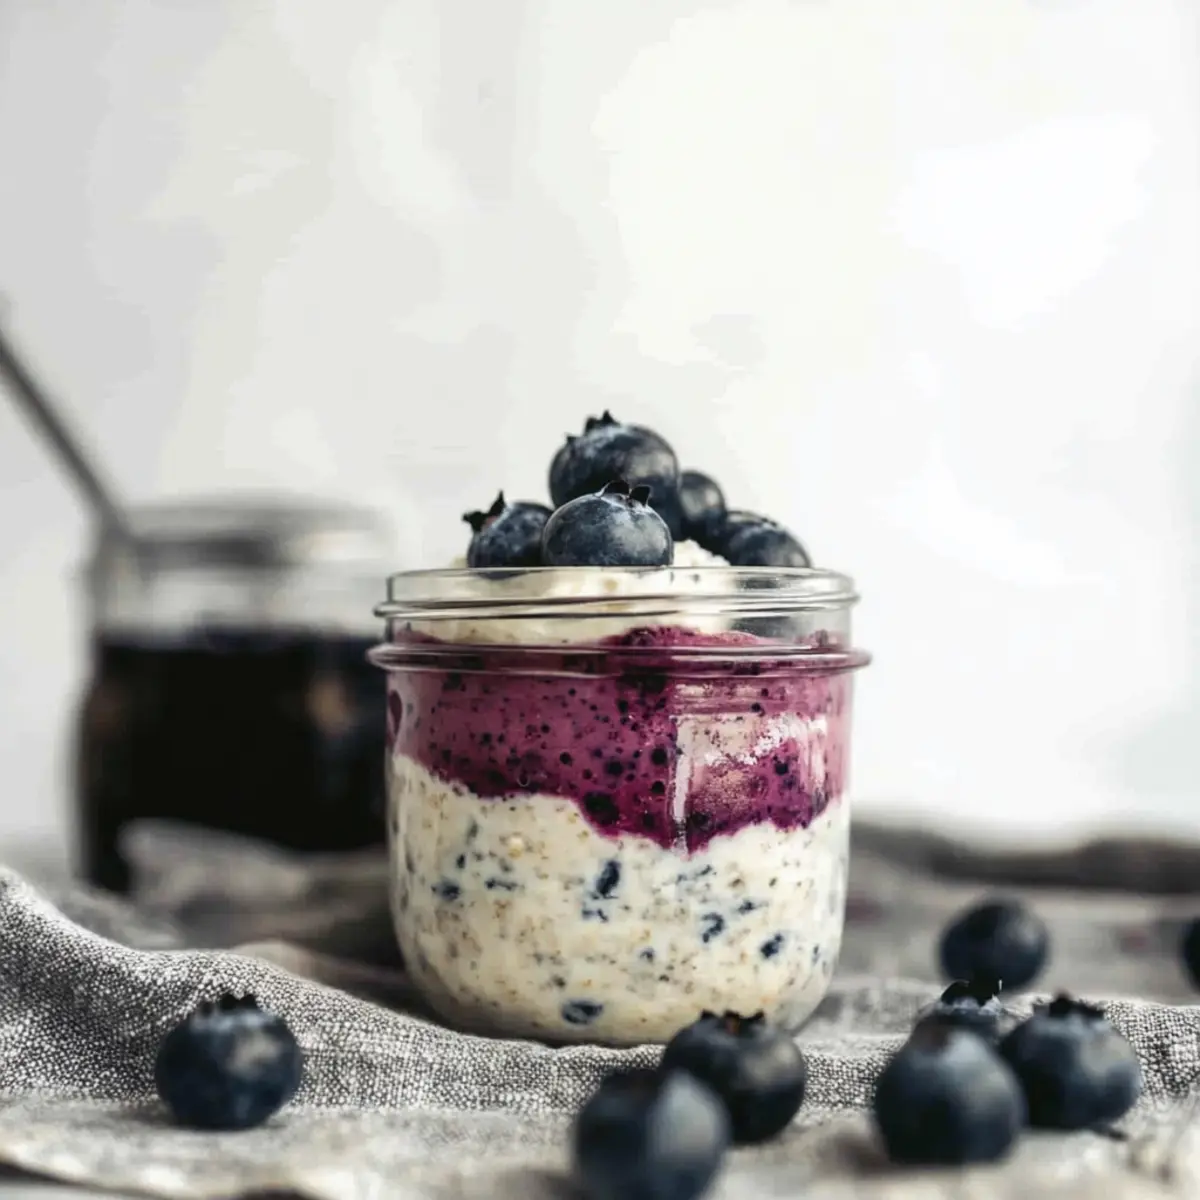
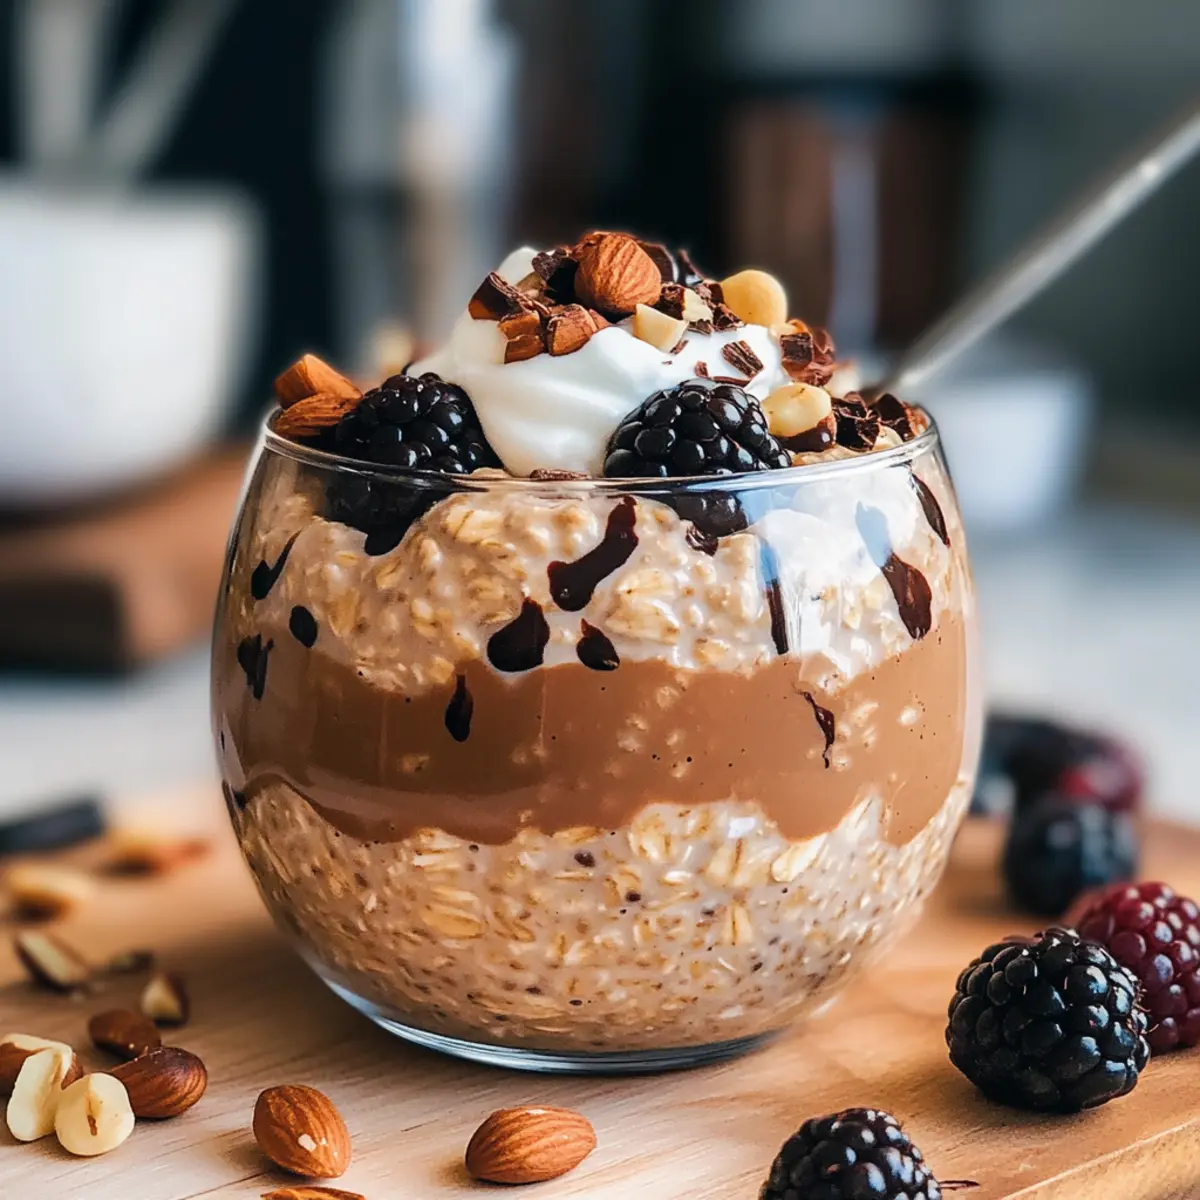
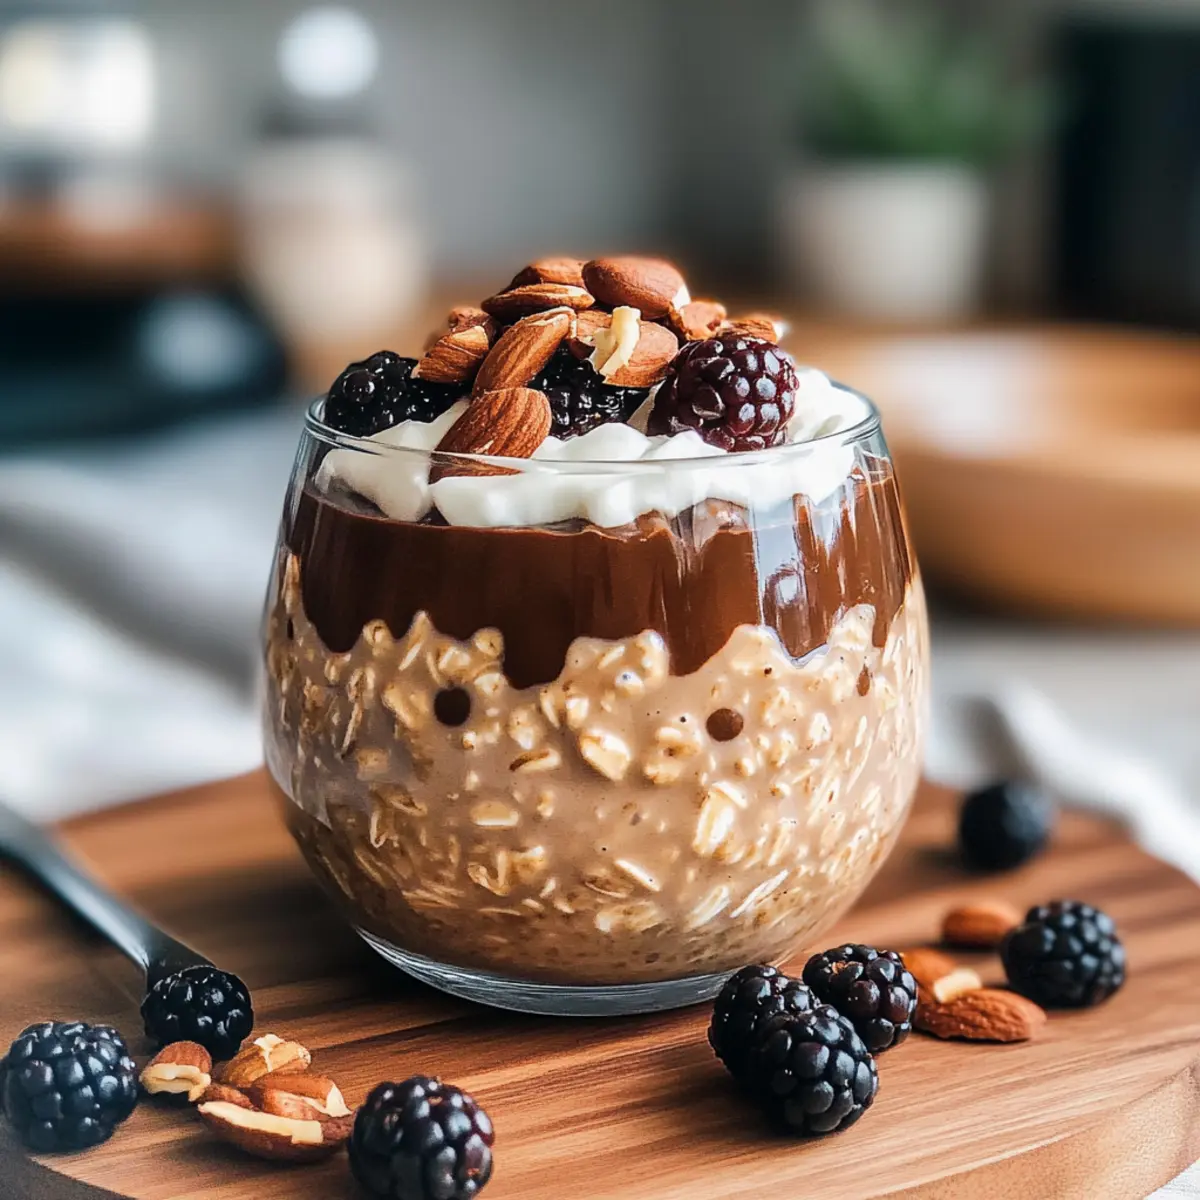
As I poured my first cup of coffee this morning, the realization hit me: I needed something quick, energizing, and delicious to kickstart my day. That's when I remembered the magic of Mocha Coffee Overnight Oats. This recipe is a lifesaver for busy mornings, providing a satisfying blend of oats, rich cocoa, and that essential caffeine boost. Preparing these overnight oats is a breeze, requiring minimal effort while delivering a healthy breakfast that feels downright indulgent. Imagine diving into a creamy jar of mocha goodness with every spoonful, making mornings something to look forward to instead of dread. Ready to whip up a batch and discover your new favorite breakfast?
Why Are Mocha Coffee Overnight Oats Amazing?
Quick Prep: With minimal steps involved, you’ll have breakfast ready in no time. Just mix, refrigerate, and enjoy!
Energizing Kick: The delightful balance of coffee provides the caffeine boost you need for a productive day.
Indulgent Flavor: Rich cocoa and creamy milk create a luxurious taste that feels like a treat.
Healthy Fusion: Packed with fiber and protein, these oats keep you full and energized until lunchtime.
Make-Ahead Magic: Prepare a few jars at once for convenient breakfasts throughout the week. Discover other quick recipes like Vegan Sushi to keep your mornings diverse!
Mocha Coffee Overnight Oats Ingredients
For the Oats Base
• Rolled Oats – These create the perfect texture for overnight soaking, providing fiber and fullness.
• Coffee – Use brewed or cold brew for a smooth flavor; the coffee kick adds an energizing boost.
• Cocoa Powder – Choose Dutch-process cocoa for a deeper chocolate flavor that enhances the mocha experience.
For Creaminess
• Milk (or non-dairy milk) – Oat milk gives a wonderful creaminess, while almond milk is a lighter alternative.
• Greek Yogurt (optional) – This adds extra protein and creaminess; swap for non-dairy yogurt if preferred.
For Sweetness
• Sweetener (e.g., honey, maple syrup) – A drizzle enhances the flavor without overpowering the oats; adjust to your taste.
For Extra Texture
• Chia Seeds (optional) – These boost fiber and create a delightful pudding-like consistency; flax seeds are a great alternative.
Prepare to indulge in these delightful Mocha Coffee Overnight Oats, a quick and energizing breakfast choice that you can enjoy any day of the week!
Step‑by‑Step Instructions for Mocha Coffee Overnight Oats
Step 1: Combine Dry Ingredients
In a large mixing bowl, add 1 cup of rolled oats, 2 tablespoons of cocoa powder, and any optional chia seeds. Stir these dry ingredients together thoroughly until well blended, ensuring there are no clumps. This is the essential first step to create the delectable base for your Mocha Coffee Overnight Oats.
Step 2: Add Coffee
Pour in 1 cup of freshly brewed coffee or cold brew into the dry mixture. Use a whisk or fork to incorporate the coffee gradually, ensuring the oats soak up the rich flavor. This will enhance the mocha experience, making it not just nutritious but also that perfect energizing breakfast.
Step 3: Stir in Wet Ingredients
Next, add 1 cup of milk (or your choice of non-dairy milk) to the mixture. Mix it well until all the ingredients are combined, creating a creamy consistency. If you're using Greek yogurt for added creaminess, fold about ½ cup of it into the mixture at this stage for a luxurious texture.
Step 4: Sweeten it Up
Now, drizzle in your preferred sweetener, such as honey or maple syrup, adjusting to your taste. Stir everything together to ensure the sweetener is evenly distributed. You should see a smooth, luscious batter resembling a delightful chocolate-coffee blend, ready for chilling.
Step 5: Portion and Seal
Divide the mixture into jars or airtight containers, filling them about three-quarters full. Seal each container tightly to lock in freshness, which is essential for achieving the perfect texture for your Mocha Coffee Overnight Oats. These delightful jars are ideal for quick breakfast grabs in the morning.
Step 6: Refrigerate Overnight
Place the sealed jars in the refrigerator for at least 4 hours, or preferably overnight. This chilling time allows the oats to absorb all the flavors and liquids, resulting in a creamy and ready-to-eat breakfast by morning. The anticipation of a delicious, healthy start to your day builds as they soak.
Step 7: Serve and Enjoy
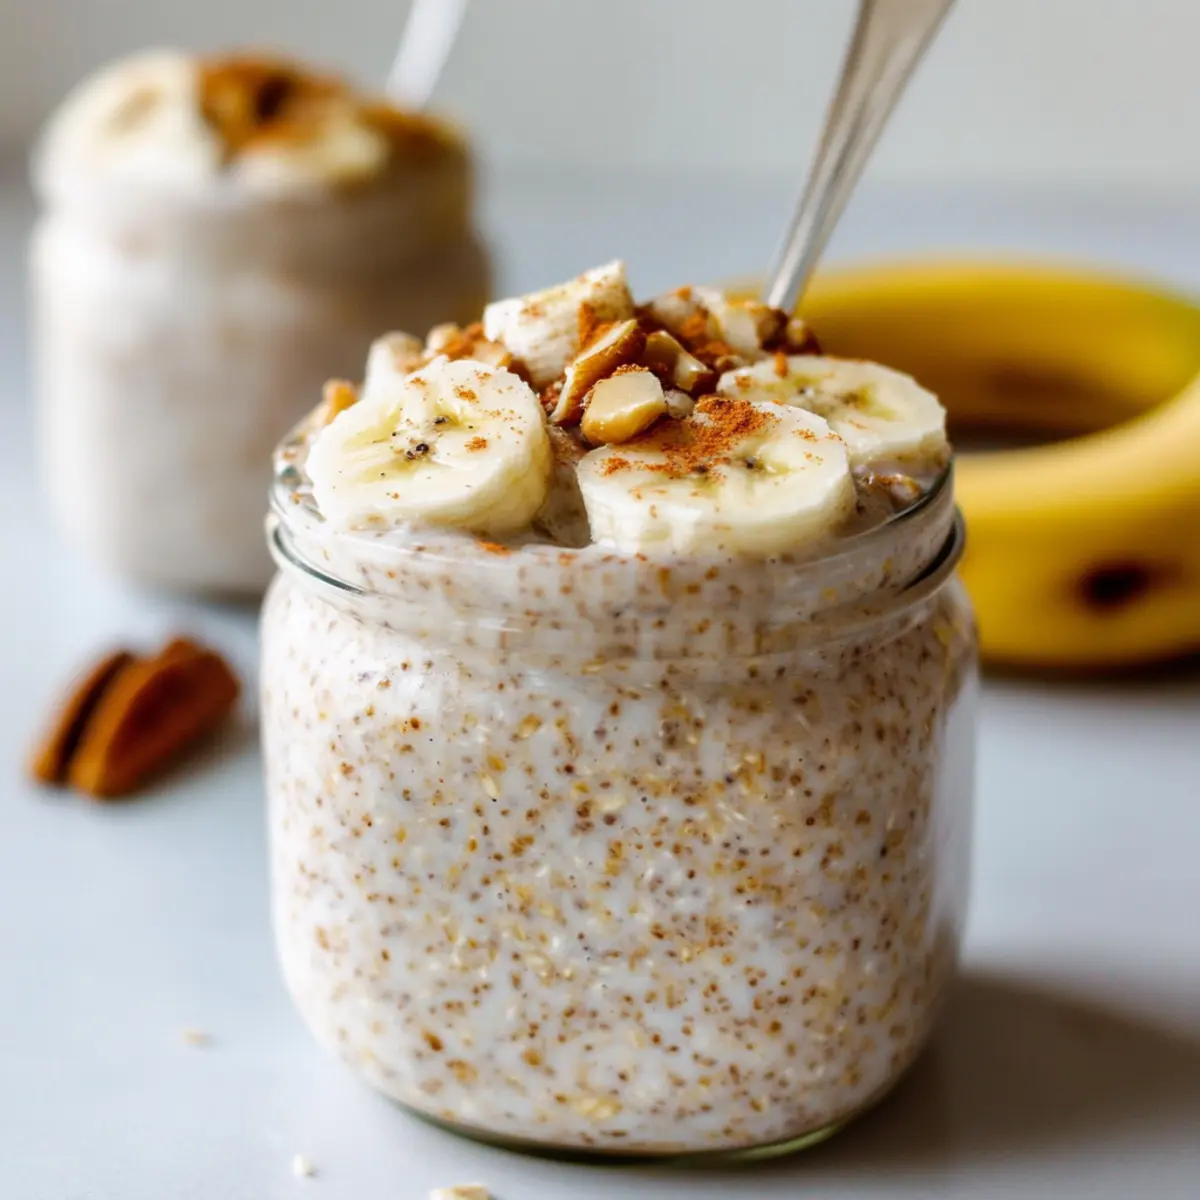
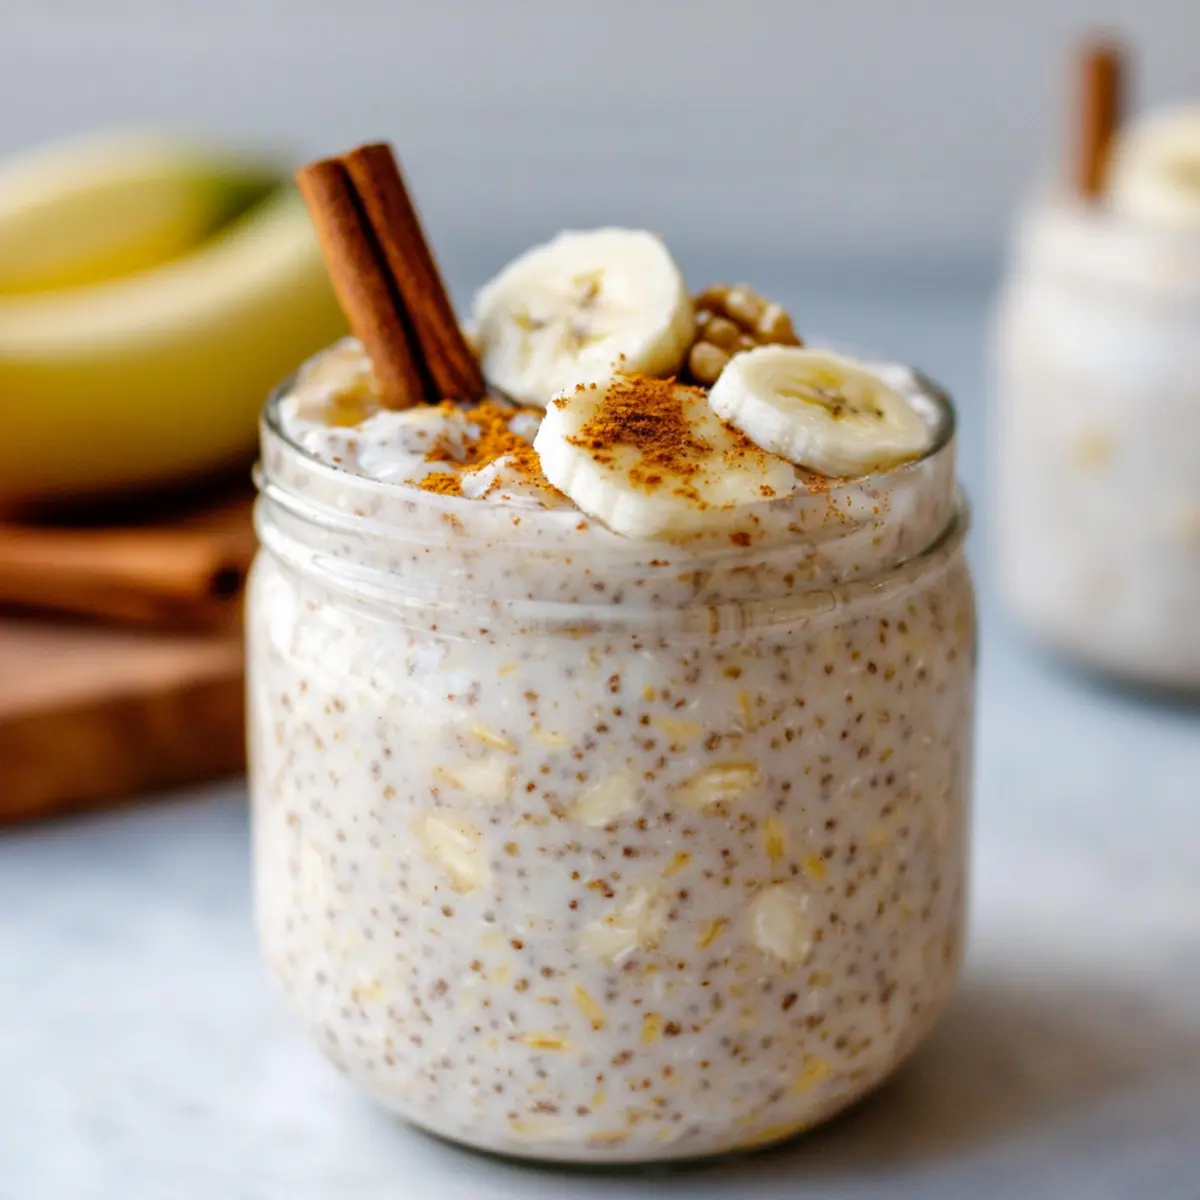
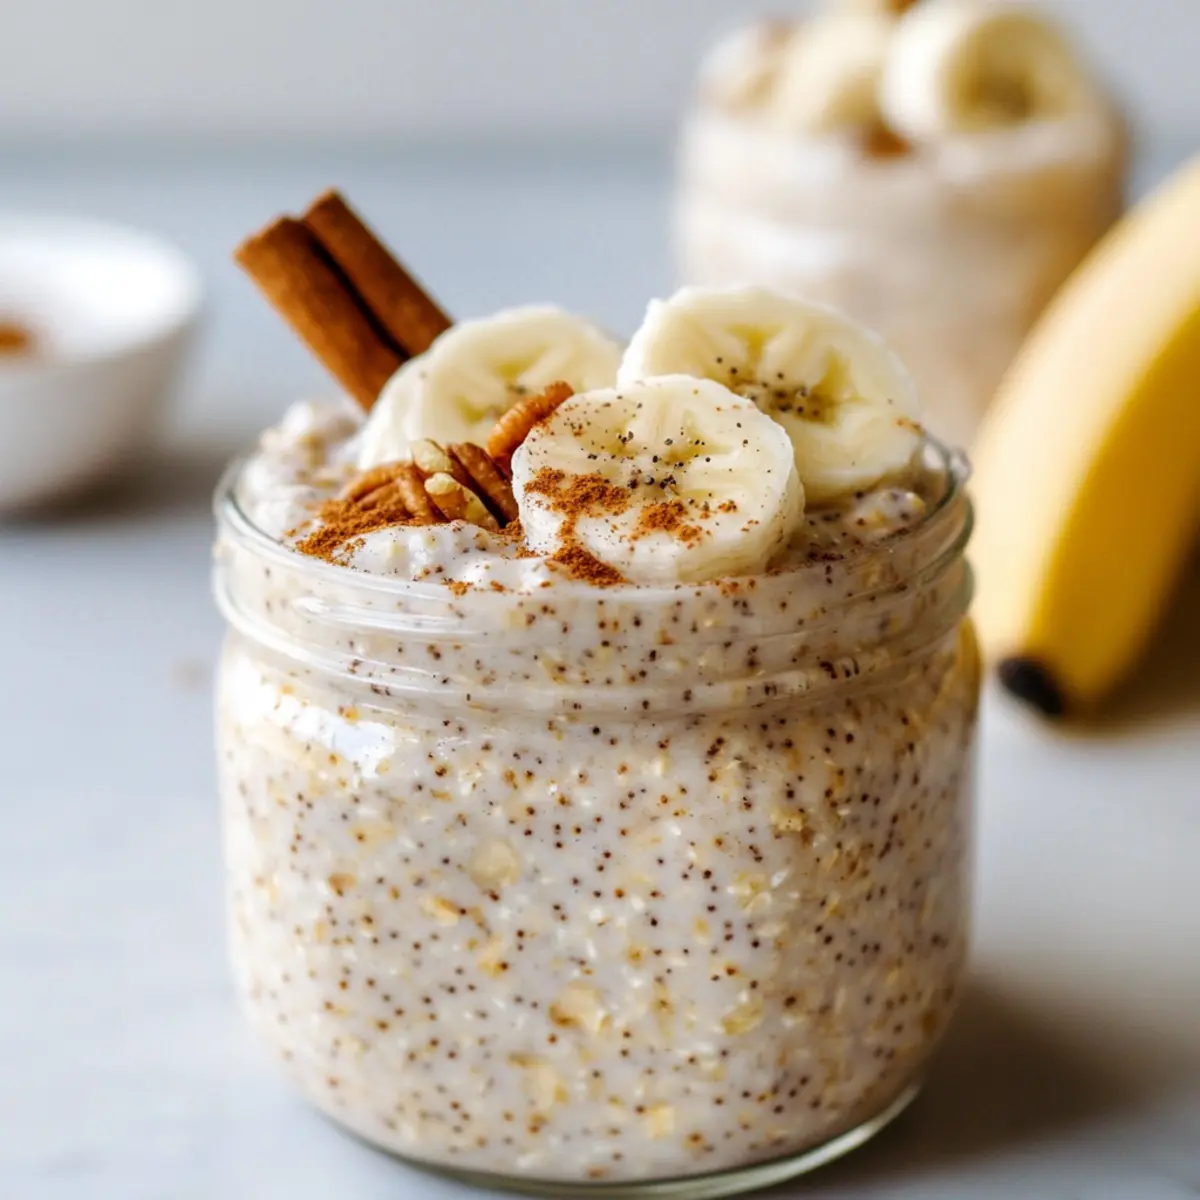
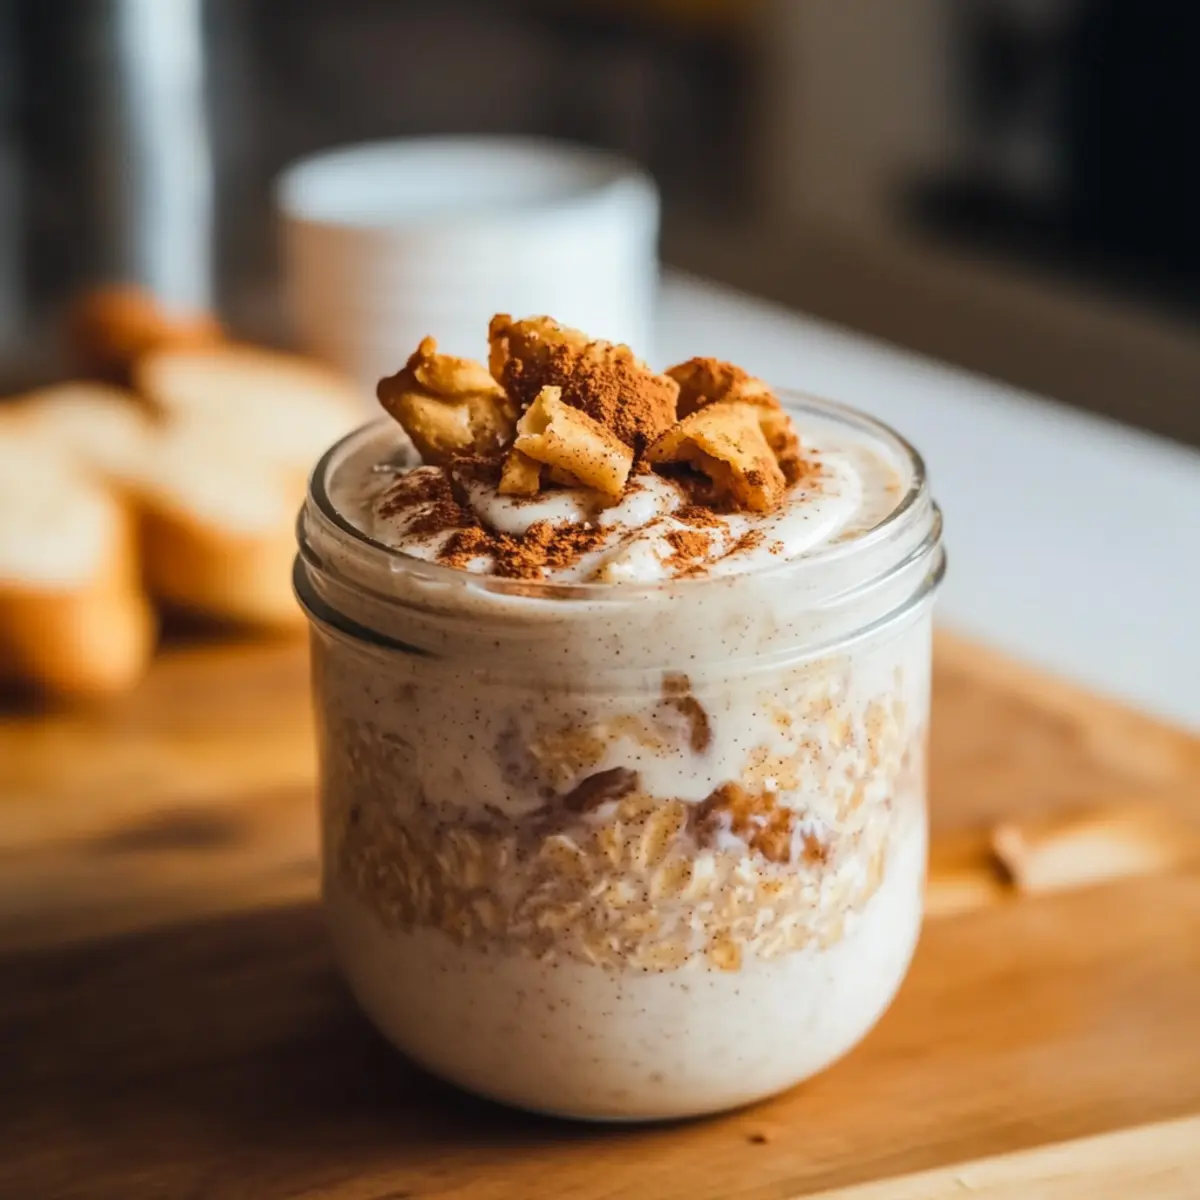
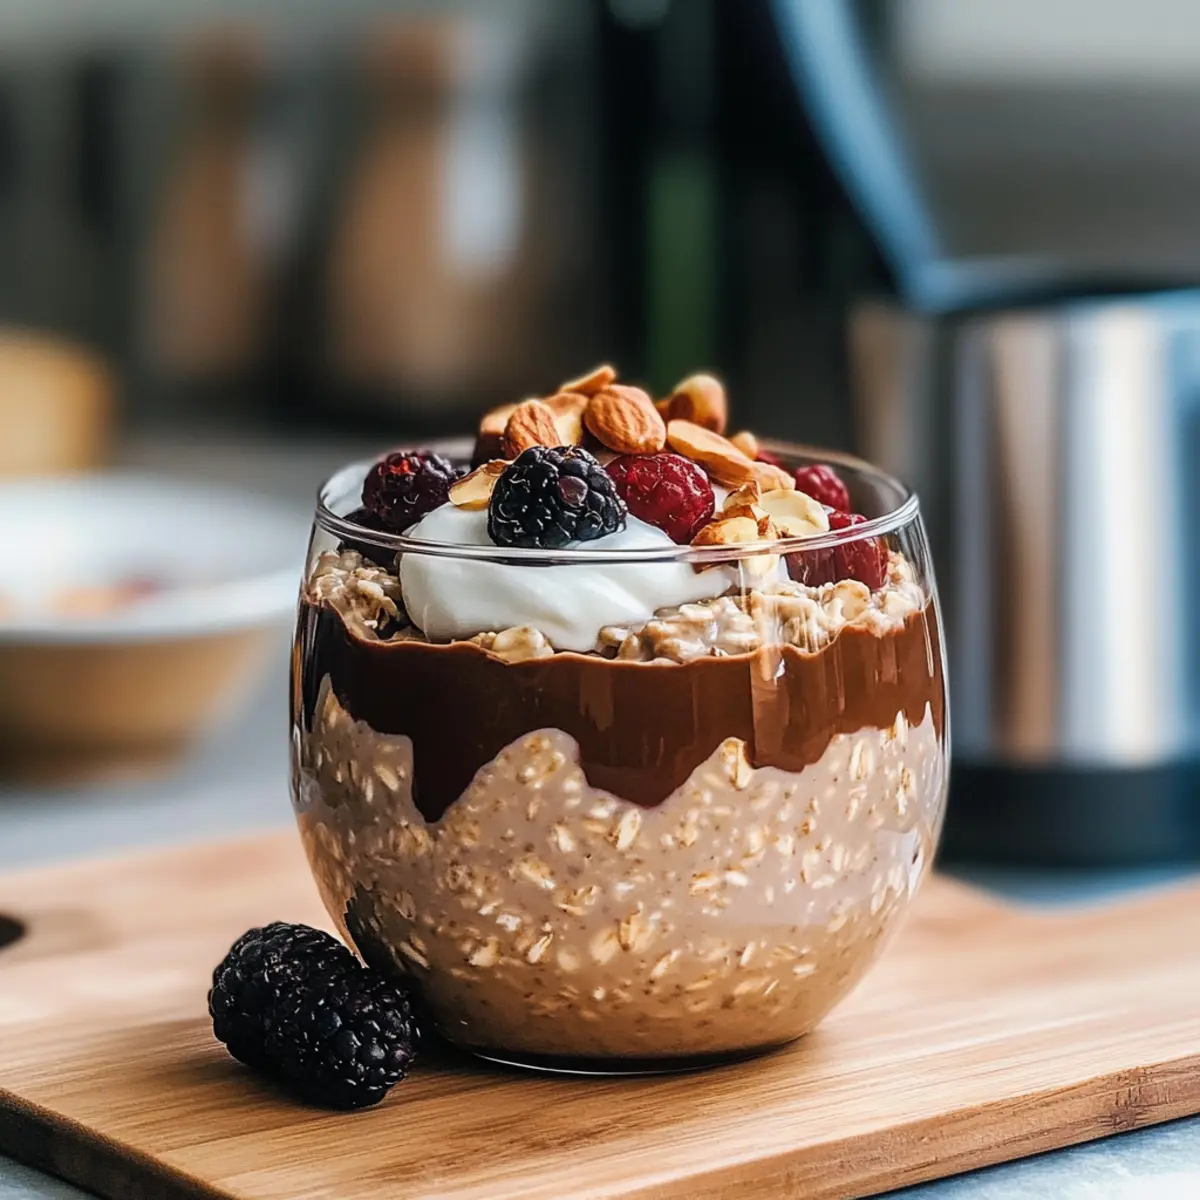
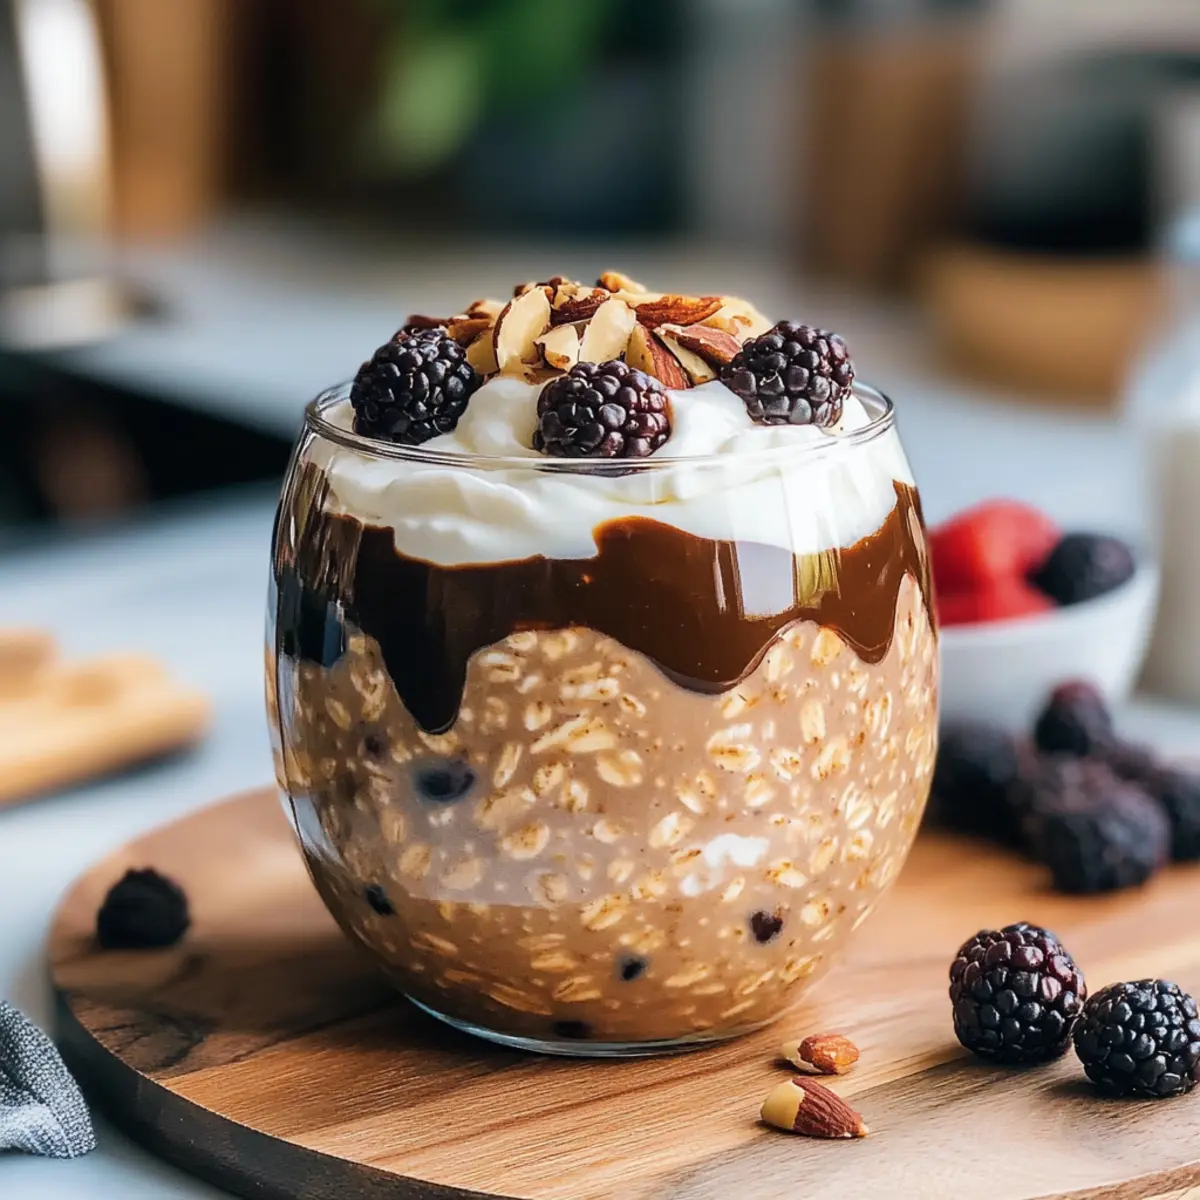
In the morning, take the jars out of the refrigerator and give the oats a good stir. You can enjoy them chilled directly from the jar or warm them in the microwave for about 30 seconds for a cozy breakfast experience. Top with your favorite fruits or nuts to make your Mocha Coffee Overnight Oats even more delightful!
What to Serve with Mocha Coffee Overnight Oats
Elevate your breakfast experience with these delightful pairing suggestions that complement the rich flavors of your mocha coffee overnight oats.
-
Creamy Greek Yogurt: A dollop on top adds a rich creaminess and enhances the protein content, making your breakfast even more satisfying.
-
Fresh Berries: Strawberries, blueberries, or raspberries provide a burst of freshness and a natural sweetness, perfectly balancing the chocolate coffee flavors.
-
Chopped Nuts: Almonds or walnuts add a delightful crunch and healthy fats, enhancing both texture and nutrition in your meal.
-
Banana Slices: Soft, sweet banana slices introduce a lovely creaminess and additional fiber that pairs beautifully with the mocha oats.
-
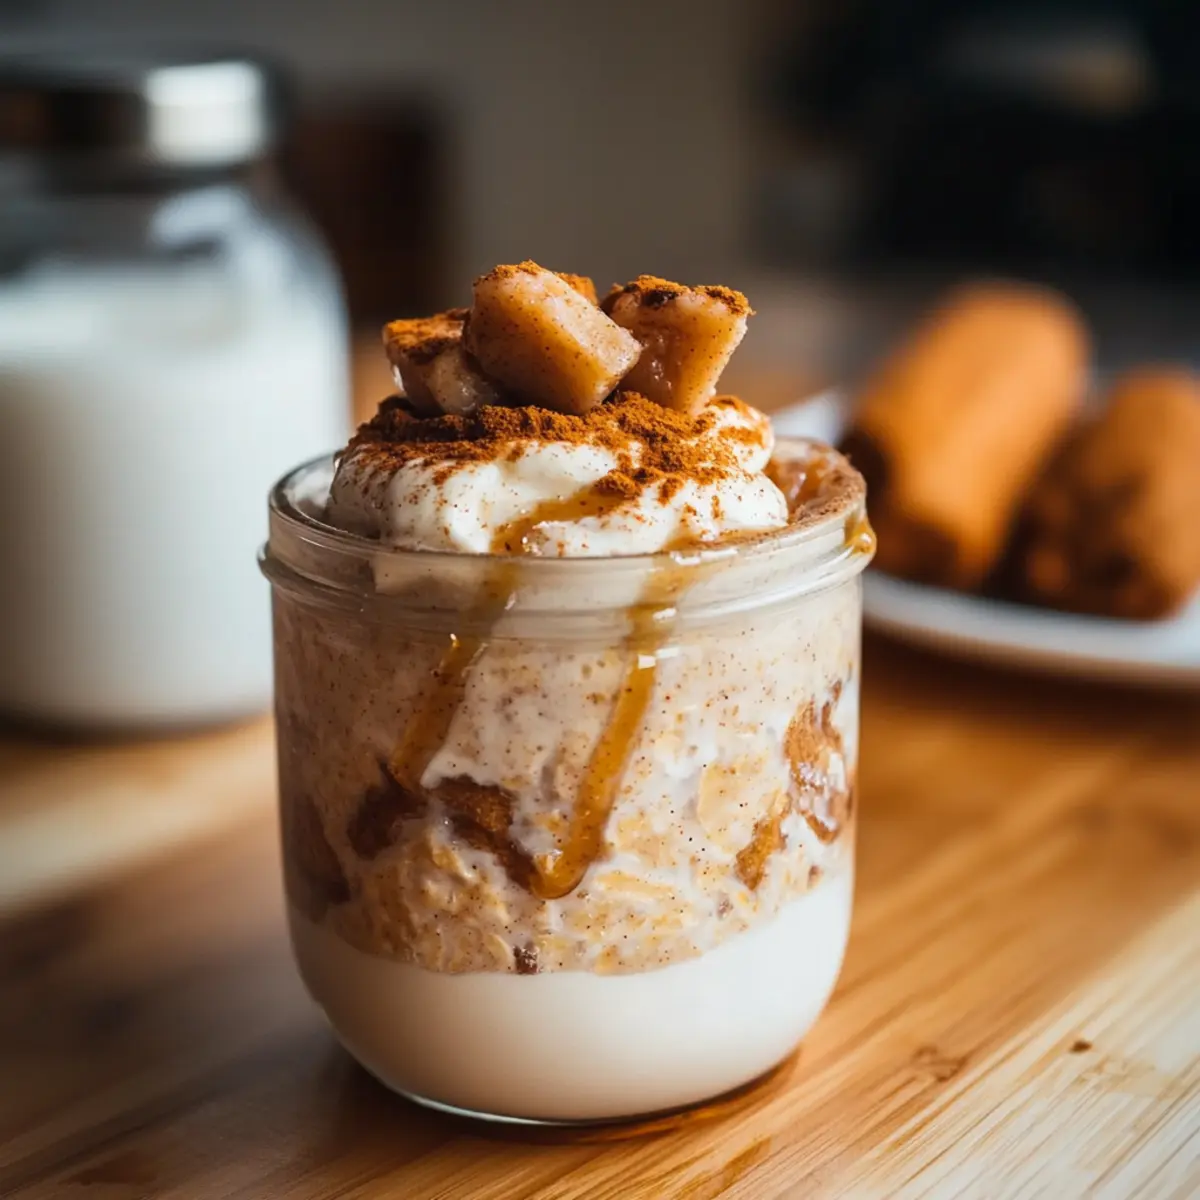
Nut Butter Drizzle: A spoonful of almond or peanut butter can amp up the richness and provide a satisfying healthy fat source.
-
Dark Chocolate Shavings: Sprinkle a few chocolate curls on top for an indulgent touch that’s perfect for chocolate lovers looking for a morning treat.
-
Smoothie: Serve with a fruity smoothie to add a refreshing and nutritious drink that balances the richness of the oats.
-
Herbal Tea: A fragrant herbal tea, like peppermint or chamomile, can be a soothing complement to your energizing mocha coffee breakfast.
-
Coconut Flakes: Toasted coconut flakes sprinkle a tropical twist, adding chewiness and sweetness alongside the mocha tones.
These pairings not only enhance the flavor of your mocha coffee overnight oats but also create a well-rounded breakfast that’s both nourishing and indulgent.
Mocha Coffee Overnight Oats Variations
Feel free to play around with these overnight oats to match your taste buds and dietary needs!
-
Dairy-Free: Substitute regular milk with almond or oat milk for a creamy, non-dairy delight. This makes it accessible for vegan diets while keeping the recipe deliciously smooth.
-
Sweetener Swap: Use stevia or agave syrup instead of honey or maple syrup to reduce sugar. Adjust according to your sweetness preference for guilt-free indulgence.
-
Flavor Boost: Experiment with flavored coffee, like hazelnut or vanilla, to introduce exciting new taste profiles. Each morning can be a unique coffee adventure!
-
Dark Chocolate Lovers: For an extra indulgent taste, swap regular cocoa powder for dark chocolate cocoa. This will enhance the richness and give you that deep chocolate flavor.
-
Nutty Addition: Stir in a tablespoon of nut butter (like almond or peanut) for added creaminess and protein. It brings a delightful richness, making your oats even more satisfying.
-
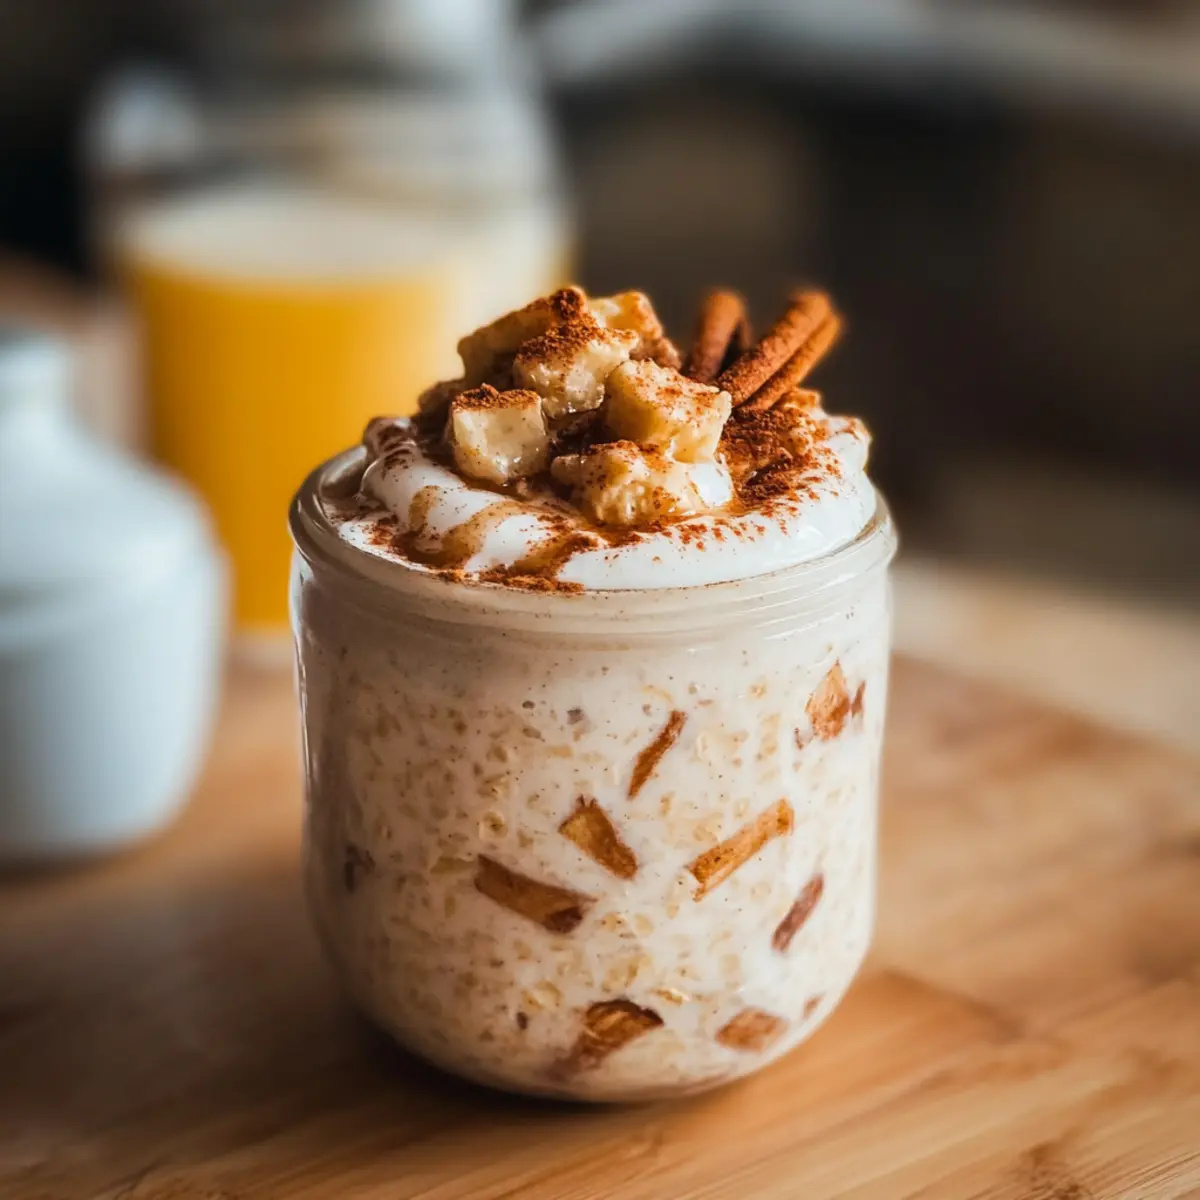
Extra Crunch: Top your oats with granola or crushed nuts in the morning for added texture and a delightful crunch. This improves the overall mouthfeel while keeping the breakfast wholesome.
-
Fruit Facelift: Add fresh or dried fruits such as bananas or berries before serving for a burst of flavor and added nutrients. They not only brighten up your dish but also enhance the moisture and taste.
-
Chia Seed Substitution: If you're not a fan of chia seeds, flax seeds make a great alternative. They provide similar benefits and contribute to the delicious, pudding-like texture.
Explore various flavor options that adapt to your lifestyle and preferences, making each bowl of Mocha Coffee Overnight Oats an exciting treat!
How to Store and Freeze Mocha Coffee Overnight Oats
Fridge: Store your mocha coffee overnight oats in airtight containers in the refrigerator for up to 3 days. This ensures they stay fresh and retain their creamy texture.
Freezer: If you want to keep them longer, freeze the jars for up to 2 months. Just be sure to leave some space at the top of each container, as the oats will expand while freezing.
Thawing: When ready to enjoy, transfer the jar to the fridge to thaw overnight or microwave for a quick 1-2 minutes until warmed.
Serving: Give the oats a good stir before serving, and consider adding fresh toppings like fruits or nuts to enhance flavor and texture.
Make Ahead Options
These Mocha Coffee Overnight Oats are a fantastic meal prep solution for busy mornings, allowing you to save precious time during the week! You can prepare the oats mixture up to 3 days ahead, ensuring a creamy, flavorful breakfast is ready whenever you are. To do this, simply follow the recipe instructions up to the point of sealing the jars, and then store them in the refrigerator. This will allow the oats to soak up the rich coffee and cocoa flavors. When you're ready to enjoy, simply stir well and, if desired, heat the jars in the microwave for about 30 seconds for a cozy breakfast experience. These oats will still taste just as delicious, making them the ideal make-ahead option!
Expert Tips for Mocha Coffee Overnight Oats
-
Mixing Order Matters: Start by blending the dry ingredients first. This prevents clumping and ensures a smooth consistency in your Mocha Coffee Overnight Oats.
-
Adjust to Your Taste: Experiment with the sweetness levels by testing different sweeteners. This can dramatically change the flavor profile based on your choice of coffee and cocoa.
-
Choosing Your Coffee: The type of coffee can impact your oats' flavor. Try cold brew for a smoother finish or a stronger brew for an energizing kick.
-
Perfect Soaking Time: Always allow the oats to soak overnight. This is crucial for achieving that creamy texture we all love; 4 hours is the minimum for good absorption.
-
Upgrade Your Toppings: Consider adding fresh fruits, nuts, or seeds in the morning. They not only enhance texture but also provide added nutrients to your Mocha Coffee Overnight Oats.
Mocha Coffee Overnight Oats Recipe FAQs
How do I select the best oats for this recipe?
Absolutely! For the best results, use rolled oats as they soak up liquids beautifully and maintain a perfect texture. Avoid instant oats since they can become mushy too quickly, which won't give you that delightful chewiness that makes overnight oats so enjoyable.
How long can I store Mocha Coffee Overnight Oats in the fridge?
You can store them in the refrigerator for up to 3 days in airtight containers. This makes them a fantastic meal prep option, allowing you to prepare several servings at once for busy mornings ahead!
Can I freeze Mocha Coffee Overnight Oats?
Yes, you can! To freeze, simply divide the mixture into jars, leaving some space at the top for the oats to expand as they freeze. They can be stored in the freezer for up to 2 months. When you're ready to enjoy, transfer the jar to the fridge to thaw overnight or microwave for 1-2 minutes to warm them up.
What should I do if my oats are too thick after refrigerating?
Very! If your oats turn out thicker than you'd like, simply add a splash of milk or your favorite non-dairy option and stir well until you reach your desired consistency. This is especially helpful if you’ve added extra ingredients like Greek yogurt which can thicken the mixture.
Are Mocha Coffee Overnight Oats suitable for someone with nut allergies?
Absolutely! If you have nut allergies, just switch out any nut-based milks (like almond milk) for oat milk, coconut milk, or another alternative that suits your dietary needs. Just confirm that all the ingredients, especially sweeteners and any optional toppings, are nut-free as well.
Can I customize the sweetness of Mocha Coffee Overnight Oats?
For sure! The sweetness level depends on your personal taste and the type of coffee you use. Start with a small amount of sweetener, such as honey or maple syrup, and adjust until you find that delightful balance between rich chocolate and satisfying sweetness that you love. Enjoy experimenting!
Delicious Mocha Coffee Overnight Oats for Energizing Mornings
Ingredients
Equipment
Method
- In a large mixing bowl, add 1 cup of rolled oats, 2 tablespoons of cocoa powder, and any optional chia seeds. Stir the dry ingredients together until well blended.
- Pour in 1 cup of freshly brewed coffee into the dry mixture. Use a whisk or fork to incorporate the coffee gradually.
- Next, add 1 cup of milk to the mixture. Mix until all ingredients are combined. If using Greek yogurt, fold in 0.5 cup at this stage.
- Drizzle in your preferred sweetener, stirring to ensure even distribution.
- Divide the mixture into jars, filling them about three-quarters full. Seal each container tightly.
- Place the sealed jars in the refrigerator for at least 4 hours or overnight.
- In the morning, stir the oats and enjoy chilled or warmed in the microwave.