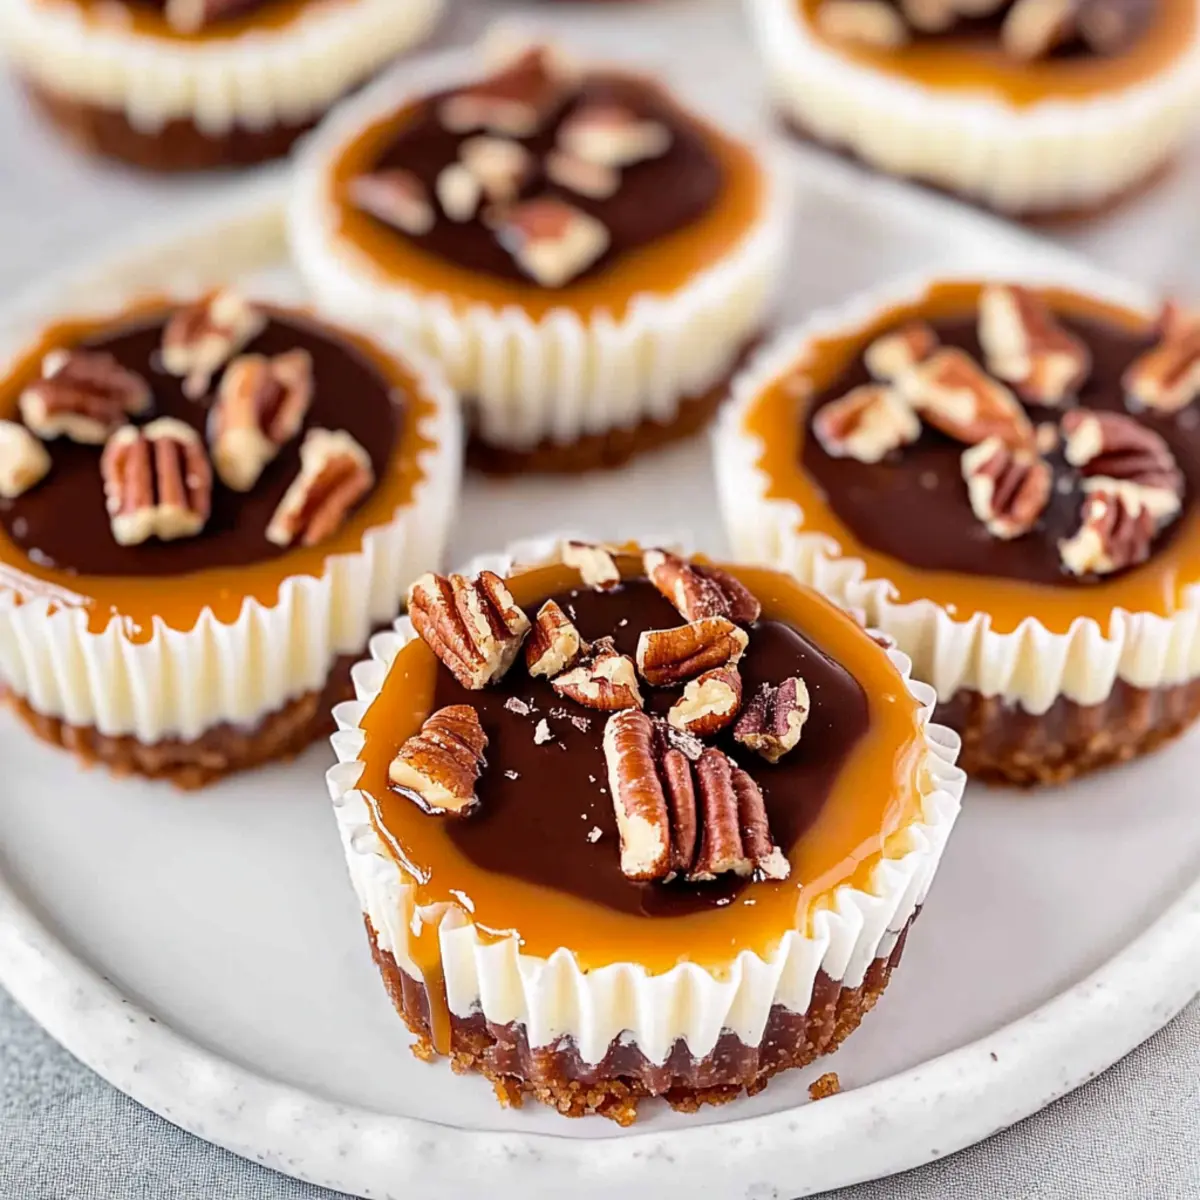
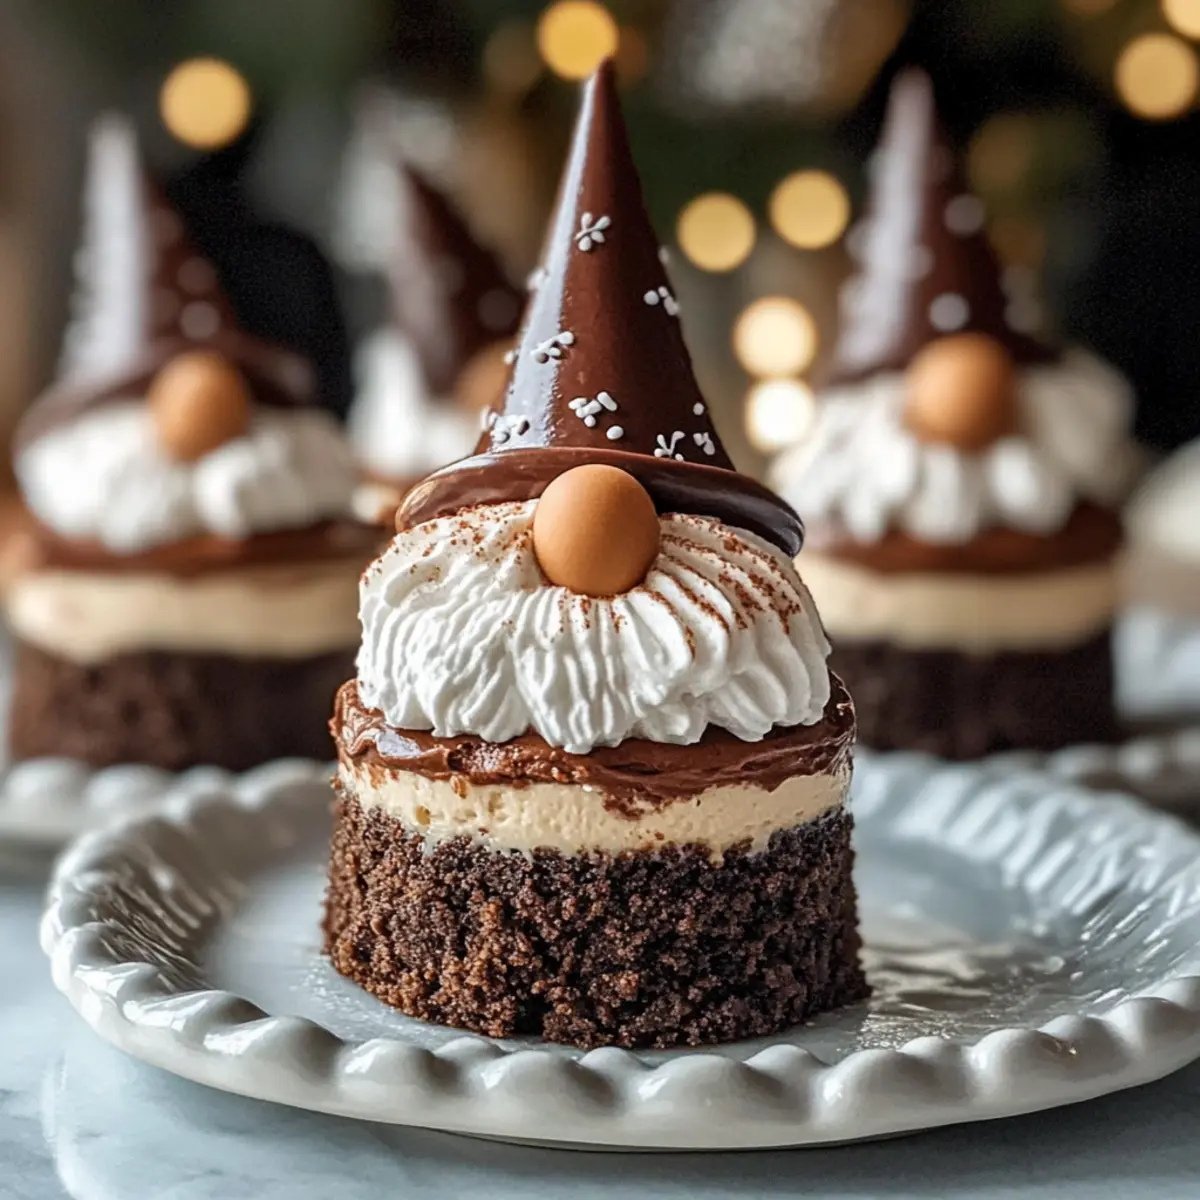
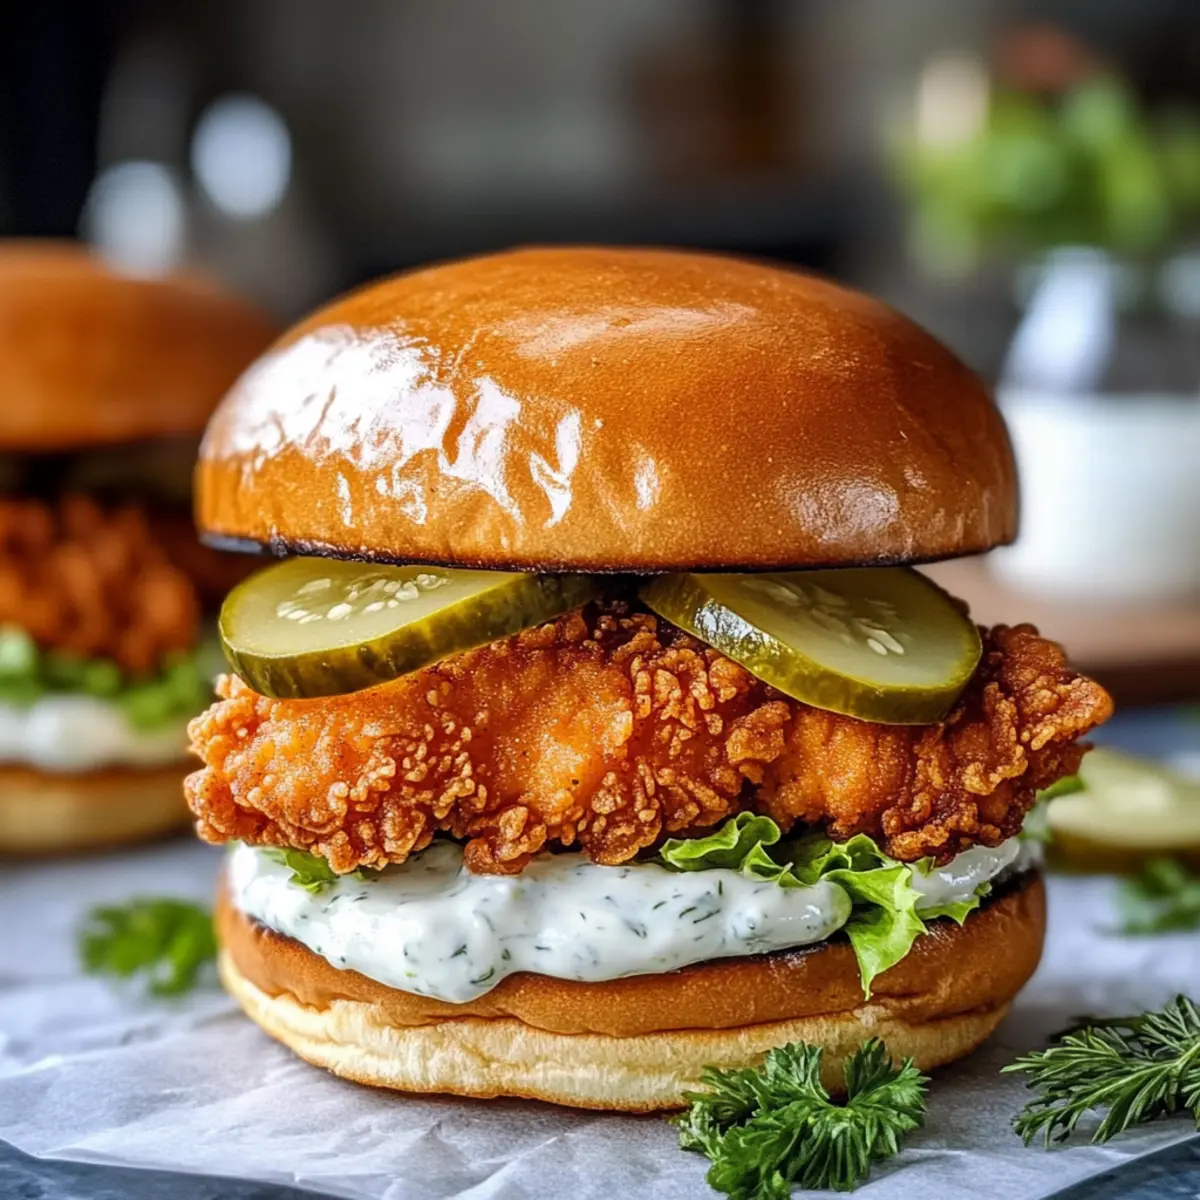
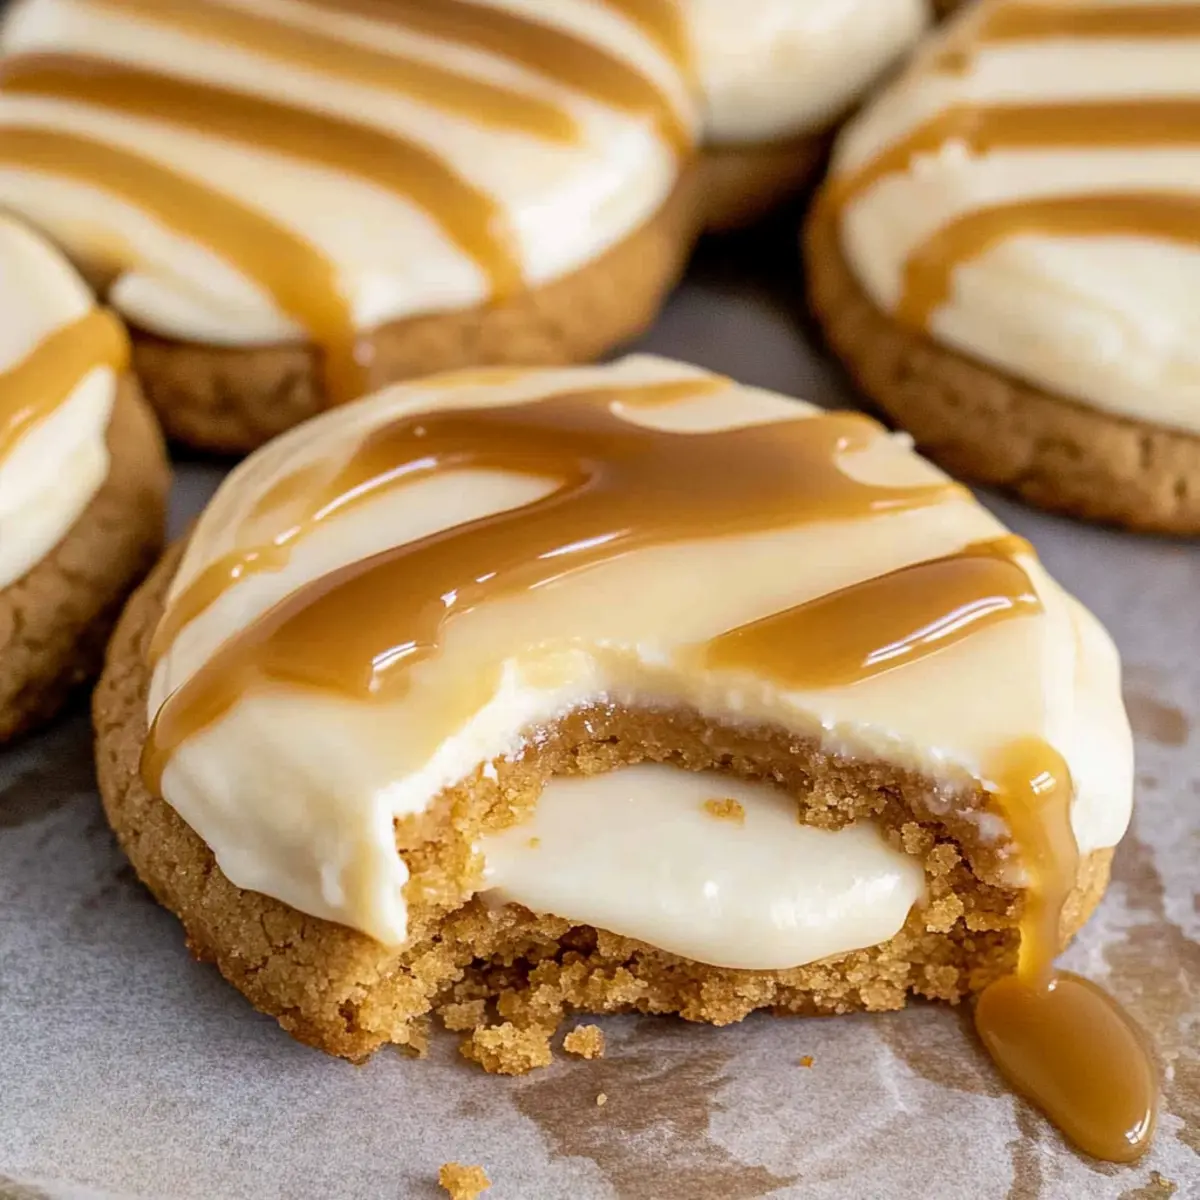
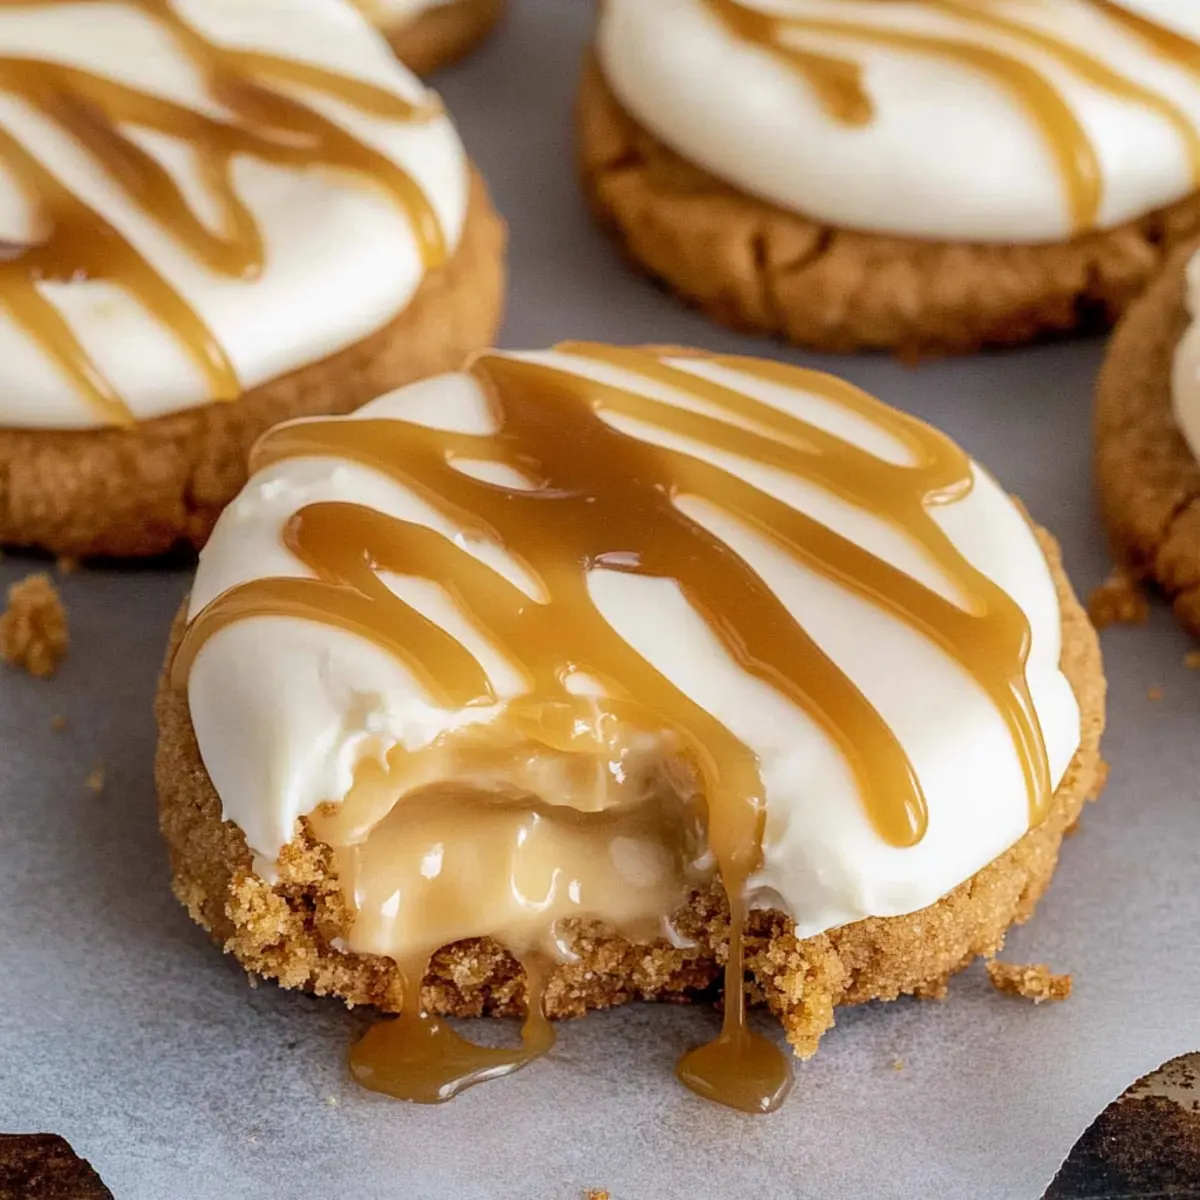
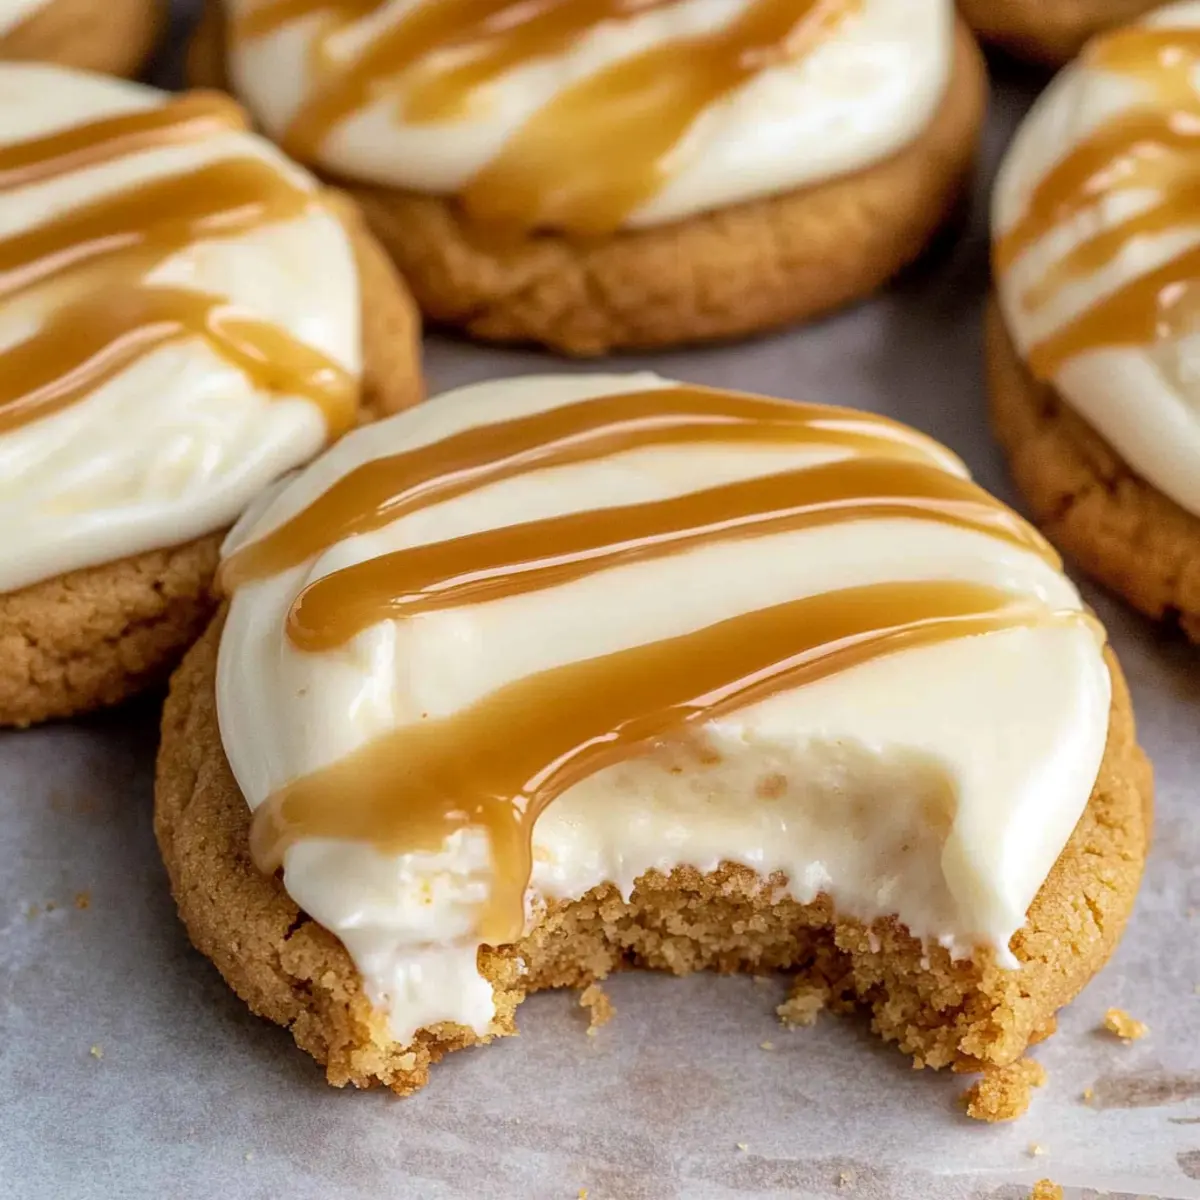
As I stood in my kitchen, the tantalizing aroma of warm cookies filled the air, instantly transporting me to my favorite bakery. Today, I’m excited to share my take on the Copycat Crumbl Salted Caramel Cheesecake Cookies, a delightful blend of crunchy graham cracker base, creamy cheesecake frosting, and a drizzle of homemade caramel sauce. Not only are these cookies a definite crowd-pleaser, but they’re also impressively simple to make, making them perfect for any occasion. Whether you enjoy them straight from the oven or with a chilled glass of milk, each bite is a comforting reminder that homemade treats always beat fast food. Are you ready to bring a slice of bakery bliss right to your home?
Why Are These Cookies So Irresistible?
Indulgent Flavor: The combination of rich caramel and creamy cheesecake frosting creates a dessert experience that’s simply unforgettable.
Easy to Make: With simple ingredients and straightforward steps, you’ll be amazed at how quickly you can whip up these cookies.
Perfect for Any Occasion: Whether it's a family gathering, holiday celebration, or just a cozy night in, these cookies are sure to delight!
Impressive Presentation: The beautiful drizzle of homemade caramel on top gives these cookies a bakery-quality look, perfect for impressing guests or filling a dessert table.
Customization Friendly: Feel free to swap out the graham cracker base with crushed Oreos for a fun twist, or try the rich chocolate frosting option!
If you’re a fan of cookies, don’t miss out on trying the flavors of Matcha Cookies Soft or make some Eggnog Cookies Soft to expand your baking repertoire!
Crumbl Salted Caramel Cheesecake Cookies Ingredients
For the Cookie Base
- ¾ cup butter (softened) – Provides richness and moisture; use unsalted for better control of saltiness.
- ⅓ cup sugar – Adds sweetness and structure; granulated sugar works best for this recipe.
- ⅓ cup brown sugar – Introduces moisture and depth of flavor; can substitute with an equal amount of coconut sugar.
- 2 eggs – Acts as a binder for structure; room temperature eggs yield better emulsion.
- 2 tsp vanilla extract – Enhances the cookie’s flavor; consider using pure vanilla for a richer taste.
- 1½ cups all-purpose flour – The main structure component; gluten-free flour can be used for a gluten-free version.
- 1½ cups graham crackers (crushed) – Adds a delightful crunch and flavor; substitute with crushed digestive biscuits if unavailable.
- ½ tsp salt – Balances sweetness; adjust based on taste preferences.
- ¼ tsp baking soda – Helps cookies rise; ensure fresh for effectiveness.
- ½ tsp baking powder – Provides additional lift; ensure freshness for best results.
- ½ cup graham cracker crumbs (for rolling) – Enhances texture on the cookie surface.
For the Cream Cheese Frosting
- 8 oz cream cheese (softened) – Primary component of frosting, lending creaminess; can use a vegan cream cheese alternative.
- 8 oz powdered sugar – Sweetens and stabilizes frosting.
- 2½ cups powdered sugar – Further sweetens frosting, ensuring it holds shape.
- 1 tsp vanilla extract (for frosting) – Adds flavor to the frosting.
For the Caramel Sauce
- 1¼ cup brown sugar (for caramel) – Sweetener and base for caramel sauce.
- ½ cup whipping cream – Creates a smooth consistency for caramel; heavy cream can be substituted for a thicker sauce.
- 5 tbsp butter (for caramel) – Provides richness to the sauce; unsalted is preferred.
- 1 tbsp vanilla extract (for caramel) – Enhances the flavor of caramel.
- ¼ tsp salt (for caramel) – Brightens flavors in the caramel sauce.
Bring these delightful ingredients together, and you’re well on your way to creating irresistibly decadent Crumbl Salted Caramel Cheesecake Cookies that your taste buds will thank you for!
Step‑by‑Step Instructions for Crumbl Salted Caramel Cheesecake Cookies
Step 1: Prepare for Baking
Begin by preheating your oven to 350°F (175°C). Line two baking sheets with parchment paper to prevent sticking and for easy cleanup. This setup is essential to ensure your Crumbl Salted Caramel Cheesecake Cookies bake evenly and retain their delightful shape.
Step 2: Mix Wet Ingredients
In the bowl of a stand mixer, combine ¾ cup softened butter, ⅓ cup granulated sugar, and ⅓ cup brown sugar. Beat on medium speed until the mixture is light and fluffy, about 3-4 minutes. Add 2 room-temperature eggs and 2 teaspoons of vanilla extract, then mix until fully incorporated, ensuring a smooth, creamy texture.
Step 3: Combine Dry Ingredients
In a separate bowl, whisk together 1½ cups all-purpose flour, ½ teaspoon salt, ¼ teaspoon baking soda, and ½ teaspoon baking powder. Gradually add this dry mixture to the wet ingredients, mixing on low speed until just combined. Be careful not to overmix; you want a soft dough that holds together well.
Step 4: Incorporate Graham Crackers
Gently fold in 1½ cups of crushed graham crackers into the dough using a spatula. This step adds that beloved crunch and flavor, giving your Crumbl Salted Caramel Cheesecake Cookies a delightful texture. Mix until the graham crackers are evenly distributed, being careful to keep the dough light and airy.
Step 5: Shape Cookies
Using a 2-inch cookie scoop, portion out the dough and roll each piece in ½ cup of graham cracker crumbs. Place the cookie balls on the prepared baking sheets, spacing them about 2 inches apart. Flatten each ball slightly to about ¾-inch thick for even baking.
Step 6: Bake Cookies
Bake your cookies in the preheated oven for 8-10 minutes, or until the edges are golden brown. Keep an eye on them to prevent over-baking, as they should remain slightly soft in the center. Once baked, allow the cookies to cool on the sheets for 5 minutes before transferring them to wire racks to cool completely.
Step 7: Prepare Frosting
While the cookies cool, prepare the frosting by creaming together 8 oz of softened cream cheese and 5 tablespoons of unsalted butter in a mixing bowl until smooth. Add 2½ cups of powdered sugar and 1 teaspoon of vanilla extract. Mix on low speed until combined, then increase the speed until the frosting is fluffy and light.
Step 8: Frost Cookies
Once the cookies are completely cool, use a piping bag or a butter knife to generously frost each cookie with the cream cheese frosting. The frosting should be spreadable but hold its shape, enhancing the indulgence of your Crumbl Salted Caramel Cheesecake Cookies.
Step 9: Make Caramel
To create the homemade caramel, combine 5 tablespoons of butter, 1¼ cups of brown sugar, and ½ cup of whipping cream in a saucepan over medium heat. Cook while stirring constantly for about 5-7 minutes, or until the mixture thickens and bubbles. Remove from heat and stir in 1 tablespoon of vanilla extract and ¼ teaspoon of salt.
Step 10: Drizzle Caramel
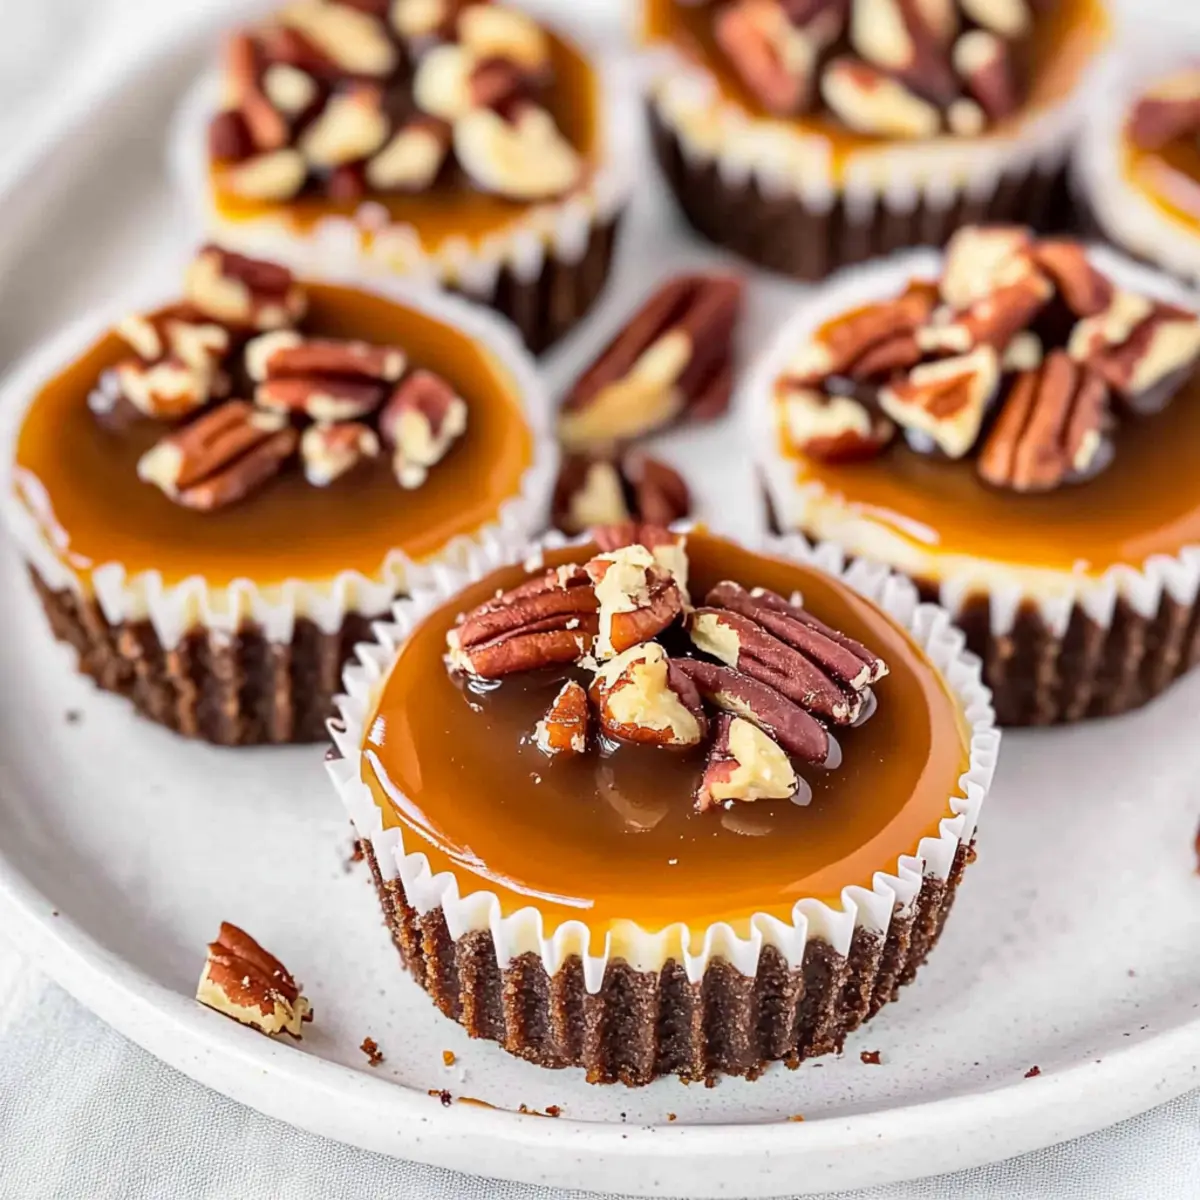
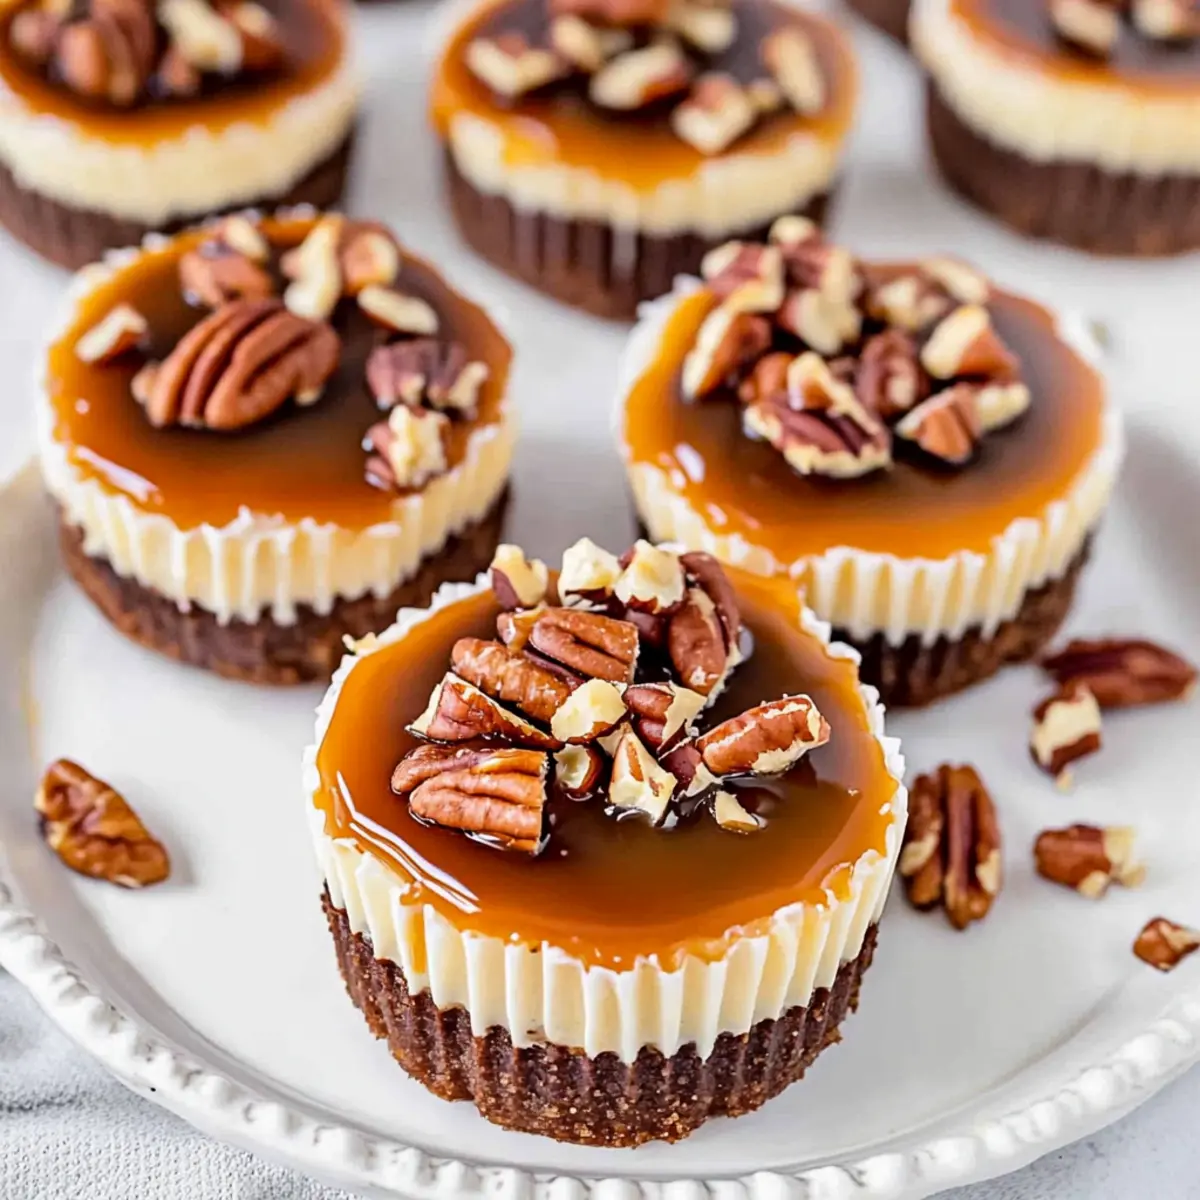
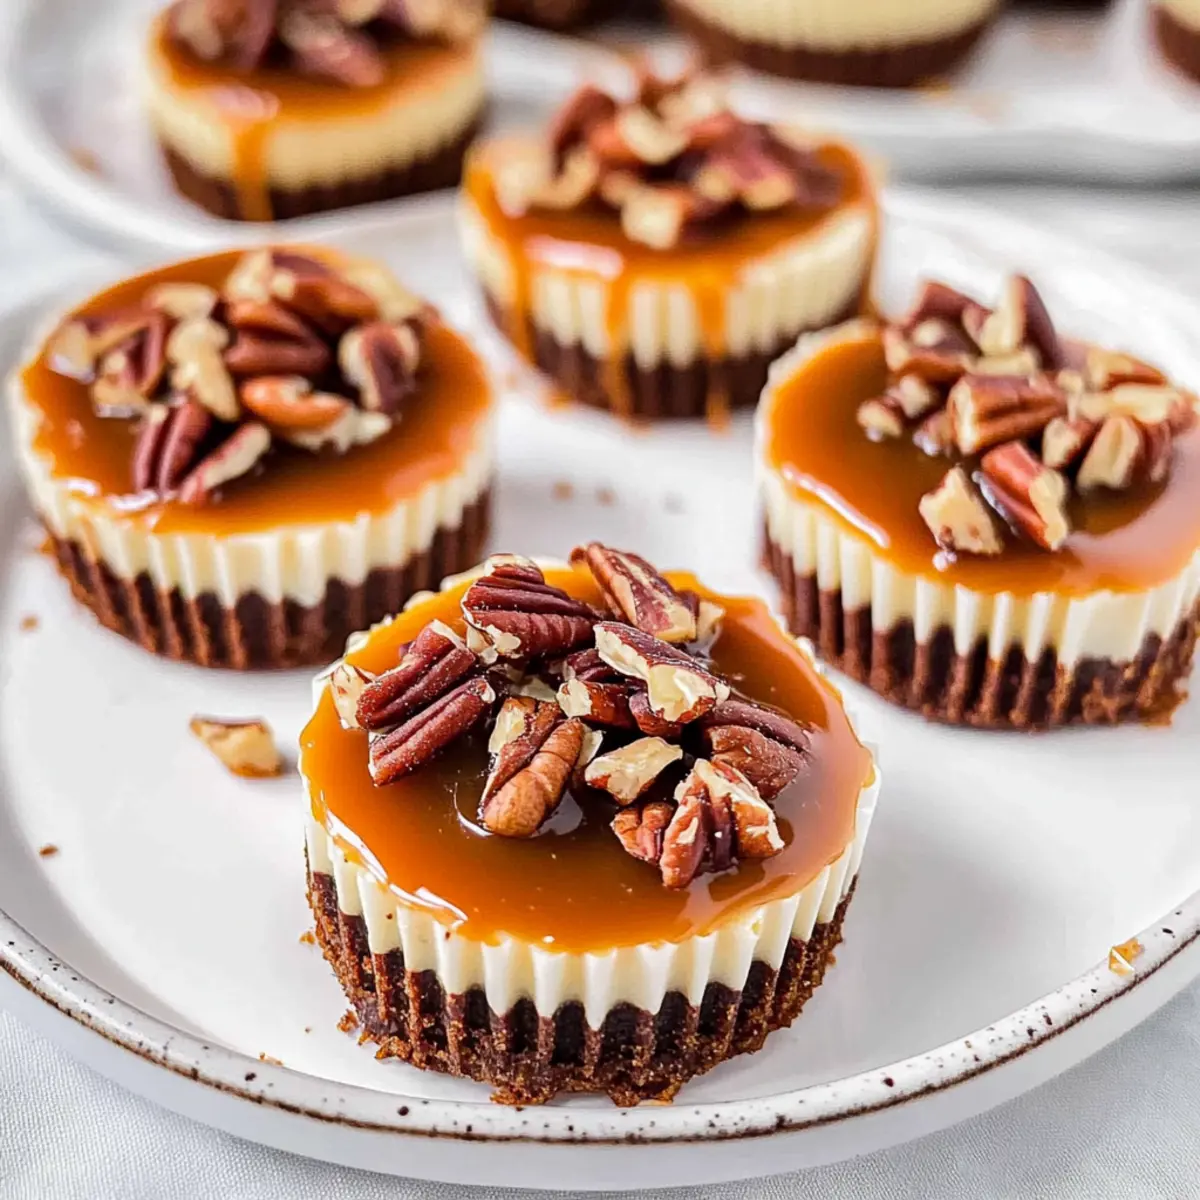
Allow the caramel to cool slightly before spooning or drizzling it over the frosted cookies. This final drizzle of decadent homemade caramel ties together the flavors beautifully. Let the caramel set for a few minutes before serving, ensuring a lush finish to your Crumbl Salted Caramel Cheesecake Cookies.

How to Store and Freeze Crumbl Salted Caramel Cheesecake Cookies
Room Temperature: Store the cookies in an airtight container at room temperature for up to 5 days. This will keep them fresh and chewy, ready for snacking anytime!
Fridge: For longer storage, refrigerate the cookies in a sealed container. They can last up to 7 days, though they might lose some of their initial softness.
Freezer: Freeze frosted or unfrosted cookies in a single layer on a baking sheet until solid, then transfer to a freezer-safe bag. They will maintain quality for up to 3 months.
Reheating: To enjoy a warm cookie experience, reheat the cookies in the oven at 350°F for about 5 minutes, or until warmed through.
Make Ahead Options
These Copycat Crumbl Salted Caramel Cheesecake Cookies are perfect for busy home cooks looking to save time! You can prepare the cookie dough and refrigerate it for up to 24 hours before baking, which helps the flavors meld beautifully. Additionally, the cream cheese frosting can be made up to 3 days in advance; just store it in an airtight container in the refrigerator. To maintain quality, allow the dough to sit at room temperature for about 10 minutes before scooping and baking. When you're ready to serve, simply bake the cookies and frost them before drizzling with the homemade caramel. Enjoy decadent results with minimal last-minute effort!
Crumbl Salted Caramel Cheesecake Cookies Variations
Feel free to explore these delightful twists to customize your Crumbl Salted Caramel Cheesecake Cookies!
-
Chocolate Frosting: Substitute the cream cheese frosting with rich chocolate frosting for a decadent twist. Chocolate lovers will adore this variation!
-
Nutty Crunch: Incorporate chopped nuts like pecans or walnuts into the cookie dough for a delightful crunch and added flavor. The extra texture elevates your cookie experience.
-
Oreo Base: Swap the graham crackers for crushed Oreos for a completely different flavor profile. This substitution creates a luxurious, chocolatey cookie that’s hard to resist!
-
Spiced Cookies: Add a teaspoon of cinnamon or nutmeg to the dry ingredients for a warm spice element. This subtle twist gives your cookies a comforting holiday vibe.
-
Salted Caramel Drizzle: Enhance the caramel drizzle by sprinkling a touch of sea salt on top just before serving. This adds a salty-sweet contrast that’s truly addictive.
-
Vegan Version: Use vegan butter and a plant-based cream cheese alternative to make this recipe vegan-friendly. You can still achieve that creamy frosting and delicious cookie base!
-
Chill Your Dough: Allow the cookie dough to chill in the refrigerator for 30 minutes before baking. This will intensify the flavors and reduce spreading, giving you a thicker cookie.
-
Layered Treat: For an extra indulgent treat, make a cookie ice cream sandwich by placing a scoop of vanilla or caramel ice cream between two cookies. A fantastic dessert for warm weather!
With so many opportunities for delicious customization, you might also want to explore other sweet treats like the comforting Eggnog Cookies Soft or the decadent Thumbprint Cookies Melt. Happy baking!
Expert Tips for Crumbl Salted Caramel Cheesecake Cookies
- Butter Perfection: Ensure your butter is soft but not melted; this is crucial for achieving the perfect creaming consistency for the cookie dough.
- Egg Temperature Matters: Use room temperature eggs for better mixing and emulsion, which helps the cookies achieve a tender texture.
- Don’t Overmix: When combining dry and wet ingredients, mix just until incorporated. Overmixing can lead to tough cookies!
- Monitor Baking Time: Check your cookies from 8 minutes onward; they should be golden around the edges but still soft in the center for that perfect chewy bite.
- Set the Caramel: Allow the caramel to cool slightly before drizzling; this prevents it from running off the cookies, ensuring a beautiful presentation.
What to Serve with Crumbl Salted Caramel Cheesecake Cookies
Elevate your cookie experience by pairing these delightful treats with complementary sides and drinks that enhance their rich flavors.
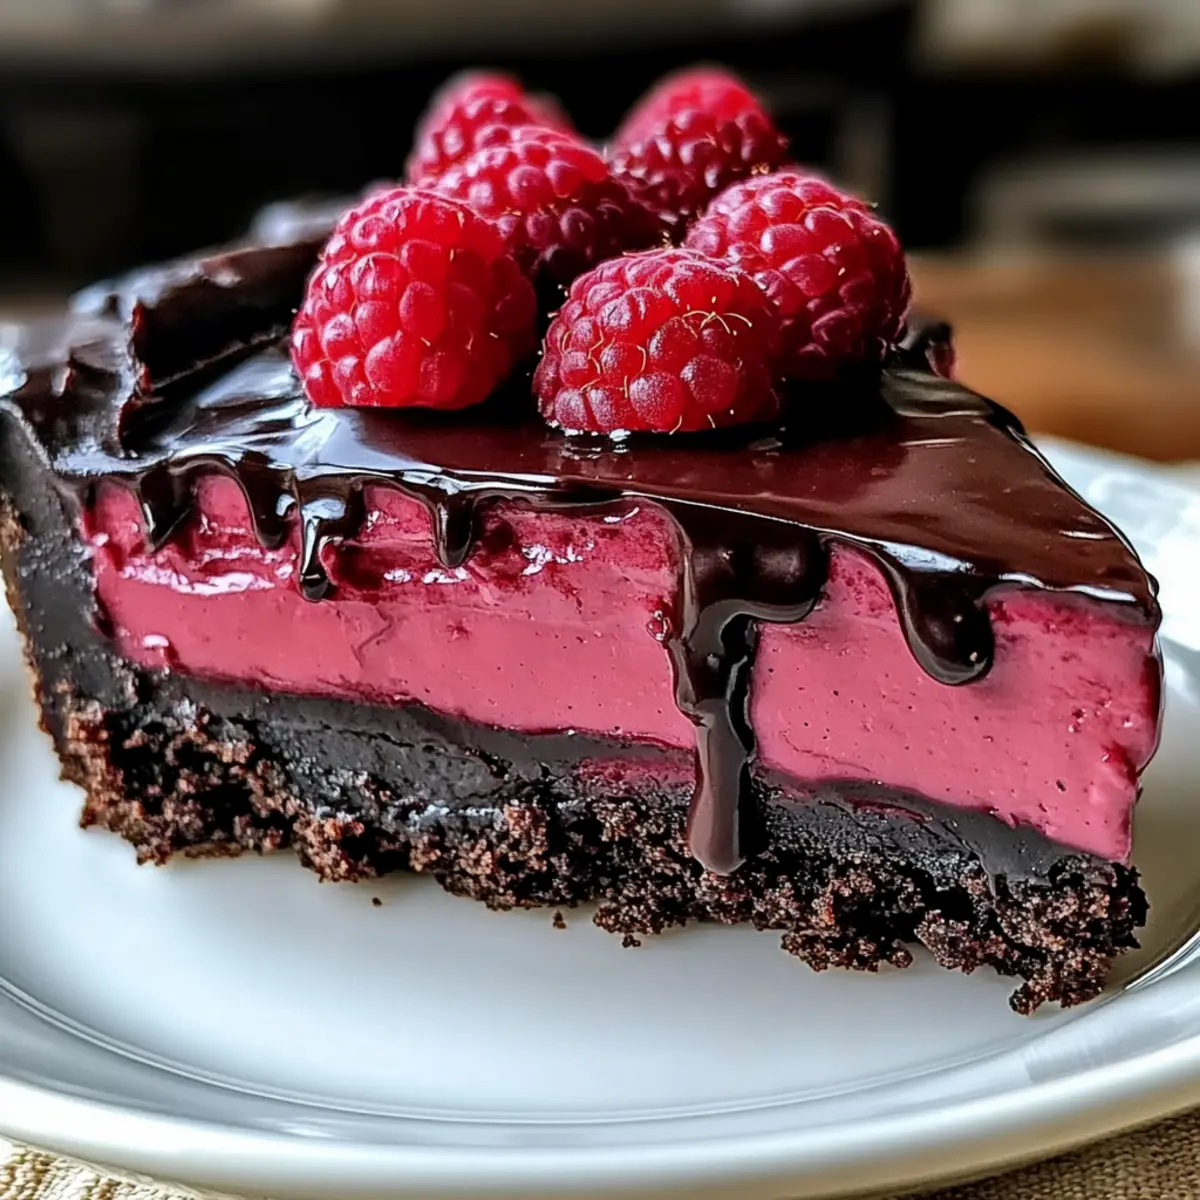
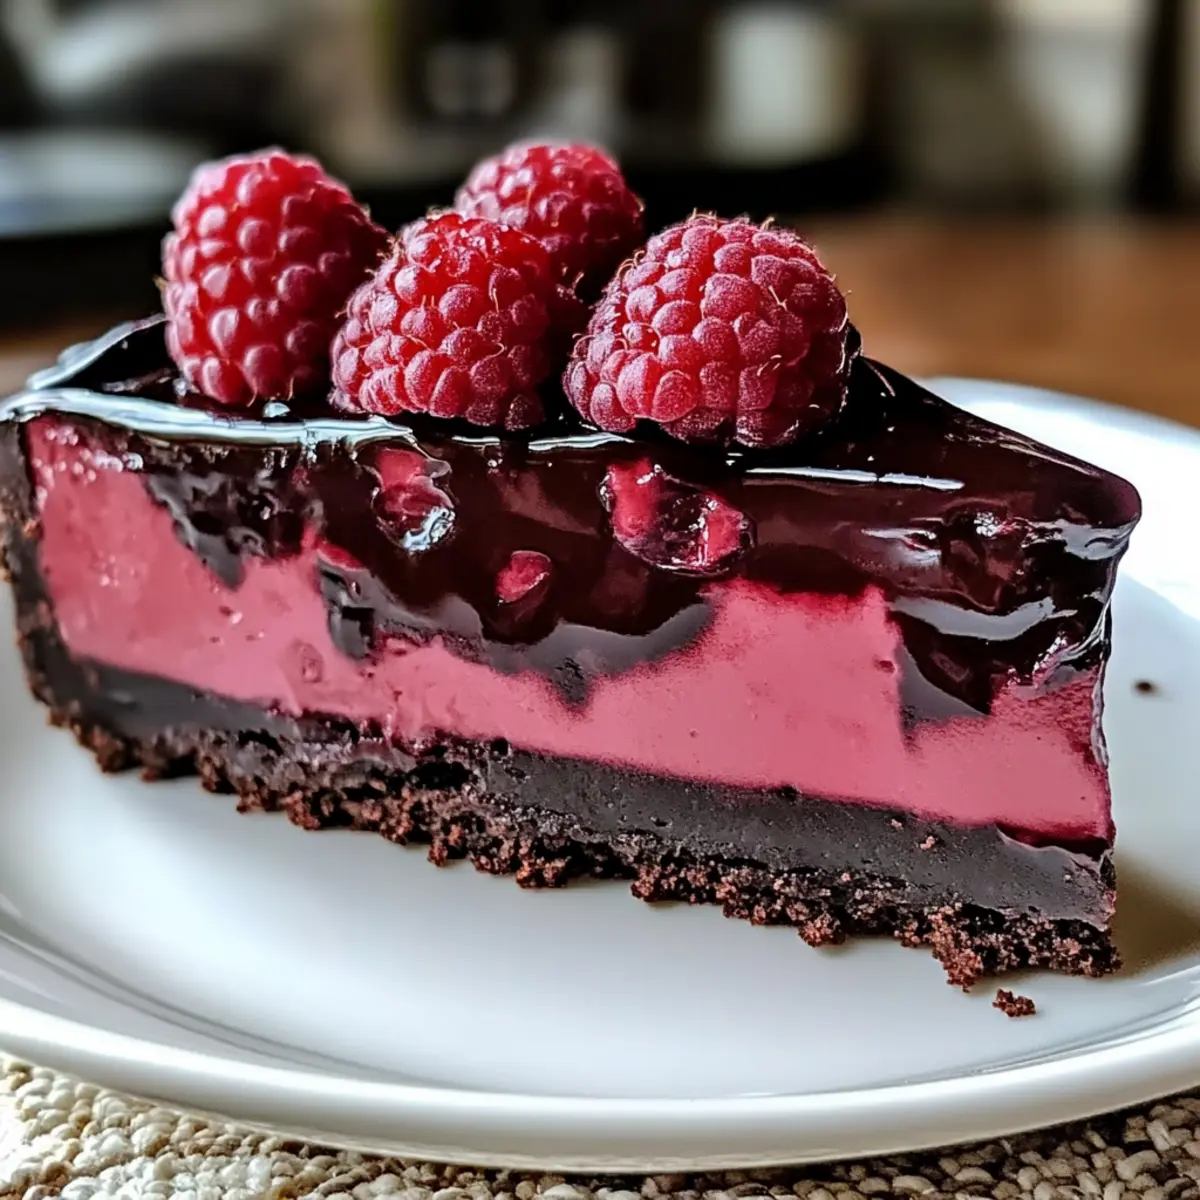
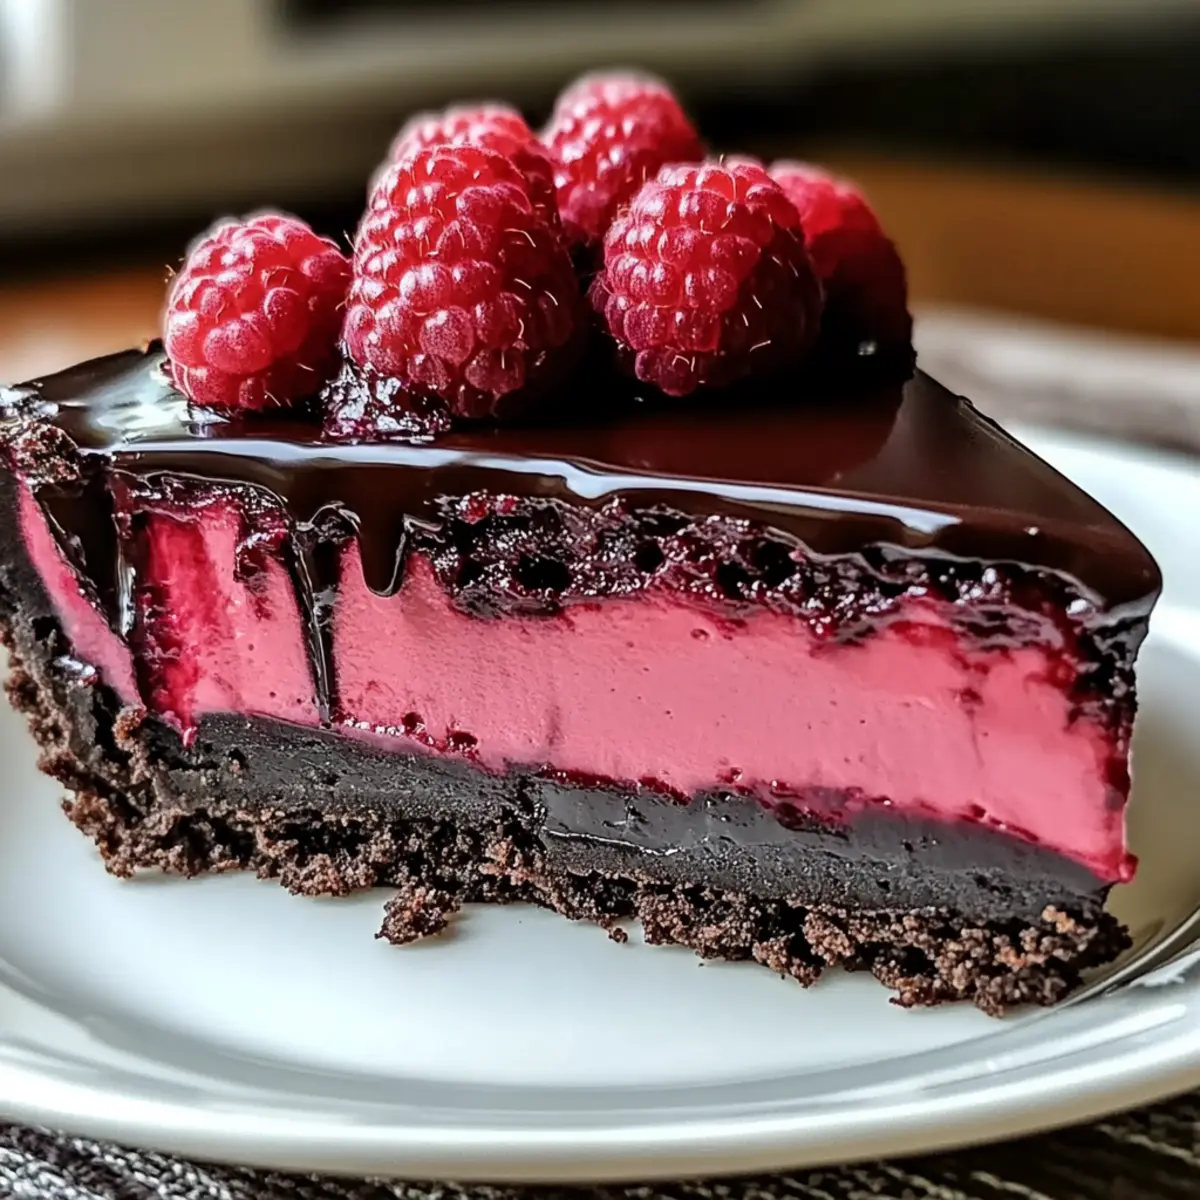
- Fresh Berries: Juicy strawberries or raspberries add a tart contrast to the sweet richness of the cookies, cleansing your palate beautifully.
- Vanilla Ice Cream: Creamy, cold ice cream creates a lush pairing, with its sweetness balancing the caramel and cheesecake flavors perfectly.
- Espresso or Coffee: The bold, robust flavors of espresso or freshly brewed coffee cut through the cookie's sweetness, making each bite more enjoyable.
- Hot Chocolate: A warm mug of rich hot chocolate brings a cozy, indulgent vibe, amplifying the sweet, decadent experience of the cookies.
- Caramel Sauce: For those who crave extra decadence, a drizzle of additional caramel sauce over the cookies enhances their luxurious appeal.
- Nutty Biscotti: Crunchy, nutty biscotti offer a satisfying textural contrast, while complementing the flavors with their own rich nutty notes.
- Whipped Cream: A dollop of lightly sweetened whipped cream elevates the dessert's presentation and adds a light, airy balance to the rich cookie.
- Milk: An old-fashioned pairing that never fails! A cold glass of milk complements that comforting childhood nostalgia while softening each bite.
- Chocolate Chip Muffins: Their fluffy texture and semi-sweet chocolate bits resonate well with the graham cracker and caramel cookie base, creating a delightful harmony.
- Fruit Salad: A refreshing fruit salad adds a light and healthy touch to the meal, with the varying fruits providing a vibrant splash of color.
Crumbl Salted Caramel Cheesecake Cookies Recipe FAQs
How do I choose the right ripeness for my ingredients?
Absolutely! When it comes to baking, using softened butter is key; let it sit at room temperature for about 30 minutes. For the cream cheese, ensure it's also softened to make mixing easier. Fresh eggs at room temperature emulsify better, giving your cookies the perfect texture.
How should I store my cookies and for how long?
You can store your Crumbl Salted Caramel Cheesecake Cookies in an airtight container at room temperature for up to 5 days. For extended freshness, refrigerate them for up to 7 days in a sealed container. This keeps the cookies chewy and ready to enjoy whenever you want!
Can I freeze these cookies? How do I do it?
Absolutely! You can freeze both frosted and unfrosted cookies. First, place them in a single layer on a baking sheet and freeze until solid, about 1-2 hours. Once set, transfer them to a freezer-safe bag or container. They will maintain quality for up to 3 months! To enjoy, just reheat in the oven at 350°F for about 5 minutes.
What common issues might arise while baking these cookies?
Very! One common issue is overmixing the cookie dough, which can lead to tough cookies. Mix the dry and wet ingredients just until combined to avoid this. Additionally, keep an eye on the baking time; cookies should be golden around the edges but slightly soft in the middle. If they spread too much while baking, ensure your butter isn’t too warm and your ingredients are measured accurately.
Are there any dietary considerations for my guests?
Yes! If serving to guests with dietary restrictions, consider using vegan cream cheese for the frosting and double-check ingredient labels to avoid allergens. For gluten-free options, swap the all-purpose flour for a gluten-free blend. Always keep potential allergies in mind, especially for ingredients like cream cheese and butter.
How can I enhance the flavors of my cookies?
You can customize your Crumbl Salted Caramel Cheesecake Cookies by adding nuts like pecans or walnuts for extra crunch! Additionally, feel free to swap out the graham cracker crust for crushed Oreos for a fun twist on flavor. Get creative with toppings too; sprinkle sea salt on the caramel drizzle for a bit of flair!
Crumbl Salted Caramel Cheesecake Cookies You'll Love to Make
Ingredients
Equipment
Method
- Preheat your oven to 350°F (175°C) and line two baking sheets with parchment paper.
- In a stand mixer, combine softened butter, granulated sugar, and brown sugar. Beat until light and fluffy.
- Add room temperature eggs and vanilla extract, mixing until fully incorporated.
- In a separate bowl, whisk together all-purpose flour, salt, baking soda, and baking powder. Gradually mix into wet ingredients.
- Gently fold in crushed graham crackers until evenly distributed.
- Using a cookie scoop, portion dough and roll in graham cracker crumbs. Place them on prepared baking sheets.
- Bake for 8-10 minutes until edges are golden brown. Cool on sheets for 5 minutes before transferring to wire racks.
- Prepare the frosting by creaming together cream cheese and unsalted butter until smooth. Add powdered sugar and vanilla, mixing until fluffy.
- Frost cooled cookies with cream cheese frosting using a piping bag or knife.
- To make caramel, combine butter, brown sugar, and whipping cream in a saucepan. Cook while stirring for 5-7 minutes until thickened. Stir in vanilla and salt.
- Drizzle caramel over frosted cookies. Allow to set before serving.