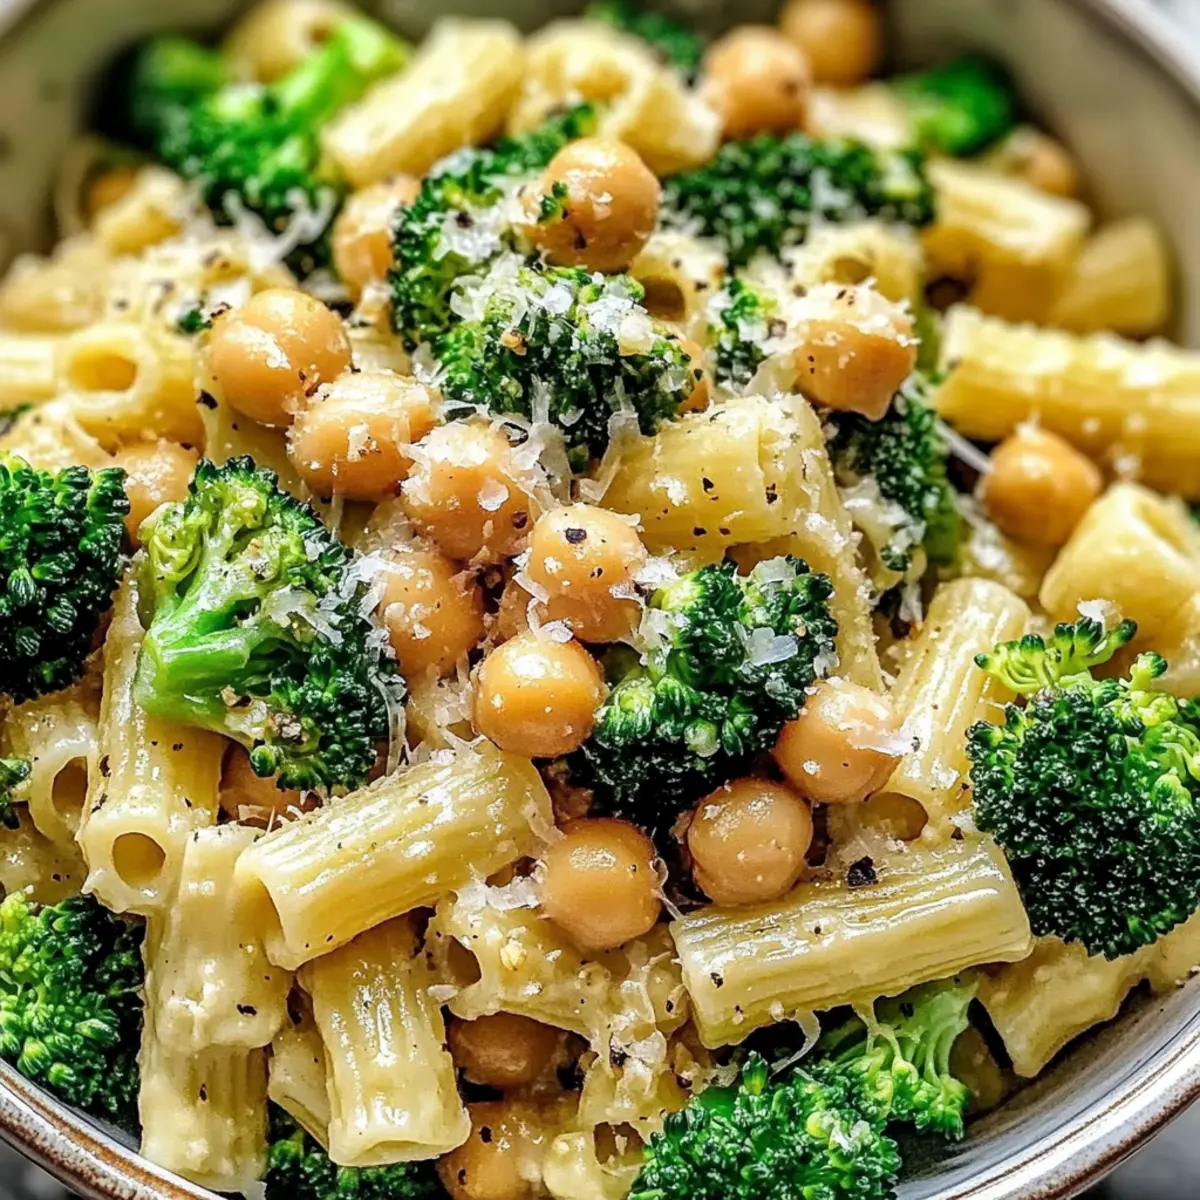
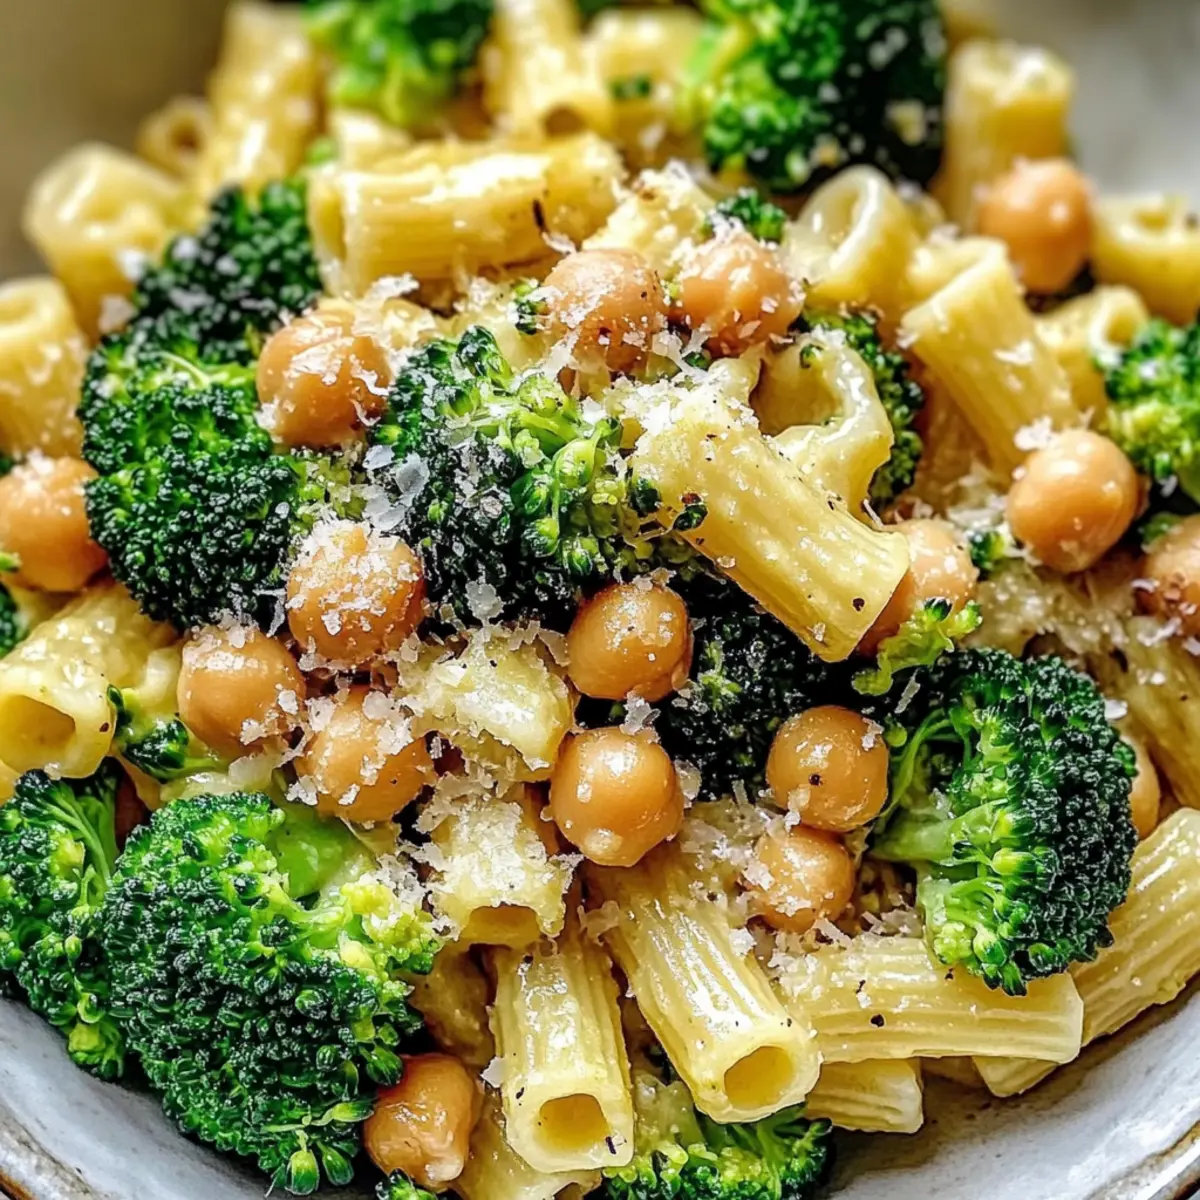
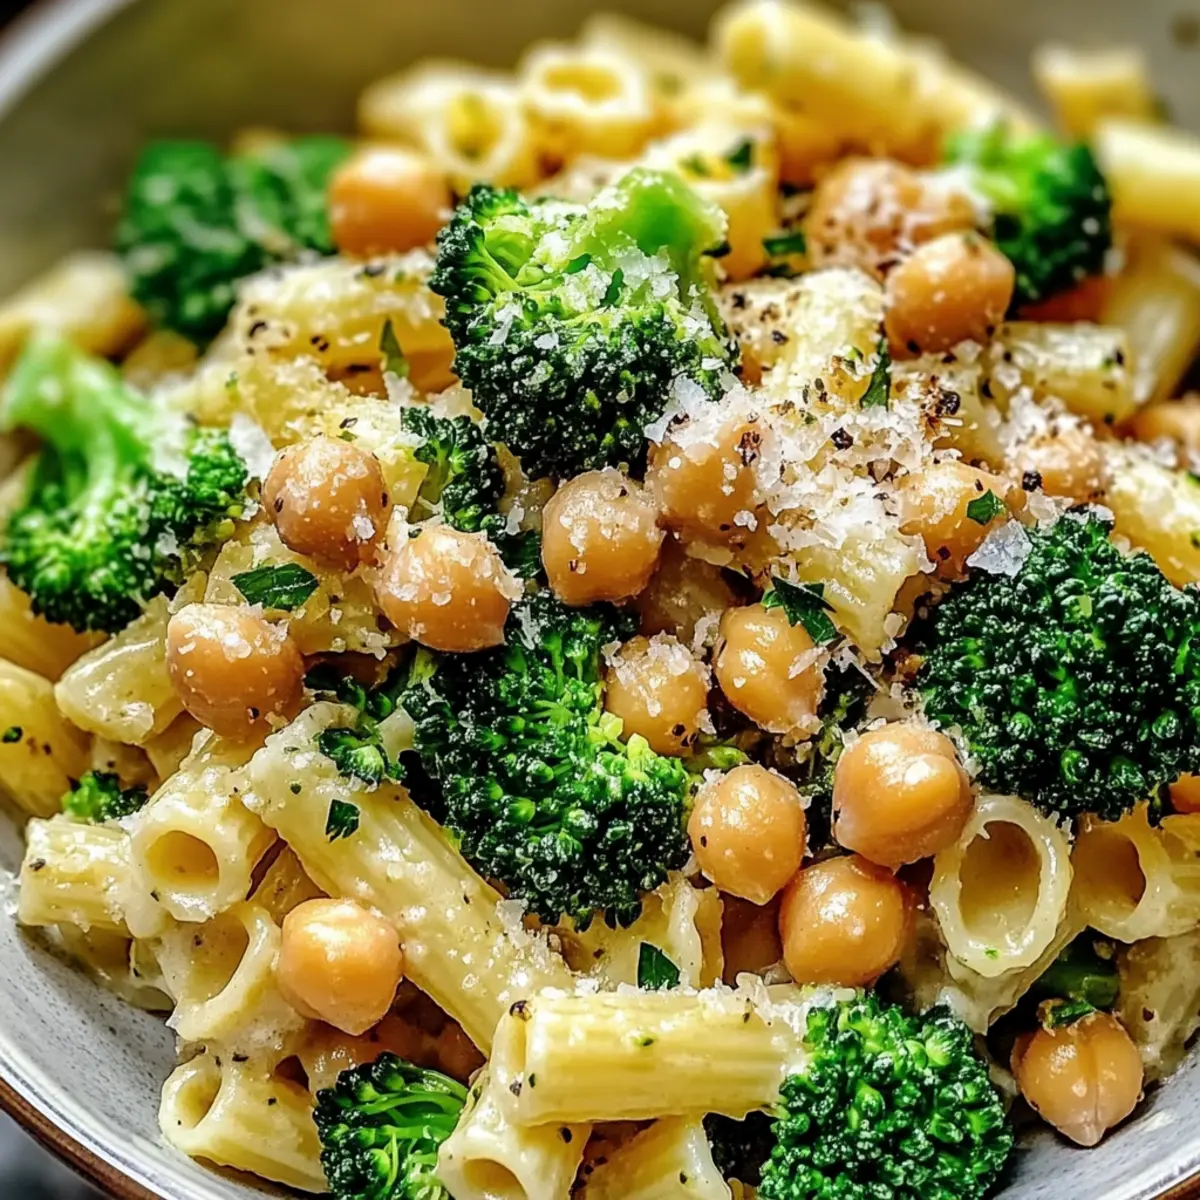
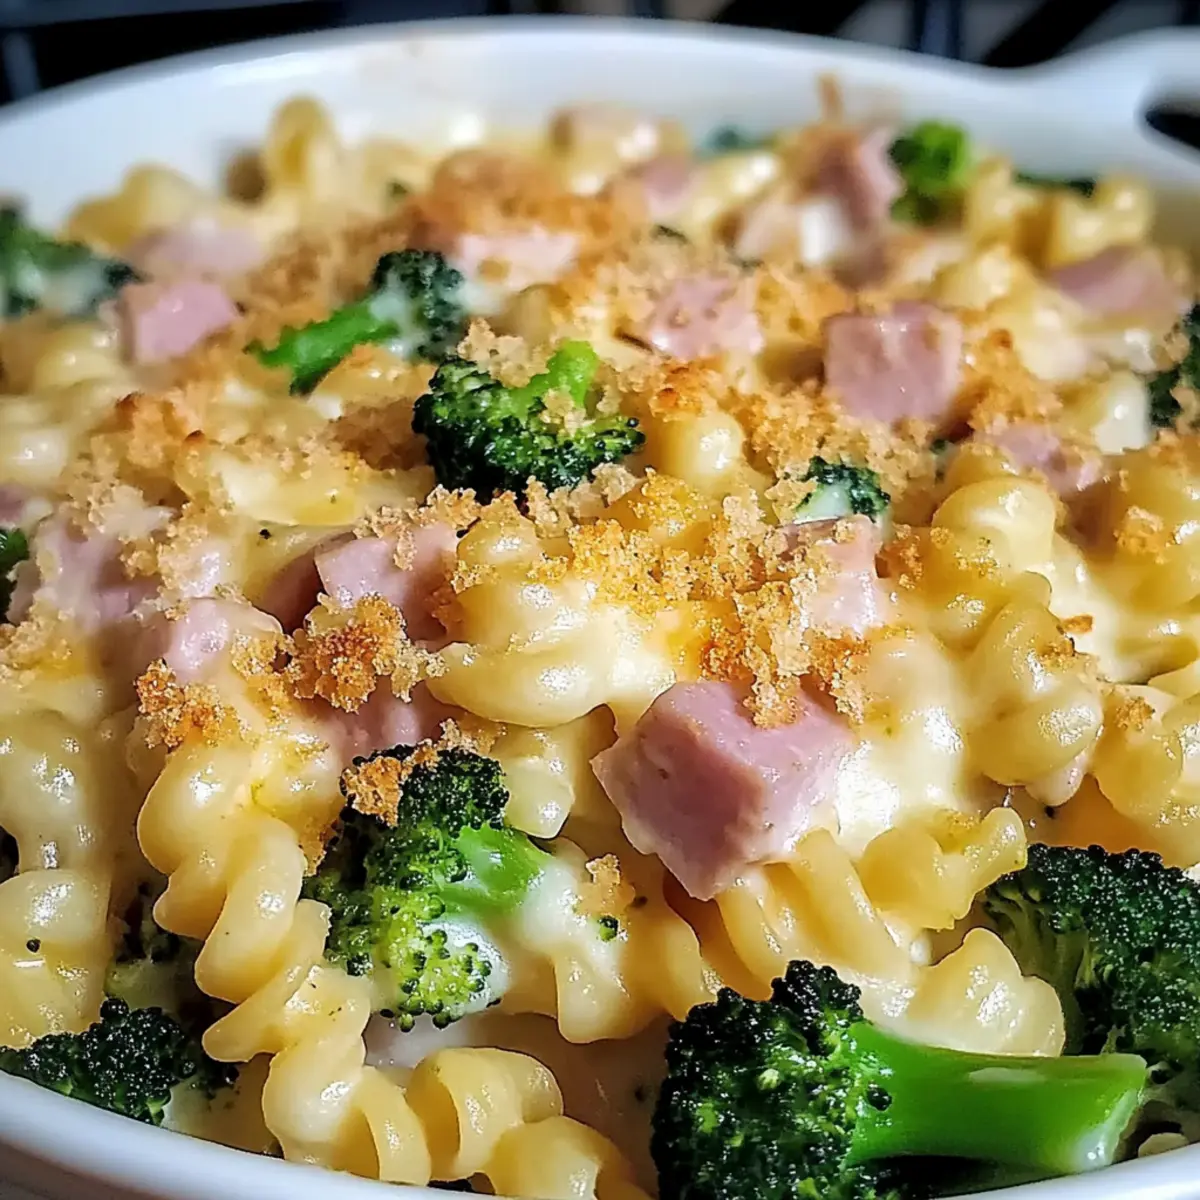
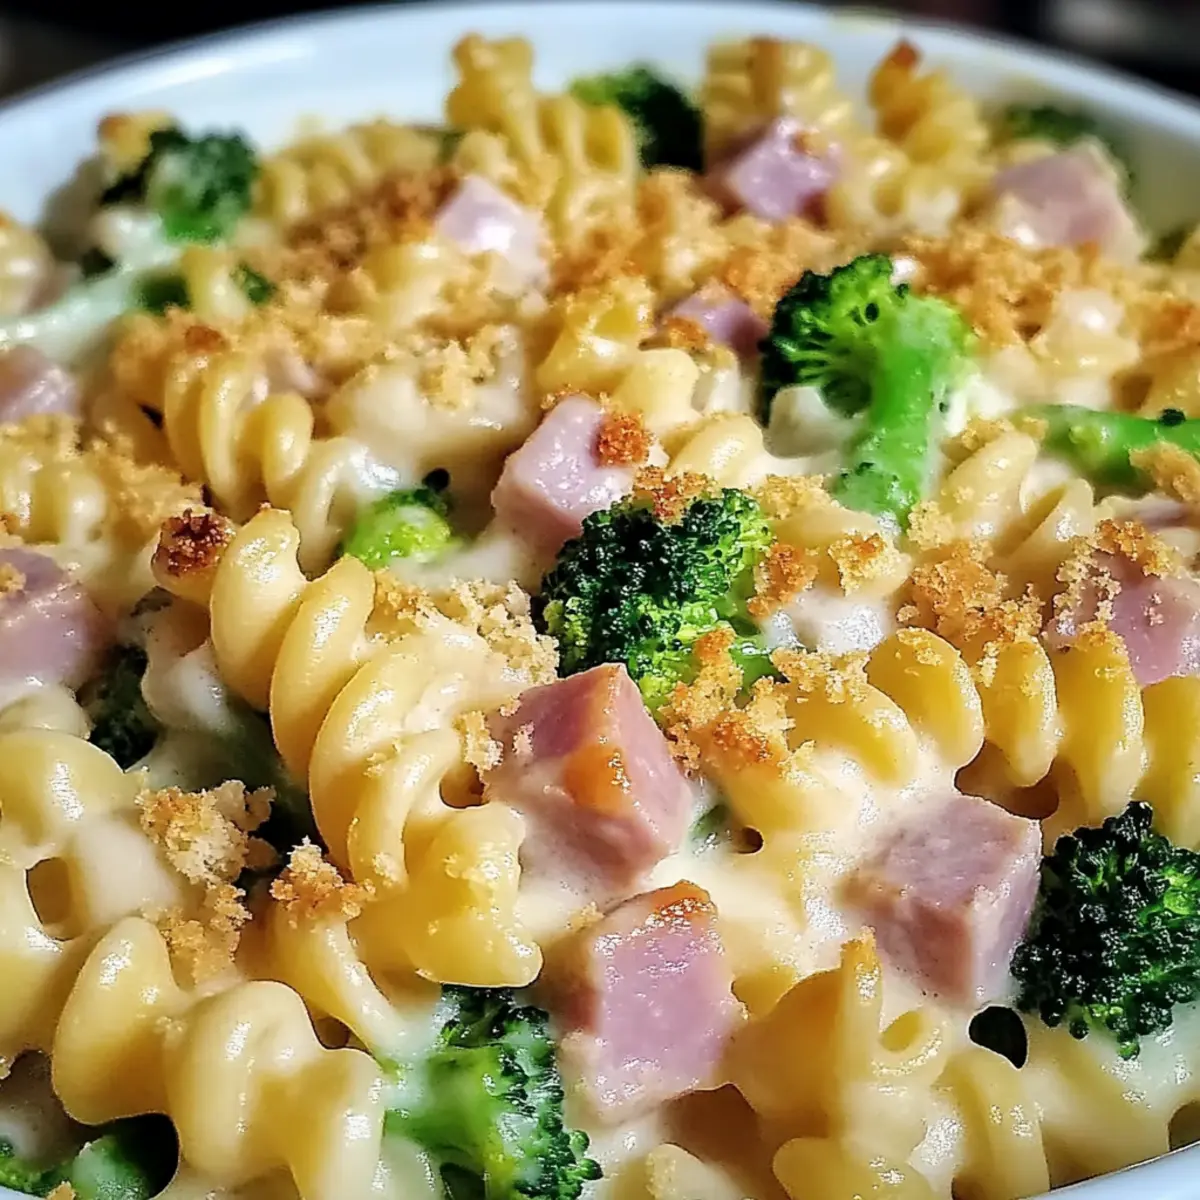
In the midst of a bustling weekday morning, I found myself pondering a question we all face: what’s for dinner? Then it hit me—a warm, creamy Ham and Broccoli Pasta Casserole! This delightful dish effortlessly combines tender broccoli, savory ham, and hearty pasta in a cheesy embrace that feels like a hug after a long day. With just a bit of prep, this family-friendly casserole transforms into a quick weeknight dinner that’s as customizable as it is comforting. Whether you’re looking for a dish that pleases picky eaters or a recipe that can easily adapt to fit multiple tastes, this one delivers. So, what twists will you add to make this dish your own? Let’s dive into the deliciousness!
Why Is This Casserole a Must-Try?
Comforting, delicious meal: The Ham and Broccoli Pasta Casserole brings classic comfort food vibes to your dinner table. Customizable to perfection: Feel free to swap in your favorite vegetables or cheeses for a unique twist. Quick to prepare: With just a bit of pre-cooking, you can have this hearty dish ready in no time. Plus, it’s perfect for busy weeknights! Family-friendly: Even picky eaters will find something to love in this flavorful casserole. For more family-friendly recipes, don’t miss our Cornbread Breakfast Casserole or Sweet Potato Casserole.
Ham and Broccoli Pasta Casserole Ingredients
For the Casserole
• Pasta – Any sturdy pasta shape like penne or rotini works best; avoid thin pastas like spaghetti for this dish.
• Broccoli florets – Fresh or frozen, both add a nourishing touch; just remember to thaw and drain frozen broccoli.
• Cooked Ham – This savory protein brings flavor; for a vegetarian option, simply omit it or replace with sautéed mushrooms or bell peppers.
• Cream of Mushroom Soup – The creamy base for our casserole; feel free to swap with cream of chicken or celery soup for a different flavor.
• Milk – Essential for thinning the sauce and adding creaminess; you can use any type of milk or heavy cream for a richer texture.
• Shredded Cheddar Cheese – Melts beautifully and adds a comforting flavor; try Monterey Jack for a fun variation.
• Butter – A touch for enhancing the richness of the dish.
• Breadcrumbs – Give a delightful crunch when sprinkled on top; for an alternative, crush potato chips or skip the topping altogether.
• Onion powder – Infuses savory depth; adjustable based on personal preference.
• Garlic powder – Elevates the flavor; use fresh garlic if you prefer a bolder taste.
• Salt and Pepper – These essentials are key for bringing all the flavors together.
Get ready to create a delicious Ham and Broccoli Pasta Casserole that your family will love!
Step‑by‑Step Instructions for Ham and Broccoli Pasta Casserole
Step 1: Preheat and Prepare
Begin by preheating your oven to 350°F (175°C) and greasing a 9x13-inch baking dish with butter or cooking spray. This ensures that your Ham and Broccoli Pasta Casserole won't stick during baking. Set aside the prepared dish while you focus on cooking your pasta and broccoli.
Step 2: Cook the Pasta
In a large pot, bring salted water to a rolling boil and add your chosen pasta, cooking it until it reaches al dente, about 8–10 minutes. Drain the pasta and quickly rinse it under cold water to stop the cooking process. This step keeps your pasta firm and ready to soak up the delicious flavors in the casserole.
Step 3: Prepare the Broccoli
While the pasta is cooking, in a separate pot, steam or boil the broccoli florets for about 3-5 minutes until tender but still bright green. Drain and set aside, allowing excess water to escape. The broccoli adds nutrition and a lovely color to your Ham and Broccoli Pasta Casserole, so you'll want it perfectly cooked.
Step 4: Make the Sauce Base
In a large mixing bowl, combine the cream of mushroom soup, milk, and melted butter, whisking until smooth and creamy. This forms the luscious base of your casserole. As you mix, ensure there are no lumps, making for a velvety texture throughout the ham and broccoli pasta dish.
Step 5: Combine Ingredients
Next, incorporate the cooked ham, steamed broccoli, drained pasta, onion powder, garlic powder, salt, and pepper into the sauce mixture. Stir gently until everything is well combined and evenly coated. This step is where the magic happens, blending all the flavors together in your Ham and Broccoli Pasta Casserole.
Step 6: Add Cheese
Fold in the shredded cheddar cheese, reserving about a cup for the topping. This cheese will melt beautifully during baking, creating a rich, creamy texture. Mixing it well ensures every bite of your casserole is filled with cheesy goodness that your family will adore.
Step 7: Assemble the Casserole
Pour the entire mixture into the prepared baking dish, spreading it evenly with a spatula. Sprinkle the reserved cheddar cheese evenly over the top for a deliciously cheesy crust. This will create a beautiful golden layer as it bakes, adding both flavor and aesthetic appeal to your ham and broccoli pasta casserole.
Step 8: Add Topping
For an extra crunch, mix breadcrumbs with a splash of melted butter in a small bowl, and sprinkle this over the cheese layer. This optional step enhances the texture of your casserole, giving it a delightful crispy topping. It adds a fun twist to your comforting dish that everyone will love.
Step 9: Bake
Place the baking dish in your preheated oven and bake for 25-30 minutes, or until the casserole is bubbly and the top is golden brown. Keep an eye on it during the last few minutes to achieve that perfect color. The aroma that fills your kitchen will be irresistible as it cooks!
Step 10: Cool and Serve
Once baked, remove your Ham and Broccoli Pasta Casserole from the oven and allow it to rest for 5-10 minutes before serving. This cooling period helps the casserole set, making it easier to cut and serve. Dish out generous portions and savor the comforting flavors with your loved ones!
Make Ahead Options
These Ham and Broccoli Pasta Casserole preparations make busy weeknights a breeze! You can assemble the casserole up to 24 hours in advance; just refrigerate it covered to keep it fresh. Prepare and combine the pasta, vegetables, ham, and sauce, then cover it tightly. For the best results, sprinkle the cheese on top just before baking to maintain its delicious meltiness. When you’re ready to serve, preheat your oven and bake straight from the fridge, adding an extra 5-10 minutes to the baking time if needed. With this make-ahead option, you’ll enjoy a comforting, homemade meal with minimal evening stress!
What to Serve with Ham and Broccoli Pasta Casserole
The perfect accompaniment can elevate your Ham and Broccoli Pasta Casserole into a delightful dining experience.
- Garden Salad: A crisp, fresh salad adds a bright contrast, enhancing the hearty flavors of the casserole. Toss with a light vinaigrette for a refreshing bite.
- Garlic Bread: The buttery, garlicky bread pairs beautifully, perfect for soaking up the creamy sauce. It’s deliciously comforting alongside the casserole.
- Roasted Vegetables: Seasoned vegetables, caramelized to perfection, offer a lovely mix of textures and flavors, rounding out your meal.
- Steamed Green Beans: Their tenderness and vibrant color complement the casserole, adding both nutrition and aesthetic appeal to the plate.
- Mango Chutney: A hint of sweetness from chutney brings a unique burst of flavor, contrasting nicely with the savory casserole.
- Chilled White Wine: A crisp Sauvignon Blanc or a light Pinot Grigio pairs well, enhancing the meal while refreshing your palate.
- Chocolate Chip Cookies: For dessert, warm, gooey cookies provide a sweet finish to a comforting dinner. The nostalgia of cookies complements the homey vibe of the meal.
- Homemade Apple Crisp: This warm dessert brings a delightful balance to the savory casserole and is perfect for cozy family gatherings.
Expert Tips for Ham and Broccoli Pasta Casserole
Cooking Pasta: Avoid overcooking your pasta; it should be al dente, as it will continue to cook in the oven.
Broccoli Prep: If using frozen broccoli, make sure to thaw and drain it thoroughly to prevent excess moisture in the casserole.
Creaminess Check: If the mixture appears too dry, add more milk or cream before baking to ensure a rich texture in your ham and broccoli pasta casserole.
Topping Alternatives: Feel free to skip the breadcrumbs if you prefer a cheese-only topping; you can also use crushed potato chips for a crunchier twist!
Reheating Leftovers: For best results, cover leftovers with foil and reheat in a 350°F oven for 20-30 minutes, keeping it moist and delicious.
Ham and Broccoli Pasta Casserole Variations
Feel free to make this dish uniquely yours by trying out these enticing variations!
-
Vegetarian Delight: Omit the ham and replace it with sautéed bell peppers and mushrooms for a hearty, veggie-packed dish. It still brings that comforting vibe and loads of nutrients!
-
Cheese Swap: Substitute cheddar with mozzarella or Gouda for a different flavor profile. Each cheese adds its own special touch, creating a rich, melty experience that everyone will appreciate.
-
Different Pasta Shapes: Experiment with fusilli or shells instead of penne to add visual appeal and excitement to each forkful. Each shape holds the sauce differently, transforming your casserole in fun ways!
-
Creamy Alternative: For a twist on the sauce, use a homemade white sauce or a creamy vegetable soup instead of cream of mushroom. It’ll elevate the dish, making it feel even more gourmet.
-
Extra Crunch: Mix in toasted panko breadcrumbs or sprinkle crushed potato chips on top for an added layer of texture. Everyone loves that satisfying crunch!
-
Spicy Kick: If you like a bit of heat, add a dash of red pepper flakes or diced jalapeños to the mix. It’ll warm you up and keep things exciting at dinner time!
-
Herbal Boost: Incorporate fresh herbs like thyme or basil for a burst of freshness. The contrast of flavors will enhance the overall taste and aroma of your casserole!
-
Seafood Variation: For a seafood-inspired twist, blend in cooked shrimp or crab with the ham. The ocean's bounty mixes beautifully with the creaminess of the casserole; perfect for a special occasion!
With all these options, you can customize your Ham and Broccoli Pasta Casserole for whatever mood strikes! For more comforting recipes, check out our cozy Spicy Miso Casserole and delightful Seafood Pasta. Happy cooking!
How to Store and Freeze Ham and Broccoli Pasta Casserole
Fridge: Store leftovers in an airtight container for up to 3 days. Make sure to cool it beforehand to retain moisture and flavor.
Freezer: For longer storage, freeze the casserole before baking. Wrap it tightly in plastic wrap and aluminum foil for up to 2 months. Simply thaw overnight in the fridge before baking.
Reheating: When ready to enjoy, cover the casserole with foil and reheat in a 350°F (175°C) oven for 20-30 minutes, ensuring it stays moist and delicious.
Make-Ahead Tip: You can assemble the Ham and Broccoli Pasta Casserole ahead of time and keep it in the fridge for up to 24 hours before baking.

Ham and Broccoli Pasta Casserole Recipe FAQs
How do I choose the right broccoli for this casserole?
Absolutely! When selecting broccoli, look for florets that are bright green and firm. Steer clear of any that show dark spots all over, as this indicates they may be turning. Fresh broccoli works beautifully, but if you’re short on time, you can conveniently use frozen broccoli—just make sure to thaw and drain it well to avoid extra moisture in your casserole.
How long can I store leftover casserole in the fridge?
Very! You can store your Ham and Broccoli Pasta Casserole in an airtight container in the fridge for up to 3 days. Just remember to allow it to cool to room temperature before sealing it up; this helps retain its delicious flavors and moisture!
Can I freeze Ham and Broccoli Pasta Casserole?
Yes, you can! To freeze before baking, wrap the assembled casserole tightly in plastic wrap, then in aluminum foil to ensure it stays fresh for up to 2 months. When you’re ready to cook it, simply thaw it overnight in the fridge. Bake it as per the instructions (adding an extra 5-10 minutes if it's still cool from the fridge) for a fabulous dinner any night!
What can I do if the casserole seems dry before baking?
No worries at all! If your mixture looks a bit dry, just add more milk or cream to the bowl—about ¼ cup should do the trick. Stir it in gently to ensure everything is well combined. This will boost the creaminess, making sure your casserole is rich and delicious when baked.
Are there any dietary considerations with this casserole?
Certainly! This recipe is easily adaptable for different dietary needs. For a vegetarian option, skip the ham and replace it with sautéed mushrooms, bell peppers, or even lentils for added protein. Always check if your guests have allergies to any included ingredients like dairy or gluten, and consider using substitutes such as dairy-free cheese or gluten-free pasta if needed.
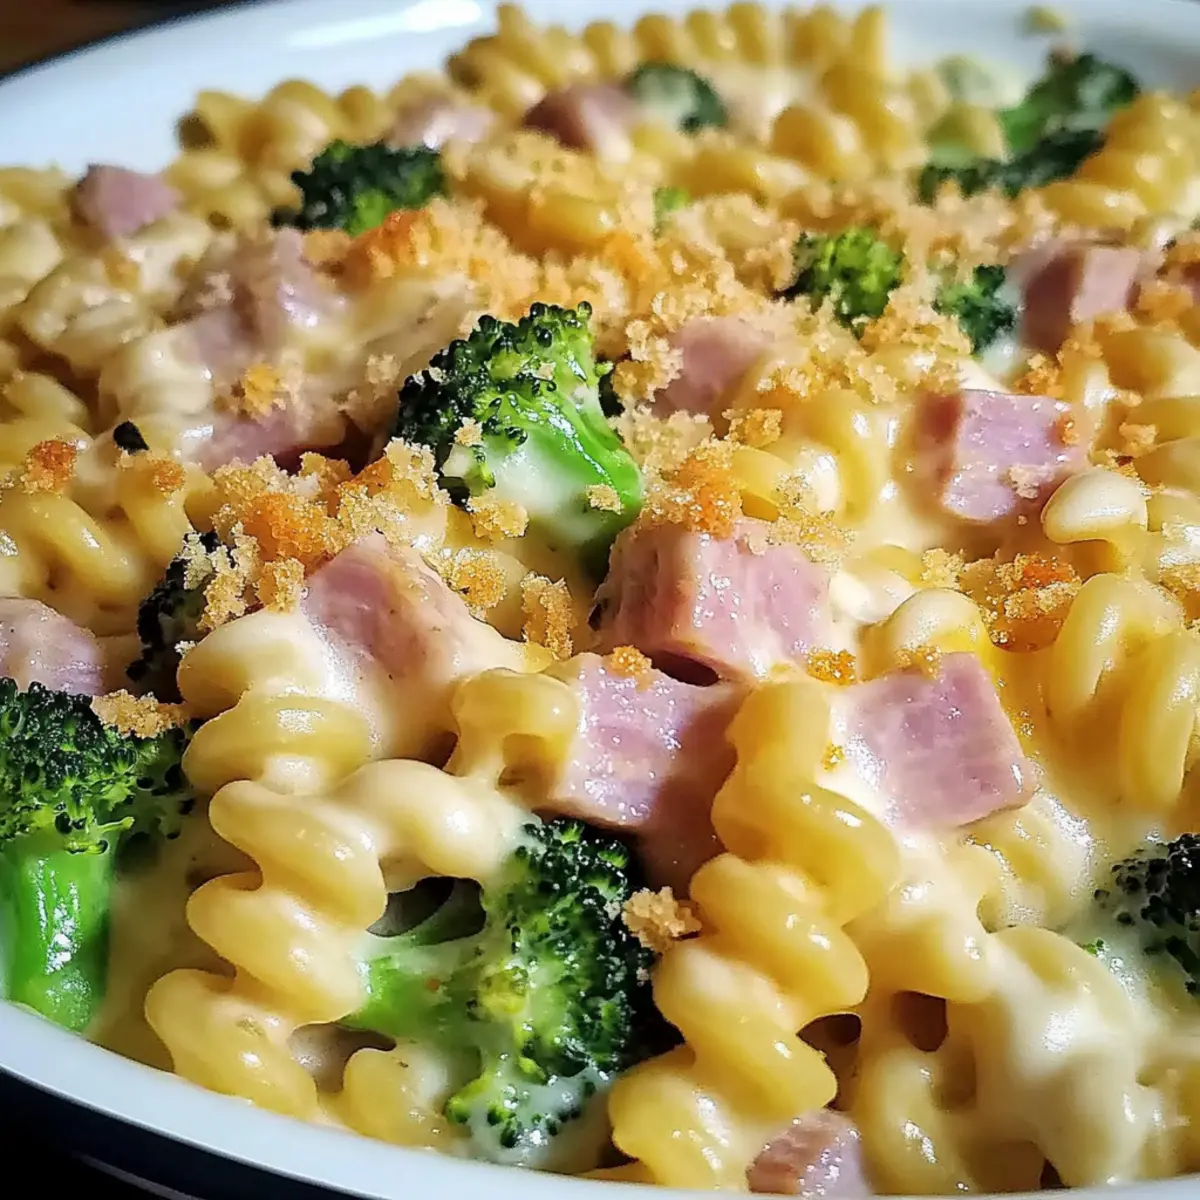
Ham and Broccoli Pasta Casserole: Comfort Food Bliss
Ingredients
Equipment
Method
- Preheat your oven to 350°F (175°C) and grease a 9x13-inch baking dish with butter.
- In a large pot, bring salted water to a rolling boil and add your pasta, cooking it until al dente, about 8-10 minutes.
- Steam or boil the broccoli florets for about 3-5 minutes until tender but still bright green.
- In a large mixing bowl, combine the cream of mushroom soup, milk, and melted butter, whisking until smooth.
- Incorporate the cooked ham, steamed broccoli, drained pasta, onion powder, garlic powder, salt, and pepper into the sauce mixture. Stir gently until well combined.
- Fold in the shredded cheddar cheese, reserving about a cup for topping.
- Pour the mixture into the prepared baking dish and spread evenly. Sprinkle the reserved cheddar cheese on top.
- Mix breadcrumbs with melted butter and sprinkle over the cheese layer.
- Bake for 25-30 minutes until the casserole is bubbly and the top is golden brown.
- Allow the casserole to rest for 5-10 minutes before serving.