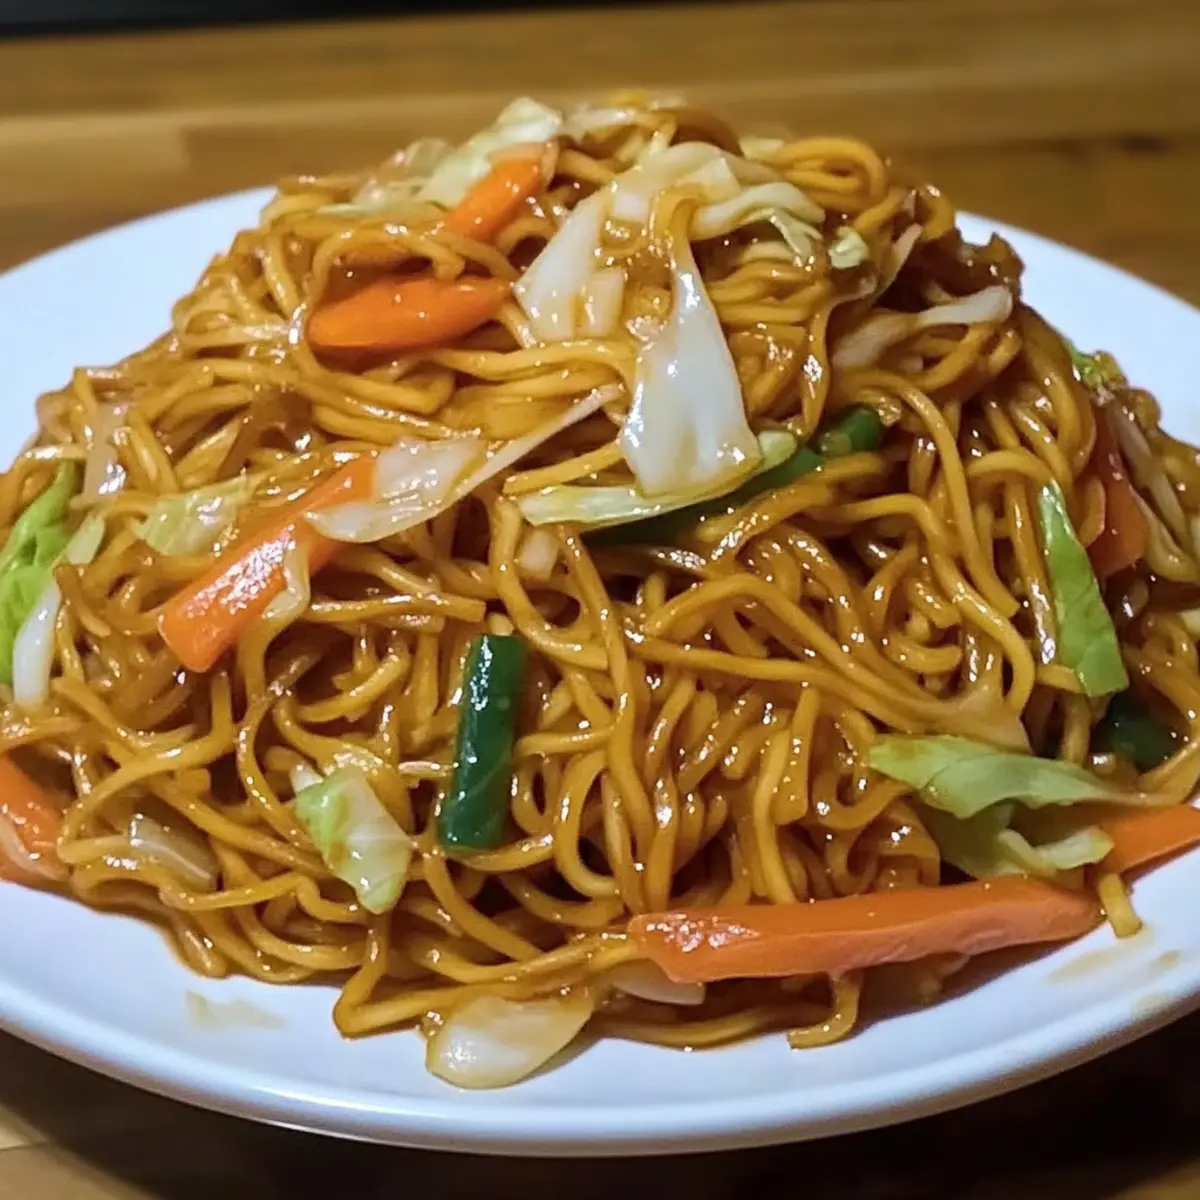
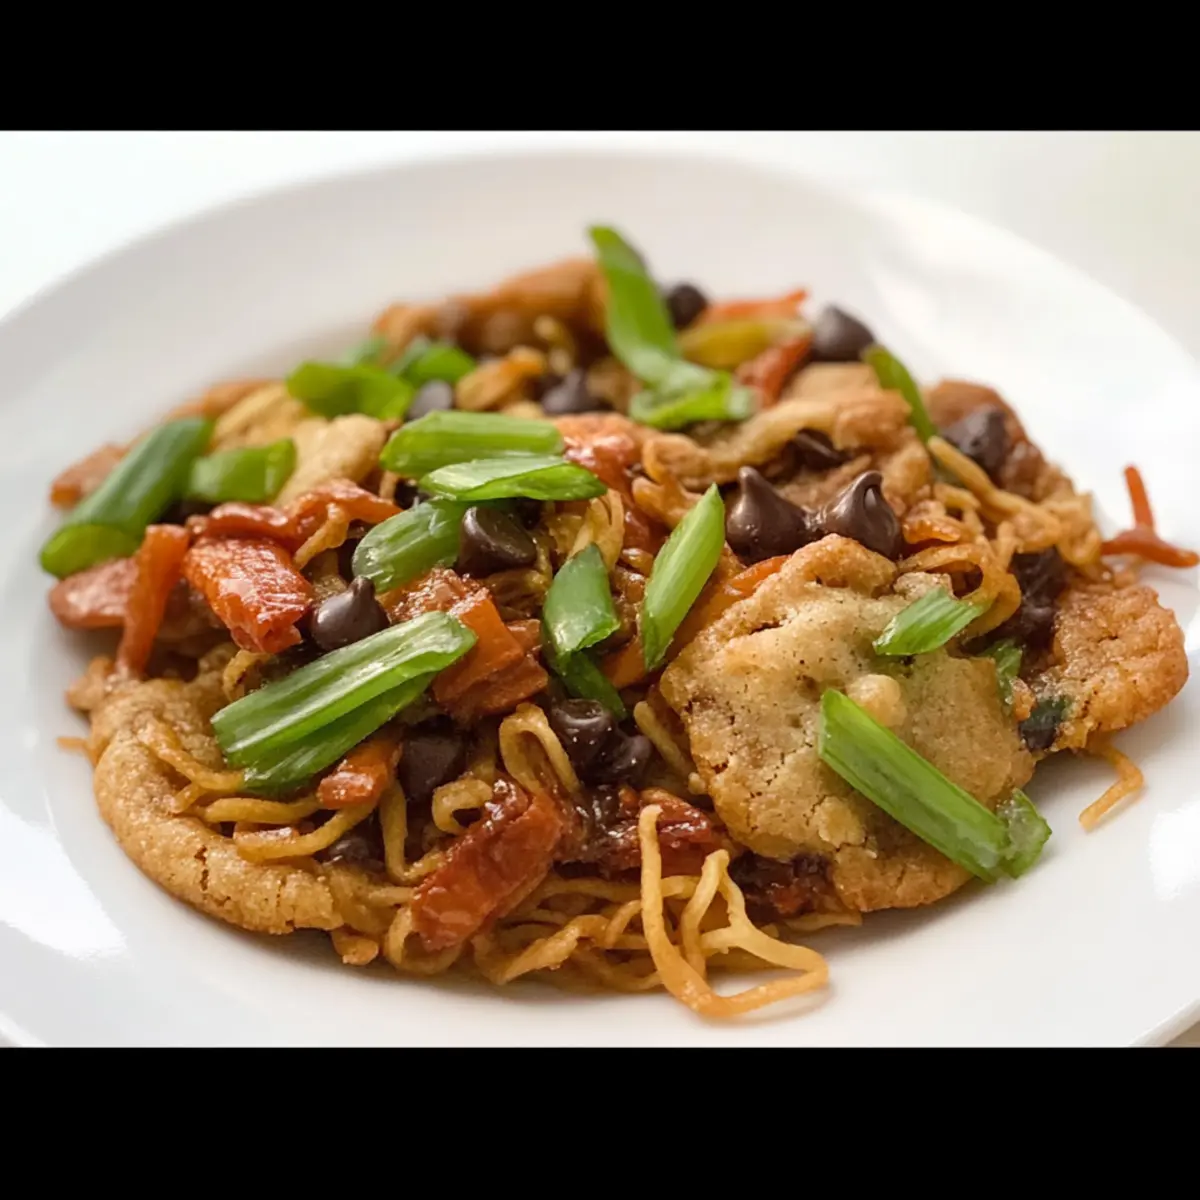
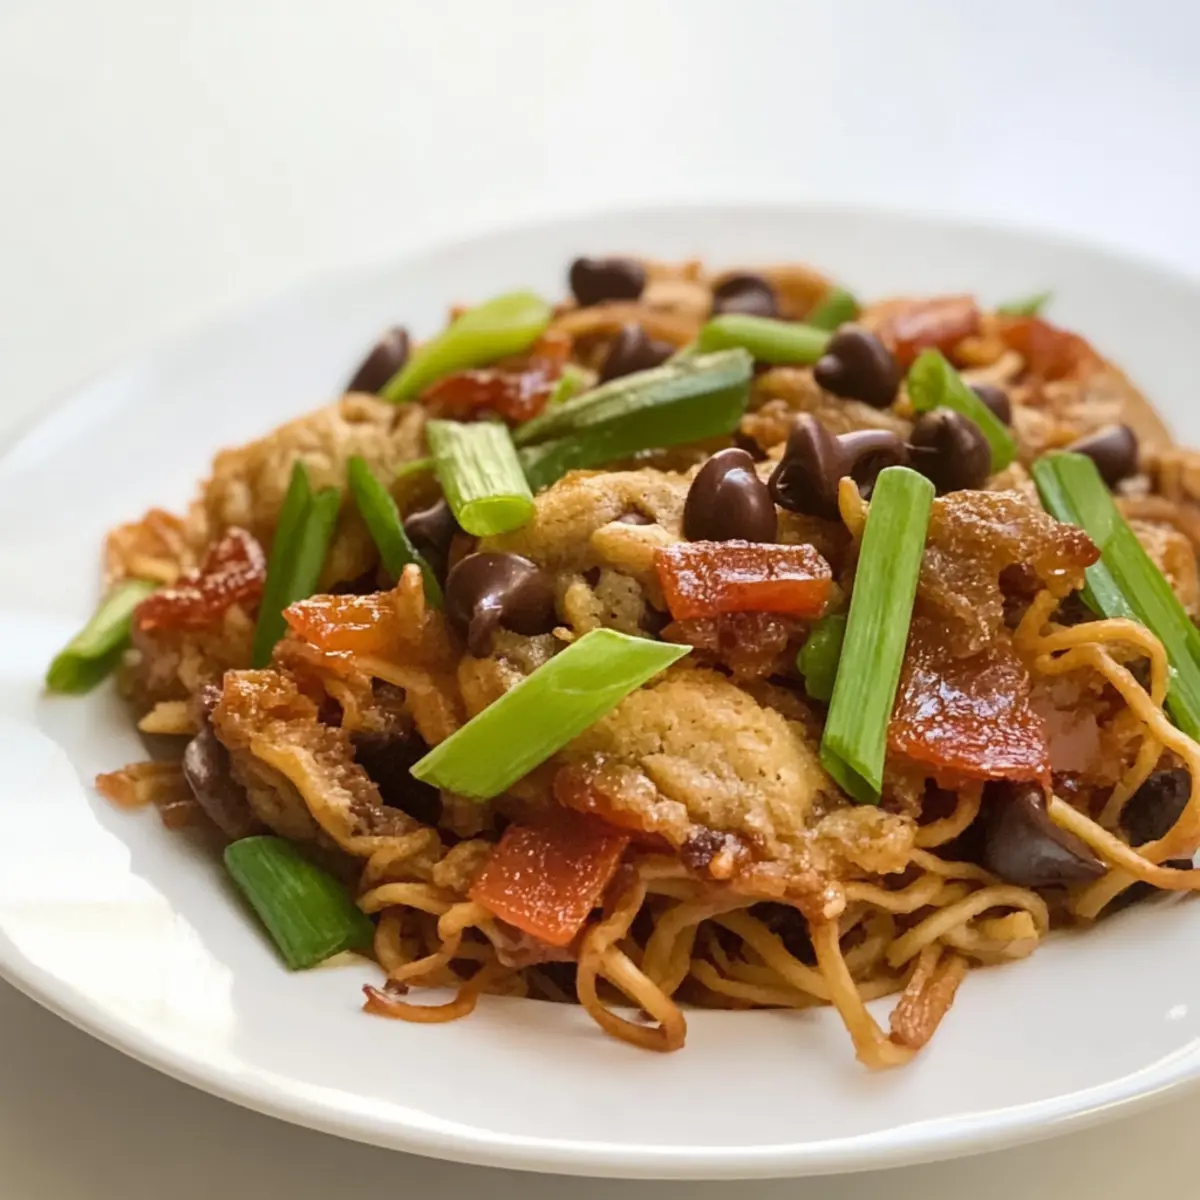
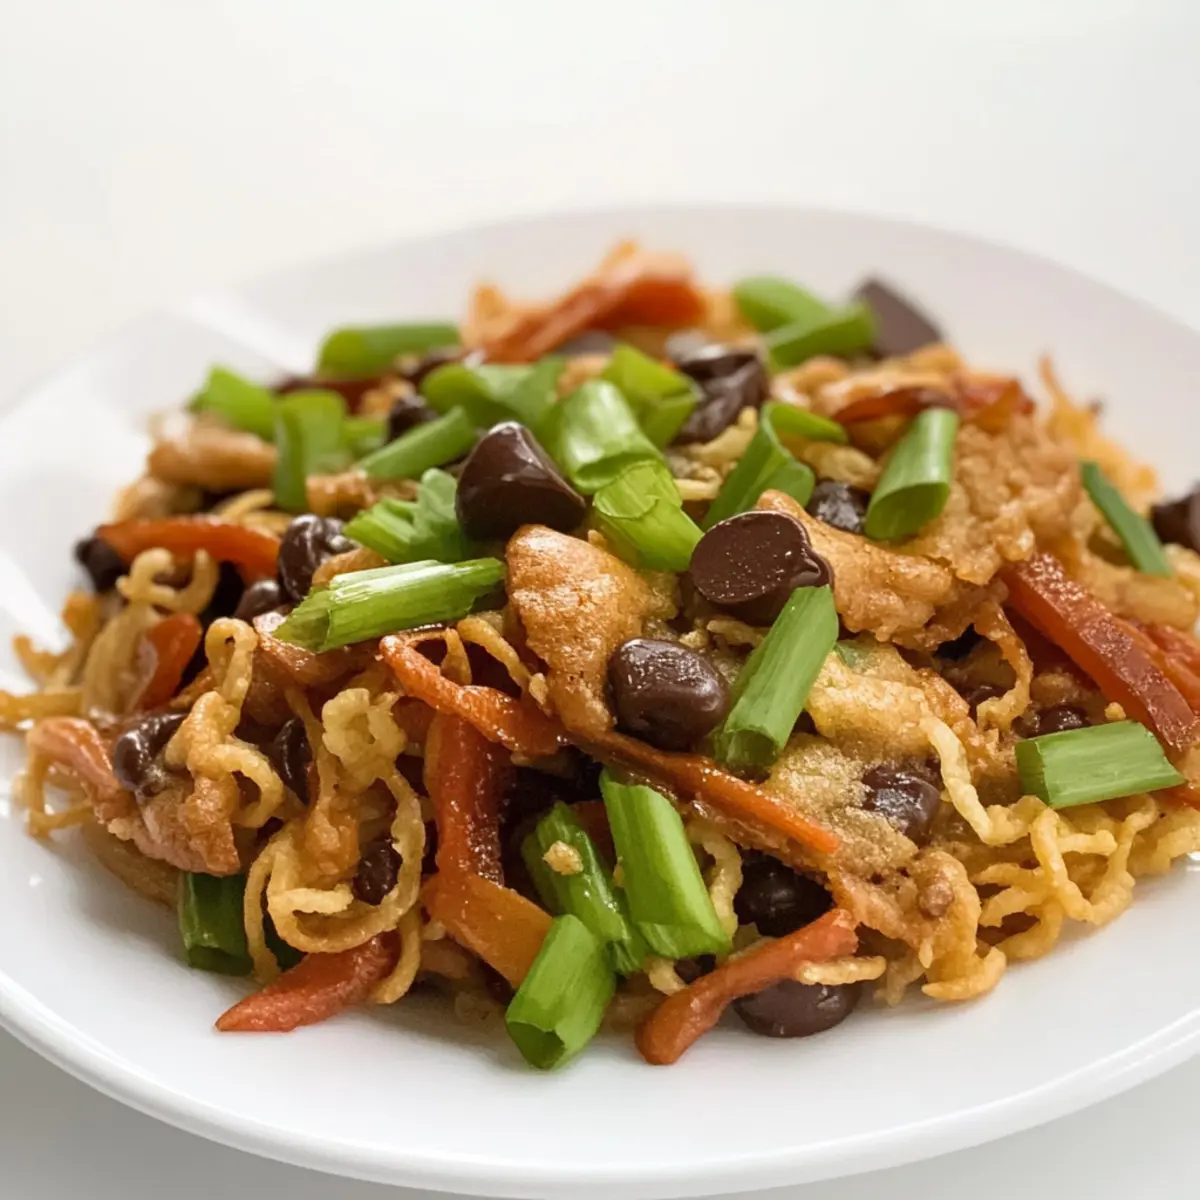
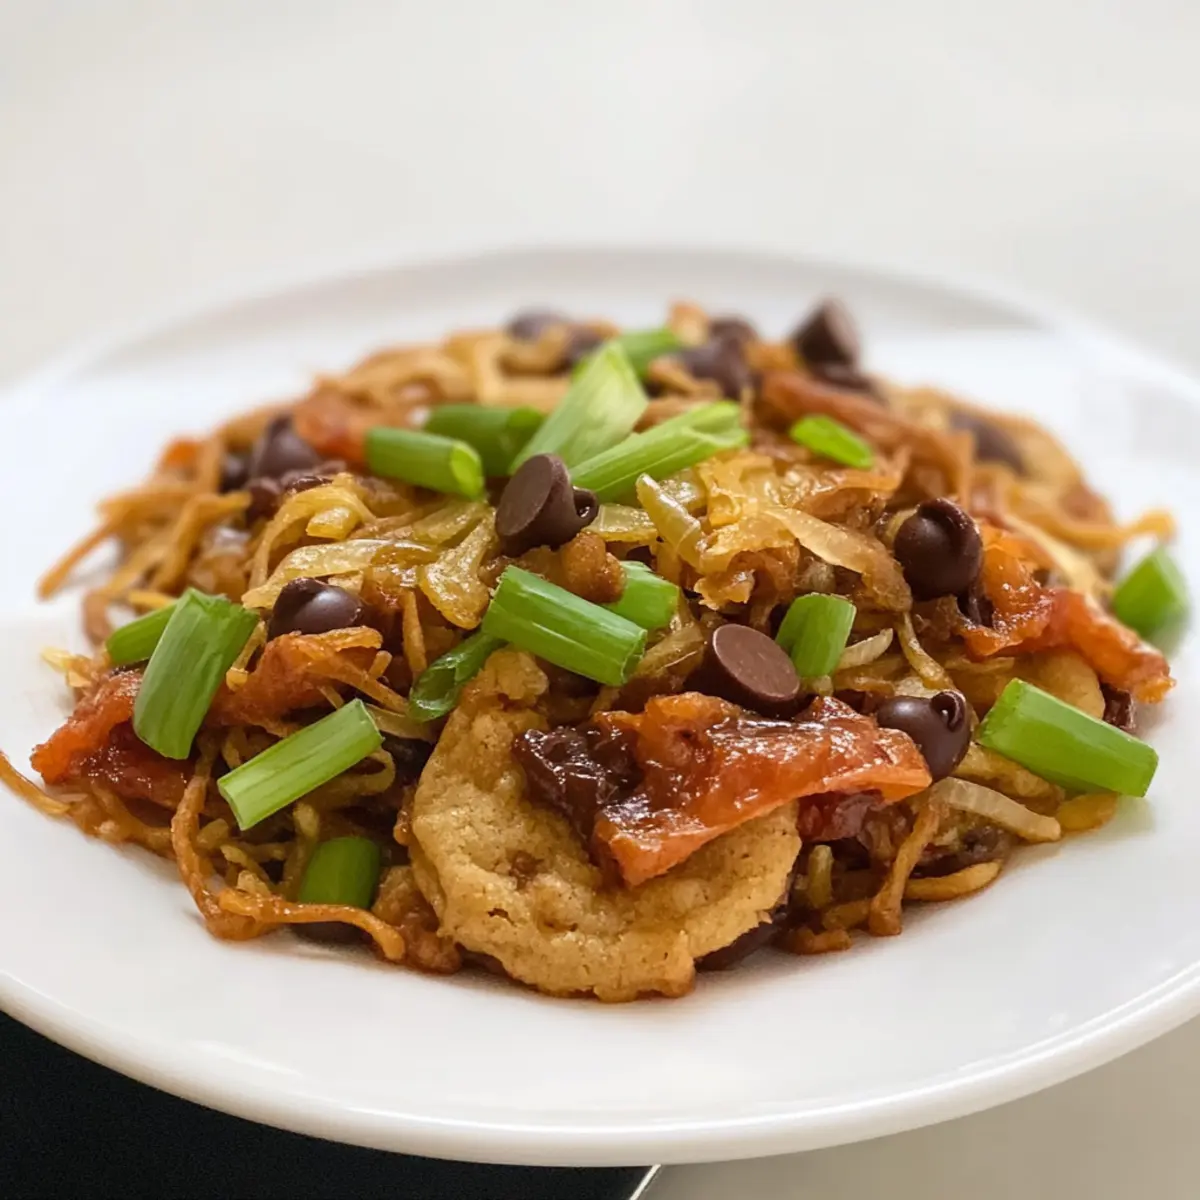
As I rummaged through my pantry, the aroma of sizzling vegetables and savory chicken wafted through the air, coaxing me to create something extraordinary. Enter the Tasty Chicken Ramen Stir Fry—a vibrant dish that brings a delightful balance of flavors and textures to your table. Quick to whip up and packed with fresh ingredients, this recipe is perfect for those busy weeknights when fast food just won't do. Not only is it a crowd-pleaser, but it also allows for endless customization, so you can make it your own! What's your favorite add-in for a stir fry?
Why Is This Chicken Ramen Stir Fry Amazing?
Simplicity at Its Best: You only need a few ingredients to create this flavorful dish, making it perfect for quick weeknight dinners.
Flavor Explosion: The savory chicken paired with fresh vegetables and the umami goodness of ramen creates a dish that's anything but ordinary.
Versatile Customization: Easily swap in your favorite seasonal veggies or proteins, allowing you to make it truly your own.
Crowd-Pleasing Appeal: Whether it's family dinner or hosting friends, this recipe ensures satisfied taste buds all around!
Time-Saving Delight: Perfectly cooked in under 30 minutes, this stir fry is a fantastic way to put a healthy meal on the table without the hassle of getting takeout. Explore ideas like adding your favorite protein from my Honey Garlic Chicken or veggies like in my Crock Pot Chicken!
Tasty Chicken Ramen Stir Fry Ingredients
For the Stir Fry
• Chicken Breast – thinly sliced for quick cooking and maximum flavor absorption.
• Ramen Noodles – opt for instant ramen to save time; it cooks quickly and absorbs the sauce beautifully.
• Bell Peppers – colorful and crunchy, they add freshness and a sweet note to the dish.
• Carrots – julienned for an attractive presentation and a hint of sweetness.
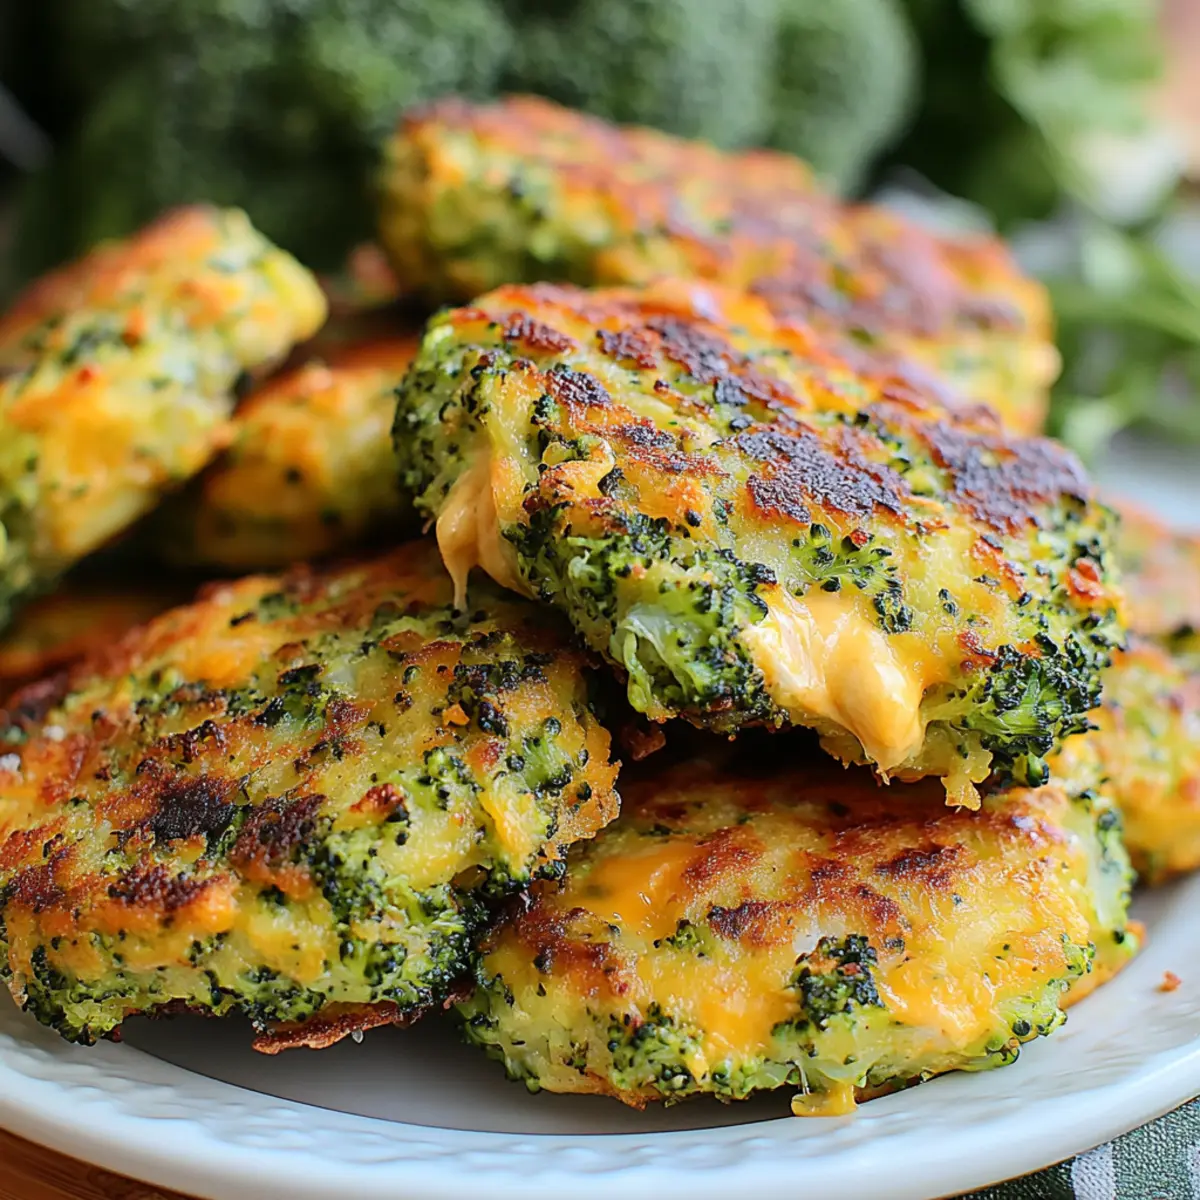
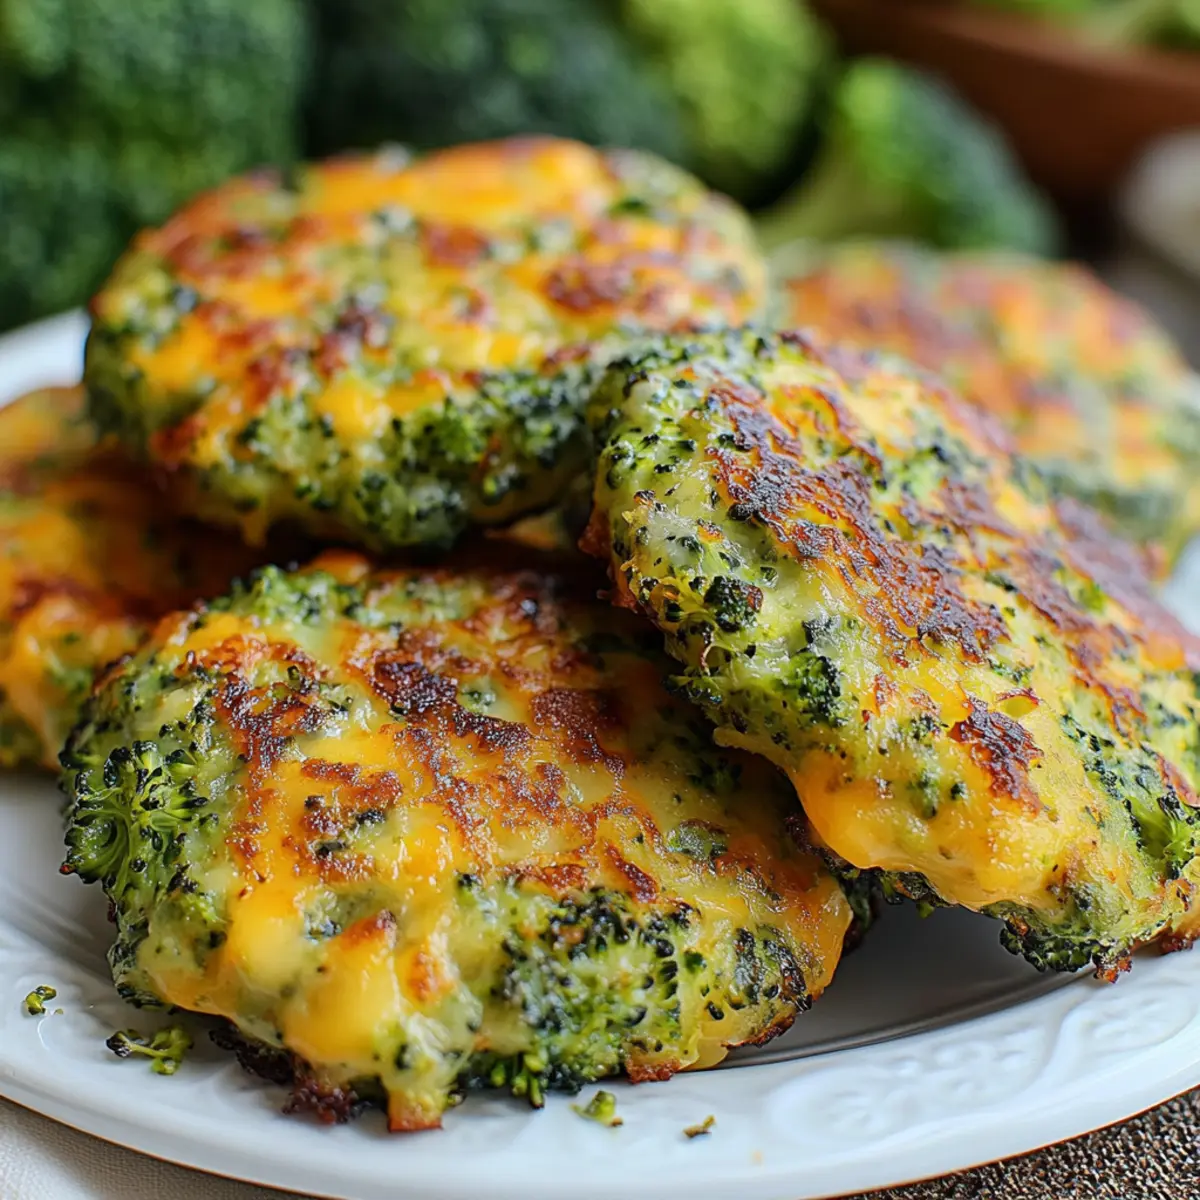
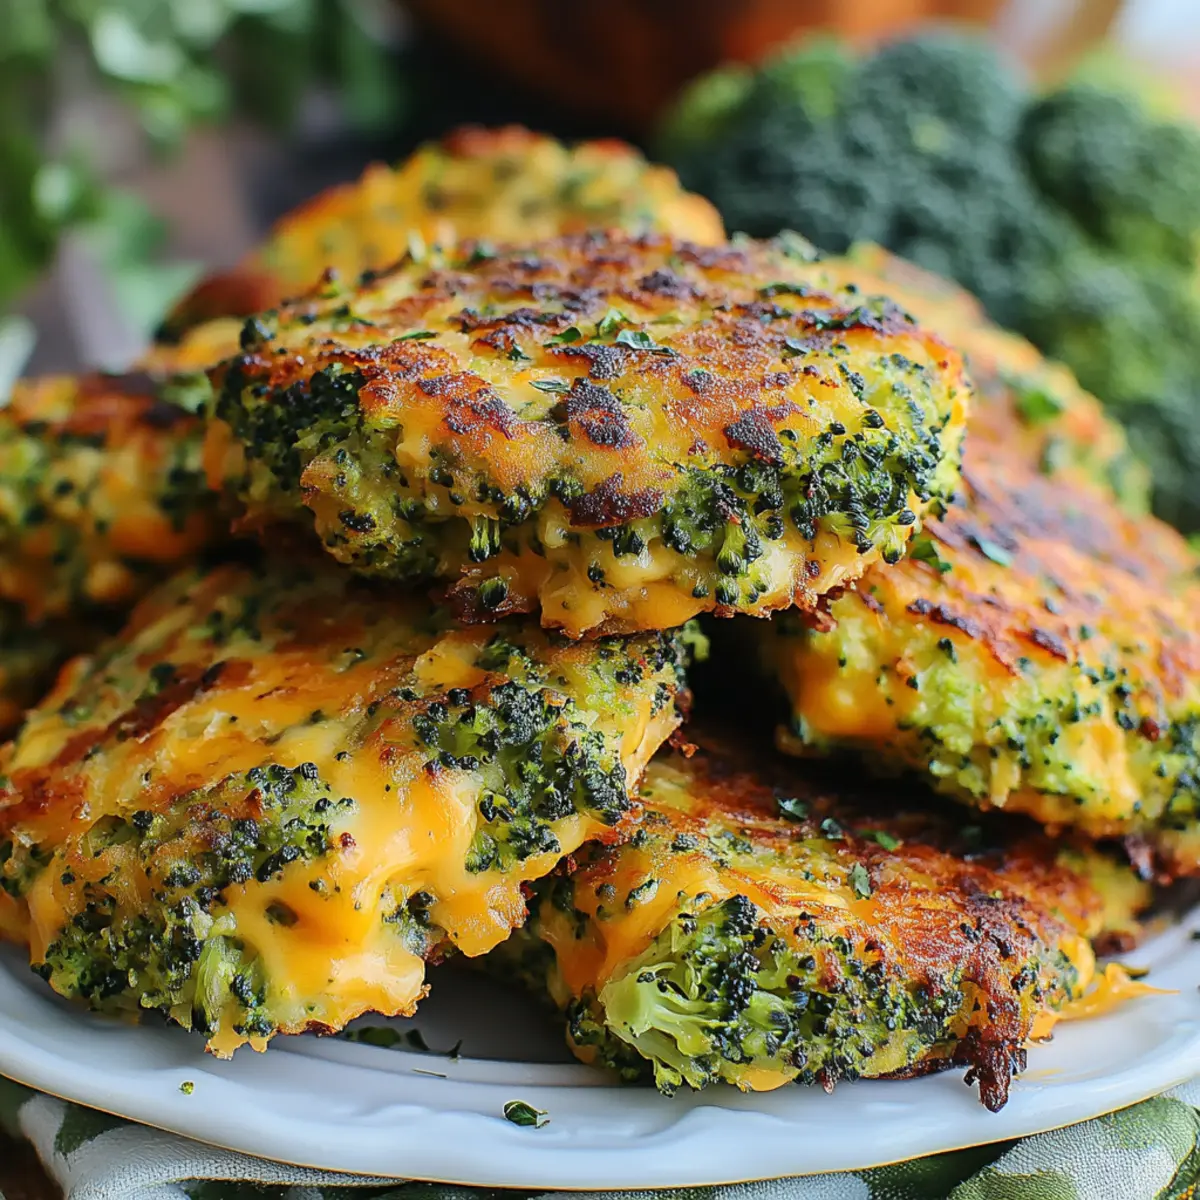
• Broccoli Florets – provides a satisfying crunch and vibrant color; feel free to swap in any seasonal veggies.
• Soy Sauce – the savory base for this dish; use low-sodium to control the saltiness.
• Garlic – minced for an aromatic kick; fresh garlic elevates the flavor tremendously.
• Ginger – finely grated, it adds a warm and zesty note that complements the chicken.
• Sesame Oil – a rich, nutty oil that enhances the overall depth of flavor; a little goes a long way!
Optional Toppings
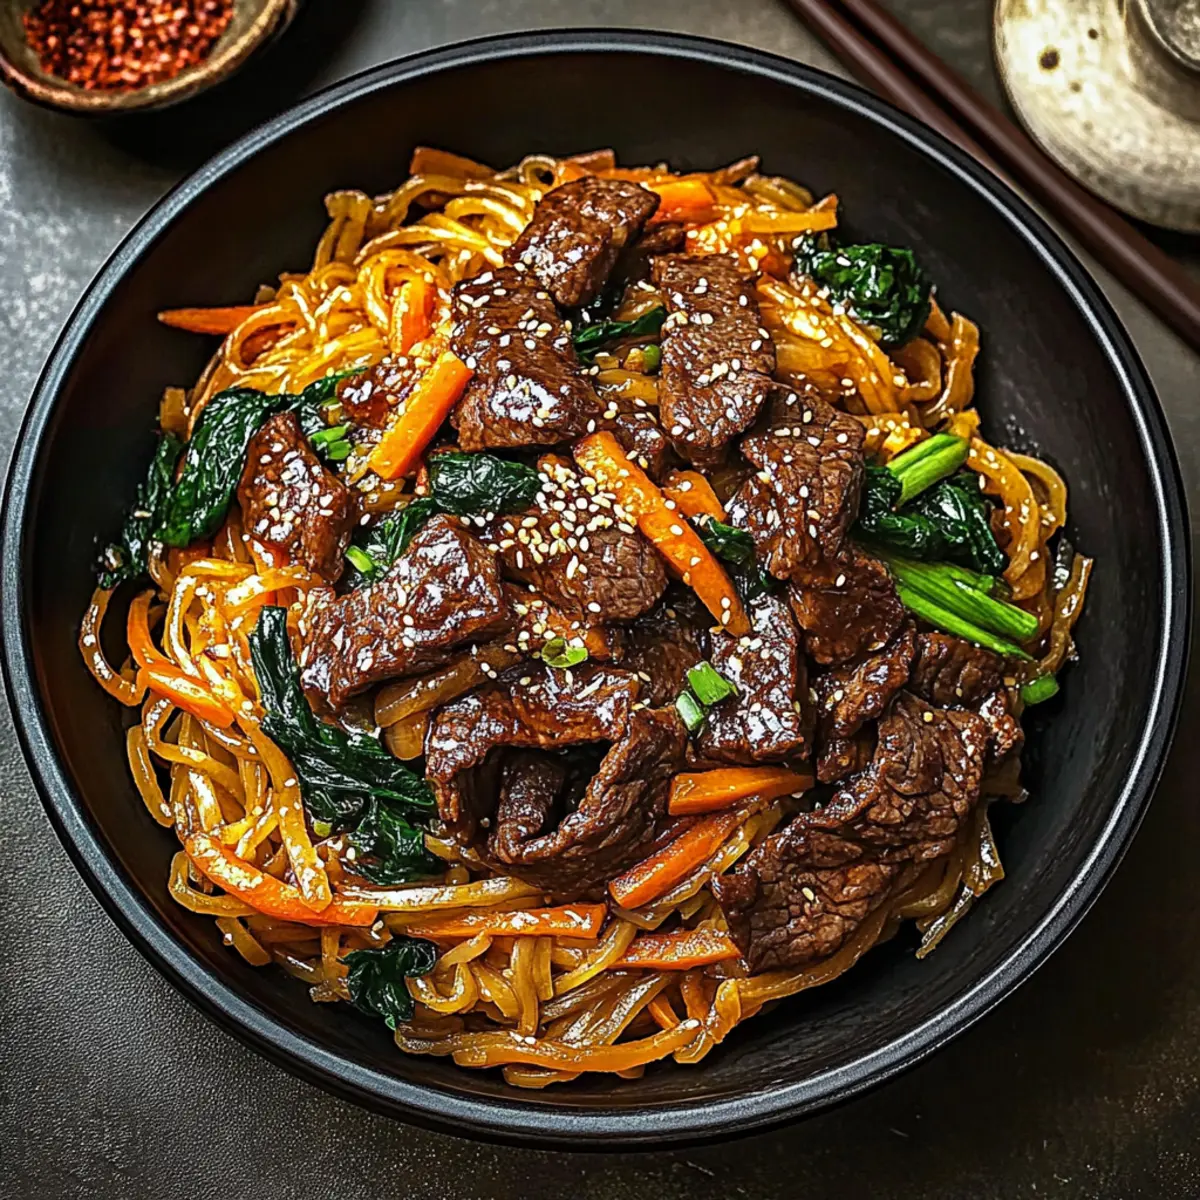
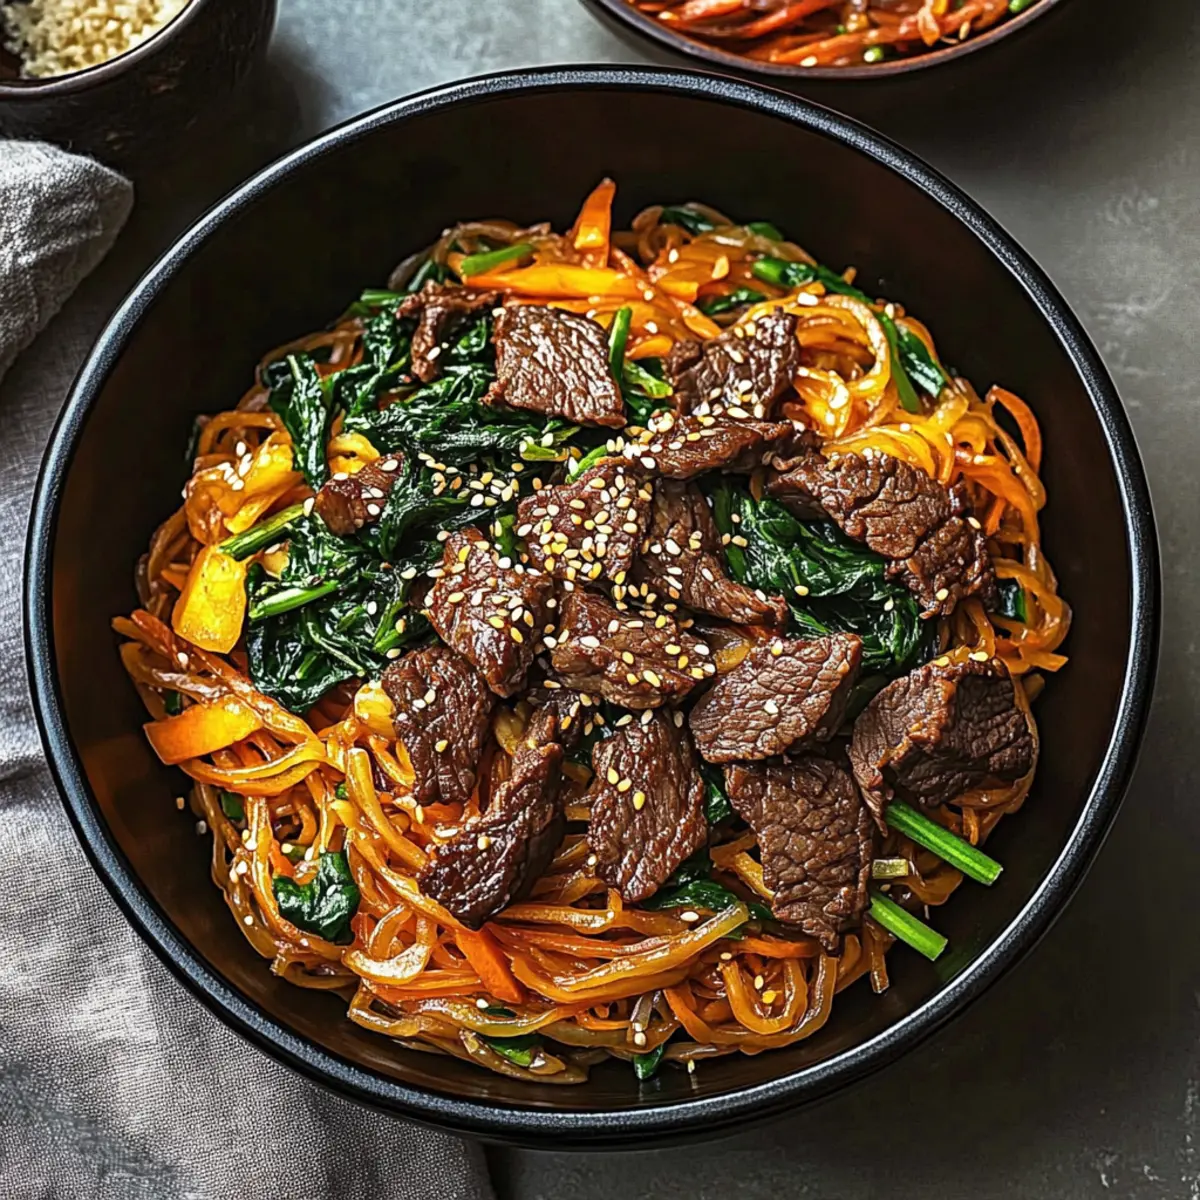
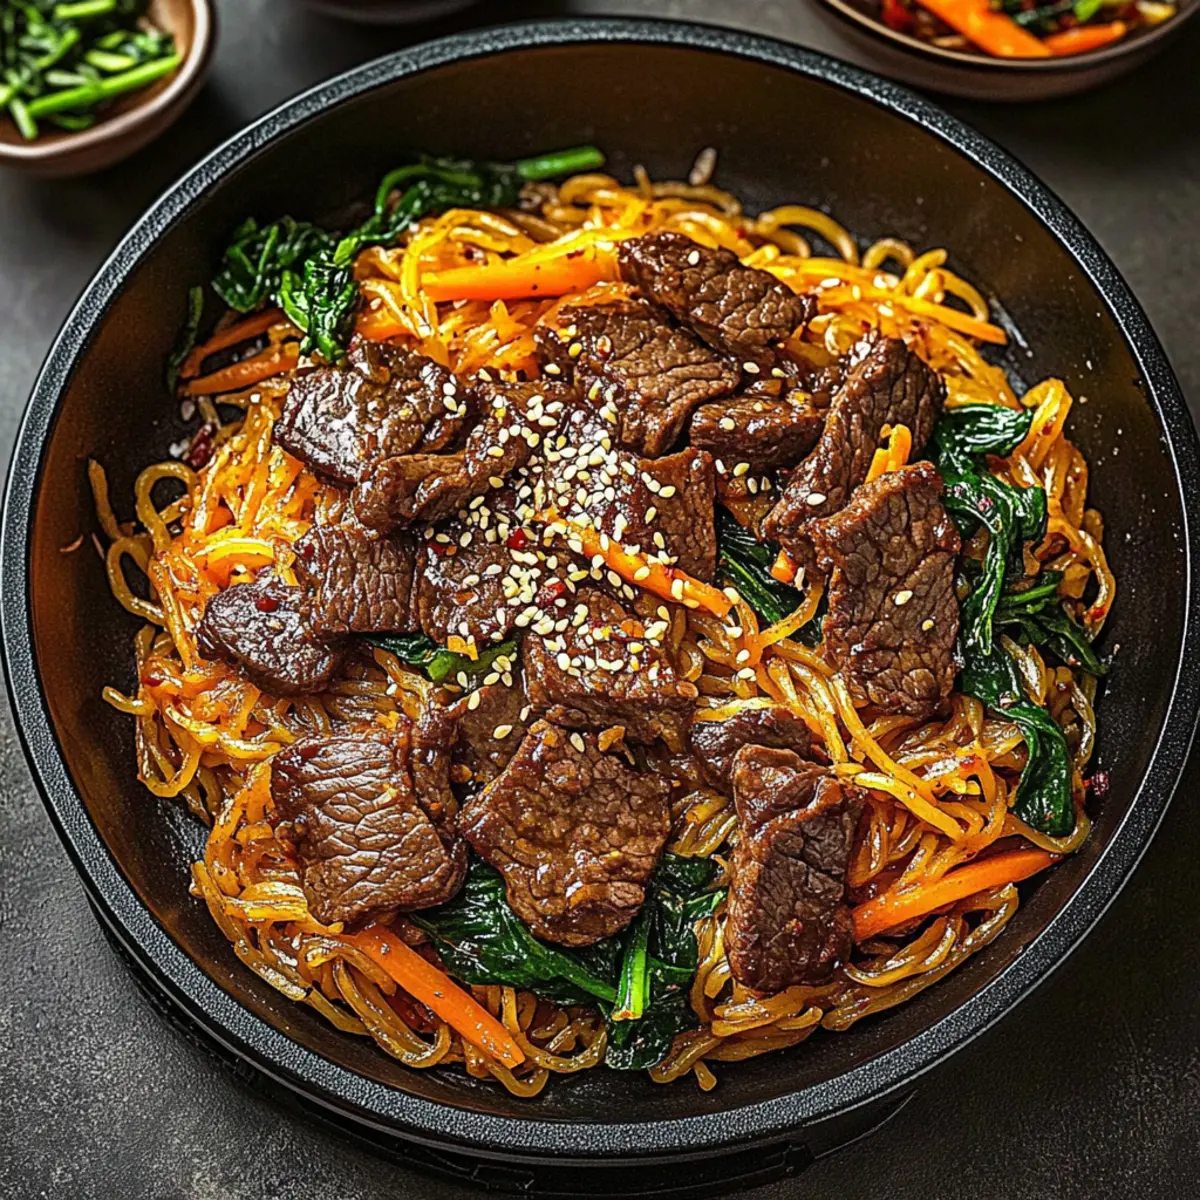
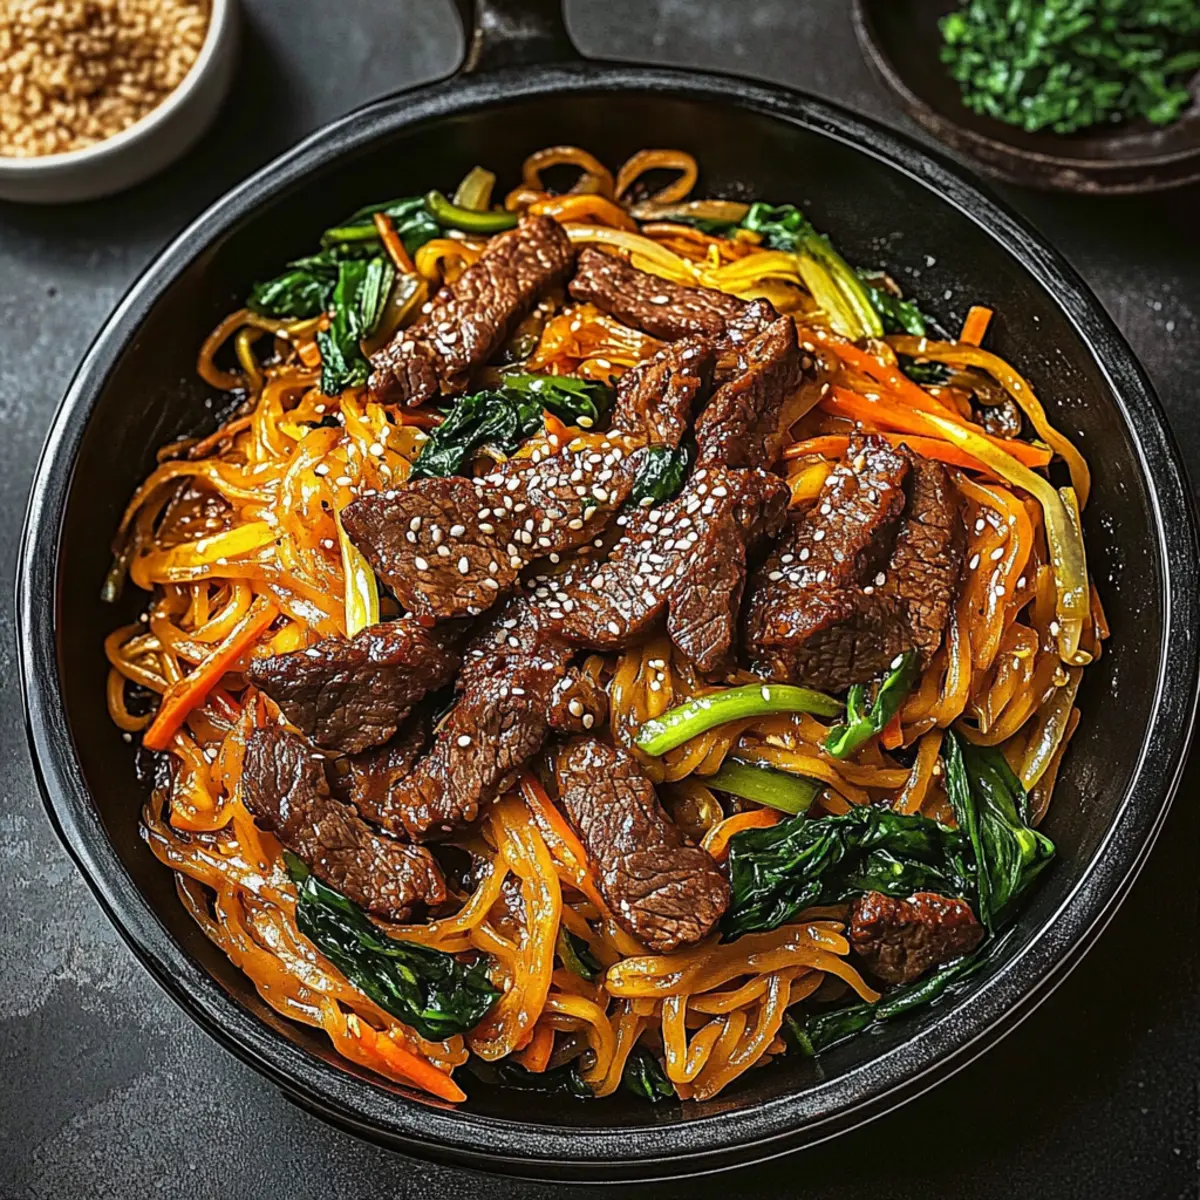
• Green Onions – sliced for a fresh, mild pungency.
• Sesame Seeds – toasted for a nutty crunch that adds visual appeal and flavor.
• Chili Flakes – sprinkle on for a spicy kick, perfect for heat lovers!
Get ready to wow your taste buds with this Tasty Chicken Ramen Stir Fry!
Step‑by‑Step Instructions for Tasty Chicken Ramen Stir Fry
Step 1: Preheat and Prepare
Begin by preheating your stovetop to medium heat while you prepare your ingredients. Thinly slice the chicken breasts and vegetables, ensuring everything is ready to go. Once your prep work is complete, gather a large non-stick skillet or wok, and have your soy sauce, ginger, and garlic nearby for a seamless cooking experience.
Step 2: Cook the Chicken
Add a drizzle of sesame oil to the heated skillet, then toss in the sliced chicken. Stir-fry the chicken for about 5-7 minutes until it’s golden brown and fully cooked, reaching an internal temperature of 165°F (75°C). Remove the cooked chicken from the skillet and set it aside on a plate, allowing the flavors to rest while you prepare the veggies.
Step 3: Sauté the Vegetables
In the same skillet, add a bit more sesame oil if needed, then add the julienned carrots, bell peppers, and broccoli florets. Stir-fry for about 4-5 minutes until the vegetables are tender-crisp, showcasing vibrant colors. This step not only develops flavor but adds a beautiful crunch that complements the Tasty Chicken Ramen Stir Fry perfectly.
Step 4: Add Aromatics
Once the vegetables are done, push them to the side of the skillet and add minced garlic and grated ginger to the open space. Sauté for about 30 seconds until fragrant, allowing the garlic to brown slightly without burning. This simple step infuses your stir fry with irresistible aroma and enhances the overall taste of your dish.
Step 5: Incorporate Noodles
Now it’s time to add the instant ramen noodles directly into the skillet. Pour in enough water to just cover the noodles, approximately 2 cups. Increase the heat to high, cover the skillet, and let it boil for 2-3 minutes, stirring occasionally to ensure the noodles cook evenly and absorb the flavors.
Step 6: Combine Ingredients
Once the ramen noodles are cooked and have absorbed some water, return the cooked chicken to the skillet. Pour in the soy sauce, stirring everything together to coat the noodles and veggies evenly. Continue stirring for another 1-2 minutes until everything is heated through and makes a harmonious blend of flavors in your Tasty Chicken Ramen Stir Fry.
Step 7: Serve and Garnish
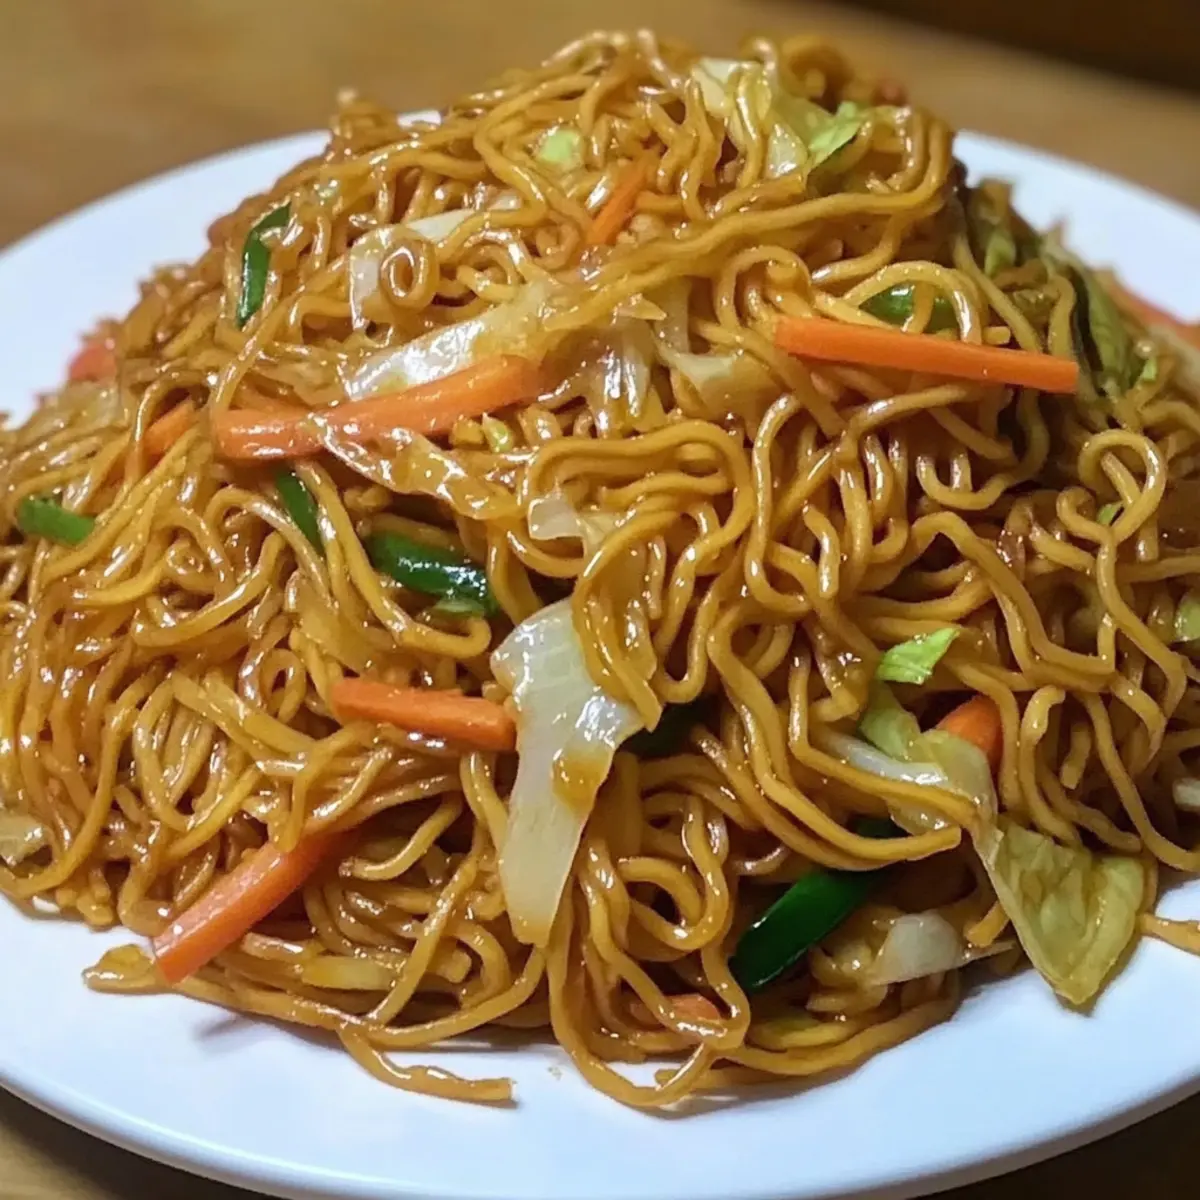
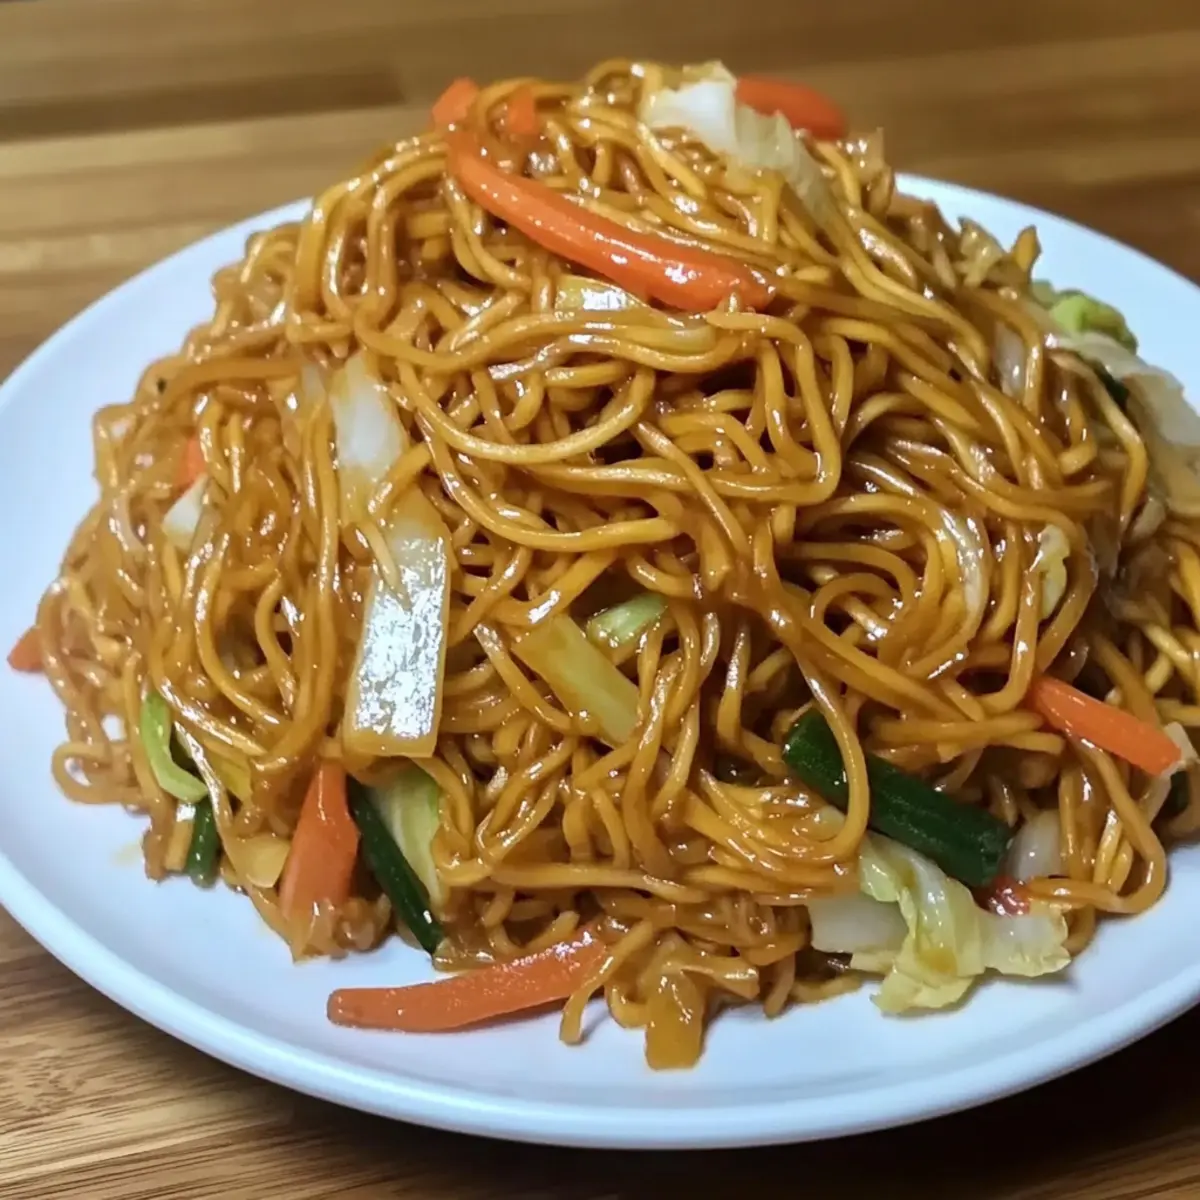
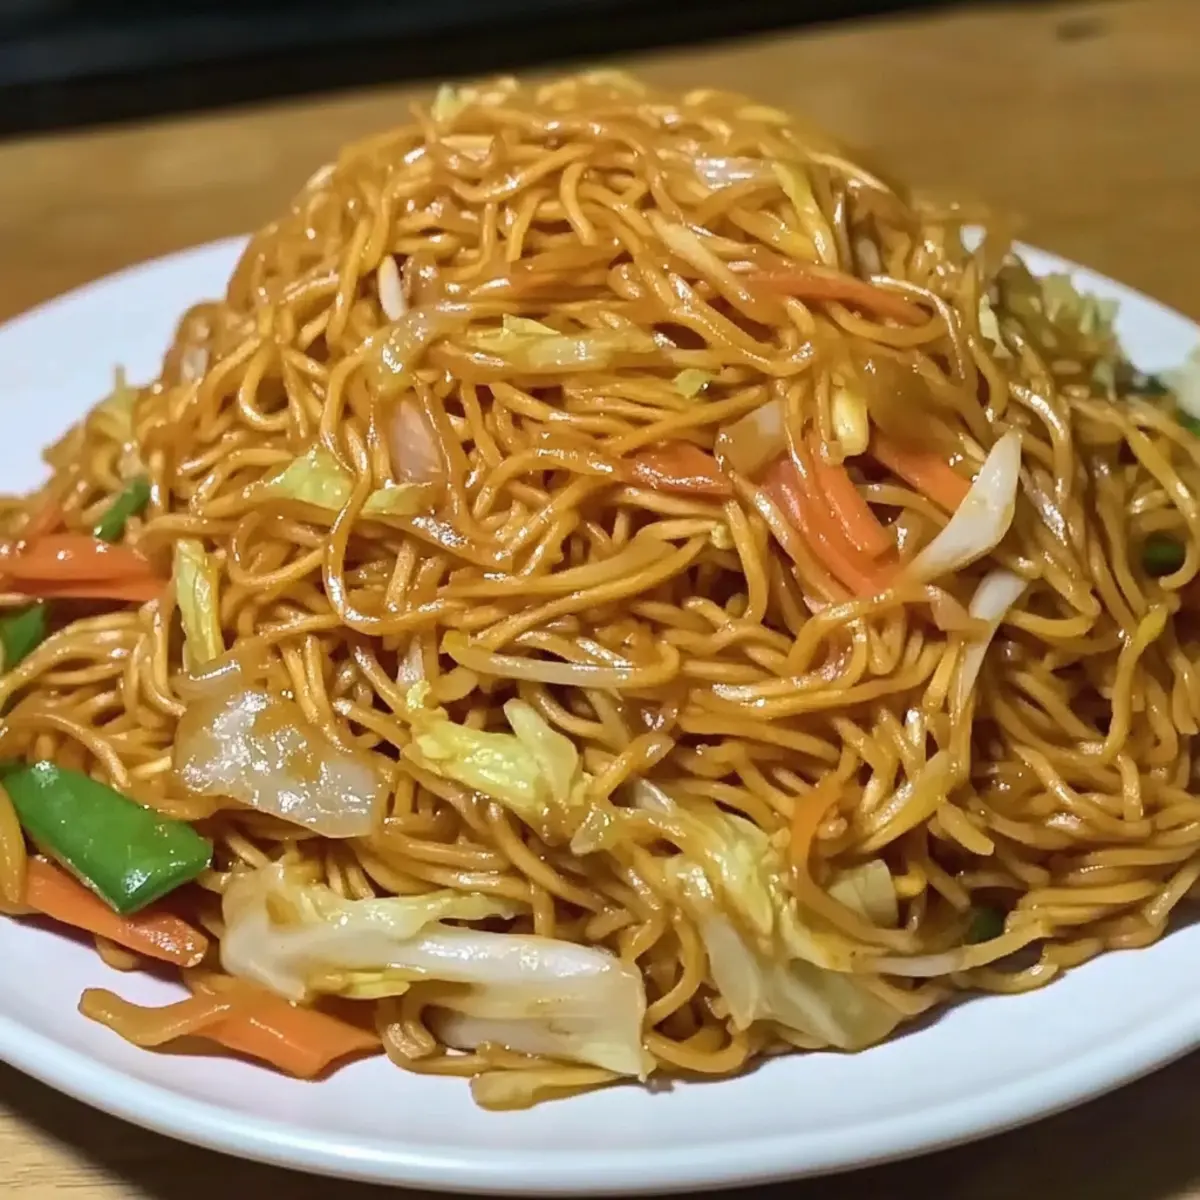
Taste your stir fry and adjust seasoning if necessary, then remove it from heat. Serve your vibrant Tasty Chicken Ramen Stir Fry hot, garnished with sliced green onions, toasted sesame seeds, and chili flakes if you desire an extra kick. Enjoy this dish fresh for the best texture and flavor!
What to Serve with Ultimate Soft and Chewy Chocolate Chip Cookies
The perfect accompaniment can elevate your homemade chocolate chip cookies from delightful treats to a memorable dessert experience.
-
Glass of Cold Milk: The classic pairing! Cold milk perfectly complements the richness of the cookies, enhancing their flavor and providing a satisfying contrast. A dunk into cold milk makes the experience even better.
-
Vanilla Ice Cream Scoop: A warm cookie topped with creamy vanilla ice cream creates a sensational dessert that melts in your mouth. It's the ideal balance of hot and cold!
-
Fresh Berries: The tartness of strawberries or raspberries adds a refreshing contrast to the sweet, chocolaty goodness. Their vibrant colors make your dessert plate pop with joy!
-
Chocolate Sauce Drizzle: For serious chocolate lovers, drizzling warm chocolate sauce adds an extra layer of indulgence, making each bite truly decadent. It's like experiencing chocolate heaven!
-
Coffee or Espresso: The richness of coffee offers a gourmet touch that complements the cookies' sweetness, creating a comforting and sophisticated dessert experience.
-
Homemade Whipped Cream: Light and airy, a dollop of whipped cream takes the cookies to a new level of deliciousness. It adds a creamy texture that beautifully balances the chewy cookie.
-
Peanut Butter Swirl: Adding a layer of creamy peanut butter brings a delightful twist. The salty-sweet combination pairs wonderfully with chocolate, making each bite unforgettable.
-
Coconut Flakes: For a tropical flair, sprinkle toasted coconut on top of the cookies before serving. It adds an unexpected crunch and a hint of sweetness that transports you to a beachy paradise.
Expert Tips for Tasty Chicken Ramen Stir Fry
-
Prep Ahead: Ensure all ingredients are prepped before cooking, as stir-frying moves quickly. This will help you maintain the perfect texture and flavors in your Tasty Chicken Ramen Stir Fry.
-
High Heat Cooking: Stir-fry over medium-high heat to achieve that beautiful sear on the chicken and vegetables. This prevents steaming and keeps everything crispy.
-
Don’t Overcook: Keep an eye on the chicken and veggies to avoid overcooking. You want them tender-crisp, with vibrant colors in your Tasty Chicken Ramen Stir Fry.
-
Add Flavor Layers: For deeper flavor, consider adding a splash of rice vinegar or a few drops of fish sauce along with your soy sauce. These additions can elevate your dish to new heights.
-
Experiment with Veggies: Don’t hesitate to swap in your favorite seasonal vegetables. This dish is versatile, so get creative with your fresh picks!
-
Storage Tips: If you have leftovers, store them in an airtight container in the fridge for up to 3 days. Reheat gently to maintain texture!
Make Ahead Options
Preparing your Tasty Chicken Ramen Stir Fry in advance is a fantastic way to save time on busy weeknights! You can chop and refrigerate all your vegetables (bell peppers, carrots, and broccoli) up to 3 days in advance, ensuring they remain crisp and vibrant. Additionally, slice the chicken breast and marinate it in your favorite seasoning for enhanced flavor before refrigerating for up to 24 hours. When you're ready to cook, simply stir-fry the chicken, sauté the prepped veggies, and add in the ramen noodles with the aromatics. This will allow for a quick assembly of your meal, delivering fresh and delicious results with minimal effort!
Tasty Chicken Ramen Stir Fry Variations
Feel free to let your imagination run wild with these variations, turning your Tasty Chicken Ramen Stir Fry into something uniquely yours!
- Gluten-Free: Substitute ramen noodles with rice noodles or a gluten-free noodle option to cater to dietary needs.
- Protein Swap: Use shrimp or firm tofu instead of chicken for a delightful twist in flavor and texture. Each protein has its own charm that can elevate your dish!
- Spicy Kick: Add sliced jalapeños or a few dashes of sriracha to the sauce for a zesty heat that complements the savory elements beautifully.
- Crunchy Topping: Top with crushed peanuts or fried shallots for an added layer of texture and crunch that balances the mellow flavors of the stir fry.
- Veggie Boost: Include snap peas, zucchini, or baby corn, which add vibrant colors and fresh flavors, enhancing both the nutrition and taste.
- Coconut Flavor: Mix in a splash of coconut milk along with the soy sauce for a creamy, tropical flair that pairs well with the chicken.
- Herbal Infusion: Toss in fresh cilantro or basil just before serving for an aromatic freshness that makes each bite feel like spring!
By playing with these variations, you'll keep your dinner exciting and tailored just to your tastes. Consider pairing this lovely stir fry with a refreshing cucumber salad or some homemade spring rolls for a complete meal experience! If you're in the mood for more great chicken ideas, check out my Honey Garlic Chicken recipe for a sweet and savory dish that'll make your taste buds sing!
Storage Tips for Tasty Chicken Ramen Stir Fry
- Room Temperature: Enjoy your stir fry fresh for the best flavor. If left out, consume within 2 hours to ensure safety.
- Fridge: Store leftovers in an airtight container for up to 3 days. To maintain the quality, avoid mixing with other dishes.
- Freezer: For longer storage, freeze in an airtight container for up to 2 months. Thaw in the fridge overnight before reheating.
- Reheating: Gently reheat on the stovetop over low heat with a splash of water to keep your Tasty Chicken Ramen Stir Fry moist and flavorful.
Tasty Chicken Ramen Stir Fry Recipe FAQs
What type of chicken should I use for the stir fry?
For optimal flavor and texture, I recommend using boneless, skinless chicken breasts, thinly sliced to ensure quick cooking. You can also use chicken thighs for a richer taste if preferred!
Can I use other noodles instead of ramen?
Absolutely! While ramen noodles are quick and easy, you can substitute them with soba noodles, udon, or even rice noodles. Just adjust the cooking time accordingly based on the noodle type for best results.
How should I store leftovers?
Store leftovers in an airtight container in the refrigerator for up to 3 days. Avoid mixing with other dishes to keep the flavors intact. When ready to enjoy, gently reheat them on the stovetop over low heat, adding a splash of water to keep the noodles moist.
Can I add extra vegetables to this stir fry?
Very! This dish is incredibly versatile; feel free to swap in seasonal vegetables like snap peas, bok choy, or zucchini. Just be mindful of cooking times—add delicate veggies later in the cooking process to maintain their crunch.
How can I freeze this stir fry?
To freeze your Tasty Chicken Ramen Stir Fry, let it cool completely, then transfer it to an airtight container. It can be frozen for up to 2 months. When ready to eat, thaw it in the fridge overnight and reheat gently on the stovetop.
Is this dish pet-friendly?
While the ingredients are safe for humans, this stir fry may not be suitable for pets, especially due to the seasoning from soy sauce. If you want to share a safe meal with your pet, consider setting aside some plain cooked chicken or veggies before adding sauces!
Tasty Chicken Ramen Stir Fry That Will Wow Your Taste Buds
Ingredients
Equipment
Method
- Preheat your stovetop to medium heat and prepare your ingredients.
- Add sesame oil to the skillet, toss in the sliced chicken and stir-fry until golden brown, about 5-7 minutes.
- In the same skillet, add carrots, bell peppers, and broccoli. Stir-fry for about 4-5 minutes until tender-crisp.
- Push vegetables to the side and add garlic and ginger, sauté for about 30 seconds until fragrant.
- Add instant ramen noodles and enough water to cover, increase heat and boil for 2-3 minutes.
- Return cooked chicken to skillet, pour in soy sauce, stir everything together for 1-2 minutes until heated through.
- Serve hot, garnished with green onions, sesame seeds, and chili flakes if desired.