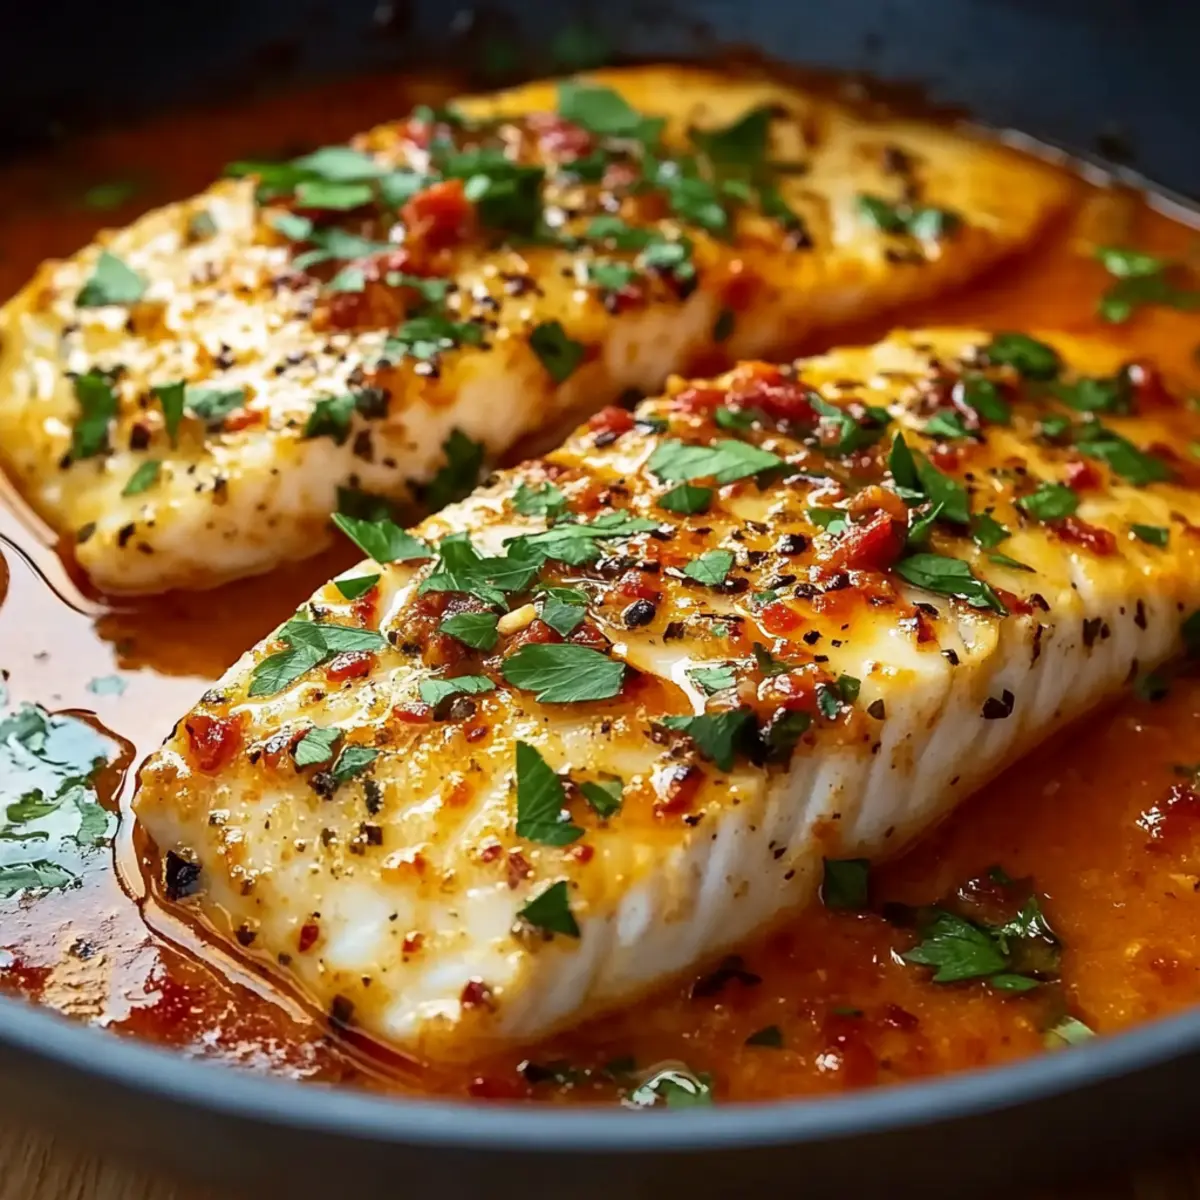
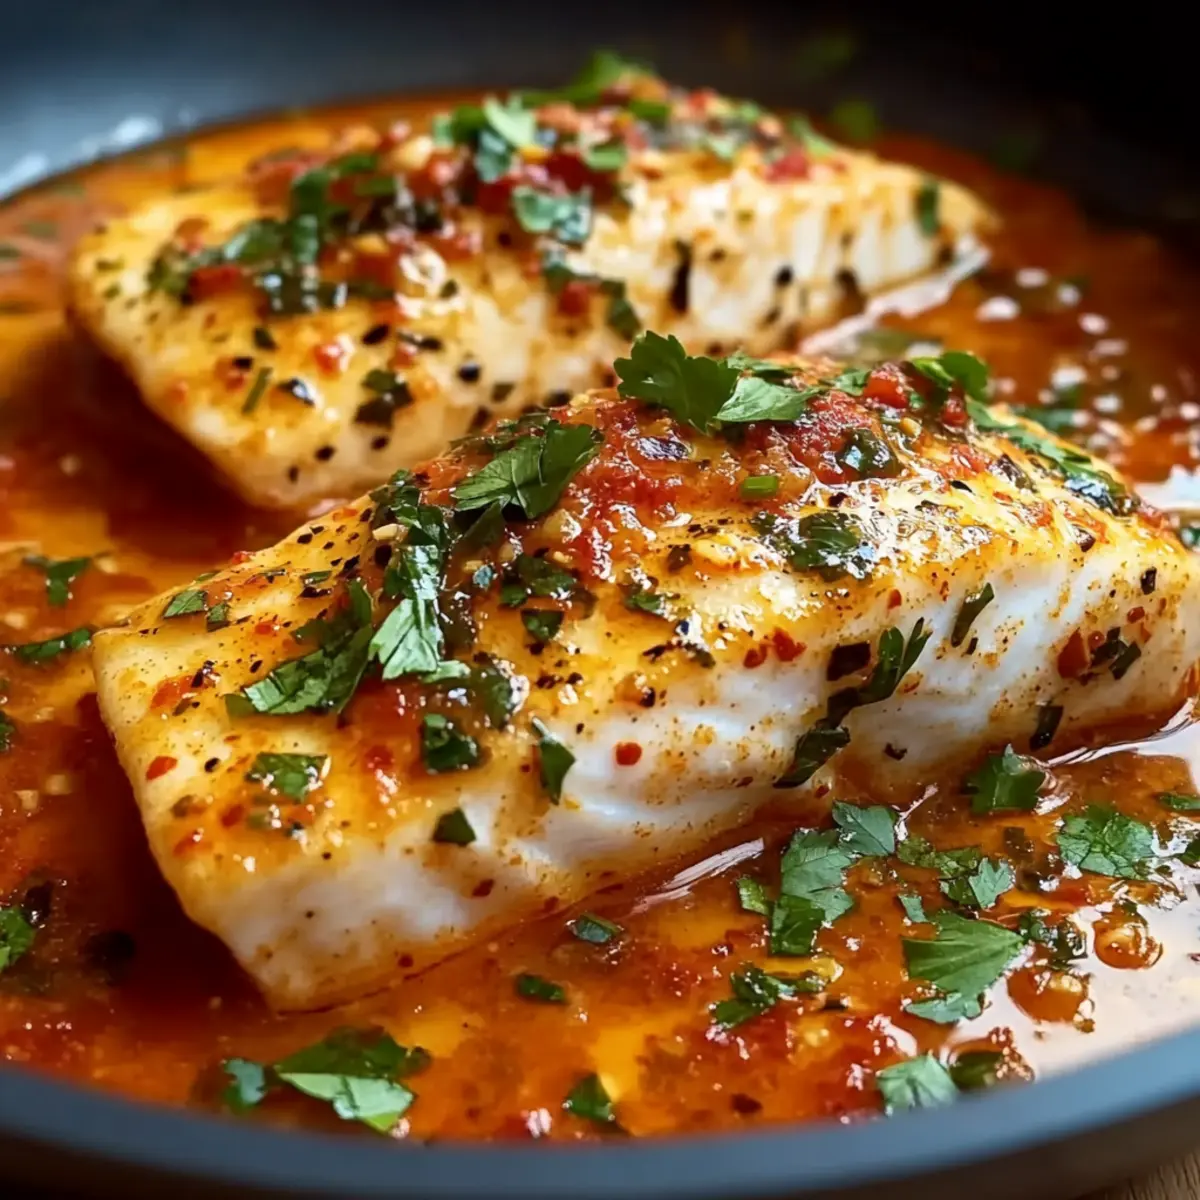
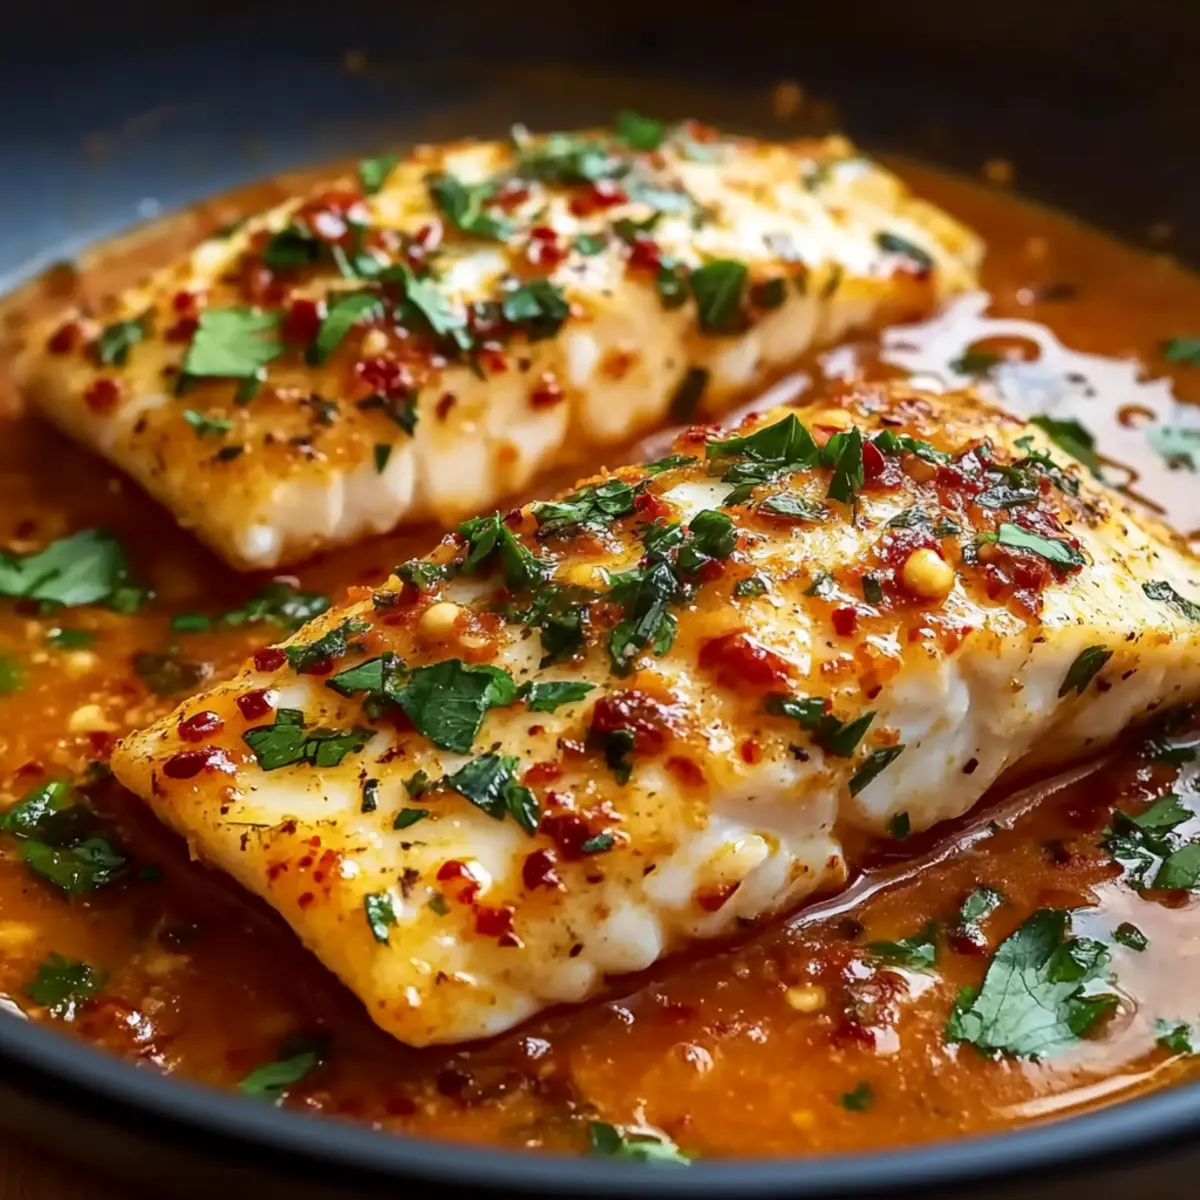
As I stood in my kitchen, the tantalizing aroma of roasted red bell peppers teasing my senses, I knew it was time to whip up something special: Tilapia in Roasted Pepper Sauce. This Mediterranean-inspired dish marries the delicate, flaky texture of fresh tilapia with a vibrant, smoky sauce that redefines weeknight dinners. What I love most is how quick this recipe is to prepare—perfect for those busy evenings when you crave something homemade yet effortless. Plus, it’s gluten-free and brimming with fresh ingredients, making it a guilt-free pleasure! Are you ready to bring a taste of sunshine to your table? Let’s dive into this delightful recipe!
Why is Tilapia in Roasted Pepper Sauce special?
Quick Preparation: You can whip up this meal in under 30 minutes, making it perfect for hectic weeknights.
Vibrant Flavor: The blend of sweet roasted peppers with garlic creates a sauce that dances on your palate, elevating your dish from ordinary to extraordinary.
Gluten-Free Delight: This recipe is naturally gluten-free, allowing everyone at the table to enjoy with peace of mind.
Versatile Pairing: Serve over fluffy couscous, steamed jasmine rice, or a crisp salad—each bite will leave you feeling satisfied.
Wholesome Ingredients: Packed with fresh, seasonal produce, it highlights the essence of Mediterranean cooking, ensuring a healthy dish that doesn’t skimp on flavors.
Discover a recipe that not only feeds your hunger but also nurtures your love for homemade meals!
Tilapia in Roasted Pepper Sauce Ingredients
For the Tilapia
• Tilapia Fillets – A primary protein that provides a flaky texture; you can substitute it with cod, haddock, or halibut for similar delicious results.
For the Roasted Pepper Sauce
• Red Bell Peppers – The star of the sauce offers a sweet, vibrant flavor and color; jarred roasted peppers can be used for convenience.
• Olive Oil – Essential for roasting and sautéing; choose a high-quality oil to enhance the flavors beautifully.
• Garlic – Adds aromatic depth to the sauce; fresh garlic is best, but jarred minced garlic works in a pinch.
• Lemon Juice – Brightens the sauce with its acidity; prefer fresh juice over bottled for the best flavor profile.
• Salt and Pepper – Crucial for seasoning; adjust according to your taste for a balanced dish.
By gathering these fresh ingredients, you're just steps away from creating a stunning dish of Tilapia in Roasted Pepper Sauce that will surely impress your family and friends!
Step‑by‑Step Instructions for Tilapia in Roasted Pepper Sauce
Step 1: Preheat the Oven
Begin by preheating your oven to 400°F (200°C). This temperature will ensure that your roasted red bell peppers cook evenly and develop a slightly charred exterior, enhancing their natural sweetness. While your oven warms up, gather the necessary baking sheet and parchment paper for easy cleanup.
Step 2: Prepare the Peppers
Next, slice the red bell peppers into quarters and remove the seeds. Toss them in a bowl with a drizzle of olive oil, a pinch of salt, and freshly cracked pepper. Spread the seasoned peppers onto a baking sheet lined with parchment paper, ensuring they have ample space to roast without overcrowding for about 20 minutes, or until they are tender and slightly caramelized.
Step 3: Blend the Sauce
Once the peppers are roasted, transfer them to a blender or food processor. Add the minced garlic and a splash of fresh lemon juice, then blend until you achieve a smooth, vibrant sauce. Scrape down the sides if needed, and taste for seasoning, adjusting with salt and pepper as desired.
Step 4: Cook the Tilapia
In a large skillet, heat a tablespoon of olive oil over medium heat. Gently place the tilapia fillets in the hot skillet, cooking for 3-4 minutes on one side until they are golden brown. Carefully flip each fillet and cook for an additional 3-4 minutes until the fish is flaky and cooked through, reaching a beautifully golden hue.
Step 5: Add the Sauce
Once the tilapia is perfectly cooked, pour the blended roasted pepper sauce over the fillets in the skillet. Let the sauce simmer with the fish for about 1 minute, allowing all the flavors to meld together beautifully and the dish to warm through.
Step 6: Serve and Garnish
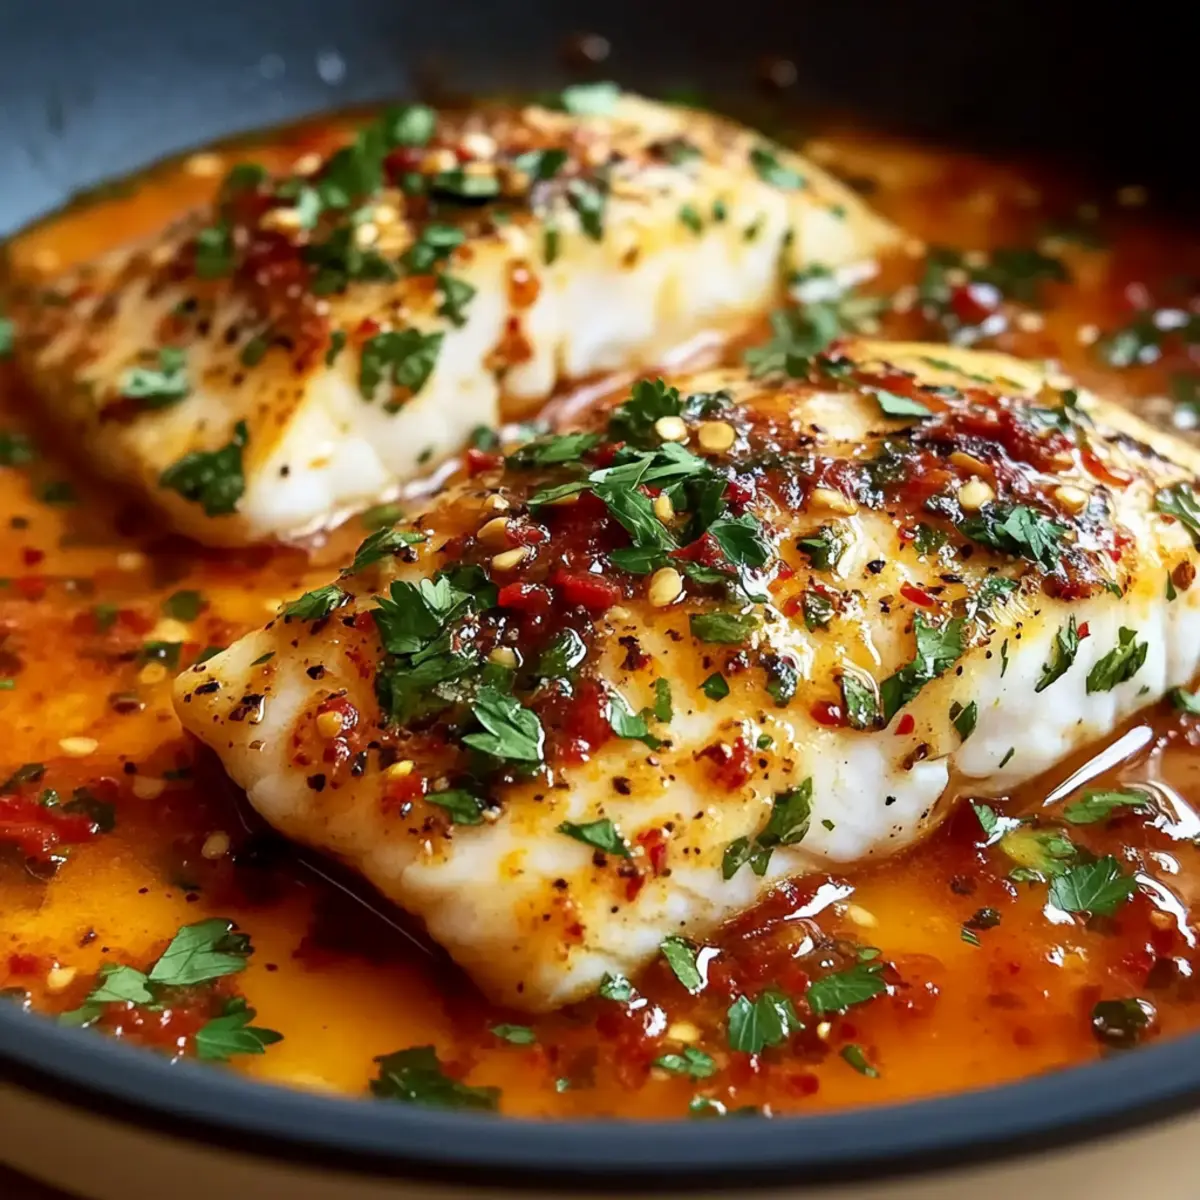
To serve your delightful Tilapia in Roasted Pepper Sauce, plate the fish along with the sauce generously drizzled over top. Garnish with chopped fresh parsley or basil, and a sprinkle of lemon zest for an extra touch of brightness. Pair it with fluffy couscous, jasmine rice, or a fresh salad for a stunning Mediterranean meal.
Storage Tips for Tilapia in Roasted Pepper Sauce
Fridge: Store leftovers in an airtight container for up to 2 days. The roasted pepper sauce may deepen in flavor, making it even tastier the next day.
Freezer: While freezing cooked tilapia is not recommended due to texture changes, you can freeze the roasted pepper sauce for up to 1 month in a tightly sealed container.
Reheating: For best results, reheat the leftover fish gently in a skillet over low heat, adding a splash of water or broth to keep it moist.
Serving Freshness: Enjoy the vibrant flavor of Tilapia in Roasted Pepper Sauce fresh for the best texture and taste, but don't hesitate to save leftovers for a quick meal!
What to Serve with Tilapia in Roasted Pepper Sauce
Elevate your Mediterranean meal experience with delightful side dishes that complement the flavors of this vibrant dish.
-
Fluffy Couscous: Its light, airy texture pairs beautifully with the rich sauce, absorbing the flavors while adding a lovely bite.
-
Steamed Jasmine Rice: The subtle fragrance of jasmine rice enhances the dish. Its simplicity balances the boldness of the roasted pepper sauce perfectly.
-
Citrusy Leaf Salad: A refreshing salad with mixed greens, citrus segments, and a light vinaigrette lifts the meal, providing a crisp contrast to the flaky fish.
-
Garlic Bread: Perfect for soaking up every drop of the sauce, warm garlic bread adds a comforting element that makes the meal feel complete.
-
Grilled Vegetables: A medley of zucchini, bell peppers, and asparagus offers a colorful, healthy addition, echoing the roasted flavors in the sauce.
-
White Wine: A glass of chilled Sauvignon Blanc or a light Pinot Grigio can enhance the meal, pairing beautifully with the seafood and sauce.
Indulge in these pairings and create a full Mediterranean feast that will have everyone asking for seconds!
Make Ahead Options
Preparing Tilapia in Roasted Pepper Sauce ahead of time is a fantastic way to save precious minutes on busy weeknights! You can roast the red bell peppers and blend them into the sauce up to 3 days in advance; simply refrigerate the sauce in an airtight container. The tilapia itself can be seasoned and stored in the fridge for up to 24 hours before cooking. When you're ready to enjoy this delightful dish, simply pan-sear the tilapia and pour the pre-made sauce over it for an effortless meal. This method ensures the flavors are just as vibrant and delicious while allowing you to enjoy quality homemade food with minimal last-minute effort!
Tilapia in Roasted Pepper Sauce Variations
Feel free to get creative! Here are some delightful spins on the classic dish to elevate your culinary experience.
-
Spicy Twist: Add red pepper flakes to the roasted peppers before blending for a warm kick. This variation will bring an exciting heat to each bite.
-
Creamy Addition: Stir in a dollop of Greek yogurt or sour cream into the sauce after blending for a rich and creamy texture. It adds a luscious contrast to the vibrant sauce.
-
Herb Infusion: Introduce fresh herbs like basil or oregano to the sauce for aromatic layers of flavor. This will provide an earthy richness that complements the roasted peppers beautifully.
-
Substitution Opportunity: Swap tilapia for shrimp. Cook them in the sauce for a few minutes until they are pink and tender, delivering a succulent seafood alternative.
-
Zesty Lemon Boost: Add extra lemon zest or a splash of lemon juice just before serving for that refreshing burst of citrus. It enhances the dish with brightness and depth.
-
Veggie Lover's Version: Toss in chopped spinach or kale into the sauce after blending for added nutrients and a pop of green color. This keeps the dish healthy and visually appealing.
-
Chickpea Delight: Blend cooked chickpeas into the sauce for added protein and a creamier texture. This will elevate it to a wholesome, vegetarian option that is still rich in flavor.
-
Make-Ahead Convenience: Prepare the roasted pepper sauce in advance and refrigerate it overnight. The flavors will marry beautifully overnight, saving you time on busy evenings.
Whichever variation you choose, you're guaranteed a delightful dish that brings warmth and comfort to your table, echoing the essence of Mediterranean cooking. For an exciting side, consider pairing it with fluffy couscous or Maple Roasted Sweet Potatoes with Pecans for a complete meal experience!
Expert Tips for Tilapia in Roasted Pepper Sauce
Hot Skillet: Ensure your skillet is hot before adding tilapia; a well-heated pan helps achieve a golden, crispy crust.
Don’t Disturb: Avoid flipping the fish too soon; let it sear for 3-4 minutes until it releases easily from the pan.
Smooth Sauce: Blend the roasted peppers thoroughly for a velvety sauce; chunky sauce can detract from the fish's delicate texture.
Adjust Seasoning: Taste the sauce before adding it to the tilapia; don’t hesitate to adjust salt and pepper to suit your palate.
Enjoy Freshness: This recipe is best enjoyed fresh; reheating should be gentle—consider adding a splash of water to maintain moisture.
Get ready to impress with your delicious Tilapia in Roasted Pepper Sauce!
Tilapia in Roasted Pepper Sauce Recipe FAQs
What type of tilapia should I choose?
Absolutely! When selecting tilapia, look for fillets that are bright and moist with a clean scent. If you prefer alternatives, cod, haddock, or halibut work beautifully and offer similar flaky textures.
How should I store leftovers?
For the best taste, store any leftover Tilapia in Roasted Pepper Sauce in an airtight container in the refrigerator for up to 2 days. The roasted pepper sauce tends to deepen in flavor overnight, so it can be even tastier the next day!
Can I freeze tilapia once it's cooked?
While I don’t recommend freezing cooked tilapia, as it may lose its lovely texture, you can certainly freeze the roasted pepper sauce! Simply transfer it to a tightly sealed container and store it in the freezer for up to 1 month. When you're ready to use it, thaw it overnight in the fridge, then reheat gently.
What are some common issues I might face while cooking?
One common trouble is overcooking the tilapia, leading to a dry texture. To avoid this, make sure your skillet is hot and allow the fish to sear undisturbed for 3-4 minutes. If it's hard to flip, give it a bit more time to release naturally from the pan!
Is this dish safe for those with dietary restrictions?
Yes, this recipe is naturally gluten-free, making it a great choice for those with gluten sensitivities. Always double-check ingredient labels, especially for the sauce, to ensure no hidden gluten is present.
How can I incorporate more vegetables into this dish?
Very! You can add sautéed spinach, zucchini, or cherry tomatoes to the skillet as you cook the tilapia. This not only boosts the nutritional value but adds even more color. Just toss them in during the last minute of cooking for a quick, flavorful addition!
Feel free to enjoy the warmth and freshness of your Tilapia in Roasted Pepper Sauce and don't hesitate to reach out if you have more questions!
Tilapia in Roasted Pepper Sauce for a Quick Mediterranean Feast
Ingredients
Equipment
Method
- Preheat your oven to 400°F (200°C).
- Slice the red bell peppers into quarters, remove the seeds, and toss them with olive oil, salt, and pepper. Spread them on a baking sheet lined with parchment paper.
- Roast for about 20 minutes until tender and slightly caramelized.
- Blend roasted peppers with garlic and lemon juice until smooth.
- Heat olive oil in a skillet over medium heat. Cook the tilapia fillets for 3-4 minutes on each side until golden and flaky.
- Pour the roasted pepper sauce over tilapia and allow to simmer for 1 minute.
- Serve garnished with parsley or basil and lemon zest, paired with couscous, rice, or salad.