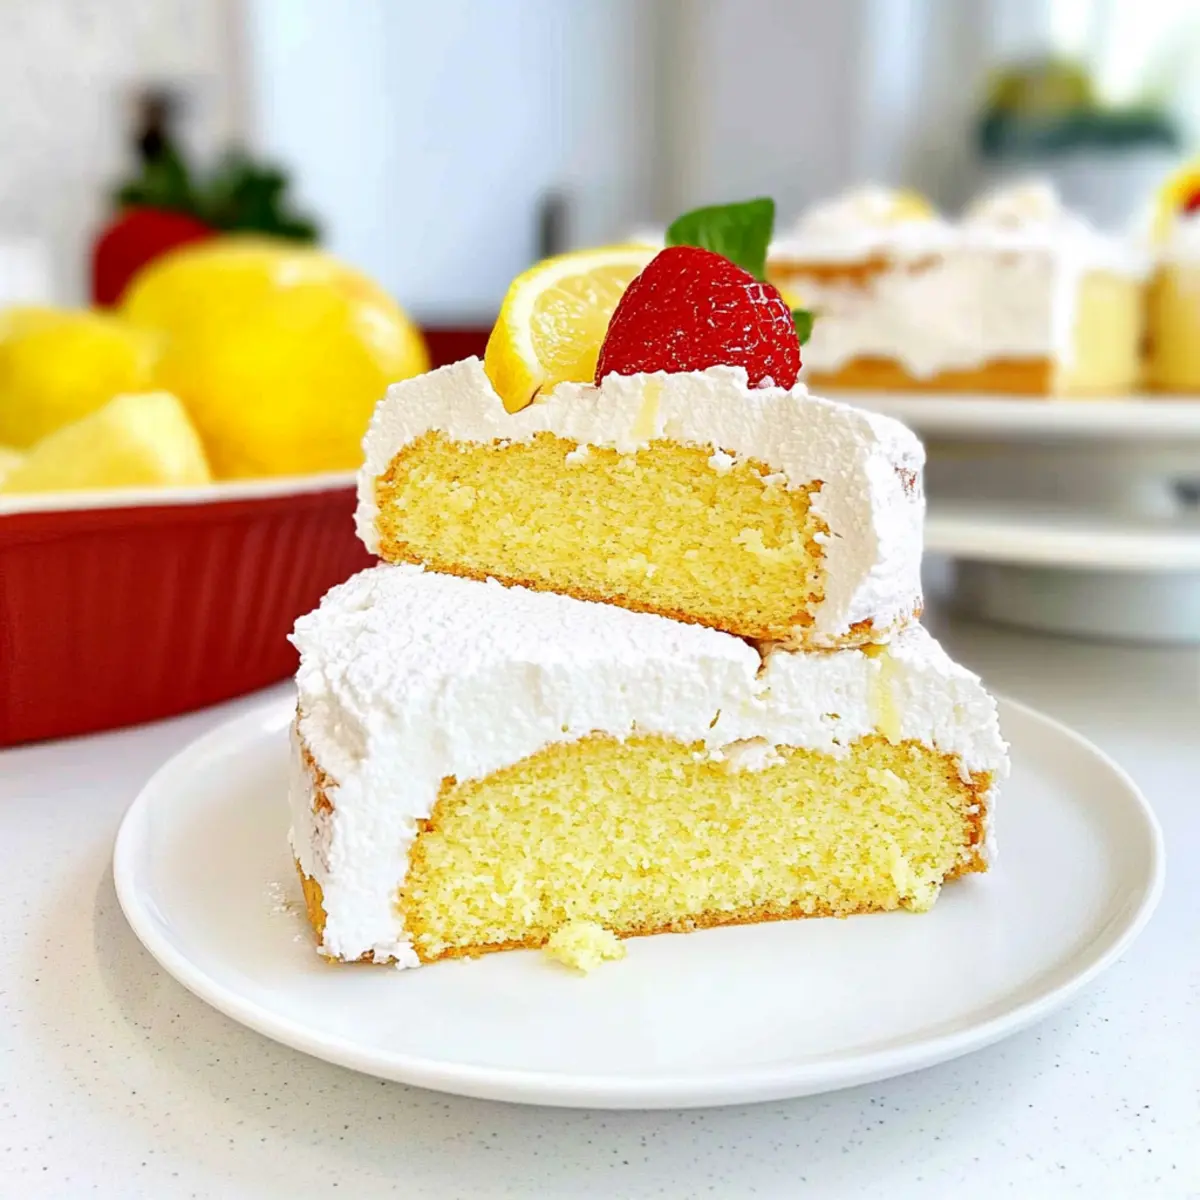
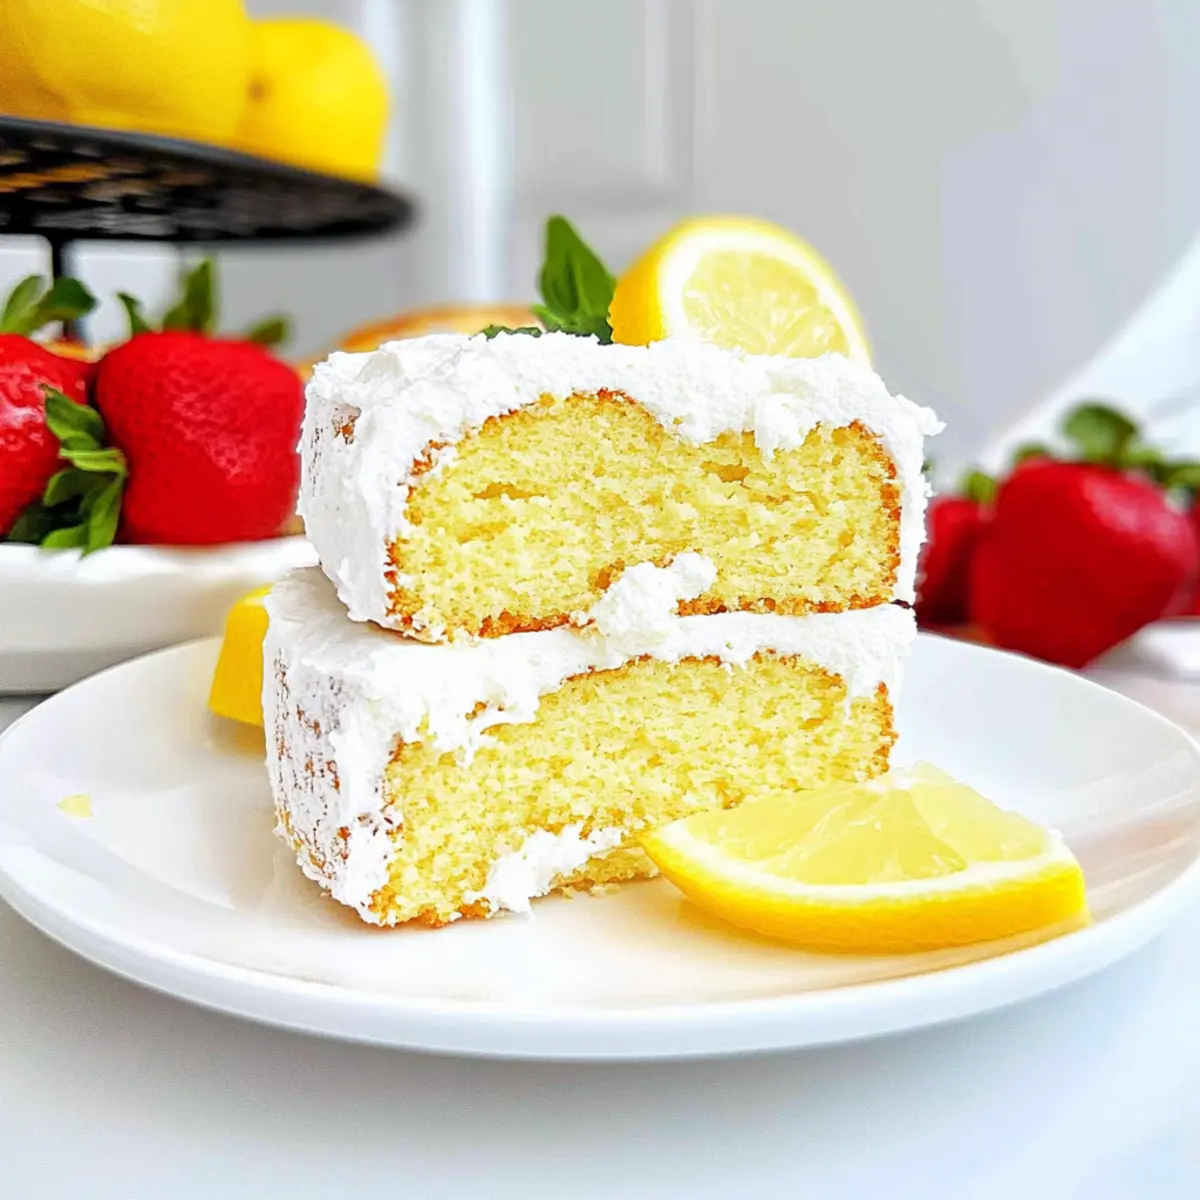
The kitchen buzzed with excitement as I rolled out my latest sweet creation—classic flavors infused with a delightful twist. Enter the Lemon Cake Roll, a cheerful dessert that combines a light and fluffy sponge with a luscious cream cheese filling! Not only is this recipe a true showstopper perfect for gatherings, but it’s also surprisingly easy to whip up in no time. Whether you’re entertaining guests or simply craving something fresh and zesty, this lemon roll with cream cheese filling is the answer. Plus, it’s the ideal make-ahead treat, letting you savor every moment with your loved ones. What better way to brighten up your day than with a slice of this sunshine in cake form? Curious how to create this irresistibly delicious dessert? Let’s dive in!
Why is this Lemon Cake Roll special?
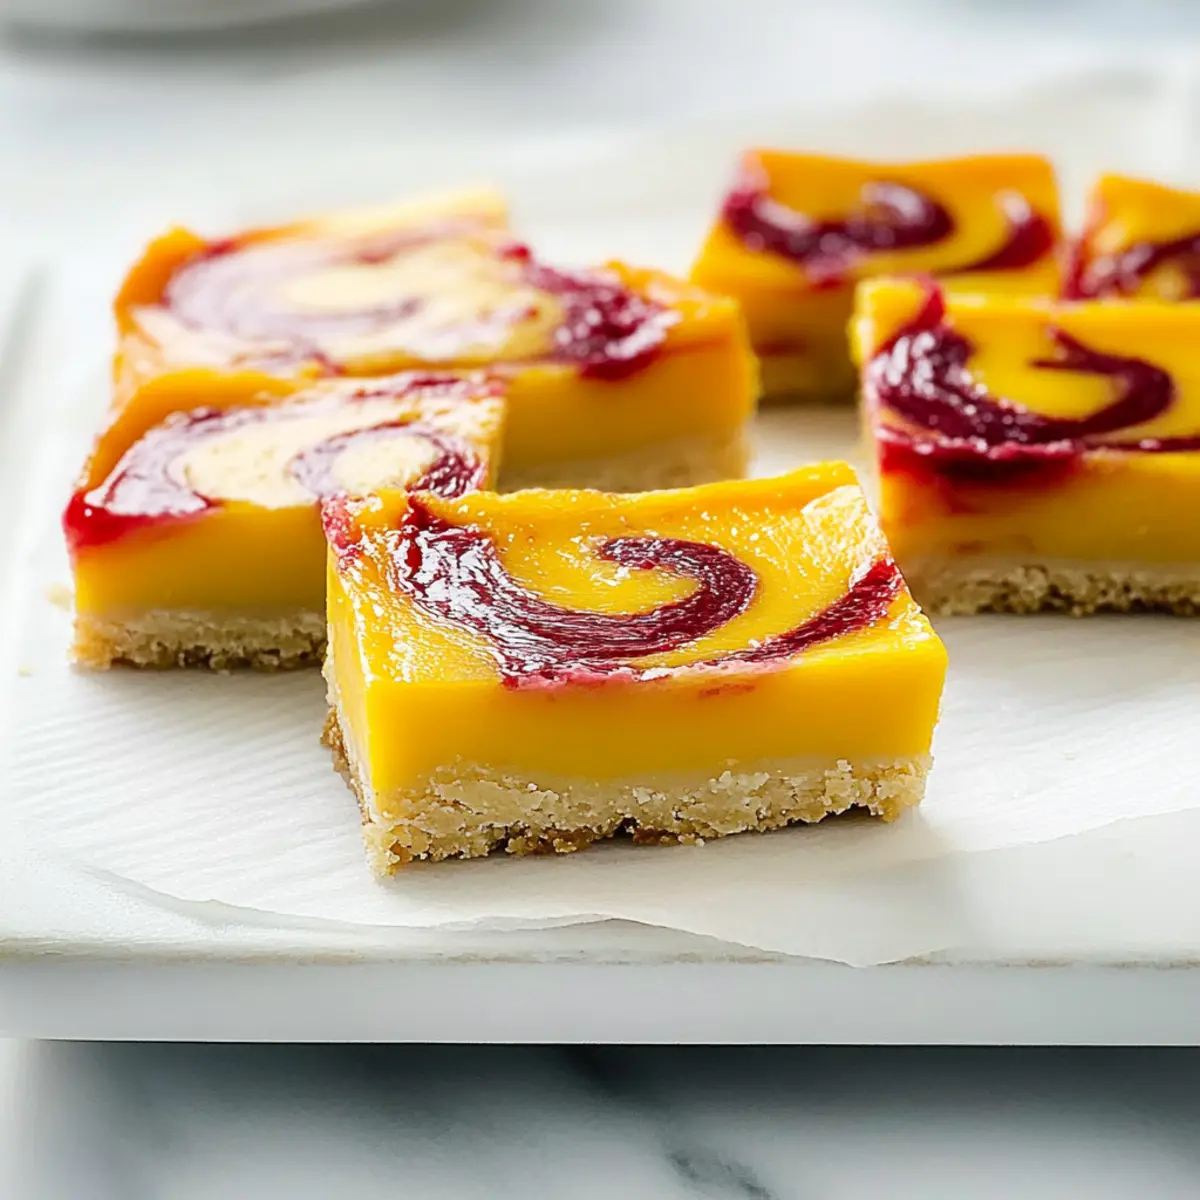
Delightful contrast: The zesty lemon flavor pairs beautifully with the creamy, rich filling, creating a taste explosion that’s both refreshing and indulgent.
Effortless elegance: This Lemon Cake Roll looks stunning on any dessert table, making it a perfect centerpiece for parties or family gatherings.
Versatile twist: Not only can you enjoy it as is, but you can also switch things up by adding your favorite nuts or spices for a unique take!
Make-ahead magic: Prepare it in advance to enhance the flavors, so you can enjoy your time with guests without the last-minute stress.
Crowd-pleaser: Perfectly suitable for both casual and formal get-togethers, this cake roll will leave everyone asking for seconds. Whether you're inspiring others with the joyful flavors of lemon or finding new ways to impress your friends, this cake is always a hit!
Lemon Cake Roll Ingredients
• Get ready to create this delightful dessert!
For the Cake
- Lemon Cake Mix – A convenient base for a light, fluffy cake; you can also use a homemade lemon cake if you’re feeling adventurous.
- Eggs – Essential for structure and lightness; opt for large, room-temperature eggs for the best results.
- Cold Water – Keeps the batter moist without affecting the flavor.
- Canola Oil – Keeps the cake tender and moist; feel free to substitute with vegetable oil or melted coconut oil.
- Lemon Juice and Zest – Infuse vibrant flavor into the batter, and don't shy away from adding extra zest for an even brighter taste.
- Non-Stick Baking Spray – Prevents the cake from sticking to the pans; don't forget parchment paper for optimal results!
For the Filling
- Cream Cheese – The star of the filling, adding richness; full-fat is best for a creamy texture.
- Marshmallow Fluff – Adds sweetness and volume to the filling; alternatives include whipped cream or powdered sugar for a personal touch.
- Whipped Topping – Lightens the texture of the filling; homemade whipped cream works wonderfully as a substitute.
This Lemon Cake Roll recipe bursts with fresh flavors and is sure to impress your family and friends!
Step‑by‑Step Instructions for Lemon Cake Roll
Step 1: Preheat and Prepare
Preheat your oven to 375°F (190°C). While the oven heats, prepare your baking sheets by spraying them with non-stick baking spray and lining them with parchment paper. This will ensure your Lemon Cake Roll easily lifts from the pan after baking.
Step 2: Beat the Eggs
In a stand mixer, beat 4 large eggs on high speed for approximately 8 minutes until they become pale and thick. This step is crucial for achieving the light, fluffy texture of your Lemon Cake Roll, so keep an eye on the color and consistency as they blend.
Step 3: Mix the Batter
Once your eggs are ready, gradually mix in the lemon cake mix, cold water, canola oil, lemon juice, and lemon zest. Start on a low speed to prevent splattering, then increase to medium speed. Continue mixing until just combined, ensuring a smooth batter free of lumps.
Step 4: Bake the Cakes
Divide the batter evenly between your prepared baking sheets. Bake in the preheated oven for 10-14 minutes or until the cakes are springy to the touch. They should lightly golden around the edges, signaling that they are perfectly done and ready to be rolled.
Step 5: Roll the Cakes
As soon as you remove the cakes from the oven, turn them upside down onto clean parchment paper. Gently peel off the original parchment while the cakes are still hot. Carefully roll the cakes into a tight log shape to maintain their form.
Step 6: Cool the Cakes
Allow the rolled cakes to cool for about 15 minutes at room temperature. After they have cooled slightly, transfer them to the refrigerator for at least 1 hour to help them firm up before spreading the filling.
Step 7: Prepare the Cream Cheese Filling
While the cakes are cooling, prepare the filling by beating 8 ounces of cream cheese until smooth. Gradually incorporate marshmallow fluff and whipped topping, mixing until the filling is light and fluffy. This creamy mixture will create a wonderful contrast to the lemon sponge.
Step 8: Unroll and Fill the Cakes
Remove the cooled cakes from the refrigerator and gently unroll them. Spread an even layer of the cream cheese filling over the entire surface of each cake, making sure to cover it all the way to the edges for maximum flavor.
Step 9: Reroll the Cakes
Starting from one edge, carefully reroll each cake, ensuring the filling remains intact inside. The rolled cake should maintain its shape as you wrap it tightly. This step helps achieve the beautiful swirl effect of the Lemon Cake Roll.
Step 10: Chill the Filled Cakes
Once rerolled, wrap the cakes tightly in plastic wrap and place them in the refrigerator overnight. Chilling helps the flavors meld and sets the filling, making your Lemon Cake Roll even more delightful when served.
Step 11: Serve and Enjoy
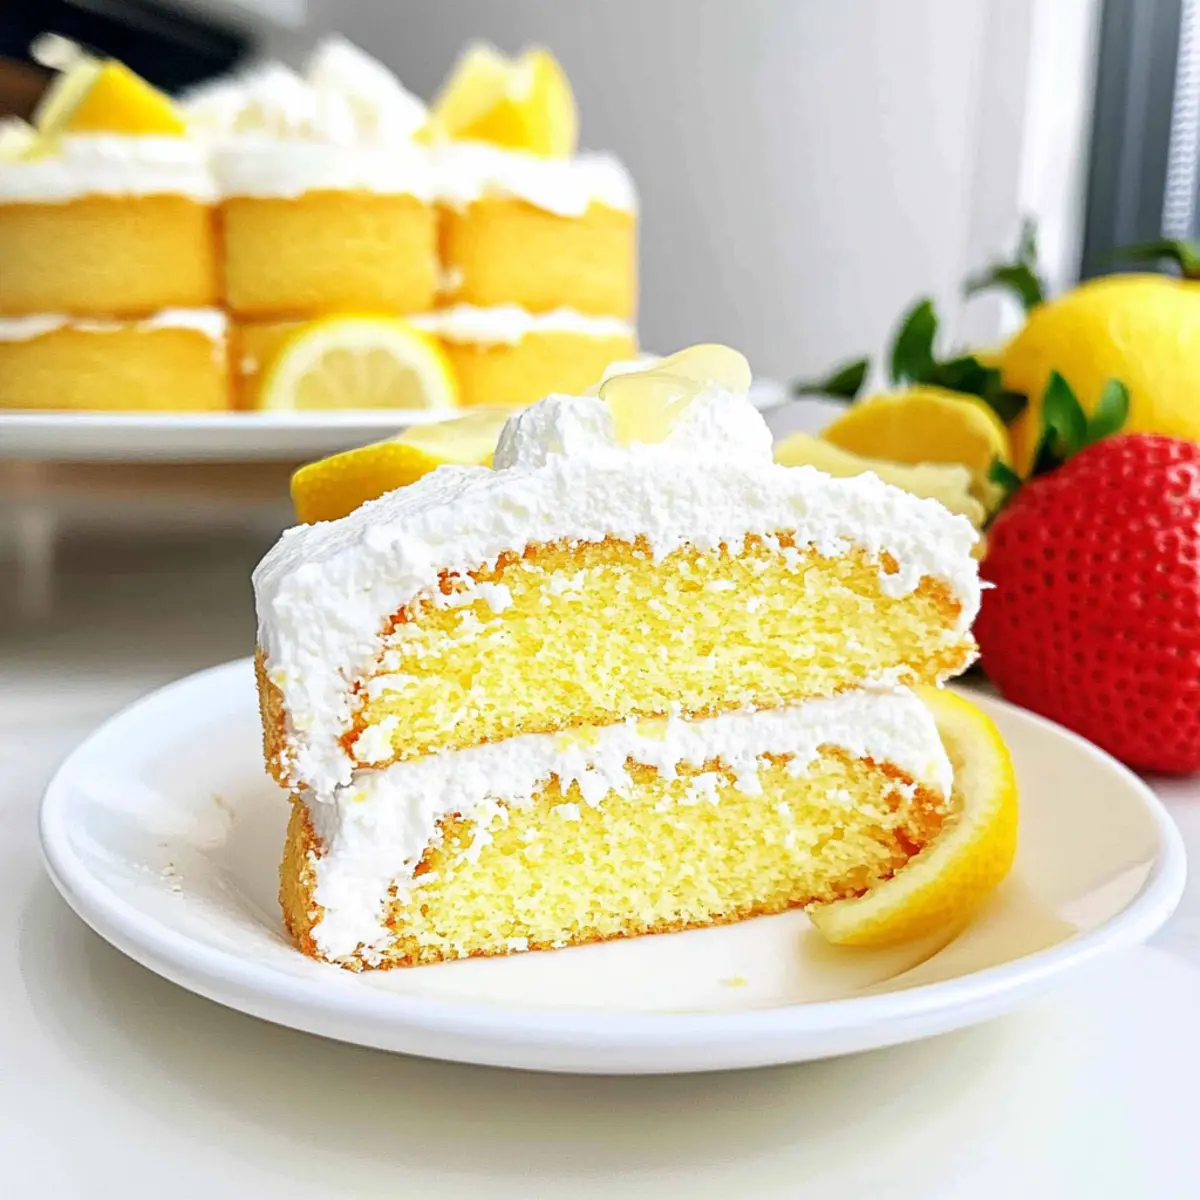
When you're ready to serve, carefully unwrap the chilled cakes. Dust the tops with powdered sugar for a touch of elegance, and consider adding a dollop of cool whip for an extra creamy finishing touch. Slice and share this beautiful Lemon Cake Roll with family and friends!
What to Serve with Lemon Cake Roll
Imagine a sunny picnic or a cheerful gathering, enhanced by delicious flavors that harmonize beautifully with your sweet lemon delight.
-
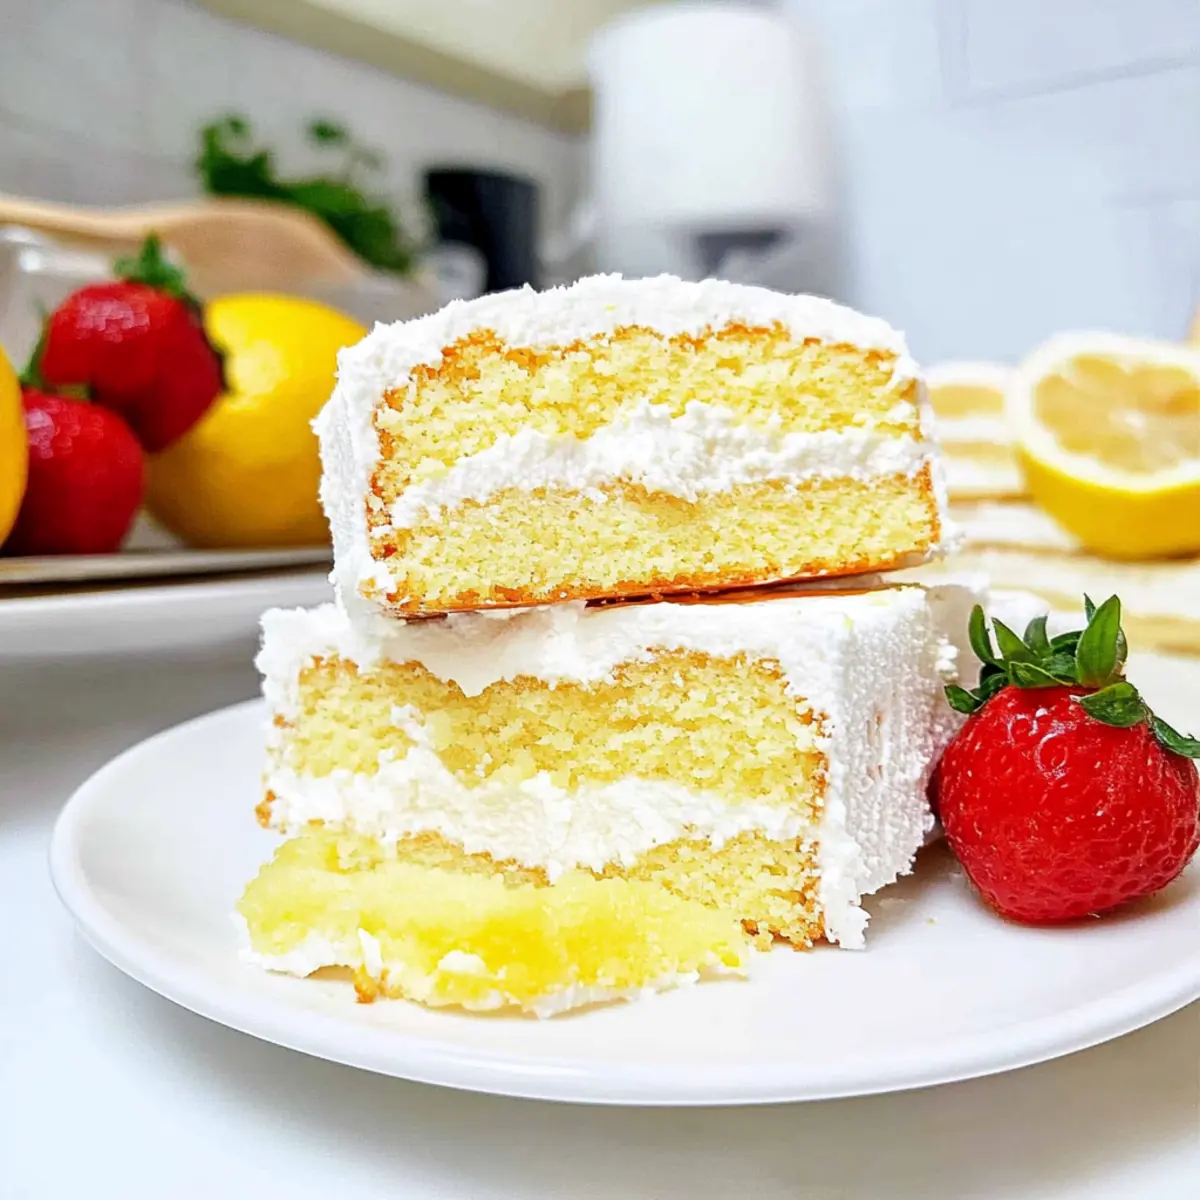
Fresh Berries: Plump strawberries, blueberries, or raspberries add a refreshing contrast to the rich cream cheese filling. Their tartness complements the sweetness of the lemon roll perfectly.
-
Whipped Cream: Light and fluffy, a dollop of homemade whipped cream elevates each slice, adding extra creaminess that enhances the overall dessert experience.
-
Mint Salad: A simple mint salad with a drizzle of lemon vinaigrette brings a bright, herbaceous touch that refreshes the palate after every indulgent bite.
-
Lemon Sorbet: This icy treat mirrors the lemony goodness of the cake and provides a palate-cleansing brightness that's utterly refreshing on warm days.
-
Almond Biscotti: Crunchy almond biscotti offer a delightful textural contrast, bringing a nutty flavor that pairs marvelously with the cake’s lightness.
-
Iced Tea or Lemonade: Quench your thirst with a cool glass of brewed iced tea or freshly-squeezed lemonade. The flavors will dance harmoniously with the zesty notes of the roll!
-
Chocolate Drizzle: For a decadent flair, a drizzle of rich chocolate sauce adds a contrasting sweetness that wonderfully balances the tartness of lemon.
-
Cheesecake Bites: Mini cheesecake bites can elevate your dessert table with a creamy richness that beautifully complements the Lemon Cake Roll while providing a delightful variety.
Lemon Cake Roll Variations & Substitutions
Feel free to get creative with this Lemon Cake Roll and make it truly your own!
-
Gluten-Free: Use a gluten-free cake mix to cater to gluten-sensitive friends without sacrificing flavor.
-
Dairy-Free: Substitute cream cheese with a dairy-free cream cheese alternative, and replace whipped topping with coconut whipped cream for a delicious twist.
-
Bolder Citrus: Enhance the lemon flavor by adding a teaspoon of lemon extract in addition to juice and zest. This will intensify the citrusy goodness.
-
Spicy Kick: Add a hint of warmth by incorporating ground ginger or cardamom into the cake batter for a spicy twist that complements the sweet lemon.
-
Nutty Delight: Fold in chopped walnuts or pecans into the cream cheese filling to add rich texture and nutty flavor. It pairs beautifully with the lemon cake!
-
Fruit-Filled: Add a layer of fresh berries, like raspberries or blueberries, to the cream cheese filling for a delightful burst of flavor and a pop of color.
-
Meringue Top: For an elegant twist, pipe a sweet meringue on top after rolling and torch it lightly for a gourmet finish that adds both crunch and sweetness.
-
Pumpkin Flare: Interested in a seasonal spin? Try swapping the lemon flavor for pumpkin in this roll, drawing inspiration from delicious Pumpkin Cinnamon Roll desserts for fall festivities.
With so many ways to customize your Lemon Cake Roll, your baking adventures are limitless!
Tips for the Best Lemon Cake Roll
-
Use Room Temperature Eggs: Ensuring your eggs are at room temperature helps them whip up fluffier, creating a lighter sponge in your Lemon Cake Roll.
-
Don’t Skip Cooling: Be patient and let the cakes cool properly after rolling; this prevents them from cracking when you unroll them later.
-
Treat the Filling Gently: When spreading the cream cheese filling, use a light hand to keep the cake intact, ensuring a beautiful finish to your Lemon Cake Roll.
-
Adjust Zest for More Flavor: If you love a zesty kick, feel free to add more lemon zest to both the batter and the filling for extra brightness.
-
Refrigerate Overnight: Chilling the filled cakes overnight allows every flavor to develop fully, resulting in a more luscious and well-rounded dessert.
Make Ahead Options
These Lemon Cake Rolls are a brilliant choice for meal prep! You can prepare the cakes and refrigerate them for up to 24 hours before serving, which enhances their flavor and keeps them moist. Simply bake the cakes, roll them while hot, and let them cool in the fridge. The cream cheese filling can also be made in advance and stored in an airtight container in the refrigerator for up to 3 days; this helps the flavors meld beautifully. When you're ready to serve, simply unroll the chilled cakes, spread the filling, re-roll, and dust with powdered sugar. This way, you’ll enjoy a dazzling, show-stopping dessert with minimal last-minute effort!
How to Store and Freeze Lemon Cake Roll
Fridge: Store your Lemon Cake Roll in an airtight container in the refrigerator for up to 4-5 days to maintain its freshness and prevent the cream cheese filling from becoming runny.
Freezer: For longer storage, wrap the Lemon Cake Roll tightly in plastic wrap and aluminum foil, then freeze for up to 2 months. Thaw in the fridge overnight before serving.
Reheating: If you prefer your cake roll warm, gently thaw it and warm individual slices in the microwave for about 10-15 seconds, but be careful not to overheat, which can affect texture.
Make-Ahead: This delightful cake can be made a day in advance; storing it overnight in the fridge actually enhances the flavors, allowing you to enjoy quality time with your loved ones.
Lemon Cake Roll Recipe FAQs
What should I look for when selecting lemons for this recipe?
Absolutely! When choosing lemons, look for ones that are firm, bright yellow, and heavy for their size. Avoid lemons with dark spots or imperfections, as these may indicate overripeness. For the best flavor, select juicy lemons that yield slightly when you press them.
How long can I store my Lemon Cake Roll, and what’s the best method?
To store your Lemon Cake Roll, keep it in an airtight container in the refrigerator for up to 4-5 days. This will maintain its freshness and prevent the cream cheese filling from becoming runny. Make sure it's wrapped tightly to avoid absorbing any odors from the fridge.
Can I freeze the Lemon Cake Roll? How do I do it?
Yes, you can absolutely freeze the Lemon Cake Roll! To do this, wrap it tightly in plastic wrap followed by aluminum foil to protect it from freezer burn. It can be frozen for up to 2 months. When you’re ready to enjoy it, thaw the roll in the refrigerator overnight before serving. This method keeps it fresh and delicious!
What should I do if my cake falls apart while rolling it?
Very! If your cake starts to crack or falls apart while rolling, don’t worry! First, ensure that you roll the cake while it’s still warm, as this makes it more pliable. If cracks do occur, simply use the cream cheese filling to "glue" the pieces back together. When you serve it, just make sure to dust it with powdered sugar—no one will notice!
Are there any dietary considerations for the Lemon Cake Roll?
Of course! If you're accommodating dietary restrictions, you can slightly modify this recipe. For a gluten-free version, you can substitute the lemon cake mix with a gluten-free cake mix. If anyone has lactose intolerance, consider using a dairy-free cream cheese alternative and coconut whipped topping. Always double-check all ingredient labels for allergens to be safe!
Is there a way to enhance the lemon flavor in my cake roll?
Certainly! If you want to boost the lemon flavor, you can add more lemon zest to both the batter and the filling. Additionally, a splash of pure lemon extract can intensify the lemony brightness without making it too tart. Enjoy experimenting with citrus to find the perfect balance that brings joy to your taste buds!
Lemon Cake Roll: A Delightful Twist with Creamy Filling
Ingredients
Equipment
Method
- Preheat your oven to 375°F (190°C) and prepare baking sheets with non-stick spray and parchment paper.
- In a stand mixer, beat 4 large eggs on high speed for approximately 8 minutes until pale and thick.
- Gradually mix in lemon cake mix, cold water, canola oil, lemon juice, and lemon zest until just combined.
- Divide batter between prepared baking sheets. Bake for 10-14 minutes until springy and golden.
- Turn cakes upside down onto clean parchment paper; gently peel off original parchment and roll tightly.
- Allow the cakes to cool for about 15 minutes, then transfer to the refrigerator for at least 1 hour.
- Beat 8 ounces of cream cheese until smooth, then mix in marshmallow fluff and whipped topping until fluffy.
- Unroll the cooled cakes and spread cream cheese filling evenly over each, covering to edges.
- Reroll each cake tightly from one edge, maintaining its shape.
- Wrap the rerolled cakes tightly in plastic wrap and refrigerate overnight.
- When ready to serve, unwrap and dust with powdered sugar; optionally add a dollop of cool whip.