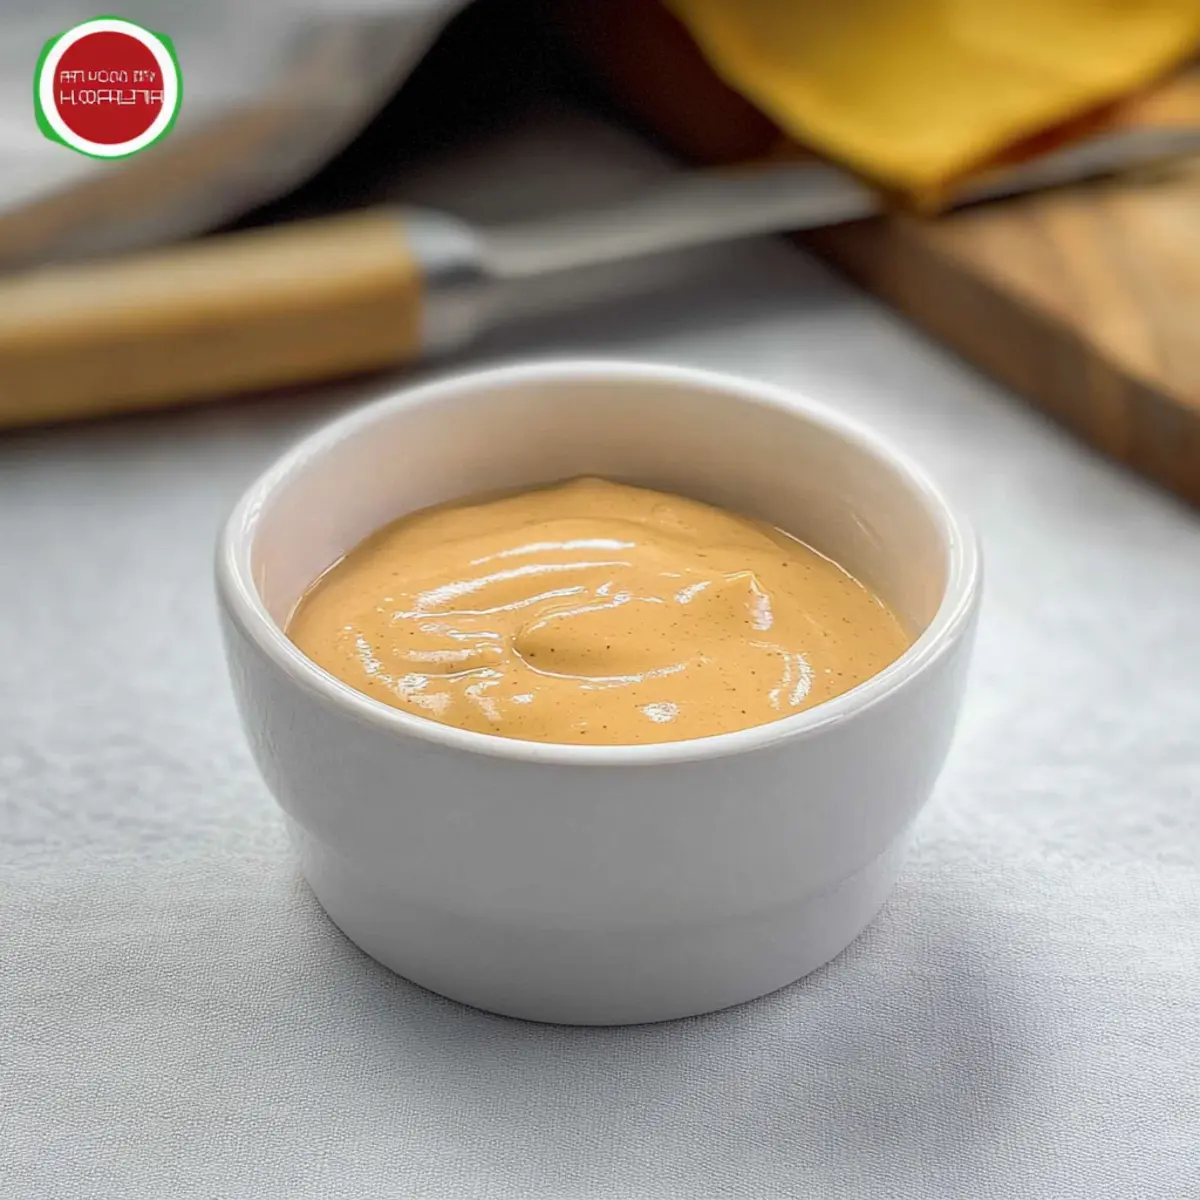
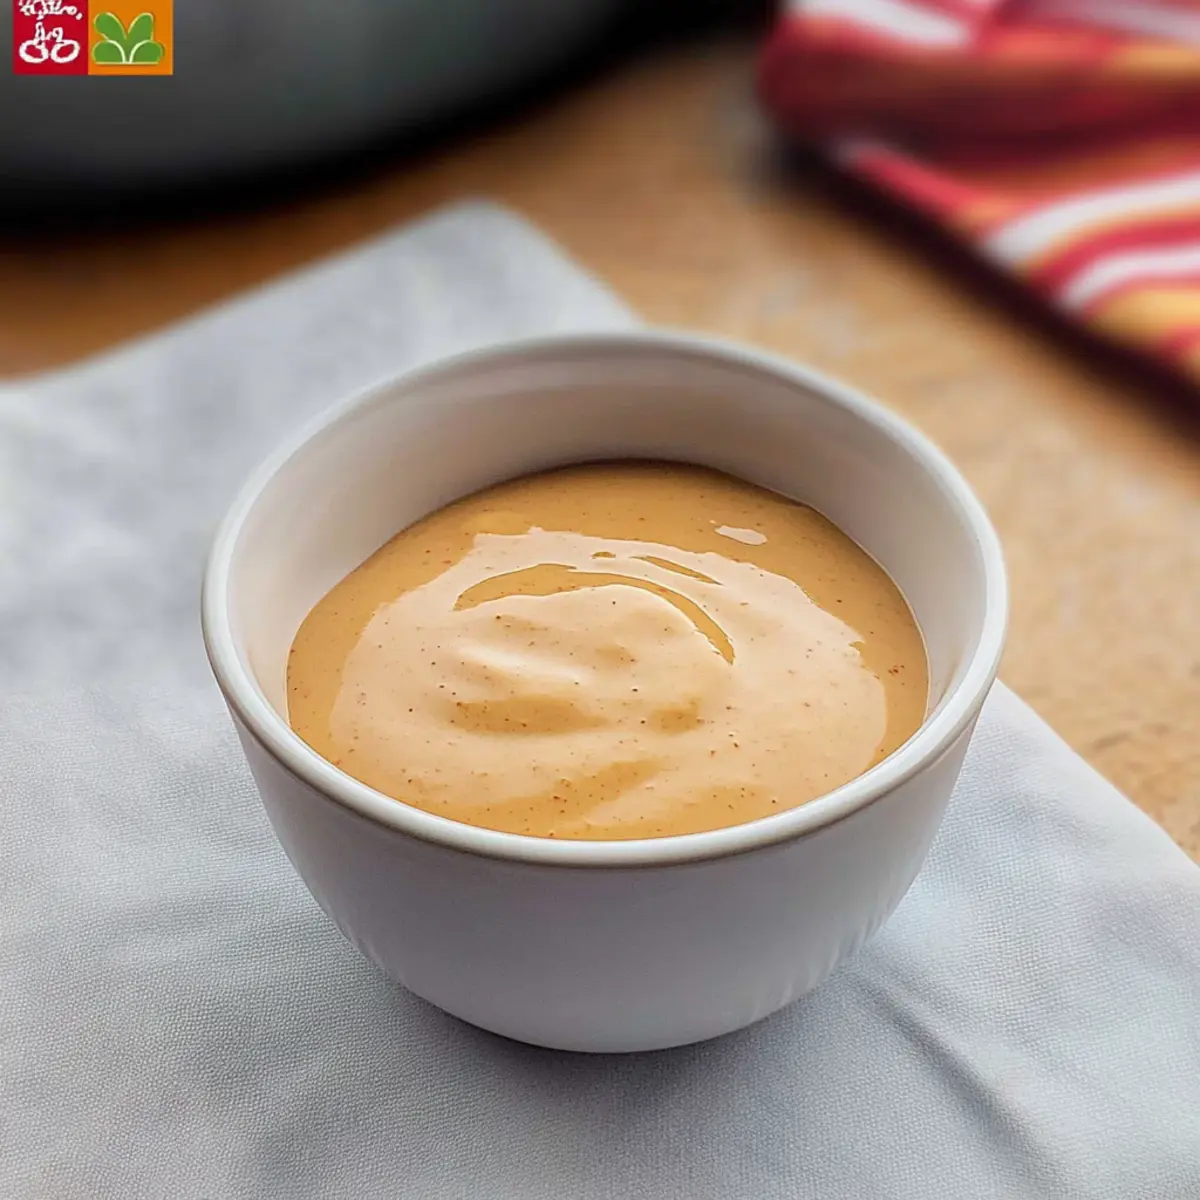
As I stood at my kitchen counter, a sudden craving for the irresistible zing of Burger King's Zesty Sauce hit me. It’s that perfect blend of creaminess and tang that makes every bite of burger and onion ring a true delight! With this Burger King's Zesty Sauce copycat recipe, you can recreate that magic at home in just under 10 minutes. This quick recipe offers not only the joy of conjuring classic fast-food flavors but also the satisfaction of knowing exactly what’s in your dip—making it both gluten-free and keto-friendly. Whether you’re slathering it on sandwiches or dipping crunchy veggies, this sauce is bound to elevate your meals. Ready to transform your dining experience? Let’s dive in!
Why is This Sauce a Must-Try?
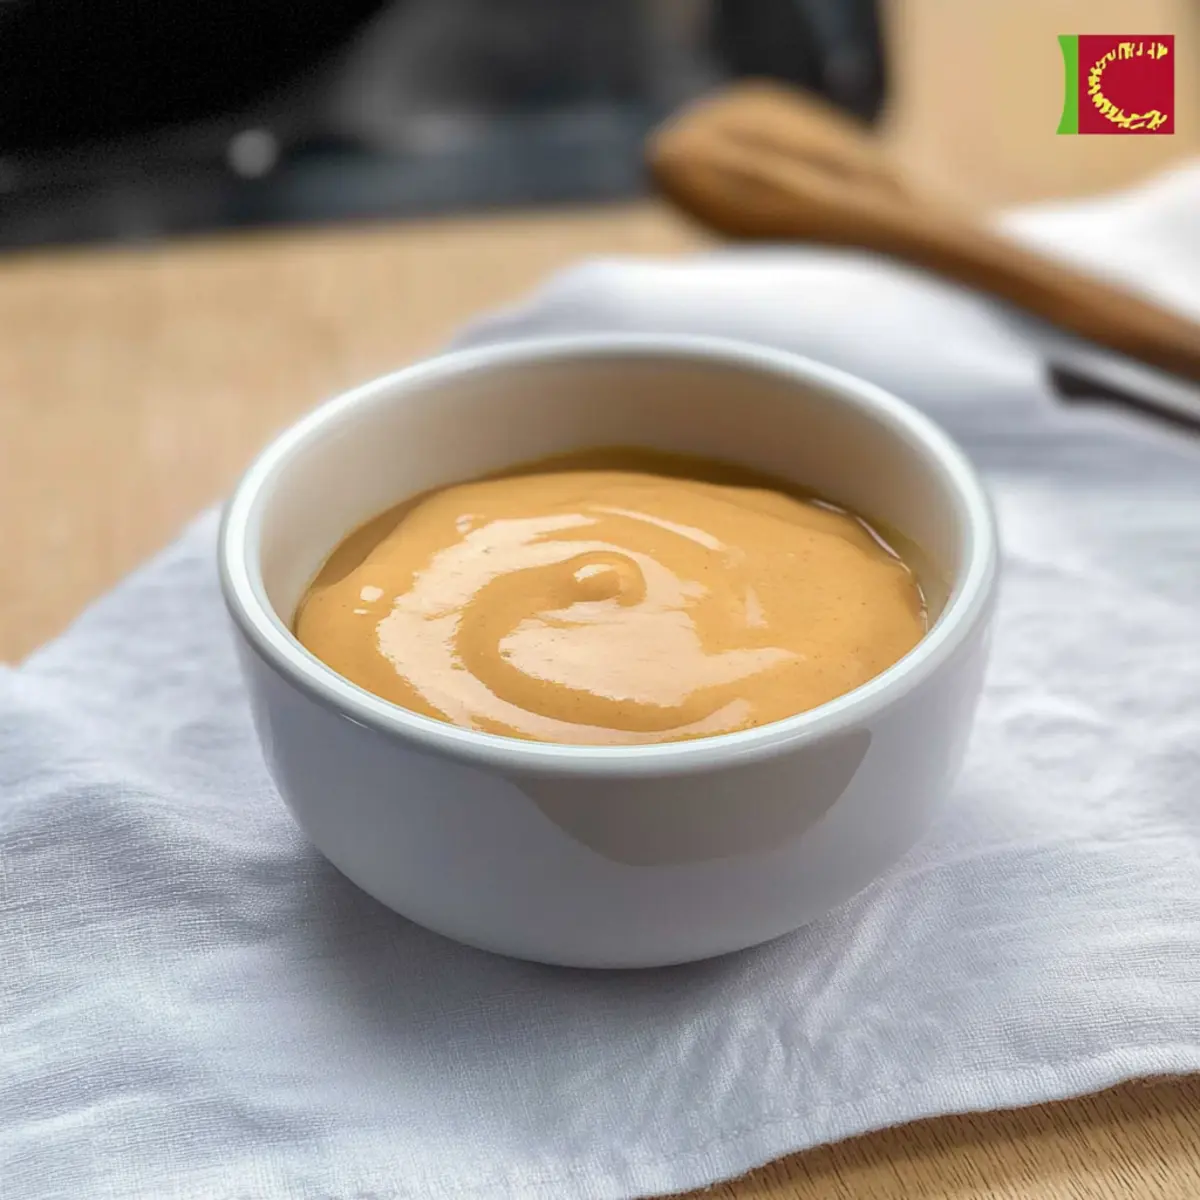
Creaminess: This recipe delivers a wonderfully smooth texture that perfectly complements your favorite dishes.
Quick Prep: With only 10 minutes needed, you can whip this up without a hassle, perfect for those busy weeknights!
Zesty Flavor: The combination of lemon juice and horseradish provides a vibrant kick, making every bite incredibly delicious.
Versatile Condiment: Ideal as a dip for onion rings, a spread for sandwiches, or even drizzled on salads, it fits seamlessly into your meals.
Health-Conscious: Gluten-free and keto-friendly, this sauce allows you to enjoy fast-food flavors without compromising your dietary choices. If you're also interested in exploring more vibrant flavors, check out these Shrimp Tacos Zesty or try a fresh twist with Shrimp Ceviche Zesty. Enjoy the simple satisfaction of homemade goodness today!
Burger King's Zesty Sauce Ingredients
• Get ready to recreate a fast-food favorite!
For the Base
- Mayonnaise – Provides creaminess and serves as the base; try Greek yogurt for a lighter option.
- Prepared Horseradish – Adds that signature zesty kick; or substitute with wasabi for a similar flavor.
- Prepared Mustard – Enhances tanginess; Dijon mustard can give a gourmet twist.
- Ketchup – Offers depth and sweetness; opt for sugar-free ketchup for a healthier version.
For the Seasoning
- Cayenne Pepper – Introduces spice and warmth; adjust to taste or replace with paprika for a milder option.
- Salt – Enhances flavor; using kosher or sea salt will give you a nice texture.
- Sugar – Balances the tartness with a hint of sweetness; leave it out for a sugar-free variant or use honey as an alternative.
For the Acidity
- White Vinegar – Adds acidity that balances the richness; apple cider vinegar is a great substitute.
- Lemon Juice – Increases zestiness; fresh lemon juice is best but bottled works in a pinch.
- Soy Sauce – Contributes an umami flavor; tamari is an excellent gluten-free alternative.
This Burger King's Zesty Sauce will elevate your homemade meals, so gather your ingredients and let's get started on this delightful journey together!
Step‑by‑Step Instructions for Burger King's Zesty Sauce
Step 1: Prepare the Base
In a large mixing bowl, combine 1 cup of mayonnaise with 2 tablespoons of yellow mustard and 2 tablespoons of ketchup. Use a whisk or spatula to blend these ingredients together thoroughly until smooth, making sure there are no lumps. This creamy mixture forms the flavorful base for your Burger King's Zesty Sauce.
Step 2: Add Flavor Boosters
Next, stir in 2 tablespoons of prepared horseradish, 1 teaspoon of cayenne pepper, and a pinch of salt. Whisk these additions into the base until well integrated. The horseradish will add that signature zing while the cayenne contributes a gentle kick. Taste and adjust the spice levels according to your preference for the perfect balance.
Step 3: Incorporate Acidity
Pour in 1 tablespoon of white vinegar, the juice of half a fresh lemon, and 1 teaspoon of soy sauce, stirring continuously. These ingredients elevate the zesty flavor profile of your sauce, ensuring a bright, tangy finish. Keep whisking until the mixture is uniform in texture, which should be creamy and slightly thick.
Step 4: Final Touches
Add 1 teaspoon of sugar or honey to balance the acidity, and a touch of black pepper if desired. This will enhance the overall flavor of the Burger King's Zesty Sauce. Whisk again until everything is well combined and smooth, ensuring the sweetness complements the tangy elements perfectly.
Step 5: Chill and Set
Transfer the sauce into an airtight container and refrigerate for at least one hour before serving. This chilling step allows the flavors to meld beautifully, resulting in an even more delicious sauce. When you pull it out, the consistency should be thick and creamy, ready to enhance any dish you choose.

How to Store and Freeze Burger King's Zesty Sauce
Fridge: Store your homemade Burger King's Zesty Sauce in an airtight container in the refrigerator for up to 1 week. Always give it a good stir before using!
Freezer: For longer storage, you can freeze the sauce in a freezer-safe container for up to 3 months. Thaw it in the fridge overnight before use.
Reheating: Although this sauce is best enjoyed cold, if you'd like to warm it up, do so gently in the microwave, heating in short intervals to prevent separation.
Serving Tips: If you have extra sauce after your meal, consider saving it for your next taco night or as a spread for sandwiches!
What to Serve with Burger King's Zesty Sauce
Elevate your mealtime experience with these delightful pairings that bring out the sauce’s tangy goodness.
-
Crispy Onion Rings: The crunchiness of fried onion rings complements the smooth texture of the Zesty Sauce perfectly, making for a classic duo.
-
Juicy Beef Burgers: Slathering this sauce on your favorite burger adds a creamy, zesty kick that transforms every bite into a flavorful journey.
-
Baked Sweet Potato Fries: The sweetness of these fries contrasts beautifully with the tangy sauce, creating a satisfying balance of flavors.
-
Fresh Garden Salad: Drizzle the Zesty Sauce over fresh greens to enhance the salad with a tangy pop, making each bite refreshing.
-
Grilled Chicken Tenders: Marinating chicken in the sauce before grilling adds a delightful zest and keeps the meat juicy and flavorful on the grill.
-
Vegetarian Wraps: Spread the sauce inside a wrap filled with crisp veggies and protein for a fulfilling, flavor-packed meal ideal for any occasion.
-
Chilled Shrimp Cocktail: Dip succulent shrimp in the Zesty Sauce for an elegant appetizer that showcases its tangy, zesty profile beautifully.
-
Savory Tacos: Add a drizzle of the sauce to your tacos for an unexpectedly delicious twist that brings out the best in every ingredient.
-
Chocolate Chip Cookies: For a surprising dessert pairing, try a small dollop of Zesty Sauce with a warm chocolate chip cookie; the tanginess crisps up the sweetness beautifully!
Make Ahead Options
These Burger King's Zesty Sauce preparations are tailor-made for busy home cooks looking to save time in the kitchen! You can whip up the sauce up to 3 days in advance, allowing its flavorful components to meld together beautifully. To prep ahead, simply follow the recipe instructions up to the chilling step, then transfer the sauce to an airtight container and refrigerate it. This will help maintain its creamy texture and zesty kick while letting the flavors develop. When you're ready to serve, give it a quick stir, and enjoy this zesty delight—perfect for enhancing burgers, fries, and sandwiches, all with just a moment of preparation!
Burger King’s Zesty Sauce Variations
Feel free to explore these tempting variations and enjoy the personalized taste that will brighten your meals!
-
Vegan Twist: Substitute mayonnaise with vegan mayonnaise or tahini for a creamy, plant-based delight. This adjustment doesn't sacrifice flavor while making it suitable for everyone at the table!
-
Spicy Kick: Add a dash of sriracha or hot sauce to amp up the heat level. The combination of tangy and spicy creates an unforgettable flavor explosion!
-
Herbed Version: Mix in fresh chopped herbs like dill or cilantro for an aromatic twist. These herbs not only enhance the flavor but add a lovely freshness that elevates the sauce.
-
Sweet & Tangy: Consider adding a tablespoon of honey or maple syrup for a sweet undertone. This naturally balances the acidity, perfect for those who enjoy a touch of sweetness.
-
Chunky Style: Stir in some chopped pickles or relish for a delightful crunch. This texture adds a whole new dimension, making it fun to use for sandwiches or as a dip.
-
Citrusy Fresh: Jazz up the zesty flavor by adding orange juice or zest. The bright notes of orange combine beautifully with the lemon for a refreshing alternative.
-
Umami Boost: Replace soy sauce with Worcestershire sauce or liquid aminos for deep, bold flavor. This swap adds a savory depth, making it a true crowd-pleaser!
-
Nutrient-Rich: Throw in a scoop of Greek yogurt to the mix for an extra protein punch. It's a great way to make the sauce even more nutritious without compromising its creamy texture.
Once you’ve personalized your sauce, you won't want to miss trying it with some delicious dishes like Shrimp Tacos Zesty or as a dipping companion for homemade Shrimp Ceviche Zesty. There’s a whole world of flavor waiting for you!
Expert Tips for Burger King's Zesty Sauce
- Ingredient Quality: Use fresh lemon juice and high-quality mayonnaise for the best flavor; it makes a big difference in your homemade Burger King's Zesty Sauce.
- Taste Adjustments: Start with smaller amounts of horseradish and cayenne; you can always add more if you desire extra zing or heat.
- Chilling Time: Letting the sauce chill for at least an hour is crucial; this resting period allows flavors to combine beautifully.
- Storage Solution: Keep leftover sauce in an airtight container in the fridge for up to a week; remember to give it a good stir before using!
- Healthy Swaps: Swap regular mayonnaise for Greek yogurt to create a lighter, creamy version—ideal for those following a keto diet!
Burger King's Zesty Sauce Copycat Recipe FAQs
What ingredients should I look for to ensure freshness?
Absolutely! When selecting your ingredients, opt for high-quality mayonnaise with minimal additives for the best flavor. Look for fresh horseradish that doesn’t have dark spots or a strong vinegar odor. If using lemon juice, preferably choose fresh lemons, as they provide a brighter flavor compared to bottled varieties.
How long can I store Burger King's Zesty Sauce in the refrigerator?
You can keep your homemade Burger King’s Zesty Sauce in an airtight container in the fridge for up to 1 week. Make sure to give it a good stir before each use, as ingredients can settle over time.
Can I freeze Burger King's Zesty Sauce?
Yes, you can! For freezing, transfer the sauce into a freezer-safe container, leaving some room at the top for expansion. It will stay fresh for up to 3 months. When you’re ready to use it, simply move it to the refrigerator the night before you plan to enjoy it, allowing it to thaw slowly.
What if my sauce turns out too tangy or spicy?
If your Burger King's Zesty Sauce is a little too tangy, you can balance it by adding more mayonnaise or a teaspoon of sugar or honey. If it's too spicy, add a bit more of the base ingredients like mayonnaise or a splash more ketchup to mellow the heat. Always taste as you go and adjust!
Is this Zesty Sauce suitable for those with dietary restrictions?
Very much so! This recipe is gluten-free if you use tamari instead of regular soy sauce, and it can easily be made keto-friendly by swapping traditional ketchup for a sugar-free version. If you have allergies, always check the labels of pre-made ingredients like horseradish and mustard to ensure they meet your needs.
Can I make this sauce vegan?
Absolutely! You can create a plant-based version of Burger King's Zesty Sauce by replacing the mayonnaise with vegan mayonnaise or tahini. For a similar tang, choose a vegan sour cream alternative, and enjoy this creamy goodness without any animal products!
Homemade Burger King’s Zesty Sauce That's Creamy Goodness
Ingredients
Equipment
Method
- In a large mixing bowl, combine 1 cup of mayonnaise, 2 tablespoons of yellow mustard, and 2 tablespoons of ketchup. Blend until smooth.
- Stir in 2 tablespoons of prepared horseradish, 1 teaspoon of cayenne pepper, and a pinch of salt. Whisk until integrated.
- Pour in 1 tablespoon of white vinegar, the juice of half a lemon, and 1 teaspoon of soy sauce, stirring continuously.
- Add 1 teaspoon of sugar or honey, and a touch of black pepper if desired. Whisk until well combined and smooth.
- Transfer the sauce into an airtight container and refrigerate for at least one hour before serving.