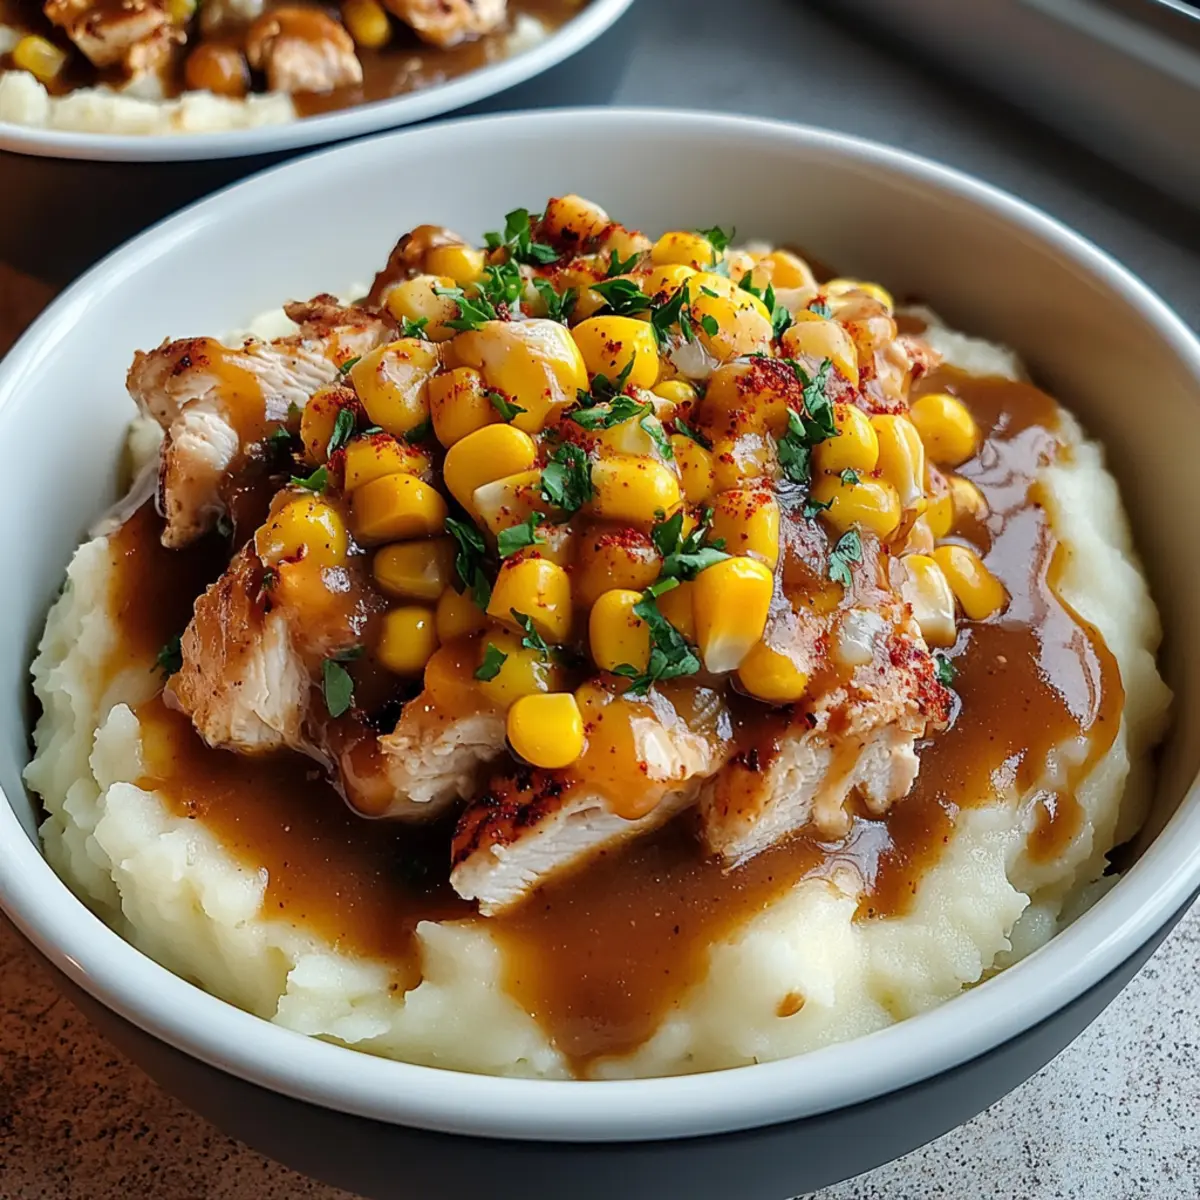
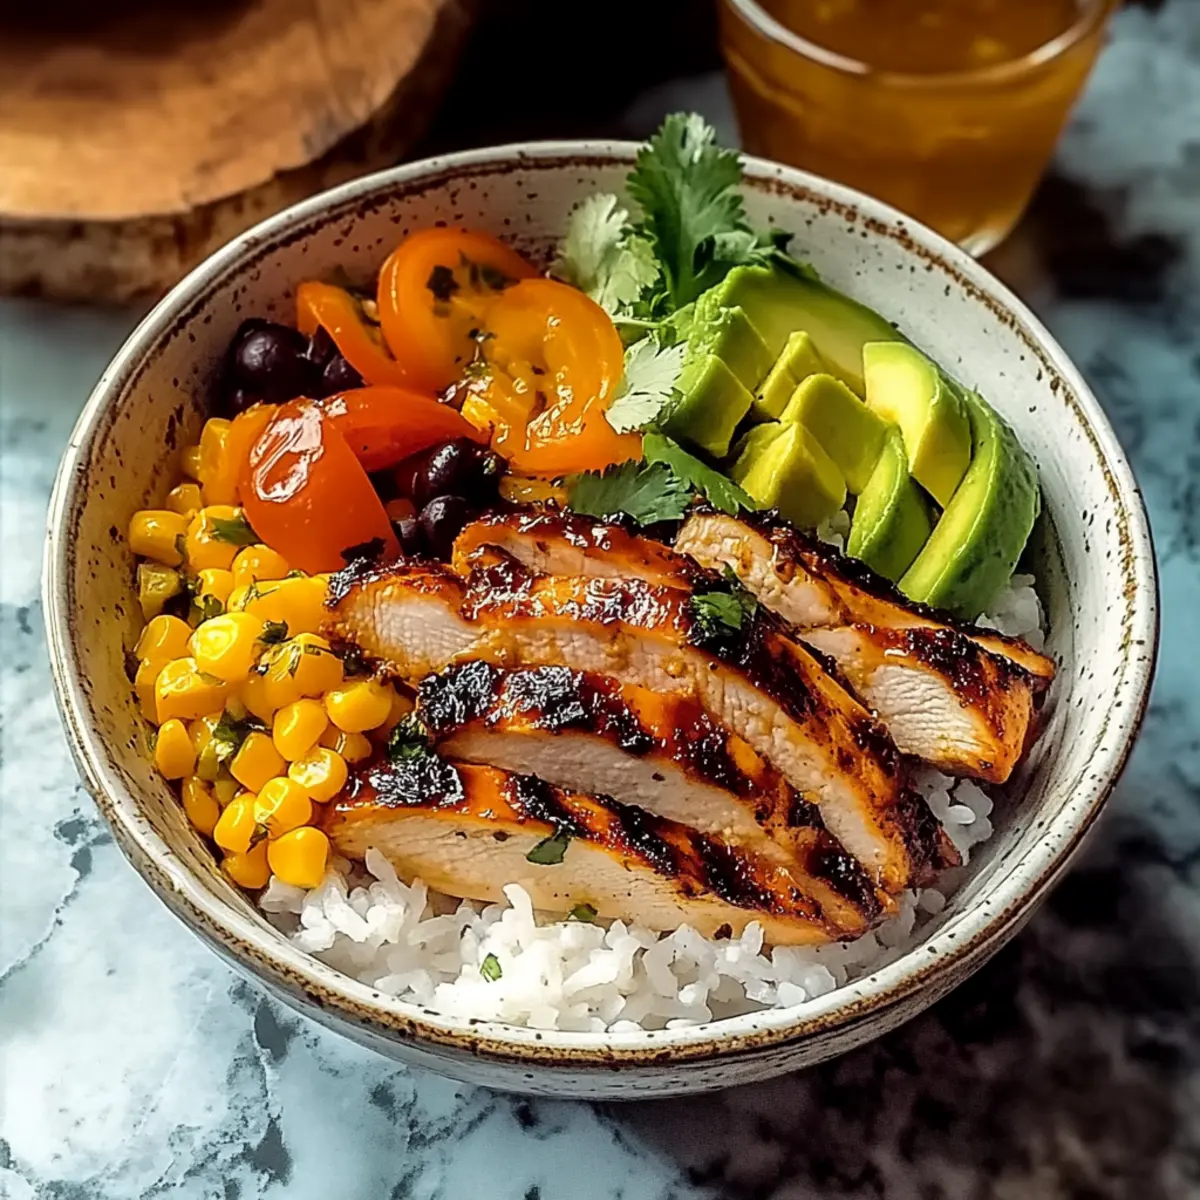
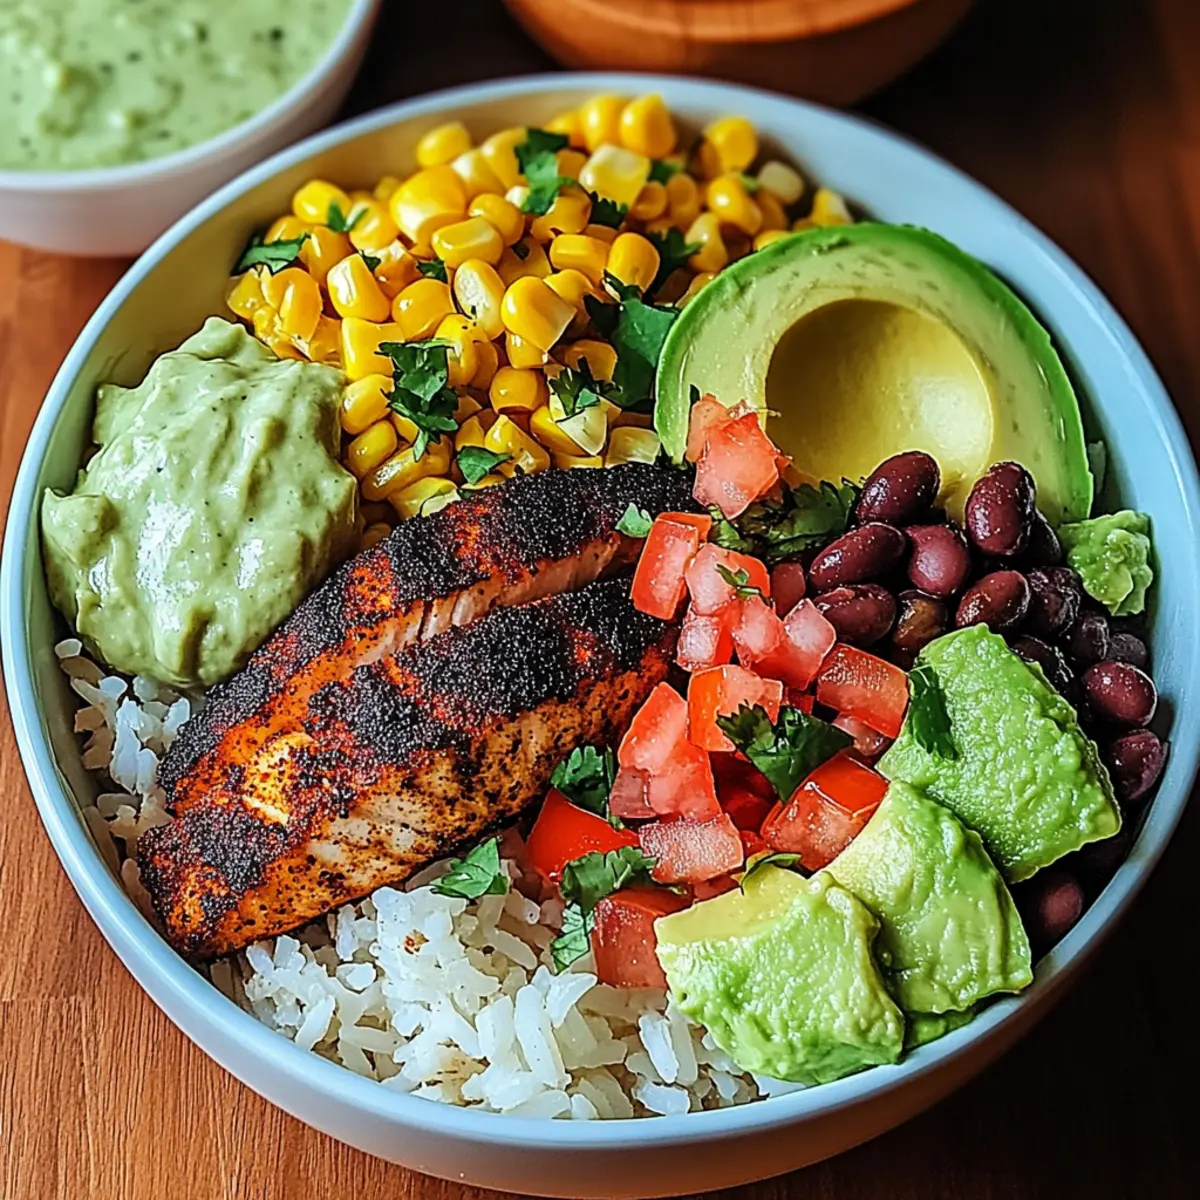
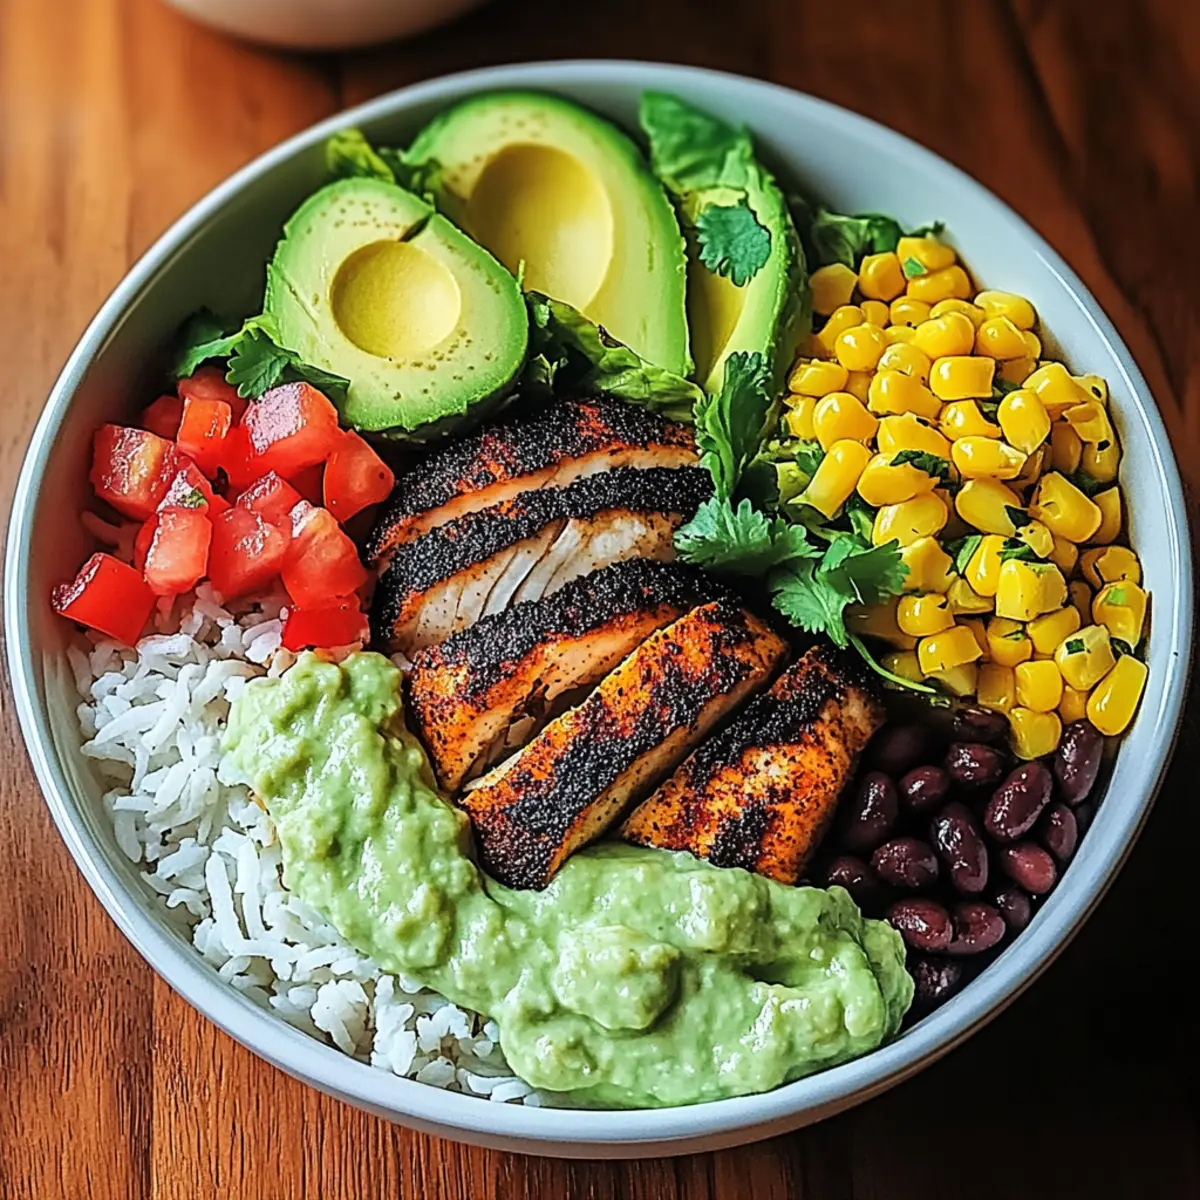
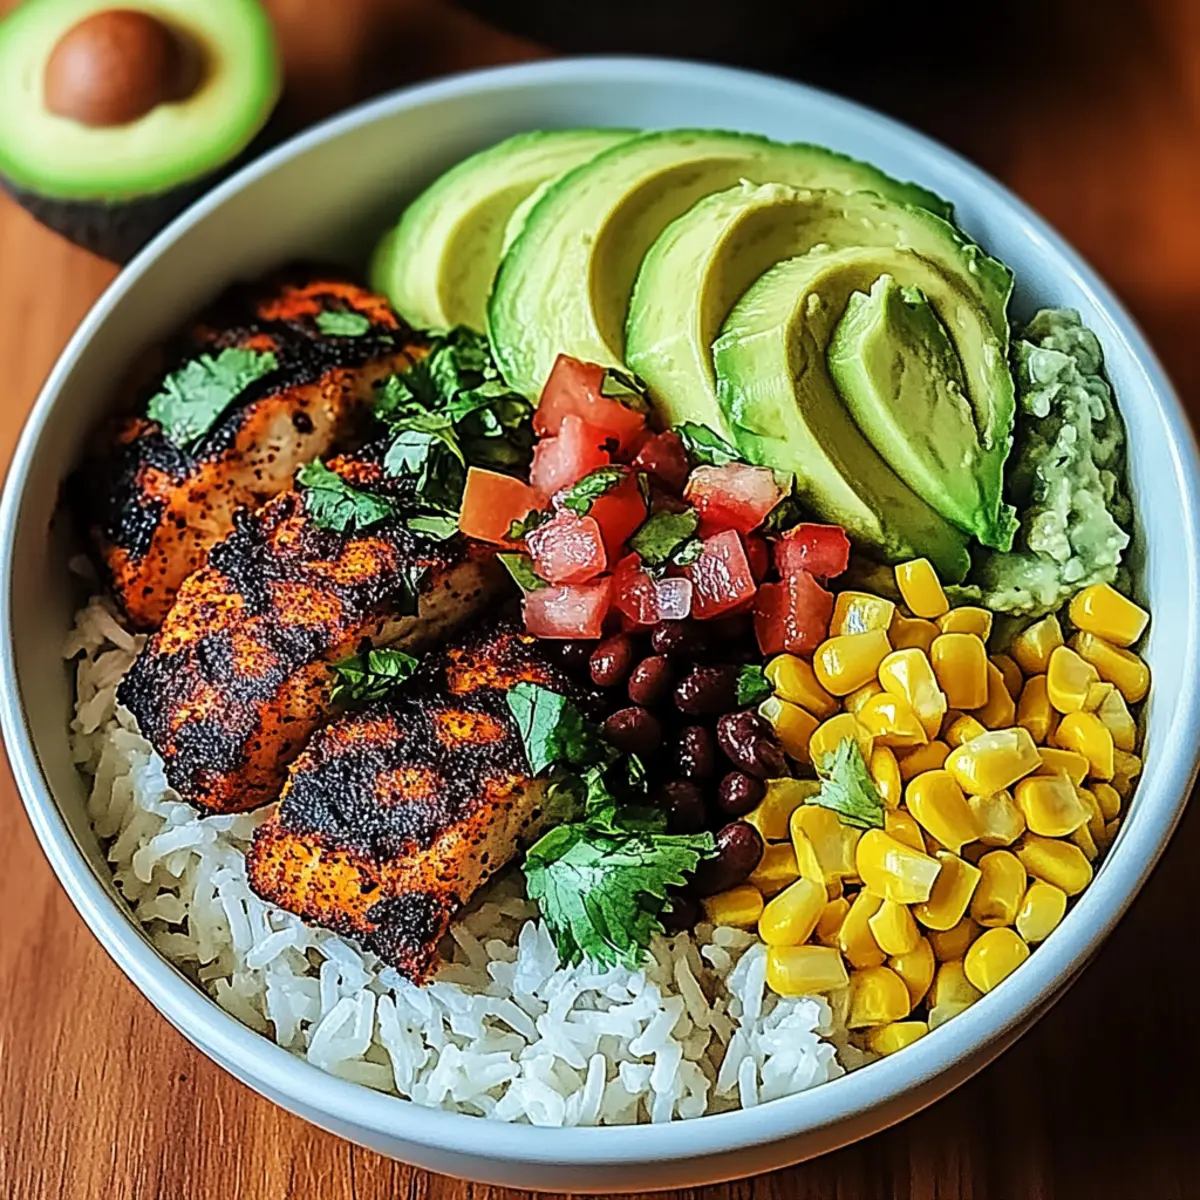
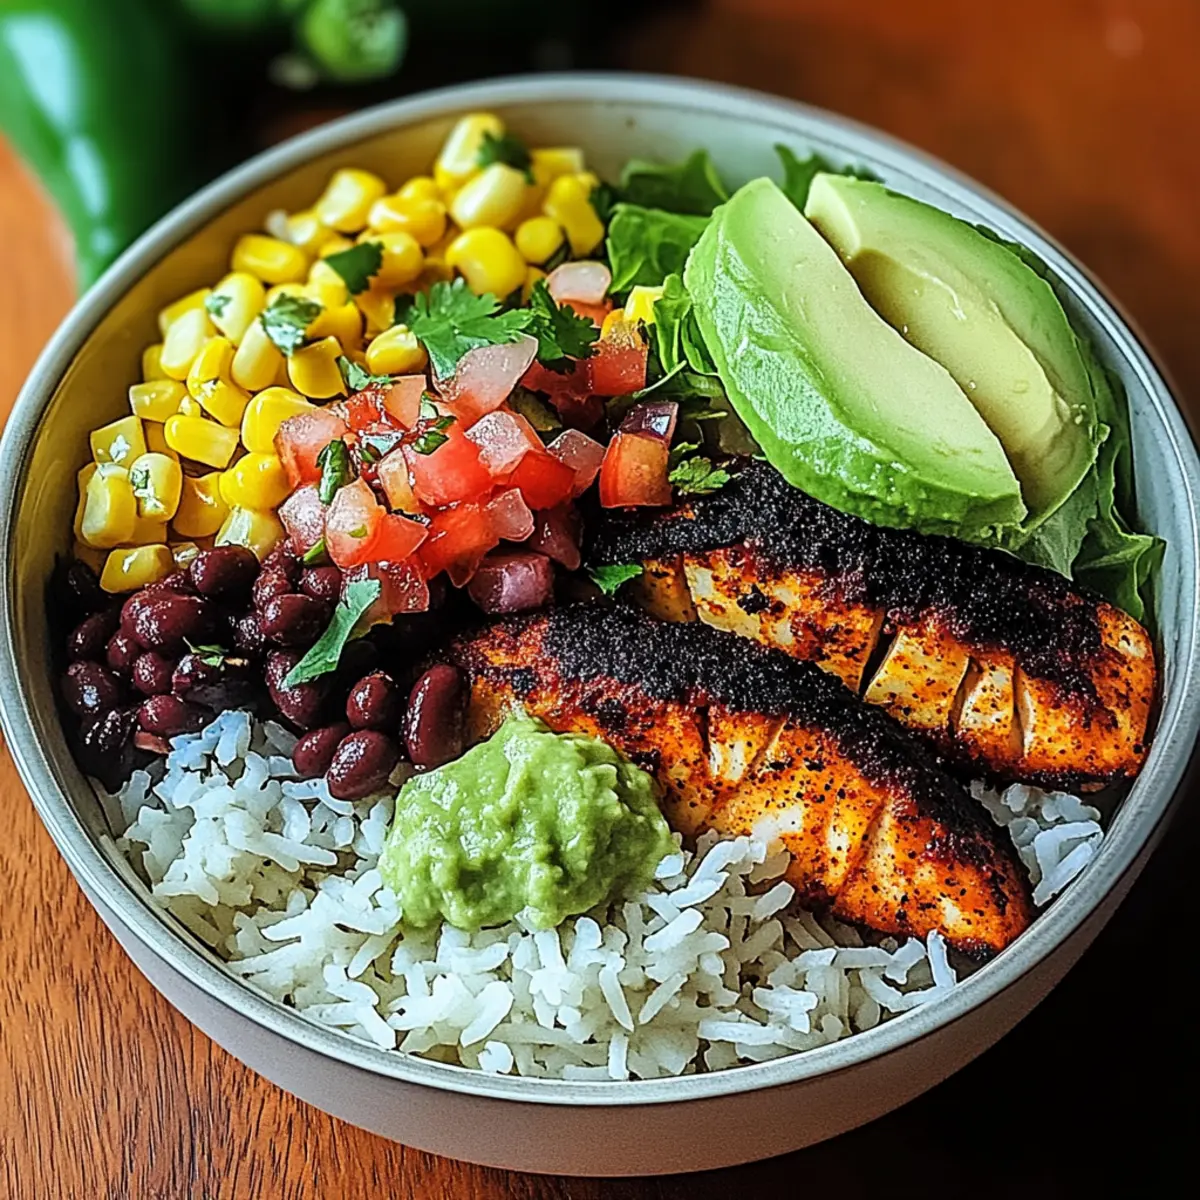
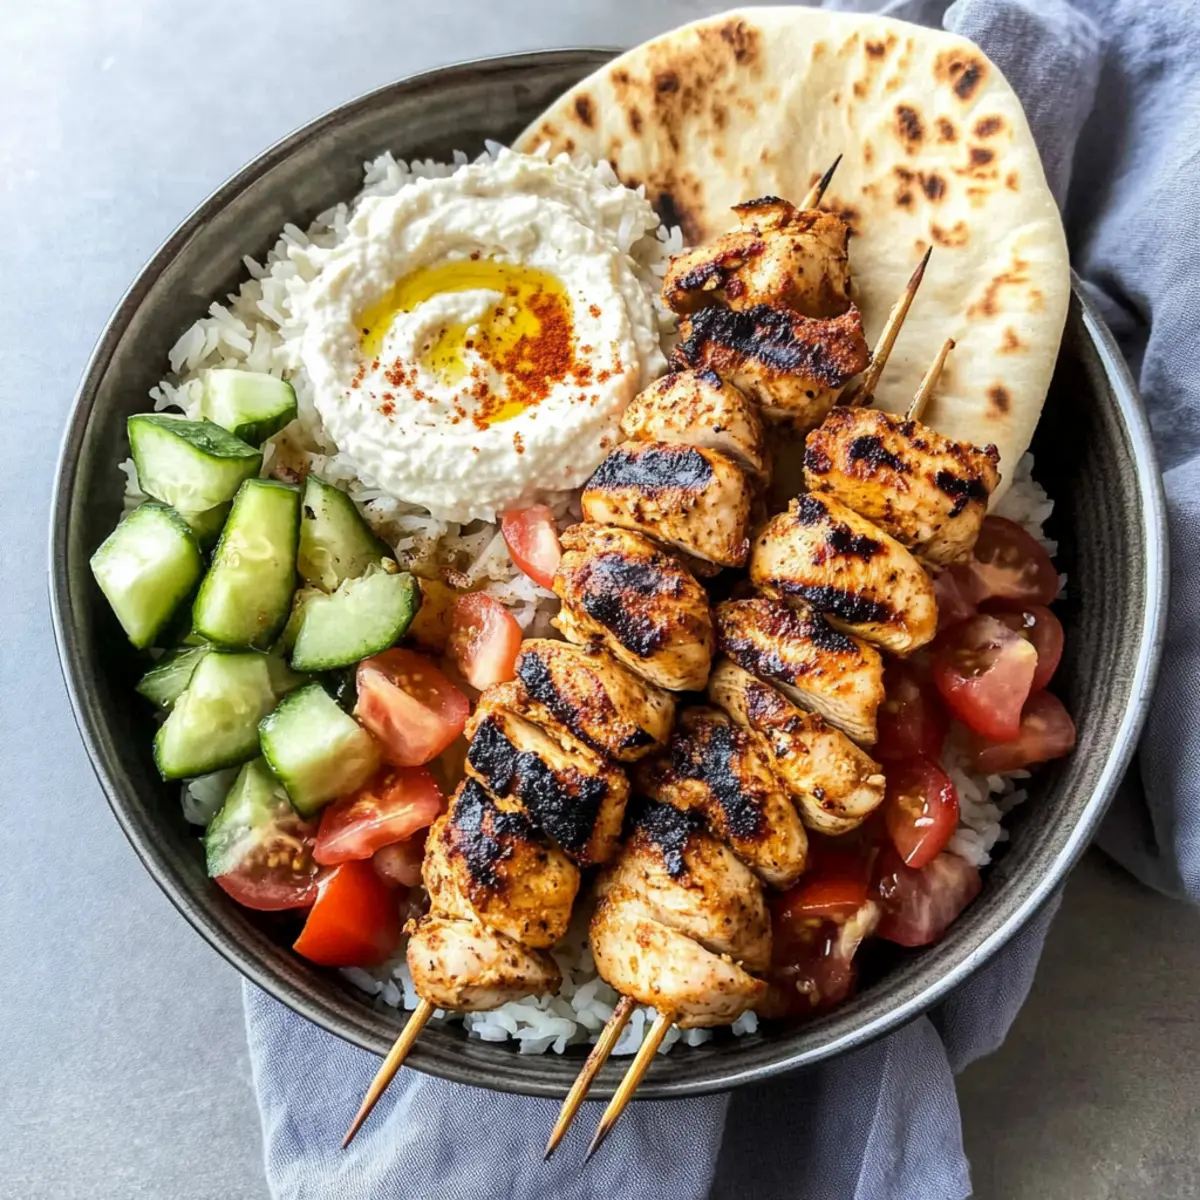
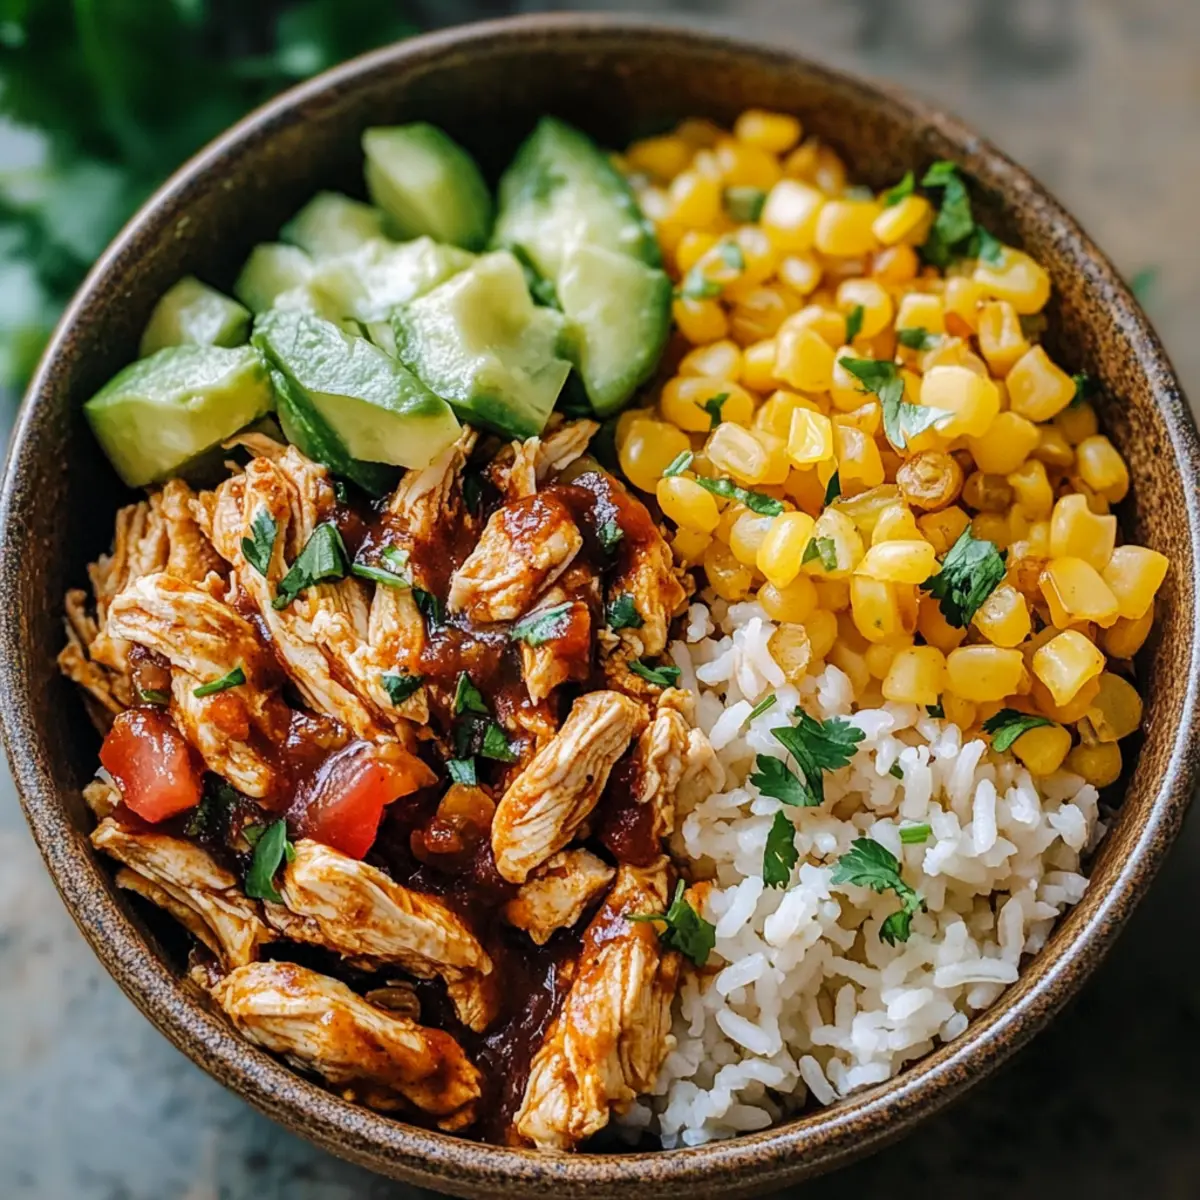
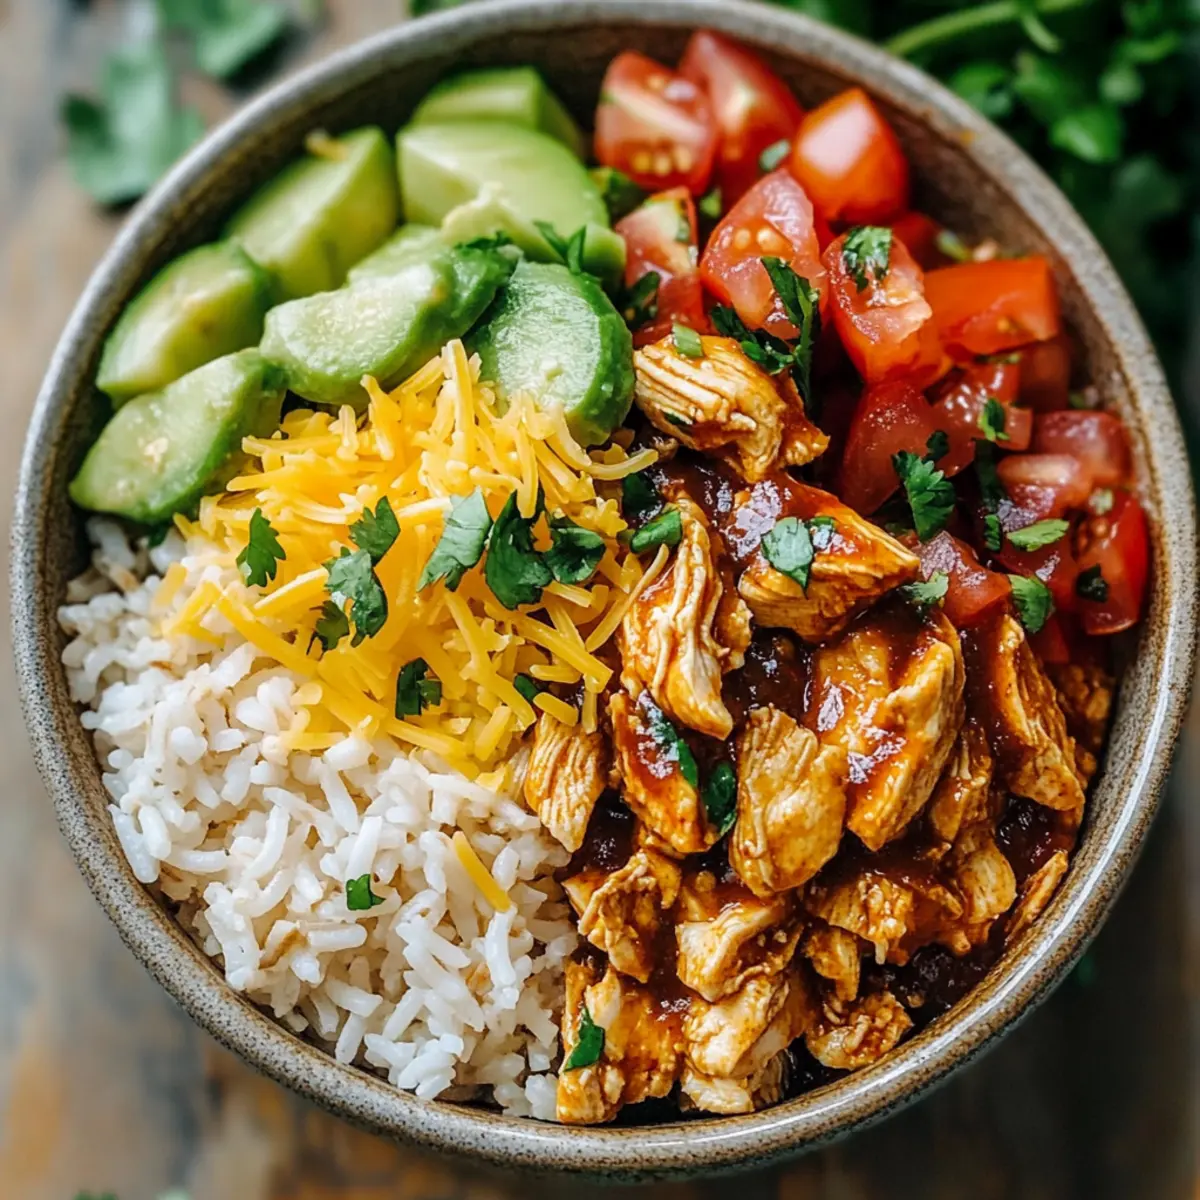
As I stirred the bubbling pot of Spanish rice, the aroma wafted through my kitchen, instantly transporting me to the bustling streets of Mexico. My latest obsession? The Taco Chicken Rice Bowl—a quick meal that transforms busy weeknights into a flavorful fiesta. With juicy, seasoned chicken and a warm, fluffy rice base, this dish is incredibly satisfying, and the best part is how easily customizable it is. Whether it’s a sprinkle of fresh cilantro or a handful of crunchy tortilla chips, everyone can tailor it to their liking, making it not just kid-friendly but a delightful crowd-pleaser too. Intrigued by how you can turn everyday ingredients into a tantalizing dinner? Let’s dive in!
Why Make Taco Chicken Rice Bowl?
Customization Galore: This Taco Chicken Rice Bowl is incredibly versatile; you can mix and match toppings for endless flavor combinations.
Quick and Easy: With minimal prep time, this recipe is perfect for busy evenings when you crave something delicious without the fuss.
Kid-Approved: It's a family favorite! Kids love building their own bowls, making mealtime fun and engaging.
Nutritious Options: Easily make it gluten-free or dairy-free by choosing rice and topping alternatives that suit your dietary needs.
Meal Prep Friendly: Preparing chicken and rice in advance allows for easy weeknight dinners; just assemble and enjoy! Enhance your dinner repertoire with options like Crock Pot Chicken or discover new flavors through Fish Taco Bowls.
Taco Chicken Rice Bowl Ingredients
For the Chicken
• Chicken Breast – Lean protein that cooks quickly; for juiciness, consider substituting with chicken thighs.
• Chili Powder – Adds a warm, smoky flavor that gives the taco profile; alternatively, use taco seasoning for a different taste.
• Lime Juice – Brightens the dish with a fresh, citrusy kick; freshly squeezed juice enhances the overall flavor.
For the Rice
• Spanish Rice – Provides a hearty base for the bowl; swap for brown rice or cauliflower rice to lighten it up.
For the Toppings
• Shredded Cheese – Adds creaminess and enhances flavor; Monterey Jack or a Mexican cheese blend can be used as a substitution.
• Chopped Tomatoes – Fresh and juicy, these add a nice pop of color; feel free to switch to diced avocados for creaminess.
• Chopped Onions – Offers a crunchy texture and sharpness; green onions can be a milder alternative.
• Crushed Tortilla Chips – Provides a satisfying crunch; use baked chips for a healthier twist.
• Fresh Cilantro – Bright and aromatic, it enhances flavor; omit if you're not a fan or try parsley instead.
With these ingredients, your Taco Chicken Rice Bowl becomes a versatile culinary canvas, inviting customization to suit every taste!
Step‑by‑Step Instructions for Taco Chicken Rice Bowl
Step 1: Prepare the Rice
Begin by cooking the Spanish rice according to package instructions, typically 15-20 minutes until fluffy. Bring a pot of water to a boil, add the rice, cover, and let it simmer. Once the rice is cooked, fluff it with a fork and keep it warm until you’re ready to assemble your Taco Chicken Rice Bowl.
Step 2: Season the Chicken
While the rice is cooking, take your chicken breast and cut it into bite-sized pieces for quick cooking. Sprinkle chili powder generously over the chicken to ensure even seasoning. This not only enhances the flavor but also gives the chicken a vibrant color that kicks off the tasty Taco Chicken Rice Bowl.
Step 3: Cook the Chicken
Heat a large skillet over medium-high heat and add a splash of olive oil. Once the oil is shimmering, add the seasoned chicken pieces. Sauté the chicken for about 5-7 minutes, stirring occasionally until it is browned and no longer pink in the center. Ensure the internal temperature reaches 165°F (75°C) for safe consumption and perfect juiciness.
Step 4: Add Lime Juice
Once the chicken is cooked, reduce the heat to low and add freshly squeezed lime juice to the skillet. Stir the chicken well, allowing the citrusy flavor to coat each piece evenly. The lime juice will brighten the flavors in your Taco Chicken Rice Bowl, making it even more delicious.
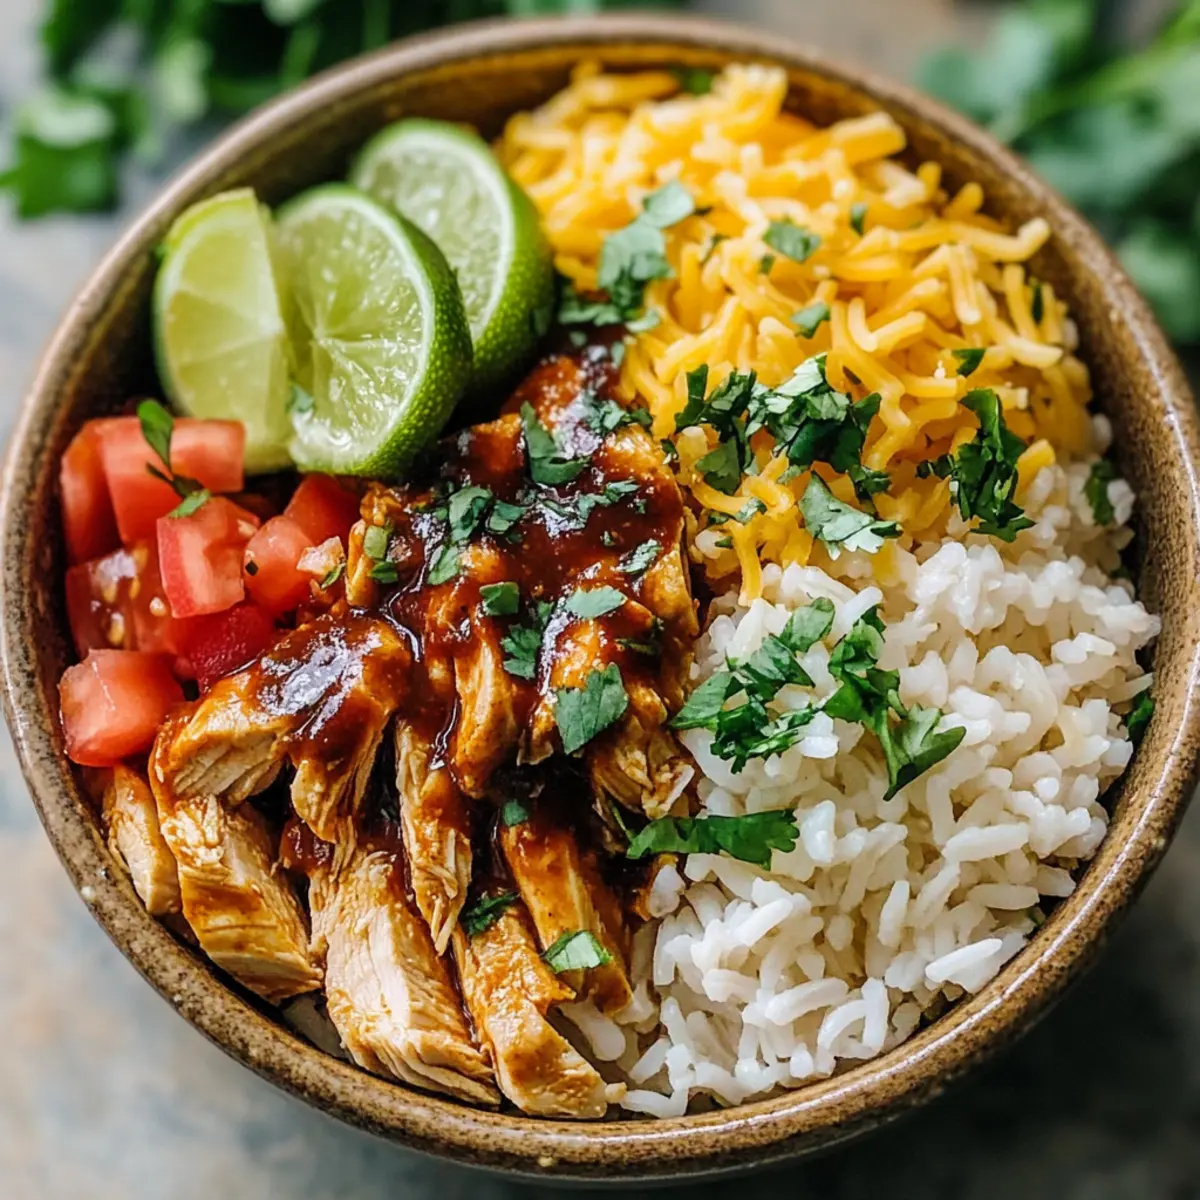
Step 5: Assemble the Bowl
In a serving bowl, create a warm base by spooning in your cooked Spanish rice. Top the rice with the sautéed Taco Chicken, making sure to distribute it evenly for a balanced bite. This combination of rice and chicken serves as the hearty foundation of the bowl.
Step 6: Add Toppings
Now comes the fun part—customizing your Taco Chicken Rice Bowl! Sprinkle a generous amount of shredded cheese over the hot chicken, followed by fresh chopped tomatoes, crunchy onions, and crushed tortilla chips for added texture. Feel free to adjust the toppings to suit your preferences and let your creativity shine!
Step 7: Serve
For a delightful finish, serve your Taco Chicken Rice Bowl with optional sides like guacamole or fresh salsa. These additions not only enhance the flavor but also make your meal more enjoyable. Gather everyone around, and let them dive into their delightful creations, celebrating the warmth and zest of homemade cooking!
How to Store and Freeze Taco Chicken Rice Bowl
Fridge: Store leftover Taco Chicken Rice Bowl in an airtight container for up to 3 days. Keep toppings separate to maintain freshness and crunch.
Freezer: For longer storage, freeze the chicken and rice mixture in a freezer-safe container for up to 2 months. Reheat directly from frozen for a quick meal.
Reheating: To reheat, use the microwave or stovetop. If using the microwave, cover loosely and heat in short intervals, stirring in between, until heated through.
Room Temperature: Do not leave the Taco Chicken Rice Bowl at room temperature for more than 2 hours to ensure food safety and freshness.
What to Serve with Taco Chicken Rice Bowl
Elevate your Taco Chicken Rice Bowl into a complete meal experience with these delightful pairing ideas, sure to entice your taste buds!
-
Crispy Tortilla Chips: Perfect for dipping, they add extra crunch to each bite and are great for scooping up delicious toppings.
-
Mexican Street Corn Salad: This zesty side, packed with flavors of lime and cotija, complements the taco spices beautifully and adds fresh texture.
-
Guacamole: Creamy and rich, this avocado dip not only enhances the bowl but also adds a smooth, satisfying contrast to the crispy elements.
-
Pico de Gallo: Fresh and vibrant, this chunky salsa brings a burst of flavor and brightness that cuts through the richness of the chicken and cheese.
-
Black Beans: Adding protein and fiber, seasoned black beans offer a hearty component that pairs well with the meal's flavors while maximizing nutritional value.
-
A Citrus Salad: A light salad with oranges and grapefruit balances the spices of the Taco Chicken Rice Bowl, refreshing your palate between bites.
-
Sangria: A fruity, chilled drink complements the flavors perfectly, enhancing the festive vibe of your taco-themed dinner.
-
Churros: End the meal on a sweet note with these warm, cinnamon-sugar-coated treats—a perfect indulgence that ties the meal together.
Variations for Taco Chicken Rice Bowl
Customize your Taco Chicken Rice Bowl and create a unique culinary experience that delights every taste bud.
- Dairy-Free: Omit cheese or use cashew cream for creaminess without dairy. Your bowl will still be rich in flavor.
- Zesty Kick: Add jalapeños or diced green chilies for a spicy touch. The heat elevates the dish, making it a bold experience!
- Flavor Boost: Incorporate fresh herbs like cilantro or parsley to enhance freshness. A little sprinkle can transform your meal into a garden of flavors.
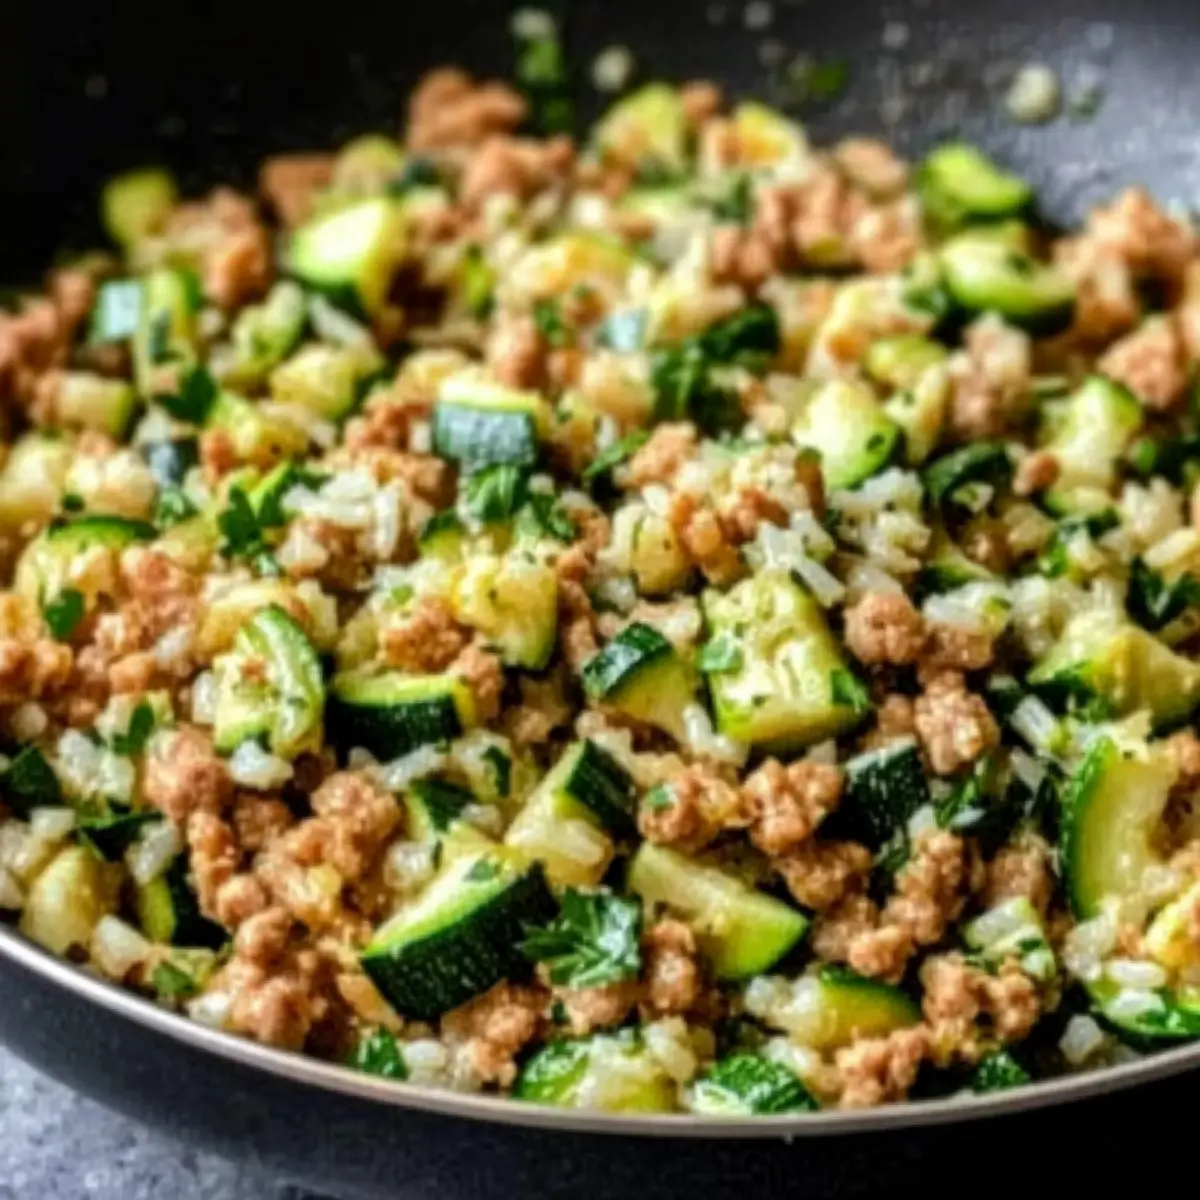
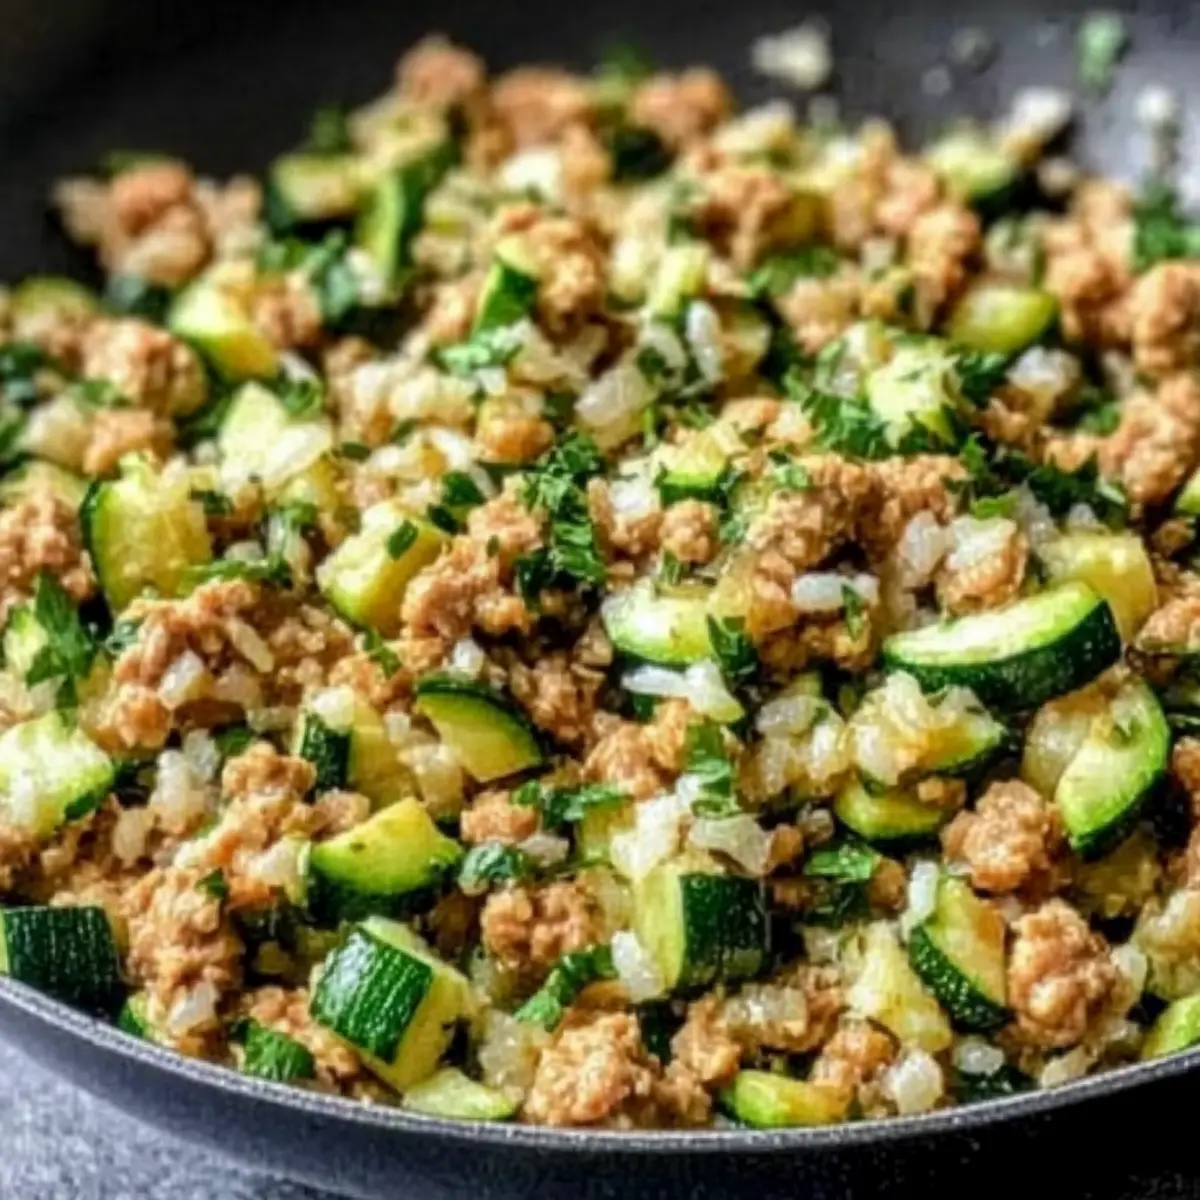
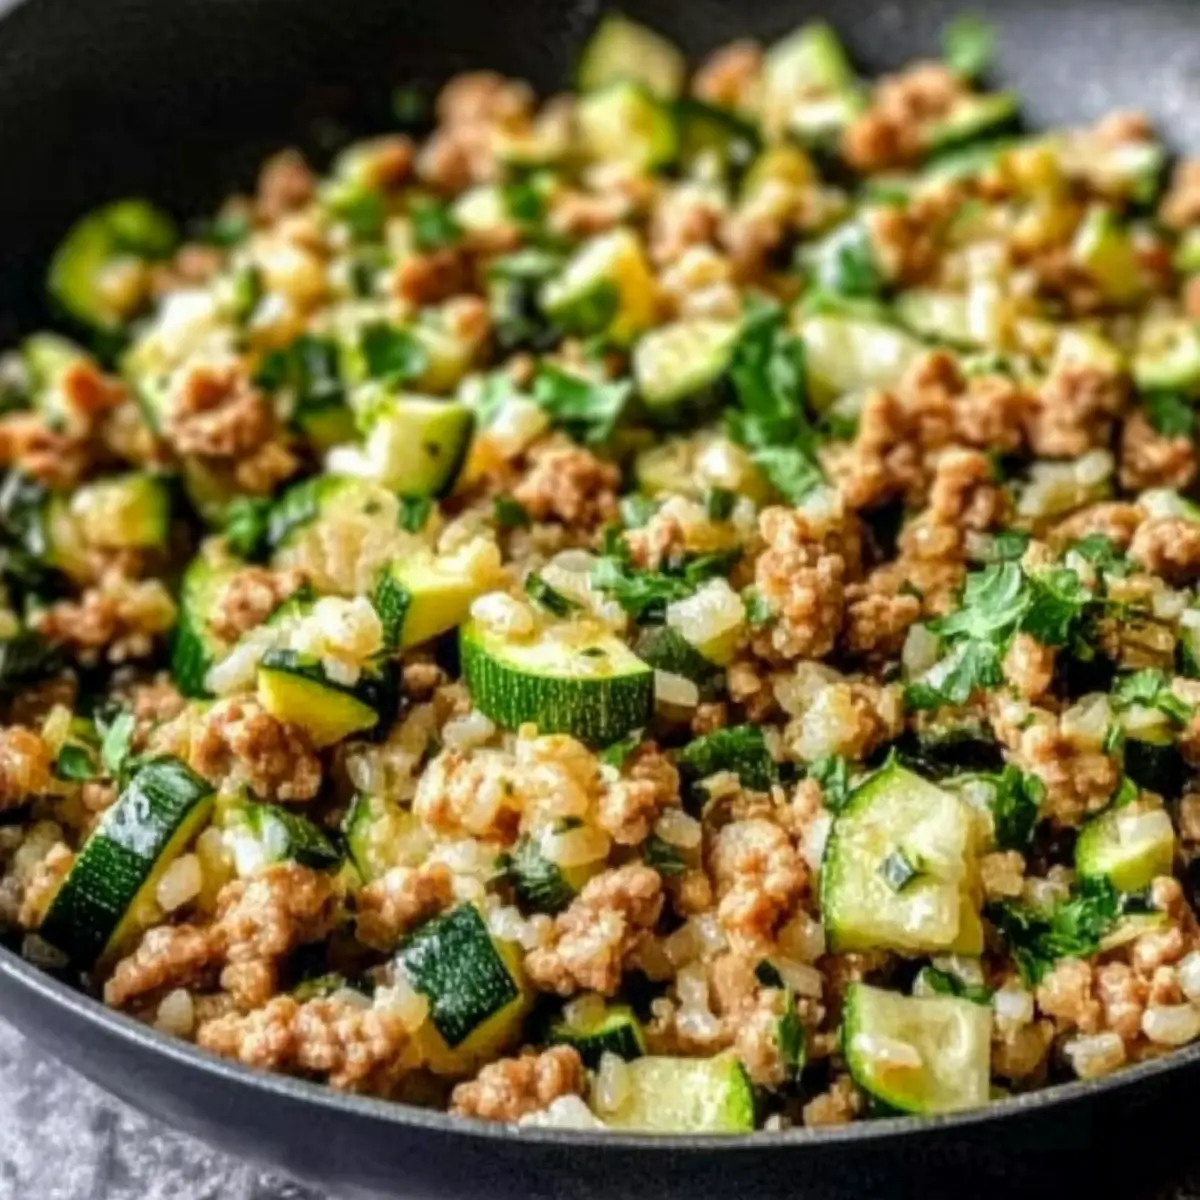
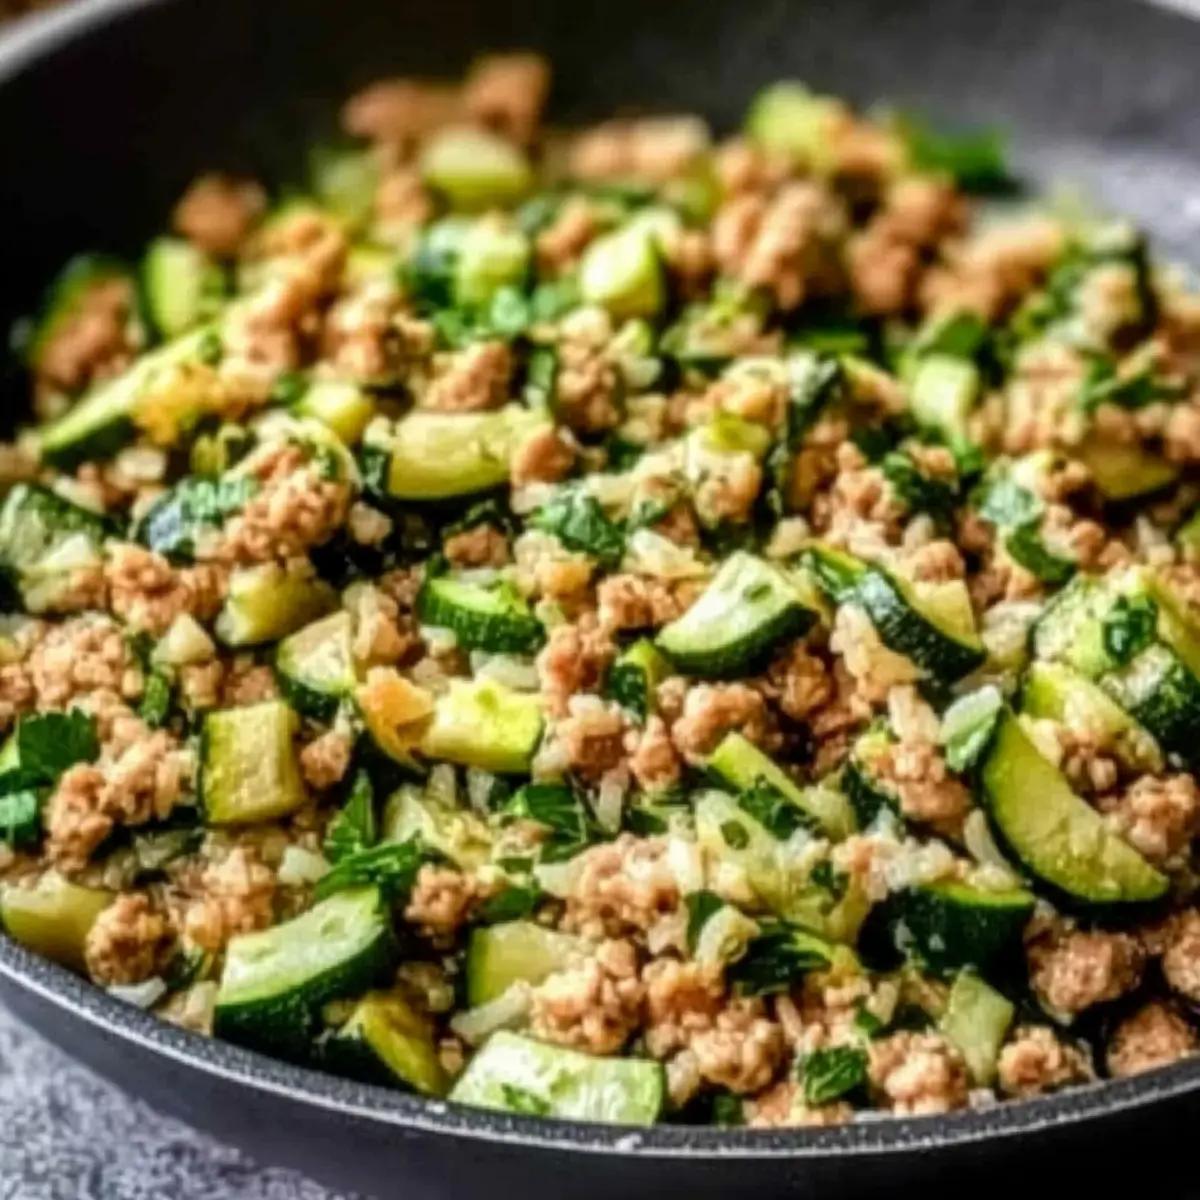
- Loaded Veggies: Toss in sautéed bell peppers and zucchini for added nutrition and a colorful presentation. They not only enrich the texture but also create a visual feast.
- Extra Protein: Include black beans or corn for added texture and nutrition. This combination adds heartiness, making your bowl even more satisfying.
- Healthier Rice Option: Substitute Spanish rice with quinoa for a protein-packed base. It's a delicious way to keep the bowl filling and nutritious!
- Sweet Touch: Top with a spoonful of mango salsa for a hint of sweetness. This unexpected twist brings a fun contrast to your savory ingredients.
- Savory Salsa: Serve with homemade pico de gallo for an extra layer of flavor. You can explore other options, such as pairing it with Fish Taco Bowls to enjoy fresh seafood vibes!
With these variations, your Taco Chicken Rice Bowl will never be boring—it'll keep getting better with every twist!
Make Ahead Options
These Taco Chicken Rice Bowls are ideal for meal prep enthusiasts! You can prepare the Spanish rice and cook the chicken up to 3 days in advance, allowing for quick assembly during busy weeknights. To maintain quality, refrigerate the cooked chicken and rice separately in airtight containers. When ready to serve, simply reheat the chicken in a skillet or the microwave until warmed through, and fluff the rice before combining. Top with your favorite ingredients—prepare toppings like chopped tomatoes and shredded cheese in advance to save time. With everything prepped ahead, you’ll enjoy delicious, fresh Taco Chicken Rice Bowls with minimal effort!
Expert Tips for Taco Chicken Rice Bowl
• Uniform Chicken Pieces: Cut your chicken into even-sized pieces to ensure they cook evenly and avoid any undercooked bites.
• Prepare Toppings Ahead: Chop your toppings in advance and store them separately to speed up assembly and maintain their freshness when serving the Taco Chicken Rice Bowl.
• Fresh Ingredients Matter: Use freshly squeezed lime juice for the best flavor; it adds a vibrant kick that enhances the entire dish.
• Experiment with Rice: Don’t hesitate to swap Spanish rice for brown or cauliflower rice for a different texture and health boost while keeping it gluten-free.
• Leftover Savvy: Store any leftovers in an airtight container to enjoy your Taco Chicken Rice Bowl within three days, but keep toppings separate to prevent sogginess.
Taco Chicken Rice Bowl Recipe FAQs
How do I know if my chicken is cooked properly?
Absolutely important! To ensure your chicken is fully cooked, use a meat thermometer to check that the internal temperature has reached 165°F (75°C). The chicken should also appear white throughout, with no pink juices when you cut into it. This method guarantees juiciness while avoiding undercooked portions.
How should I store leftovers?
Leftover Taco Chicken Rice Bowl can be stored in an airtight container in the refrigerator for up to 3 days. It’s best to keep toppings separate—like cheese, tomatoes, and chips—to preserve their freshness and crunch. When you're ready to enjoy it again, simply reheat the rice and chicken mixture while keeping the toppings cool until serving.
Can I freeze my Taco Chicken Rice Bowl?
Certainly! To freeze, allow the chicken and rice to cool completely before transferring them to a freezer-safe container. For the best quality, consume within 2 months. When you're ready to eat, reheat directly from frozen in the microwave or stovetop, and add your fresh toppings just before serving for that delightful crunch!
What should I do if my rice is sticky or undercooked?
If your rice turns out sticky, it may have been overcooked or had too much water added. For future batches, ensure the water-to-rice ratio is correct (typically 1 part rice to 2 parts water for Spanish rice) and avoid stirring the rice while it's cooking. For undercooked rice, simply add a little more water and continue cooking on low heat until tender.
Are there any allergen considerations for this recipe?
Very important! If you’re cooking for someone with allergies, consider substituting ingredients like shredded cheese with dairy-free alternatives. Additionally, ensure that the taco seasoning or any other pre-packaged items are gluten-free if that’s a concern. Always check labels to accommodate dietary needs, especially when it comes to gluten and dairy.
What ingredients can I customize to suit my family's taste?
Feel free to make this Taco Chicken Rice Bowl your own! You can swap chicken breasts for chicken thighs for more juiciness, replace Spanish rice with brown rice or cauliflower rice for a health boost, or mix in other toppings like black beans, corn, or avocado. The more, the merrier—tailor it to your family's preferences for a perfect dinner!