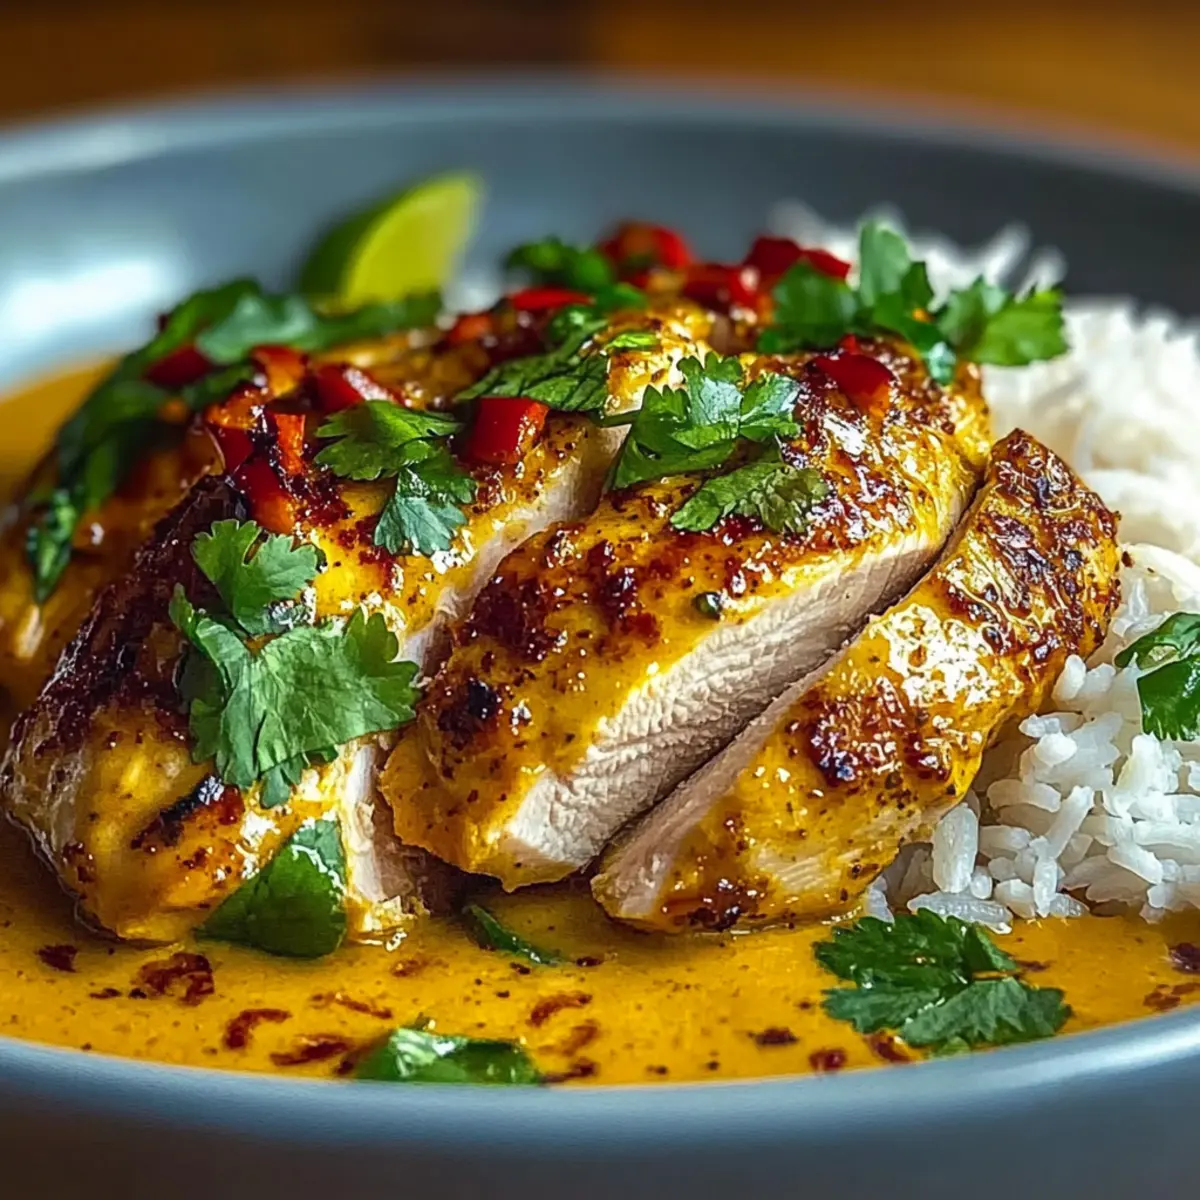
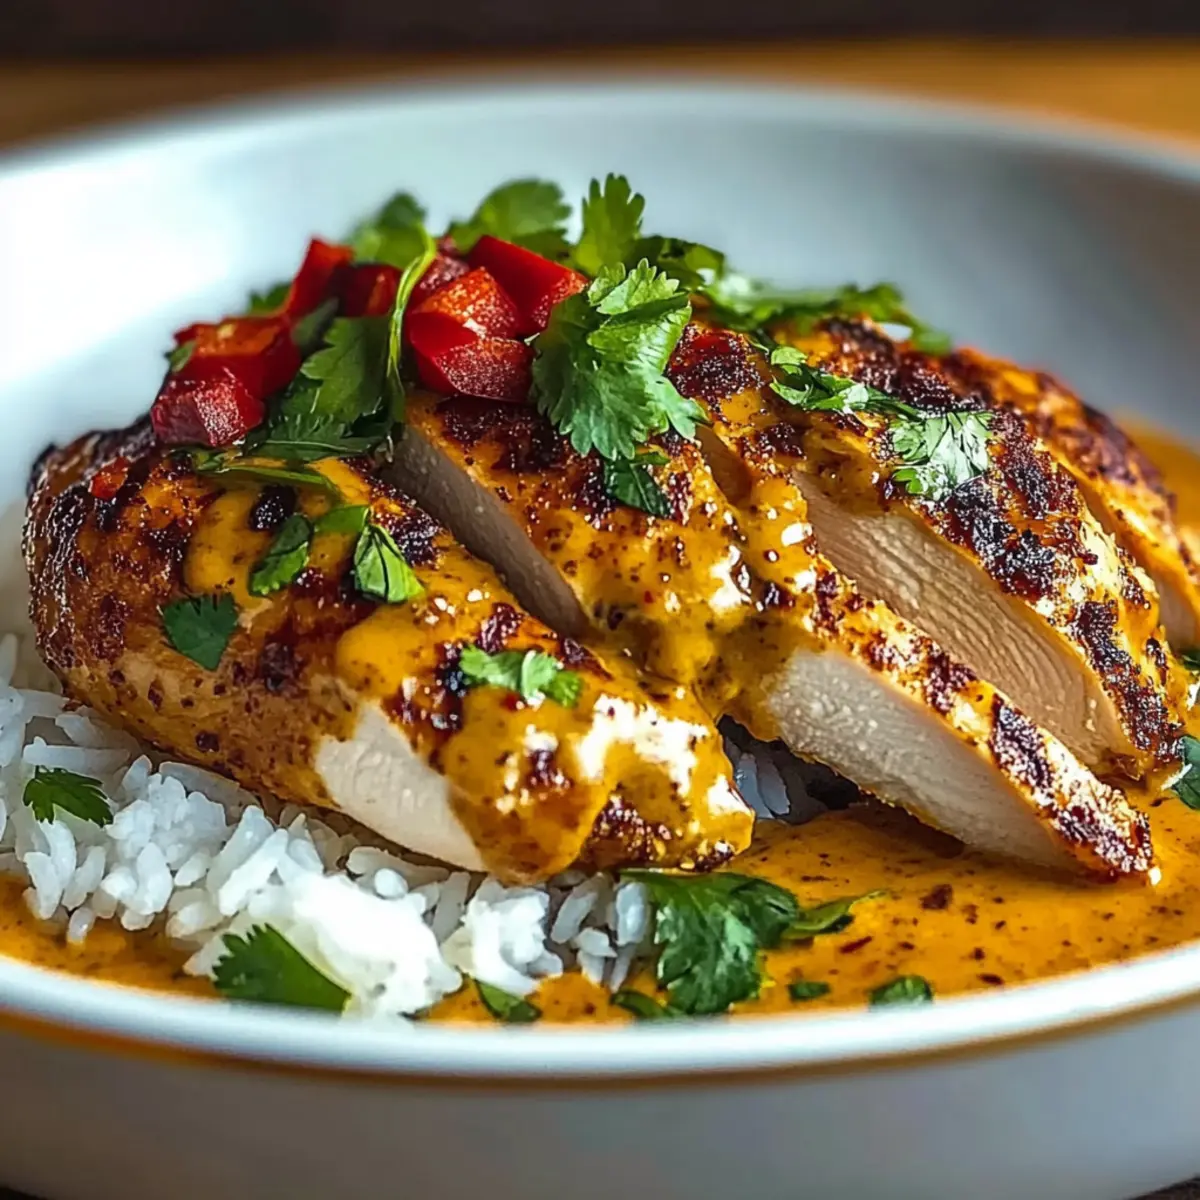
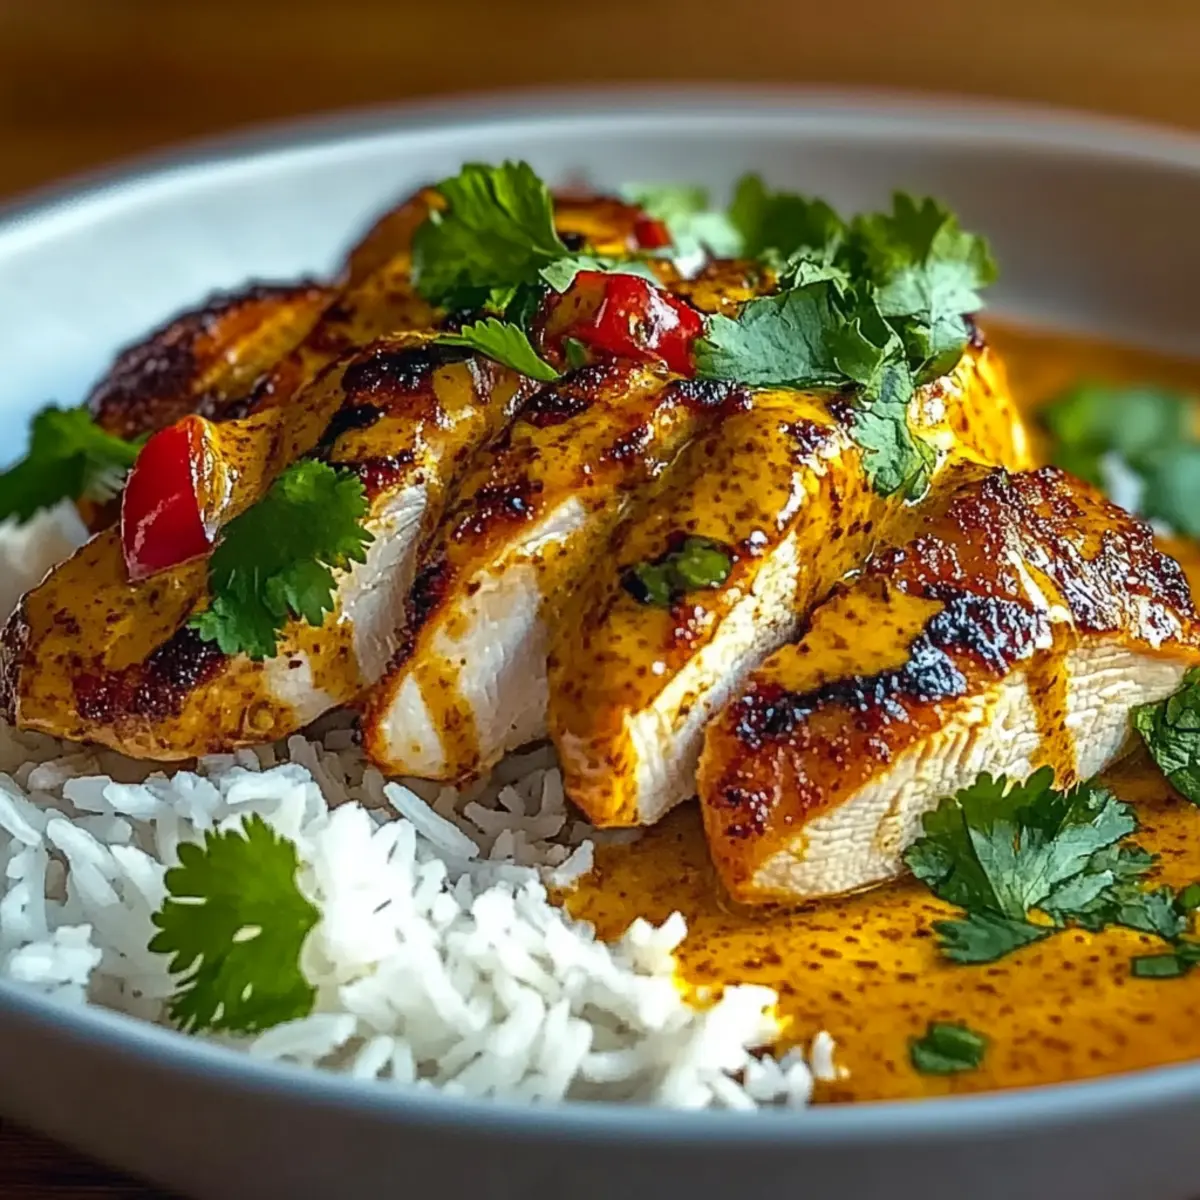
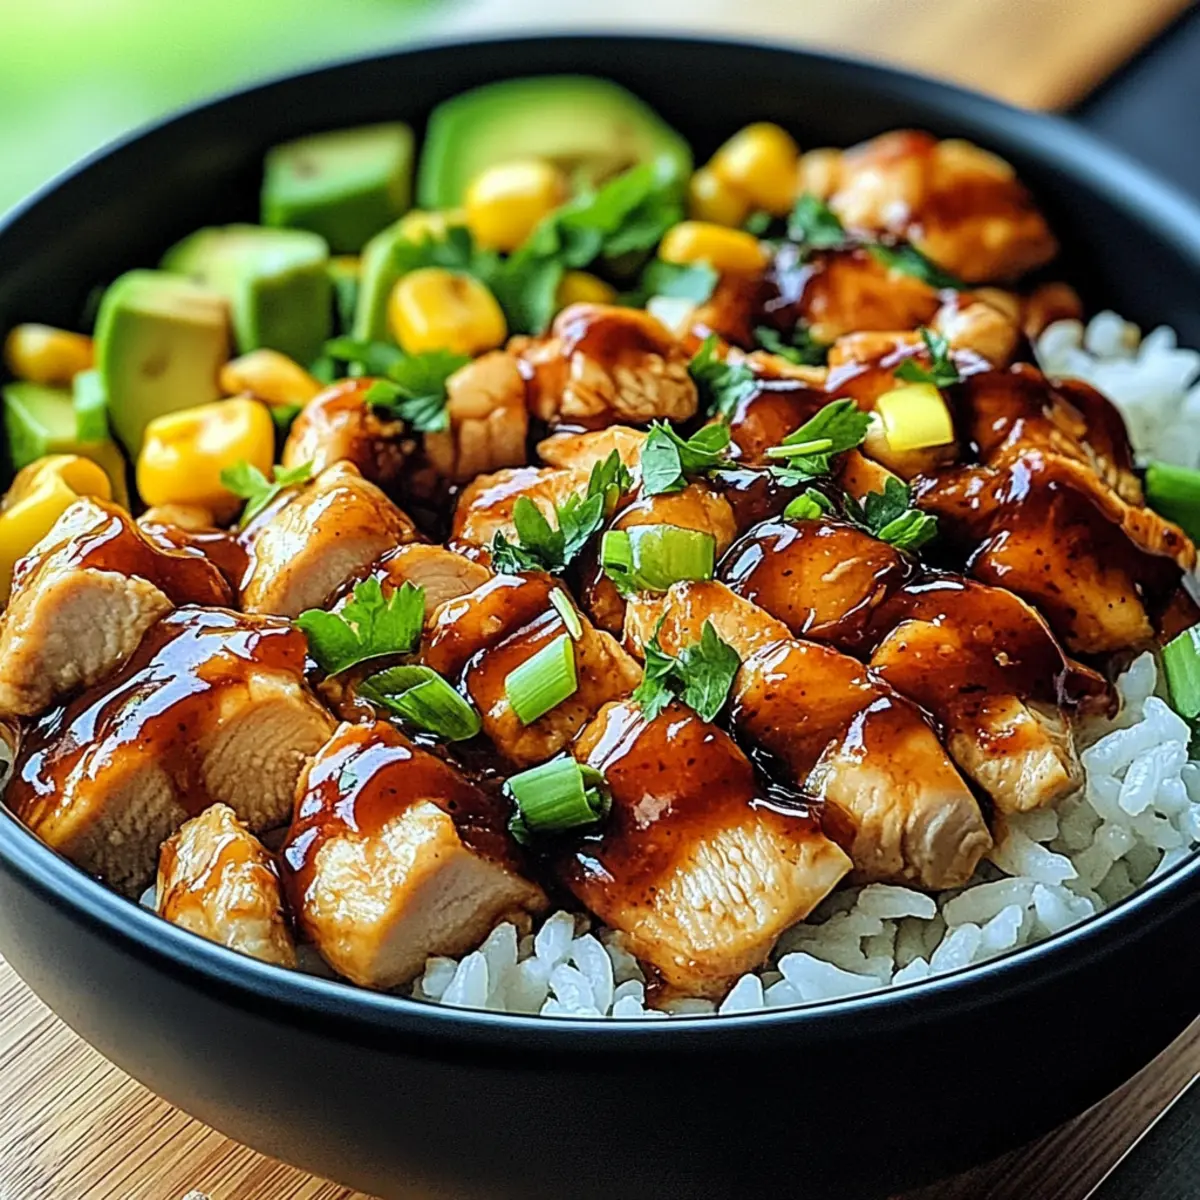
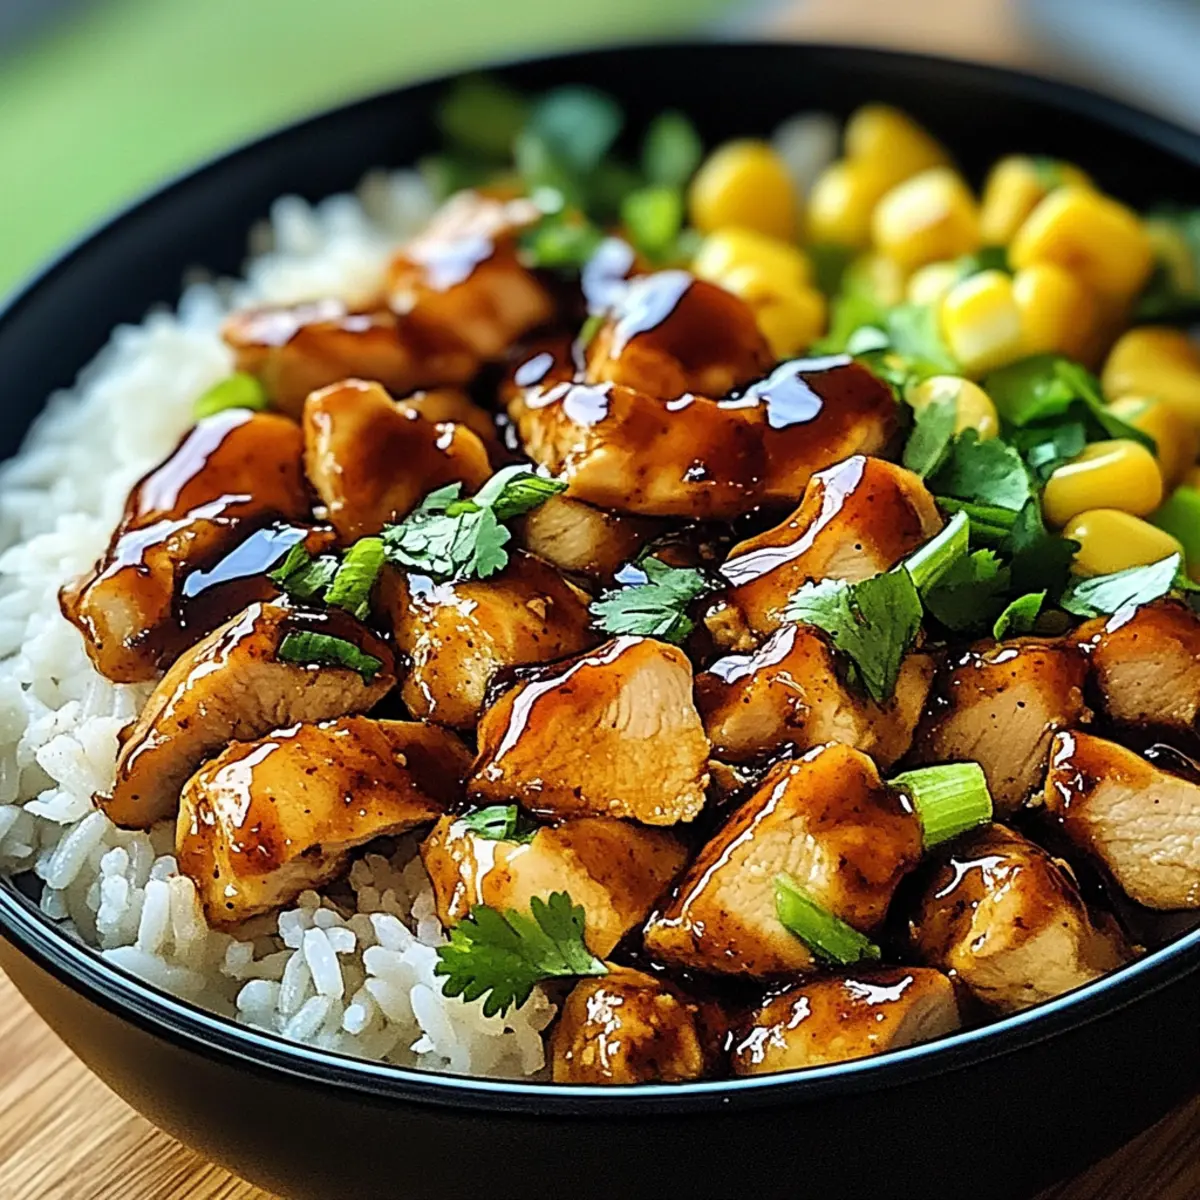
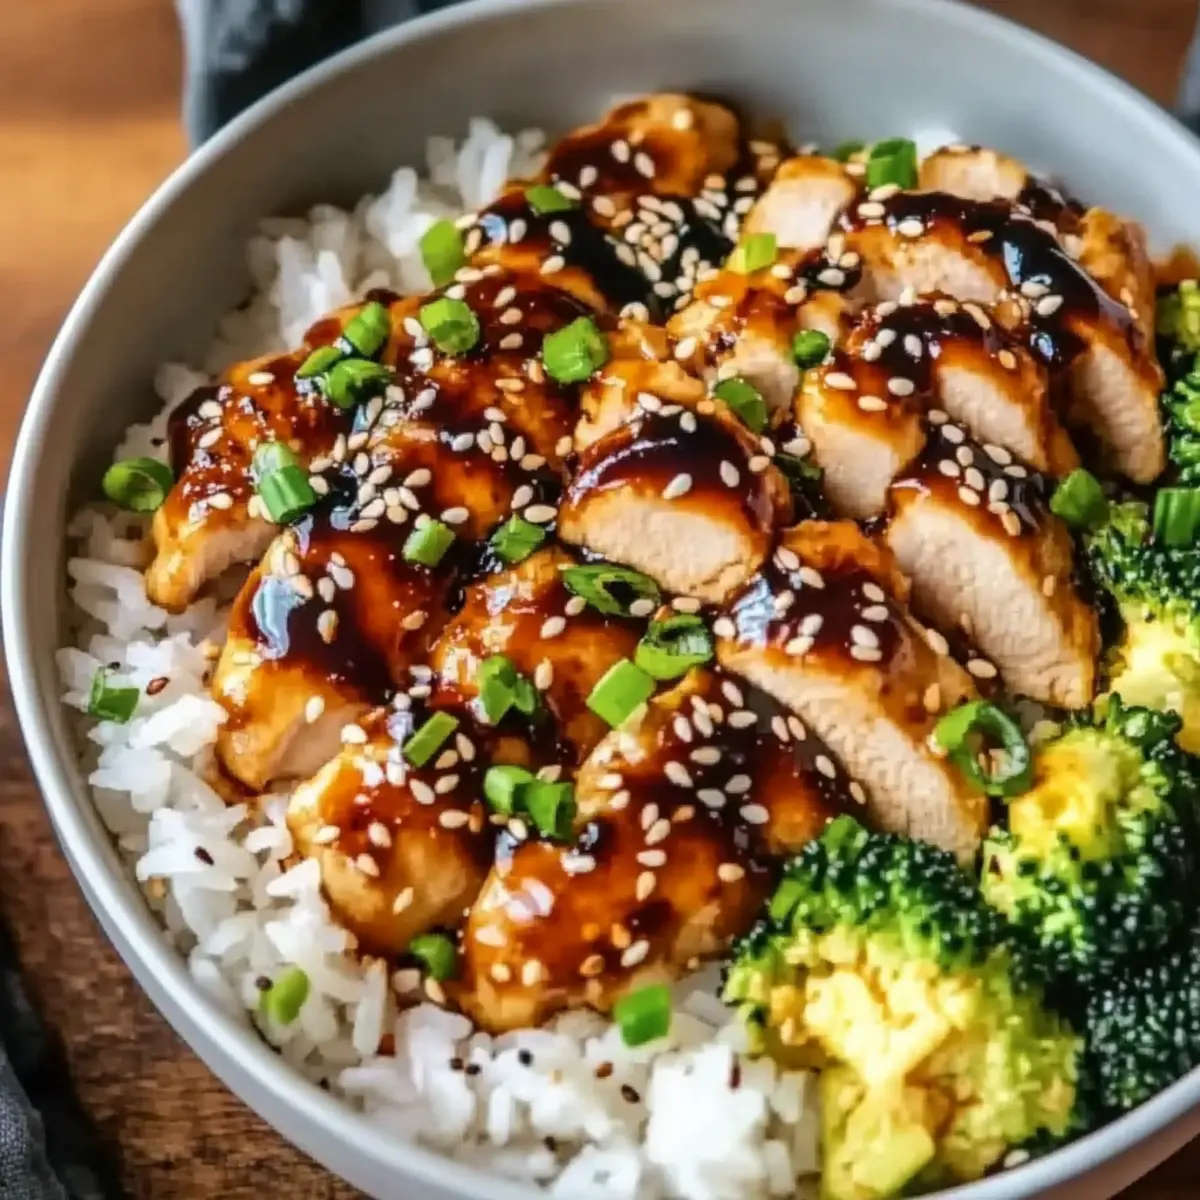
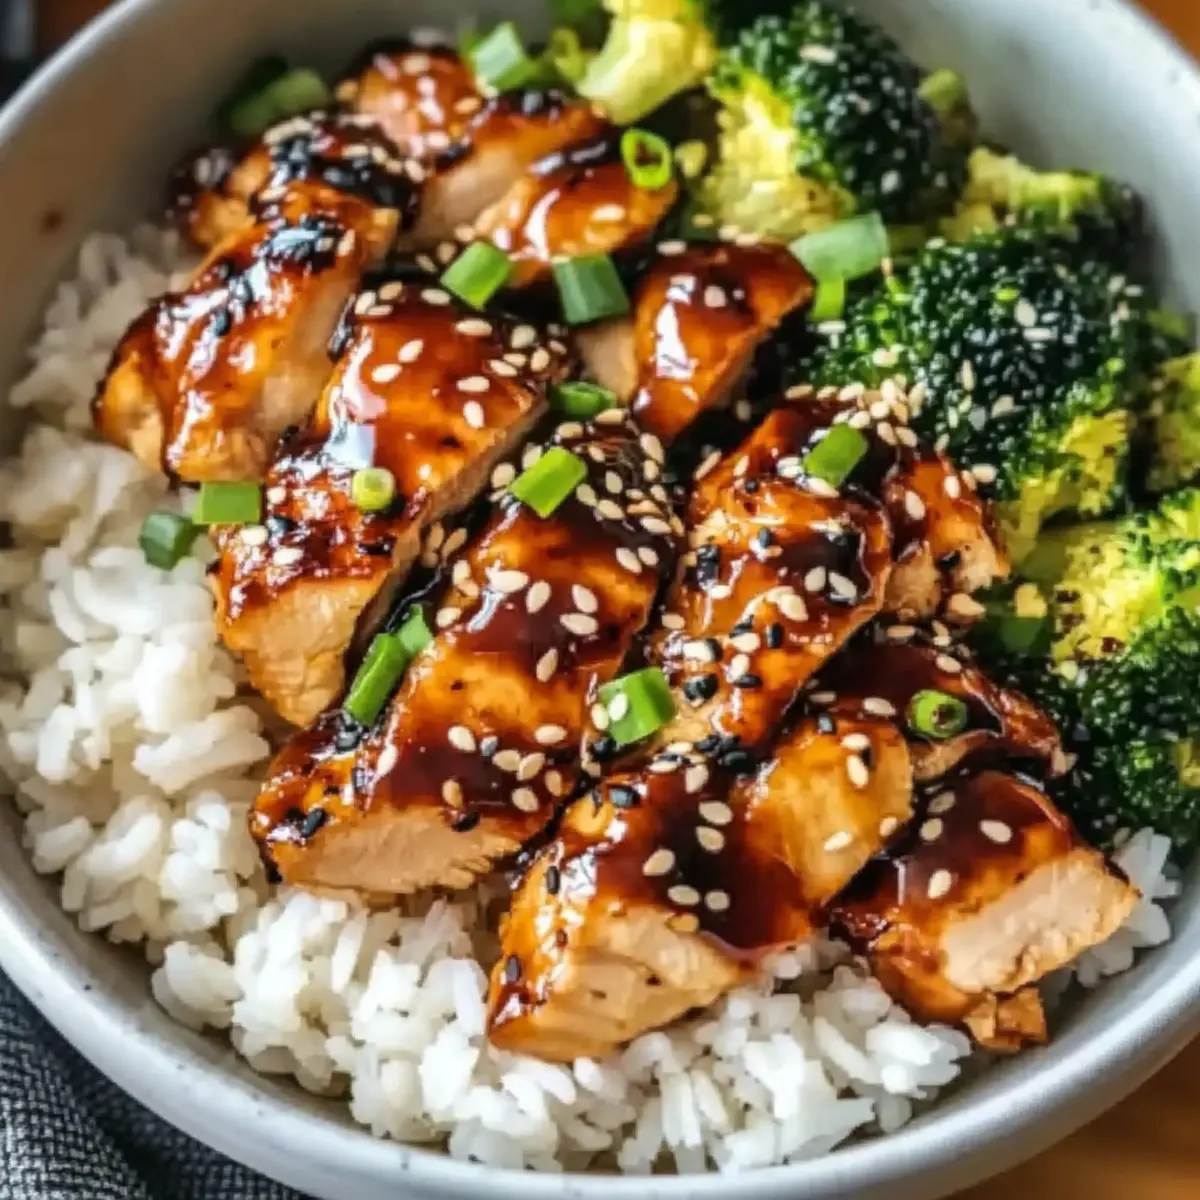
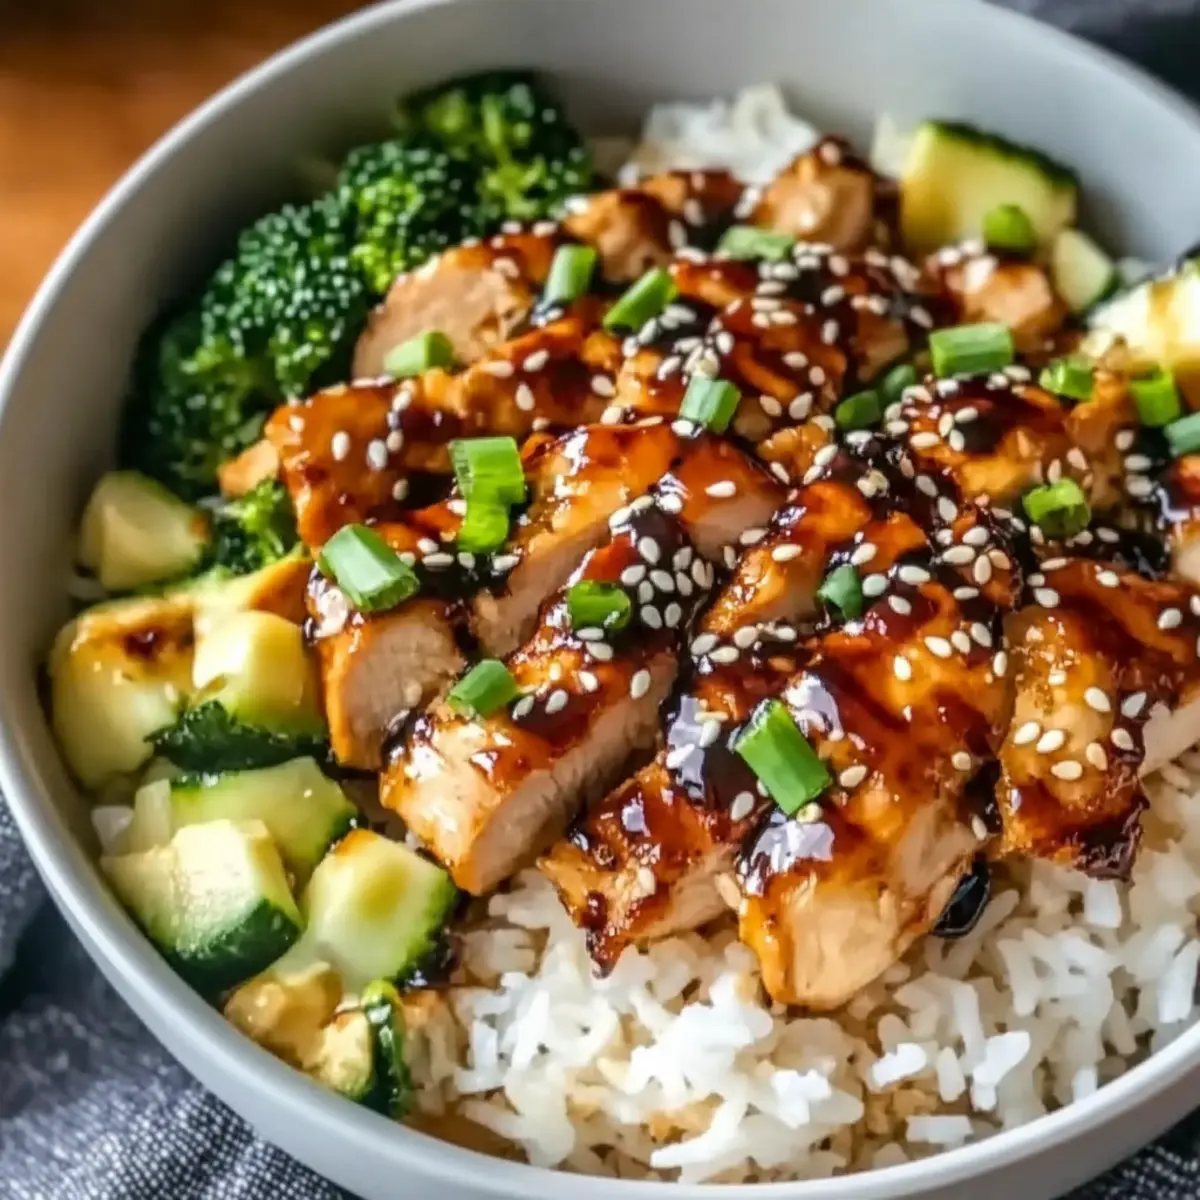
The aroma of roasted sweet potatoes mingling with a sweet and tangy maple Dijon glaze has a magical way of transforming a simple weeknight dinner into a special occasion. This Easy Maple Dijon Chicken Bowl with Sweet Potatoes is not just a meal; it’s a warm embrace on a chilly evening. The juicy chicken thighs, coated in a delectable sauce, paired with caramelized sweet potatoes promise not only a burst of comforting autumn flavors but also the joy of a one-pan creation that minimizes clean-up! With quick prep and a wholesome profile, this dish becomes your go-to choice for busy nights or cozy gatherings. Are you ready to savor every bite? Let’s get cooking!
Why is this chicken bowl a must-try?
Convenience: This recipe transforms into a one-pan wonder, ensuring minimal clean-up while you enjoy comforting flavors.
Flavor Fusion: The sweet maple Dijon glaze melds perfectly with caramelized sweet potatoes, creating a harmony of taste that will leave your taste buds dancing.
Customizable: Whether swapping chicken thighs for chicken breasts or adding nutritious greens, the possibilities are endless!
Quick Preparation: With just a quick prep and 40 minutes in the oven, you’ll have a hearty meal that fits seamlessly into your busy week.
Crowd-Pleasing: This dish is an instant favorite, perfect for family dinners or casual gatherings. Looking for more delicious chicken ideas? Try Honey Garlic Chicken or a comforting Crock Pot Chicken Stew.
Maple Dijon Chicken Bowl Ingredients
• For the Chicken
- Chicken Thighs – These provide protein and richness; chicken breasts can be used as a substitute, but adjust the cooking time.
- Dijon Mustard – Offers that delightful tang; swapping with yellow mustard works too!
• For the Glaze
- Maple Syrup – Adds natural sweetness and depth; honey or brown sugar mixed with a bit of water can substitute nicely.
- Garlic (fresh or powder) – Enhances flavor; if using garlic powder, ½ tsp equates to 1 clove.
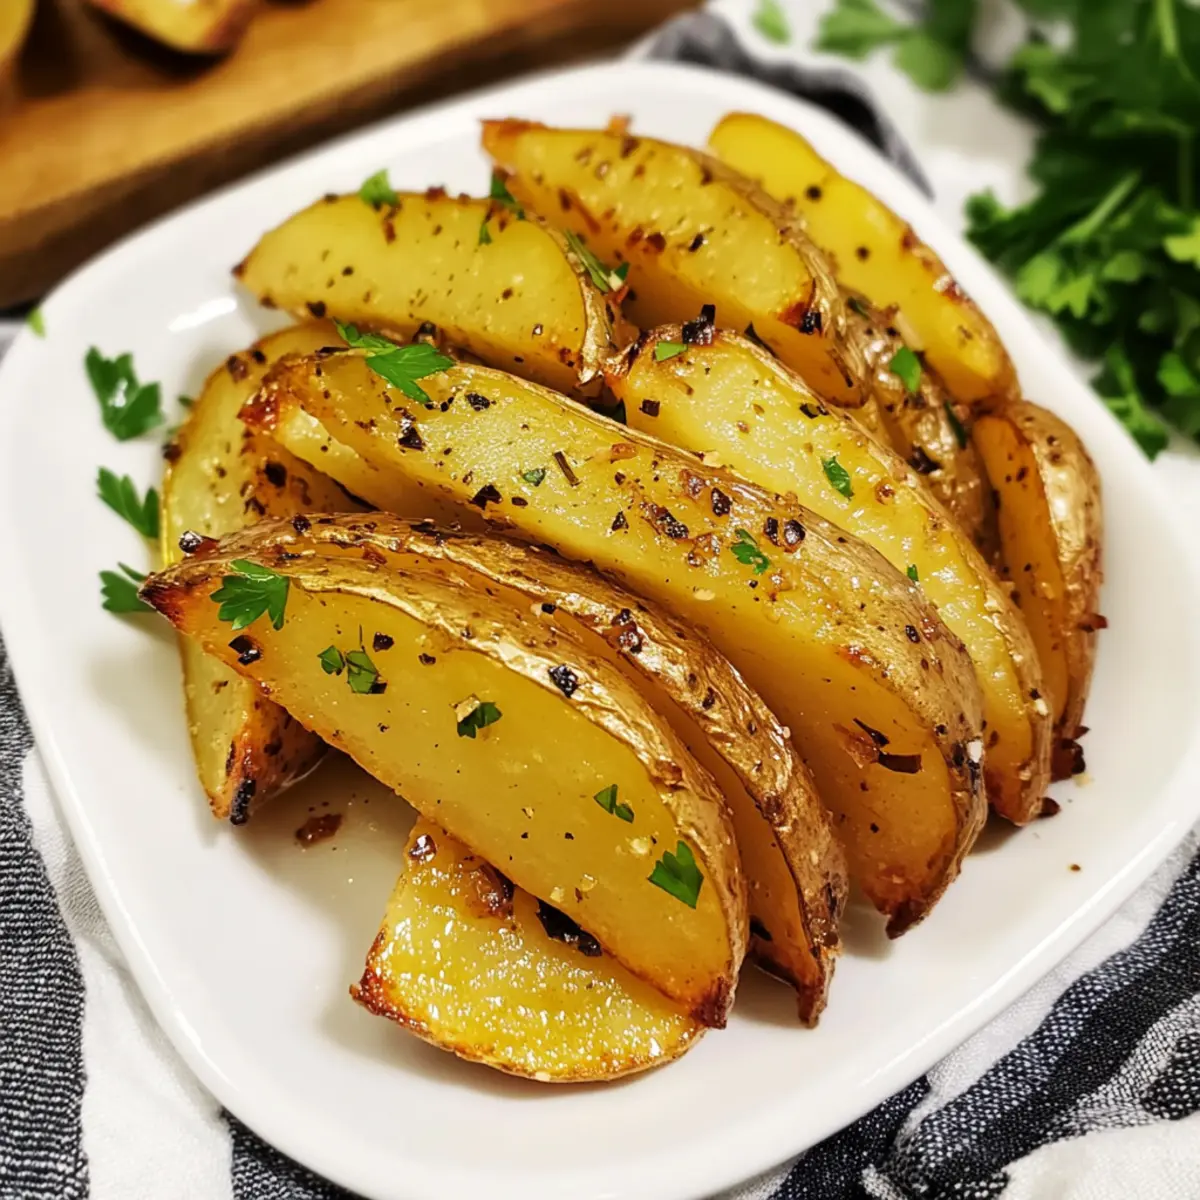
• For the Sweet Potatoes
- Sweet Potatoes – Provide healthy carbohydrates and fiber; ensure they're chopped evenly for uniform cooking.
- Olive Oil – Essential for roasting and promoting crispiness; consider avocado oil for a high-heat option.
• Seasonings
- Salt and Pepper – Fundamental to enhance all the delicious flavors without overpowering them.
Enjoy creating this cozy Maple Dijon Chicken Bowl that's not only nutritious but bursting with autumnal essence!
Step‑by‑Step Instructions for Maple Dijon Chicken Bowl
Step 1: Preheat the Oven
Begin by preheating your oven to 425°F (220°C). This temperature is perfect for roasting the sweet potatoes and chicken, allowing them to develop a golden-brown, crispy exterior while remaining tender inside. While the oven heats, prepare the ingredients for a seamless cooking experience.
Step 2: Prepare the Chicken
Pat dry the chicken thighs with paper towels, ensuring they are moisture-free for a delicious glaze. Season both sides generously with salt and pepper, which will enhance the overall flavor of your Maple Dijon Chicken Bowl. Set the chicken aside to marinate briefly as you mix the glaze.
Step 3: Make the Maple Dijon Glaze
In a medium-sized bowl, whisk together the maple syrup, Dijon mustard, and minced garlic (or garlic powder). This sticky, sweet, and tangy mixture will coat the chicken and make it irresistibly flavorful. Make sure all ingredients are combined evenly to ensure every bite is deliciously rich.
Step 4: Prepare the Sweet Potatoes
Peel and chop the sweet potatoes into even-sized pieces to ensure uniform cooking. In a large bowl, toss them with olive oil, salt, and pepper until they are well-coated. Arrange the sweet potatoes in a single layer on a baking sheet for even roasting and optimal caramelization.
Step 5: Arrange Chicken on the Baking Sheet
Next, make room for the chicken on the same baking sheet. Place the seasoned chicken thighs among the sweet potatoes, ensuring adequate space for each piece. Drizzle half of the prepared maple Dijon glaze over the chicken, coating them well for that delightful flavor infusion.
Step 6: Roast in the Oven
Slide the baking sheet into the preheated oven and roast for 25 minutes. At this point, the sweet potatoes should be beginning to caramelize and the chicken will have started to cook through. You'll know it's time to flip the chicken when the edges turn golden brown—just wait for that beautiful aroma!
Step 7: Baste and Continue Cooking
After 25 minutes, carefully flip the chicken thighs and use a brush to baste them generously with the remaining maple Dijon glaze. This basting step will ensure rich flavor throughout. Continue roasting for an additional 10 to 15 minutes, checking for an internal temperature of 165°F (74°C) to confirm doneness.
Step 8: Rest and Serve
Once cooked through, remove the Maple Dijon Chicken Bowl from the oven. Let the chicken rest for a few minutes to allow the juices to redistribute, keeping it tender and juicy. Serve hot, and savor the delightful combination of sweet potatoes and glazed chicken that makes this meal a cozy, comforting delight!
How to Store and Freeze Maple Dijon Chicken Bowl
Fridge: Store leftovers in an airtight container for up to 3 days. This ensures your Maple Dijon Chicken Bowl remains fresh and delicious for a quick meal.
Freezer: To freeze, portion the dish into airtight freezer bags or containers, and it can last up to 3 months. Just make sure to label the bags with the date!
Reheating: Reheat thoroughly in the oven or microwave until the internal temperature reaches 165°F (74°C). Crisp the sweet potatoes under the broiler for a few minutes for extra texture.
Make-Ahead: Marinate the chicken and chop sweet potatoes in advance, storing them in the fridge until ready to cook for an effortless meal prep!
What to Serve with Easy Maple Dijon Chicken Bowl
The perfect meal deserves delightful companions to enhance its cozy charm and flavor.
- Creamy Mashed Potatoes: Their buttery richness pairs beautifully with the sweet glaze, creating a comforting contrast in texture.
- Garlic Green Beans: Crisp-tender green beans sautéed with garlic bring a vibrant color and a fresh element that balances the dish.
- Quinoa Salad: A nutty quinoa salad with diced cucumbers and tomatoes adds crunch and a refreshing contrast to the sweet bowl.
- Cinnamon Roasted Apples: These sweet, caramelized apples echo the autumn flavors, crafting a perfect sweet finish to your meal.
- Apple Cider: Serve a glass of warming spiced apple cider alongside for a soothing, seasonal sip.
- Buttermilk Biscuits: Flaky, buttery biscuits serve as a delightful vessel to soak up any leftover maple Dijon glaze.
- Pumpkin Soup: A velvety pumpkin soup starter sets a warm, comforting autumn vibe that leads seamlessly into the main course.
- Chilled White Wine: A light, fruity white wine brings an elegant touch, enhancing the flavors of the chicken bowl with every sip.
- Chocolate Chip Cookies: End your dinner on a sweet note with warm, chewy cookies that create a delightful ending to the evening!
Maple Dijon Chicken Bowl Variations
Feel free to personalize your dish with these delicious variations that promise to elevate your meal even further!
-
Greens Boost: Add baby spinach or arugula for a burst of color and nutrients. Toss them lightly with olive oil and a splash of lemon juice before serving for a refreshing touch.
-
Squash Swap: Replace sweet potatoes with butternut squash or regular potatoes for a different sweet profile. Each option brings a unique texture, adding variety to your bowl.
-
Nutty Addition: Sprinkle some toasted pecans or walnuts over the top just before serving for a delightful crunch. This little twist provides a warm, earthy flavor that complements the dish beautifully.
-
Kick of Spice: Add a pinch of cayenne pepper or red pepper flakes to the glaze for a spicy kick. This simple change transforms the dish, making it exciting for those who crave a little heat!
-
Herb Infusion: Experiment with fresh herbs like rosemary or thyme mixed into the glaze. Their aromatic notes will enhance the overall fragrance and flavor of your meal.
-
Dijon Alternatives: If you prefer a milder tang, swap out Dijon mustard for honey mustard. It will still deliver that sweet and savory flavor without being overpowering.
-
Meal Prep Magic: Prepare a large batch of the chicken and sweet potatoes to enjoy throughout the week. Pair with easy sides like Crock Pot Chicken Stew or grain bowls for variety.
-
Gluten-Free Option: If necessary, make sure the Dijon mustard is gluten-free. This way, everyone can join in on the deliciousness!
Explore these variations and find your favorite take on this cozy Maple Dijon Chicken Bowl! Each twist brings new flavors to your kitchen, making every meal a delightful adventure.
Make Ahead Options
These Easy Maple Dijon Chicken Bowls are perfect for meal prep enthusiasts looking to save time on busy weeknights! You can marinate the chicken and chop the sweet potatoes up to 24 hours in advance. Simply combine the chicken thighs with the maple Dijon glaze and refrigerate them, keeping the sweet potatoes in a separate container with a drizzle of olive oil, salt, and pepper. This ensures they remain fresh and easy to prepare. When you’re ready to cook, just spread the sweet potatoes and marinated chicken on a baking sheet and follow the roasting instructions. With these make-ahead tips, you’ll enjoy a cozy, delicious meal with minimal effort!
Expert Tips for the Best Maple Dijon Chicken Bowl
- Pat Your Chicken Dry: Ensure the chicken thighs are patted dry before seasoning. This helps the glaze adhere better, creating a delightful caramelized crust.
- Check Oven Temperature: An accurate oven temp is crucial. Use an oven thermometer if you suspect yours may vary to achieve perfect roasting results.
- Baste for Flavor: Basting the chicken with the glaze halfway through cooking ensures maximum flavor. Don’t skip this step for a deliciously sticky coating!
- Uniform Sweet Potatoes: Chop sweet potatoes into even pieces. This guarantees they roast at the same rate, resulting in perfectly caramelized edges and creamy centers.
- Use a Meat Thermometer: Invest in a meat thermometer to ensure your chicken reaches 165°F (74°C). This prevents undercooking and ensures juicy results in your Maple Dijon Chicken Bowl.
Easy Maple Dijon Chicken Bowl with Sweet Potatoes Recipe FAQs
What’s the best way to select ripe sweet potatoes?
Absolutely! Look for sweet potatoes that are firm, smooth, and free of dark spots or blemishes. Avoid any that feel soft or have sprouted, as these won’t offer the best flavor and texture for your Maple Dijon Chicken Bowl.
How should I store leftovers from the Maple Dijon Chicken Bowl?
For sure! Store any leftover chicken and sweet potatoes in an airtight container in the fridge for up to 3 days. This keeps them fresh for quick reheating on busy nights. Just make sure to let them cool to room temperature before sealing in the container.
Can I freeze the Maple Dijon Chicken Bowl?
Very! To freeze, portion the meal into airtight freezer bags or containers and seal tightly, removing as much air as possible. It’s best to label them with the date for convenience. The dish can be frozen for up to 3 months. When ready to reheat, thaw in the fridge overnight and warm in the oven or microwave until the internal temperature reaches 165°F (74°C) for best results.
What should I do if the chicken isn’t cooked through?
No problem! If your chicken isn’t fully cooked after the recommended time, simply return it to the oven and continue roasting. Checking the internal temperature with a meat thermometer is crucial. It should reach at least 165°F (74°C). You can also baste with extra glaze to keep it flavorful and moist during additional cooking.
Is this recipe suitable for specific dietary needs?
Definitely! This Maple Dijon Chicken Bowl can be tailored for gluten-free diets by ensuring you use gluten-free Dijon mustard. Also, for those with allergies, check labels for possible soy or nut content in the mustard and other ingredients. It's always a good idea to prioritize substitutions based on your health needs!
Can I add other vegetables or greens?
Absolutely! Feel free to add in greens like spinach or kale for an extra nutritional boost. You can toss them in with the warm sweet potatoes and chicken for a delightful textural contrast and nutrient increase in your Maple Dijon Chicken Bowl. Enjoy exploring different combinations!