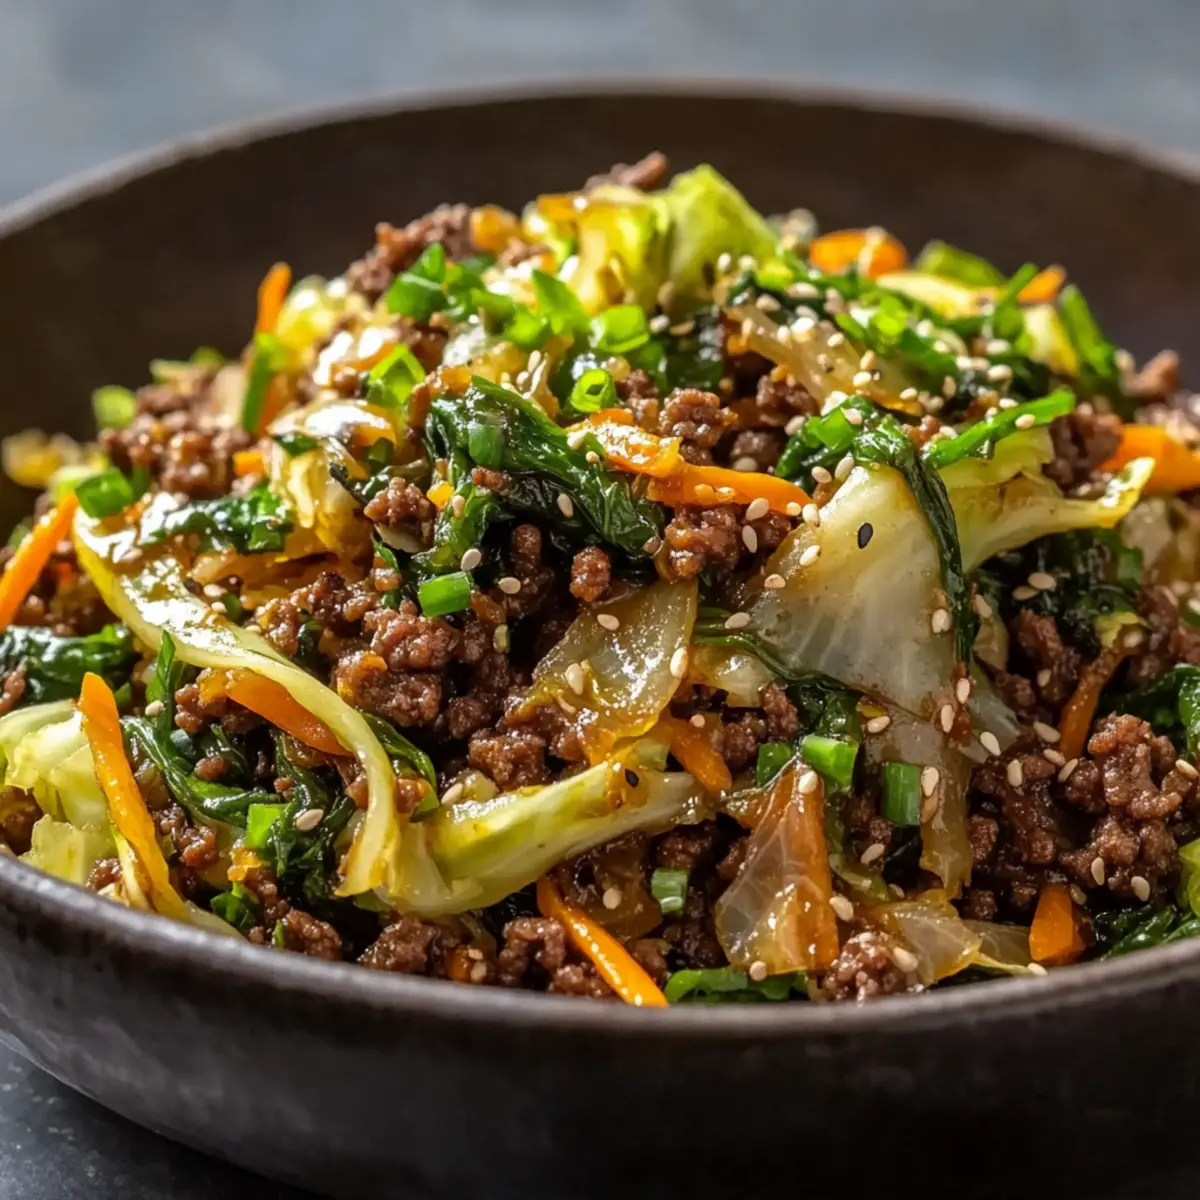
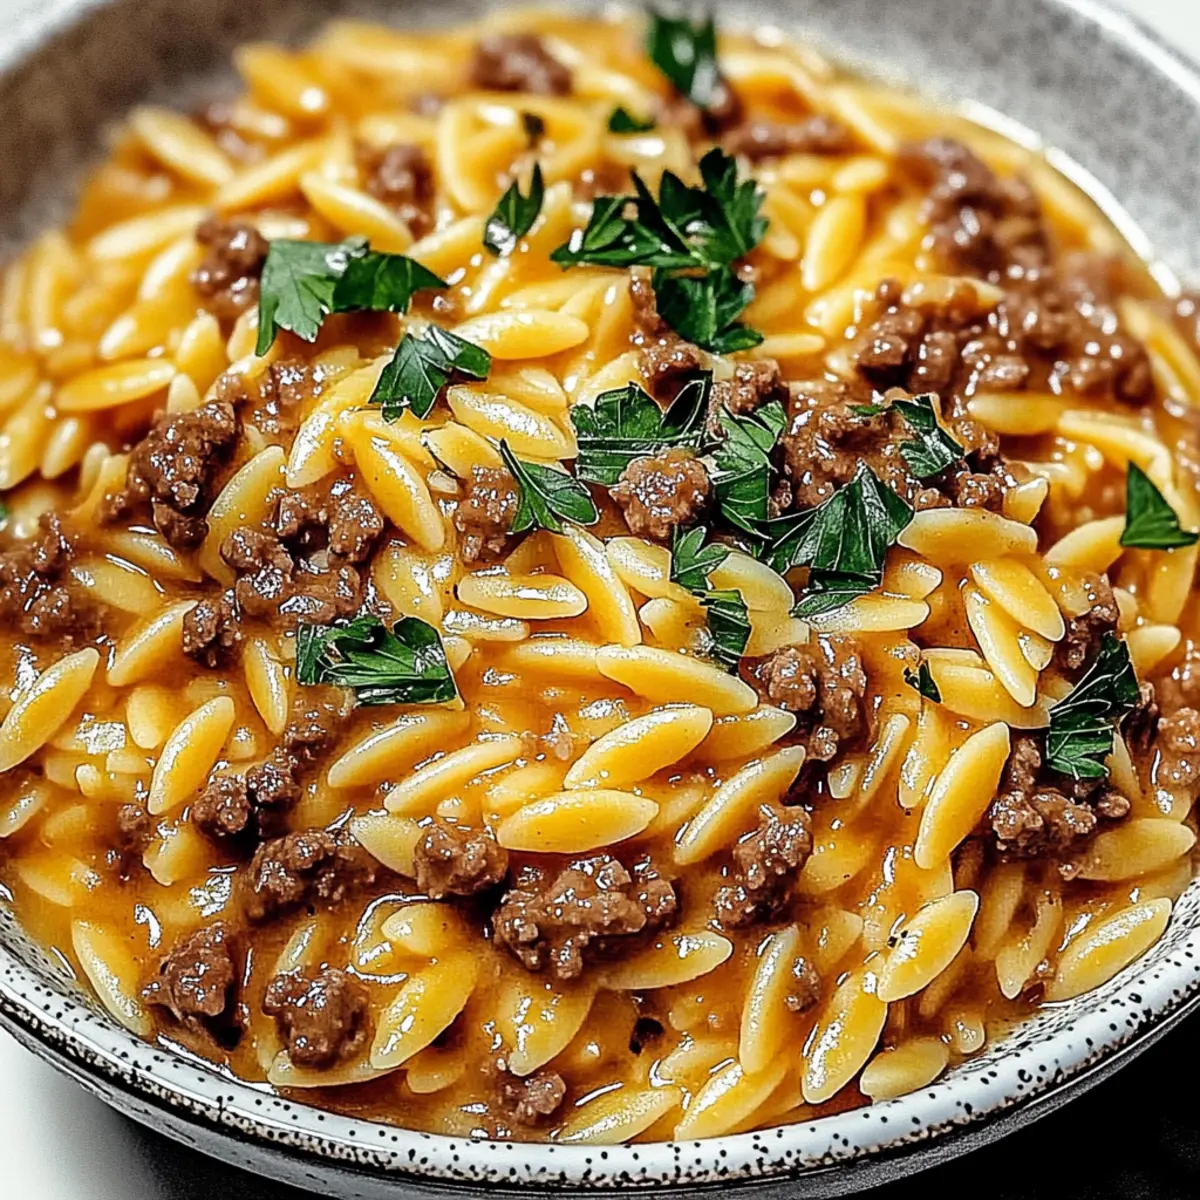
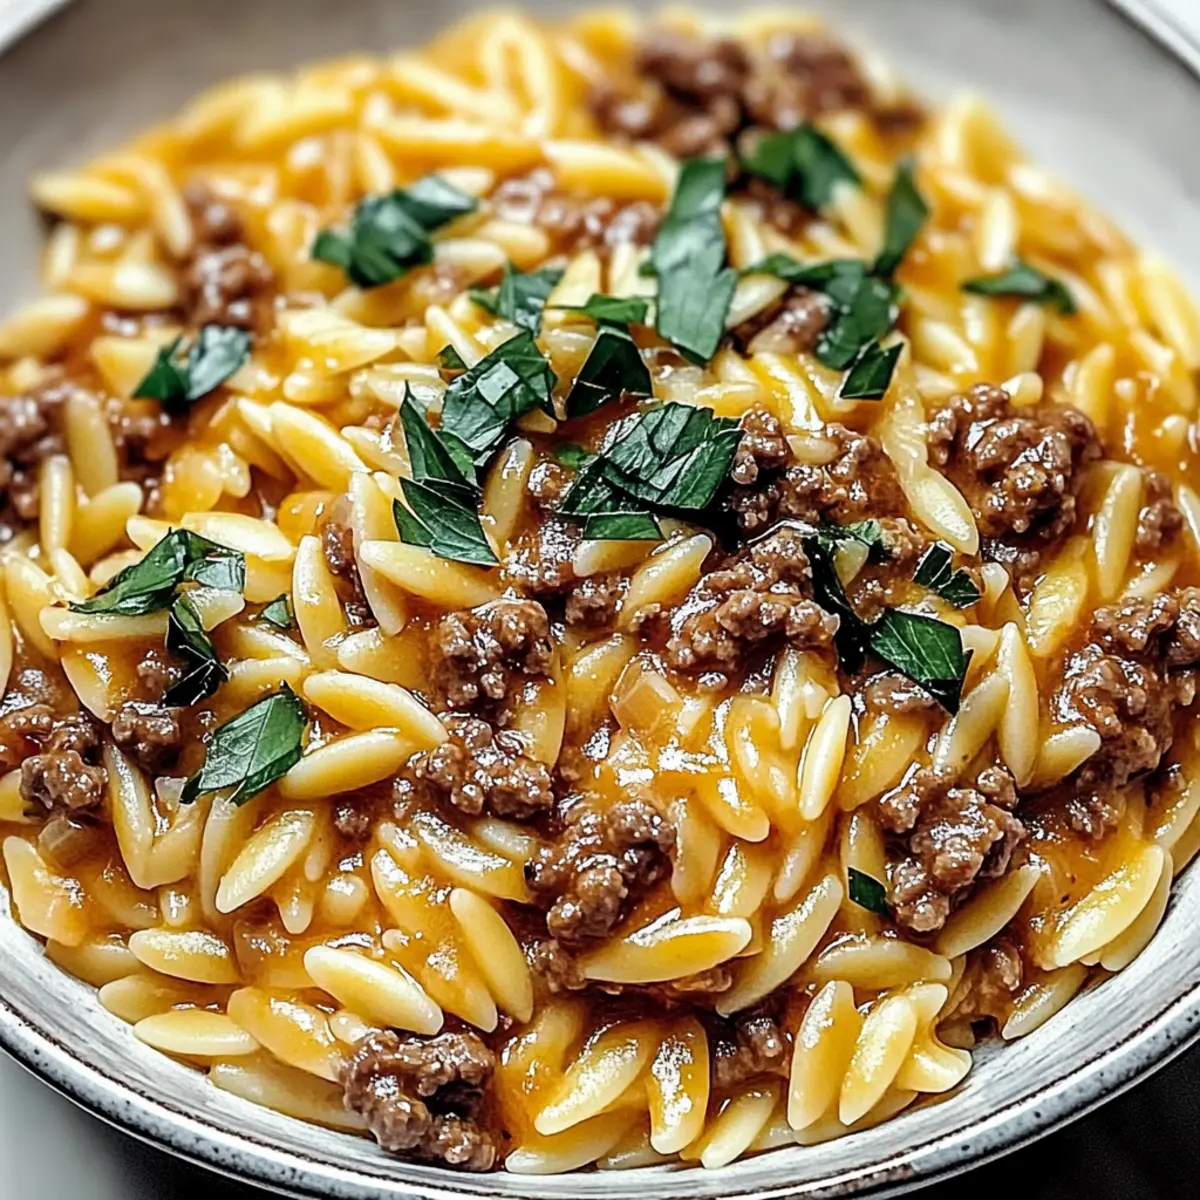
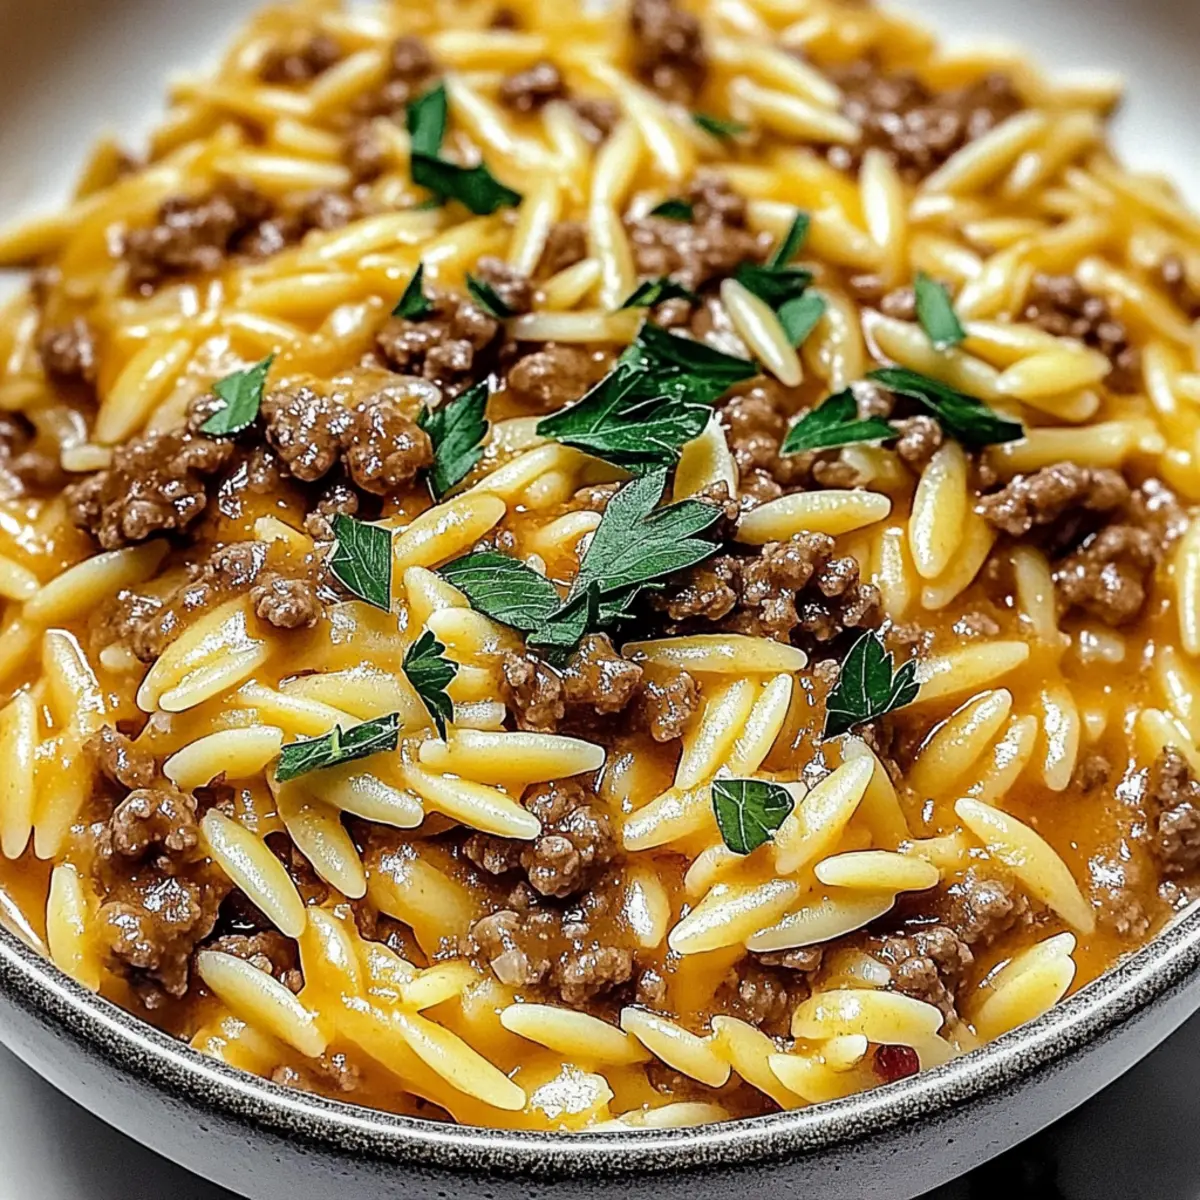
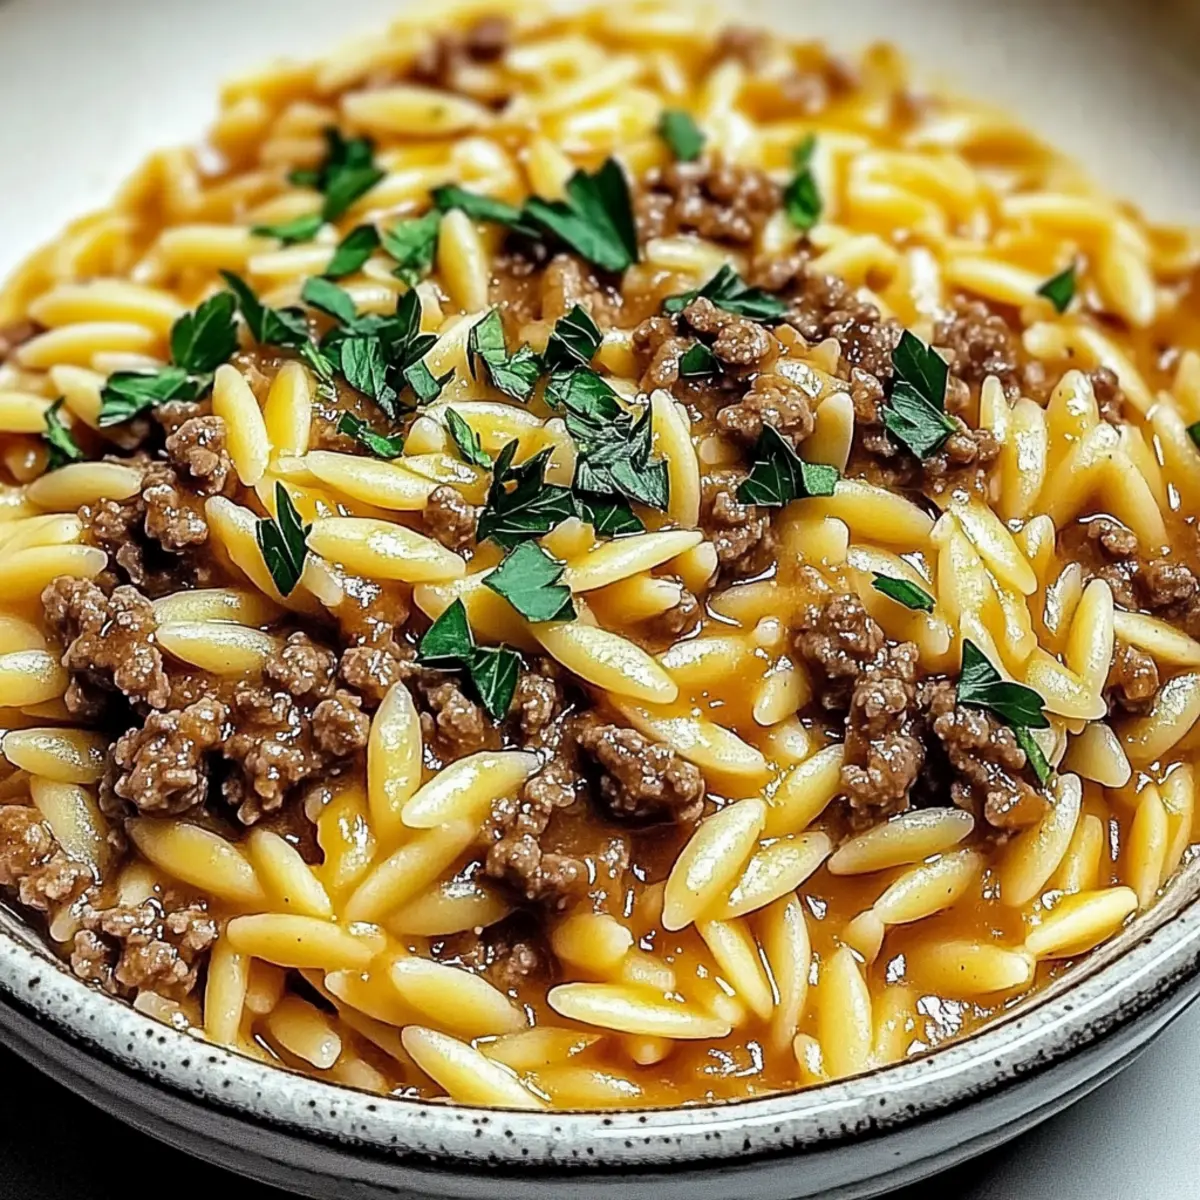
As I stirred the bubbling pot, the rich aroma of garlic and tomatoes filled my kitchen, transporting me straight to a Mediterranean sunset. This High-Protein Creamy Beef Pasta is not just a meal; it’s a delightful escape from the ordinary, designed for those of us who crave both comfort and nourishment. With just one pan and about 30 minutes of your time, you can whip up a dish that's as fulfilling for the body as it is for the soul. It beautifully balances creamy textures with lean protein, transforming a classic favorite into a health-conscious option you'll want on repeat. Plus, it’s perfect for meal prep—making your busy week nights a breeze! Ready to elevate your dining experience and discover how delicious health can be?
Why Is This Pasta So Amazing?
Simplicity is key: With just one pan and 30 minutes, you can create a satisfying meal, making dinner a breeze on busy nights.
Creamy Texture: The use of Greek yogurt offers a rich creaminess without the heaviness of traditional sauces, making each bite both indulgent and nutritious.
Customizable: Whether you're looking to enjoy a low-carb variation with zucchini noodles or need a vegetarian twist using lentils, this recipe adapts easily to your dietary preferences.
High in Protein: Packed with lean ground beef and enriched pasta, this dish supports your fitness goals without compromising on flavor.
Meal Prep Ready: Prepare it ahead of time and store leftovers for an easy reheat during your busy week. Whether topped with fresh herbs or bursting with Parmesan, this dish is sure to become a staple in your kitchen.
High-Protein Creamy Beef Pasta Ingredients
For the Beef
• Lean Ground Beef (90% lean) – Provides high-quality protein and essential nutrients for muscle repair. Opt for ground turkey for a lighter option.
For the Pasta
• Whole Wheat or High-Protein Pasta – Adds complex carbs and fiber to enhance digestion. Use protein-enriched pasta if increasing protein intake is a priority.
For the Sauce
• Tomatoes – Contribute natural sweetness and are packed with antioxidants. Use canned tomatoes for convenience and quick prep.
• Greek Yogurt or Light Cream – Creates a creamy texture while boosting protein. For a dairy-free option, substitute with cashew cream or unsweetened plant-based yogurt.
For Flavor
• Olive Oil – Supplies heart-healthy fats and helps absorb nutrients. Can use avocado oil if desired.
• Garlic – Builds flavor and supports digestion. Shallots can be a milder alternative if preferred.
• Onion – Enhances taste naturally. Try red onions for a slightly sweeter flavor.
Now that we've gathered everything you need for your High-Protein Creamy Beef Pasta, let’s get cooking!
Step‑by‑Step Instructions for High-Protein Creamy Beef Pasta
Step 1: Sauté Aromatics
Heat 1 tablespoon of olive oil in a large skillet over medium heat. Once shimmering, add 1 diced onion and 2 minced garlic cloves. Sauté for about 3-4 minutes, stirring occasionally, until the onions become translucent and fragrant, creating a delicious base for your High-Protein Creamy Beef Pasta.
Step 2: Brown the Beef
Add 1 pound of lean ground beef to the skillet, breaking it apart with a wooden spoon. Cook for approximately 5-7 minutes, stirring frequently, until the beef is browned and cooked through. Make sure there is no pink remaining, as this indicates it’s ready to infuse with flavor.
Step 3: Add Tomatoes and Season
Stir in one 14-ounce can of diced tomatoes, along with your favorite herbs and spices—think oregano or basil. Let the mixture simmer for 5-7 minutes, allowing the flavors to meld. You'll know it's ready once the sauce thickens slightly and bubbles with inviting aroma.
Step 4: Cook the Pasta
While the sauce simmers, bring a large pot of salted water to a boil. Add 8 ounces of whole wheat or high-protein pasta and cook according to package instructions until al dente, usually about 7-9 minutes. Drain the pasta but reserve a little pasta water for adjusting the sauce if needed.
Step 5: Combine and Creamify
Reduce the heat to low and slowly stir in 1 cup of Greek yogurt or light cream into the beef and tomato mixture. Mix thoroughly until everything is well combined and creamy. If the sauce seems too thick, add a splash of the reserved pasta water to reach your desired consistency.
Step 6: Fold in the Pasta
Gently mix the cooked pasta into the creamy beef sauce, ensuring every noodle is coated in the delicious layers of flavor. Allow the dish to warm through for about 2 minutes, giving the pasta a chance to absorb flavors while keeping the mixture warm for serving.
Step 7: Final Adjustments
Taste the High-Protein Creamy Beef Pasta for seasoning and adjust with salt and pepper as needed. Let it rest for a couple of minutes before serving. This brief pause enhances the flavors and allows the dish to settle, ensuring you achieve that perfect creamy texture.
Expert Tips for High-Protein Creamy Beef Pasta
-
Pasta Perfection: Cook pasta slightly al dente, as it continues to absorb sauce when stored or reheated, maintaining the perfect texture.
-
Moisture Control: Let pasta cool briefly before storing to prevent excess moisture, which can make the dish watery when reheating.
-
Finishing Touches: Boost flavor just before serving by adding freshly grated Parmesan or a sprinkle of fresh herbs to enhance the dish’s Mediterranean vibes.
-
Meal Prep Magic: When prepping ahead, keep the pasta and sauce separate until you’re ready to serve, which helps maintain creaminess and texture.
-
Flavor Alternatives: Feel free to experiment with different herbs or spices that suit your taste, but remember to use quality ingredients to aid the overall flavor profile of the High-Protein Creamy Beef Pasta.
Make Ahead Options
These High-Protein Creamy Beef Pasta are perfect for busy weeknights! You can prepare the beef and tomato mixture up to 3 days in advance; simply cook the beef and mix in the tomatoes and seasonings, then refrigerate in an airtight container. The pasta, however, is best cooked fresh to prevent it from getting soggy. Just before serving, reheat the beef sauce on low heat, stirring in the Greek yogurt or light cream and the freshly cooked pasta until heated through. This way, you'll enjoy a meal that's just as delicious and creamy with minimal effort, allowing you to savor that comforting taste without the last-minute rush!
How to Store and Freeze High-Protein Creamy Beef Pasta
Fridge: Store the High-Protein Creamy Beef Pasta in an airtight container for up to 4 days. Ensure it's cooled before sealing to maintain freshness and prevent moisture buildup.
Freezer: This dish can be frozen for up to 2 months. Divide into portions, allow to cool completely, and use freezer-safe containers or bags, removing as much air as possible.
Reheating: To bring the pasta back to life, thaw in the fridge overnight as needed. Reheat gently in a skillet over low heat, adding a splash of water or broth to reacquaint the sauce with its creamy goodness.
Reminder: For the best texture, let the pasta cool briefly before storing to avoid excess moisture—this helps keep your meal delightful upon reheating!
High-Protein Creamy Beef Pasta Variations
Feel free to get creative with your High-Protein Creamy Beef Pasta; there’s something for everyone!
-
Low-Carb: Substitute zucchini noodles or spaghetti squash in place of traditional pasta for a lighter option. This twist adds a refreshing crunch, making it a perfect fit for those cutting carbs.
-
Vegetarian: Swap ground beef for cooked lentils and sautéed mushrooms. This adaptation not only enhances taste but also introduces a hearty texture, ensuring your meal remains filling and satisfying.
-
Gluten-Free: Use certified gluten-free pasta to make this dish accessible for those avoiding gluten. This simple change allows everyone to enjoy the creamy goodness without any concerns.
-
Dairy-Free: Replace Greek yogurt with cashew cream or a plant-based yogurt alternative for a creamy, delicious result. With this substitution, the dish remains extremely rich without any dairy products, perfect for lactose-sensitive appetites.
-
Increased Protein: Consider using protein-enriched pasta or bump up beef to 150g per serving. Adding these protein-packed ingredients creates a powerful dish ideal for those focused on muscle-building and fitness.
-
Spicy Kick: Add red pepper flakes or diced jalapeños to the sauce for an extra kick. This twist brings an exciting heat, perfect for spice enthusiasts who crave adventure in their meals.
-
Herb Infusion: Experiment with fresh herbs like basil or thyme stirred directly into the sauce or sprinkled on top before serving. These flavor additions not only enhance the dish's aroma but also elevate its visual appeal.
-
Seafood Delight: For a Mediterranean twist, consider incorporating shrimp or scallops instead of beef. This provides a luxurious yet lighter alternative while maintaining that beloved creamy texture—perfect for those seafood lovers!
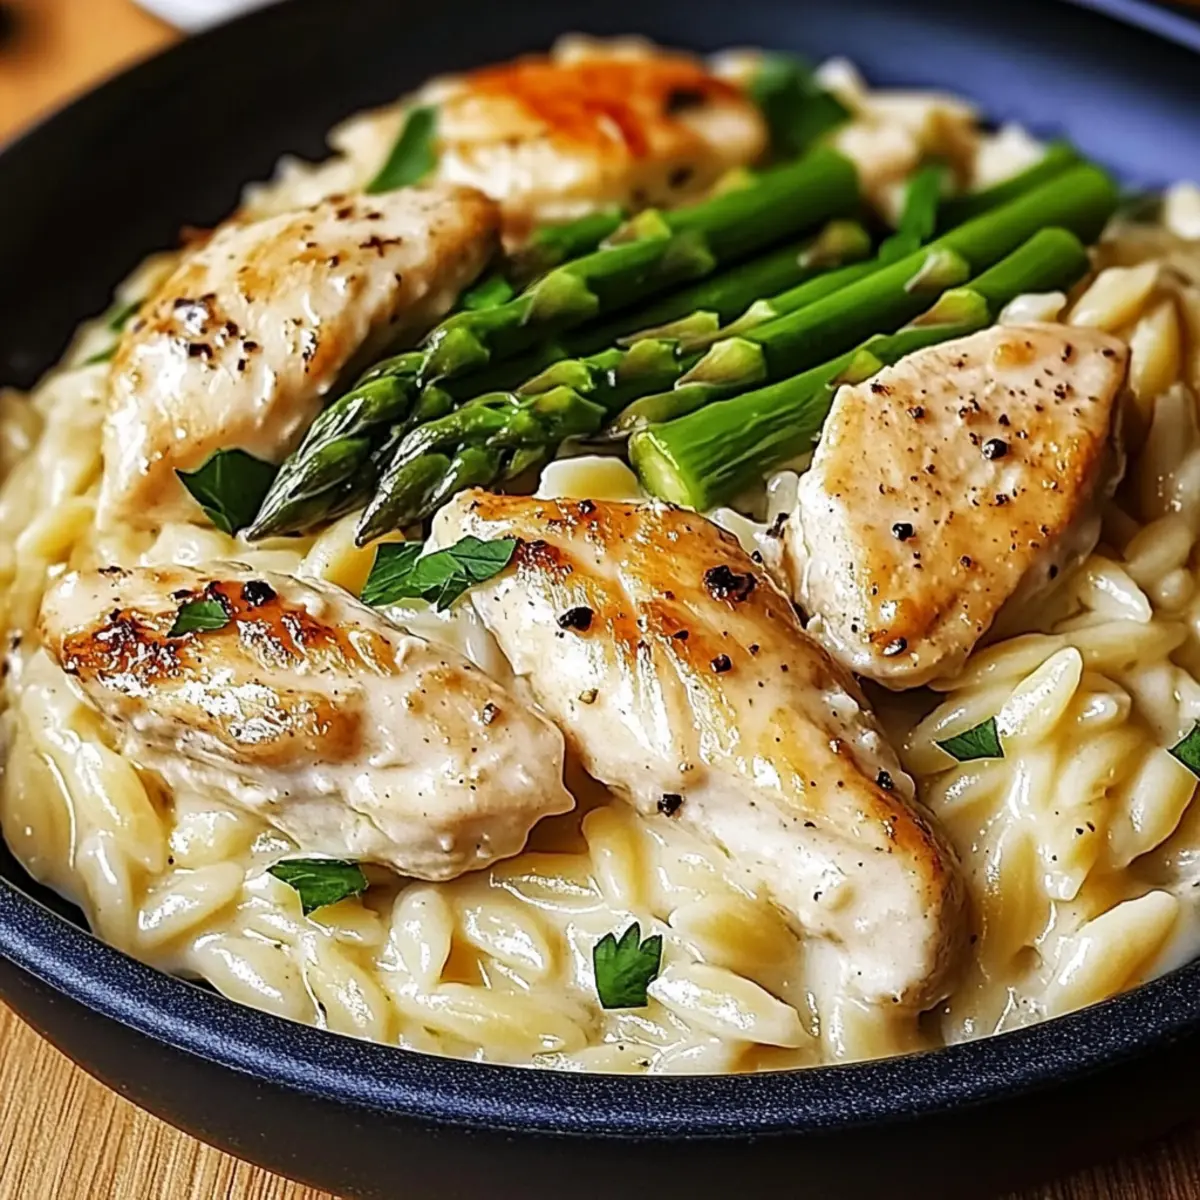
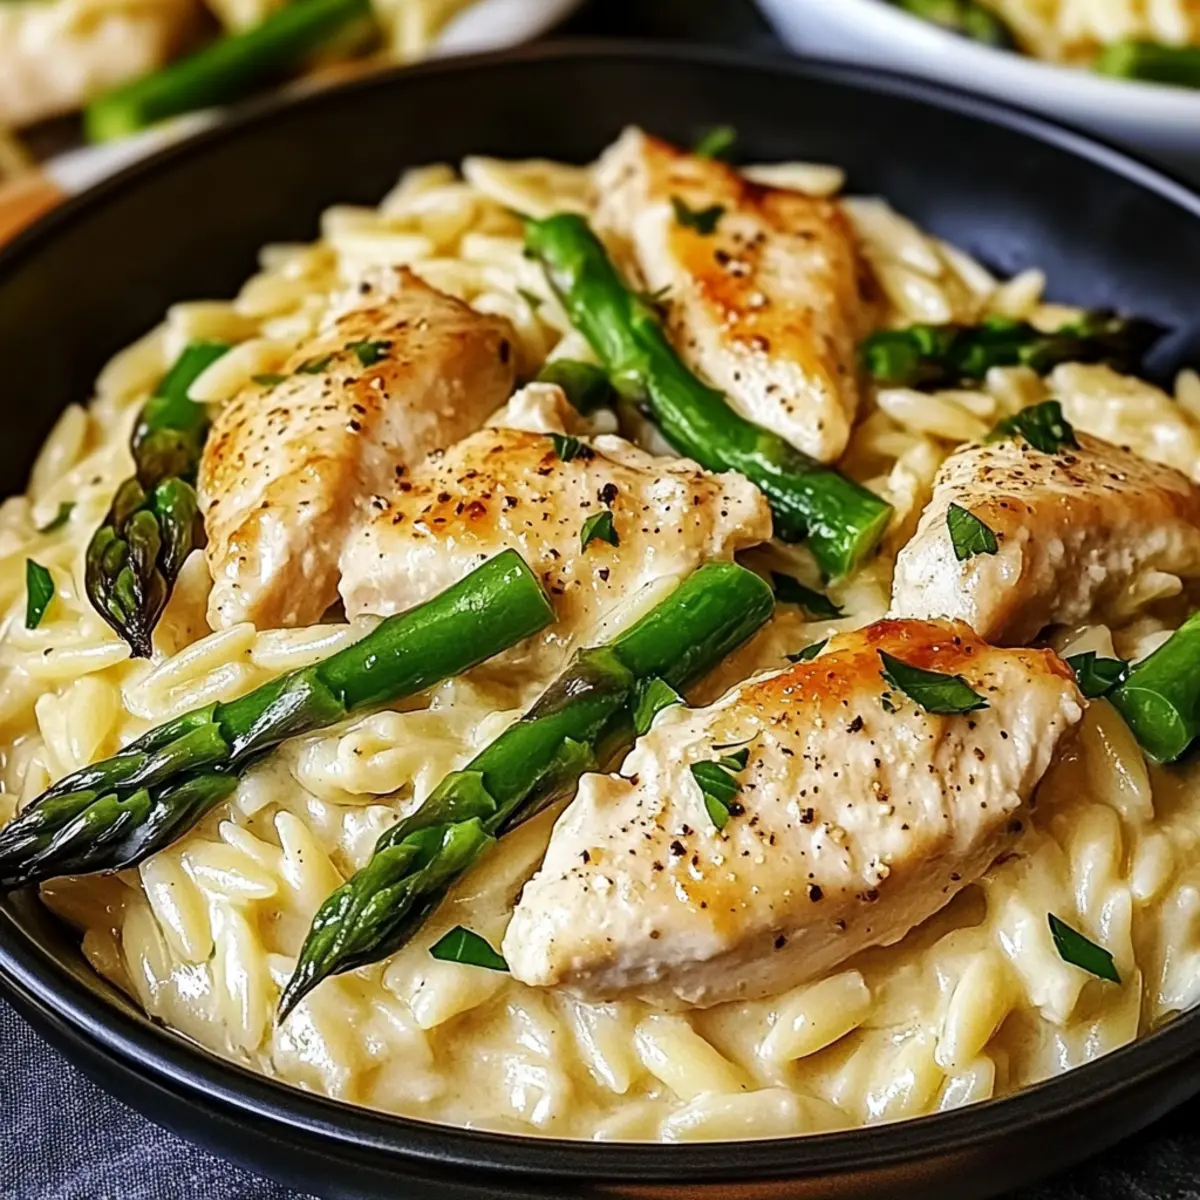
For more pasta inspiration, check out my delicious Skillet Pasta Sun recipe or explore the unique flavors of Cauliflower Pasta Ready. The world of pasta is vast; find your new favorites today!
What to Serve with High-Protein Creamy Beef Pasta
Elevate your dining experience with delightful accompaniments that balance flavors and textures alongside your creamy pasta.
-
Garlic Bread: The crunch of toasted garlic bread pairs perfectly with the creamy pasta, soaking up extra sauce and enhancing every bite.
-
Crispy Side Salad: A crisp salad filled with mixed greens, cucumbers, and a lemon vinaigrette adds freshness and a burst of flavor to your meal.
-
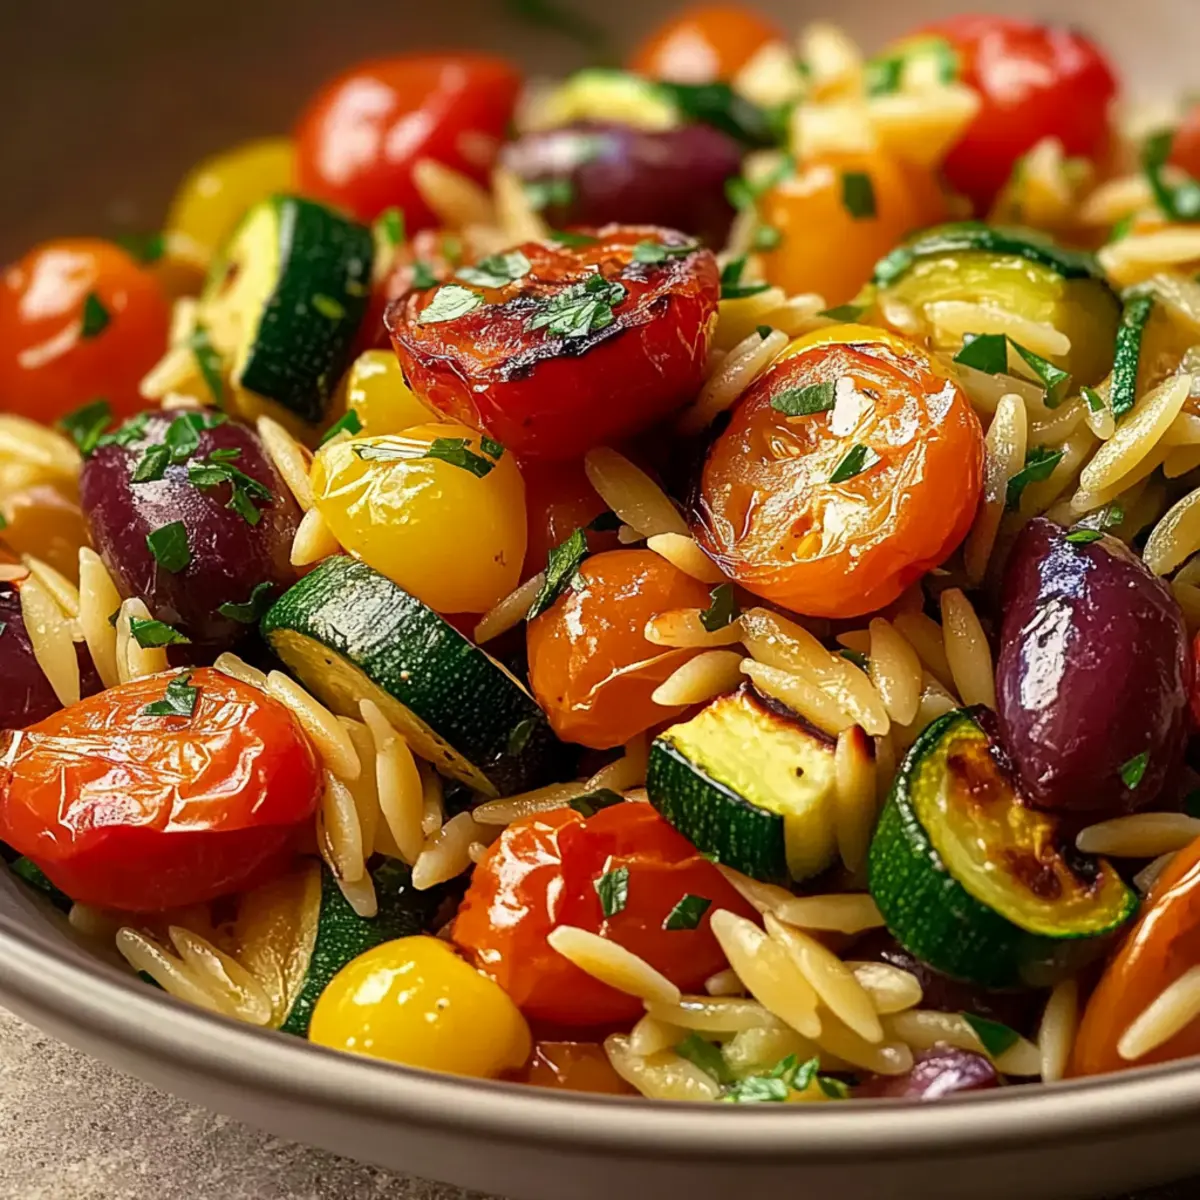
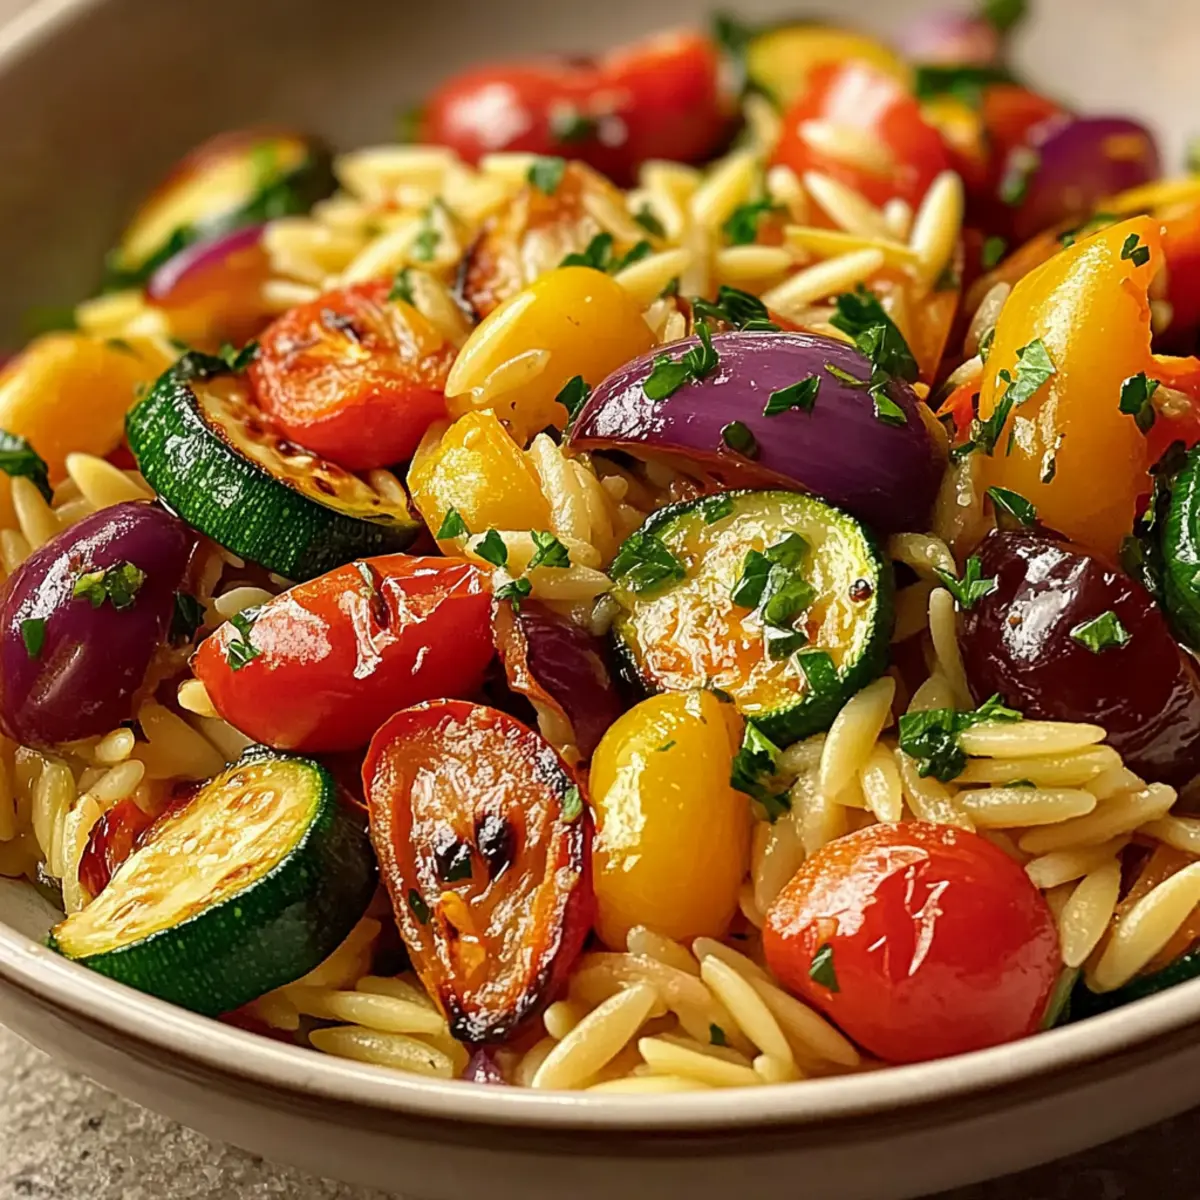
Roasted Vegetables: Serve with a medley of roasted vegetables; their caramelized sweetness beautifully complements the savory richness of the pasta.
-
Steamed Broccoli: Tender steamed broccoli is not only nutritious but adds a vibrant pop of color and a bit of crunch to your plate.
-
Herb-Infused Rice: Fluffy rice seasoned with herbs brings a gentle boost of flavor, rounding out the dish without overpowering the pasta's creamy texture.
-
Sparkling Water with Lemon: Refresh your palate with a glass of sparkling water infused with lemon; it acts as a palate cleanser after each rich bite.
-
Chocolate Mousse: For dessert, a light chocolate mousse feels indulgent yet airy, perfectly concluding your Mediterranean-inspired meal.
-
Red Wine: A glass of light red wine, like Pinot Noir, complements the beef while enhancing the overall dining experience with its fruity notes.
High-Protein Creamy Beef Pasta Recipe FAQs
What type of pasta should I use for this recipe?
Whole wheat or high-protein pasta is recommended to add complex carbohydrates and fiber, making it a nutritious choice. If you’re focused on increasing protein, you can substitute regular pasta with protein-enriched pasta. If you’re looking for a gluten-free version, opt for certified gluten-free pasta to keep it delicious and satisfying.
How do I store leftover High-Protein Creamy Beef Pasta?
Store your leftover pasta in an airtight container in the refrigerator for up to 4 days. Make sure the pasta has cooled completely before sealing the container to keep it fresh and prevent moisture buildup, which can lead to sogginess when reheated.
Can I freeze High-Protein Creamy Beef Pasta?
Absolutely! You can freeze this dish for up to 2 months. Divide the pasta into portions, allow it to cool completely, and place it in freezer-safe containers or bags. Be sure to remove as much air as possible to prevent freezer burn. For the best results, thaw it in the fridge overnight before reheating.
What should I do if my sauce is too thick?
If your creamy sauce ends up too thick, no worries! Simply add a splash of reserved pasta water or broth to loosen it up. Stir it in gradually while reheating, and you'll achieve that creamy consistency without compromising flavor. This simple trick can transform your meal back to its luscious state!
Are there any dietary considerations or substitutions I should be aware of?
Yes! If you’re crafting this recipe for someone with specific dietary needs, you have plenty of options. For a dairy-free alternative, you can use cashew cream or unsweetened plant-based yogurt instead of Greek yogurt or light cream. Additionally, if you're aiming for a vegetarian dish, swap out the lean ground beef for lentils and mushrooms for increased protein and a hearty texture.