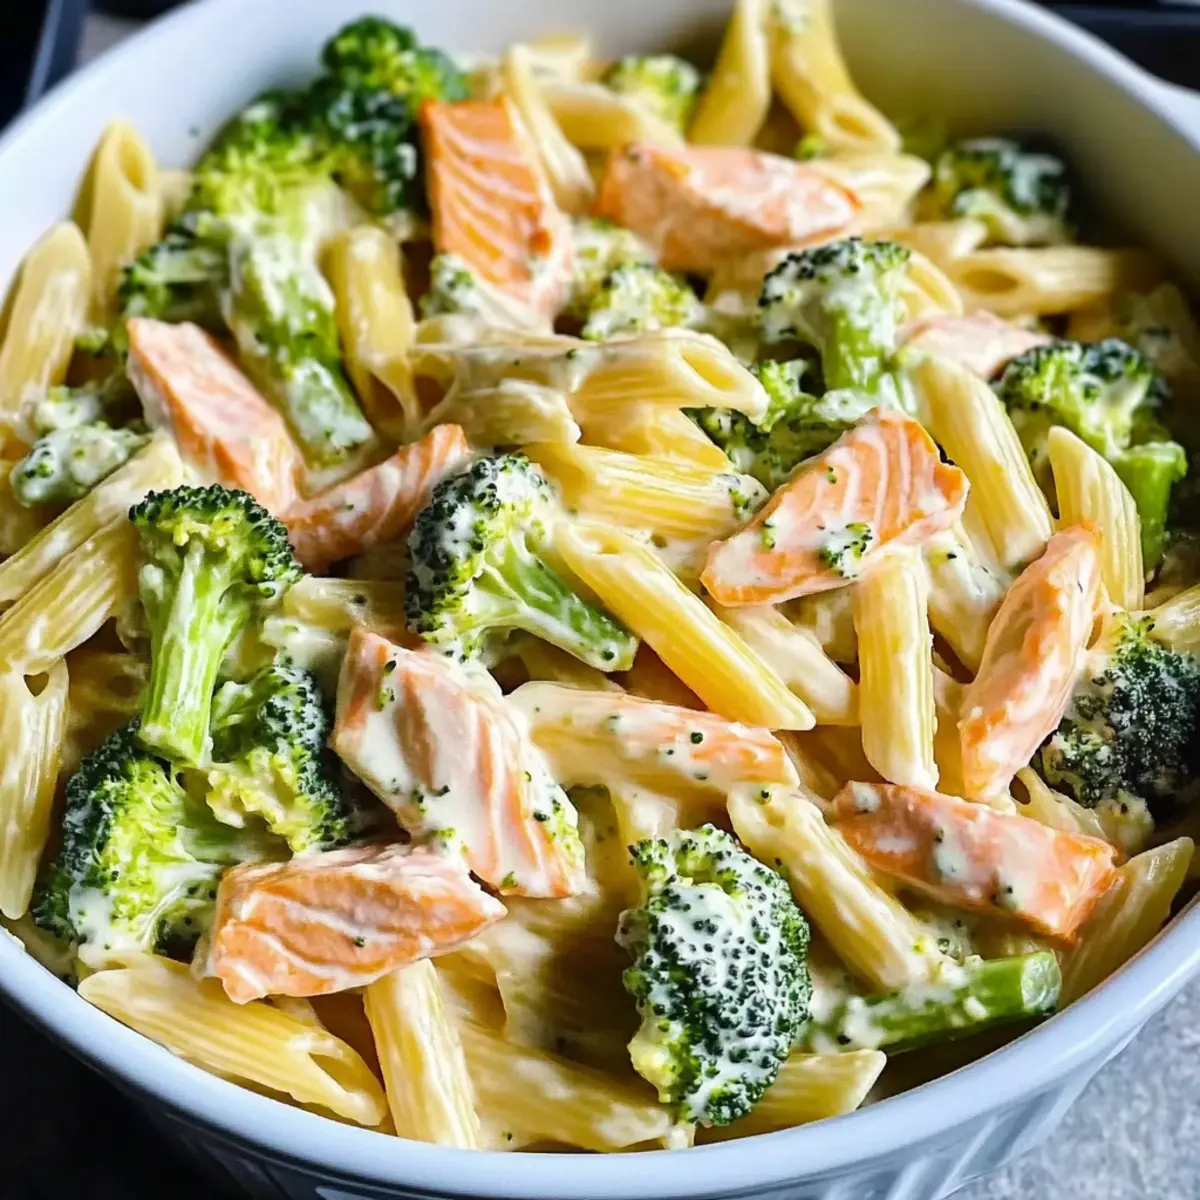
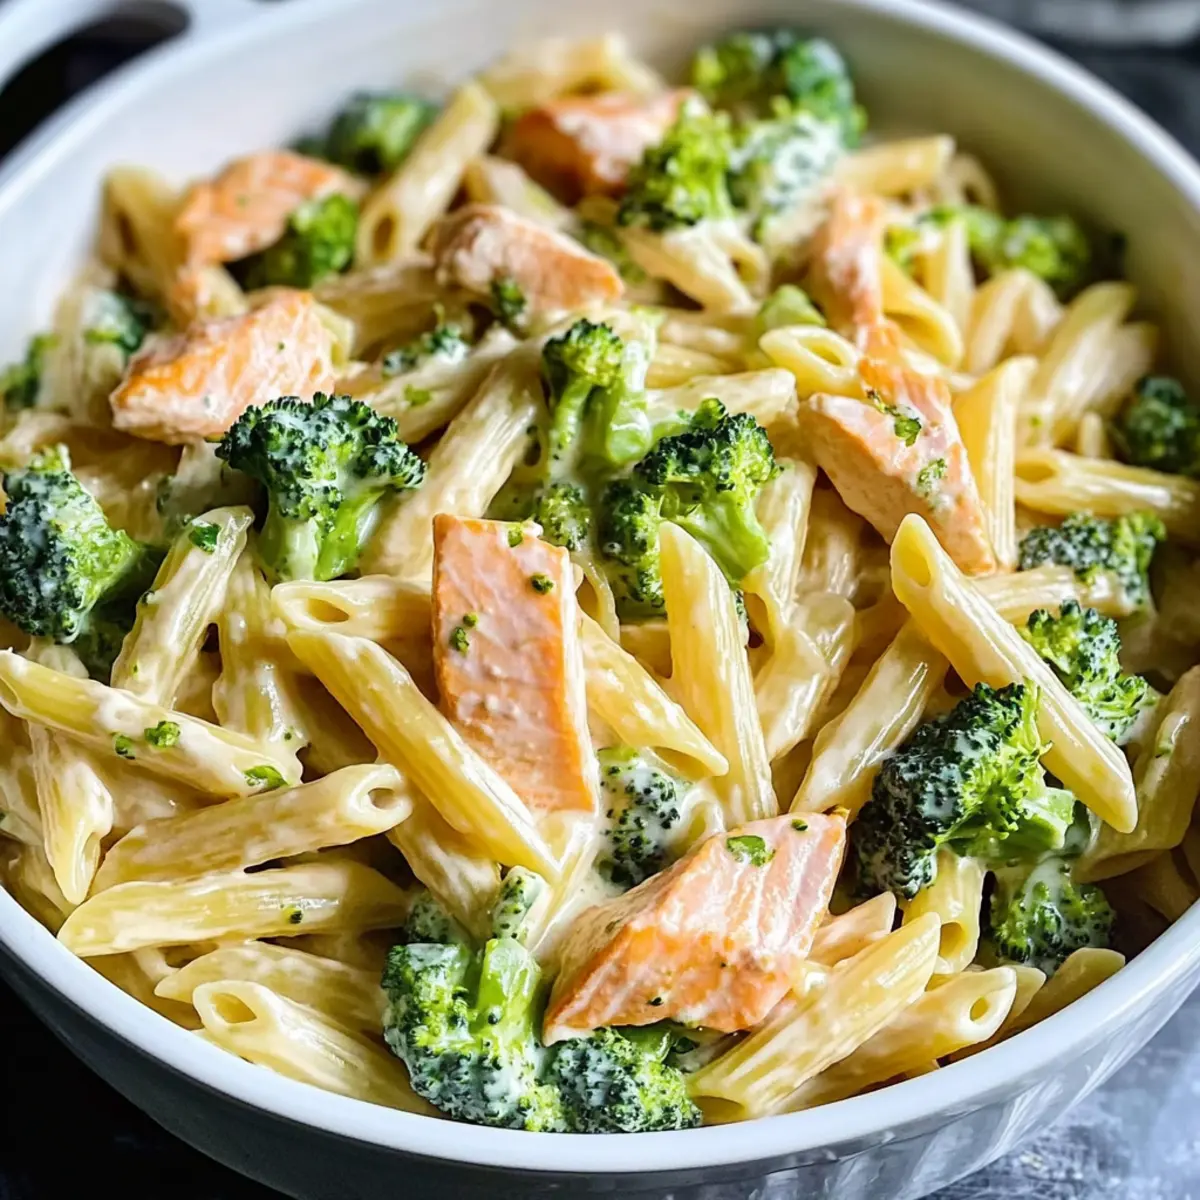
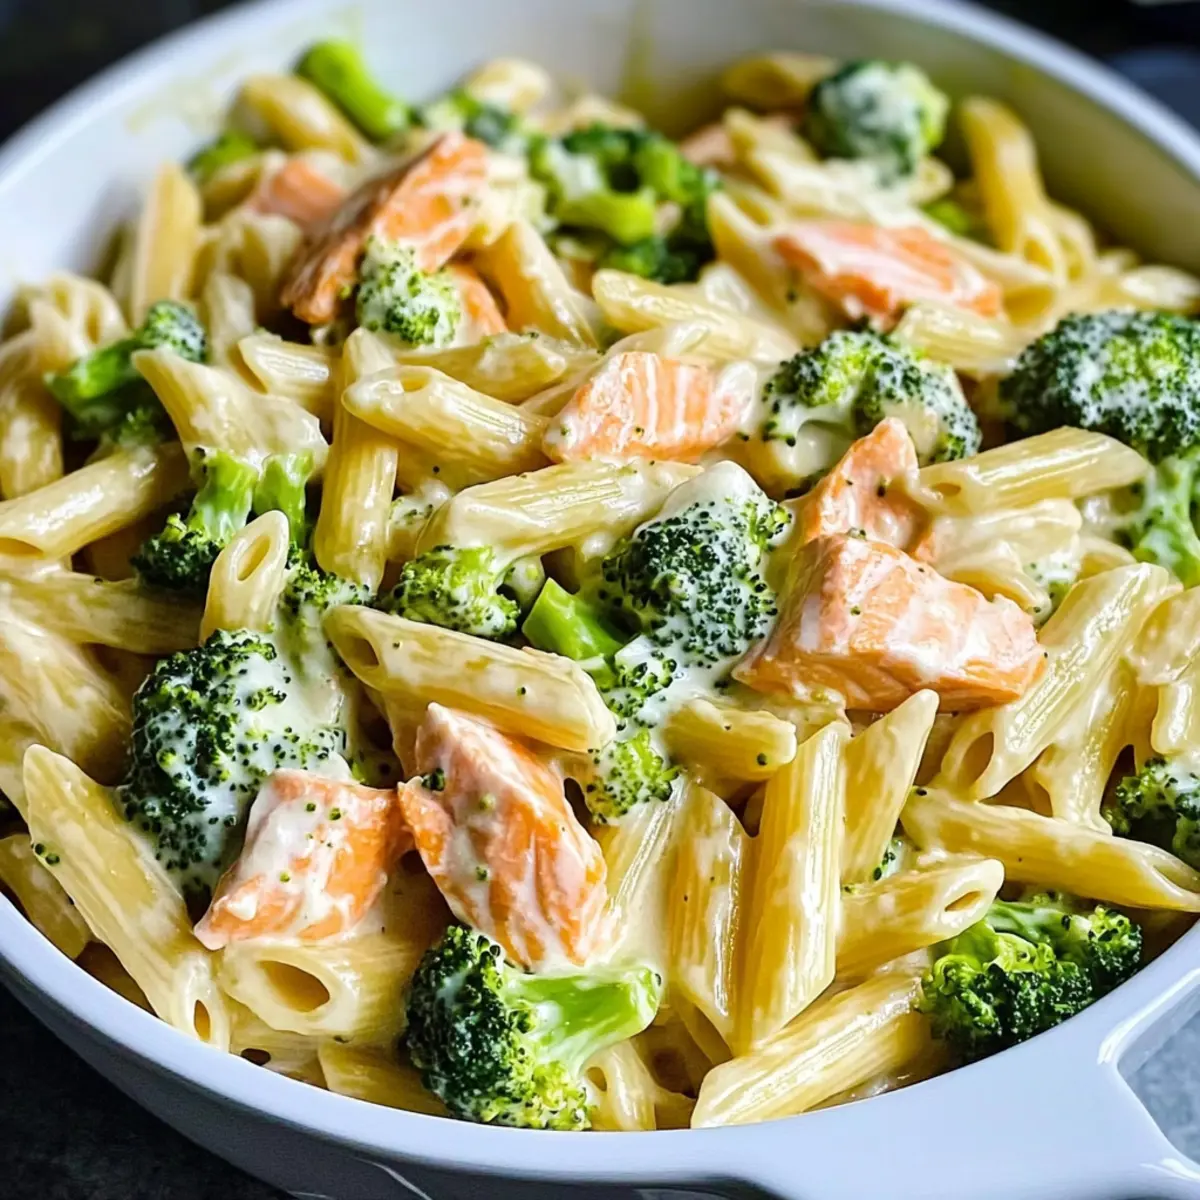
The mesmerizing aroma of sautéed garlic and fresh herbs wafts through my kitchen, making my stomach rumble with anticipation. This Creamy Salmon Broccoli Pasta is my go-to for those busy weeknights when I crave something nourishing yet indulgent. Not only does this dish come together in a snap, but it also offers a delightful fusion of high-protein salmon and vibrant broccoli, making it a hearty meal that’s surprisingly heart-healthy too! Rich in omega-3 fatty acids and customizable to your taste, this creamy pasta dish will surely impress your loved ones and keep you feeling great. So, who’s ready to whip up some culinary magic that transforms simple ingredients into a comforting bowl of joy?
Why is this pasta recipe a must-try?
Quick and Easy: In just 30 minutes, you can create a restaurant-quality meal that's perfect for busy weeknights or special gatherings.
Nutrient-Packed: This Creamy Salmon Broccoli Pasta is loaded with high-protein salmon and vibrant broccoli, providing you with essential omega-3 fatty acids and vitamins.
Customizable Delight: Feel free to add your favorite veggies or experiment with different pasta shapes for a unique twist.
Comforting and Indulgent: The rich, velvety sauce clings beautifully to the pasta, making every bite a comforting experience.
Appeals to Everyone: Even those who typically shy away from healthy options will be begging for seconds! Pair it with a fresh salad or some crusty bread for a complete meal.
Elevate your weeknight dinners with this nourishing dish, or check out our Seafood Pasta Savory for another delightful recipe.
Creamy Salmon Broccoli Pasta Ingredients
For the Pasta
• Penne Pasta – The main carbohydrate source; try whole wheat or gluten-free options for a healthier alternative.
For the Salmon
• Salmon Fillet – Offers rich flavor and high protein; wild-caught salmon is ideal for optimal taste.
For the Vegetables
• Broccoli – Adds a crunchy texture and is vitamin-rich; fresh broccoli is best, but frozen can work in a pinch.
For the Sauce
• Heavy Cream – Provides that luscious creaminess; swap with half-and-half or Greek yogurt for a lighter twist.
• Parmesan Cheese – Enhances the sauce's flavor; freshly grated is preferable for best melting qualities.
For Cooking
• Olive Oil – Essential for cooking the salmon; substitute with butter for a rich taste.
For Seasoning
• Garlic Powder – A vibrant addition for flavor; fresh garlic can be used for a more aromatic kick.
• Salt and Pepper – Vital for seasoning; adjust to taste for that perfect finish.
Embrace the deliciousness of this Creamy Salmon Broccoli Pasta that effortlessly balances health and flavor!
Step‑by‑Step Instructions for Creamy Salmon Broccoli Pasta
Step 1: Prepare Ingredients
Start by measuring out 8 ounces of penne pasta and chopping 1 cup of fresh broccoli into small florets. Flake the cooked salmon fillet into bite-sized pieces, ensuring no skin or bones remain. Having these ingredients prepped will make the process smooth, letting you easily bring together the elements of your Creamy Salmon Broccoli Pasta.
Step 2: Cook Pasta
In a large pot, bring water to a boil and add a generous tablespoon of salt. Once boiling, add the penne pasta and cook according to package instructions, usually about 8-10 minutes, until al dente. About two minutes before draining, reserve ½ cup of the pasta water. This starchy water will help create the creamy consistency later on.
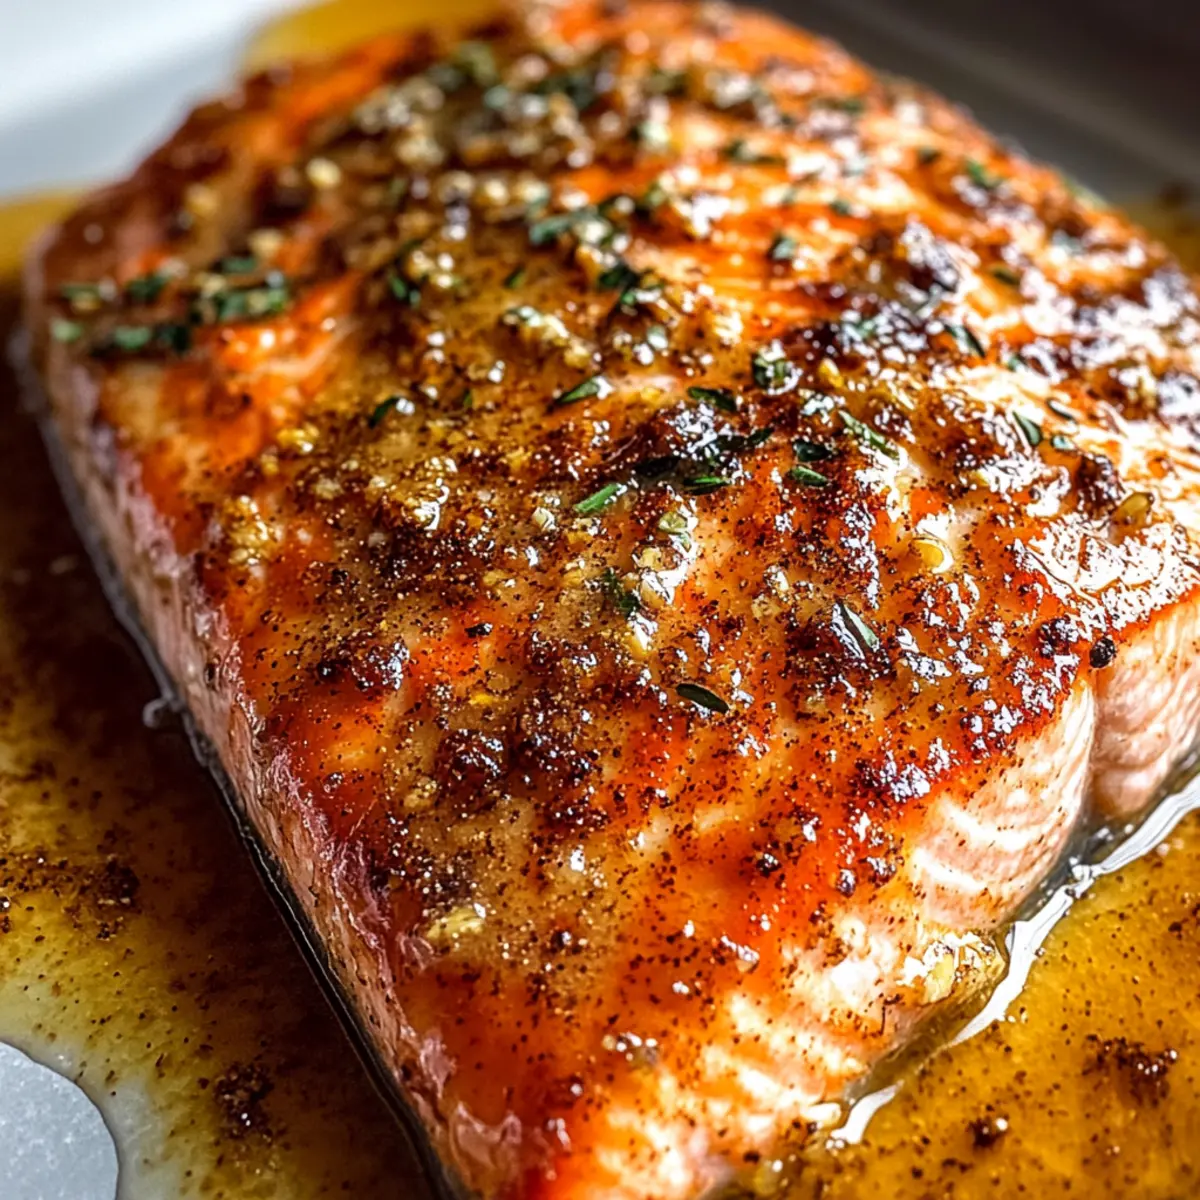
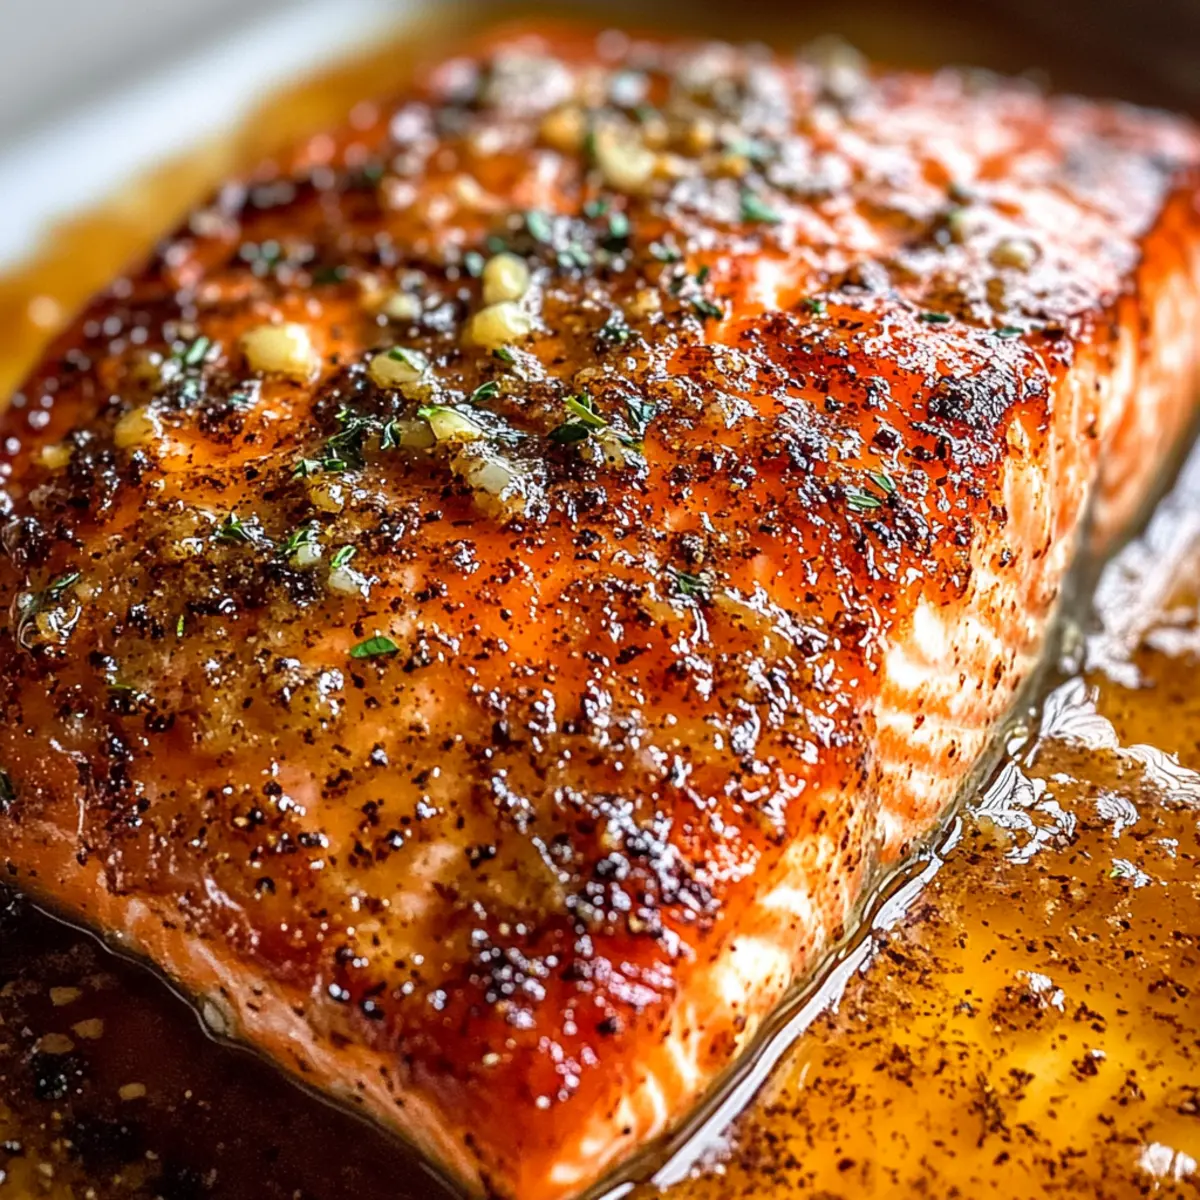
Step 3: Cook Salmon
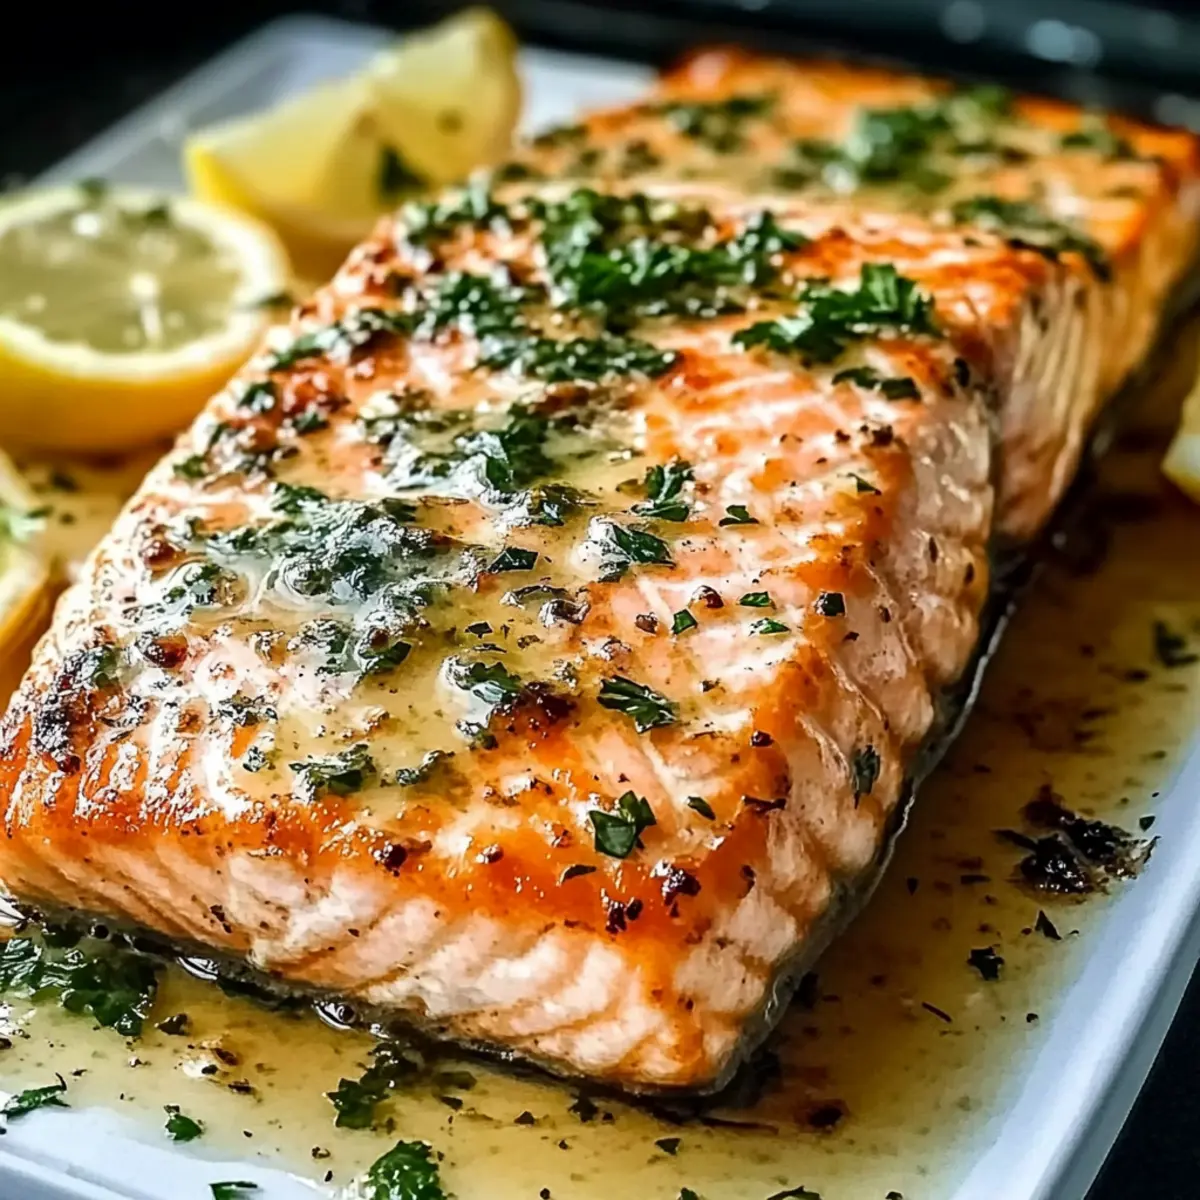
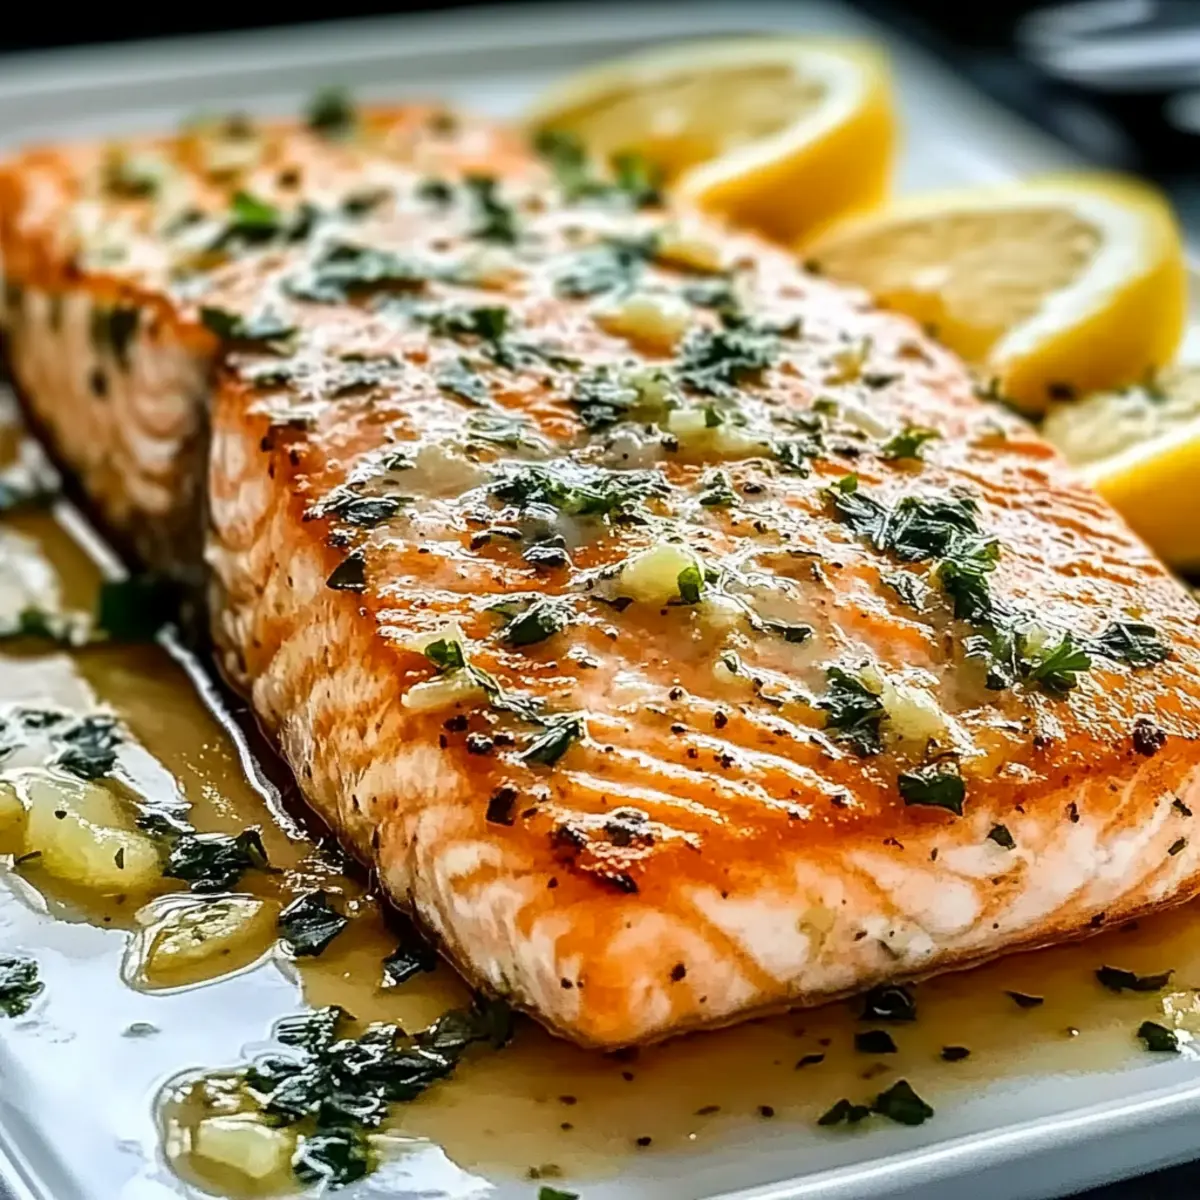
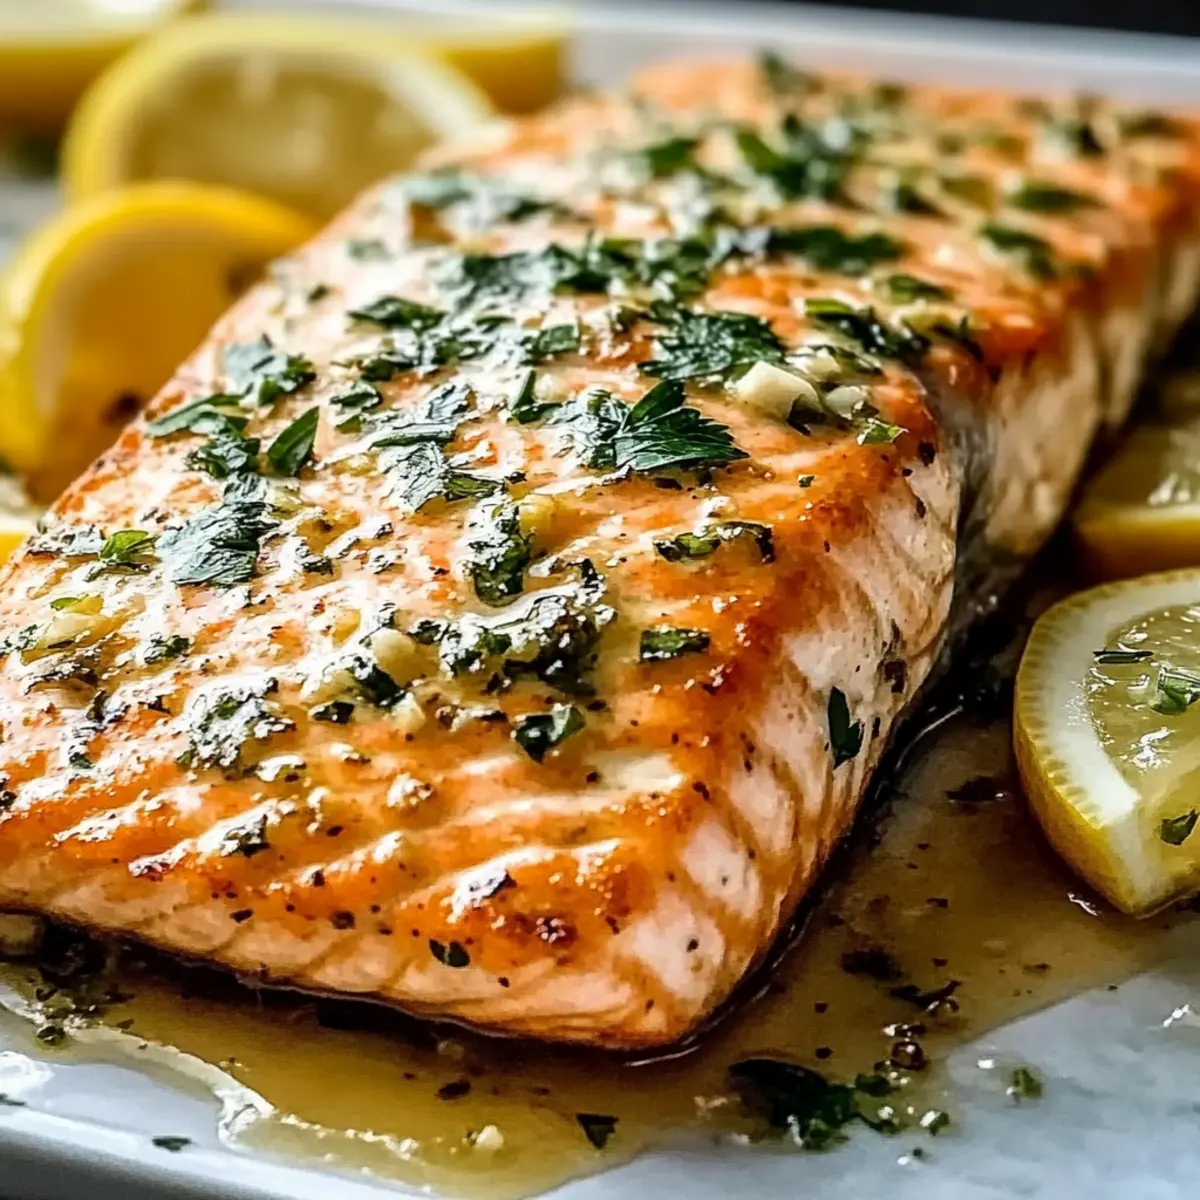
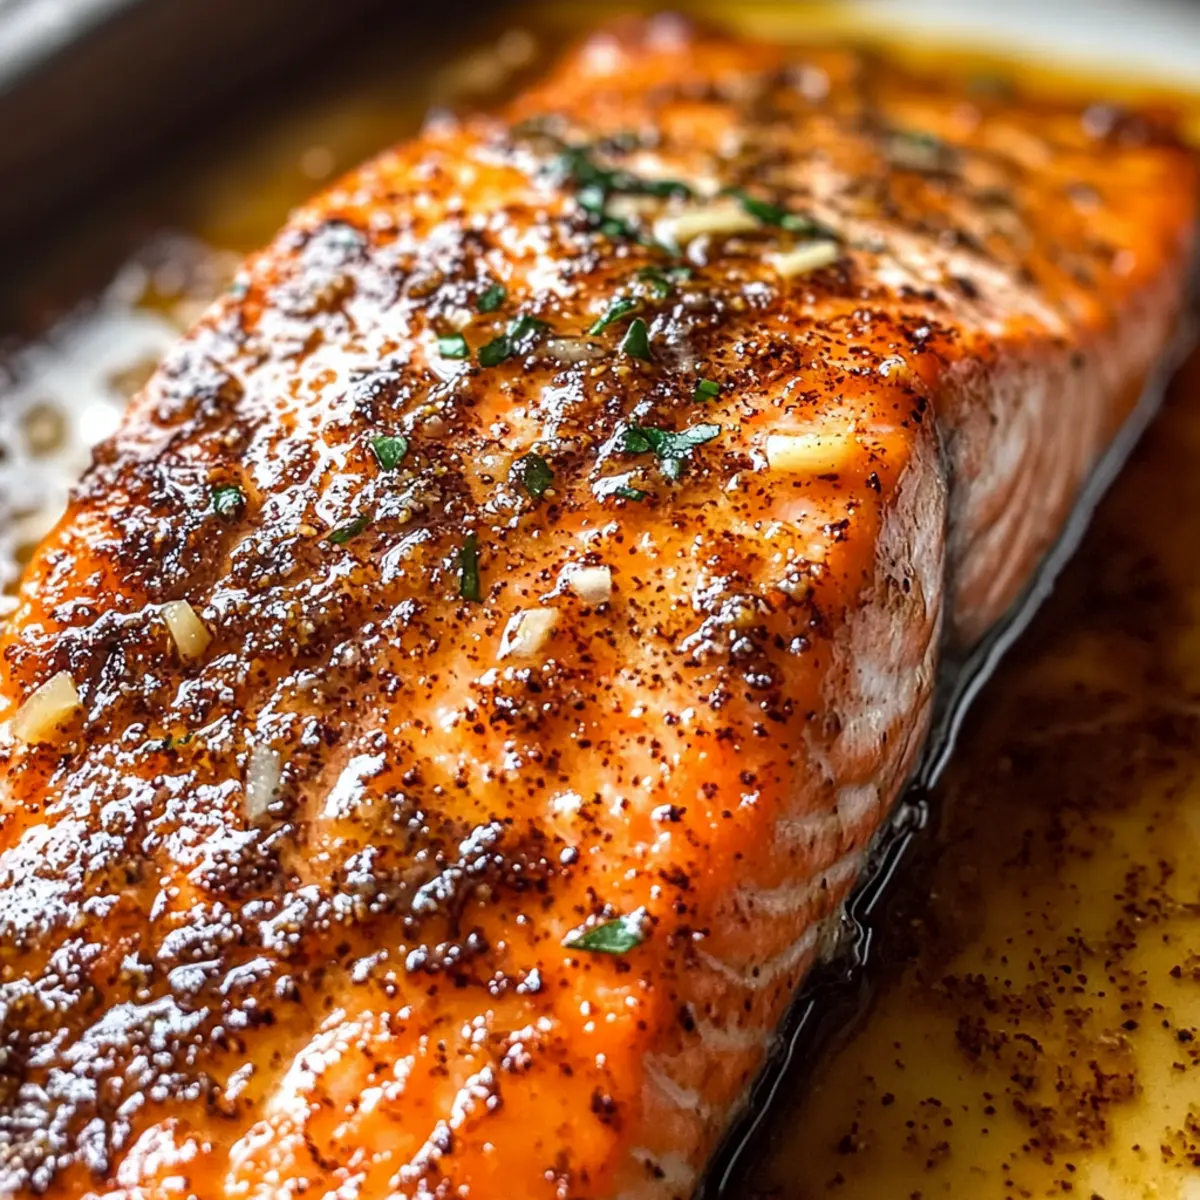
While the pasta cooks, season the salmon fillet with garlic powder, salt, and pepper. In a skillet over medium heat, add 2 tablespoons of olive oil. Once hot, place the salmon in the skillet and cook for 4-5 minutes on each side or until it flakes easily with a fork. Remove the salmon from the skillet and let it cool slightly before flaking it into smaller pieces.
Step 4: Combine Ingredients
In the same skillet used for the salmon, add the chopped broccoli and sauté for 2-3 minutes until it turns bright green and slightly tender. Then, pour in 1 cup of heavy cream and add ½ cup of freshly grated Parmesan cheese. Stir the mixture gently until the cheese melts and the sauce is creamy and heated through, creating the base for your Creamy Salmon Broccoli Pasta.
Step 5: Mix Everything Together
Add the cooked penne pasta and the flaked salmon to the creamy broccoli mixture in the skillet. Gently toss everything together, ensuring the pasta is well-coated in the luscious sauce. If the mixture appears too thick, gradually add the reserved pasta water until you reach your desired consistency, making every mouthful of your Creamy Salmon Broccoli Pasta delightful.
Step 6: Serve
Plate the pasta into shallow bowls for an inviting presentation. Optionally garnish with fresh herbs or additional Parmesan cheese to enhance visual appeal and flavor. This Creamy Salmon Broccoli Pasta is perfect for a cozy dinner, paired with a fresh salad or warm crusty bread to soak up the creamy sauce.
Creamy Salmon Broccoli Pasta Variations
Feel free to get creative with this recipe! Each twist adds a unique flavor that delights your palate.
- Gluten-Free: Swap penne for gluten-free pasta made from rice or chickpeas for a deliciously accommodating dish. Gluten-free options maintain heartiness without compromising flavor.
- Dairy-Free: Use coconut cream or a dairy-free sour cream alternative to achieve a creamy texture without dairy; it adds a subtle tropical twist!
- Veggie Power: Add a medley of vegetables like spinach, bell peppers, or cherry tomatoes for extra nutrition and vibrant colors; they’ll enhance both taste and visual appeal.
- Spice it Up: Toss in red pepper flakes or a splash of hot sauce to give the dish a delightful kick; this can be adjusted to suit your heat preference.
- Herb Infusion: Stir in fresh herbs like basil, dill, or parsley for an aromatic burst; they bring freshness that complements the creamy sauce beautifully.
- Citrus Zest: Add lemon zest or a squeeze of fresh lemon juice for brightness, balancing the richness of the cream and elevating the overall flavor.
- Nutty Twist: Incorporate toasted pine nuts or walnuts for added crunch and a nutty flavor that gives extra depth to the dish; they add a lovely texture contrast.
- Seafood Medley: Mix in some shrimp or calamari to enhance the seafood experience; it turns your pasta into a delightful seafood feast.
Transform your Creamy Salmon Broccoli Pasta with these adaptations or discover our Skillet Pasta Sun for even more delightful inspirations!
What to Serve with Creamy Salmon Broccoli Pasta
Elevate your dining experience with delightful sides that complement this indulgent pasta dish, making it a full meal feast!
-
Garlic Bread: Soft, buttery slices are perfect for sopping up the creamy sauce, delivering a heavenly bite with each mouthful.
-
Mixed Green Salad: A refreshing blend of greens dressed with a light vinaigrette adds a crisp, tangy contrast to the richness of the pasta. The crunchiness of the salad refreshes your palate, balancing the creamy flavors beautifully.
-
Roasted Asparagus: Tender, slightly charred stalks offer a subtle earthy flavor, enhancing the nutrient profile and providing a delightful crunch. It also adds vibrant color to your plate.
-
Lemon Zest: A simple sprinkle on top brightens every bite, cutting through the creaminess and adding a fresh burst of flavor that awakens the palate.
-
Chardonnay: A chilled glass of this white wine harmonizes the dish’s creamy richness while enhancing the natural flavors of salmon.
-
Chocolate Mousse: For dessert, this luxurious treat is a sweet finale that contrasts beautifully with the savory pasta, promising satisfied smiles all around.
Expert Tips for Creamy Salmon Broccoli Pasta
-
Taste as You Go: Regularly taste your dish while cooking to adjust seasoning, ensuring your Creamy Salmon Broccoli Pasta is perfectly seasoned.
-
Don’t Overcook Salmon: Remove the salmon from heat as soon as it flakes easily; overcooking can dry it out and diminish its flavor.
-
Use Fresh Ingredients: Opt for fresh broccoli and wild-caught salmon for the best flavor and nutrients, enhancing the overall dish.
-
Adjust Creaminess: If the sauce is too thick, gradually incorporate reserved pasta water to achieve the desired creamy consistency.
-
Serve Immediately: Serve your pasta right after mixing to enjoy it at its best; if stored, reheat gently to avoid separation of the sauce.
How to Store and Freeze Creamy Salmon Broccoli Pasta
Fridge: Store leftover Creamy Salmon Broccoli Pasta in an airtight container in the refrigerator for up to 3 days.
Freezer: For longer storage, freeze portions in freezer-safe containers for up to 2 months. Thaw overnight in the fridge before reheating.
Reheating: Gently reheat the pasta on the stove over low heat, adding a splash of reserved pasta water to restore creaminess and prevent drying out.
Avoid Room Temperature: Do not leave the cooked pasta out at room temperature for more than 2 hours to maintain freshness and prevent spoilage.
Make Ahead Options
These Creamy Salmon Broccoli Pasta are fantastic for meal prep, making dinner time a breeze! You can chop the broccoli and flake the salmon up to 24 hours in advance, storing them separately in airtight containers in the fridge. The pasta can also be cooked ahead, but for the best texture, it's ideal to store it with just a splash of olive oil. When you're ready to enjoy, simply combine the prepped ingredients and reheating the sauce over medium heat, adding a bit of reserved pasta water if needed to refresh the creaminess. This way, you'll have a delightful and nourishing meal ready with minimal effort!
Creamy Salmon Broccoli Pasta Recipe FAQs
What type of salmon should I use for this recipe?
I recommend using wild-caught salmon for the best flavor and quality. It's rich in omega-3 fatty acids and has a fantastic texture that enhances the Creamy Salmon Broccoli Pasta. If wild-caught is unavailable, farmed salmon can be used, but be sure to check for freshness.
How can I store leftovers of Creamy Salmon Broccoli Pasta?
Leftover Creamy Salmon Broccoli Pasta should be stored in an airtight container in the refrigerator for up to 3 days. Make sure to cool it to room temperature before storing to prevent condensation, which can affect texture and taste.
Can I freeze Creamy Salmon Broccoli Pasta?
Absolutely! To freeze, portion the pasta into freezer-safe containers, making sure to leave some space as it expands. It can be frozen for up to 2 months. When you're ready to enjoy it again, thaw it overnight in the fridge and gently reheat it on the stove, adding a splash of reserved pasta water to restore its creamy consistency.
What if my sauce is too thick?
If the sauce turns out too thick, don’t worry! Gradually add the reserved pasta water, a tablespoon at a time, while stirring. This will help loosen the sauce while keeping it creamy. Remember, the water also adds flavor and helps the sauce adhere to the pasta better!
Is this recipe suitable for those with dairy allergies?
For a dairy-free version of Creamy Salmon Broccoli Pasta, substitute the heavy cream with coconut cream or a non-dairy cream alternative. You can omit the Parmesan or use a plant-based cheese for added flavor. Always check ingredient labels to ensure they're dairy-free.
How long can I leave cooked pasta out at room temperature?
To keep your dish safe, avoid leaving cooked Creamy Salmon Broccoli Pasta out at room temperature for more than 2 hours. This helps prevent spoilage and maintains the quality of your delicious meal!