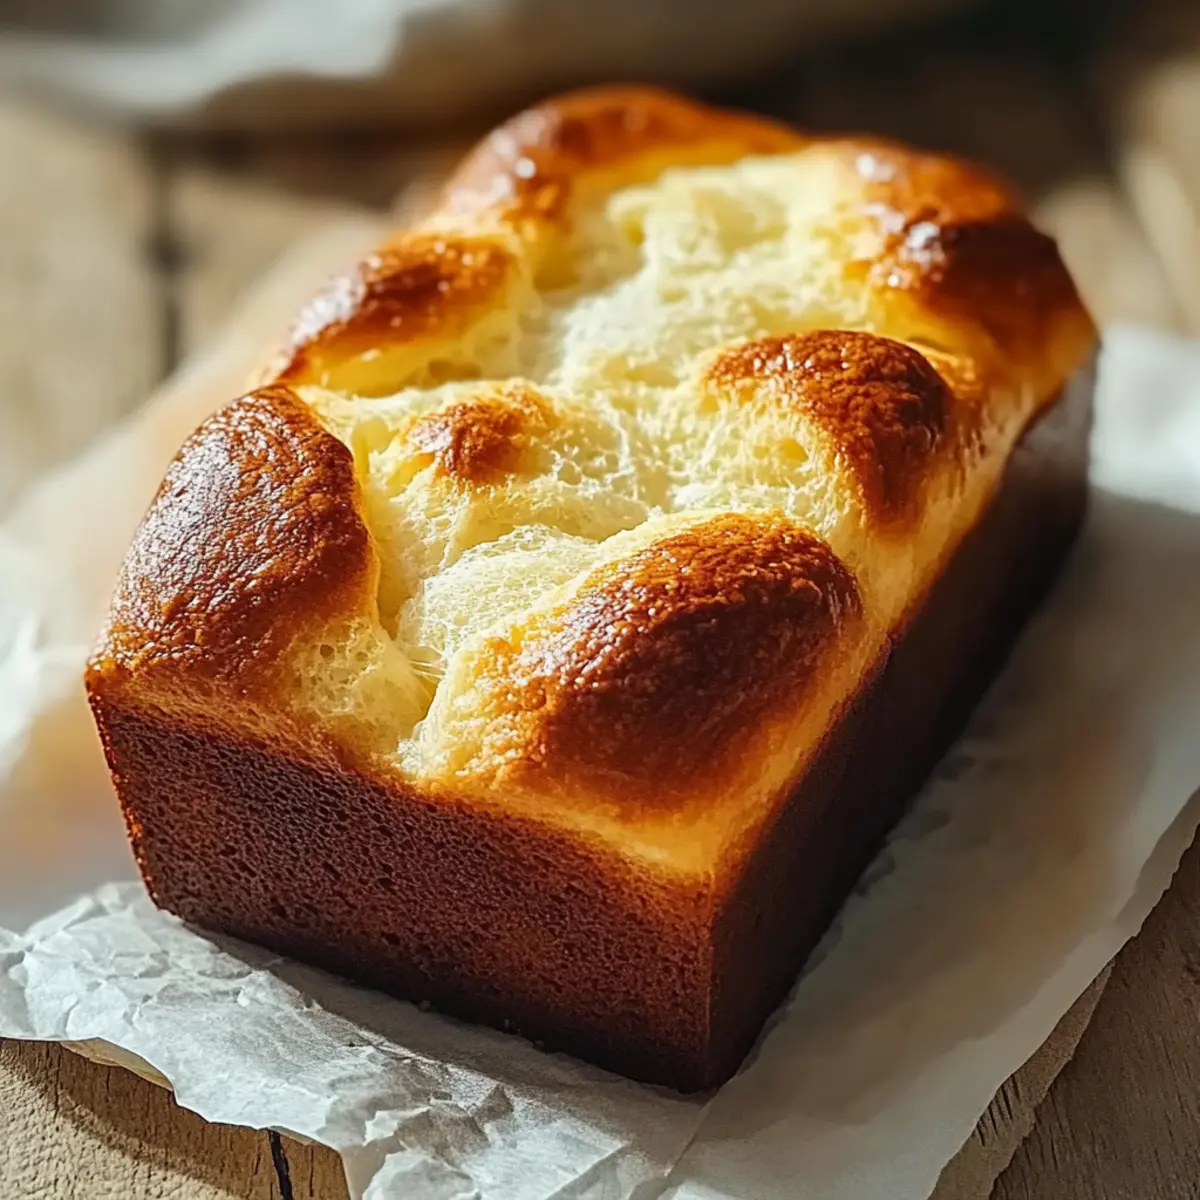
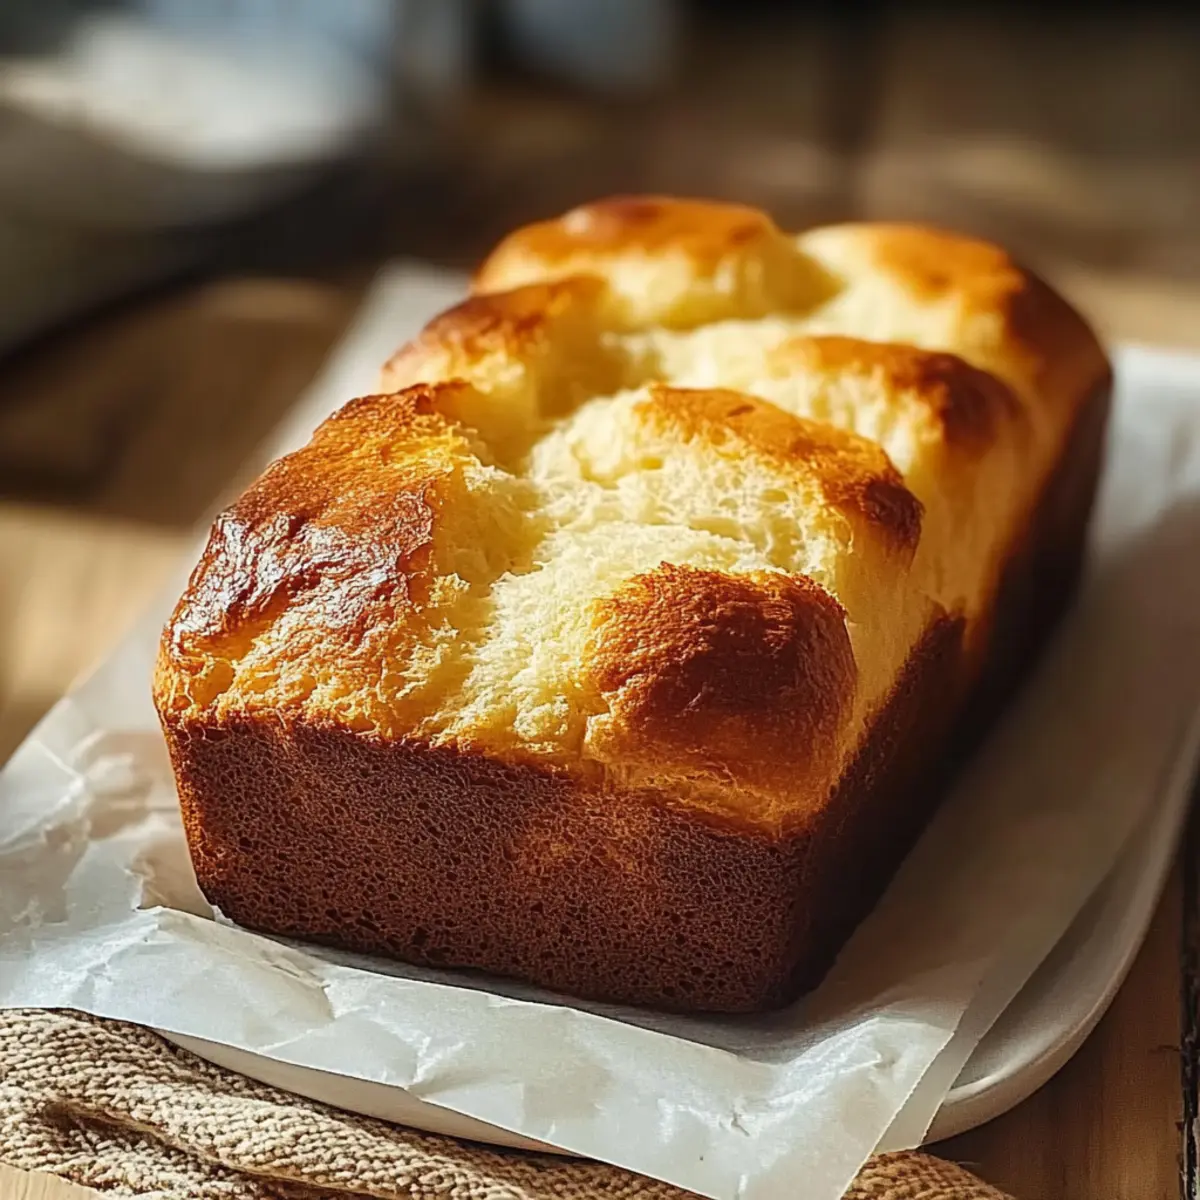
As I settled in with a warm cup of coffee, the enticing aroma of baking chocolate drifted through my kitchen, instantly whisking me back to my childhood. There’s something undeniably comforting about a slice of homemade Chocolate Chip Loaf Cake that brings everyone together, and trust me, it's as easy to make as it is delightful. This family-friendly recipe not only guarantees a moist and buttery loaf but also serves as a fantastic snack or perfect dessert for any occasion. Whether you're entertaining guests or simply indulging in a sweet treat during the week, this loaf is sure to impress. Curious about the secrets that make this cake so irresistible? Let's dive into the delicious details!

Why Is This Cake So Irresistible?
Simplicity is key: The Chocolate Chip Loaf Cake is a straightforward recipe that even novice bakers can master with ease.
Versatile ingredients: Feel free to swap in your favorite chocolate or add delicious fruits to cater to your taste!
Mouthwatering flavor: Each bite boasts buttery goodness and rich chocolate that enhances any coffee break or family gathering.
Quick to bake: In just about an hour, you can whip up this delightful treat that will fill your home with a cozy aroma.
Crowd-pleaser: Perfect for gatherings, this cake brings friends and family together, encouraging everyone to enjoy a slice or two!
For even more deliciousness, why not explore our Chocolate Pudding Cake recipe? It's another family favorite!
Chocolate Chip Loaf Cake Ingredients
• Love homemade desserts? You’ll adore this Chocolate Chip Loaf Cake!
For the Batter
- Plain Flour – Provides structure for the loaf; all-purpose flour works as a great substitute.
- Sugar – Adds sweetness and moisture; using brown sugar offers a richer flavor.
- Baking Powder – A leavening agent that helps the loaf rise; ensure it’s fresh for best outcomes.
- Salt – Enhances flavor and balances sweetness; no direct substitute is needed.
- Butter (at room temperature) – Adds richness and moisture; can substitute with vegetable oil for a slightly denser texture.
- Eggs (large) – Bind the ingredients and help the cake rise; consider flax eggs for a vegan option.
- Vanilla Extract – Enhances flavor depth; almond extract can be swapped for a different profile.
- Whole Milk – Contributes moisture; 2% or buttermilk can easily be used instead.
- Chocolate Chips – Provide sweetness and that beloved chocolate flavor; use semi-sweet, milk, or dark chocolate based on preference.
Step‑by‑Step Instructions for Chocolate Chip Loaf Cake
Step 1: Prepare Baking Pan
Preheat your oven to 350°F (175°C) and take a 9x5-inch loaf pan. Grease the pan generously with butter or cooking spray to prevent sticking, and for added ease, consider lining the bottom with parchment paper. This step ensures that your Chocolate Chip Loaf Cake will release easily once baked.
Step 2: Mix Dry Ingredients
In a medium mixing bowl, sift together 2 cups of plain flour, 1 tablespoon of baking powder, and a pinch of salt. This not only breaks up any lumps but also aerates the flour, leading to a lighter texture. Set this dry mixture aside while you prepare the wet ingredients, allowing the flavors to meld beautifully.
Step 3: Combine Wet Ingredients
In a separate large bowl, cream together ½ cup of room-temperature butter and 1 cup of sugar until the mixture is light and fluffy, which should take about 3-4 minutes. Then, add in 2 large eggs, one at a time, mixing well after each addition. After that, whisk together ½ cup of whole milk and 1 teaspoon of vanilla extract, and then slowly incorporate this milk mixture into the batter.
Step 4: Incorporate Dry Ingredients
Gradually add half of the flour mixture into the wet batter, stirring gently to combine. This allows the ingredients to integrate smoothly. Then, pour in the milk mixture and combine it well before adding the remaining flour. Stir just until no dry flour remains visible; overmixing might toughen your Chocolate Chip Loaf Cake.
Step 5: Add Chocolate Chips
Toss 1 cup of chocolate chips in a small bowl with a tablespoon of flour to ensure they remain suspended in the batter. Gently fold the coated chocolate chips into the batter using a rubber spatula. This step not only adds bursts of chocolate flavor but also enhances the overall texture of the loaf cake.
Step 6: Bake
Pour your beautifully mixed batter into the prepared loaf pan, spreading it evenly. Slide the pan into your preheated oven and bake for 45-55 minutes, or until a toothpick inserted into the center comes out with a few moist crumbs clinging to it. This is the perfect visual cue to know your Chocolate Chip Loaf Cake is ready!
Step 7: Cool
Once baked, remove the loaf from the oven and let it cool in the pan for about 5 minutes. After that, carefully transfer the cake to a wire rack to cool completely. This cooling step is crucial, as it helps develop the flavors and ensures a tender crumb, making your Chocolate Chip Loaf Cake irresistible.

What to Serve with Chocolate Chip Loaf Cake?
This luscious cake pairs beautifully with a variety of sides, taking your dessert experience to the next level.
-
Fresh Whipped Cream: A dollop of airy whipped cream adds a light touch that balances the richness of the loaf.
-
Vanilla Ice Cream: The creaminess of vanilla ice cream contrasts delightfully with the warm, moist cake, creating a heavenly pairing.
-
Berry Compote: Tangy berries drizzled over the cake enhance its sweetness while adding a vibrant, fresh flavor.
The tartness of the compote contrasts with the sweet chocolate, making each bite more exciting.
-
Espresso or Coffee: A warm cup of coffee or intense espresso complements the rich chocolate flavor, elevating the overall experience.
-
Chocolate Ganache: Drizzling ganache on top creates an elegant finish. The extra layer of chocolate enriches each decadent slice.
-
Nutty Granola: Sprinkling some crunchy granola adds a satisfying texture that contrasts beautifully with the soft loaf, while its nutty flavor enhances the chocolatey goodness.
-
Fruit Salad: A refreshing bowl of fruit salad brings brightness and a pop of color. The fresh fruits balance the cake's sweetness, making it a delightful combination.
Optional drinks like a chilled glass of milk or sweet iced tea can also enhance the enjoyment of this delightful Chocolate Chip Loaf Cake.
Expert Tips for Chocolate Chip Loaf Cake
-
Avoid Overmixing: Mix the batter gently until just combined. Overmixing can lead to a dense loaf rather than the light, fluffy texture you want from your Chocolate Chip Loaf Cake.
-
Check Your Oven: Every oven is different! Start checking your loaf at 40 minutes if you're unsure about baking time; this ensures a perfectly baked cake without drying it out.
-
Use Room Temperature Ingredients: Make sure your butter and eggs are at room temperature. This helps create a creamy batter, resulting in a moist cake that everyone will love.
-
Flour the Chocolate Chips: Tossing your chocolate chips in a little flour before adding them to the batter prevents them from sinking to the bottom of the loaf, ensuring even distribution throughout the Chocolate Chip Loaf Cake.
-
Let It Cool: Resist the urge to slice it too soon. Allowing the cake to cool completely enhances its flavor and texture, making each slice that much more enjoyable.
Make Ahead Options
The Chocolate Chip Loaf Cake is a fantastic option for meal prep, saving you valuable time during your busy week! You can prepare the batter up to 24 hours in advance by mixing all the dry and wet ingredients separately, then refrigerating them until you're ready to bake. Just keep the dry ingredients in one bowl and the wet in another to maintain freshness. Additionally, you can measure out the chocolate chips and toss them in flour ahead of time to streamline your process. When you're ready to bake, simply combine the mixtures, pour the batter into your pan, and follow the baking instructions. This way, you'll have a deliciously moist Chocolate Chip Loaf Cake with minimal effort, perfect for any occasion!
Chocolate Chip Loaf Cake Variations
Feel free to get creative and make this chocolatey delight your own by exploring these enticing variations!
-
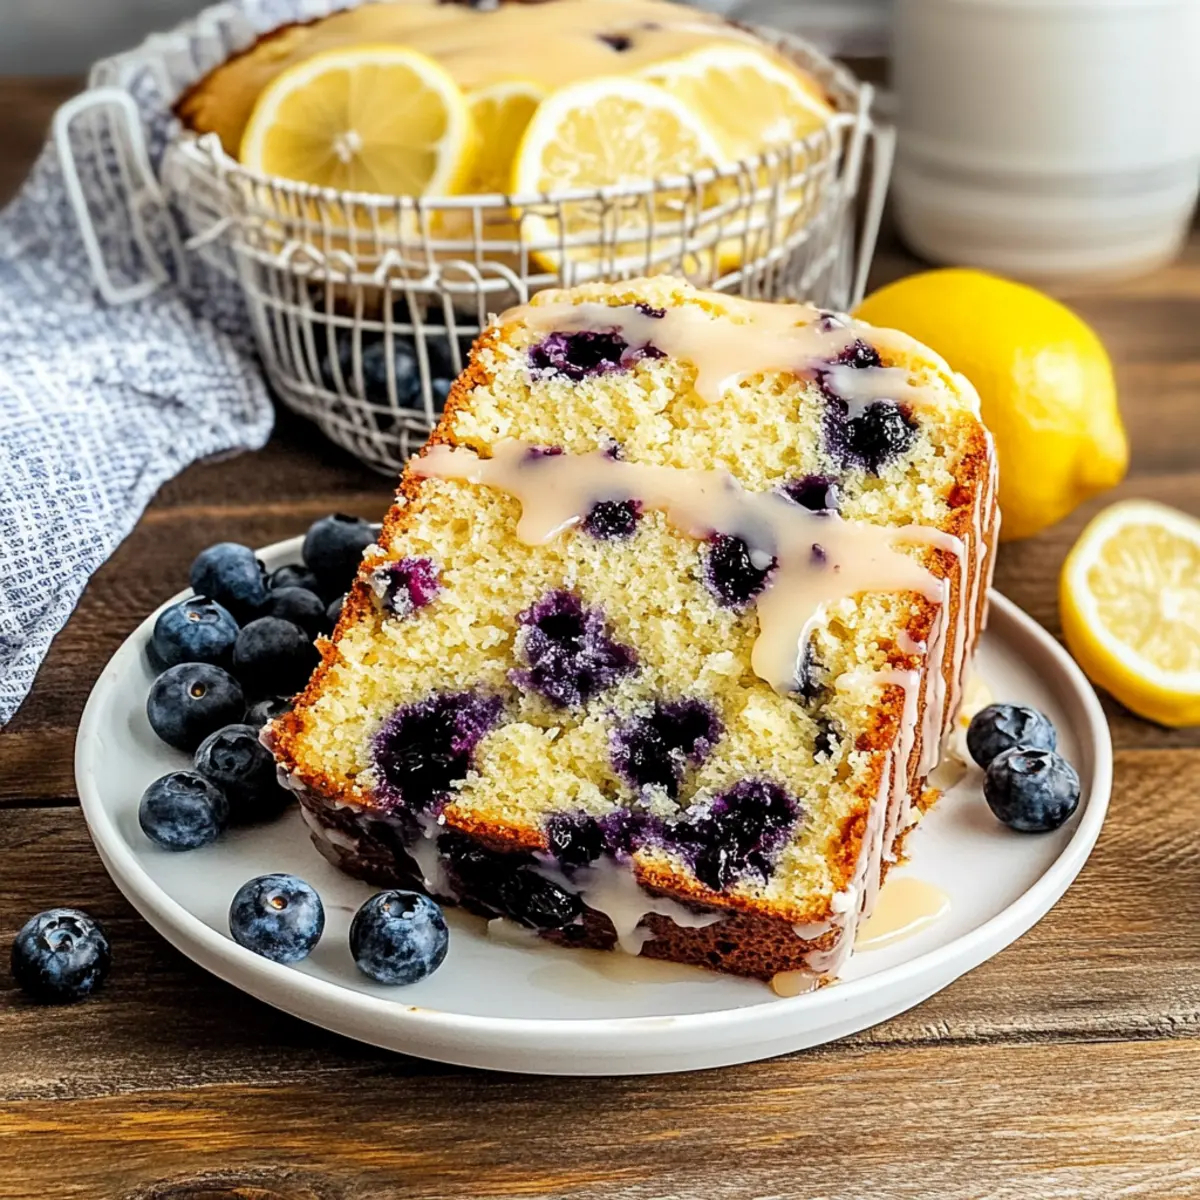
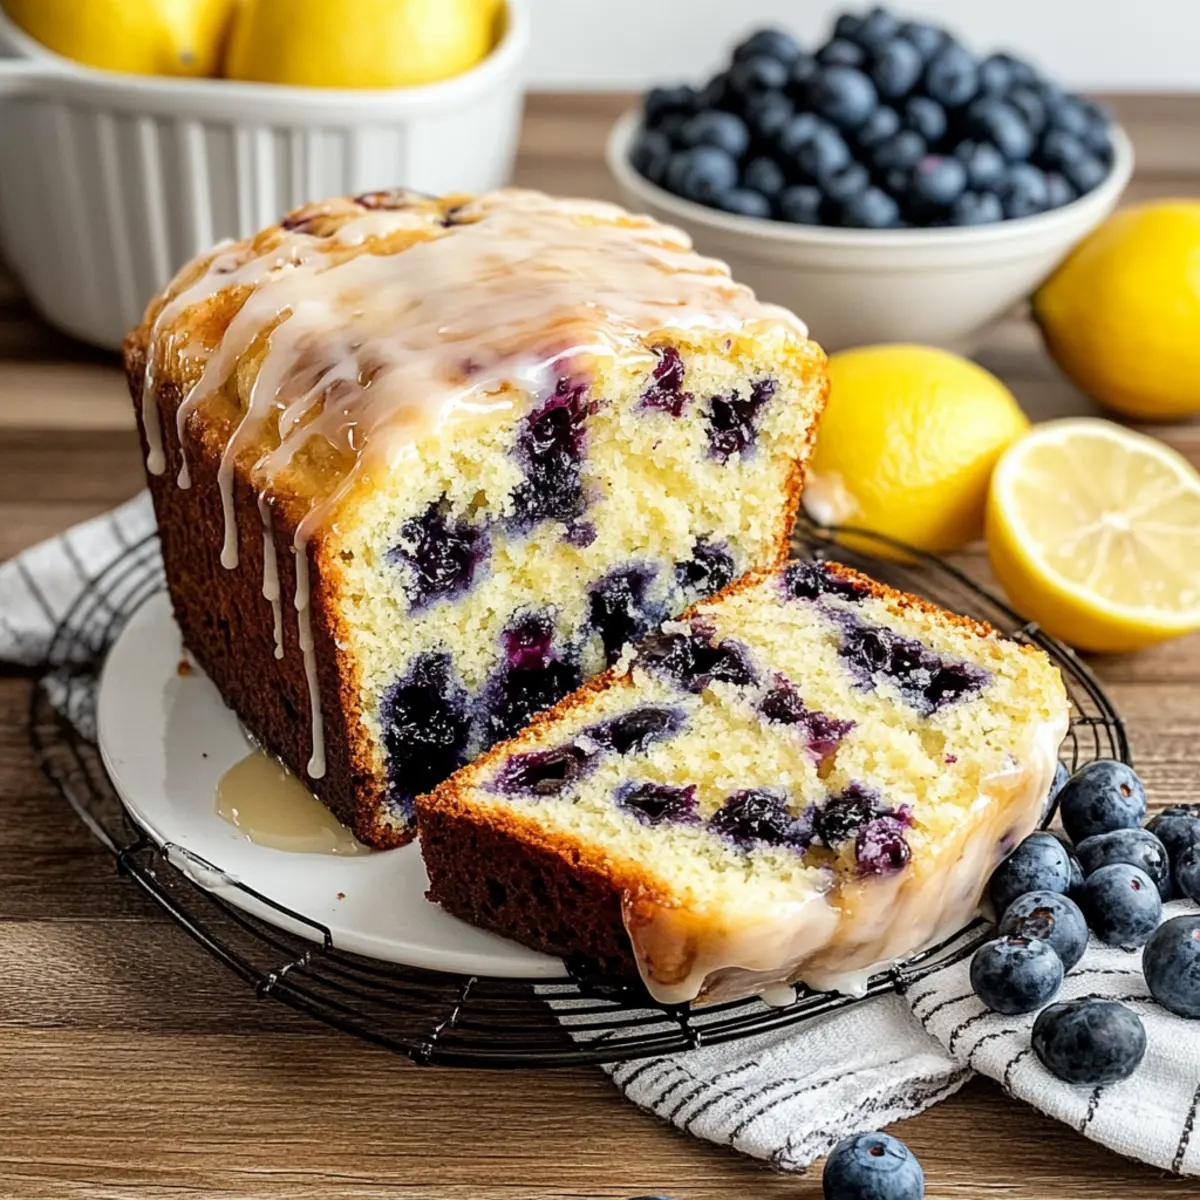
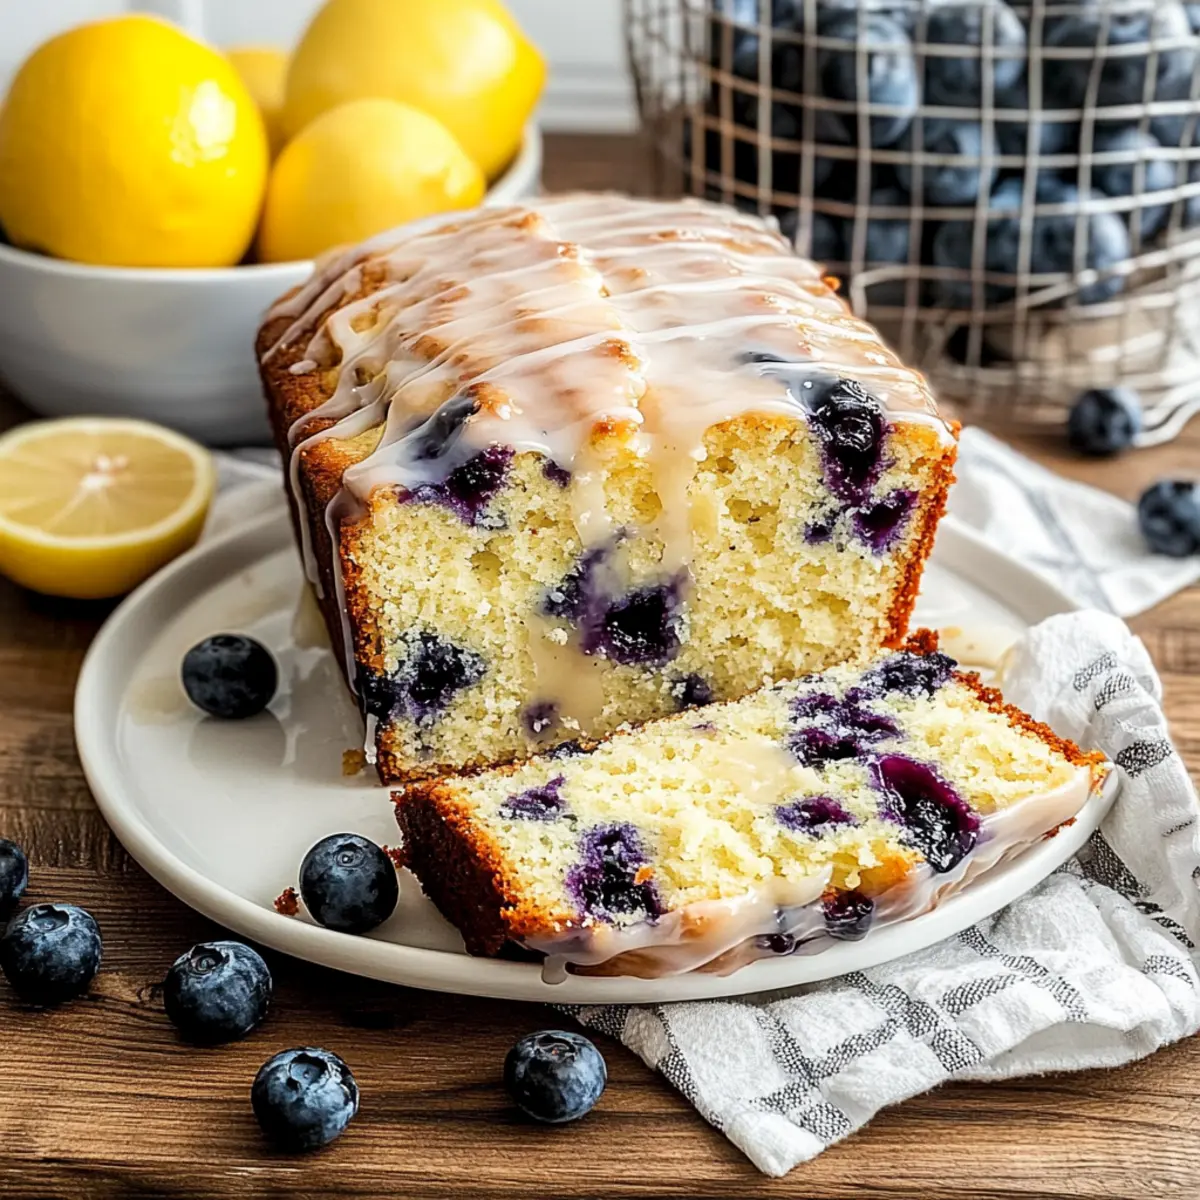
Berry Burst: Substitute chocolate chips with fresh blueberries or raspberries for a fruity twist. The tartness beautifully complements the sweetness of the cake.
-
Nuts Galore: Fold in chopped pecans or walnuts to add a delightful crunch and nutty flavor that pairs wonderfully with the chocolate.
-
Spiced Delight: Incorporate 1 teaspoon of cinnamon or nutmeg to the dry ingredients for a warm, aromatic touch that warms the spirit.
-
Zesty Freshness: Grate some lemon or orange zest into the batter to brighten the flavor profile, adding a refreshing citrus kick.
-
Vegan Option: Replace the eggs with 2 flax eggs (2 tablespoons flaxseed meal mixed with 6 tablespoons water) and use a plant-based butter for a delicious vegan loaf. Every bite will still be packed with flavor!
-
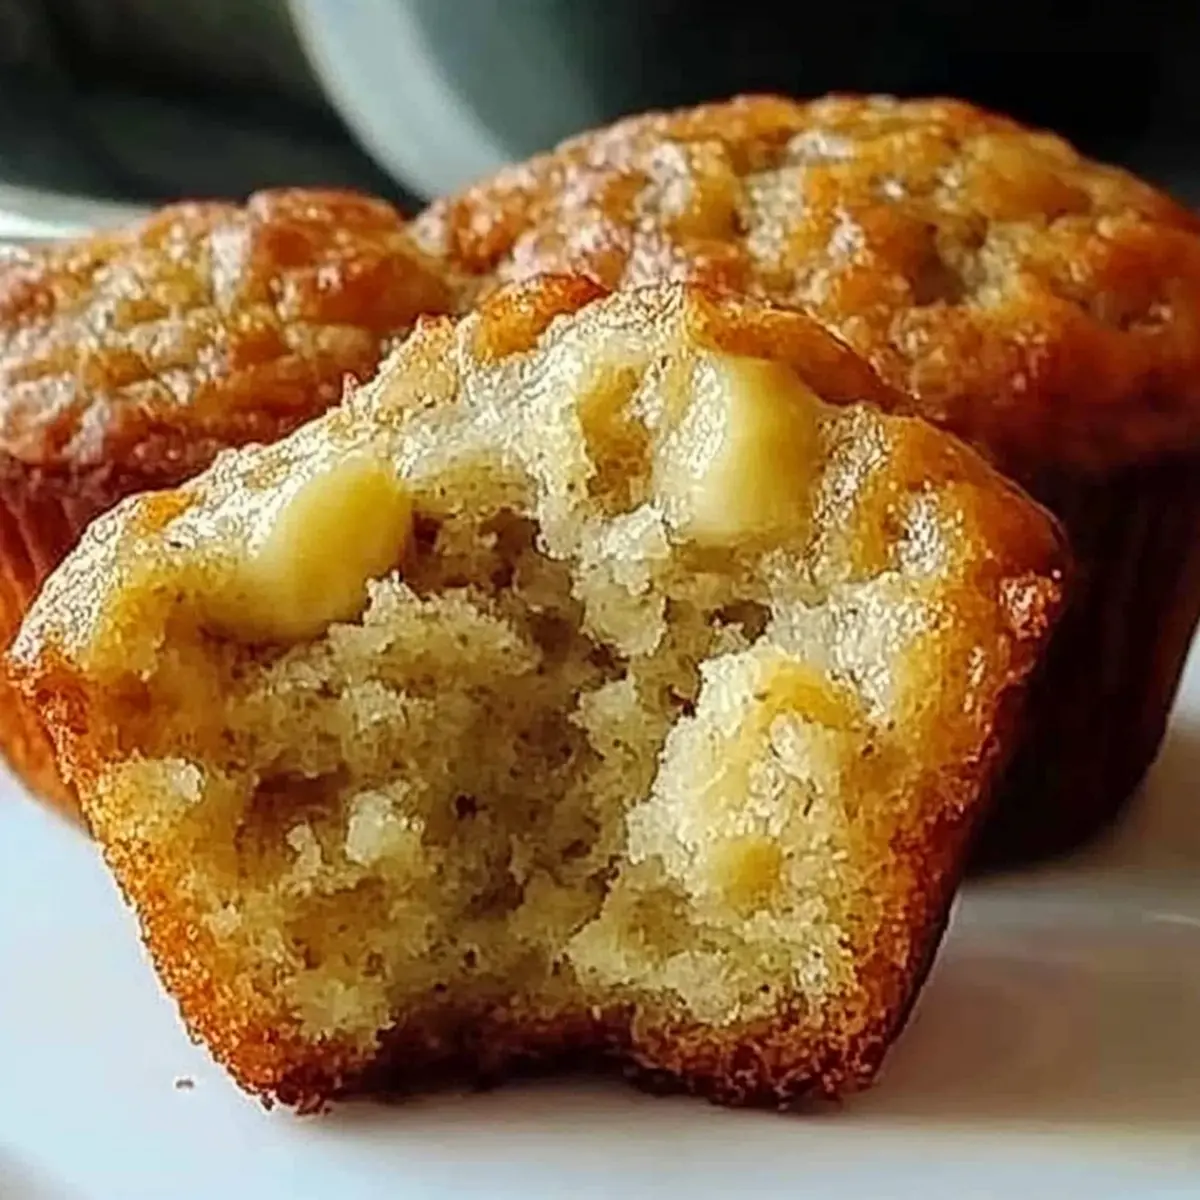
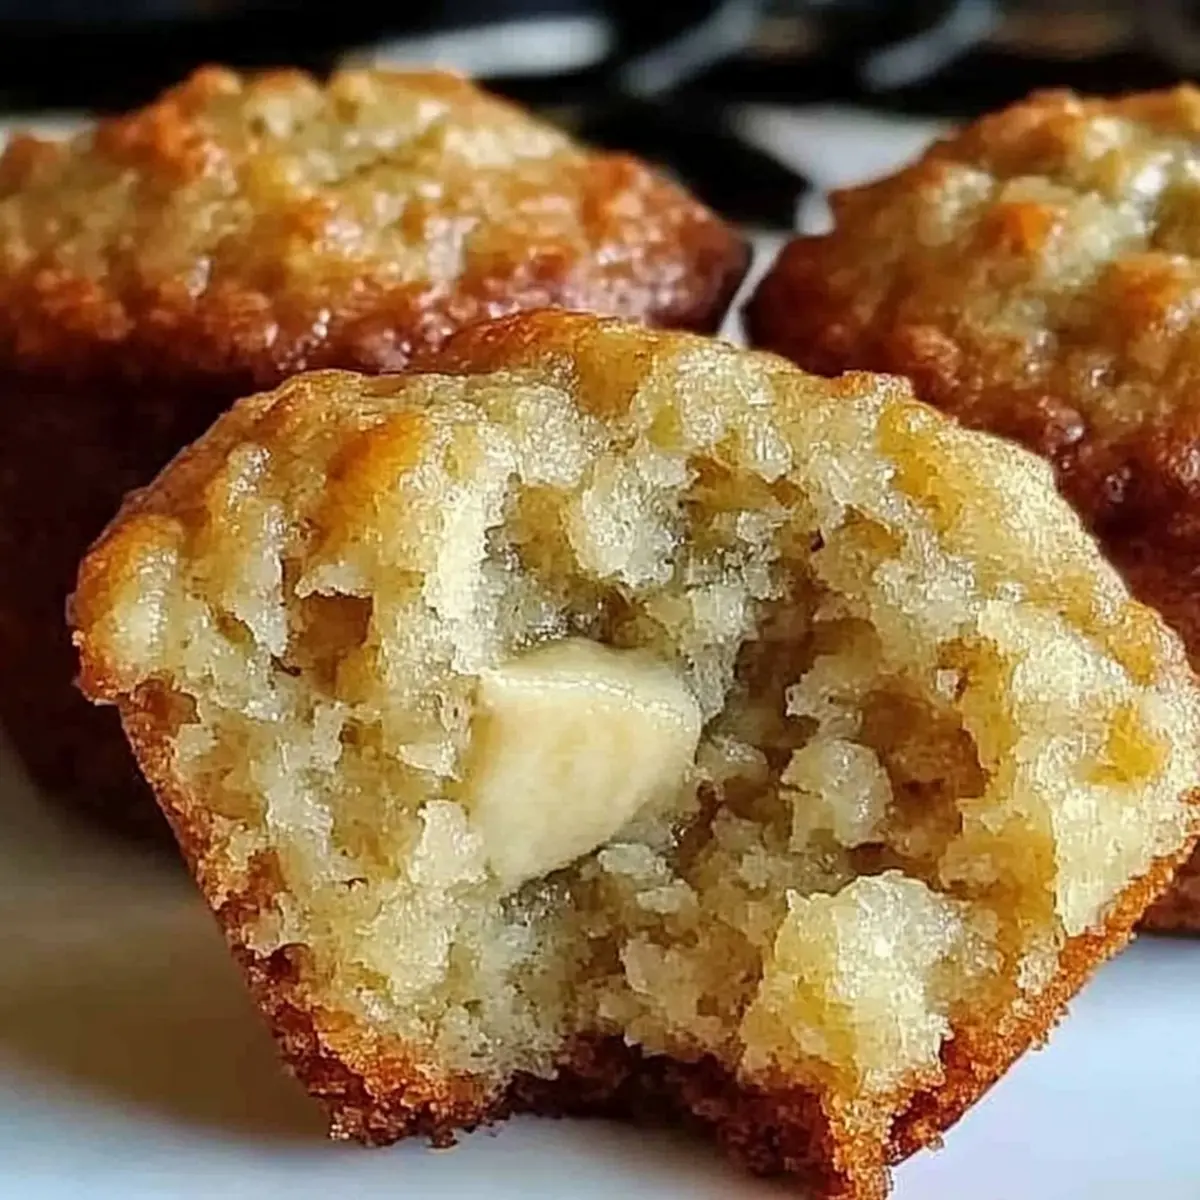
Muffin Variation: Transform this loaf into muffins! Bake in a muffin tin for 15-20 minutes for perfectly portable treats. They make handy snacks or breakfast on the go.
-
Frosting Fancy: Slather the cooled loaf with a light vanilla glaze or cream cheese frosting for an indulgent treat. Perfect for special occasions!
-
Extra Chocolatey: Amp up the chocolateiness by adding cocoa powder to the batter or using a combination of chocolate chips, such as dark and white chocolate for an irresistible mix.
Explore these creative variations and watch your family and friends come back for seconds! If you’re looking for more scrumptious ideas, give our Chocolate Pudding Cake a try for a velvety texture that will leave everyone wanting more.
Storage Tips for Chocolate Chip Loaf Cake
Room Temperature: Store your Chocolate Chip Loaf Cake in an airtight container for up to 3 days to keep it moist and flavorful.
Fridge: If you prefer to extend its freshness, place the container in the fridge where it will stay good for up to a week. Just be sure to bring it to room temperature before serving for the best taste.
Freezer: For longer storage, wrap individual slices in plastic wrap and then aluminum foil, freezing them for up to 3 months. Thaw overnight in the fridge or at room temperature when ready to enjoy.
Reheating: To enjoy it warm, pop a slice in the microwave for about 10-15 seconds or warm it in an oven at 350°F (175°C) for 5-10 minutes, ensuring it stays deliciously moist!

Chocolate Chip Loaf Cake Recipe FAQs
What is the best way to choose ripe ingredients for this recipe?
Absolutely! For the best results, make sure your butter is at room temperature, which means it's soft but not melted. The eggs should ideally be fresh and at room temperature as well; this allows for better mixing and a fluffier cake. When selecting chocolate chips, look for high-quality brands that have a smooth, glossy appearance. This will ensure a rich chocolate flavor in your loaf cake.
How should I store my Chocolate Chip Loaf Cake?
You can store your Chocolate Chip Loaf Cake in an airtight container at room temperature for up to 2-3 days. This keeps it moist and flavorful! If you prefer a longer shelf life, place it in the fridge where it will stay fresh for about a week. Just remember to let it reach room temperature before enjoying for that perfect taste!
Can I freeze the Chocolate Chip Loaf Cake?
Yes, you can freeze this delightful cake! Wrap individual slices tightly in plastic wrap and then in aluminum foil, and store them in the freezer for up to 3 months. To enjoy, simply thaw overnight in the fridge or place it at room temperature for a few hours. For a warm treat, microwave a slice for about 10-15 seconds or warm it in an oven at 350°F (175°C) for 5-10 minutes.
What do I do if my loaf doesn’t rise?
Very importantly, check that your baking powder is fresh! Old baking powder can lead to a flat loaf. Make sure to sift your dry ingredients well and mix them gently into the wet ingredients to avoid overmixing, which could also prevent proper rising. Lastly, when baking, keep an eye on the time; if it’s not browning properly after 45 minutes, it may need a bit more time, but be careful not to overbake!
Are there any dietary considerations for this recipe?
Absolutely! If you're making this cake for someone with dietary restrictions, there are plenty of alternatives! You can easily swap regular butter with vegan butter or vegetable oil for a dairy-free option. For those with egg allergies, flax eggs work beautifully—simply mix 1 tablespoon of ground flaxseed with 2.5 tablespoons of water per egg, let it sit for 5-10 minutes until it thickens, and then use it just like an egg in the recipe.