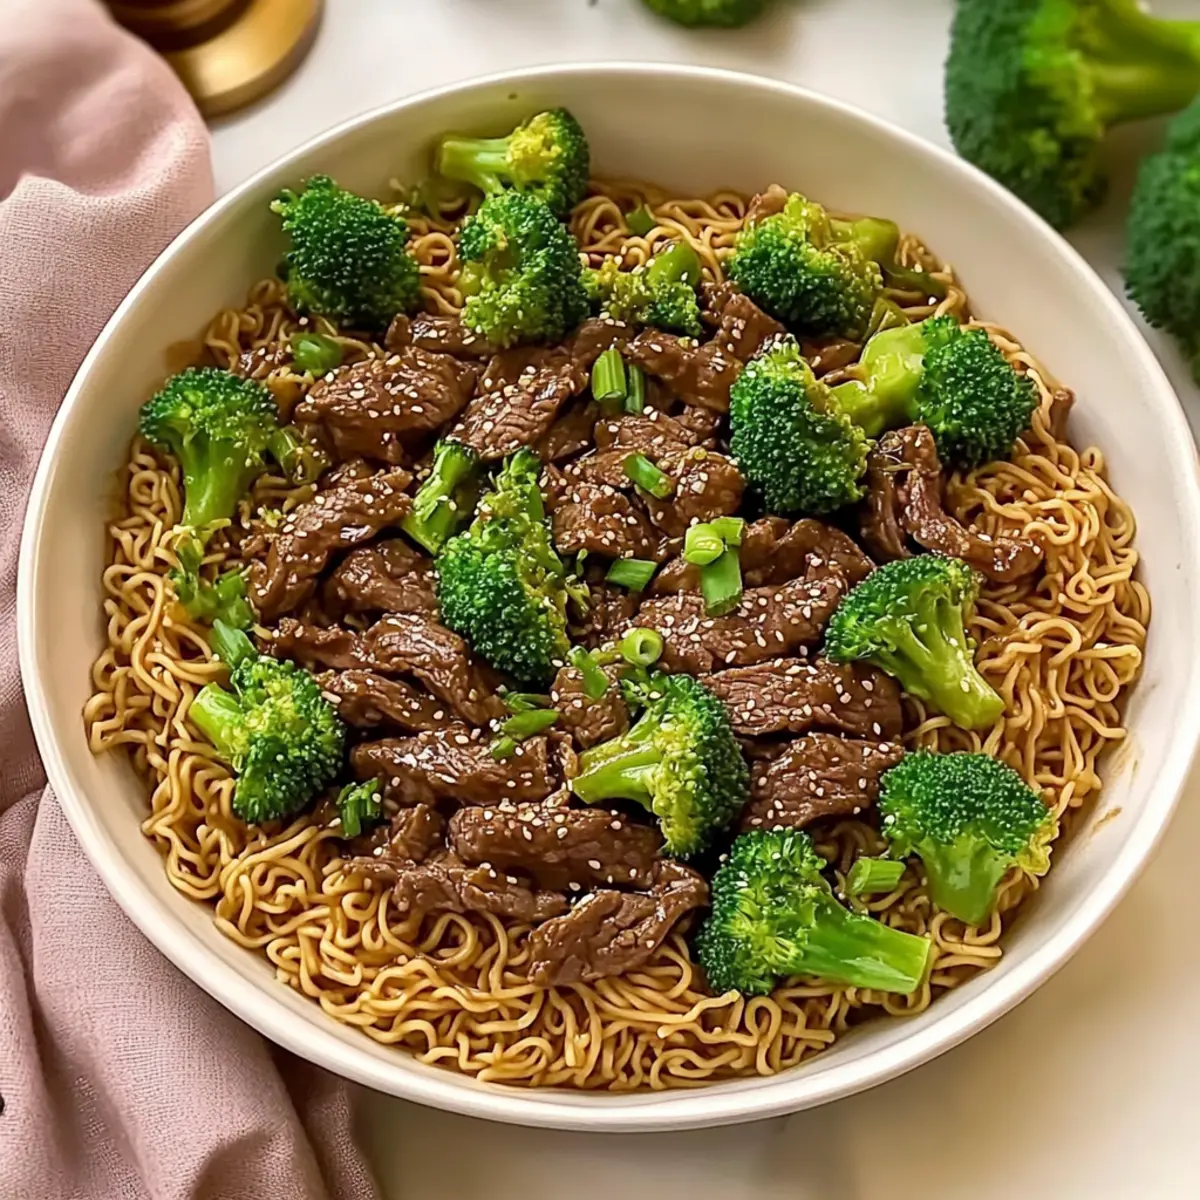
Rushing through the week can leave us craving something more satisfying than takeout, and that’s exactly when my Quick Juicy Beef and Broccoli Ramen Noodles come to the rescue. In just under 30 minutes, you'll transform simple ingredients into a vibrant one-pan meal that's not only hearty but also incredibly easy to whip up. With tender, juicy beef paired with crisp broccoli and silky ramen noodles, this dish is a perfect fit for busy nights when a comforting, homemade dinner is calling. Plus, the versatility of this recipe means you can easily adapt it with various cuts of meat or even swap in your favorite veggies. Ready to elevate your weeknight dinners? Let’s dive into the flavors of this scrumptious meal!
Why Make Juicy Beef and Broccoli?
Quick Preparation: In just 30 minutes, you can enjoy a wholesome dinner without compromising on flavor.
Flavor Explosion: The savory sauce harmonizes perfectly with tender beef, making every bite a taste sensation.
Versatile Ingredients: Feel free to use any cut of beef or add your favorite veggies, like bell peppers or snap peas, for a custom twist.
One-Pan Wonder: Clean-up is a breeze! Cook everything in one skillet, reducing your workload and hassle at meal time.
Crowd-Pleasing Meal: Perfect for family dinners or gatherings, this dish is sure to impress even the pickiest eaters.
If you’re looking for more quick and delicious recipes, check out my Gochujang Sesame Noodles or Chicken Teriyaki Noodles for an easy weeknight treat!
Juicy Beef and Broccoli Ingredients
• Whip up your delicious dish with these must-have ingredients!
For the Sauce
- Soy Sauce – Adds saltiness and umami to the dish. Substitution: Tamari for a gluten-free option.
- Honey – Provides sweetness to balance the salty flavors. Substitution: Maple syrup for a vegan option.
- Hoisin Sauce – Adds depth and a touch of sweetness. Substitution: Replace with a mix of soy sauce and brown sugar for a similar flavor.
- Beef Broth – Enhances the savory flavor of the sauce. Substitution: Vegetable broth offers a lighter version.
- Sesame Oil – Contributes a rich, nutty flavor. Substitution: Olive oil can be used in a pinch, though flavor will differ.
- Cornstarch – Thickens the sauce for a silky finish. Note: Must be mixed well to avoid lumps.
- Red Pepper Flakes – Adds a hint of heat. Adjust based on your spice preference.
For the Noodles and Vegetables
- Ramen Noodles – Serves as the main carbohydrate for this dish. Note: Discard the seasoning packets before use.
- Broccoli – Provides color, crunch, and loads of nutrients. Tip: Cut into small florets for even cooking.
For the Beef
- Sirloin Steak – Offers a tender protein source for this recipe. Substitution: Flank steak, skirt steak, or ribeye also work well.
Aromatics
- Garlic – Infuses the sauce with aromatic flavor. Use fresh for the best results.
- Ginger – Provides warmth and a touch of brightness. Fresh ginger is preferred, but ground ginger can be a substitute.
Cooking Essentials
- Oil for Cooking – Essential for sautéing the beef. Olive oil is recommended for enhanced flavor.
Take these ingredients and let the magic of Juicy Beef and Broccoli Ramen Noodles unfold in your kitchen!
Step‑by‑Step Instructions for Juicy Beef and Broccoli Ramen Noodles
Step 1: Prepare the Sauce
In a medium bowl, whisk together soy sauce, honey, hoisin sauce, beef broth, sesame oil, minced garlic, ginger, cornstarch, and red pepper flakes until the mixture is smooth and slightly thickened. This savory sauce will be the star of your Juicy Beef and Broccoli Ramen Noodles, so ensure all ingredients are well combined to create a rich flavor base.
Step 2: Prep Ingredients
Thinly slice the sirloin against the grain and season it lightly with salt and pepper. Next, cut the broccoli into small florets for even cooking. To prepare the ramen noodles, boil a pot of water and cook the noodles for 2-3 minutes, then drain and rinse them under cold water to prevent sticking. Set everything aside as you get ready to cook.
Step 3: Cook Beef
Heat a large skillet or wok over medium-high heat and add olive oil. Once the oil shimmers, add the sliced sirloin in a single layer and sear for about 3 minutes without stirring, allowing a crust to form. After that, stir the beef and cook for an additional 2-3 minutes until medium-rare, then remove the beef from the skillet and set it aside.
Step 4: Steam Broccoli
In the same skillet, add the broccoli florets and ½ cup of water. Cover with a lid and steam the broccoli for about 2 minutes until vibrant green and tender-crisp. After steaming, remove the lid to let any excess water evaporate, enhancing the final flavor in your dish before moving on to the next step.
Step 5: Combine Ingredients
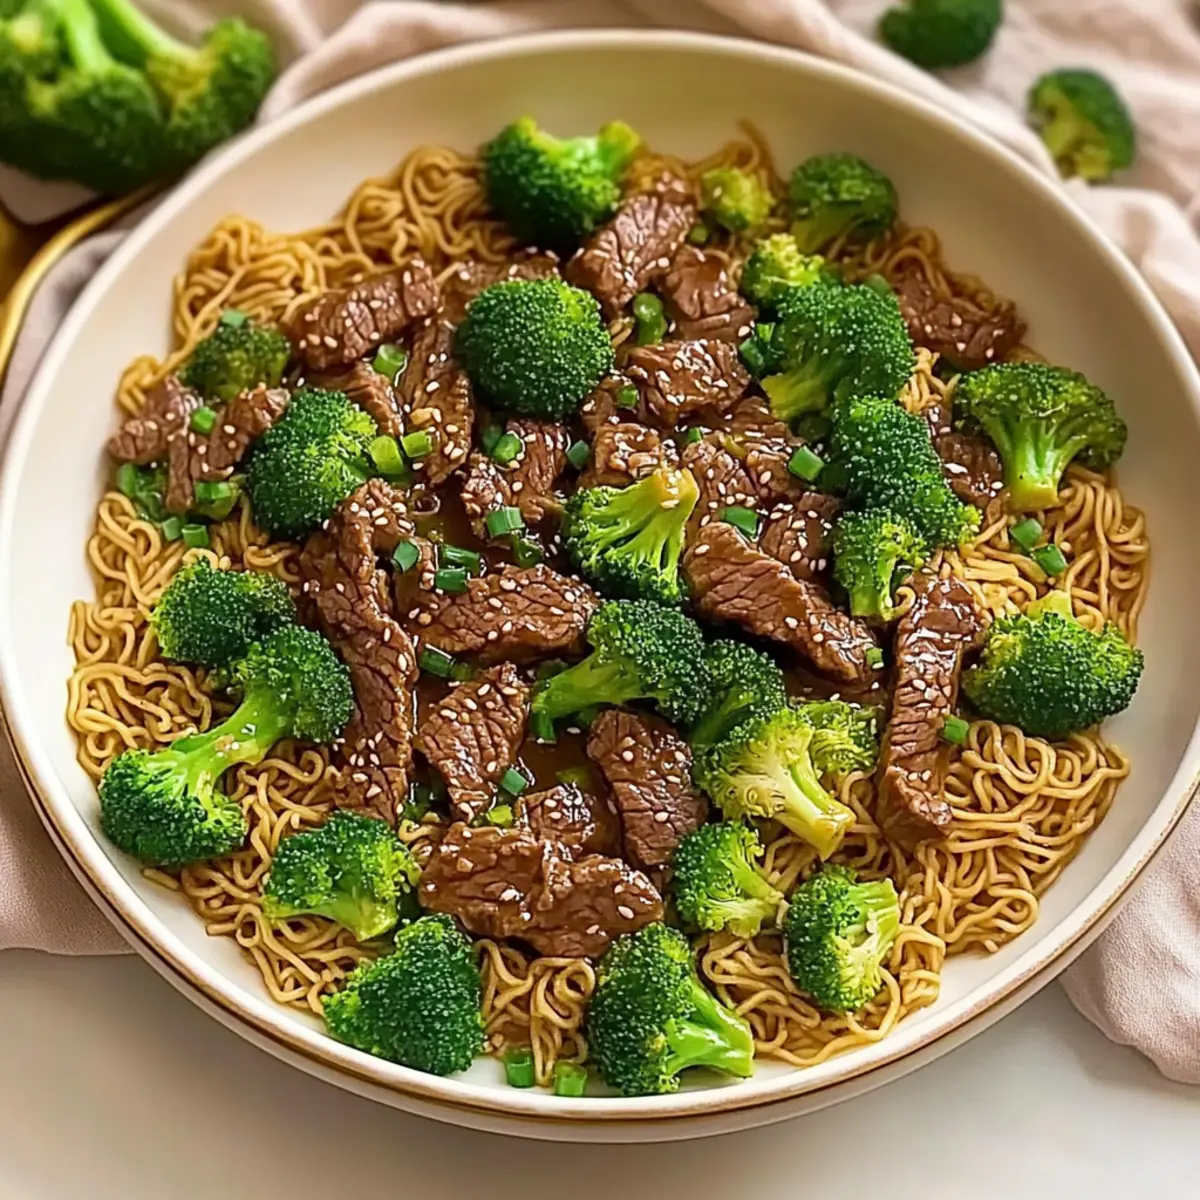
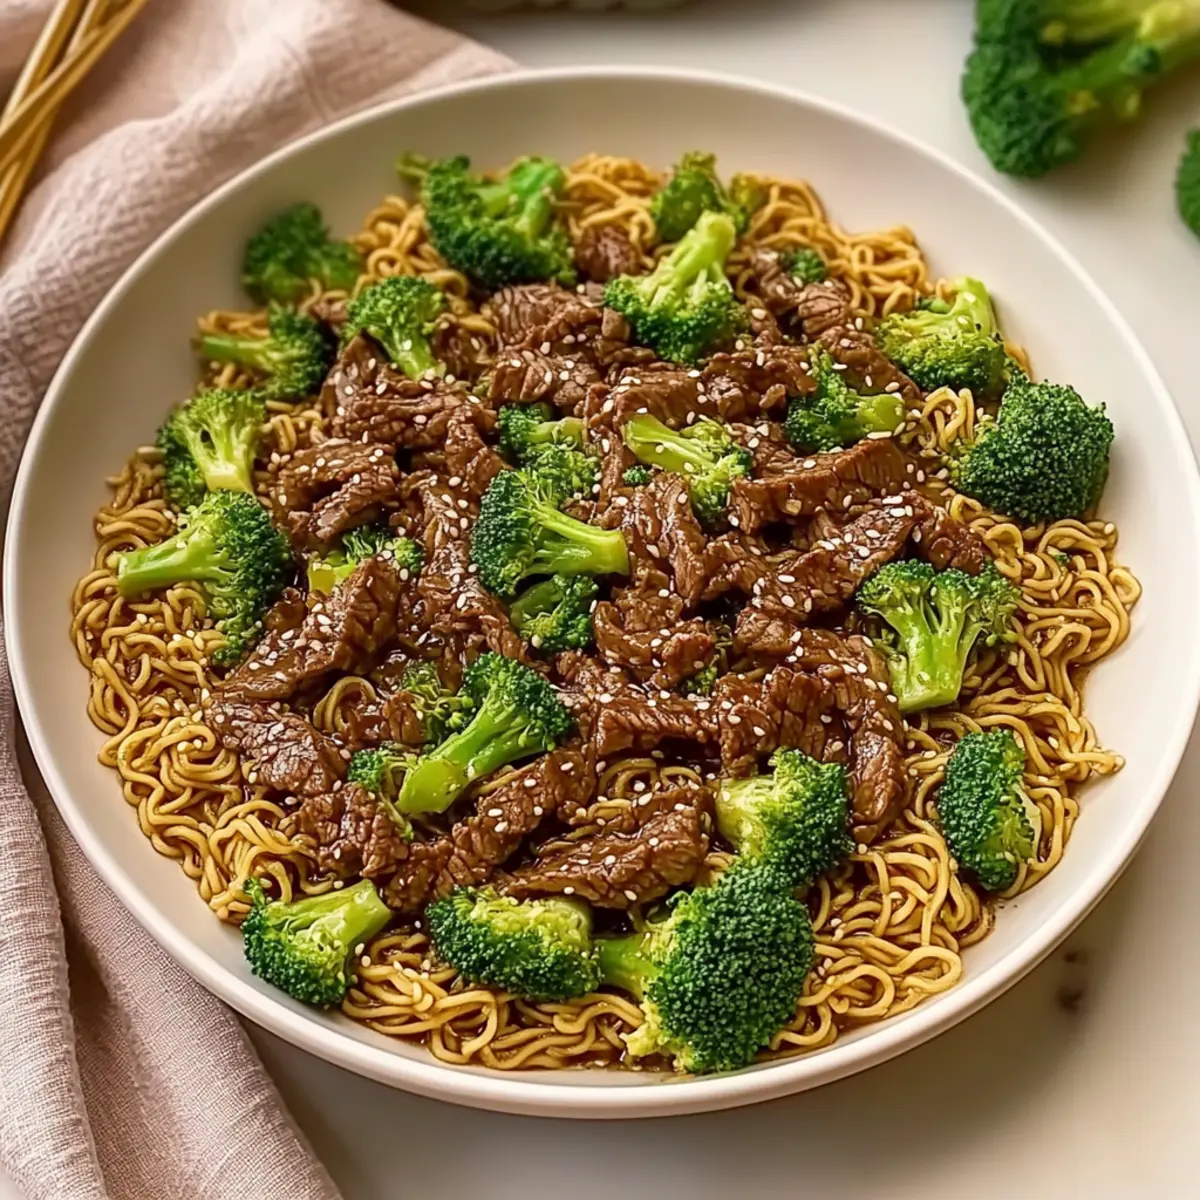
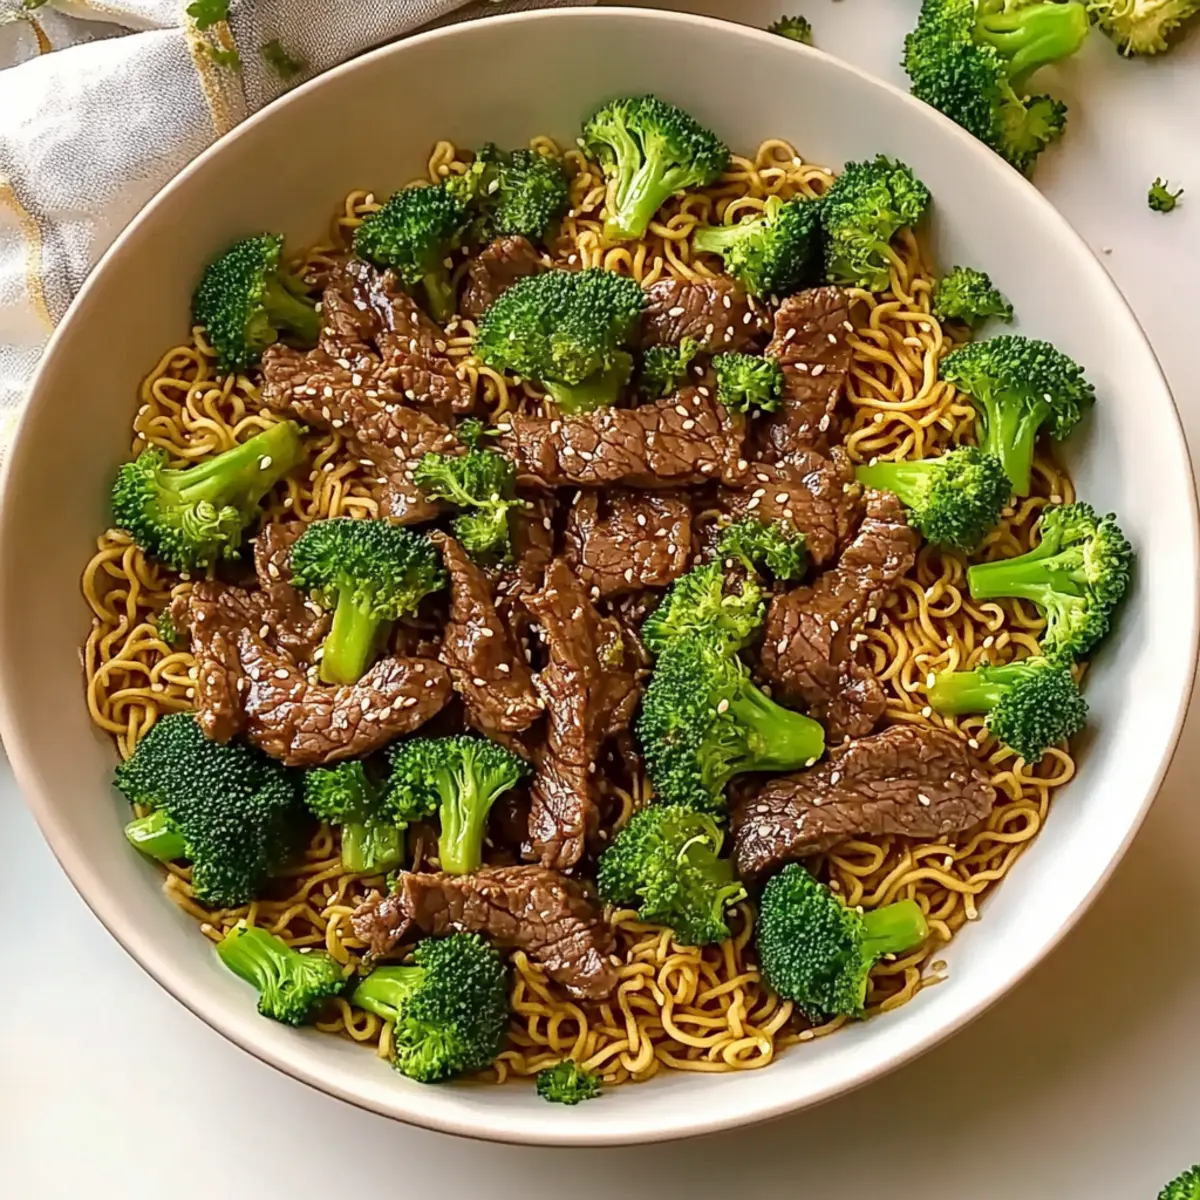
Return the cooked beef to the skillet with the steamed broccoli and the ramen noodles. Pour the prepared sauce over the mixture, ensuring everything is coated evenly. Stir constantly for 2-3 minutes, allowing the sauce to thicken and cling beautifully to the ingredients. The Juicy Beef and Broccoli Ramen Noodles will be turning into a glossy, mouthwatering delight.
Step 6: Serve and Garnish
Once thickened, divide the Juicy Beef and Broccoli Ramen Noodles into bowls. For an added touch of flavor and crunch, sprinkle sesame seeds on top and serve with a side of sriracha for those who enjoy a little heat. This comforting meal is ready to be enjoyed!
Variations & Substitutions for Juicy Beef and Broccoli Ramen Noodles
Feel free to play around with this recipe and make it your own, transforming it into something truly special for your family!
- Gluten-Free: Use rice noodles instead of ramen to cater to gluten sensitivities while keeping it just as delicious.
- Vegetarian: Swap the beef for tofu or tempeh and add extra veggies like bell peppers or snap peas for great protein and color.
- Spicy Kick: Add sriracha directly into the sauce while mixing or top with fresh chili slices just before serving for that fiery punch.
- Flavor Boost: Experiment with additional sauces—try adding a splash of oyster sauce for extra umami or a hint of lime juice for brightness.
- Crunchy Toppings: Sprinkle some toasted peanuts or sliced almonds over the finished dish for a satisfying crunch that brings added texture.
- Extra Veggies: Toss in baby bok choy, shredded carrots, or mushrooms for a flavor-packed nutrient boost. The more colorful, the better!
- Coconut Swirl: Substitute some of the beef broth with coconut milk for a creamy, tropical twist, balancing perfectly with the savory elements.
- Nutty Flavor: Drizzle a little extra sesame oil before serving to enhance the nutty notes in the dish, making every bite sing.
If you're on the hunt for even more inspiring recipes, try my Coconutty Beans and Greens Stew for a cozy, hearty meal or enjoy some delightful Roasted Corn Tacos for a fresh twist!
What to Serve with Juicy Beef and Broccoli Ramen Noodles
Transform your weeknight dinner into a vibrant feast by pairing your noodles with delightful sides and drinks that elevate the meal.
-
Crispy Vegetable Spring Rolls: These crunchy delights provide a satisfying contrast, adding a pop of freshness to the dish.
-
Classic Pot Stickers: Their savory filling complements the rich flavors of your ramen, making for a truly comforting meal experience.
-
Simple Cucumber Salad: A refreshing side that balances the hearty nature of the ramen and provides a crisp element.
-
Garlic Soy Edamame: This protein-packed snack mirrors the umami flavors and makes for a delightful appetizer or side.
-
Green Tea: A warm cup can cleanse the palate and enhance the dining experience, binding together the meal with its subtle earthiness.
-
Mango Sorbet: Finish on a sweet note with this light dessert, cleansing the palate while embracing tropical fruity freshness.
Let your culinary creativity shine as you explore these pairings, ensuring a satisfying and complete dinner experience every time!
Tips for the Best Juicy Beef and Broccoli
-
Choose Quality Beef: Use tender cuts like sirloin for optimal flavor; avoid overcooking to ensure juicy results.
-
Rinse Ramen: After boiling, rinse the ramen noodles under cold water to prevent them from sticking together; this maintains the perfect texture.
-
Steam Broccoli Efficiently: Cut broccoli into bite-sized florets for even cooking; larger pieces may require extra time, resulting in less than optimal texture.
-
Mix Sauce Properly: Whisk the sauce ingredients thoroughly to avoid lumps from the cornstarch, ensuring a smooth coating for your Juicy Beef and Broccoli Ramen Noodles.
-
Customize Spice Level: Adjust the amount of red pepper flakes to suit your taste; start with less if you're unsure, and add more gradually for heat!
Make Ahead Options
These Juicy Beef and Broccoli Ramen Noodles are perfect for meal prep, allowing you to enjoy a delicious dinner without the stress on a busy weeknight! You can slice the sirloin and cut the broccoli (up to 24 hours in advance), storing them separately in airtight containers in the refrigerator to maintain freshness. The savory sauce can also be prepared ahead and kept in the fridge for up to 3 days; just mix it well before use. When you’re ready to serve, simply cook the ramen noodles according to package instructions, combine everything in a skillet, and heat through for a quick, satisfying dish that tastes just as good as when made fresh!
How to Store and Freeze Juicy Beef and Broccoli Ramen Noodles
Fridge: Store leftovers in an airtight container for up to 3 days to maintain freshness.
Freezer: Freeze the beef and broccoli mix (without noodles) for up to 2 months. Divide into portions for easy reheating.
Reheating: Sauté in a skillet with a splash of broth or water, or microwave with added liquid for even warming. Ensure the noodles are included when reheating for best taste!
Juicy Beef and Broccoli Ramen Noodles Recipe FAQs
How do I choose the best beef for this dish?
Absolutely! For the best flavor and texture, opt for tender cuts like sirloin or flank steak. Look for beef that is bright red with minimal dark spots, as this indicates freshness. Avoid any cuts that appear discolored or have visible fat, which can negatively impact the dish's overall flavor. Cutting the beef against the grain will ensure each bite is tender and juicy.
How should I store leftovers of Juicy Beef and Broccoli Ramen Noodles?
Very good question! Store any leftovers in an airtight container in the fridge for up to 3 days. It's essential to let the dish cool down before sealing it to prevent condensation, which can make the noodles soggy. When you're ready to enjoy it again, simply reheat it on the stove with a splash of broth or water to keep everything moist and delicious!
Can I freeze the Juicy Beef and Broccoli Ramen Noodles?
Certainly! For optimal freezing, I recommend separating the beef and broccoli mix from the noodles. You can freeze the beef and broccoli for up to 2 months. To do this, let it cool completely, then portion it into freezer bags or airtight containers, removing as much air as possible to prevent freezer burn. When you're ready to eat, thaw it in the fridge overnight and reheat on the stove.
What if my sauce turns out lumpy?
No worries, this can happen to the best of us! If your sauce forms lumps due to cornstarch, whisk it vigorously in a bowl until smooth before adding it back to the skillet. To avoid lumps in the first place, make sure to dissolve the cornstarch in a bit of cold water before incorporating it into the sauce. This technique creates a smoother texture right from the start!
Is this dish suitable for a gluten-free diet?
Absolutely! You can easily make this dish gluten-free by selecting tamari in place of soy sauce and ensuring the beef broth is also gluten-free. Just be sure to check the labels for any hidden gluten ingredients. This way, everyone can indulge in the tasty flavors of Juicy Beef and Broccoli Ramen Noodles without worry!
How can I customize the vegetables in this dish?
Very easy! Feel free to add or substitute your favorite vegetables such as bell peppers, snap peas, or even carrots. Just remember to cut them into small, uniform pieces to ensure even cooking. You can add these veggies when you steam the broccoli, allowing them to soften slightly while keeping their vibrant colors and nutrients intact. The more, the merrier!
Savor Juicy Beef and Broccoli Ramen Noodles in 30 Minutes
Ingredients
Equipment
Method
- In a medium bowl, whisk together soy sauce, honey, hoisin sauce, beef broth, sesame oil, minced garlic, ginger, cornstarch, and red pepper flakes until the mixture is smooth and slightly thickened.
- Thinly slice the sirloin against the grain and season it lightly with salt and pepper. Cut the broccoli into small florets. Boil a pot of water and cook the ramen noodles for 2-3 minutes, then drain and rinse under cold water.
- Heat a large skillet over medium-high heat and add olive oil. Add the sliced sirloin in a single layer and sear for about 3 minutes. Stir and cook for an additional 2-3 minutes until medium-rare, then remove from skillet.
- In the same skillet, add broccoli florets and ½ cup of water. Cover with a lid and steam for about 2 minutes until vibrant green.
- Return the cooked beef to the skillet with steamed broccoli and ramen noodles. Pour the prepared sauce over everything, stirring constantly for 2-3 minutes.
- Divide the Juicy Beef and Broccoli Ramen Noodles into bowls and sprinkle sesame seeds on top. Serve with a side of sriracha.