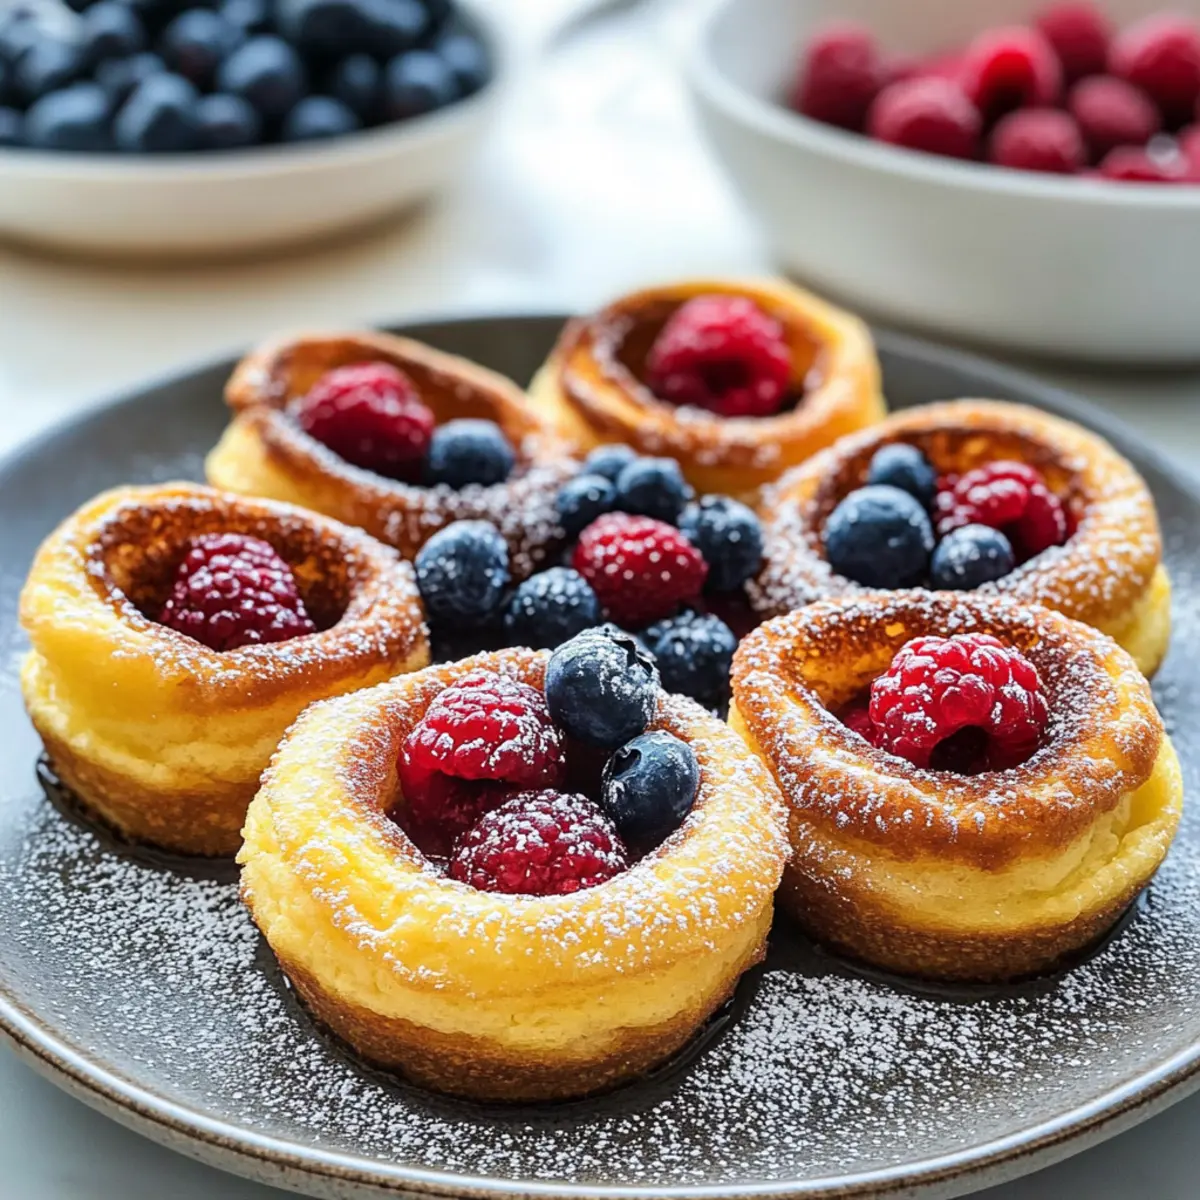
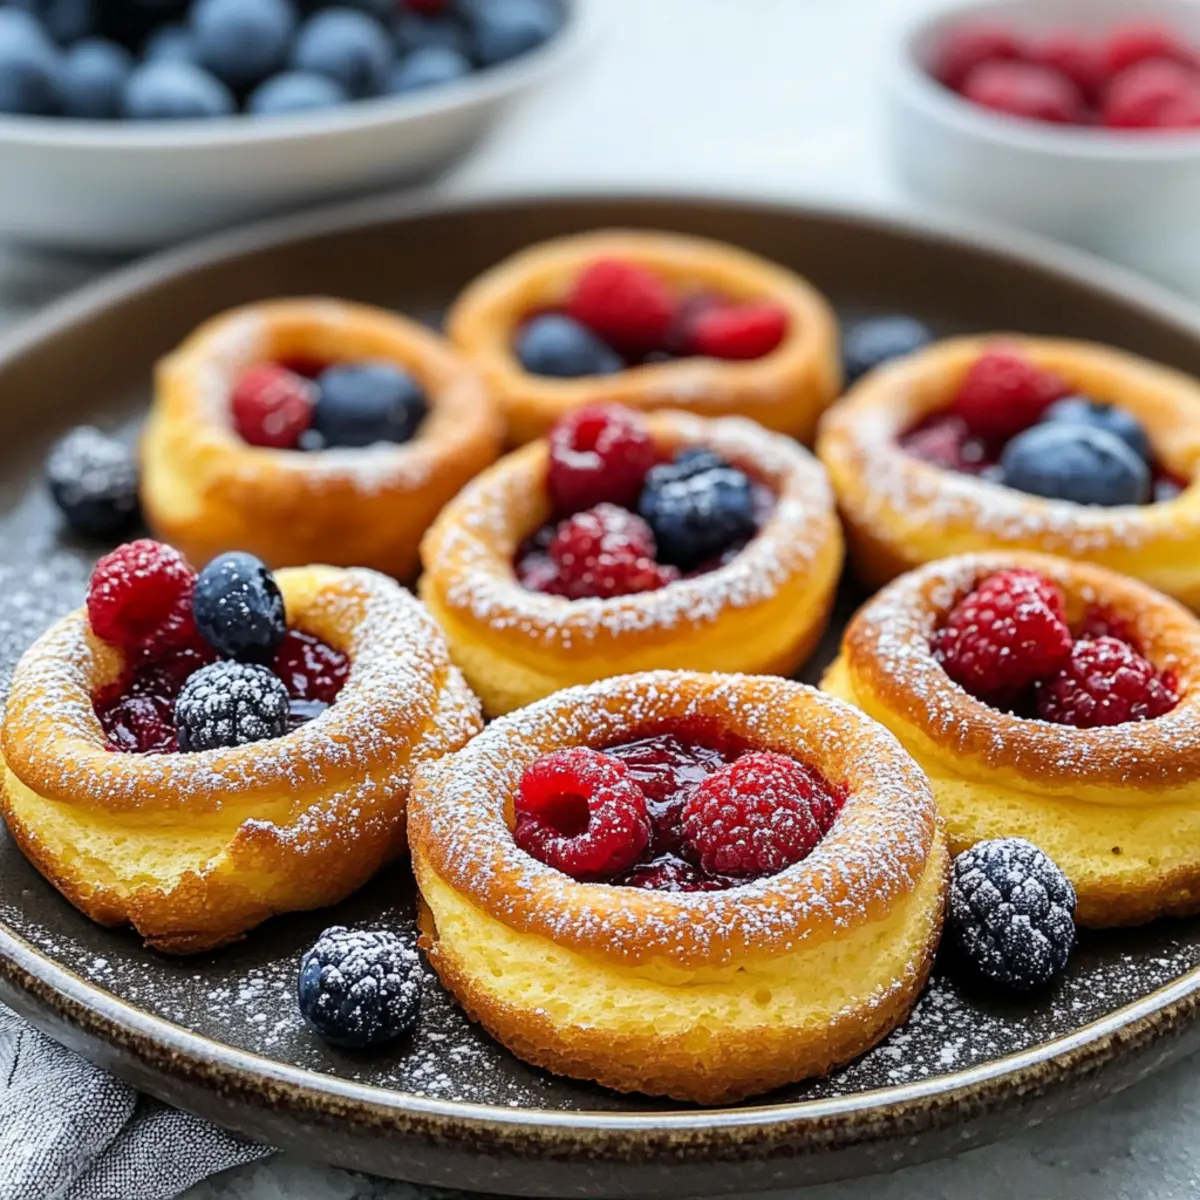
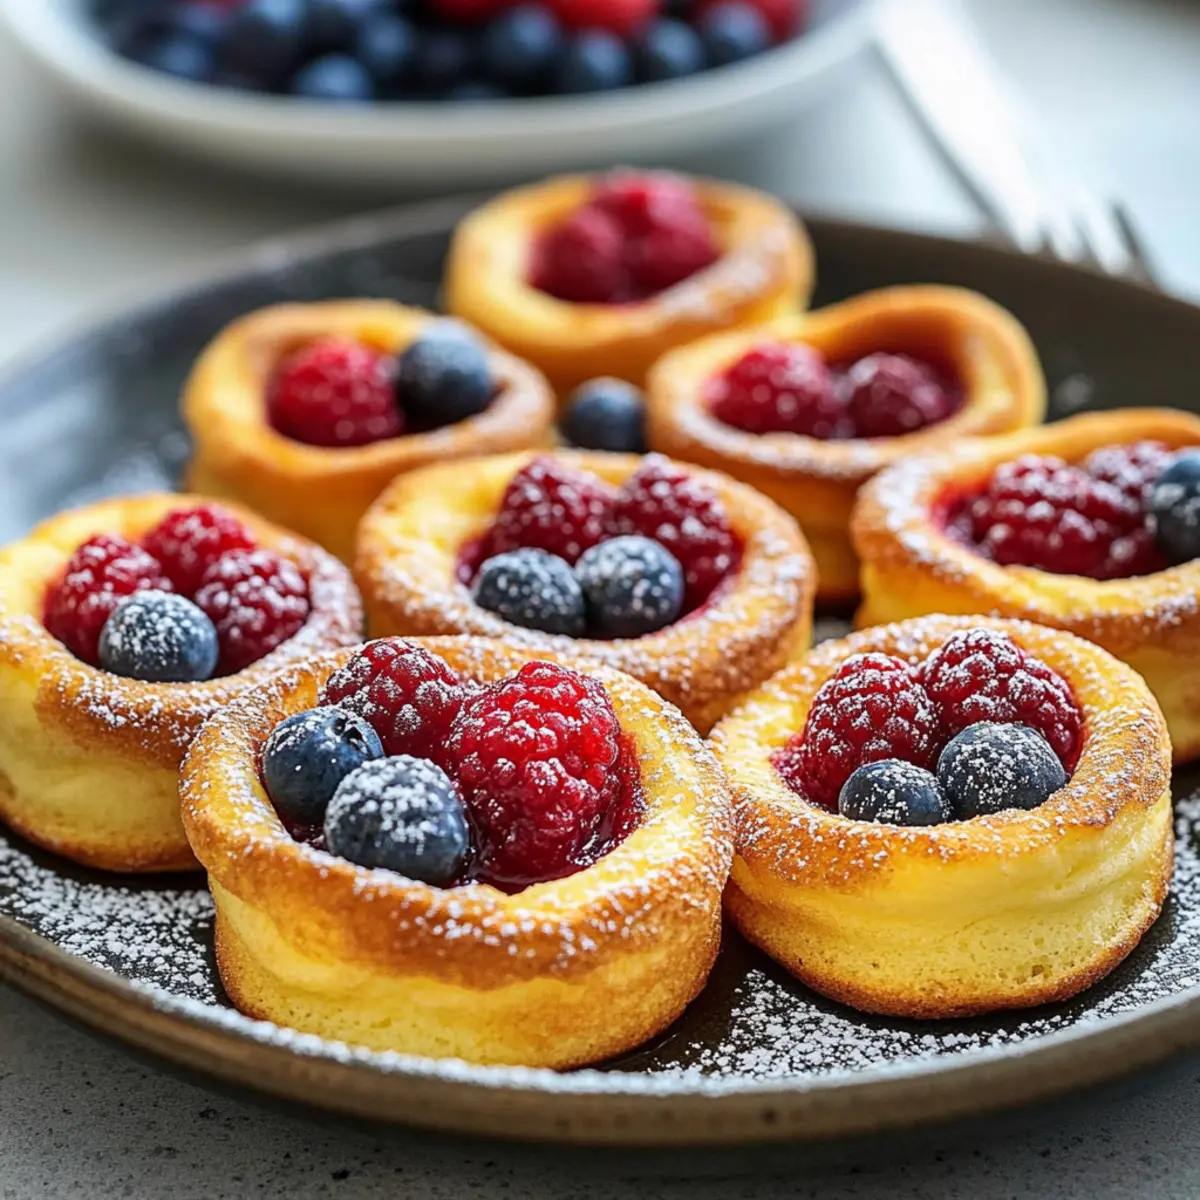
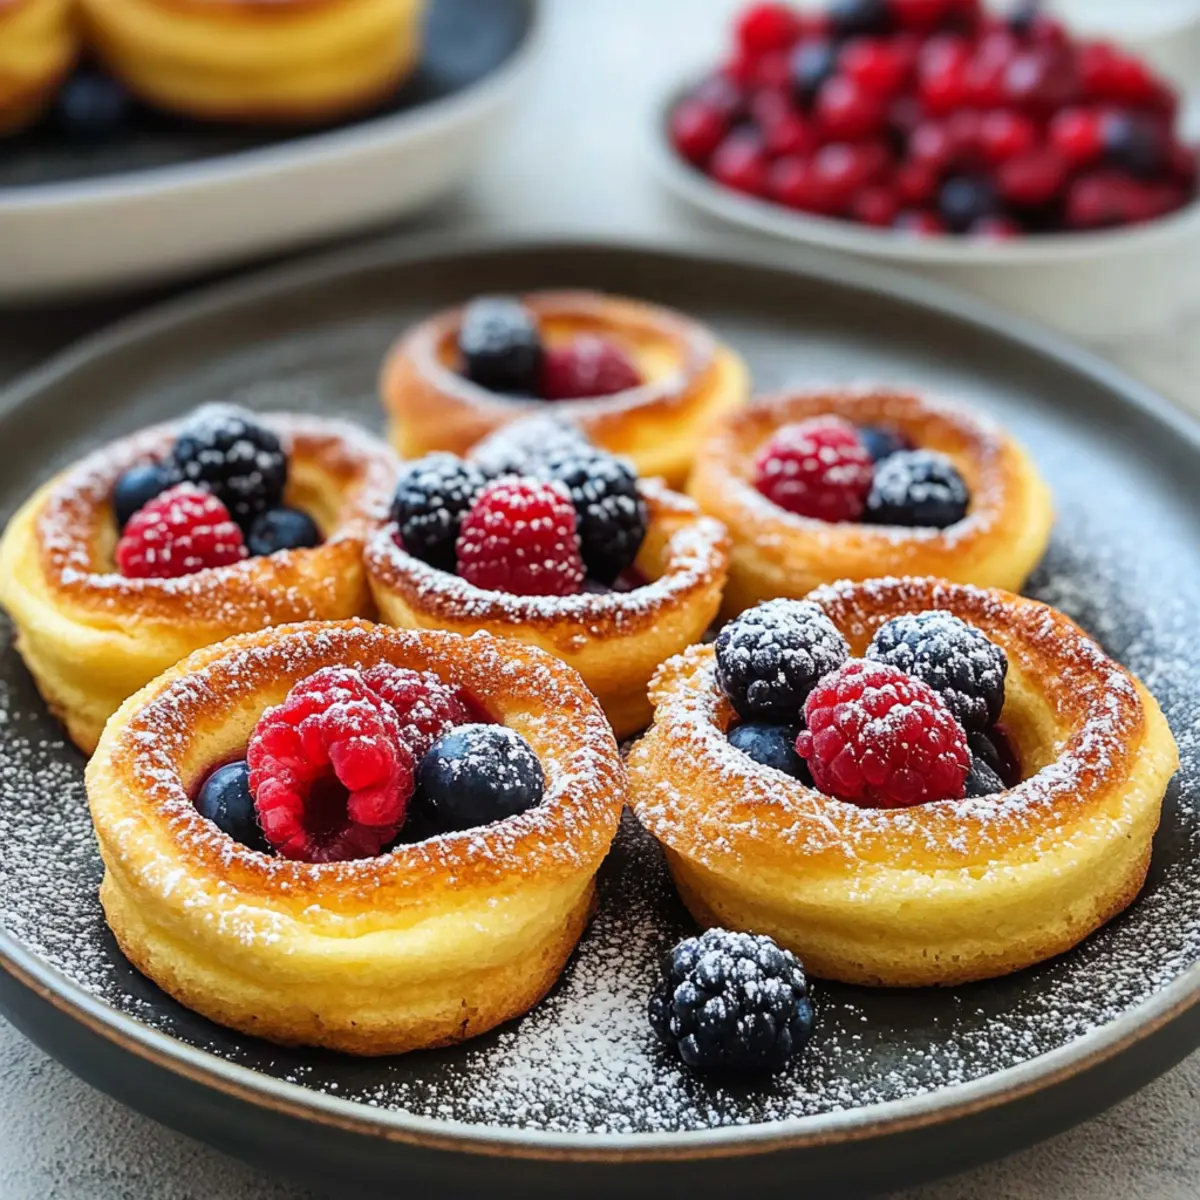
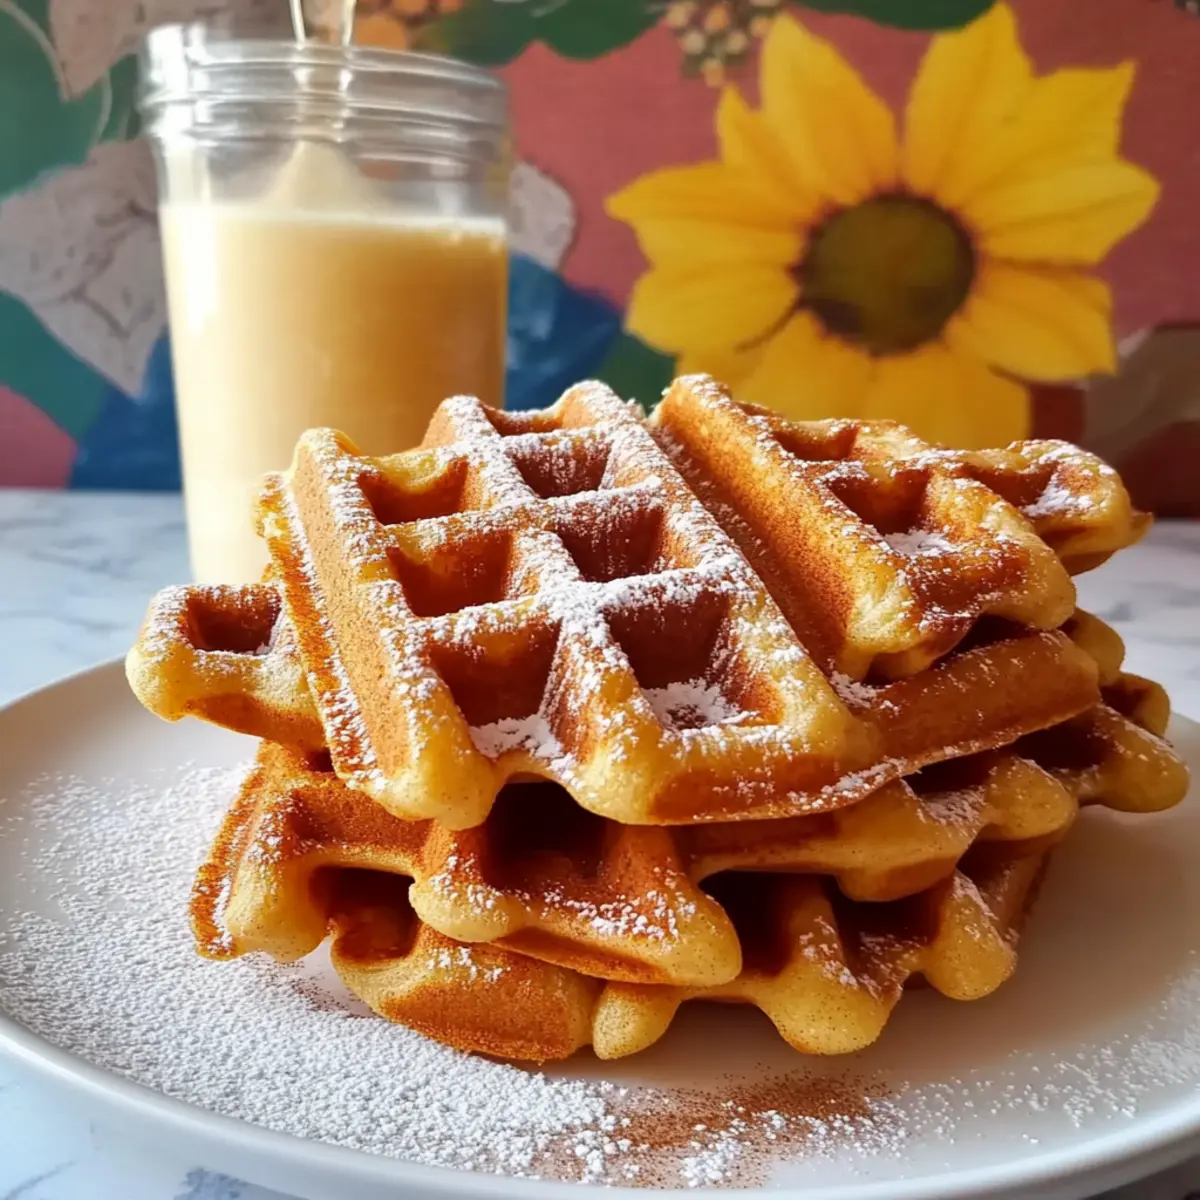
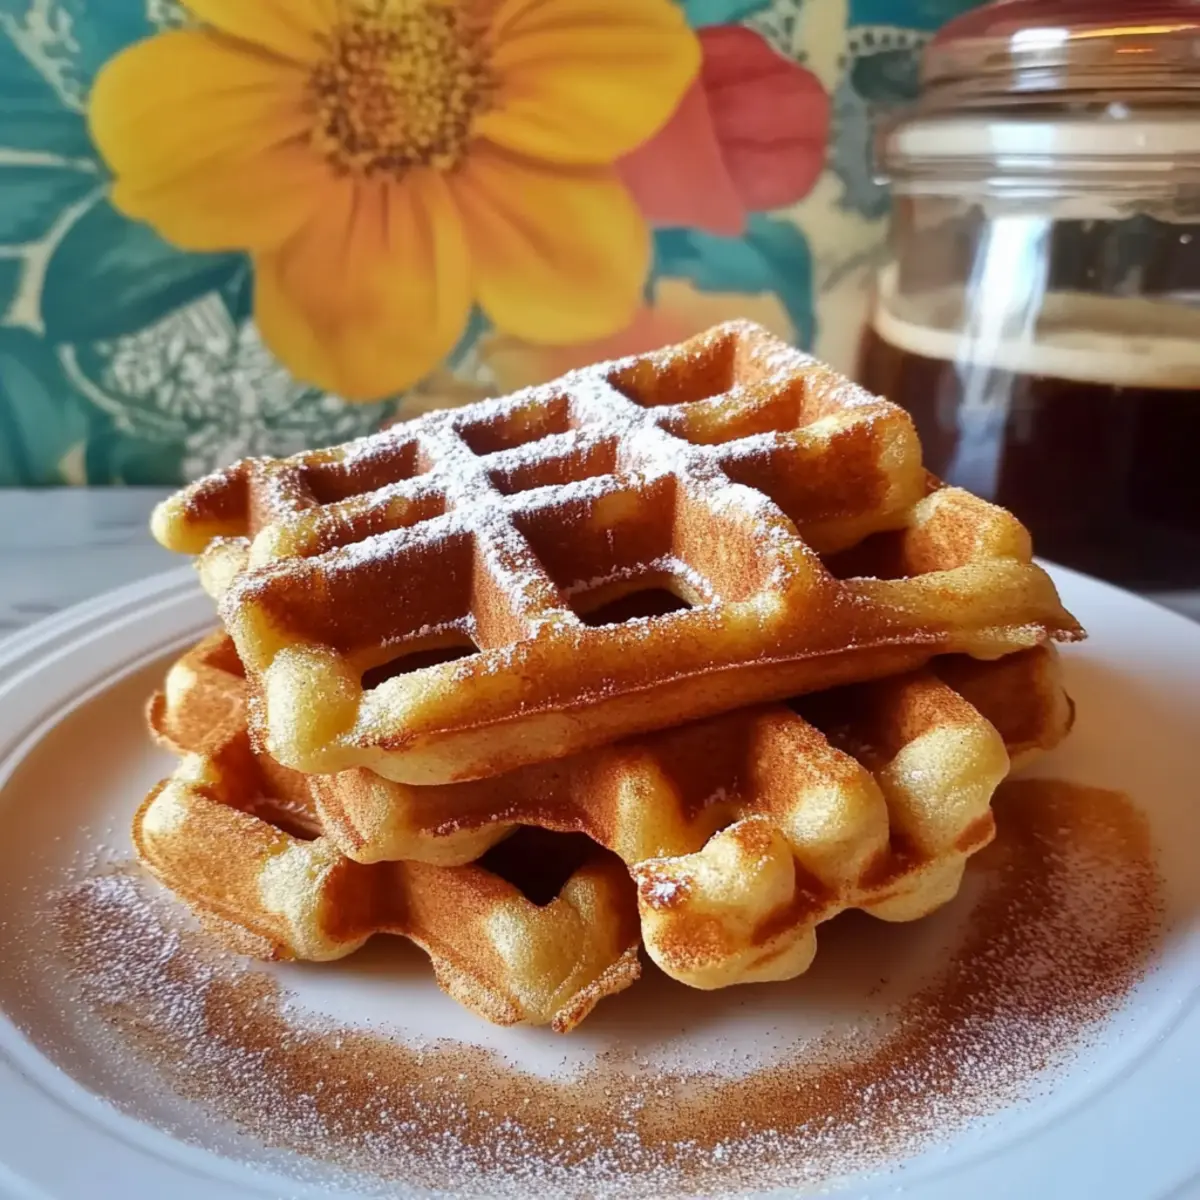
As the smell of warm cinnamon and sugar wafts through my kitchen, I can’t help but smile—because today, I’m whipping up a batch of Churro Waffles with Cinnamon Sugar! This delightful recipe brings together the crispy charm of churros and the fluffy goodness of waffles, making it a perfect treat for breakfast or dessert. Just imagine biting into a crispy, golden waffle coated in sweet cinnamon sugar; it’s an indulgence that feels special yet is surprisingly simple to make. Plus, they’re bound to impress everyone at the table without taking hours of your time. Are you ready to elevate your breakfast game and satisfy your sweet tooth? Let’s dive into these heavenly treats!

Why Are Churro Waffles Irresistible?
Indulgent Combo: Experience the best of both worlds with crispy churros and light, fluffy waffles in one bite!
Quick & Easy: Whip them up in no time—perfect for busy mornings or spontaneous sweet cravings.
Crowd-Pleaser: They’re bound to be a hit with family and friends, making any gathering feel extra special.
Customize to Taste: Whether you prefer traditional toppings or a scoop of vanilla ice cream with caramel sauce, the possibilities are endless!
Comforting Flavor: The warm cinnamon-sugar coating brings back fond memories while creating new ones at your breakfast table.
You'll adore these Churro Waffles with Cinnamon Sugar—check out our variations for even more delicious ideas!
Churro Waffles with Cinnamon Sugar Ingredients
For the Waffle Batter
- 1 teaspoon salt – Enhances all the sweet and spicy notes in the churro waffles.
- 4 teaspoons baking powder – Gives the waffles a light, airy rise for that perfect texture.
- 2 tablespoons white sugar – Adds subtle sweetness to the batter, elevating the overall flavor.
- 2 eggs – Binds ingredients and adds richness to your waffles.
- 2 cups all-purpose flour – The sturdy base for a tender and fluffy waffle.
- 1 1/2 cups warm milk – Keeps the batter smooth and helps activate the baking powder.
- 1/3 cup melted butter – Provides a luscious buttery flavor and crispy edges.
- 1 teaspoon vanilla extract – Adds warmth and depth to the batter.
- 3 shakes of cinnamon – Infuses the batter with a comforting spice reminiscent of churros.
For the Cinnamon Sugar Coating
- 1 cup white sugar – Sweetness that beautifully contrasts the warm cinnamon flavor.
- 1/4 to 1/2 cup cinnamon – Customize the amount for your preferred level of spiciness.
- 1/2 cup melted butter – Ensures that the cinnamon sugar adheres perfectly to the warm waffles.
Dive into the delightful world of Churro Waffles with Cinnamon Sugar—your breakfast will never be the same!
Step‑by‑Step Instructions for Churro Waffles with Cinnamon Sugar
Step 1: Preheat the Waffle Iron
Begin by preheating your waffle iron according to the manufacturer’s instructions. This typically takes about 5 minutes; a ready indicator light might signal when it’s time. While it heats, lightly grease the surface with a little cooking spray or melted butter to ensure an easy release for your Churro Waffles.
Step 2: Mix the Dry Ingredients
In a large mixing bowl, whisk together 2 cups of all-purpose flour, 4 teaspoons of baking powder, 2 tablespoons of sugar, 1 teaspoon of salt, and 3 shakes of cinnamon. Blend these dry ingredients well to ensure an even distribution of flavor. This step is essential as it helps create the delightful base for your waffles.
Step 3: Combine the Wet Ingredients
In another bowl, crack 2 eggs and whisk them together with 1 1/2 cups of warm milk, 1/3 cup of melted butter, and 1 teaspoon of vanilla extract. Whisk until the mixture is well combined, and the eggs are fully incorporated. This luscious mixture will add richness to your Churro Waffles and create that wonderful, fluffy texture we all love.
Step 4: Create the Batter
Pour the wet mixture into your bowl of dry ingredients, gently folding with a spatula until just combined. Take care not to over-mix; a few lumps are perfectly fine! The goal is to maintain the airy structure, which makes these Churro Waffles so delightful. Set the batter aside for a moment as you prepare for the next step.
Step 5: Cook the Waffles
Carefully ladle the batter into the preheated waffle iron, filling it according to your model's instructions. Close the lid and let it cook for about 4 to 5 minutes, or until the waffles are golden brown and crisp. Keep an eye on the steam—once it diminishes, your Churro Waffles are likely nearing perfection!
Step 6: Add the Cinnamon Sugar Coating
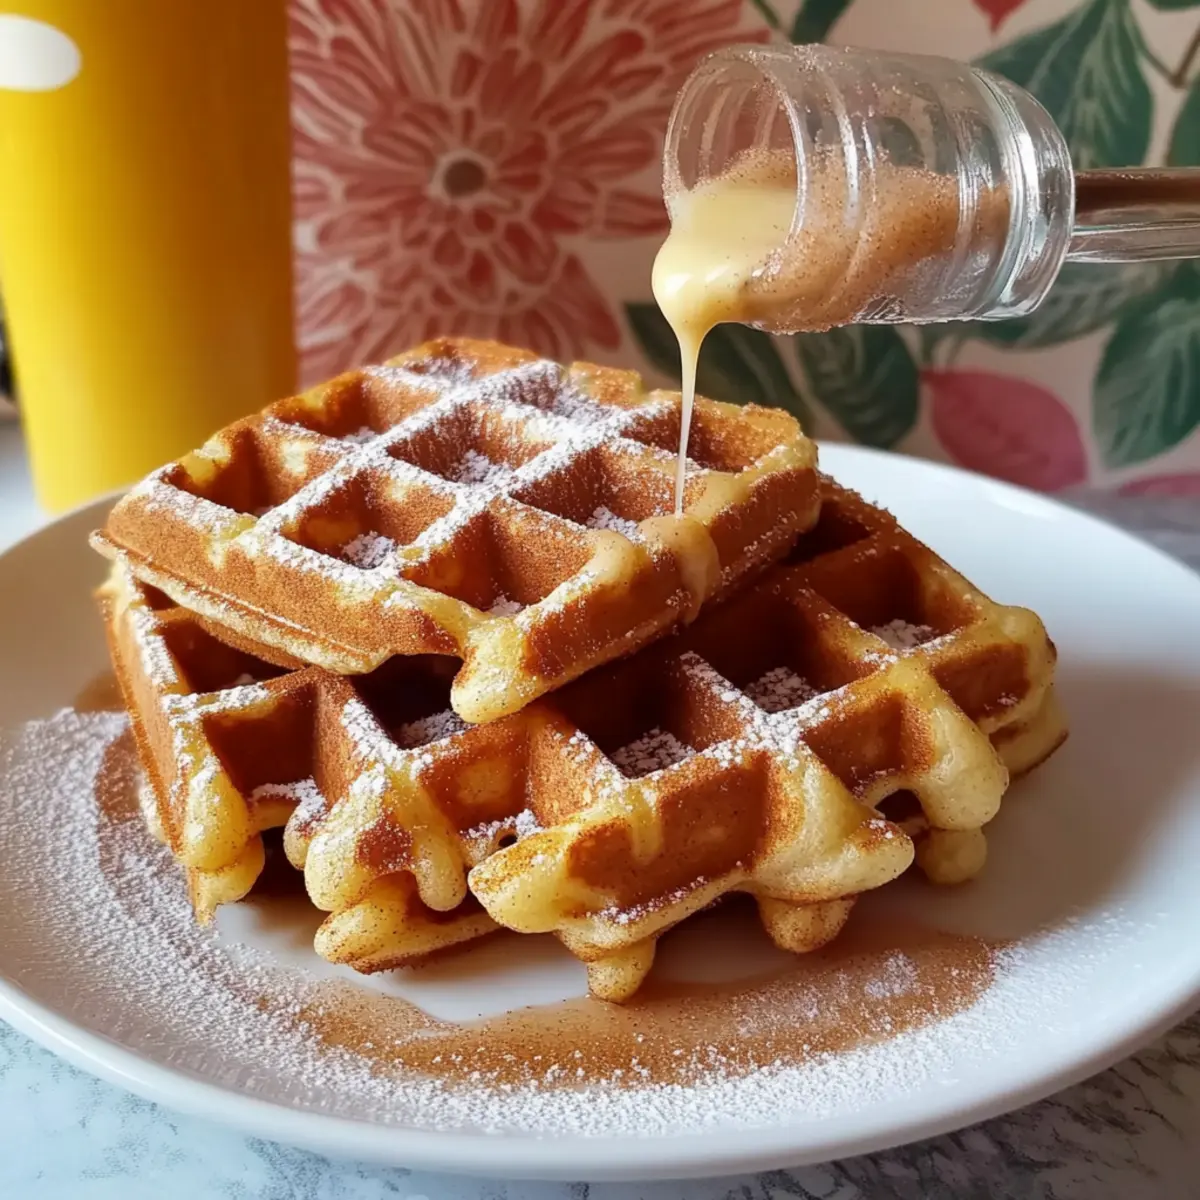
Once cooked, remove the waffles from the iron and immediately brush each side with melted butter. In a separate shallow dish, combine 1 cup of white sugar with 1/4 to 1/2 cup of cinnamon to taste. Roll the warm waffles in this delightful cinnamon-sugar mixture, ensuring they’re well coated for that irresistible sweetness.
Step 7: Serve and Enjoy
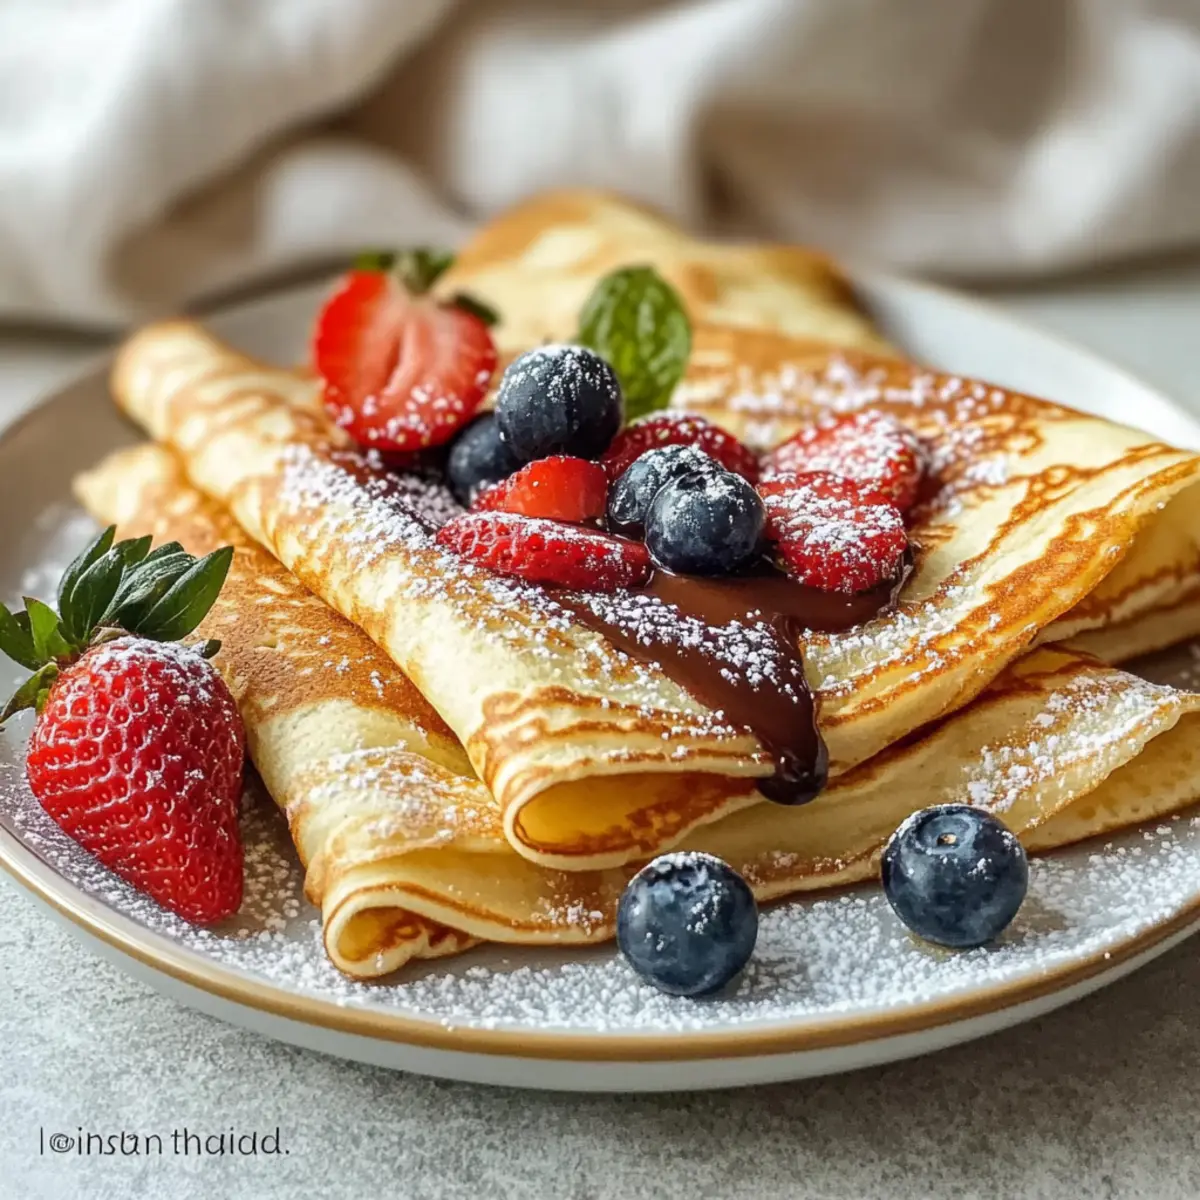
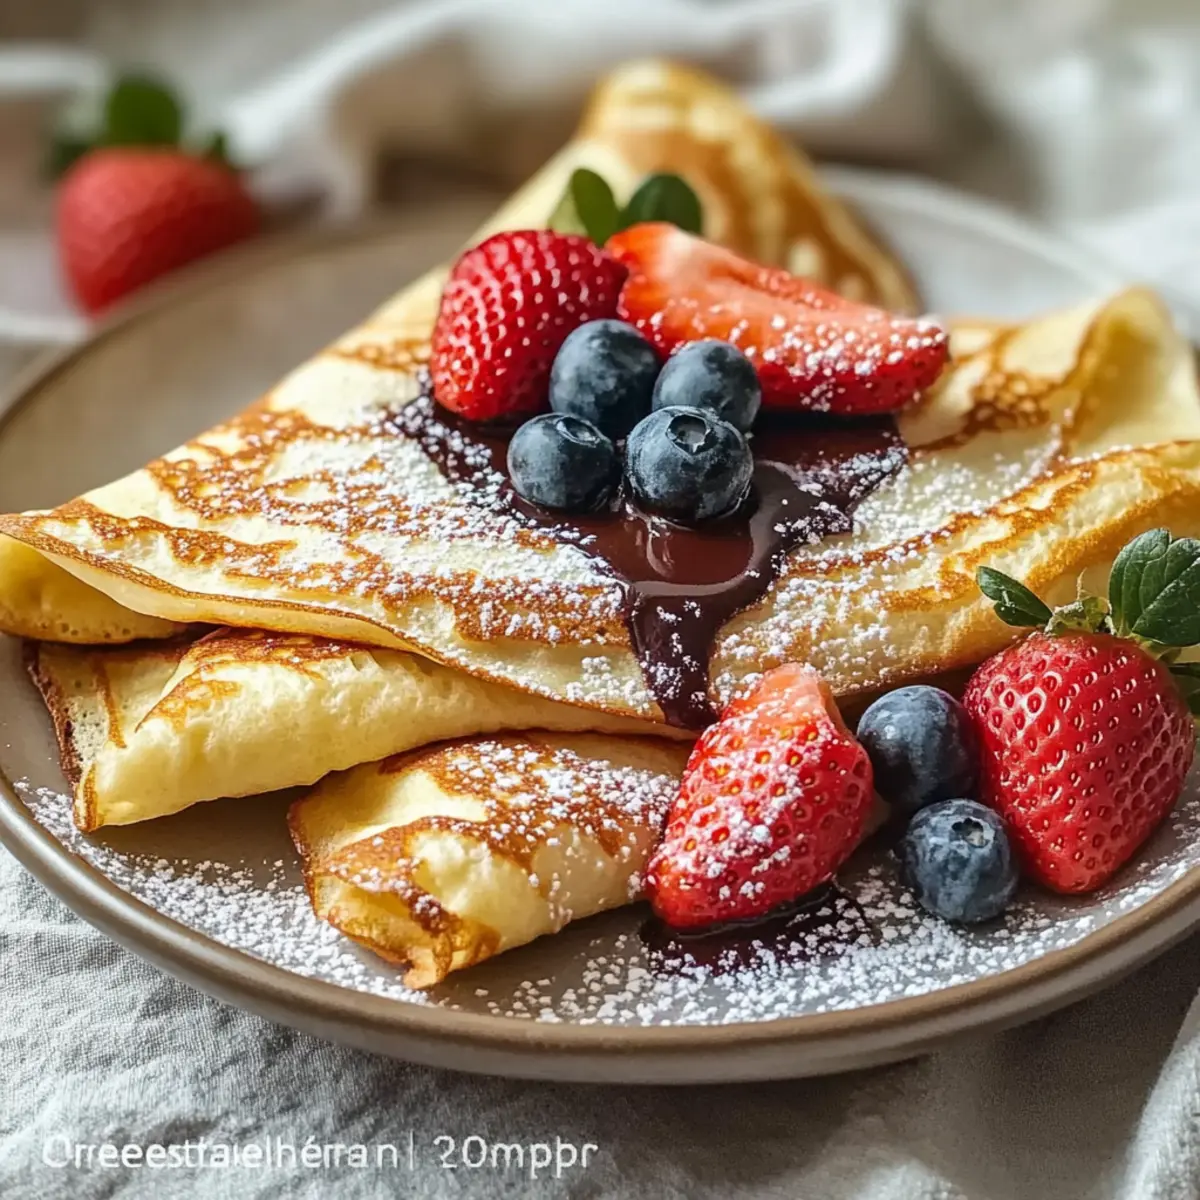
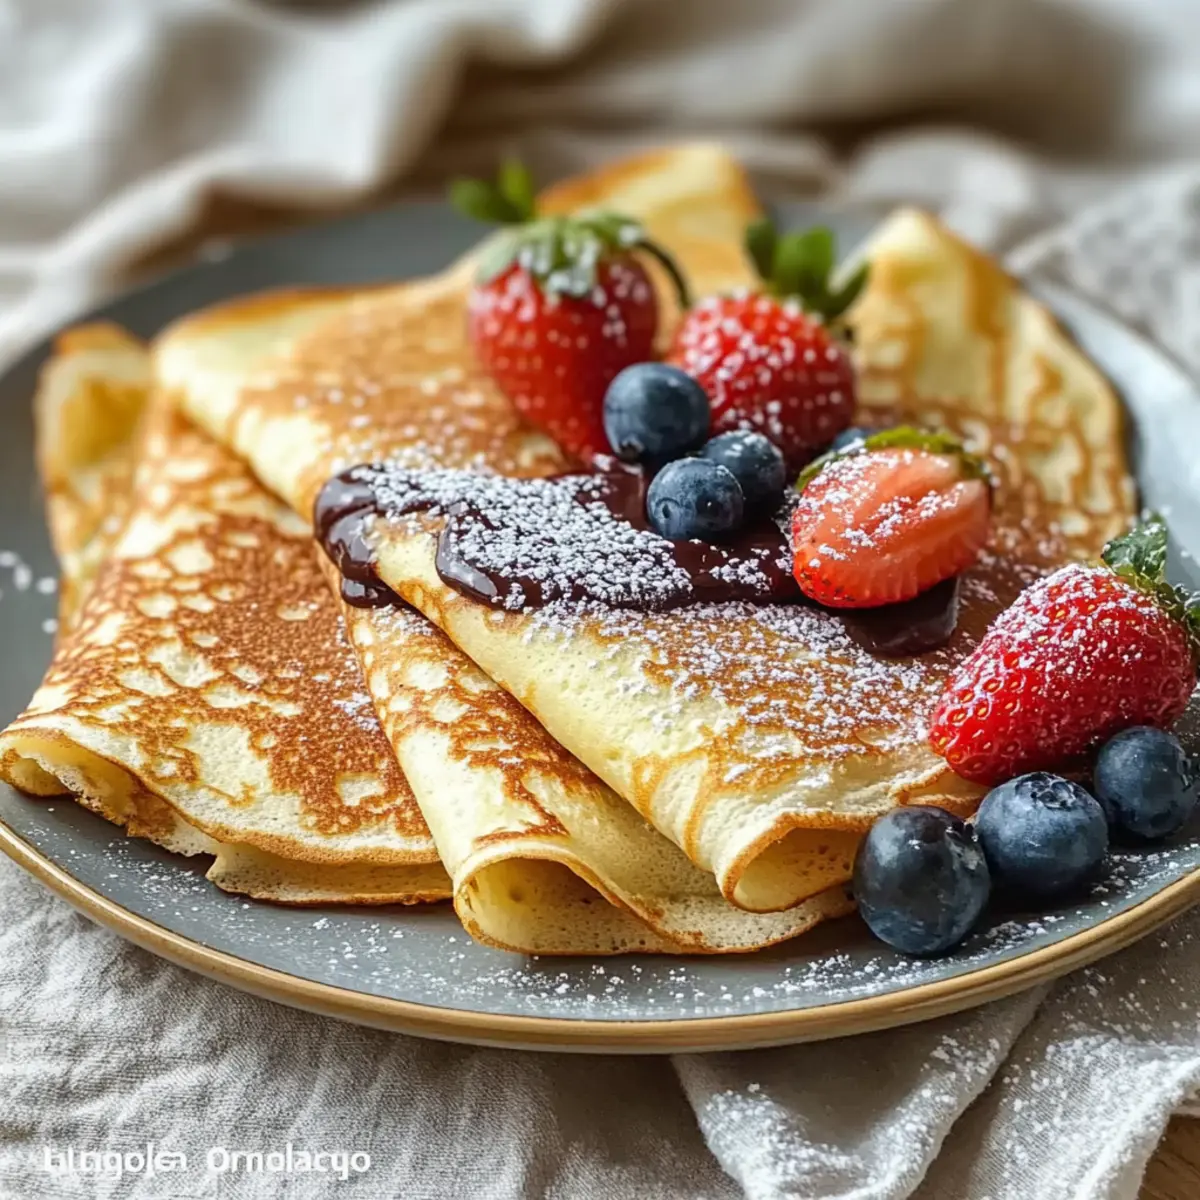
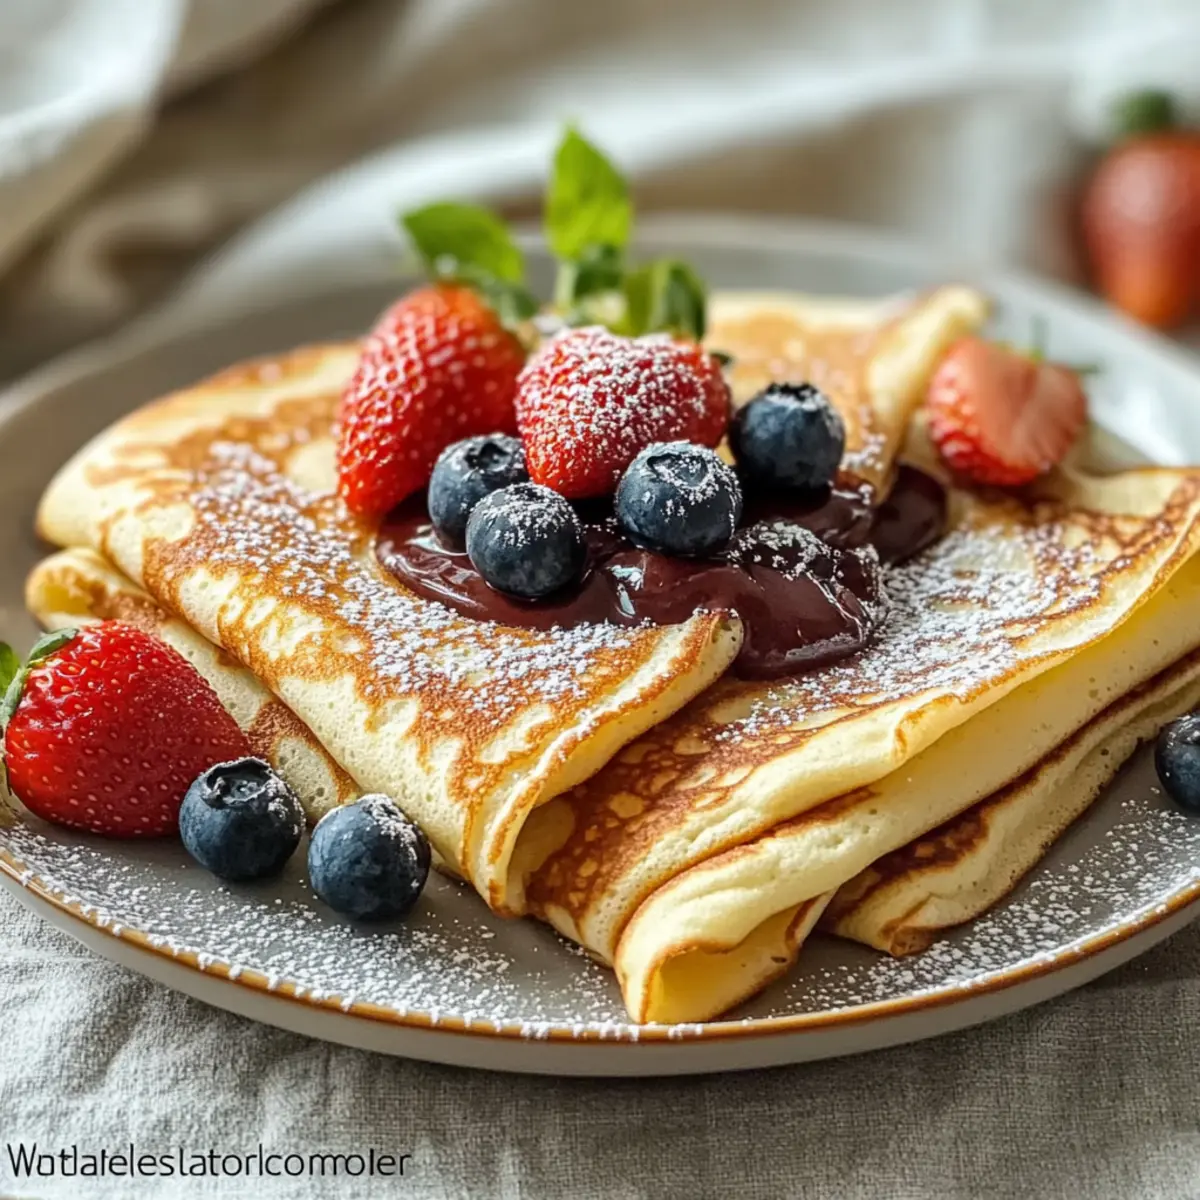
Serve your Churro Waffles warm, and consider adding your favorite toppings like whipped cream, chocolate syrup, or even a scoop of vanilla ice cream for extra indulgence. Enjoy the delightful combination of flavors and textures as you share these heavenly treats with family and friends!
Make Ahead Options
These Churro Waffles with Cinnamon Sugar are perfect for meal prep enthusiasts, allowing you to enjoy a delicious treat with minimal effort! You can prepare the waffle batter up to 24 hours in advance by mixing the dry ingredients and wet ingredients separately, then refrigerating them. Just be sure to combine them just before cooking to maintain that fluffy texture. You can also freeze the cooked waffles—simply lay them flat on a baking sheet until solid, then transfer them to a freezer bag. They can be reheated directly from frozen in a toaster or oven for crispy results. When ready to serve, brush with melted butter and roll in cinnamon sugar for a warm, indulgent experience that feels freshly made!
What to Serve with Churro Waffles with Cinnamon Sugar
Imagine indulging in a plate of sweet and crispy waffles, paired perfectly with delightful accompaniments to elevate your meal experience!
-
Vanilla Ice Cream: The creamy, cold ice cream adds a luxurious contrast that complements the warmth of the churro waffles beautifully.
-
Caramel Sauce: A rich drizzle of caramel pools over the waffles, enhancing their sweetness while introducing a delightful gooey texture.
-
Fresh Berries: Juicy strawberries, raspberries, or blueberries provide a refreshing tartness that balances the sugary notes of cinnamon.
-
Whipped Cream: Light and airy, whipped cream adds a cloud-like creaminess, creating a decadent topping that feels indulgent yet light.
-
Chocolate Sauce: A drizzle of warm chocolate sauce transforms the dish, offering a rich, sweet complement to the cinnamon-sugar flavor.
-
Coffee or Espresso: Pair these waffles with a cup of coffee or espresso to cut through the sweetness, creating a blissful breakfast or dessert experience. Coffee’s rich notes elevate the overall indulgence.
Enjoy your delicious Churro Waffles with Cinnamon Sugar alongside these delightful options for a truly memorable meal!
Churro Waffles with Cinnamon Sugar Variations
Feel free to unleash your culinary creativity and customize these delightful churro waffles however you wish!
-
Coconut Sugar: Substitute coconut sugar for white sugar in the topping for a deeper, caramel flavor that enhances the overall taste.
-
Nutty Crunch: Add finely chopped toasted nuts like pecans or walnuts into the batter for added crunch and richness. You'll find this twist adds a delightful texture contrast!
-
Dairy-Free: Substitute almond or oat milk for regular milk and replace butter with coconut oil or a plant-based butter for a dairy-free option that’s just as indulgent.
-
Chocolate Drizzle: Drizzle melted dark chocolate over the finished waffles for a luxurious touch that takes them to the next level of decadence.
-
Spicy Kick: Add a pinch of cayenne pepper to the cinnamon-sugar mixture for a surprising heat that balances the sweetness beautifully—perfect for those who love a little zing!
-
Pumpkin Spice: Transform your waffles by incorporating pumpkin puree and pumpkin pie spice into the batter for a fall-inspired flavor. Serve with whipped cream and caramel for a cozy treat!
-
Fruit Toppings: Top your churro waffles with fresh berries or banana slices for a fruity burst that complements the sweetness of the cinnamon sugar.
-
Ice Cream Sandwich: Create a decadent dessert by sandwiching a scoop of vanilla ice cream between two churro waffles for an irresistible treat that will impress any guest.
For more variations and delectable recipes, check out our Pumpkin Cinnamon Roll or Pumpkin Cinnamon Roll. There are endless possibilities to explore!
Tips for the Best Churro Waffles
-
Warm Milk Matters: Warm your milk slightly before adding it to the batter. This small step helps activate the baking powder for fluffier Churro Waffles.
-
Don’t Overmix: When combining wet and dry ingredients, mix until just combined. Overmixing can lead to dense waffles instead of light, airy ones.
-
Proper Preheating: Make sure your waffle iron is thoroughly preheated before pouring in the batter. Proper heat ensures crispy edges and prevents sticking.
-
Immediate Coating: Coat the waffles in melted butter and roll in cinnamon sugar while they’re still warm. This ensures the coating sticks perfectly for maximum flavor.
-
Storing Leftovers: If you have extra Churro Waffles, store them in an airtight container for up to 2 days. Reheating in a toaster maintains their delightful crispiness.
Keep these tips in mind for perfect Churro Waffles with Cinnamon Sugar every time!
How to Store and Freeze Churro Waffles with Cinnamon Sugar
Fridge: Store leftover Churro Waffles in an airtight container for up to 2 days. This helps retain their delightful flavor and softness.
Freezer: To freeze, lay waffles flat on a baking sheet until solid, then transfer to a freezer bag. They’ll last up to 3 months and can be reheated directly from frozen.
Reheating: To restore crispiness, reheat the waffles in a toaster or oven at 350°F (175°C) for about 5-7 minutes, or until warm and crispy.
Serving Tip: For a special treat, heat and coat frozen waffles in melted butter and roll in cinnamon sugar again before serving!
Churro Waffles with Cinnamon Sugar Recipe FAQs
What type of flour should I use for Churro Waffles?
I recommend using all-purpose flour for the best texture in your Churro Waffles. It provides the perfect balance of structure and tenderness. If you want a gluten-free option, a 1:1 gluten-free flour blend can work as a substitute without sacrificing flavor.
How do I know when my Churro Waffles are cooked?
Keep an eye on the steam! Once the steam diminishes from your waffle iron, it usually means they are close to done. Check for a crisp, golden-brown exterior. Depending on your waffle iron, they typically cook for about 4 to 5 minutes.
Can I store leftover Churro Waffles?
Absolutely! Store your leftover Churro Waffles in an airtight container in the fridge for up to 2 days. To retain their delightful texture, reheat them in a toaster or oven at 350°F (175°C) for about 5-7 minutes.
What’s the best way to freeze Churro Waffles?
To freeze your Churro Waffles, lay them flat on a baking sheet and place them in the freezer until they are solid. Once they're frozen, transfer the waffles to a freezer bag. They can be stored for up to 3 months. When you’re ready to enjoy them, simply reheat directly from frozen in your toaster or oven!
How can I customize the cinnamon sugar coating?
Feel free to get creative! Start with the basic ratio of 1 cup sugar to 1/4 to 1/2 cup cinnamon and adjust according to your taste. You could also try adding a pinch of nutmeg or use coconut sugar for a richer flavor!
Are Churro Waffles safe for my pets?
No, it’s best to avoid sharing Churro Waffles with pets. The sugar and butter content can be unhealthy for them. There are plenty of pet-friendly treat recipes available if you want to spoil your furry friends!
Crispy Churro Waffles with Cinnamon Sugar for Breakfast Bliss
Ingredients
Equipment
Method
- Preheat your waffle iron according to the manufacturer’s instructions, typically about 5 minutes. Lightly grease with cooking spray or melted butter.
- In a large mixing bowl, whisk together the dry ingredients: flour, baking powder, sugar, salt, and cinnamon until evenly blended.
- In another bowl, crack the eggs, and whisk them with warm milk, melted butter, and vanilla extract until well combined.
- Pour the wet mixture into the dry ingredients, gently folding with a spatula until just combined. Set the batter aside.
- Carefully ladle the batter into the preheated waffle iron and cook for about 4 to 5 minutes, until golden brown and crisp.
- Remove the waffles from the iron, brush with melted butter, and roll in the cinnamon-sugar mixture while warm.
- Serve warm with your favorite toppings like whipped cream or vanilla ice cream.