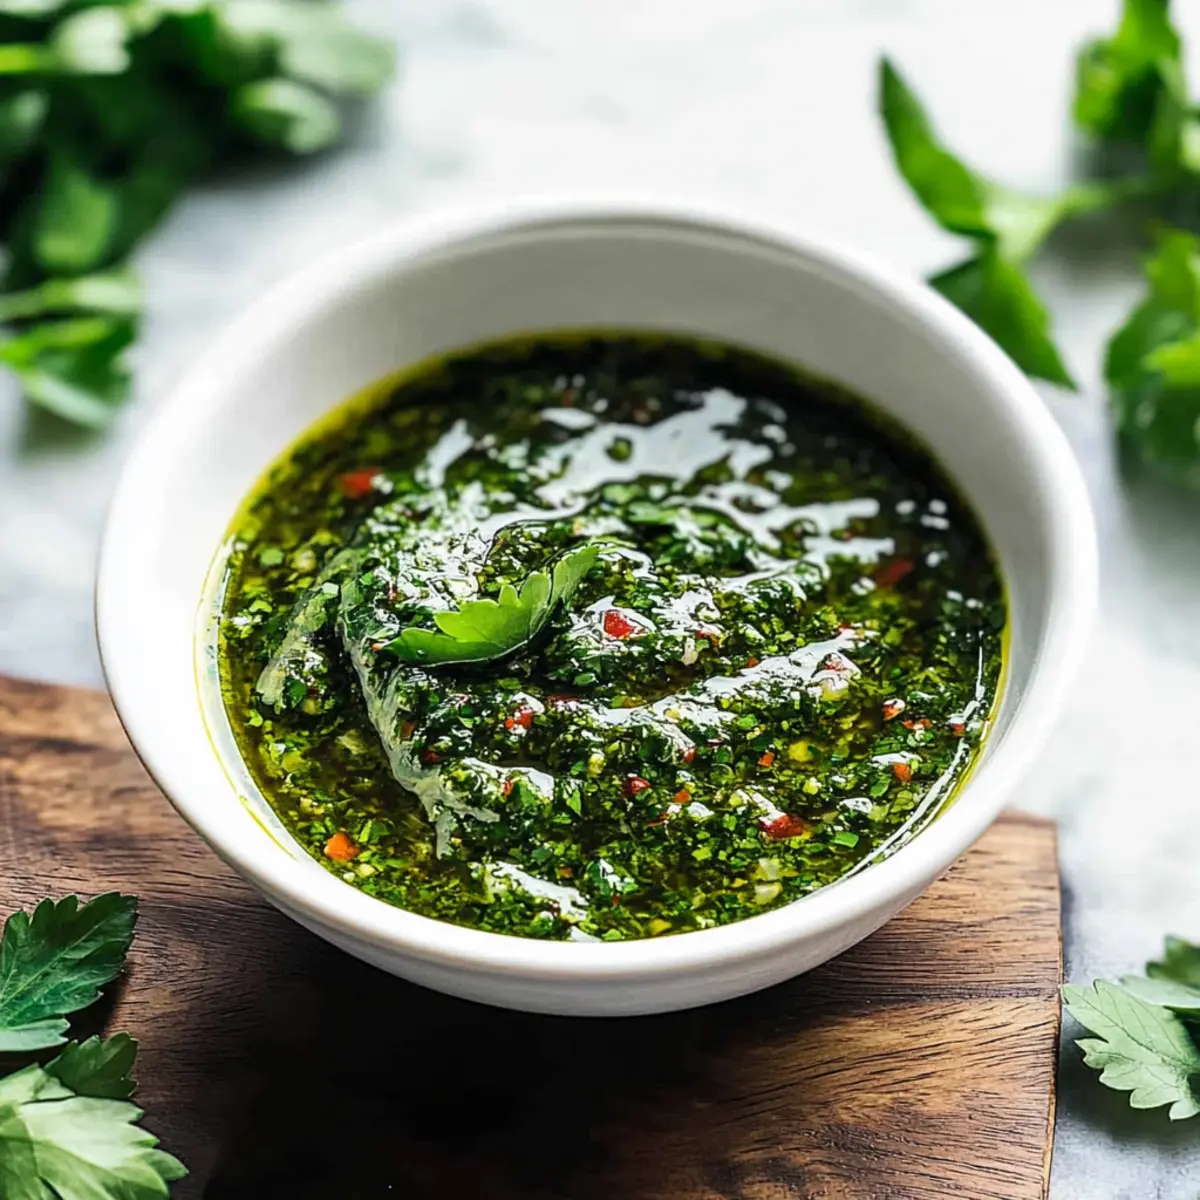
The kitchen was alive with the vibrant scents of fresh herbs as I whipped up my go-to condiment, Quick and Easy Chimichurri Sauce. This classic Argentinian sauce is a culinary gem that transforms ordinary dishes into extraordinary meals with just a handful of ingredients. Within five minutes, you’ll have a zesty, herb-packed sauce ready to dip freshly grilled meats, drizzle over roasted veggies, or toss into salads. Not only is it effortless to prepare, but this sauce is also a crowd-pleaser, appealing to everyone at your table. Plus, it's an excellent way to use up those herbs that are just begging to be celebrated. Curious to know how you can elevate your next meal with this fresh concoction? Let's dive into the recipe!
Why is Chimichurri Sauce So Popular?
Versatile Flavor Boost: This quick and easy chimichurri sauce elevates everything from grilled chicken to roasted vegetables, making your dishes unforgettable.
Fresh Ingredients: Bursting with vibrant herbs, garlic, and zesty vinegar, it’s a flavor-packed addition that brightens any meal.
Speedy Preparation: In just 5 minutes, you can whip up this delightful sauce—perfect for those busy nights when you need a tasty lift without the fuss.
Herb Utilization: It’s an ideal recipe to use up your leftover herbs, turning potential waste into a delicious condiment that enhances your cooking creativity.
Crowd-Pleasing Appeal: Whether you're hosting a dinner party or enjoying a casual meal, this chimichurri will impress your guests and family alike—just like my favorite Blue Cheese Pizza!
Quick and Easy Chimichurri Sauce Ingredients
• Perfect for vibrant flavor!
For the Sauce
- Fresh Parsley – The cornerstone of chimichurri, offering a herby essence; substitute curly parsley if needed.
- Fresh Cilantro – Adds a refreshing, citrusy aroma; if you're not a fan, just increase the parsley.
- Garlic – The pungent kick that makes every bite exciting; opt for fresh for the best flavor impact.
- Olive Oil – Provides a smooth consistency and carries the sauce's flavors beautifully; use extra virgin for richness.
- Red Wine Vinegar – Brings acidity and brightness; white wine vinegar can work for a softer touch.
- Dried Oregano – Infuses an earthy tone; if you have fresh at hand, it will work splendidly too.
- Red Pepper Flakes – Adds a hint of heat; feel free to adjust based on your spice tolerance.
- Salt & Black Pepper – Essential for enhancing taste; tweak according to your preferences.
- Fresh Lemon Juice – Lifts the overall flavor with added brightness; adjust to taste for extra zing.
Now, with these ingredients lined up, you’re just a few simple steps away from your own homemade quick and easy chimichurri sauce that can elevate any dish!
Step‑by‑Step Instructions for Quick and Easy Chimichurri Sauce
Step 1: Prepare the Herbs
Start by rinsing a generous bunch of fresh parsley and cilantro under cold water to remove any dirt or grit. Gently pat them dry with a clean kitchen towel or paper towels. Next, remove the thick stems, as they can be tough; use only the tender parts of the herbs for a vibrant and flavorful chimichurri sauce.
Step 2: Blend Ingredients
In a food processor, combine the cleaned parsley, cilantro, a few cloves of fresh garlic, dried oregano, red pepper flakes, salt, and black pepper. Pulse the mixture until it's roughly chopped, allowing the colors and aromas to blend together. Do this for about 15-20 seconds, ensuring not to over-process—the goal is a fresh, herby mixture with some texture.
Step 3: Add Liquids
Pour in half a cup of extra virgin olive oil, 2 tablespoons of red wine vinegar, and the juice of half a fresh lemon into the food processor. Pulse again for another 15-20 seconds until the ingredients are well combined but still maintain a chunky consistency. This step is crucial for achieving the ideal ratios in your quick and easy chimichurri sauce.
Step 4: Adjust Seasoning
After blending, taste your chimichurri sauce to see if it meets your preference. If desired, add more salt, pepper, or a splash of vinegar for extra acidity. Pulse once more for about 10 seconds to mix in any adjustments. Make sure the flavor profile is vibrant and balanced, as it should be bursting with fresh herb goodness.
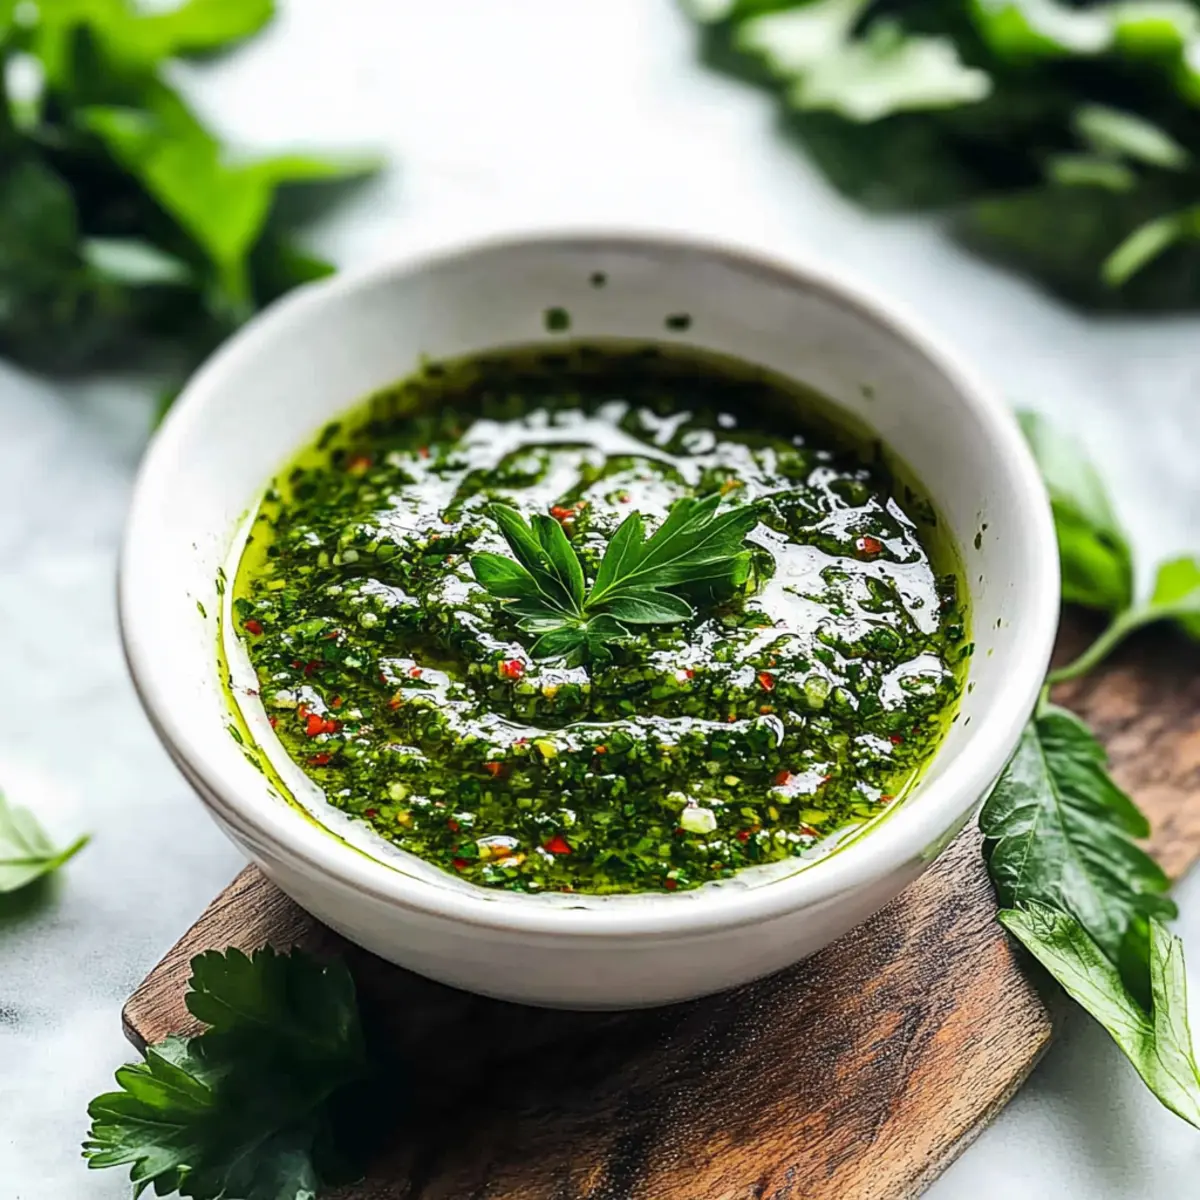
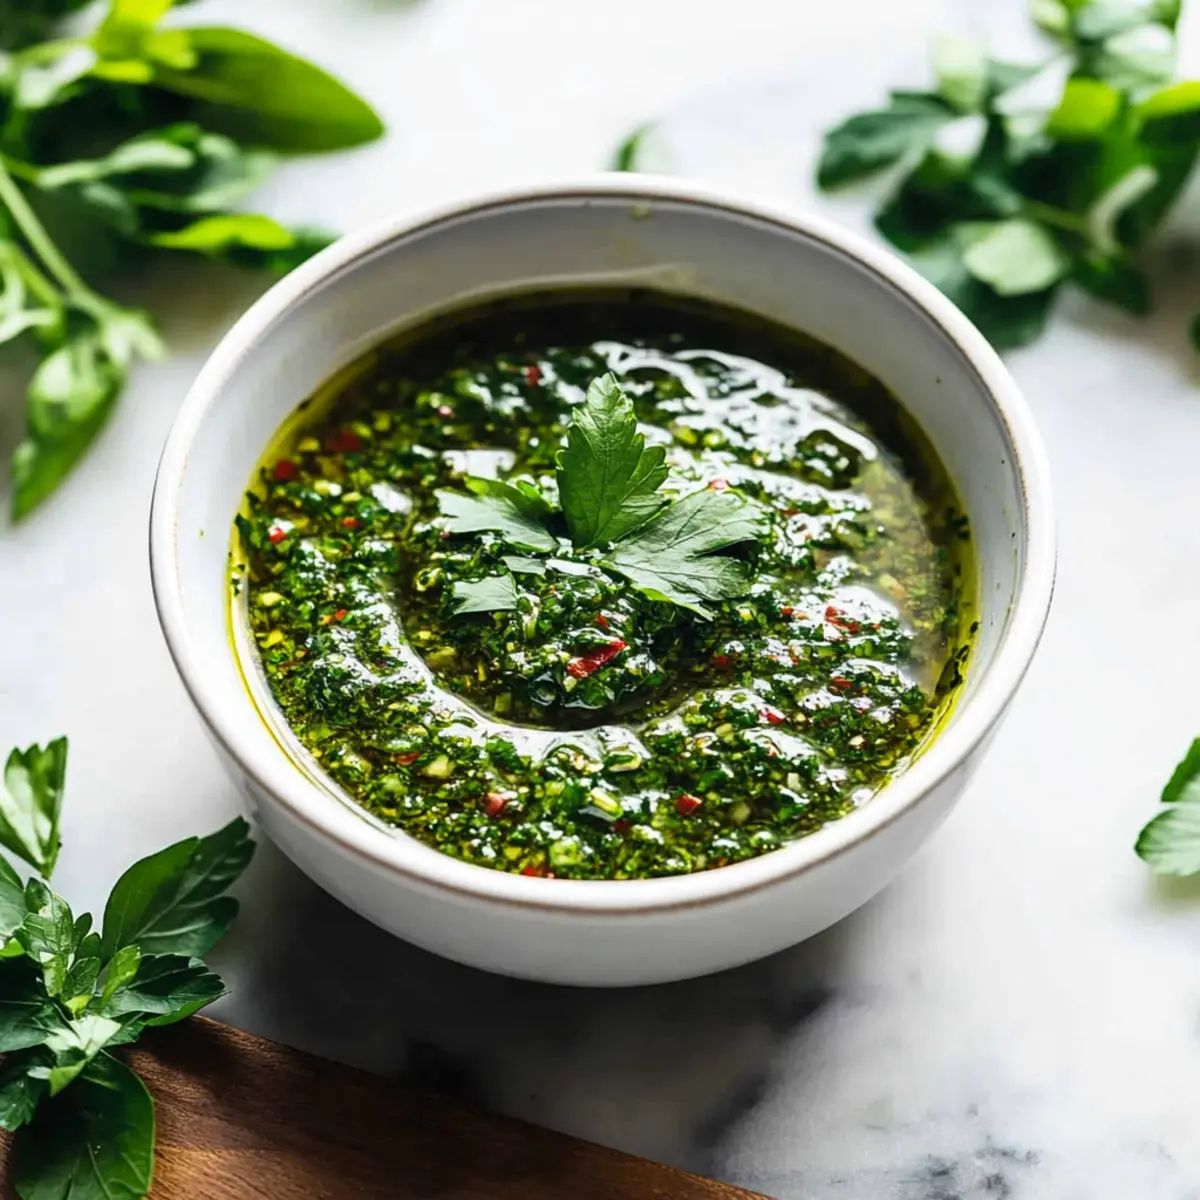
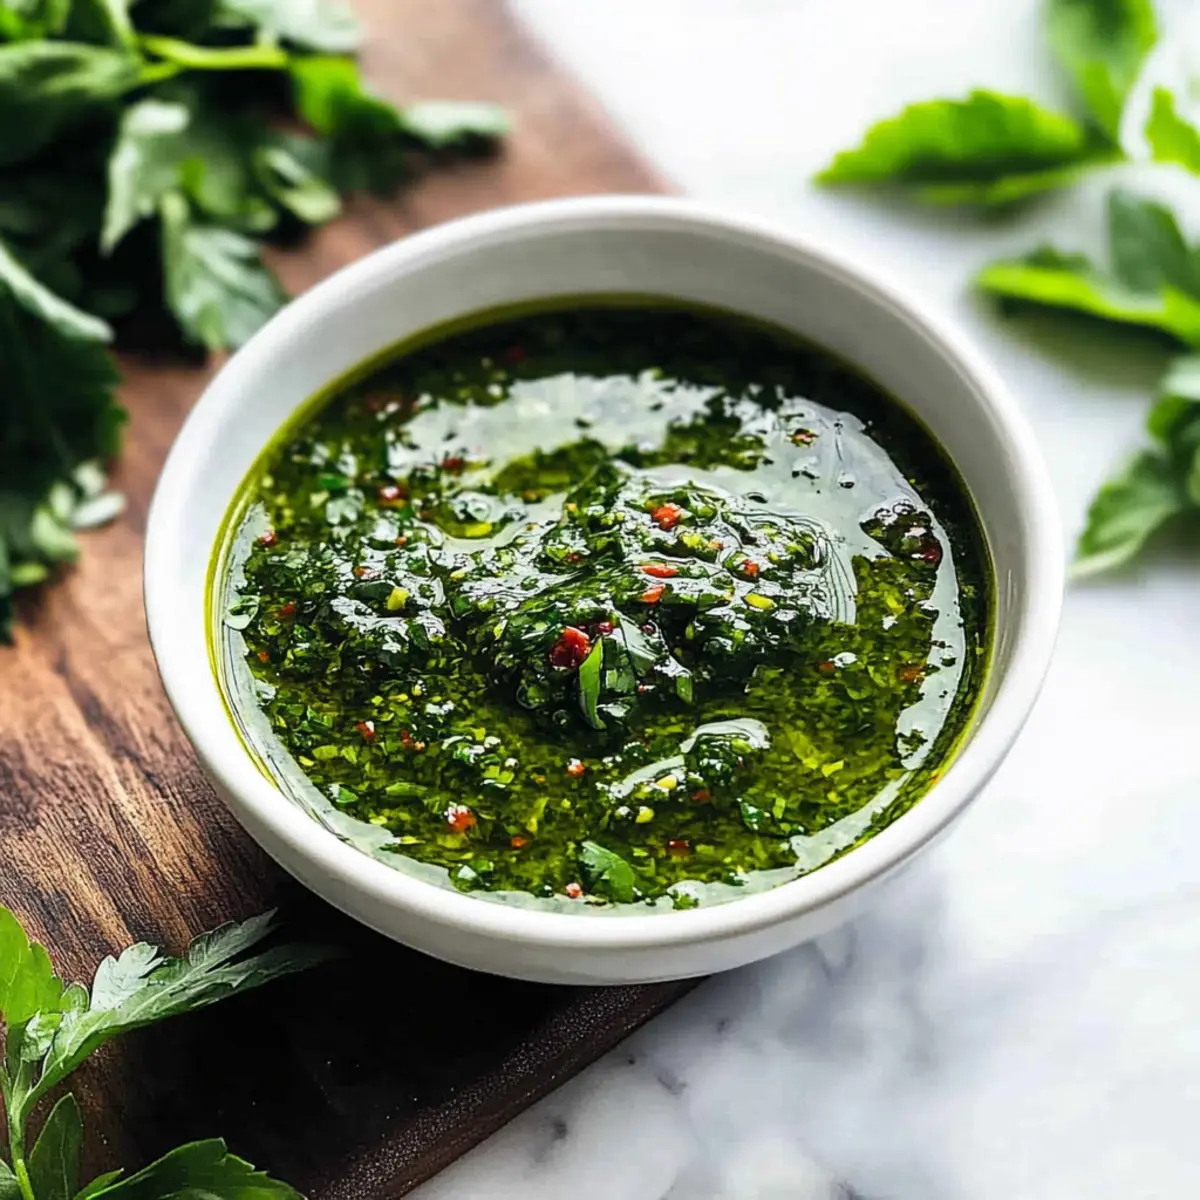
Step 5: Serve or Store
Transfer your vibrant chimichurri sauce to a serving bowl or a jar with a tight-fitting lid. You can use it immediately for a delicious topping or dipping sauce, or refrigerate it for up to a week. Letting the sauce sit for a couple of hours in the fridge enhances the flavors, making it even more irresistible!
What to Serve with Quick and Easy Chimichurri Sauce
Elevate your mealtime experience by pairing this vibrant sauce with delicious dishes that complement its fresh, zesty flavors.
- Grilled Steak: The bold flavor of a perfectly grilled steak marries beautifully with chimichurri, enhancing each bite's juiciness and depth.
- Roasted Vegetables: Drizzling roasted bell peppers, zucchini, and squash with chimichurri brings a fresh contrast, lifting their earthy flavors.
- Tossed Salads: A splash of chimichurri over greens adds a vibrant kick, turning a simple salad into an aromatic feast for the senses.
- Chicken Skewers: Grilled chicken skewers dipped in chimichurri create a delightful combination of spice and brightness that will captivate your palate.
- Fish Tacos: Use chimichurri as a zesty dressing for fish tacos, enhancing the fresh fish with a burst of herbaceous goodness.
- Crusty Bread: Serve alongside warm, crusty bread for dipping, allowing the sauce's rich herbal notes to soak into each morsel.
- Quinoa Bowl: Mixed with grains like quinoa, chimichurri adds an exciting layer of flavor, creating a healthy and satisfying meal option.
- Sangria: Enjoy a glass of refreshing Sangria to balance the sauce's aromatic herbs with a touch of fruity sweetness, making for a well-rounded dining experience.
Expert Tips for Quick and Easy Chimichurri Sauce
-
Chunky Texture: Avoid over-processing the sauce to preserve its delightful chunky consistency. Chimichurri should have a fresh, rustic look rather than being completely pureed.
-
Herb Variations: Don’t hesitate to mix in different herbs! Try adding fresh basil or mint for a unique twist on your quick and easy chimichurri sauce.
-
Adjust to Taste: Always taste and adjust seasoning before serving. A little more salt or a splash of vinegar can elevate the overall flavor balance perfectly.
-
Marinating Magic: For a deeper flavor, let your chimichurri sit for at least an hour before serving. This allows the fresh herbs and spices to meld beautifully.
-
Storage Success: Store in an airtight container in the fridge. The flavors will improve after a couple of hours, and your sauce will last up to a week!
Quick and Easy Chimichurri Sauce Variations
Customize your chimichurri sauce to suit your taste buds and culinary adventures!
-
Basil Twist: Swap cilantro for fresh basil for a slightly sweeter, aromatic flavor profile. It’s delightful and refreshing!
-
Minty Fresh: Add a tablespoon of fresh mint to introduce a cooling note that pairs beautifully with grilled meats. Your guests will love the surprise!
-
Apple Cider Vinegar: Substitute red wine vinegar with apple cider vinegar for a slightly sweeter tang. This twist adds depth while keeping the freshness intact.
-
Heat It Up: For an extra kick, increase the red pepper flakes or toss in a diced jalapeño. Adjust to your heat preference!
-
Lemon Herb Delight: Boost the brightness by adding more lemon juice or zest. The zing will elevate the herbaceous flavors and brighten your dishes.
-
Nutty Addition: Blend in a handful of toasted walnuts or almonds for a richer texture and nutty flavor, perfect for spreading on bread or grilled veggies.
-
Creamy Style: Mix in a dollop of Greek yogurt or sour cream for a creamy chimichurri that works wonderfully as a dip. It’s a delightful twist that adds creaminess without losing the essence!
-
Herb Medley: Combine parsley, cilantro, and arugula for a peppery finish. This burst of greens will add an unexpected but delightful layer of flavor.
Explore these variations and find your favorite way to enjoy this quick and easy chimichurri sauce! It's a fantastic addition to dishes like my delicious Corn Fried Egg or even a zesty topping for grilled shrimp with Pan Fried Mayo.
Storage Tips for Quick and Easy Chimichurri Sauce
- Fridge: Store your chimichurri sauce in an airtight container in the refrigerator for up to one week. The flavors actually improve as it sits!
- Freezer: For longer storage, freeze the chimichurri sauce in ice cube trays. Once frozen, transfer the cubes to a zip-top bag and keep for up to 3 months.
- Thawing: To use frozen chimichurri, simply thaw cubes in the fridge overnight or place them in warm water until they soften.
- Reheating: When ready to enjoy your chimichurri, give it a gentle stir after thawing to revive its fresh taste. This quick and easy chimichurri sauce is perfect for enhancing all your favorite dishes!
Make Ahead Options
These Quick and Easy Chimichurri Sauce options are perfect for busy home cooks looking to save time during the week! You can prepare the entire sauce up to 3 days in advance by blending all the ingredients and storing the mixture in an airtight container in the fridge. This not only saves you time but also allows the flavors to meld beautifully. Make sure to give it a gentle stir before serving, as the oil may separate slightly when chilled. For added freshness, you might want to mix in a splash of lemon juice just before serving for a zesty kick! Enjoy having this vibrant sauce ready to elevate your meals any night of the week.
Quick and Easy Chimichurri Sauce Recipe FAQs
How do I choose the right herbs for chimichurri?
Absolutely! When selecting herbs for your chimichurri, look for fresh, vibrant parsley and cilantro. The parsley should appear bright green without any dark spots, and the cilantro should be fragrant. If you can only find curly parsley, it can work in a pinch, but flat-leaf has the best flavor for this sauce.
What’s the best way to store chimichurri sauce?
You can store your chimichurri sauce in an airtight container in the refrigerator for up to one week. Just ensure it’s sealed tightly to maintain its vibrant flavors. The sauce actually tastes better after a few hours in the fridge, as the ingredients meld beautifully together!
Can I freeze chimichurri sauce?
Yes, absolutely! To freeze your chimichurri sauce, pour it into ice cube trays and freeze until solid. Once frozen, transfer the cubes to a zip-lock bag for easier storage. These cubes can last up to 3 months in the freezer. When you're ready to use it, simply thaw the desired number of cubes in the fridge overnight or in warm water for a quicker method.
What should I do if my chimichurri is too bitter?
If your chimichurri sauce tastes too bitter, it may be from the herbs. To balance this out, you can add a bit more olive oil or a splash of red wine vinegar to brighten the flavors. Additionally, incorporating a squeeze of lemon juice can help cut through bitterness and enhance the freshness of your sauce.
Is chimichurri safe for pets?
Very! While chimichurri sauce contains fresh herbs and garlic, which can be harmful in large amounts, the small quantity used in the sauce typically won’t pose a risk to pets. However, it’s always a good idea to consult your vet if you have concerns, especially if your pet has any known sensitivities or health issues.
Quick and Easy Chimichurri Sauce for Flavor-Packed Dishes
Ingredients
Equipment
Method
- Rinse fresh parsley and cilantro under cold water and pat dry. Remove the thick stems.
- In a food processor, combine parsley, cilantro, garlic, oregano, red pepper flakes, salt, and black pepper. Pulse until roughly chopped.
- Pour olive oil, red wine vinegar, and lemon juice into the food processor. Pulse again until well combined but chunky.
- Taste and adjust seasoning with salt, pepper, or vinegar as needed. Pulse briefly to mix adjustments.
- Transfer to a serving bowl or jar. Use immediately or refrigerate for up to a week.