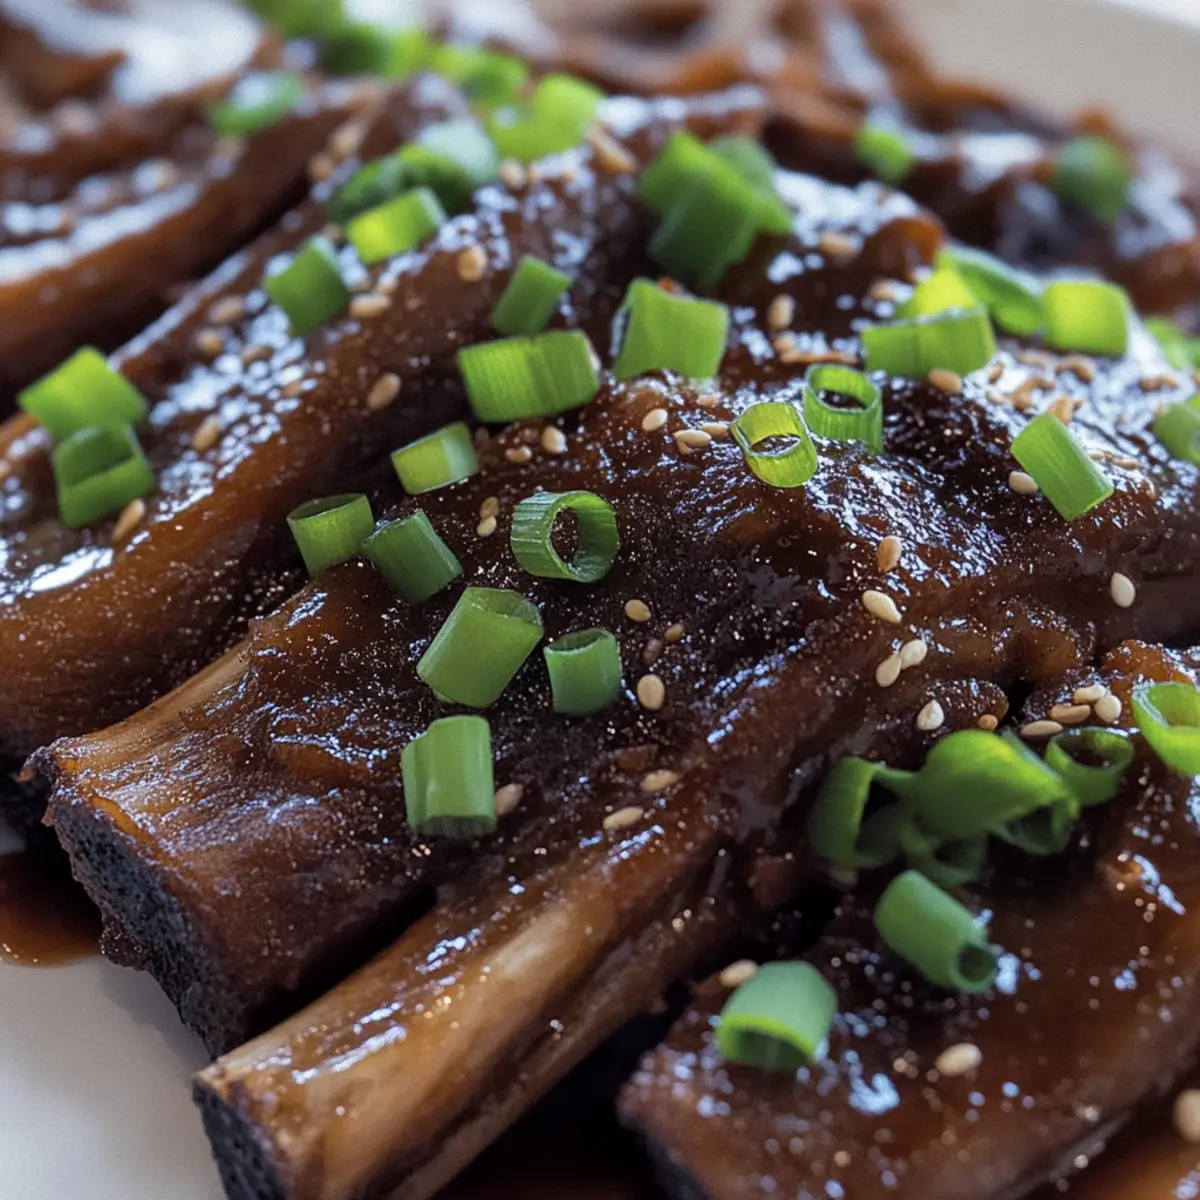
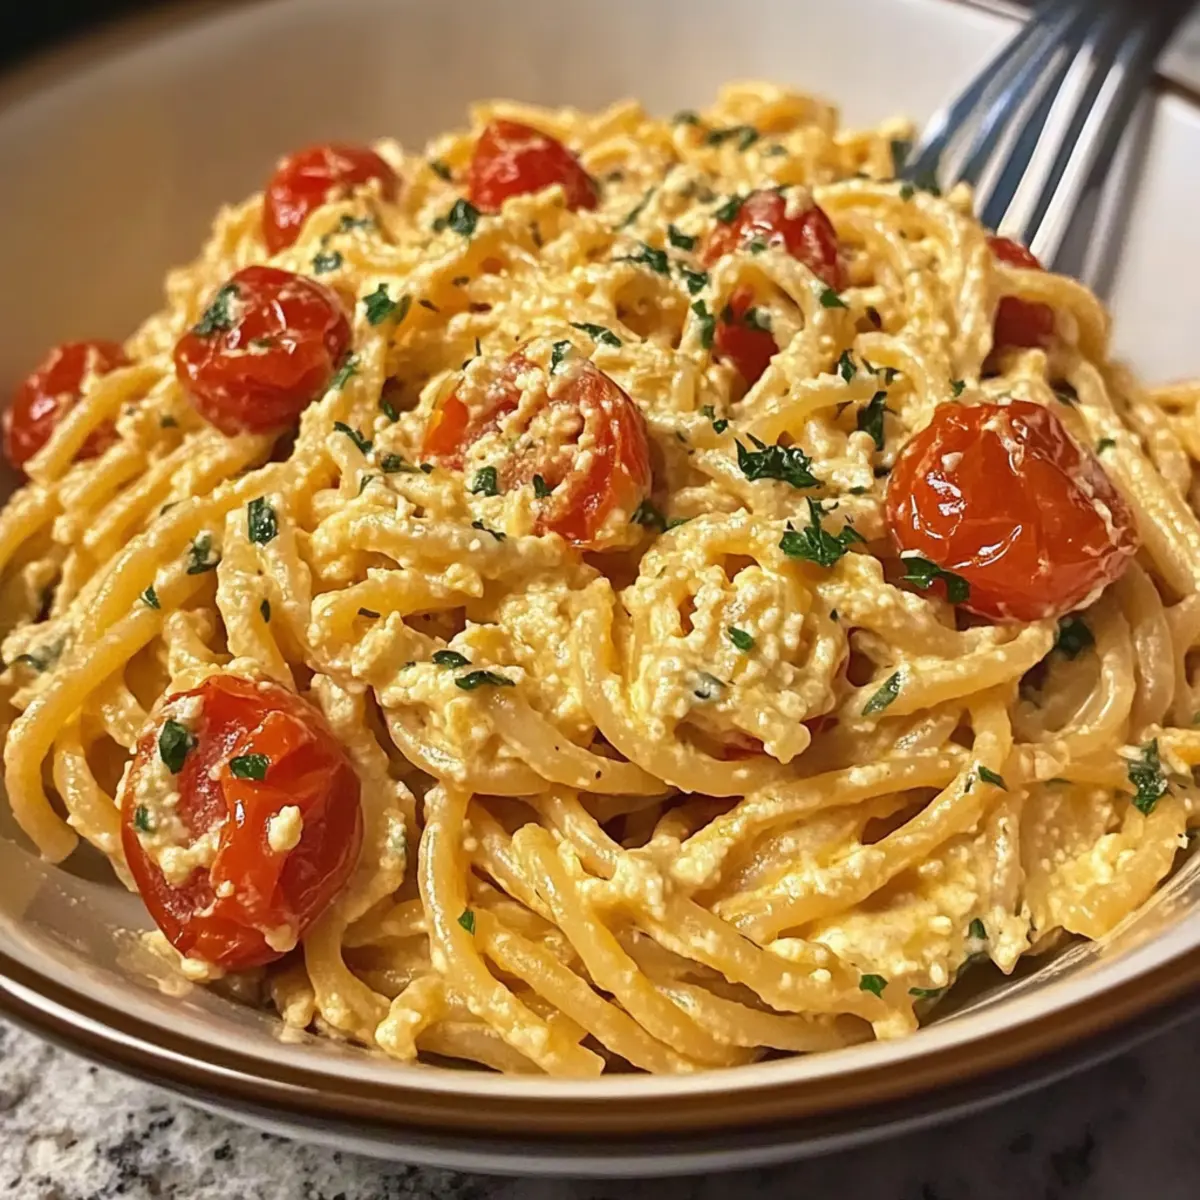
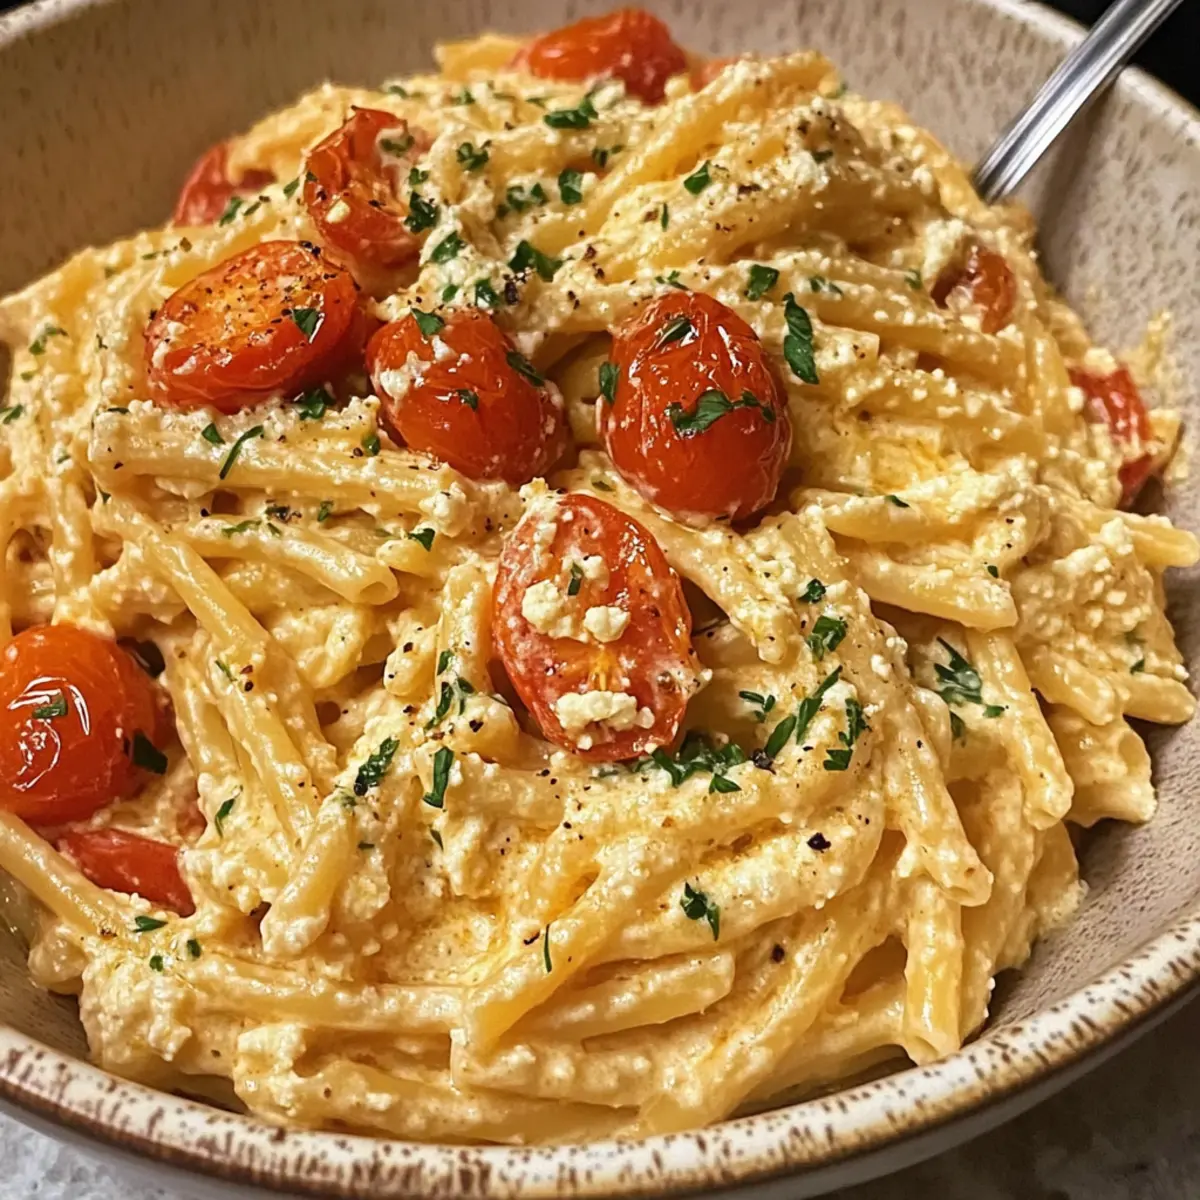
As the sweet aroma of roasted tomatoes and garlic wafts through my kitchen, I can't help but feel a sense of comfort and joy. Today, I’m excited to share my recipe for Roasted Tomato and Garlic Ricotta Pasta, a delightful dish that transforms simple ingredients into an impressive meal in under 30 minutes. This satisfying pasta not only offers the balance of creamy ricotta and luscious roasted tomatoes, but it also proves to be a time-saver for those busy weeknights when you crave gourmet flavor without the fuss. Whether you’re cooking for family or hosting friends, this crowd-pleaser will leave everyone asking for seconds. Can't wait to dive into this scrumptious flavor journey together? Let’s get cooking!
Why is this pasta recipe a must-try?
Simplicity at Its Best: With just a few ingredients and straightforward steps, you'll create a gourmet dish without the hassle.
Flavor Explosion: Roasted tomatoes combined with creamy ricotta and fragrant garlic produce a taste that will delight your palate.
Quick Dinner Solution: In under 30 minutes, you can have a hearty meal ready, perfect for busy weeknights.
Crowd-Pleaser: Whether you're cooking for family or entertaining friends, this dish is sure to impress everyone at the table. Don't forget to check out complementary recipes like Cauliflower Pasta Ready for more ideas!
Roasted Tomato and Garlic Ricotta Pasta Ingredients
-
For the Pasta
• Pasta – 12 ounces of your favorite type (spaghetti, penne, fusilli) to provide the dish's comforting base. -
For the Sauce
• Cherry Tomatoes – 2 cups, halved; roasting enhances their sweetness for a delightful contrast.
• Garlic – 4 cloves, minced; it adds a robust, aromatic kick to the sauce.
• Olive Oil – 1/4 cup; the key to infusing flavor into the roasted tomatoes.
• Salt – 1/2 teaspoon; helps to balance and elevate the flavors, adjust as needed.
• Black Pepper – 1/4 teaspoon; adds a subtle hint of spice, perfect for finishing touches. -
For the Creaminess
• Ricotta Cheese – 1 cup; its creamy texture makes this Roasted Tomato and Garlic Ricotta Pasta irresistible. -
For the Garnish
• Fresh Basil – optional for garnishing; it introduces a burst of freshness and vibrant color.
• Grated Parmesan Cheese – optional for serving; enhances umami and richness, making it even more appealing.
Step‑by‑Step Instructions for Roasted Tomato and Garlic Ricotta Pasta
Step 1: Preheat the Oven
Set your oven to 400°F (200°C) to create the perfect environment for roasting. While the oven heats up, grab a baking dish to prepare your cherry tomatoes, garlic, olive oil, salt, and pepper. This step is crucial as the high heat will blister the tomatoes, enhancing their natural sweetness and flavor.
Step 2: Prepare the Tomatoes and Garlic
In your baking dish, combine 2 cups of halved cherry tomatoes, 4 cloves of minced garlic, 1/4 cup of olive oil, 1/2 teaspoon of salt, and 1/4 teaspoon of black pepper. Toss everything together until the tomatoes are well coated in the oil and seasonings. Once ready, slide the dish into the preheated oven and roast for 20-25 minutes, or until the tomatoes are blistered and soft.
Step 3: Cook the Pasta
While the tomatoes roast, fill a large pot with water and add a generous amount of salt. Bring the water to a rolling boil over high heat. Once boiling, add 12 ounces of your preferred pasta and cook according to package instructions until it reaches al dente tenderness. Reserve about 1 cup of the starchy pasta water before draining it to keep your sauce moist later.
Step 4: Combine the Ingredients
In a large mixing bowl, combine the drained pasta with the roasted tomatoes and garlic, including all the delicious juices from the baking dish. Gently fold in 1 cup of creamy ricotta cheese, mixing well to integrate all the flavors. If the pasta seems dry, gradually stir in your reserved pasta water until you achieve a luscious consistency that clings to each piece of pasta.
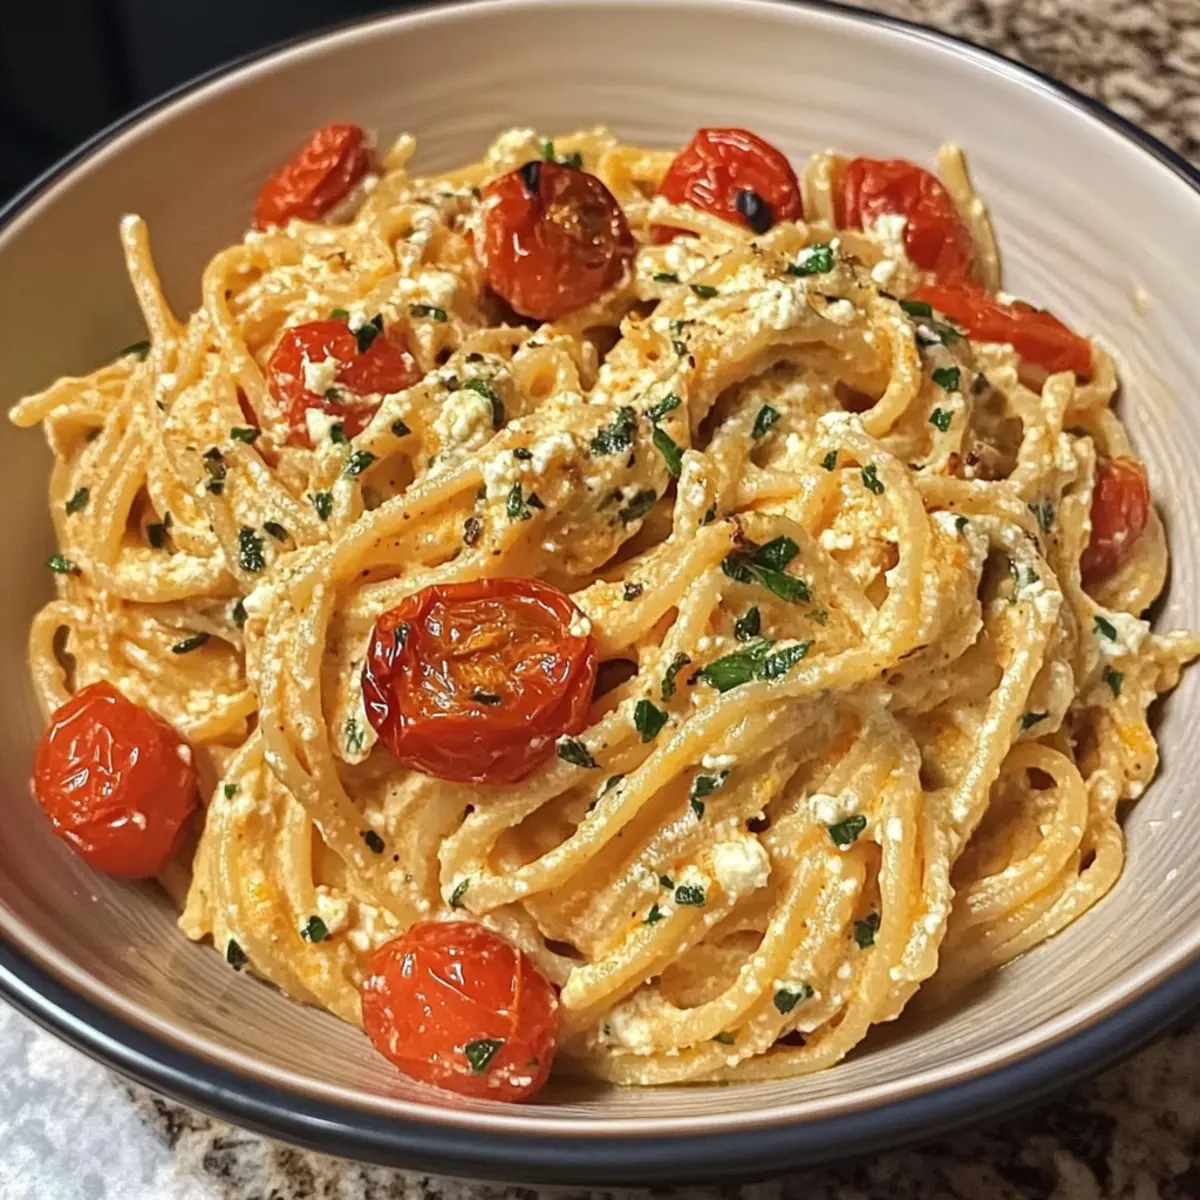
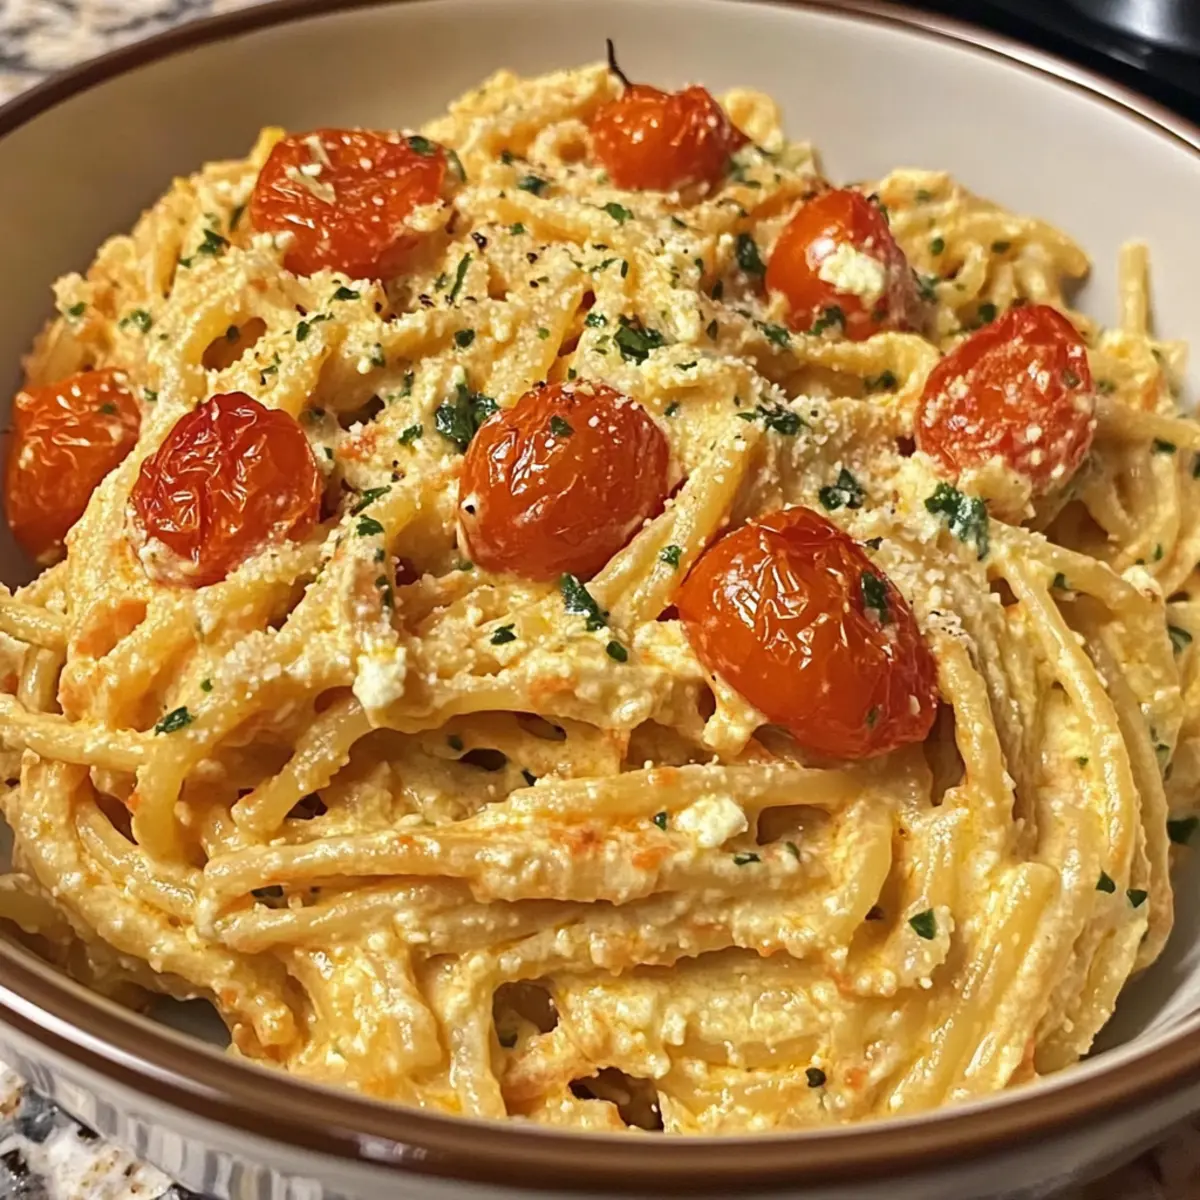
Step 5: Plate and Serve
Now it's time to serve your Roasted Tomato and Garlic Ricotta Pasta! Dish the pasta into bowls, garnishing with optional fresh basil leaves for added brightness and flavor. For an extra umami boost, sprinkle grated Parmesan cheese on top. Enjoy this heartwarming meal while it's still warm and let the comforting aromas entice your family or friends to the table.
Roasted Tomato and Garlic Ricotta Pasta Variations
Feel free to get creative and customize your Roasted Tomato and Garlic Ricotta Pasta with these tempting variations!
-
Vegetable Boost: Add spinach or zucchini for extra nutrition and a burst of color; toss them in during the last few minutes of roasting for tender bites.
-
Cheese Swap: Try goat cheese or cream cheese instead of ricotta for a different creamy twist; they’ll give your dish a unique flavor profile that’s just as comforting.
-
Herb Infusion: Incorporate oregano or thyme for a fragrant herbal touch; sprinkle them in with the garlic for an aromatic experience that enhances the overall dish.
-
Spice It Up: For a hint of heat, add some red pepper flakes; start with a pinch, and adjust to your taste, making this pasta dish an exciting option for spice lovers.
-
Nutty Flavor: Toss in toasted pine nuts or walnuts for added crunch and depth; they’ll not only give texture but also a delightful nutty flavor that complements the ricotta beautifully.
-
Vegan Delight: Use cashew cream blended with nutritional yeast in place of ricotta for a dairy-free alternative; this creamy swap is sure to keep the dish rich and delicious.
-
Saucy Twist: For a richer sauce, drizzle in heavy cream or a splash of white wine to elevate the flavor; this will create a silken texture that envelops the pasta perfectly.
-
Pasta Variety: Experiment with alternative pasta types like whole grain or gluten-free; each offers unique flavors and textures while keeping the spirit of the meal intact.
Feeling inspired? You might also enjoy serving this pasta alongside a light arugula salad like the one in the delightful Roasted Corn Fried recipe, or explore other comforting dishes like the Cauliflower Pasta Ready for even more culinary adventures!
Make Ahead Options
These Roasted Tomato and Garlic Ricotta Pasta preparations are ideal for busy weeknights! You can roast the tomatoes and garlic up to 24 hours in advance, allowing them to develop even richer flavors. Simply store the roasted mixture in an airtight container in the refrigerator until you're ready to serve. You can also cook the pasta ahead of time, keeping it in the fridge for up to 3 days. When you’re ready to enjoy this delightful dish, just reheat the roasted tomatoes, toss in the pre-cooked pasta, then fold in the ricotta for that creamy finish. This way, you’ll savor every bite just as deliciously as when freshly made, without the last-minute rush!
Storage Tips for Roasted Tomato and Garlic Ricotta Pasta
Fridge: Store leftovers in an airtight container for up to 3 days. Let the pasta cool completely before sealing to retain freshness.
Freezer: For longer storage, freeze the pasta in airtight containers for up to 2 months. Make sure to label containers with the date to track freshness.
Thawing: When ready to enjoy, thaw in the fridge overnight before reheating for the best results, maintaining the flavors of the Roasted Tomato and Garlic Ricotta Pasta.
Reheating: Reheat gently over medium heat, adding a splash of water or olive oil to prevent dryness and enhance creaminess.
Expert Tips for Roasted Tomato and Garlic Ricotta Pasta
-
Tomato Quality Matters: Choose ripe, sweet cherry tomatoes for roasting. Under-ripe tomatoes won't develop the same depth of flavor, making your dish less vibrant.
-
Don't Rush the Roasting: Ensure to roast tomatoes until they're blistered and soft. This caramelizes their sugars, enhancing the overall taste of the Roasted Tomato and Garlic Ricotta Pasta.
-
Pasta Water Trick: Always reserve some pasta cooking water before draining. It’s essential for adjusting the sauce’s consistency and keeping it beautifully creamy.
-
Gentle Reheating: If you have leftovers, reheat gently over medium heat with a splash of water or olive oil. This helps avoid mushiness and maintains the pasta's texture.
-
Balancing Flavors: Taste as you go! Adjust the salt and pepper after mixing in the ricotta, ensuring the flavors are balanced and mouthwatering in your Roasted Tomato and Garlic Ricotta Pasta.
What to Serve with Roasted Tomato and Garlic Ricotta Pasta
Elevate your pasta experience by pairing it with delightful sides that bring out its rich, comforting flavors.
-
Crispy Garlic Bread: The crunchy, buttery bread is perfect for soaking up every last bit of the luscious sauce.
-
Arugula Salad: A simple salad dressed with lemon and olive oil adds a zesty freshness that balances the creaminess of the pasta. It's a light, peppery contrast that enhances the meal.
-
Roasted Vegetables: Seasonal vegetables like zucchini or bell peppers roasted with olive oil create a beautiful, colorful side that complements the dish's flavors beautifully. The natural sweetness from roasting pairs wonderfully with the tomatoes in your pasta.
-
Chilled White Wine: A glass of crisp Pinot Grigio or Sauvignon Blanc offers a refreshing sip that enhances the meal, making every bite feel even more indulgent.
-
Tiramisu: End the meal on a sweet note with a creamy, coffee-flavored dessert. Its light, airy texture provides a perfect contrast to the hearty pasta dish.
-
Pesto Bruschetta: Topped with vibrant pesto, fresh tomatoes, and mozzarella, this appetizer is a delightful way to kick off your meal while echoing the pasta's flavors.
-
Lemon Sorbet: A light and refreshing dessert, lemon sorbet cleanses the palate after the rich pasta, leaving you feeling satisfied but not weighed down.
Roasted Tomato and Garlic Ricotta Pasta Recipe FAQs
What type of tomatoes should I use for the best flavor?
Absolutely! For the best results, use ripe cherry tomatoes. Their natural sweetness intensifies when roasted, making a world of difference in the overall flavor of your Roasted Tomato and Garlic Ricotta Pasta. If you can't find cherry tomatoes, feel free to use other varieties of ripe tomatoes, but keep in mind that they may need to be cut into smaller pieces for even roasting.
How should I store leftovers of the Roasted Tomato and Garlic Ricotta Pasta?
To maintain freshness, store any leftovers in an airtight container in the fridge. Your pasta will stay good for up to 3 days. It’s best to let the pasta cool completely before sealing the container to avoid excess moisture, which can lead to sogginess.
Can I freeze the Roasted Tomato and Garlic Ricotta Pasta? If so, how?
Yes, you can! To freeze this delightful pasta dish, first let it cool down completely. Then, transfer the pasta into airtight containers or freezer bags, ensuring you push out as much air as possible. It can be frozen for up to 2 months. Label the containers with the date to track freshness. When you're ready to enjoy it again, thaw in the fridge overnight before reheating gently on the stove.
What should I do if my pasta feels dry after mixing in the ricotta?
Very! If your pasta seems a bit dry, don't hesitate to take your reserved pasta water and add it gradually until you reach your desired creaminess. Start with a couple of tablespoons and stir well to incorporate. This simple trick adjusts the consistency beautifully without affecting the flavors of your Roasted Tomato and Garlic Ricotta Pasta.
Are there any dietary considerations I should be aware of?
Yes, keep in mind that this recipe contains dairy, primarily from the ricotta and optional Parmesan cheese. If you or your guests have dairy allergies, you can try substituting these with a plant-based ricotta or simply using a blend of cashews and nutritional yeast for a creamy texture. Always check for any other personal dietary restrictions when preparing meals for guests.
Roasted Tomato and Garlic Ricotta Pasta You’ll Love Tonight
Ingredients
Equipment
Method
- Preheat the oven to 400°F (200°C). Prepare your ingredients for roasting.
- Combine cherry tomatoes, minced garlic, olive oil, salt, and black pepper in a baking dish. Toss well and roast for 20-25 minutes.
- Meanwhile, cook the pasta in salted boiling water until al dente. Reserve 1 cup of pasta water.
- Combine the drained pasta with the roasted tomatoes and garlic, add ricotta, and mix with reserved pasta water if needed.
- Serve in bowls, garnished with fresh basil and grated Parmesan.