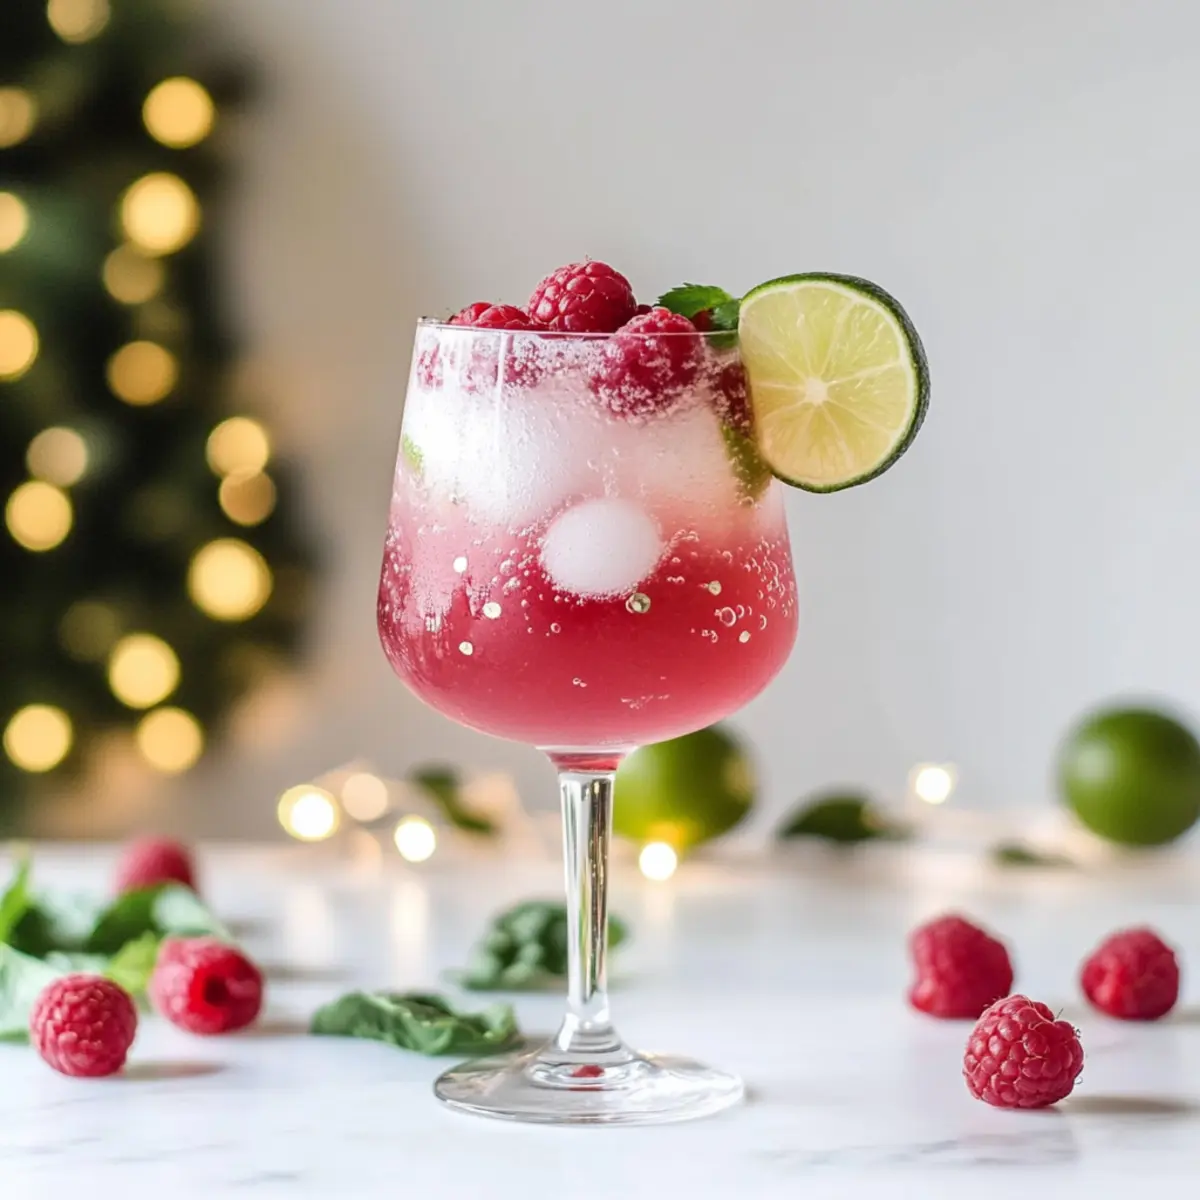
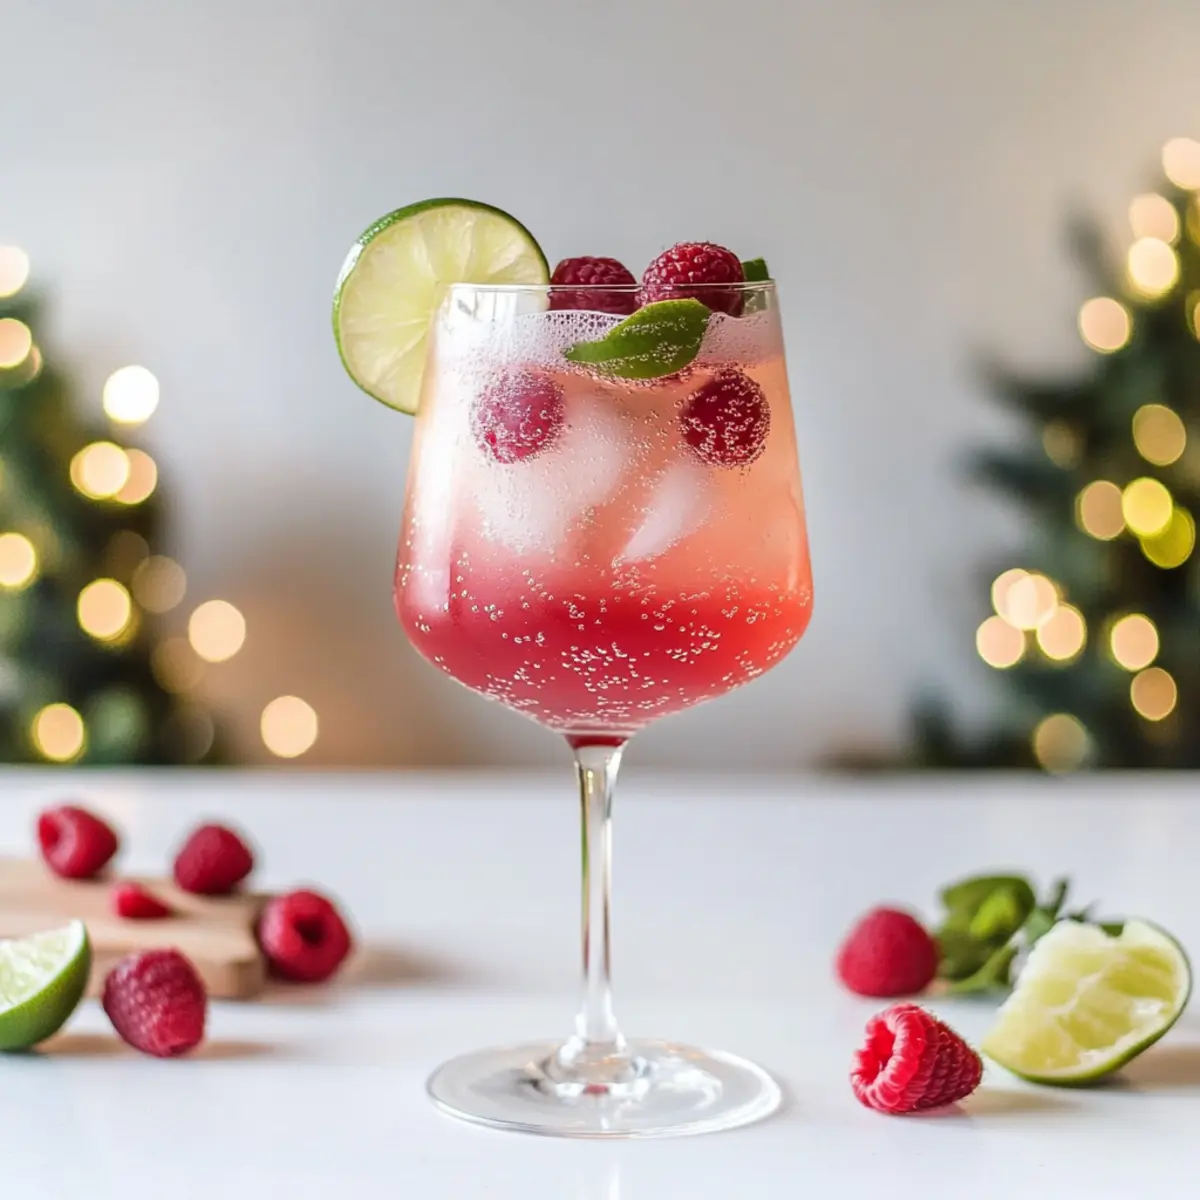
As I stood in my kitchen on a sun-soaked afternoon, the sweet scent of ripe raspberries wafted through the air, inspiring me to create something special. That’s when I decided to whip up a refreshing Raspberry Lime Fizz Mocktail! Bursting with vibrant colors and zesty flavors, this delightful drink is perfect for any occasion, whether you’re hosting a garden party or simply treating yourself to something fancy at home. Not only is it a breeze to prepare—made with just a few simple ingredients—but it also makes for a unique, non-alcoholic option that everyone can enjoy. Imagine the refreshing fizz hitting your taste buds, bringing a joyful sparkle to any gathering. Curious to try your hand at this effervescent delight? Let’s dive into the recipe!
Why is This Mocktail So Irresistible?
Simplicity reigns supreme: With just a few easy-to-find ingredients, you can mix up this Raspberry Lime Fizz Mocktail in no time!
Fresh Flavors dance together: The sweetness of raspberries combined with the tang of lime creates an invigorating flavor explosion.
Versatile and fun: Customize with your favorite fruits, such as adding a splash of cranberry juice or experimenting with blueberries for a unique twist.
Party-ready appeal: Impress your friends at gatherings with this stunning, bubbly drink that everyone can enjoy—no alcohol necessary!
Effortless prep can save your day: Make a batch of the muddled mixture in advance, just adding sparkling water right before serving, ensuring you can relax while your guests enjoy.
This Raspberry Lime Fizz Mocktail will surely elevate your next celebration or quiet afternoon!
Raspberry Lime Fizz Mocktail Ingredients
Here’s everything you need to create this refreshing mocktail!
For the Drink
• Fresh Raspberries – Sweetness and vibrant color; substitute with strawberries for a unique flavor twist.
• Lime Juice – Adds tanginess and brightness; if lime is unavailable, lemon juice can serve as a great alternative.
• Sparkling Water – Provides fizz and lightness; feel free to use club soda instead for a similar bubbly effect.
• Honey or Simple Syrup – Sweetens the drink beautifully; agave syrup can be a wonderful substitute for a vegan option.
• Ice Cubes – Chills the drink, keeping it refreshingly cool throughout.
Enjoy crafting this flavorful Raspberry Lime Fizz Mocktail, perfect for any occasion!
Step‑by‑Step Instructions for Raspberry Lime Fizz Mocktail
Step 1: Muddle Raspberries
In a shaker, add 1 cup of fresh raspberries and gently muddle them with a muddler for about 30 seconds, just enough to release their vibrant juice. Look for a slight breaking down of the berries while still keeping a bit of texture; this creates a luscious, fruity base for your Raspberry Lime Fizz Mocktail.
Step 2: Mix Ingredients
Next, squeeze the juice of 2 limes into the shaker along with 2 tablespoons of honey or simple syrup and a handful of ice cubes. Secure the lid and shake vigorously for about 15-20 seconds until the mixture is well combined and chilled. The ice should break down slightly, creating a refreshing blend of flavors.
Step 3: Strain the Mixture
Now, position a strainer over a serving glass and carefully pour the muddled mixture through it. This step allows the vibrant raspberry juice to flow while catching any seeds, ensuring your mocktail is smooth and pleasing to drink. You should see a beautiful red liquid collecting in your glass, ready for the next step.
Step 4: Finish with Sparkling Water
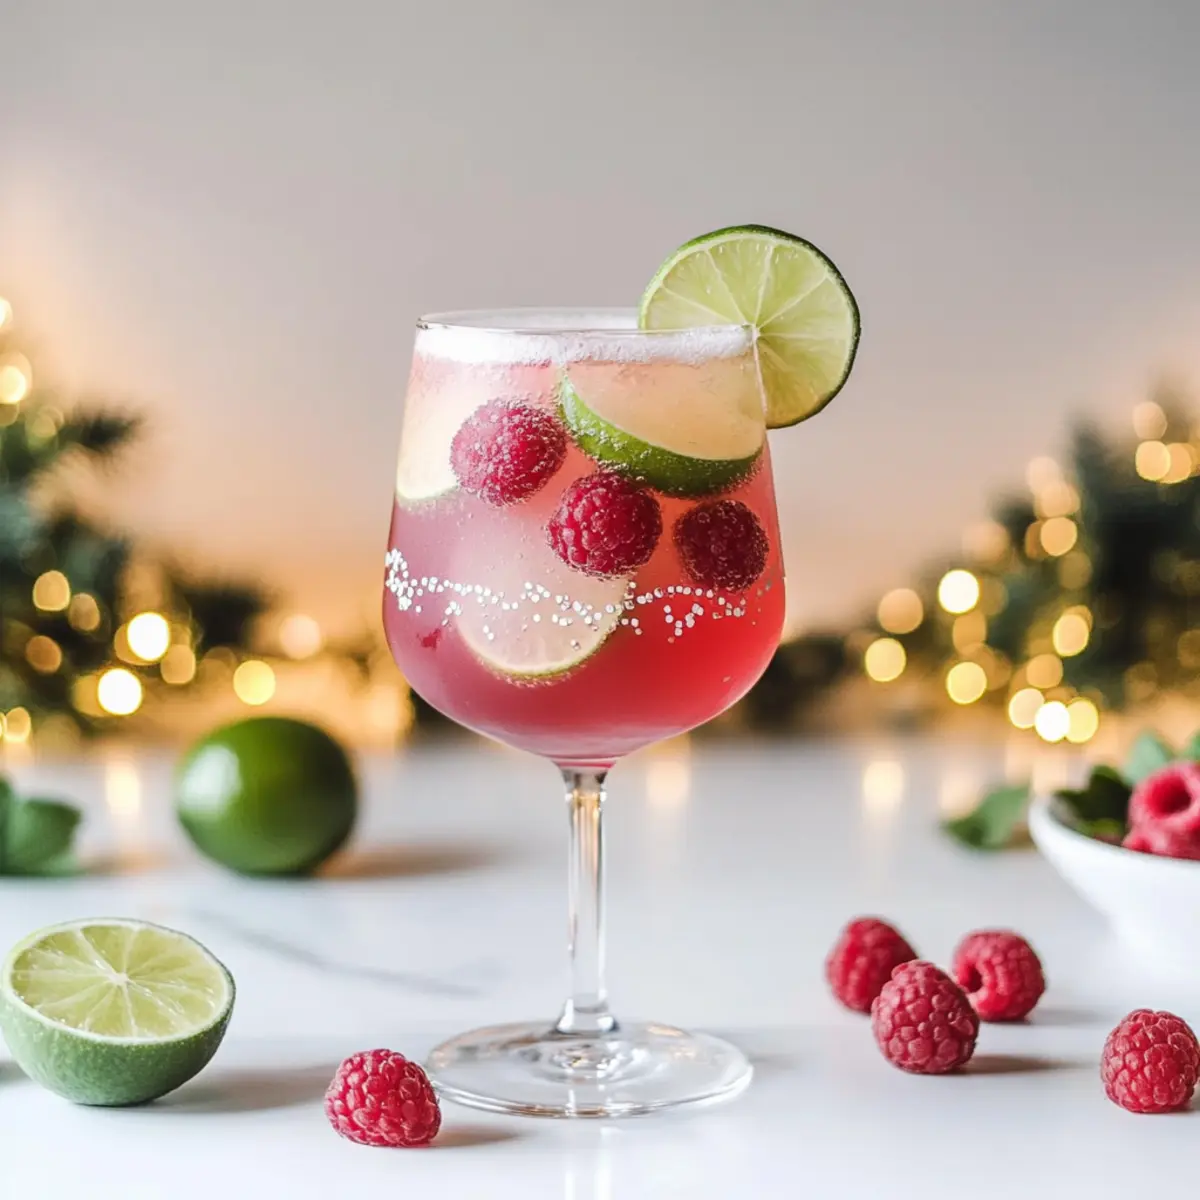
To give your Raspberry Lime Fizz Mocktail its signature fizz, slowly pour in 1 cup of sparkling water. Use a spoon to stir gently, mixing the drink while preserving the bubbly texture. The effervescence should dance atop the deep red liquid, creating a bright and inviting visual perfect for any occasion.
Step 5: Adjust Sweetness or Garnish
Take a moment to taste your mocktail; if desired, you can add a touch more honey for sweetness, stirring to combine. For an appealing presentation, consider garnishing the rim with fresh raspberries or a lime wedge. This final touch adds not only a delightful visual but enhances the drink's fresh appeal as you serve it to friends or family.
Raspberry Lime Fizz Mocktail Variations
Feel free to get creative and tweak the flavors and ingredients of this delightful mocktail!
-
Cranberry Splash: Add a splash of cranberry juice for a lovely tartness that beautifully complements the raspberries.
-
Berry Medley: Mix in blueberries or sliced strawberries alongside the raspberries for a delightful fruit blend that adds even more color.
-
Lemon Twist: Swap lime juice for lemon juice to create a slightly sweeter, lemony flavor profile.
-
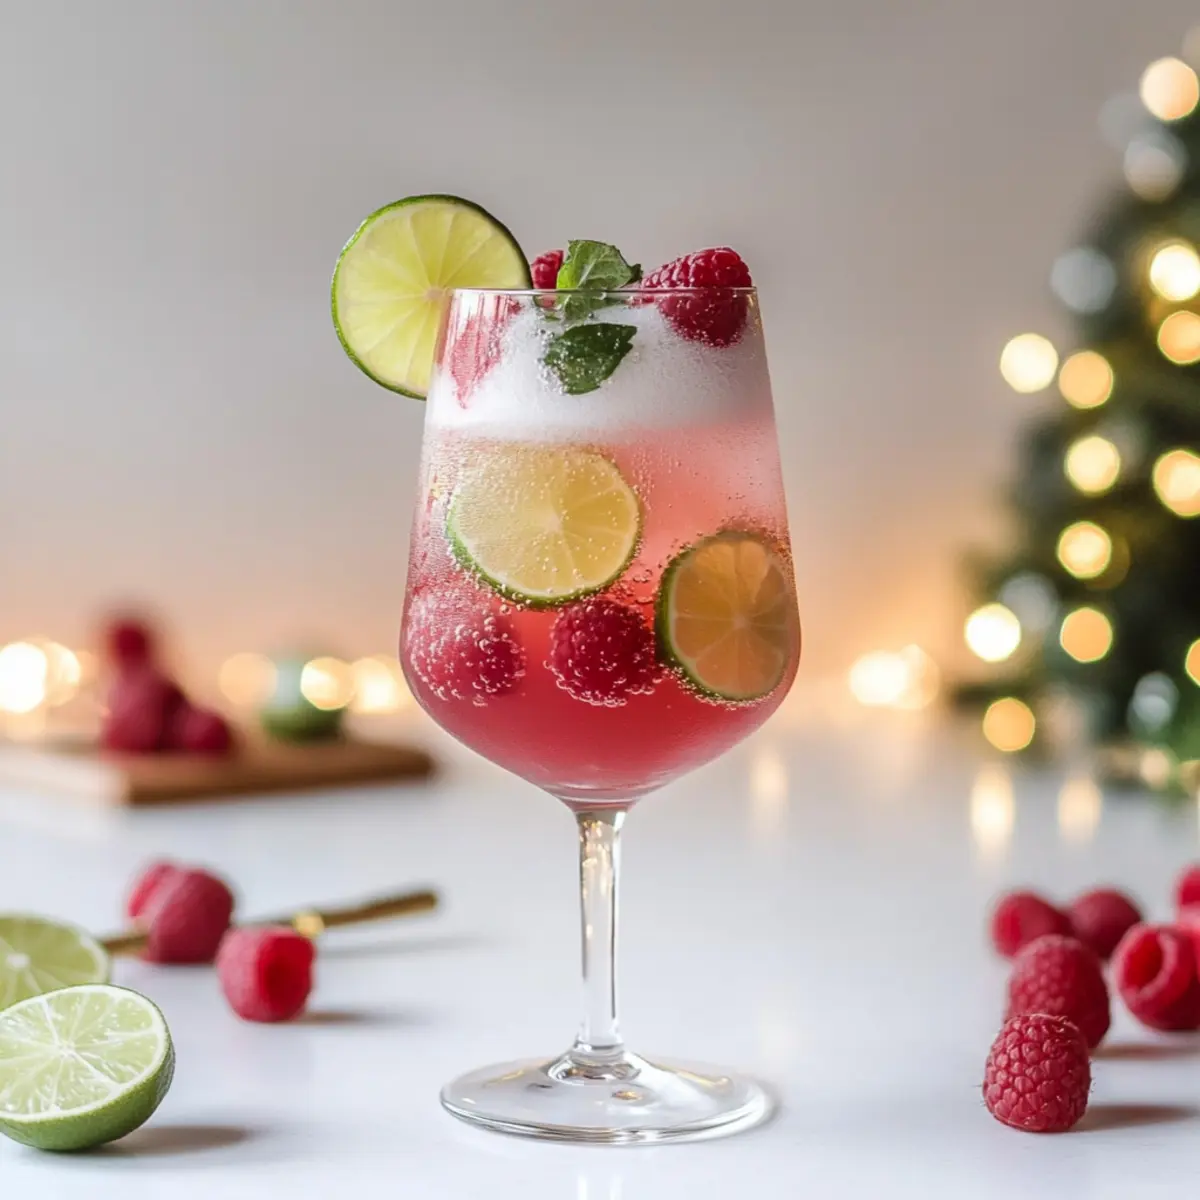
Herb Infusion: Muddle in a few mint leaves with the raspberries for a refreshing herbal twist that brightens each sip.
-
Spicy Zing: For those who enjoy a bit of heat, add a dash of jalapeño or cayenne pepper to the mixture and shake it up!
-
Coconut Cream: Blend in a splash of coconut milk for a tropical twist that lends a creamy texture to the mocktail.
-
Soda Swap: Use flavored sparkling water, like raspberry or lime, for an extra burst of taste that enhances your drink.
-
Non-Sweet: Omit the sweetener entirely and allow the natural sweetness of the fruit to shine while keeping it perfectly refreshing and wholesome.
By incorporating these variations into your Raspberry Lime Fizz Mocktail, you can create a personalized drink experience that resonates with every guest. Once you've perfected your version, consider serving it alongside Fiesta Lime Chicken or enjoying it with some light bites like Shrimp Tacos for a vibrant gathering!
Storage Tips for Raspberry Lime Fizz Mocktail
Fridge: Store any leftover mocktail in an airtight container in the fridge for up to 3 days, keeping it fresh and tasty.
Prepping Ahead: You can prepare the muddled raspberry mixture in advance and store it in the fridge. Just add sparkling water right before serving to maintain fizz.
Ice: If serving later, consider storing the mocktail without ice to prevent dilution. Add ice just before serving for a refreshing chill.
Serving Fresh: For the best flavor experience, enjoy your Raspberry Lime Fizz Mocktail fresh, allowing the flavors to shine at any gathering or special occasion.
Helpful Tricks for Raspberry Lime Fizz Mocktail
- Muddle Wisely: Gently muddle the raspberries to release juice without making the mixture too pulpy. This ensures your Raspberry Lime Fizz Mocktail remains smooth.
- Taste Test: After mixing, always taste the drink before serving. You can adjust sweetness or tartness to match your palate preferences.
- Chill Your Glasses: For an extra refreshing experience, chill your serving glasses beforehand. This keeps your mocktail cool longer and enhances the drinking experience.
- Garnish with Flair: Elevate presentation by garnishing with fresh raspberries or lime wedges. It not only looks stunning but also enhances the fruity aroma.
- Prep Ahead: Make the muddled raspberry mixture a few hours in advance and store it in the fridge. Add sparkling water just before serving to maintain fizz.
What to Serve with Raspberry Lime Fizz Mocktail
Bring flair to your gathering with side delights that elevate this vibrant drink!
- Crispy Vegetable Platter: A medley of fresh veggies like bell peppers and cucumbers offers a crunchy contrast, enhancing the drink's refreshing taste.
- Zesty Mini Tacos: Filled with citrusy fish or zesty beans, these small bites complement the mocktail's tanginess, creating a fun flavor pairing.
- Sweet Fruit Skewers: Beautifully arranged with strawberries, pineapple, and melon, these bright bites echo the fruity allure of your mocktail while adding sweetness.
- Savory Guacamole and Chips: The creaminess of guacamole balances the mocktail’s fizz while the tortilla chips introduce a satisfying crunch.
- Light Spinach Salad: A simple salad dressed with lime vinaigrette invites a crisp freshness that mirrors the zesty notes of the drink.
- Refreshing Lemon Sorbet: Serve as a palate cleanser or dessert, this icy treat enhances the fruity notes of the Raspberry Lime Fizz Mocktail.
- Chilled Sparkling Water: For a non-sweet option, iced sparkling water or flavored seltzer can keep the refreshment going without overpowering flavors.
Make Ahead Options
These refreshing Raspberry Lime Fizz Mocktails are perfect for busy home cooks looking to save time! You can prepare the muddled raspberry and lime mixture up to 24 hours in advance, storing it in an airtight container in the refrigerator. This keeps the vibrant flavors intact while preventing browning. When it’s time to serve, simply pour the prepared mixture into glasses, add ice, and top it off with sparkling water for that delightful fizz. This way, you’ll have a quick, tasty drink ready to impress your guests with minimal effort—just as refreshing and bubbly as if made from scratch!
Raspberry Lime Fizz Mocktail Recipe FAQs
What type of raspberries should I use for the best flavor?
Absolutely! When selecting raspberries, look for plump, fresh berries that are vibrant in color and free of dark spots. The fresher, the sweeter! If you can’t find raspberries, strawberries or even blueberries can be delightful substitutes.
How long can I store leftover Raspberry Lime Fizz Mocktail?
Very! You can store any leftover mocktail in an airtight container in the fridge for up to 3 days. For the best flavor, try to enjoy it fresh, as carbonation tends to fade over time.
Can I freeze the Raspberry Lime Fizz Mocktail mixture?
Yes! To freeze, prepare the muddled raspberry mixture without adding sparkling water. Pour it into an ice cube tray or a sealable bag, and freeze for up to 3 months. When you’re ready to serve, thaw it in the fridge overnight and then mix with freshly carbonated water right before enjoying.
What should I do if my drink is too sweet/tart?
If your mocktail turns out too sweet or tart, don’t worry! Simply add more lime juice to cut down the sweetness or a little honey/syrup to balance out the tartness. Additionally, stirring in a bit of plain sparkling water can help achieve the perfect flavor balance without extra sweetness.
Is this mocktail safe for kids and pets?
Absolutely! The Raspberry Lime Fizz Mocktail is a non-alcoholic, refreshing drink perfect for children. Just keep an eye on any garnishes (like lime wedges) if pets are around, as citrus can be harmful to some animals. Always best to double-check what’s safe!
Can I prepare this mocktail in advance for a party?
Definitely! You can prepare the muddled raspberry mixture up to a few hours in advance and store it in the fridge. Just remember to add the sparkling water right before serving to keep the fizz intact. Enjoy the party stress-free, knowing your mocktail is ready to delight!
Delightfully Refreshing Raspberry Lime Fizz Mocktail Recipe
Ingredients
Equipment
Method
- In a shaker, add 1 cup of fresh raspberries and gently muddle them with a muddler for about 30 seconds to release their juice.
- Squeeze the juice of 2 limes into the shaker, add 2 tablespoons of honey or simple syrup and a handful of ice cubes. Shake vigorously for 15-20 seconds.
- Strain the muddled mixture into a serving glass using a strainer to catch any seeds.
- Slowly pour in 1 cup of sparkling water, stirring gently to preserve the fizz.
- Taste your mocktail and adjust sweetness if needed, then garnish with fresh raspberries or a lime wedge before serving.