
As I stood in my kitchen, the aroma of sizzling chicken blended with the zesty notes of garlic and ginger transported me straight to a vibrant Thai market. This is the magic of my Quick & Easy Thai Peanut Chicken Wraps! Perfect for those hectic evenings, this recipe not only comes together in just 15 minutes but also delivers a delightful crunch from fresh veggies enveloped in a creamy peanut sauce. Whether you’re looking to impress at lunch or whip up a quick dinner, these wraps are adaptable to satisfy any cravings—they can even be made vegetarian or peanut-free! Ready to elevate your mealtime with a simple, yet unforgettable dish? Let’s roll up our sleeves and dive in!
Why Should You Make These Wraps?
Quick Preparation: In just 15 minutes, you can create these flavorful wraps, making them ideal for busy weeknights.
Customizable: Feel free to swap chicken for tofu or chickpeas to fit your dietary preferences!
Fresh & Crunchy: Enjoy a delightful balance of textures with crisp veggies contrasting the creamy peanut sauce.
Meal Prep Friendly: Prepare the filling and dressing ahead of time for a quick lunch or dinner option. Try pairing these wraps with a refreshing cucumber salad for an easy meal!
Crowd-Pleasing Flavor: The rich combination of ginger, garlic, and peanut brings authentic Thai taste right to your table.
Thai Peanut Chicken Wraps Ingredients
For the Peanut Sauce
- Peanut Butter – Provides creaminess and depth; substitute with sunflower seed butter for a peanut-free option.
- Low-Sodium Soy Sauce – Adds umami flavor; use tamari for gluten-free needs.
- Brown Sugar or Honey – Sweetens the sauce; maple syrup can be used as a vegan alternative.
- Rice Wine Vinegar – Provides acidity; substitute apple cider vinegar for a similar taste.
- Minced Garlic – Enhances flavor; fresh garlic is preferred but powder can be used in a pinch.
- Minced Ginger – Offers warmth and spice; ground ginger works as an alternative if fresh is unavailable.
- Sriracha Sauce – Adds heat to the sauce; adjust the amount based on your desired spice level.
For the Filling
- Cooked Chicken Breasts – Provides protein; rotisserie chicken is a great time-saver.
- Coleslaw Mix – Adds crunch and nutrition; shredded cabbage or spinach can be used as alternatives.
- Grated Carrot – Enhances color and sweetness; you can omit or replace with bell pepper for another flavor.
- Chopped Cilantro – Adds freshness; substitute parsley if cilantro isn’t your favorite.
- Roasted, Salted Peanuts – Adds crunch; omit for nut-free versions.
For the Wraps
- Tortillas – The base for wraps; use large lettuce leaves for a lower-carb option.
These tantalizing ingredients come together to create the ultimate Thai Peanut Chicken Wraps, perfect for a quick meal that satisfies every palate!
Step‑by‑Step Instructions for Thai Peanut Chicken Wraps
Step 1: Prepare Peanut Dressing
In a medium bowl, whisk together ½ cup of peanut butter, 3 tablespoons of low-sodium soy sauce, 2 tablespoons of brown sugar, 1 tablespoon of rice wine vinegar, 2 minced garlic cloves, 1 tablespoon of minced ginger, and 1 tablespoon of sriracha sauce until the mixture is smooth and creamy. If the sauce is too thick, add a tablespoon of water gradually until you reach your desired consistency.
Step 2: Combine Filling
In a large mixing bowl, toss together 2 cups of shredded cooked chicken, 2 cups of coleslaw mix, 1 grated carrot, ¼ cup of chopped cilantro, and ¼ cup of roasted, salted peanuts. Drizzle about half of your peanut dressing over the mixture and gently toss to coat everything evenly. Allow the filling to sit for about 5 minutes, so the flavors meld beautifully.
Step 3: Warm Tortillas
Microwave 4 large tortillas for approximately 30 seconds, or until they are soft and pliable. This step is crucial for making your Thai Peanut Chicken Wraps easier to roll without tearing. You can alternatively heat them in a skillet over medium heat for about 15 seconds on each side.
Step 4: Assemble Wraps
Lay each warmed tortilla flat on a clean surface. Spoon an equal amount of the chicken filling mixture onto the center of each tortilla. Fold in the sides, then roll tightly from the bottom up to secure the filling. Repeat this process with the remaining tortillas and filling, ensuring each wrap is snug and well-packed.
Step 5: Serve and Enjoy
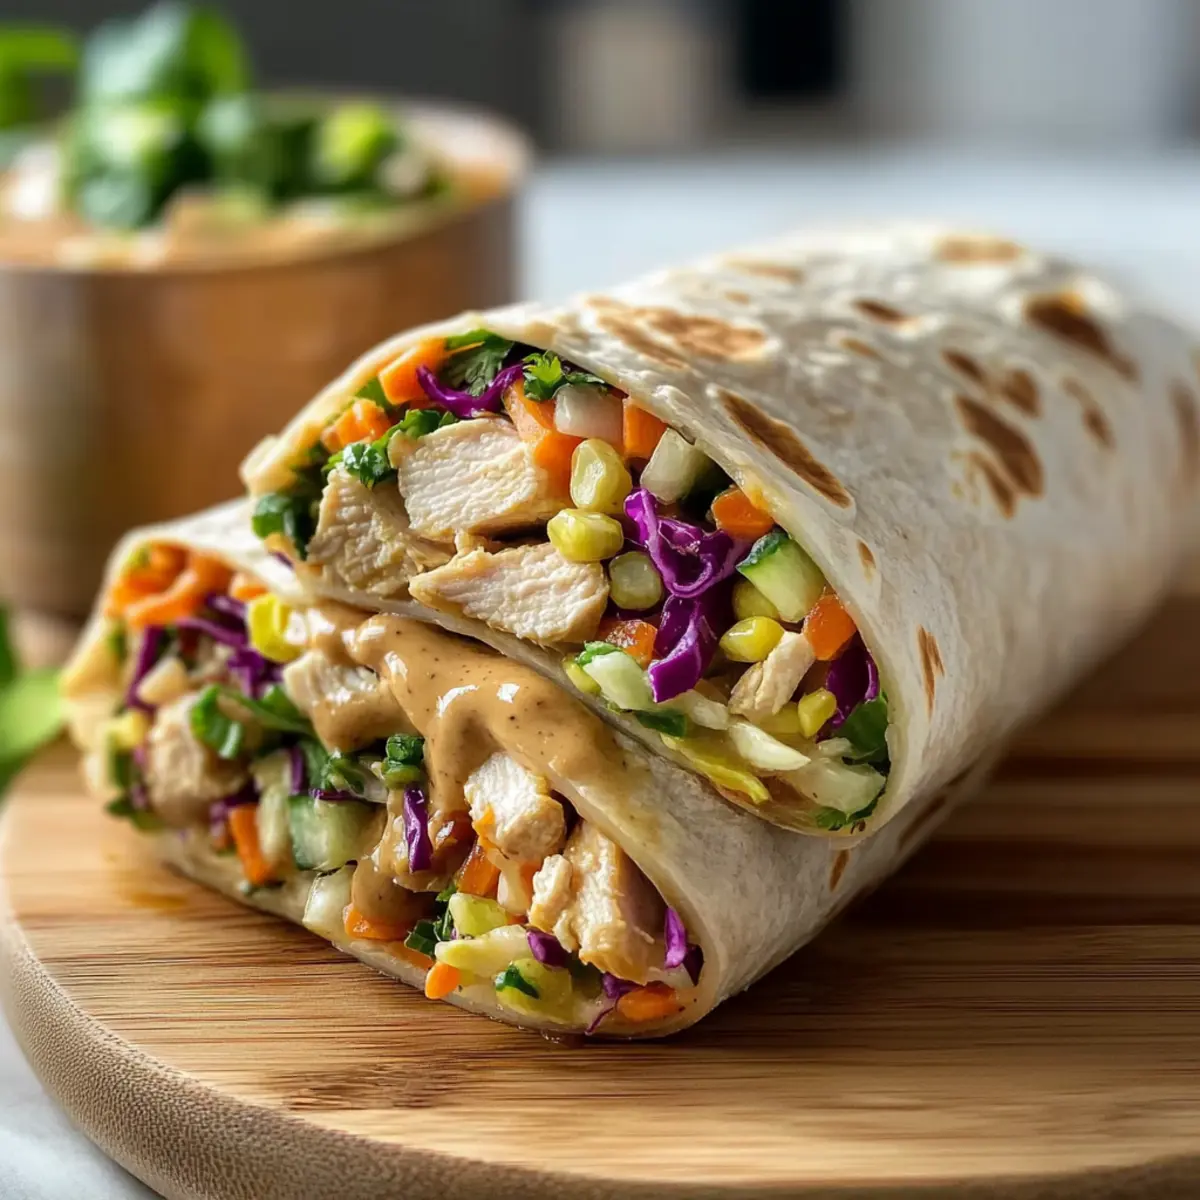
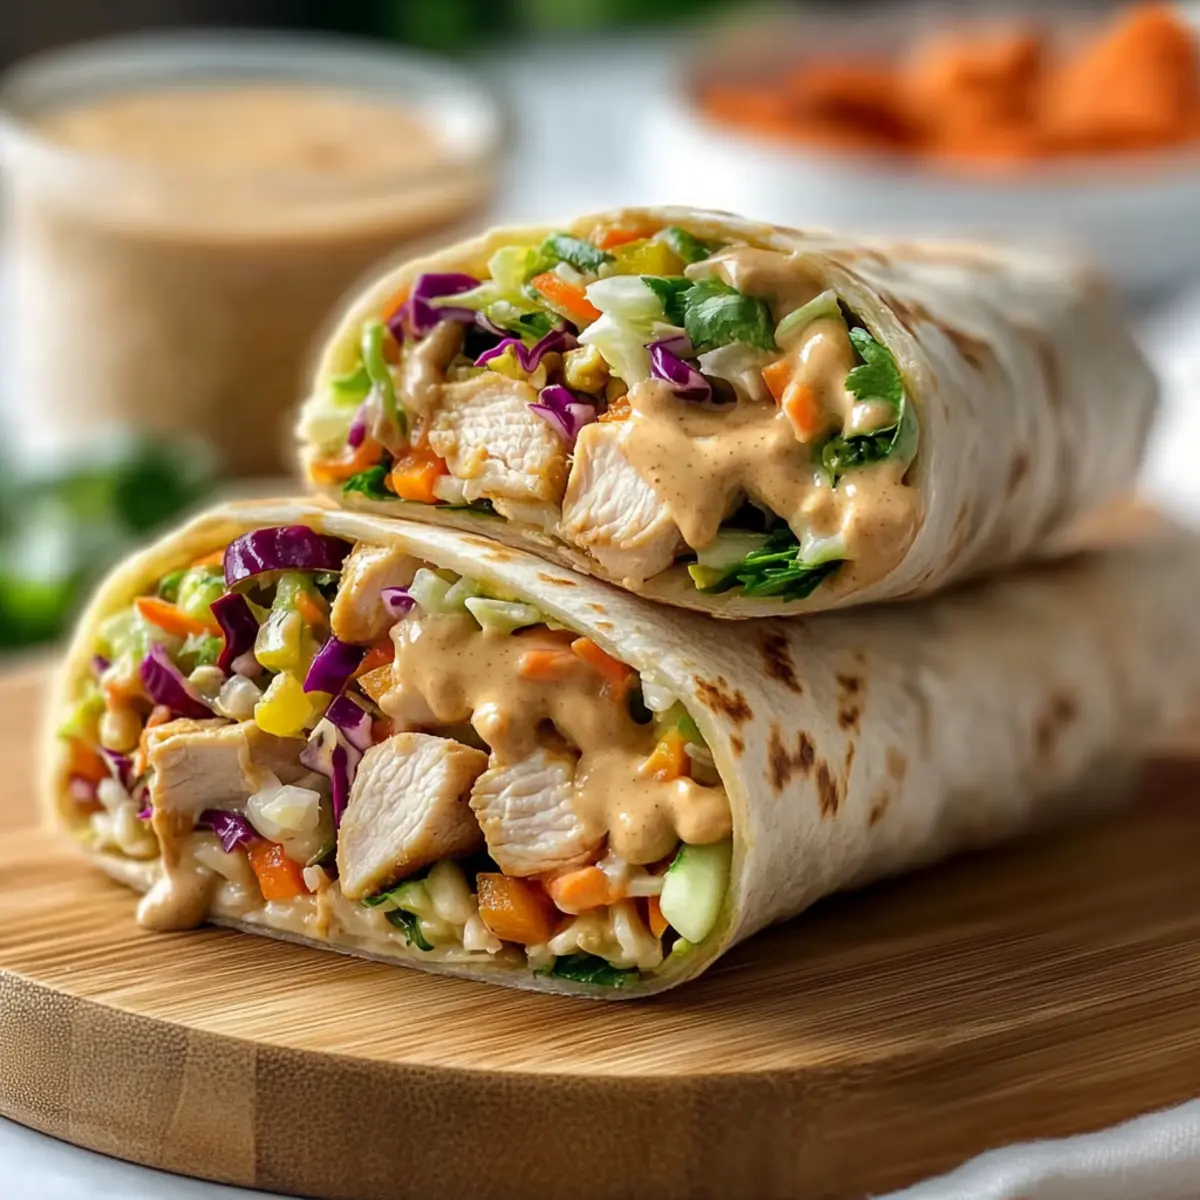
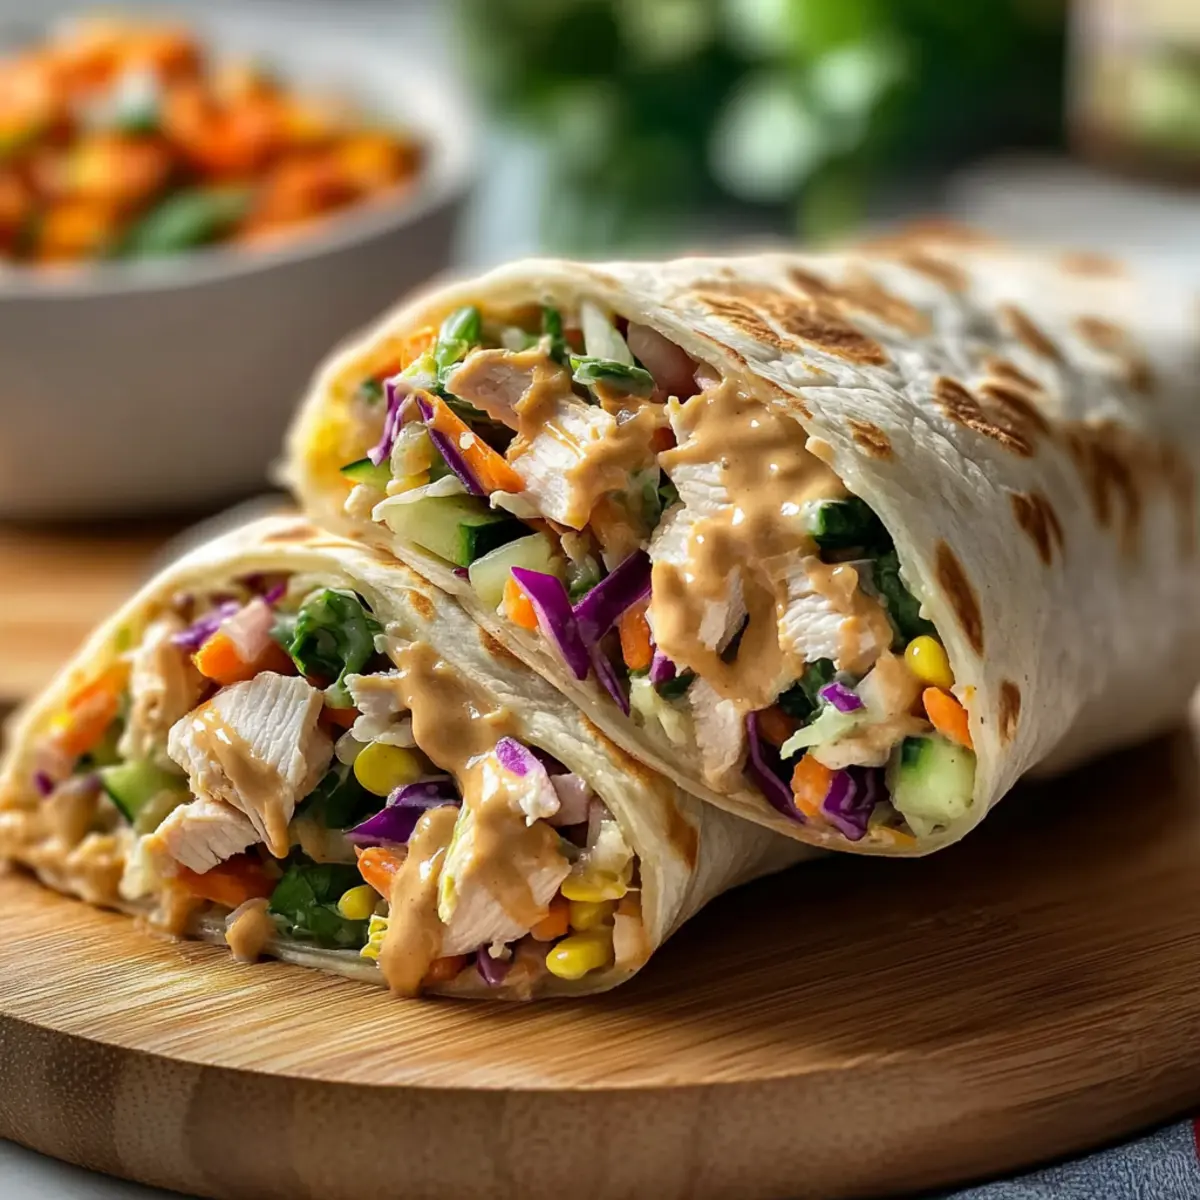
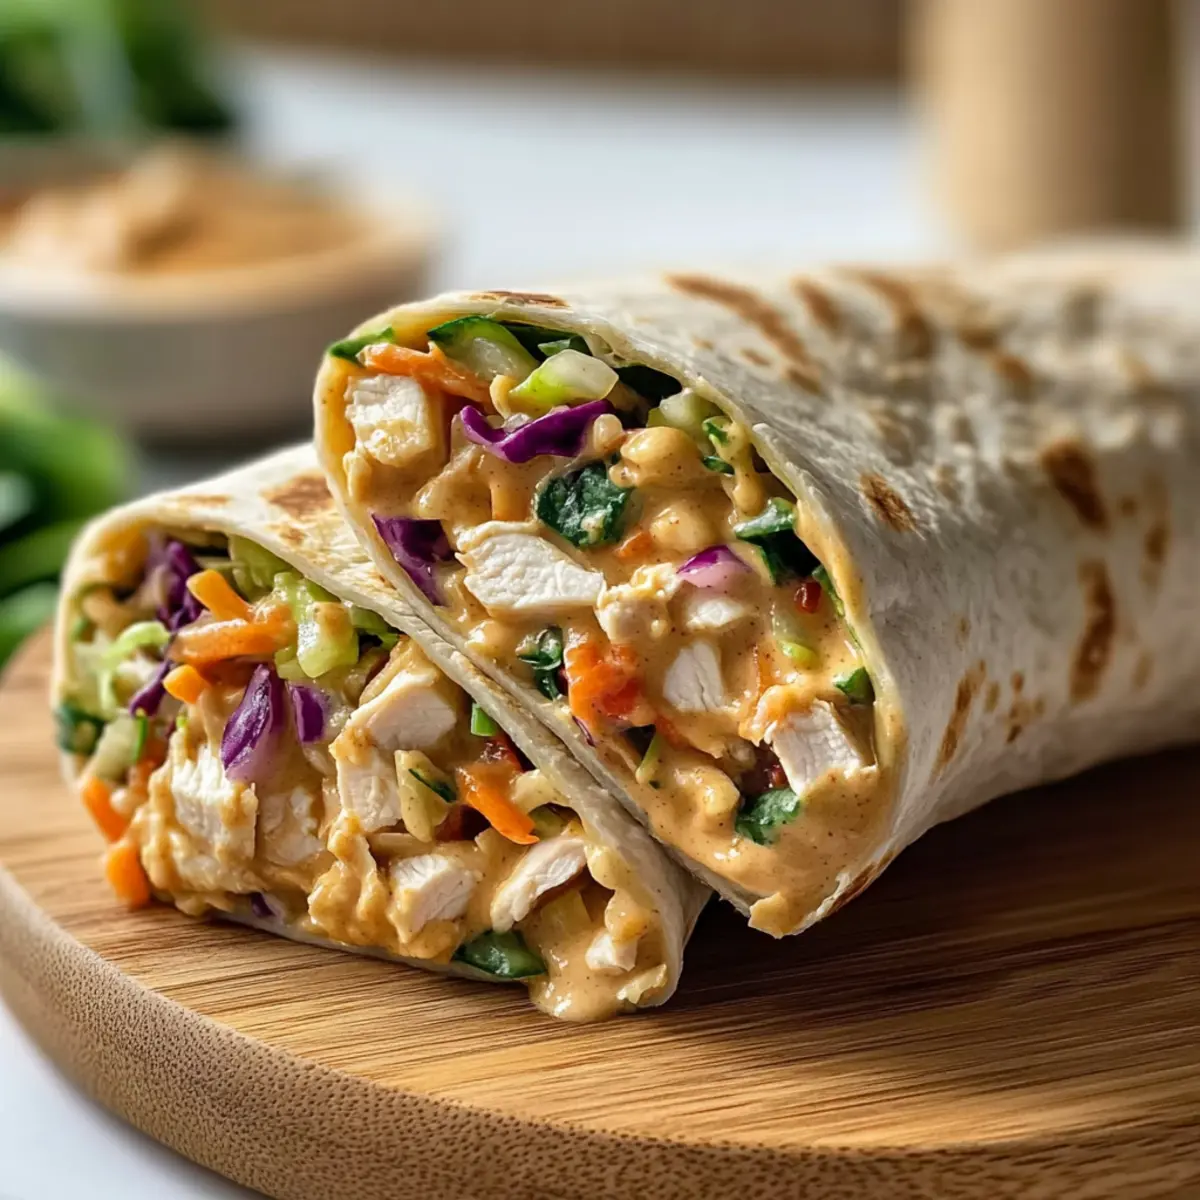
Once all the wraps are assembled, drizzle the remaining peanut dressing over the top for added flavor. Slice the wraps in half to reveal the colorful filling, and serve immediately. These Thai Peanut Chicken Wraps are perfect for a quick lunch or dinner, providing a delightful crunch and creamy richness in every bite.
Make Ahead Options
These Thai Peanut Chicken Wraps are a fantastic option for meal prep! You can prepare the peanut dressing and filling up to 3 days in advance; store them separately in airtight containers in the fridge to maintain freshness. To save even more time, pre-chop your veggies and shred the chicken, so everything is ready to go when you are. When you’re ready to serve, simply warm the tortillas for about 30 seconds in the microwave and assemble the wraps with the prepped filling. This preparation will ensure that your wraps are just as delicious and flavorful with minimal effort on your busy days!
Expert Tips for Thai Peanut Chicken Wraps
-
Warm Tortillas: Gently heating tortillas makes them pliable, preventing tearing and making rolling easier. This ensures a well-assembled wrap!
-
Don’t Overfill: To avoid spills, be mindful of the amount of filling you add. A modest portion allows for easier rolling and less mess.
-
Marinate a Bit: Letting the filling sit in the peanut dressing for a few minutes enhances flavor absorption, resulting in a more delicious Thai Peanut Chicken Wrap.
-
Use Rotisserie Chicken: For a quicker meal prep, shredded rotisserie chicken saves time while allowing for a juicy, flavorful protein base in your wraps.
-
Experiment with Vegetables: Feel free to get creative! Adding colorful veggies not only enhances nutrition but also adds texture to each flavorful bite.
Storage Tips for Thai Peanut Chicken Wraps
Fridge: Keep assembled wraps tightly wrapped in plastic or foil for up to 2 days. This helps maintain freshness while preventing moisture loss.
Make-Ahead: Prepare the filling and peanut sauce up to 3 days in advance, storing them separately in airtight containers in the fridge.
Freezer: If you want to freeze, store the filling in a sealed container for up to 3 months. Avoid freezing the assembled wraps as the tortillas can become soggy.
Reheating: To reheat, warm the filling in a microwave or on the stovetop until heated through. Assemble wraps fresh after reheating for the best texture.
Thai Peanut Chicken Wraps Variations
Feel free to customize these wraps to match your taste buds and dietary needs!
-
Vegetarian: Replace chicken with firm tofu or chickpeas for a satisfying plant-based twist. You'll still enjoy a hearty bite full of flavor.
-
Peanut-Free: Swap out peanut butter for sunflower seed butter or tahini to create a equally creamy and delicious dressing everyone can enjoy.
-
Gluten-Free: Use tamari instead of soy sauce and opt for corn tortillas or lettuce leaves to suit your dietary needs without sacrificing taste.
-
Extra Crunch: Add sliced bell peppers, shredded carrots, or cucumber for a delightful crunch that complements the creamy peanut sauce beautifully.
-
Spicy Kick: Increase the sriracha in your dressing or sprinkle some chili flakes within the filling to turn up the heat level for spice enthusiasts.
-
Herb Variations: If cilantro isn't your favorite, try fresh parsley or basil to add a different fresh note that still brightens the wrap—each provides its own unique essence.
-
Meal Prep Magic: Prepare the filling and sauce in advance, storing it in the fridge. Assemble when you’re ready to eat for a quick, homemade lunch or dinner. Consider pairing with Crock Pot Chicken for another simple meal option!
-
Lighten Up: For a lower-carb version, swap tortillas for large leaf romaine or butter lettuce, turning your wrap into a fresh, vibrant hand-held salad.
What to Serve with Thai Peanut Chicken Wraps
Elevate your mealtime experience by pairing these vibrant wraps with delicious sides that complement their fresh, zesty flavors.
-
Cucumber Salad: A light, refreshing salad with a tangy rice vinegar dressing balances the richness of the wraps. Its crisp texture is a perfect contrast.
-
Sweet Potato Fries: Crispy, caramelized sweet potato fries provide a satisfying sweetness that matches the savory peanut sauce beautifully.
-
Mango Salsa: Bright, tropical mango salsa adds a burst of flavor, enhancing the wraps with its sweetness and freshness. Try tossing in some jalapeños for a spicy kick.
-
Edamame: Lightly salted edamame offers a healthy protein-packed snack that complements the meal. Its simple preparation allows for quick assembly alongside the wraps.
-
Thai Iced Tea: This creamy, aromatic beverage enhances the meal with its unique flavors, cooling the palate and balancing the heat from the sriracha sauce in the wraps.
-
Fruit Skewers: Colorful fruit skewers packed with seasonal fruits provide a sweet, juicy finish to your meal. They can also serve as a fun, interactive element for families.
Thai Peanut Chicken Wraps Recipe FAQs
Can I use any type of peanut butter for the sauce?
Absolutely! You can use any peanut butter you like—creamy or crunchy works well. If you're looking for a peanut-free option, I recommend sunflower seed butter or tahini as great substitutes that still deliver a wonderful flavor and texture.
How should I store leftover wraps?
To maintain their freshness, keep assembled wraps tightly wrapped in plastic or foil and refrigerate them for up to 2 days. This prevents moisture loss and keeps the tortillas pliable. If you notice any dark spots or wilting, it’s time to toss them out!
Can I freeze the filling for later use?
Yes, you can definitely freeze the filling! Simply place it in an airtight container and store it for up to 3 months. When you’re ready to enjoy, just thaw it in the fridge overnight and reheat on the stovetop or in the microwave before assembling your wraps.
What if my peanut sauce is too thick?
If your peanut sauce seems too thick for your liking, you can easily adjust it! Just add water, one tablespoon at a time, whisking until you reach your desired consistency. This will help it drizzle nicely over your wraps while still keeping that rich flavor.
Are these wraps suitable for people with allergies?
While the Thai Peanut Chicken Wraps are not inherently allergen-free, they can be adjusted to accommodate certain dietary restrictions. Opt for gluten-free tamari instead of soy sauce for those with gluten allergies, and if you need nut-free options, use sunflower seed butter and omit the peanuts entirely.
Can I make these wraps vegetarian?
You bet! For a delightful vegetarian version, simply replace the chicken with firm tofu or chickpeas. You can also load up on extra veggies like bell peppers or cucumbers for that lovely crunch, ensuring everyone at the table can enjoy these nutritious Thai Peanut Chicken Wraps!
Delicious Thai Peanut Chicken Wraps Ready in 15 Minutes
Ingredients
Equipment
Method
- In a medium bowl, whisk together peanut butter, soy sauce, brown sugar, rice wine vinegar, minced garlic, minced ginger, and sriracha sauce until smooth. Add a tablespoon of water if too thick.
- In a large mixing bowl, toss together shredded chicken, coleslaw mix, grated carrot, chopped cilantro, and peanuts. Drizzle half of the peanut dressing over and toss. Let it sit for 5 minutes.
- Microwave tortillas for about 30 seconds until soft and pliable.
- Lay each tortilla flat, spoon filling onto the center, fold sides in, and roll tightly.
- Drizzle remaining peanut dressing over assembled wraps, slice in half, and serve immediately.
Leave a Reply