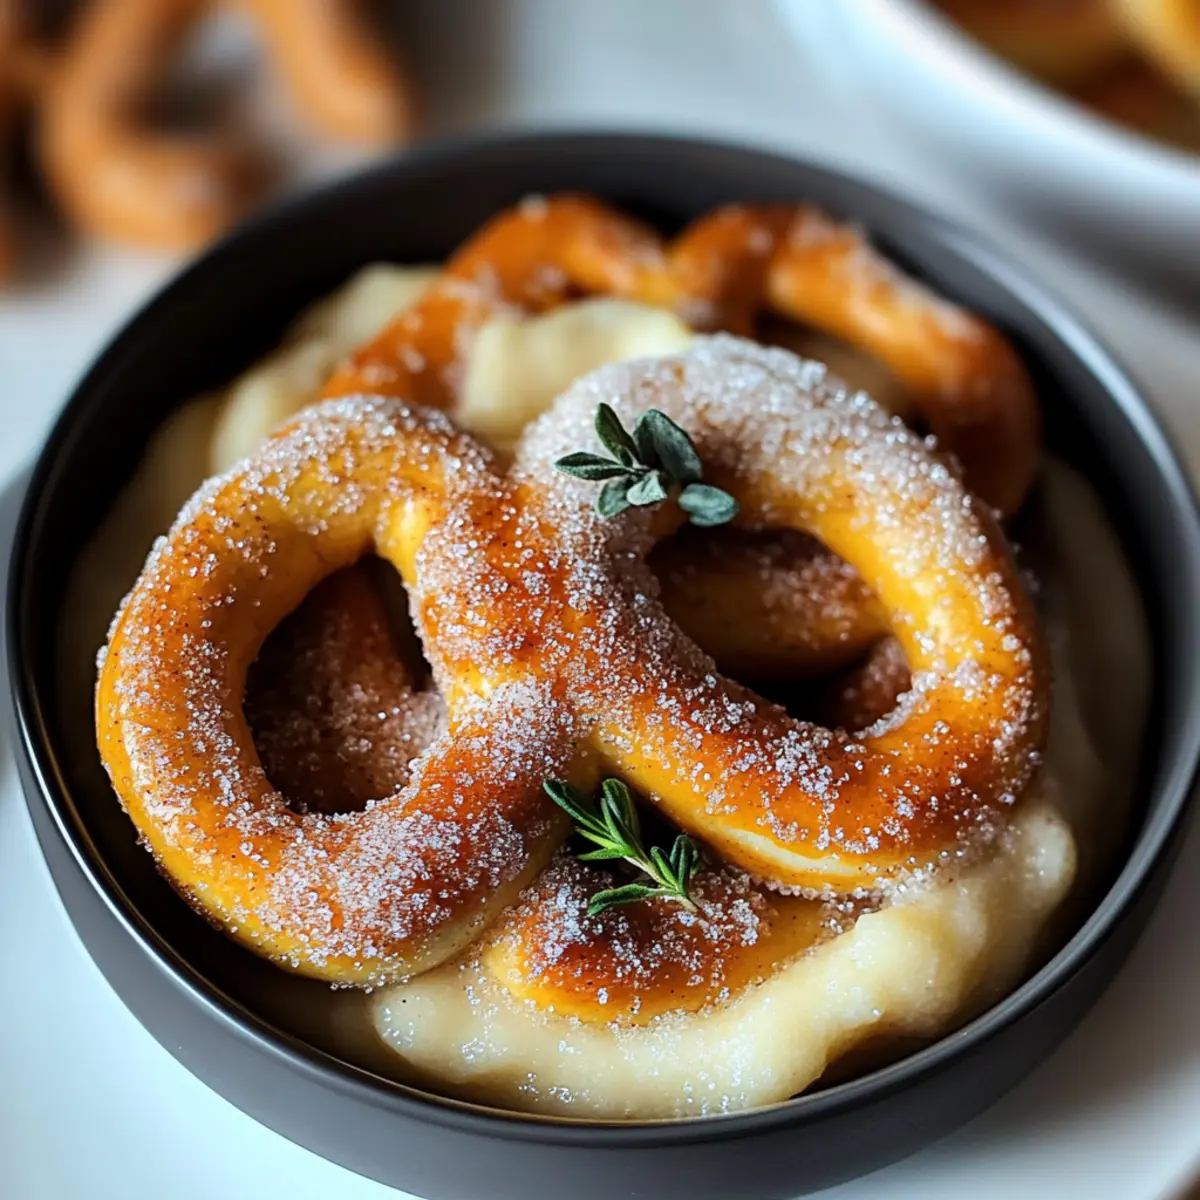
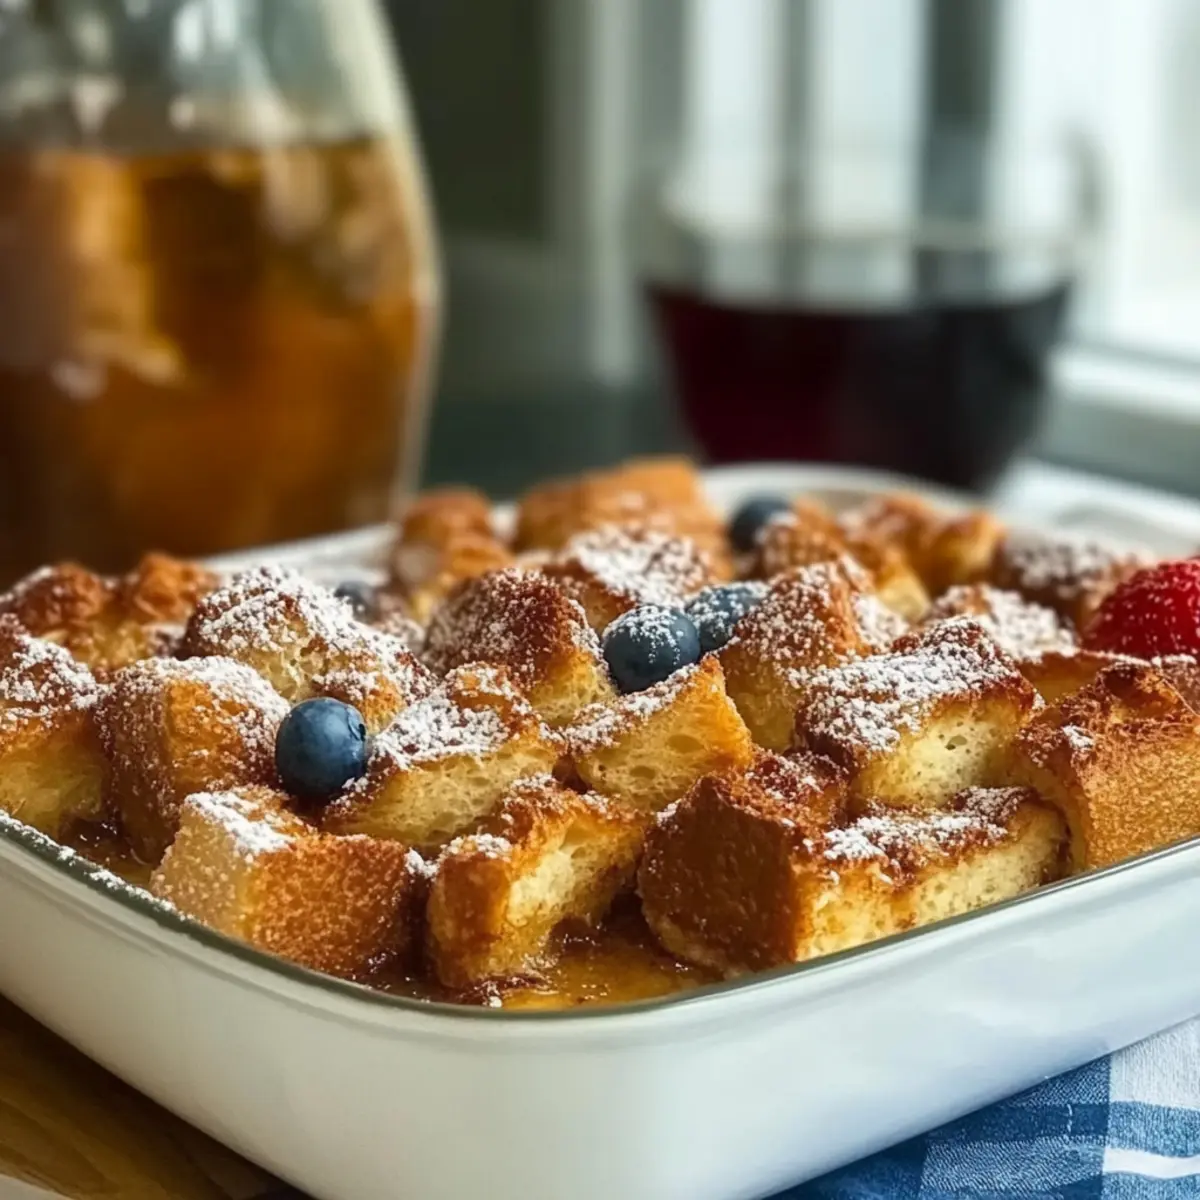
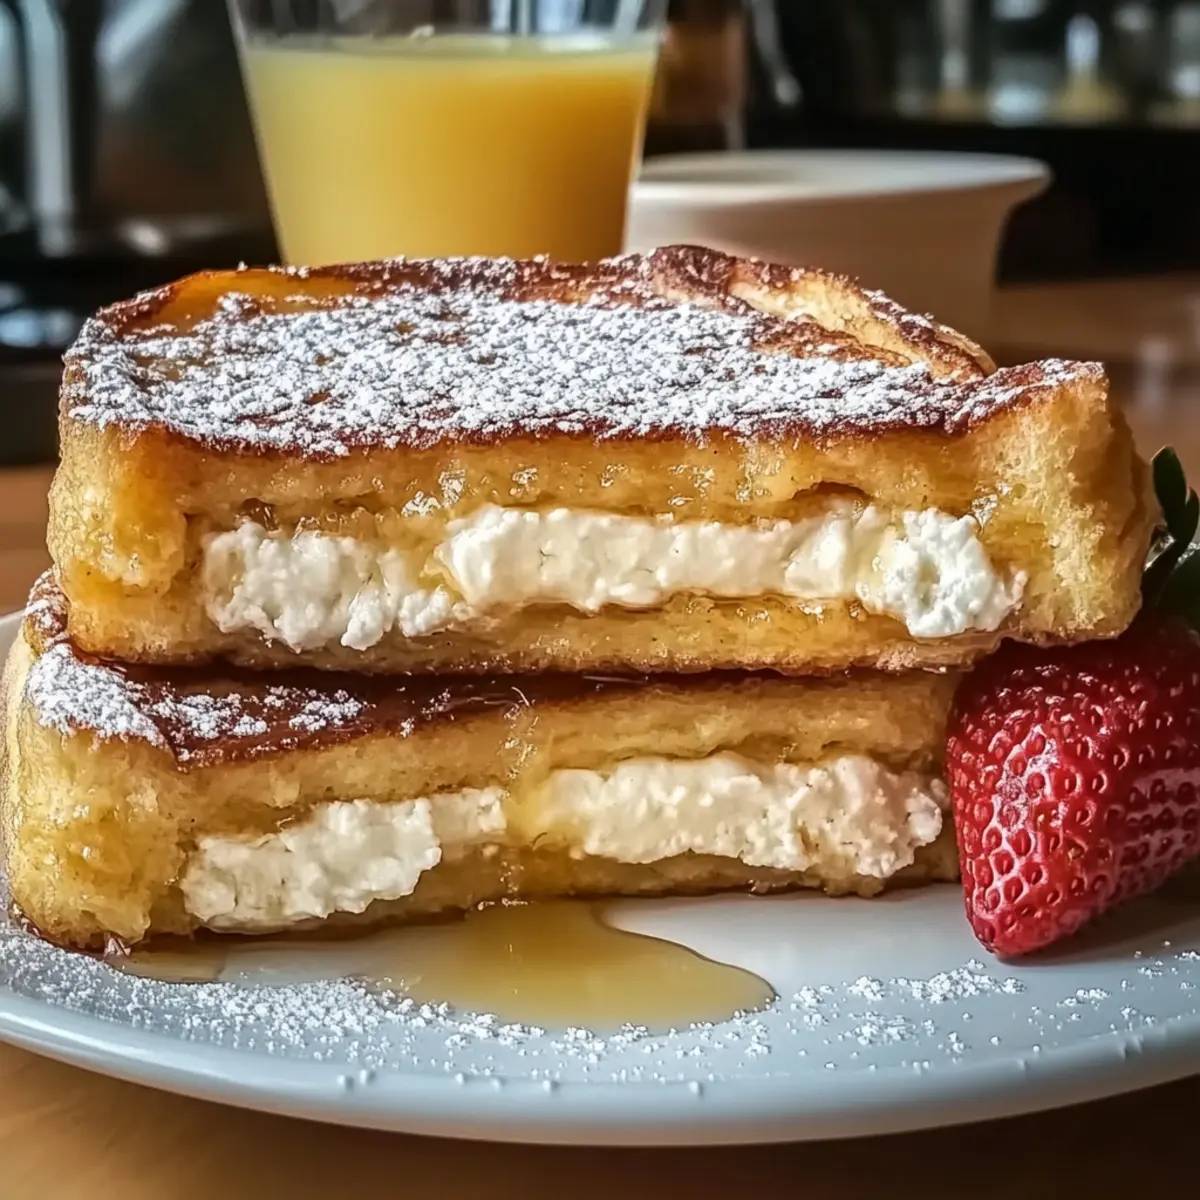
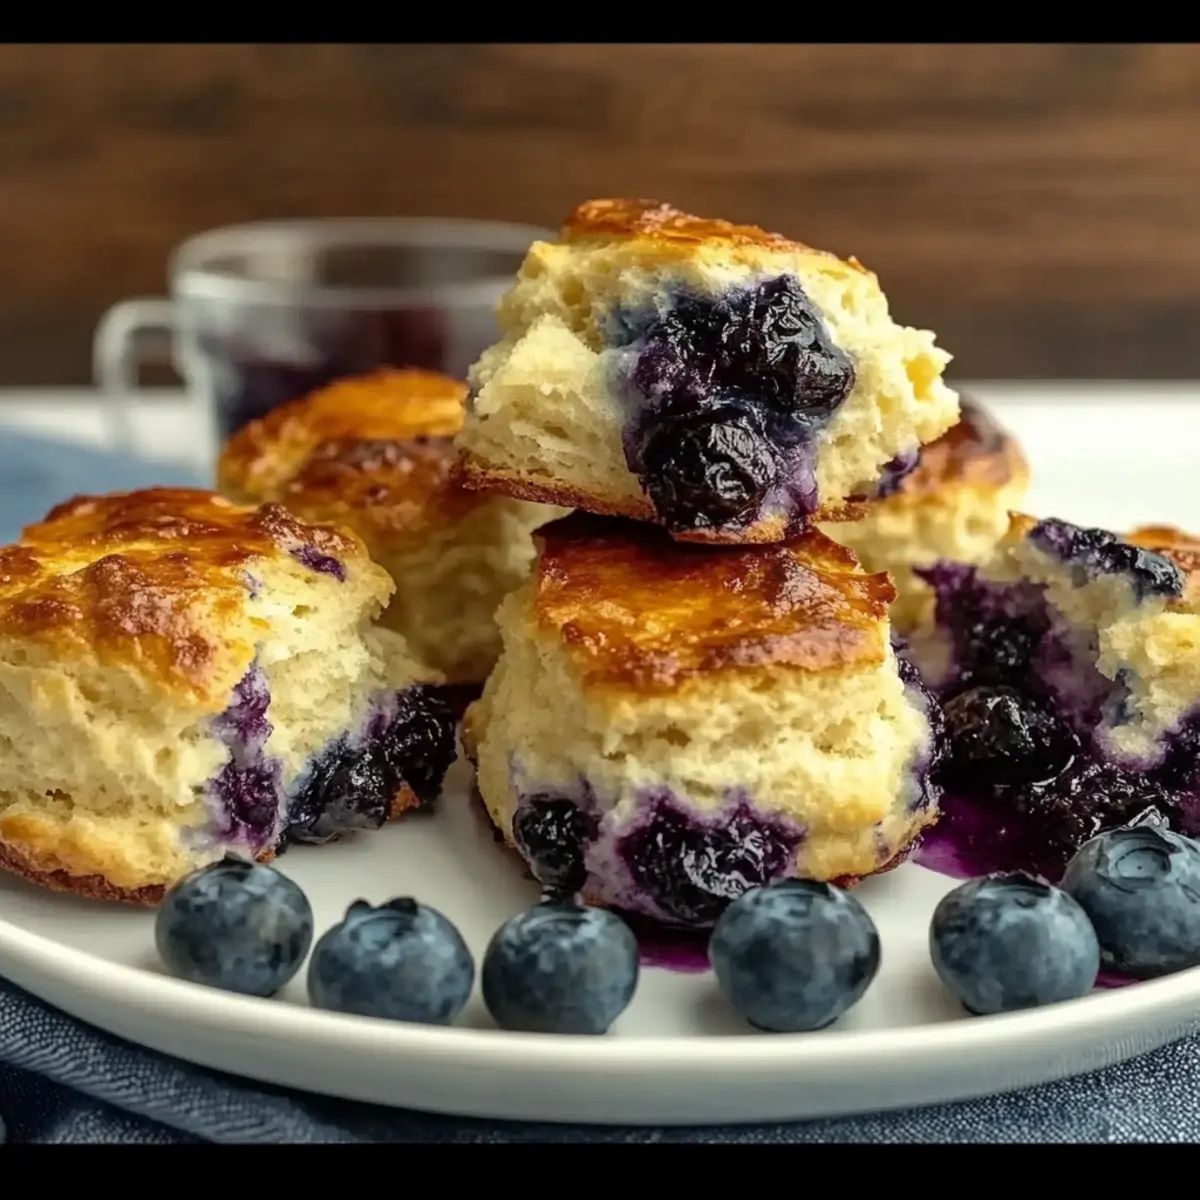
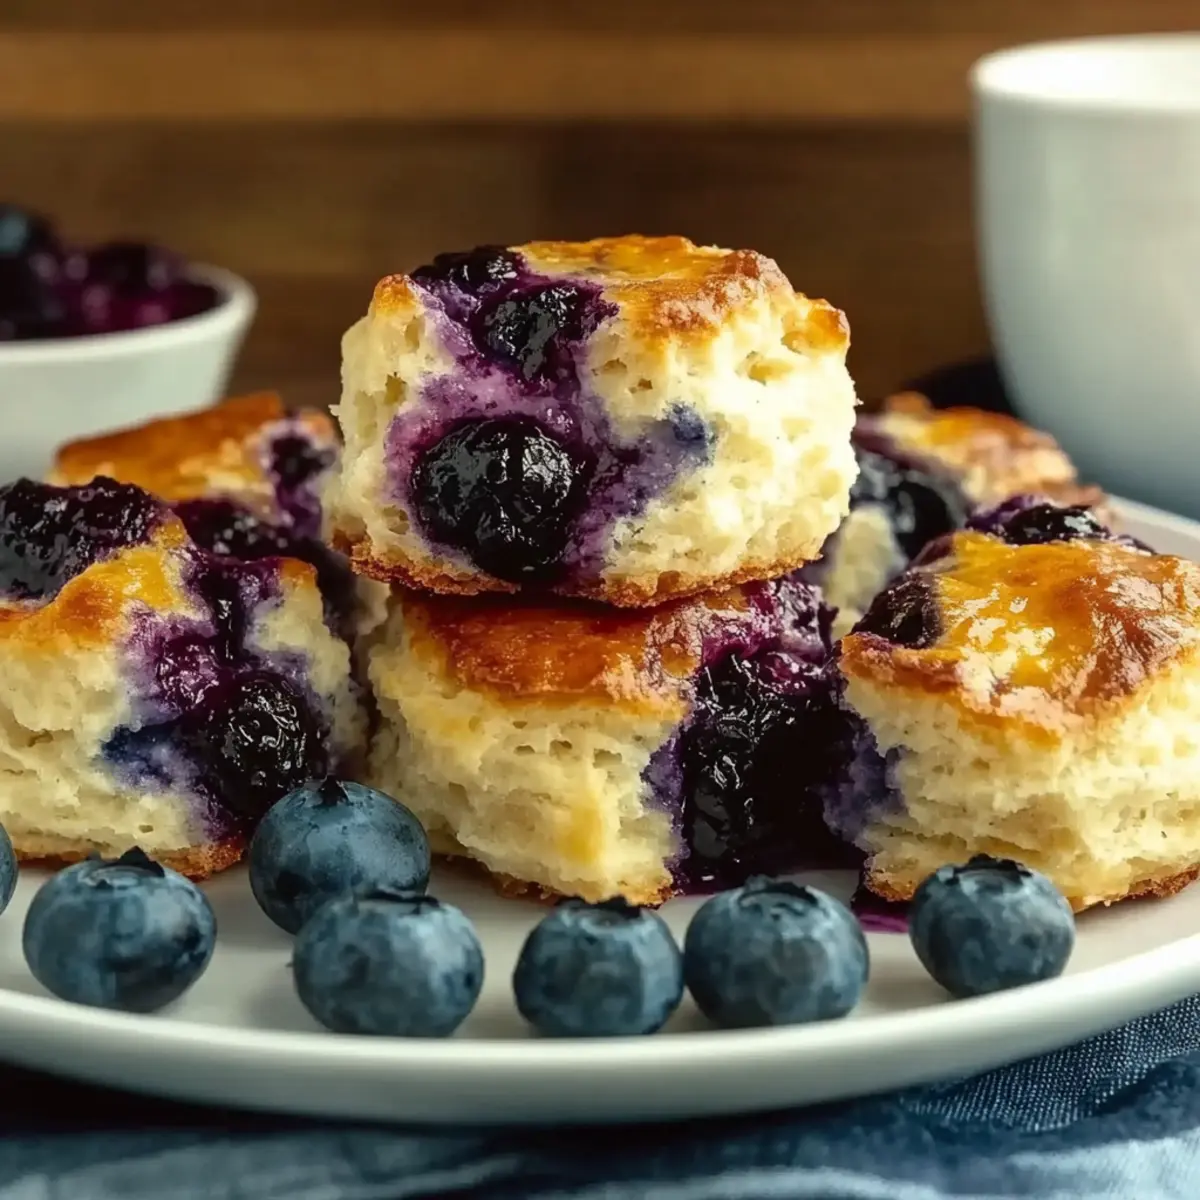
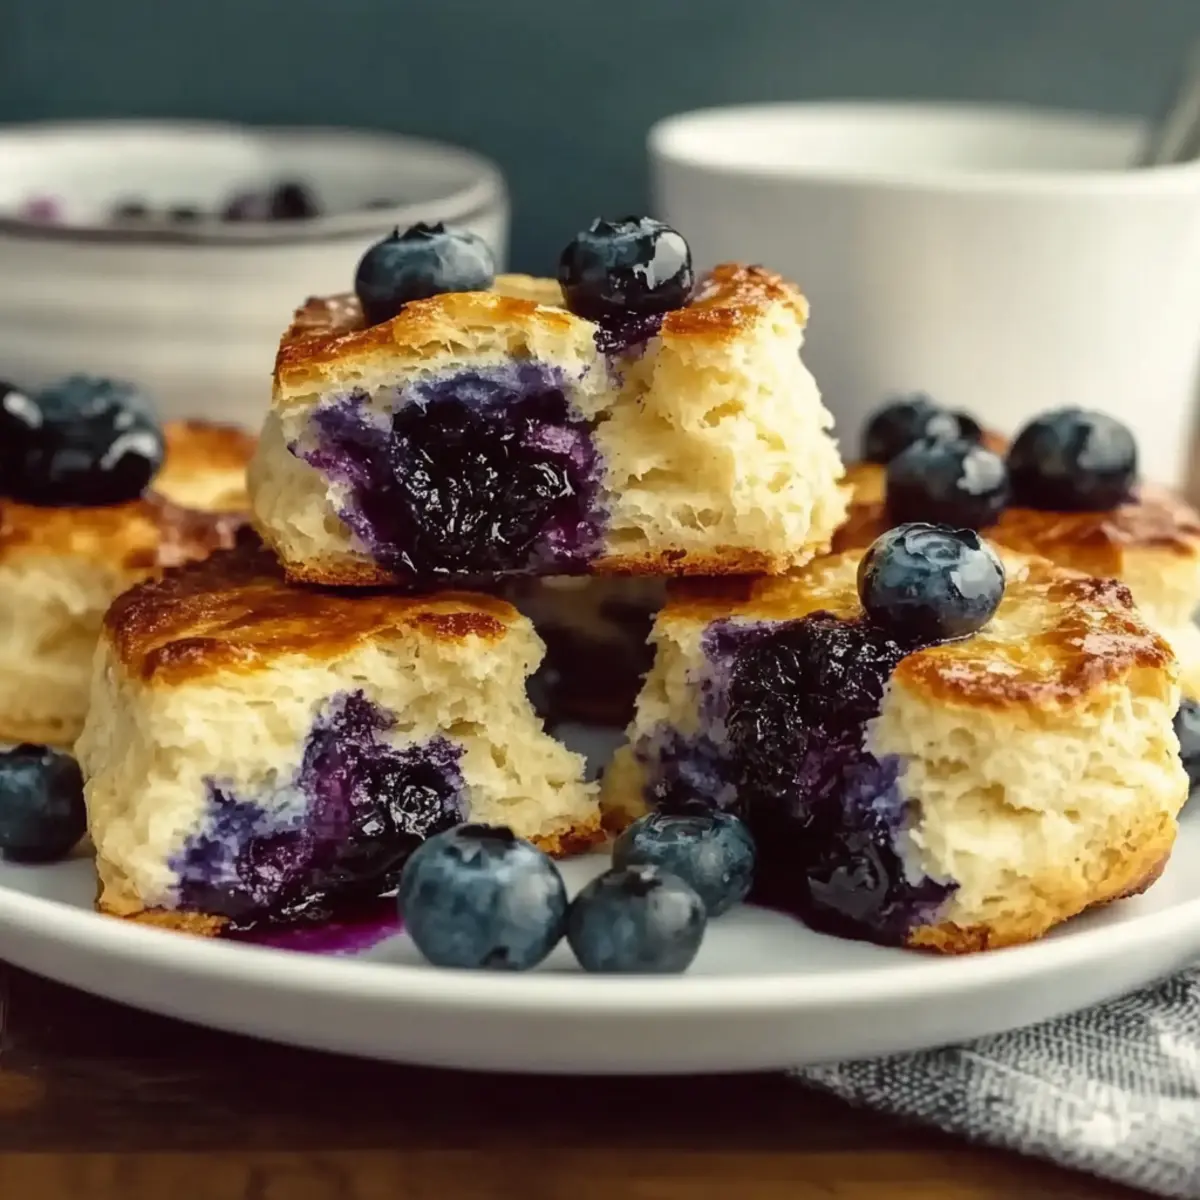
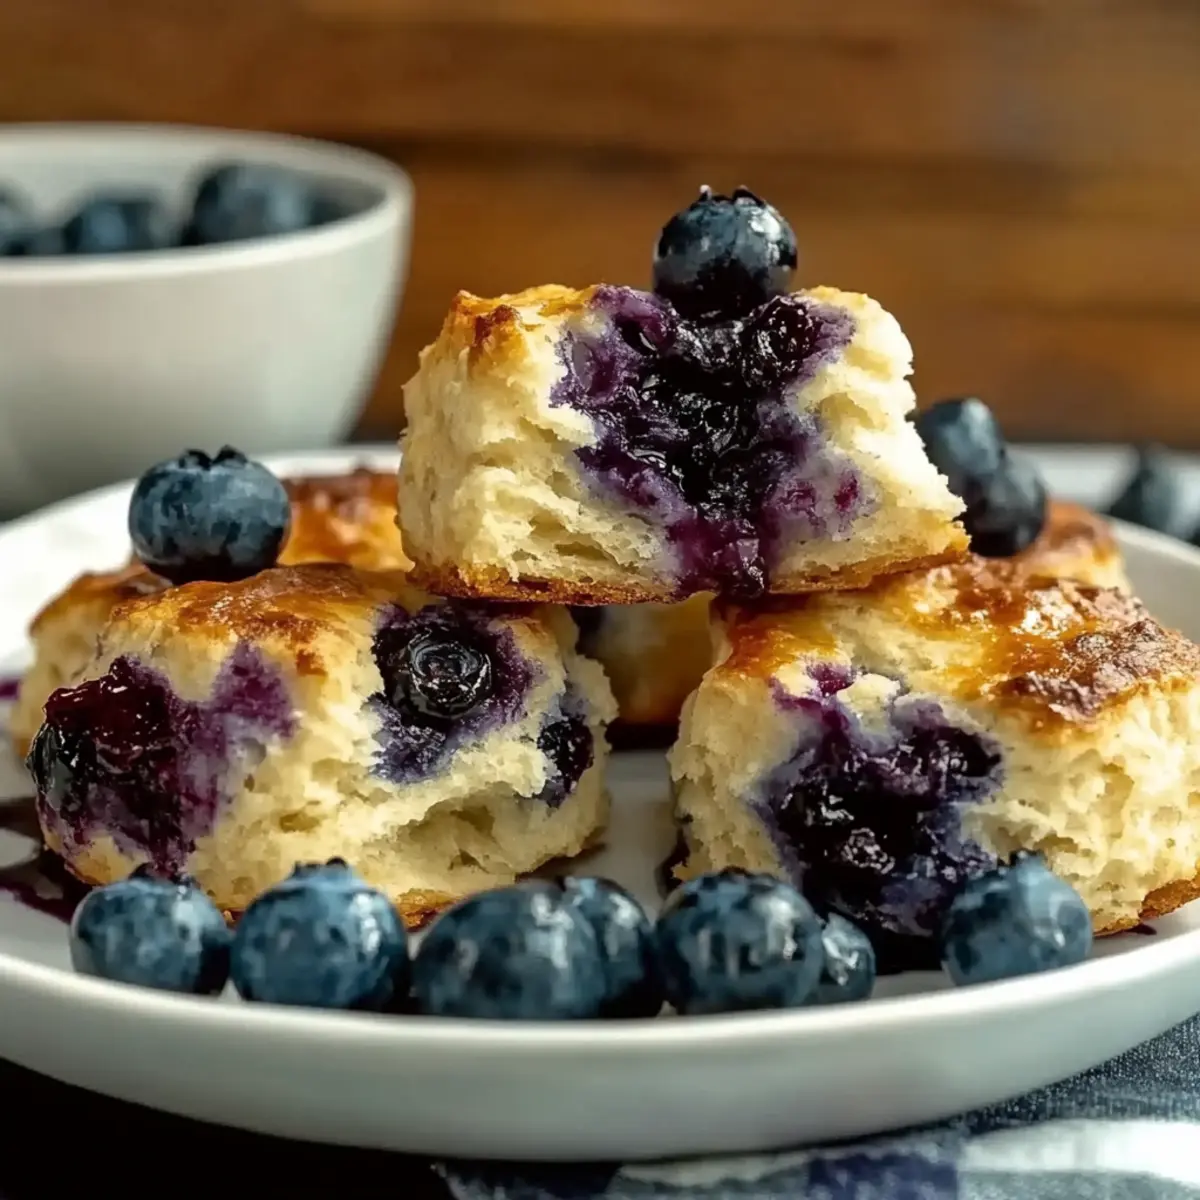
The moment I pulled these blueberry biscuits from the oven, the kitchen filled with the warm scent of baked goodness, instantly reminding me of cozy family breakfasts. With their delightfully fluffy texture and pockets of juicy blueberries, these homemade blueberry biscuits are not just another quick and easy recipe; they’re a perfect addition to any brunch table or an irresistible snack for any time of day. The best part? You can whip them up in under 30 minutes using simple pantry staples, making them a go-to solution for busy mornings or spontaneous gatherings. Plus, their customizable nature means you can tweak ingredients to suit your taste or dietary preferences! Ready to discover how to create these delicious treats? Let's get started!
Why Are Blueberry Biscuits a Must-Try?
Quick and Easy: These homemade blueberry biscuits come together in under 30 minutes, perfect for busy mornings.
Fluffy Texture: The biscuits boast a wonderfully fluffy and slightly flaky texture that elevates your breakfast game.
Customizable: Feel free to swap blueberries for raspberries or chocolate chips, making them uniquely yours!
Perfect for Any Occasion: Whether it’s a brunch gathering or a simple snack, these treats are a delightful addition to any table.
Healthier Options: Reduce sugar or opt for whole wheat flour to create a nutritious twist on this classic recipe.
Family Favorite: Bursting with juicy blueberries, they’re sure to be a hit with everyone, making them an irresistible treat you’ll want to bake repeatedly!
Blueberry Biscuits Ingredients
For the Dough
• All-Purpose Flour – Provides structure; you can substitute with whole wheat flour for a healthier option.
• Baking Powder – Essential for rising; make sure it's fresh for optimal fluffiness.
• Salt – Enhances flavors to balance the sweetness; always a necessity for taste.
• Cold Butter – Creates a flaky texture; use very cold butter and a pastry cutter to prevent overworking.
• Granulated Sugar – Adds sweetness; feel free to reduce the quantity for a less sweet biscuit.
• Milk – Moistens the dough; consider almond or oat milk for a dairy-free alternative.
For the Blueberries
• Blueberries – Introduces fruity flavor and moisture; use fresh or frozen (do not thaw) to keep the dough from getting too wet.
Step‑by‑Step Instructions for Blueberry Biscuits
Step 1: Preheat the Oven
Start by preheating your oven to 425°F (220°C). This high temperature ensures your blueberry biscuits will rise beautifully and develop a lovely golden-brown crust. Allow your oven some time to fully heat up while you prepare the dough, ensuring a perfect bake as soon as they hit the hot air.
Step 2: Combine Dry Ingredients
In a large mixing bowl, whisk together 2 cups of all-purpose flour, 2 tablespoons of baking powder, 1 teaspoon of salt, and 2 tablespoons of granulated sugar. Mix these dry ingredients until well combined, creating a light and airy foundation for your blueberry biscuits. A uniform appearance indicates that you're ready for the next step.
Step 3: Cut in the Butter
Add in 1/2 cup of very cold butter, cubed, and use a pastry cutter to cut the butter into the flour mixture. Continue until the blend resembles coarse crumbs, with small bits of butter still visible. This process is key to achieving that flaky texture in your baked blueberry biscuits, so work gently and don’t over-mix.
Step 4: Add Wet Ingredients
Gradually stir in 3/4 cup of milk into the dry mixture, folding gently until just combined. Take care not to overwork the dough; the goal is a moist and slightly sticky texture without any dry flour visible. Once you achieve this consistency, it's time to fold in the stars of the recipe—blueberries!
Step 5: Incorporate Blueberries
Gently fold in 1 cup of fresh or frozen blueberries into the dough. If using frozen blueberries, do not thaw them, as this prevents excess moisture that could affect your biscuit's texture. Aim for an even distribution of blueberries throughout the dough, which will yield delightful bursts of fruit flavor in each biscuit.
Step 6: Shape the Dough
Turn your dough onto a well-floured surface and lightly knead it three to four times until it forms a cohesive ball. Press the dough to a thickness of about 1-inch, then use a biscuit cutter to create rounds. Place the shaped biscuits on a baking sheet lined with parchment paper, ensuring they are close but not touching for even baking.
Step 7: Bake to Perfection
Transfer the baking sheet to your preheated oven and bake the blueberry biscuits for 15-18 minutes, or until they turn golden brown on top. Keep an eye on them towards the end; the perfect biscuit will look puffed and have a light golden hue, indicating they're done and ready to be enjoyed.
Step 8: Cool and Serve
Once baked, remove your blueberry biscuits from the oven, allowing them to cool on the baking sheet for about 5 minutes. After they cool slightly, transfer them to a wire rack to cool completely. Serve these warm to ensure a delightful melt-in-your-mouth experience!
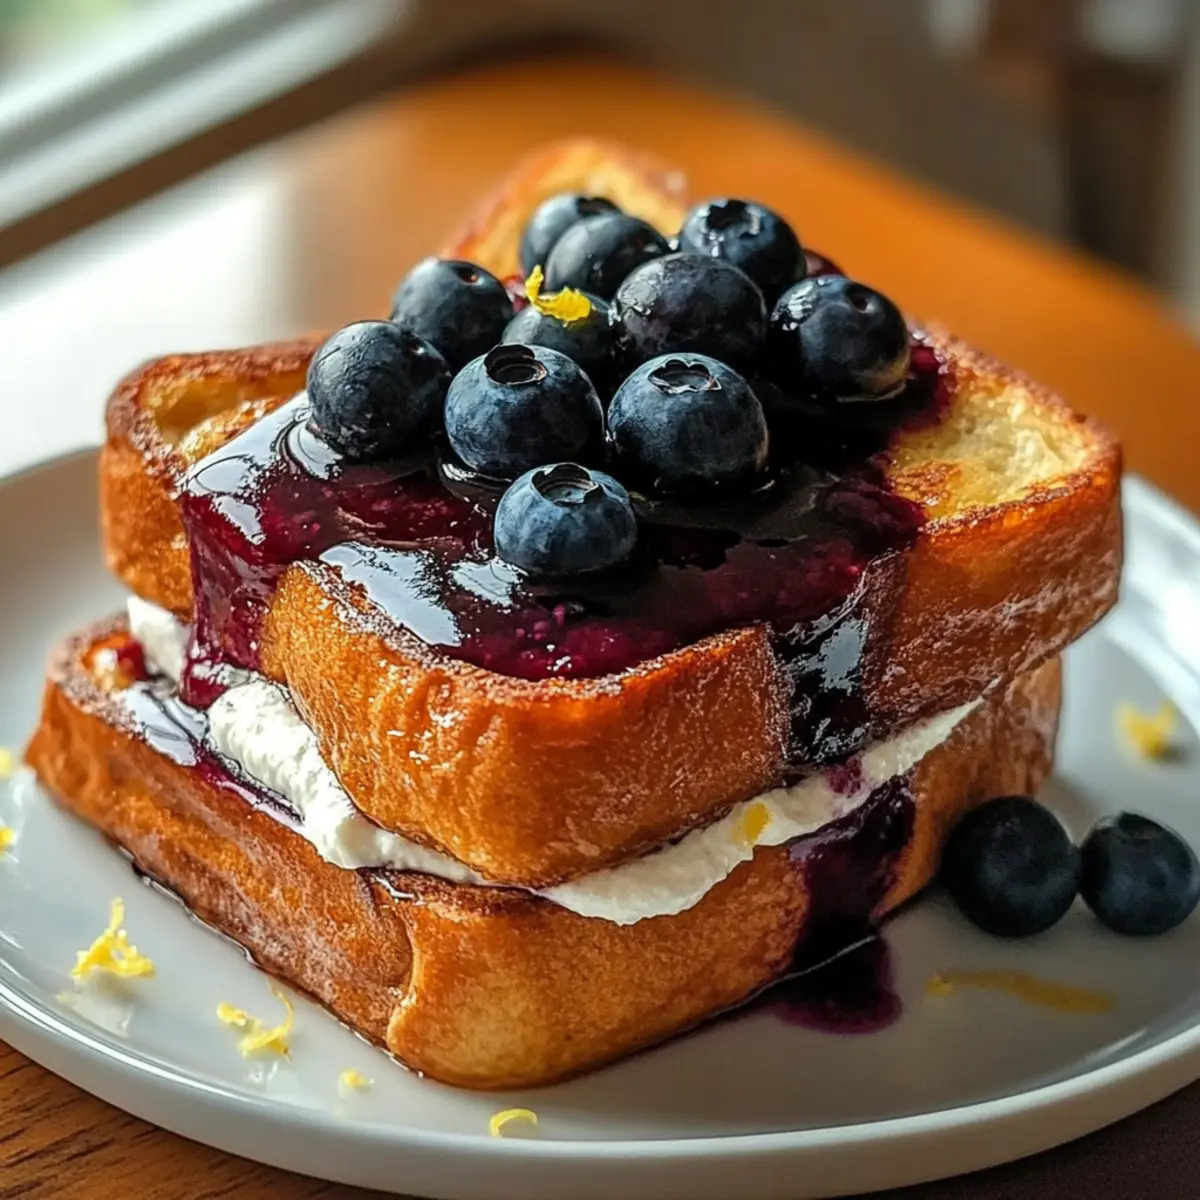
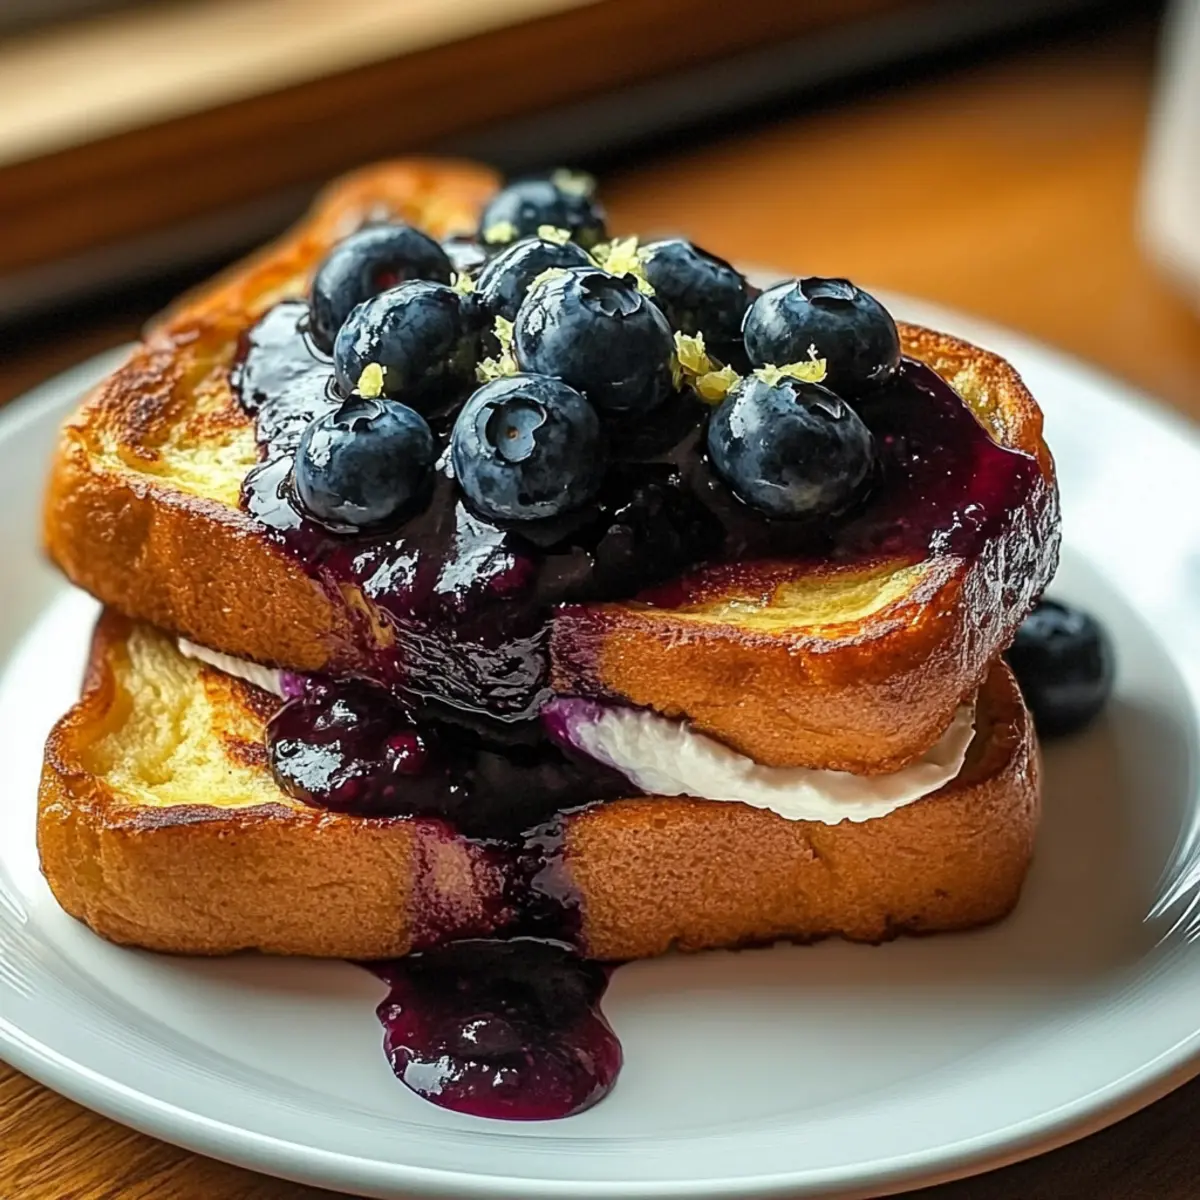
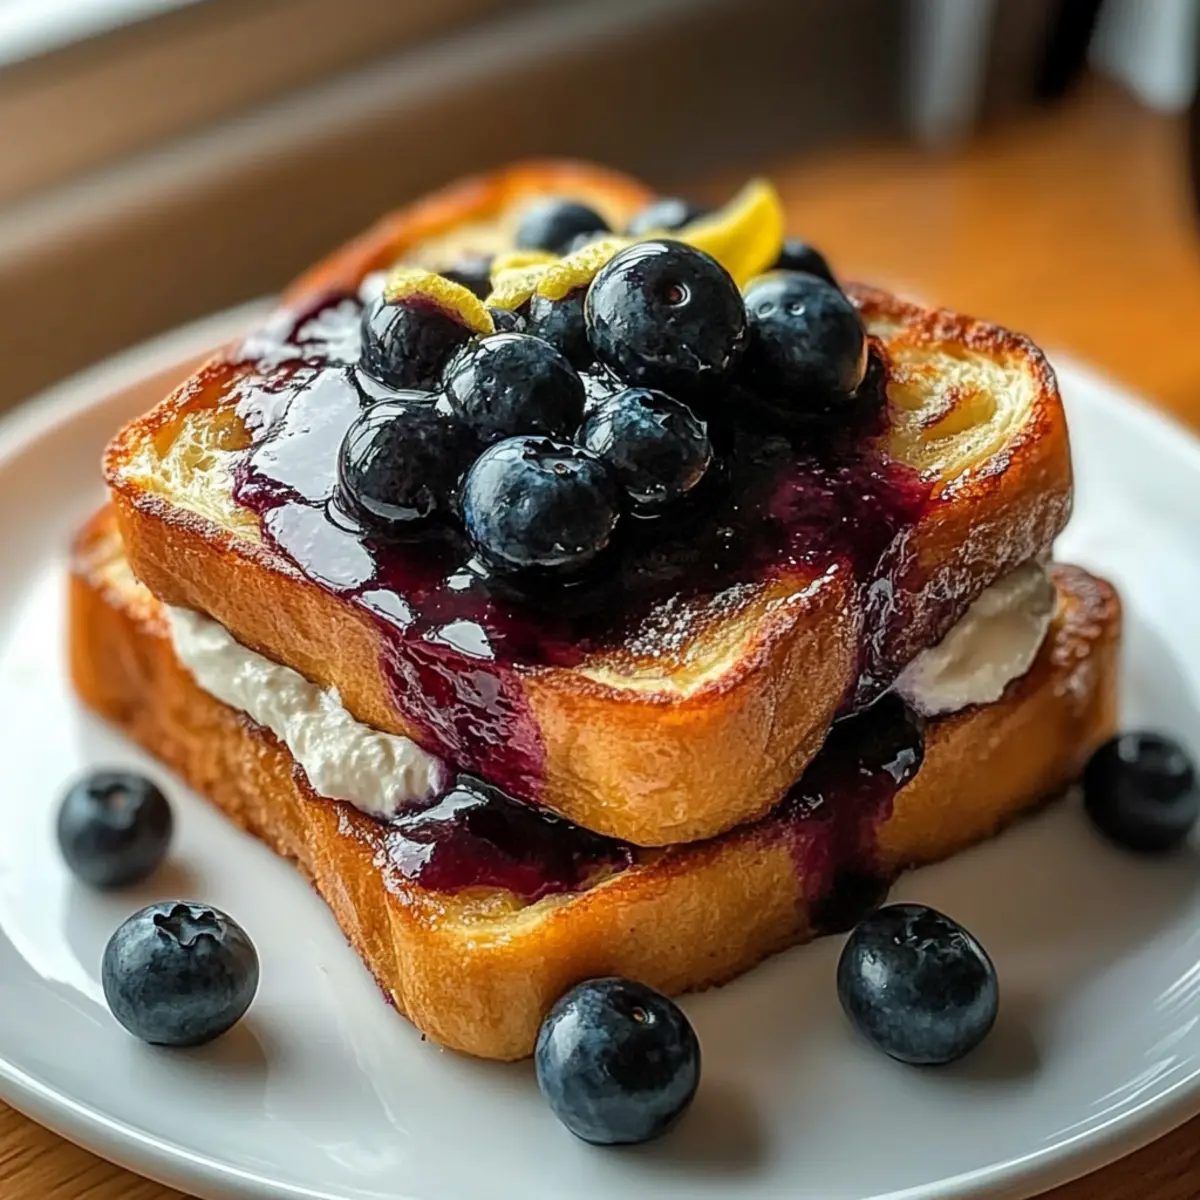
What to Serve with Blueberry Biscuits
Warm blueberry biscuits are a delightful treat, perfectly complementing your breakfast or snack time with a touch of sweetness.
-
Creamy Butter: Spread a generous pat of creamy butter over warm biscuits for rich flavor and amazing melt-in-your-mouth goodness.
-
Honey Drizzle: A light drizzle of honey enhances the natural sweetness of the biscuits, adding a lovely floral touch that pairs beautifully.
-
Fresh Fruit Salad: Brighten your plate with a colorful assortment of fresh fruits. The refreshing flavors balance the richness of the biscuits perfectly.
-
Greek Yogurt: A dollop of tangy Greek yogurt adds creaminess and protein, making your breakfast both satisfying and nutritious.
-
Herbal Tea: Sip on a warm cup of herbal tea, like chamomile or mint, which complements the sweet flavors of blueberry biscuits beautifully.
-
Maple Syrup: For a classic combination, serve with warm maple syrup; its rich sweetness will elevate your biscuit experience to another level.
-
Scrambled Eggs: Pair the biscuits with fluffy scrambled eggs for a delightful breakfast spread that combines savory and sweet elements seamlessly.
-
Iced Coffee: On warmer days, enjoy a refreshing iced coffee alongside the biscuits. The slight bitterness of coffee complements the sweetness wonderfully.
-
Cinnamon Sugar Dusting: Sprinkle a bit of cinnamon sugar on top for a sweet and spicy finish that enhances every delightful bite!
How to Store and Freeze Blueberry Biscuits
Room Temperature: Store leftover blueberry biscuits in an airtight container at room temperature for up to 2 days to maintain their softness.
Fridge: For longer freshness, keep them in the fridge for up to 5 days, ensuring they’re well-wrapped to prevent drying out.
Freezer: Freeze blueberry biscuits in a single layer on a baking sheet, then transfer to a zip-top bag for up to 2 months. Bake directly from frozen, adding a few extra minutes to the baking time.
Reheating: To reheat, place biscuits in a warm oven or microwave for about 20 seconds, restoring their fluffy texture and delightful taste.
Make Ahead Options
These soft and fluffy blueberry biscuits are perfect for meal prep, saving you precious time on busy mornings! You can prepare the dough up to 24 hours in advance; simply follow the recipe, shape the biscuits, and then cover them tightly with plastic wrap before refrigerating. To maintain their light and airy texture, ensure the dough is well-wrapped to prevent drying out. When you're ready to bake, preheat your oven and bake the biscuits directly from the refrigerator for about 18-20 minutes until golden brown. This way, you can enjoy fresh, homemade blueberry biscuits any day of the week with minimal effort!
Blueberry Biscuits Variations & Substitutions
Feel free to play around with this delightful recipe and create your own unique version of blueberry biscuits!
- Raspberry Surprise: Swap blueberries with fresh raspberries for a tangy twist that brightens your biscuits. Each bite will burst with flavor!
- Chocolatey Indulgence: Replace blueberries with chocolate chips for a decadent version that satisfies sweet cravings, perfect for dessert or an indulgent breakfast.
- Whole Wheat Wonder: Use whole wheat flour instead of all-purpose flour to boost the nutritional value without compromising flavor and texture. They’ll be just as fluffy!
- Dairy-Free Delight: Substitute regular milk with almond or oat milk for a delicious dairy-free option that doesn’t sacrifice taste. Your biscuits will still be wonderfully moist!
- Nutty Flavor: Incorporate chopped nuts, such as walnuts or pecans, into the dough for added crunch and a nutty flavor profile that enhances every bite.
- Cinnamon Spice: Add a teaspoon of cinnamon to the dry ingredients for warmth and spice, creating a cozy flavor perfect for chilly mornings.
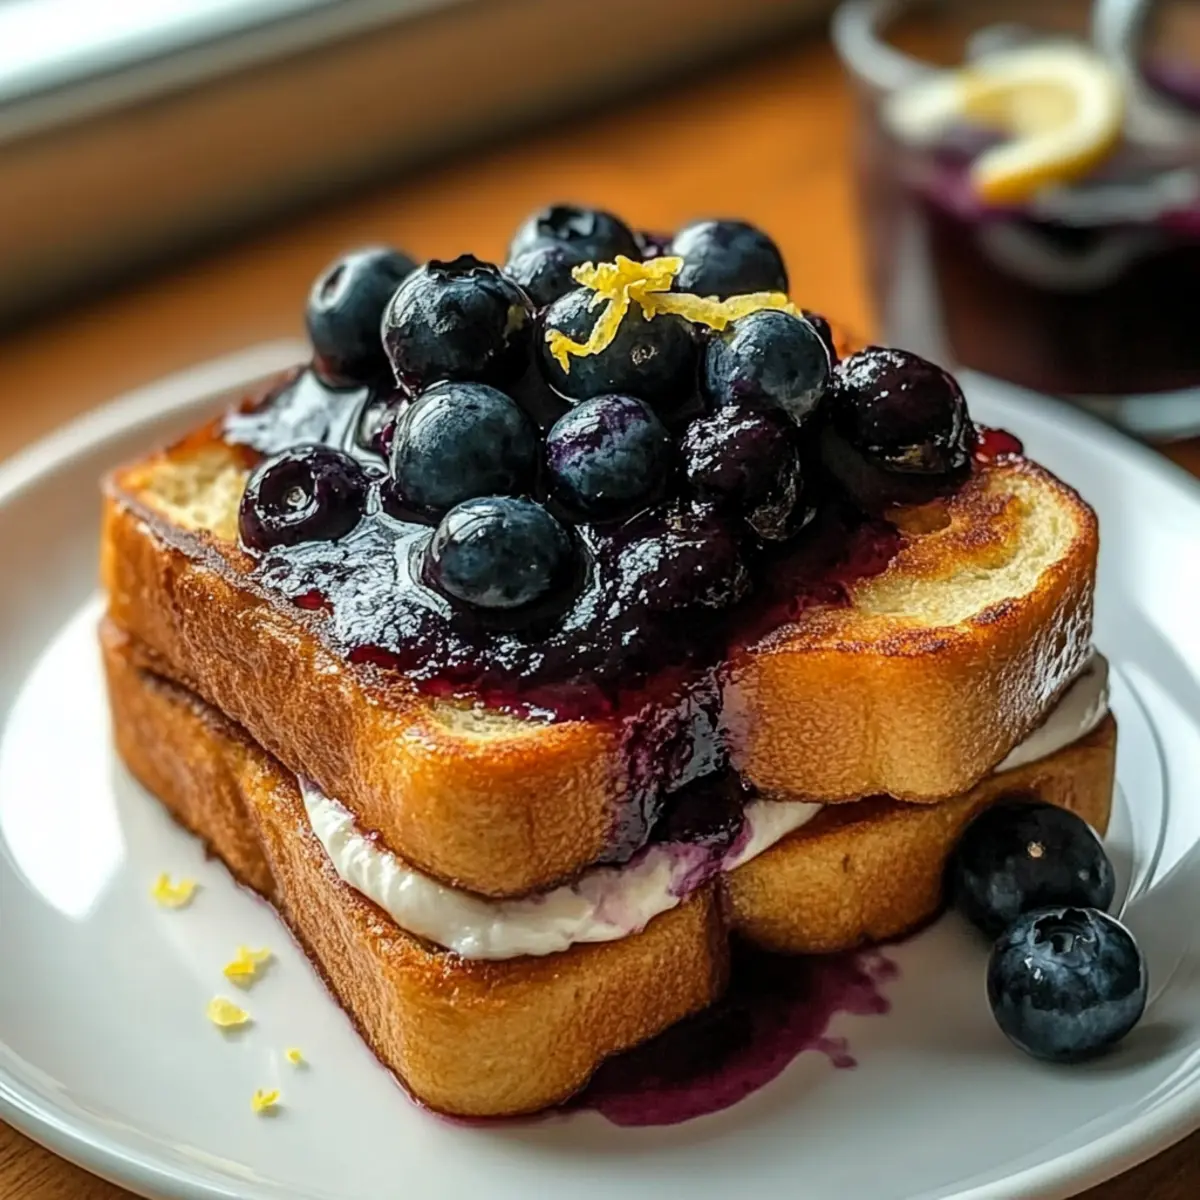
- Zesty Lemon: Include a tablespoon of lemon zest into the dough for a bright pop of citrus that elevates the blueberry flavor to new heights!
- Make Ahead Magic: Prepare the biscuit dough in advance and freeze shaped biscuits for effortless baking on busy mornings; just pop them in the oven straight from the freezer!
Ready to get creative? Discover the fun of personalized baking as you experiment with these variations, turning everyday moments into extraordinary experiences!
Expert Tips for Blueberry Biscuits
-
Cold Butter Is Key: Using very cold butter is essential for achieving that flaky texture. Keep butter in the fridge until you're ready to use it.
-
Avoid Overmixing: Gently combine ingredients; overworking the dough can result in tough biscuits. Aim for a light touch when mixing and folding in blueberries.
-
Frozen Blueberries Only: If using frozen blueberries, don’t thaw them before adding to the dough. This preserves the biscuit's consistency and prevents excess moisture.
-
Stay True to Measurements: Accurately measure your flour and other ingredients. Too much flour can lead to dense biscuits, so spoon it into your measuring cup instead of scooping.
-
Add Zest for Flavor: For an extra layer of taste, consider adding lemon zest to the dough. This brightens up the blueberry flavor and enhances overall enjoyment!
Blueberry Biscuits Recipe FAQs
How do I choose ripe blueberries for the best flavor?
Absolutely! When selecting blueberries, look for plump, firm berries that are deep blue in color. Avoid any that have dark spots or appear shriveled, as these may be overripe. Fresh blueberries should have a slight white bloom, indicating they're fresh and ready to use.
How should I store leftover blueberry biscuits?
For the best results, store your leftover blueberry biscuits in an airtight container at room temperature for up to 2 days. If you want to keep them fresher longer, you can refrigerate them for up to 5 days. Just ensure they're well-wrapped to prevent drying out.
Can I freeze blueberry biscuits, and how do I do it?
Absolutely! To freeze your blueberry biscuits, first allow them to cool completely. Then, place them in a single layer on a baking sheet and freeze until solid. Once frozen, transfer them to a zip-top bag, where they can be kept for up to 2 months. When you're ready to enjoy, you can bake them directly from frozen, adding an extra minute or two to the baking time.
What should I do if my biscuit dough is too sticky?
If your biscuit dough feels too sticky, no problem! Gently sprinkle a little more flour onto your work surface and your hands while you knead it. Just remember not to overdo it; you want to keep that wonderful fluffy texture. If you find the dough too wet after mixing, it’s a sign you may have added too much milk, so decrease the amount next time.
Are blueberry biscuits suitable for people with gluten allergies?
Yes! You can make blueberry biscuits gluten-free by substituting all-purpose flour with a suitable gluten-free flour blend. Look for a 1:1 gluten-free flour mix that includes xanthan gum for optimal texture. This way, everyone can enjoy these delicious treats without worry!
Is there a way to make blueberry biscuits healthier?
Very! To create a healthier version of your blueberry biscuits, consider reducing the sugar amount or swapping in whole wheat flour for all-purpose flour. This not only boosts the nutritional content but also adds a lovely nutty flavor. It's a fantastic way to enjoy these treats while still keeping an eye on health!
Fluffy Blueberry Biscuits That Will Brighten Your Mornings
Ingredients
Equipment
Method
- Preheat your oven to 425°F (220°C).
- In a large mixing bowl, whisk together the dry ingredients: flour, baking powder, salt, and sugar.
- Cut in the very cold butter until the mixture resembles coarse crumbs.
- Gradually stir in milk until just combined, without overworking the dough.
- Gently fold in the blueberries, ensuring even distribution.
- Turn the dough onto a floured surface and knead lightly before cutting into rounds.
- Place biscuits on a baking sheet and bake for 15-18 minutes until golden brown.
- Cool on the baking sheet for 5 minutes before transferring to a wire rack.