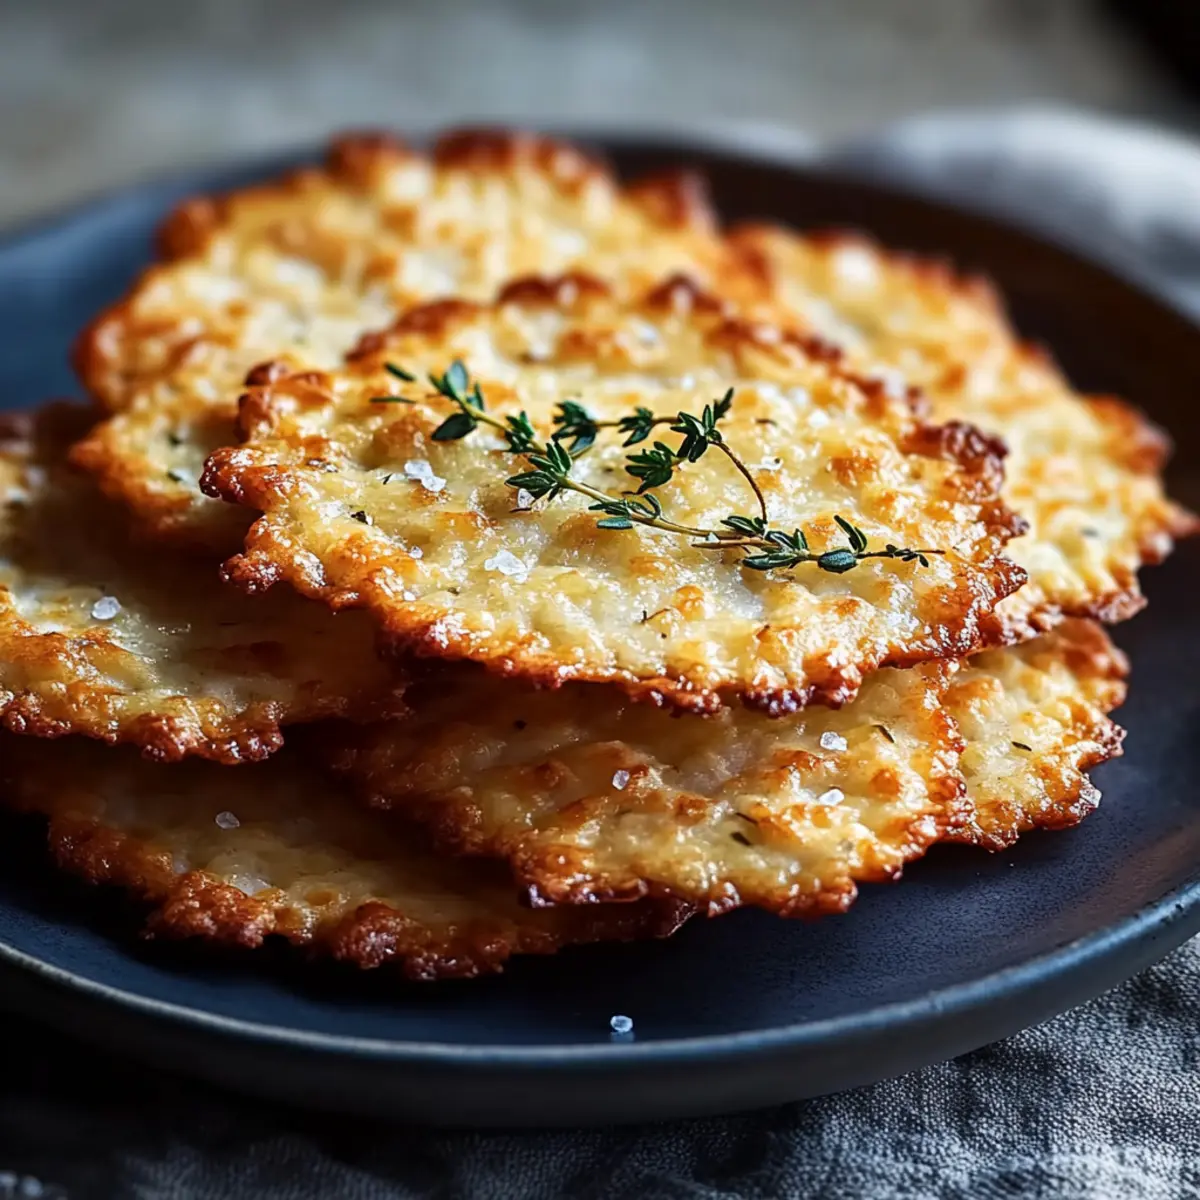
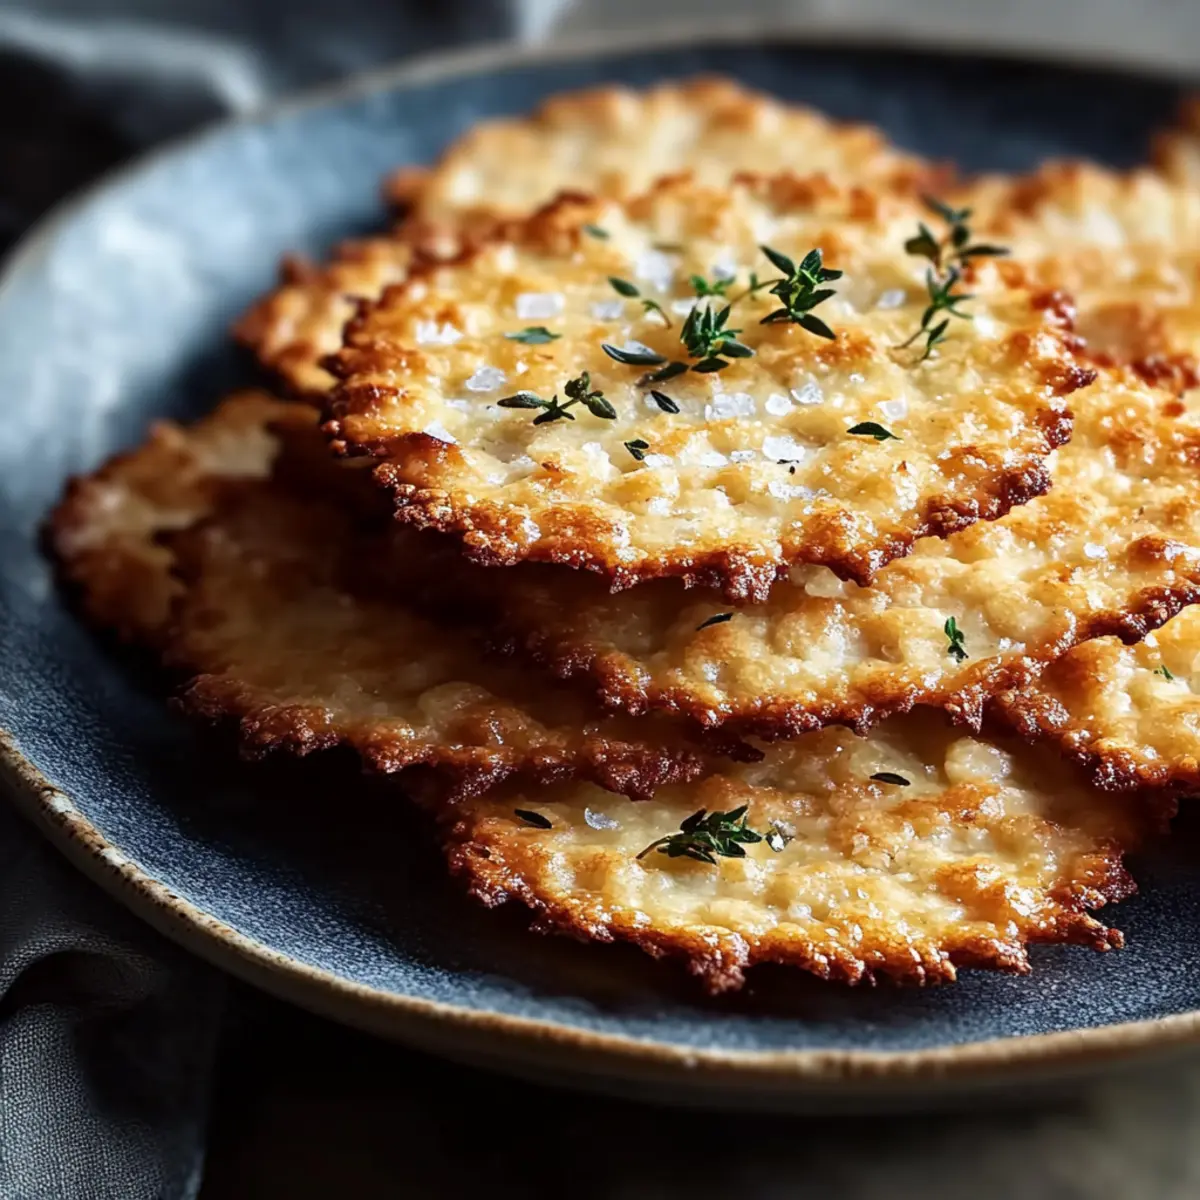
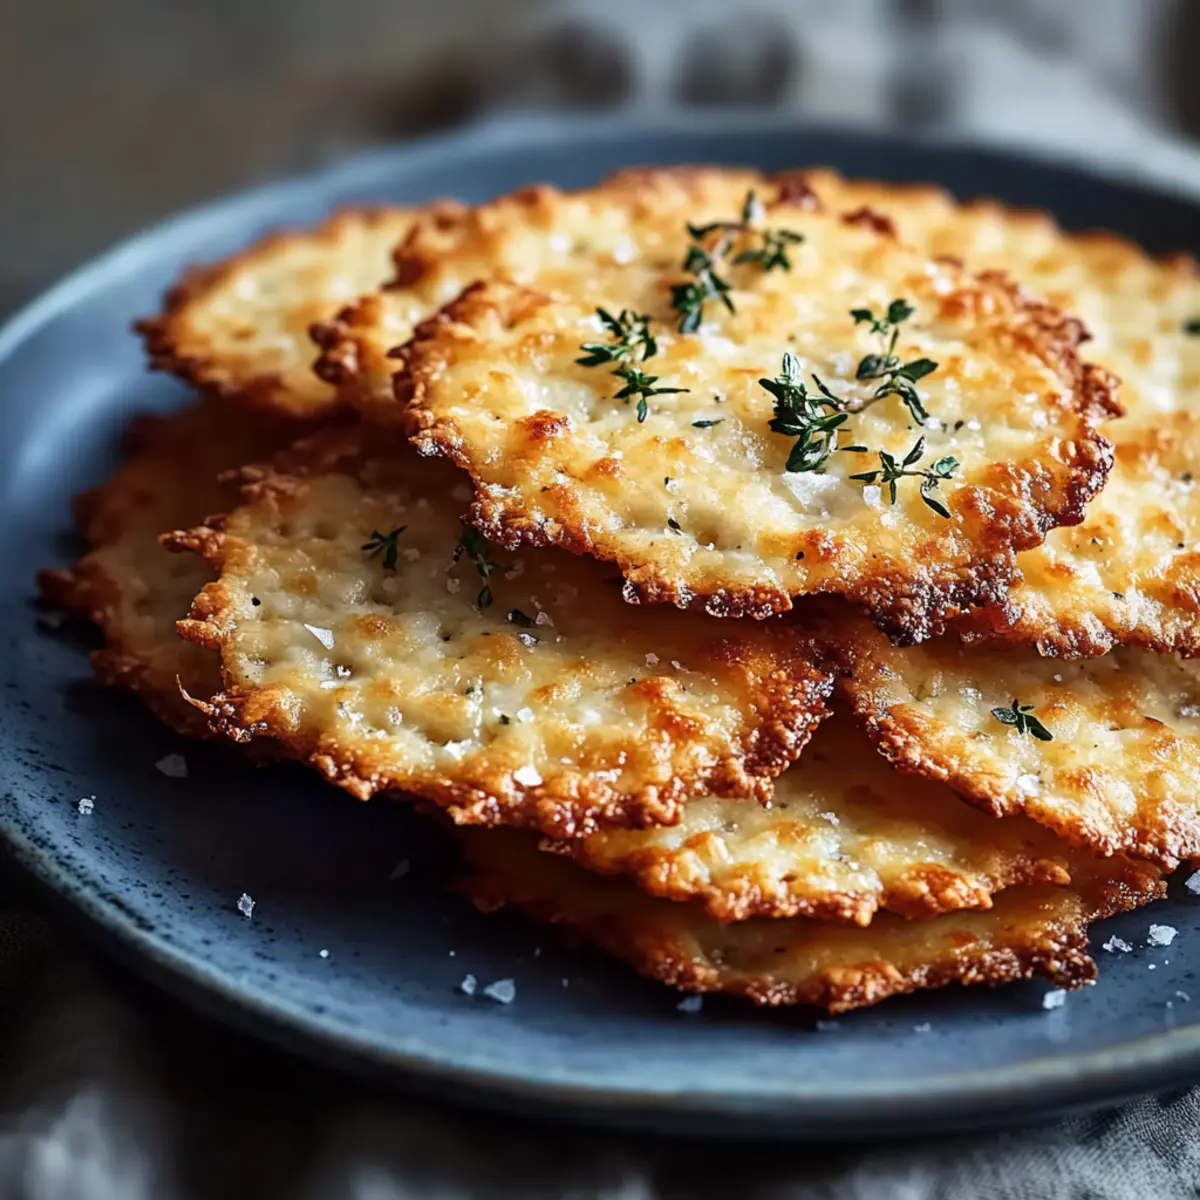
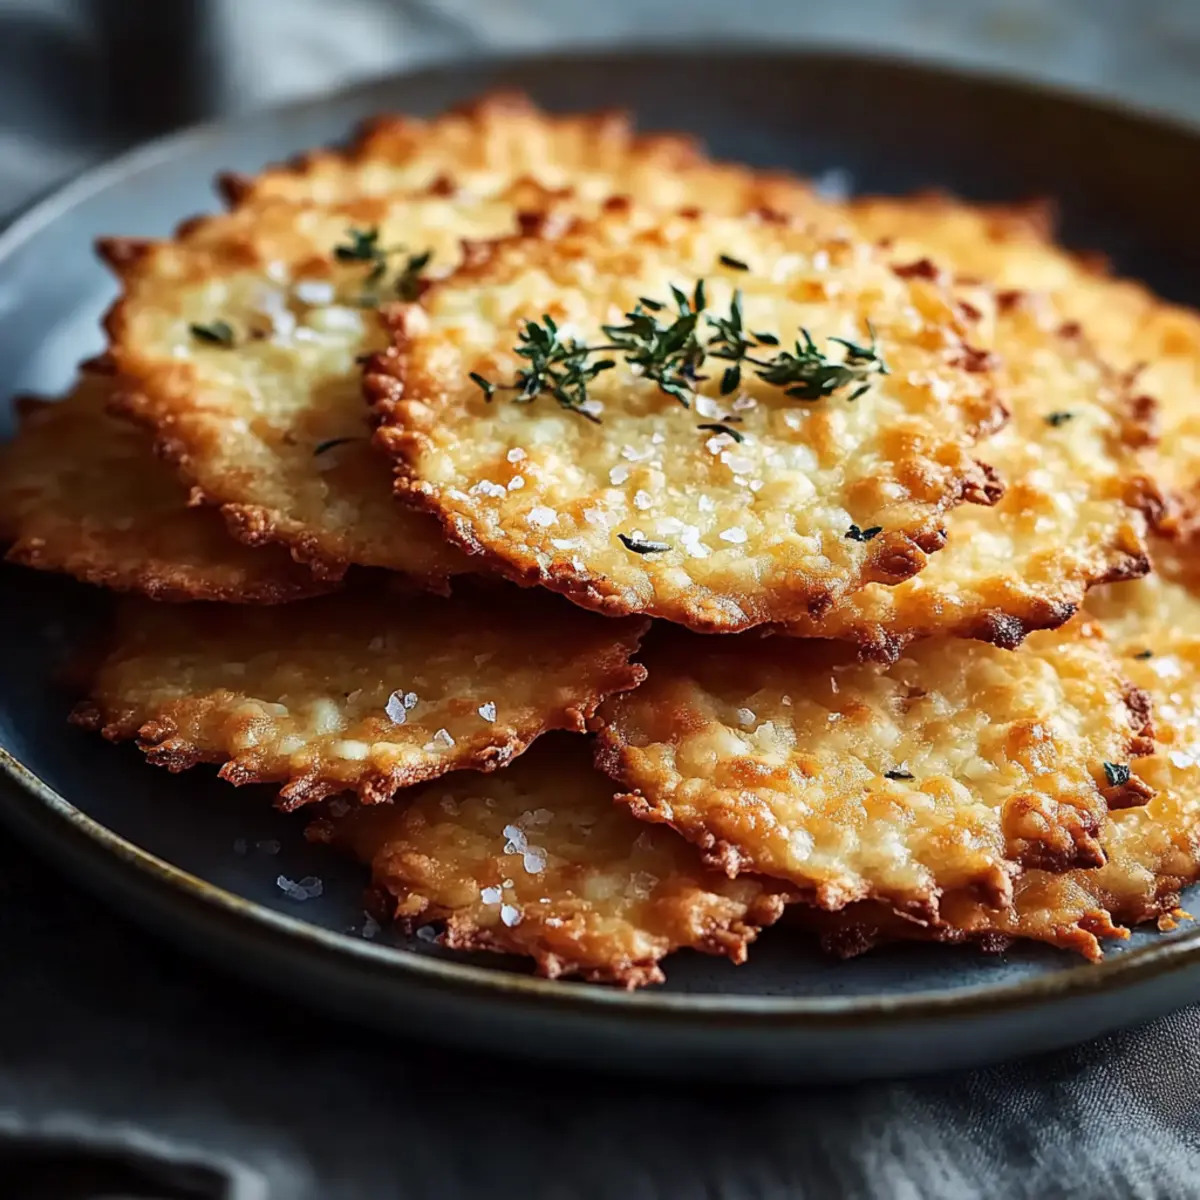
As I flipped through my old recipe notebook, I suddenly found myself transported to bustling street food markets, the air filled with the enticing aroma of sizzling Crispy Chinese Scallion Pancakes. This delightful snack, with its flaky layers and chewy center, is an absolute game-changer in the world of homemade treats. Not only is it quick to prepare, but it also caters to your cravings for something satisfying without the fuss of fast food. Made with simple pantry ingredients and easily customizable, you can add a dash of spices or other vegetables to make it your own. Whether you’re serving it up for breakfast, lunch, or as a midday snack, these pancakes are bound to impress and bring a smile to your face. Ready to embark on your own culinary adventure with this delectable recipe? Let’s dive in!
Why are these pancakes so special?
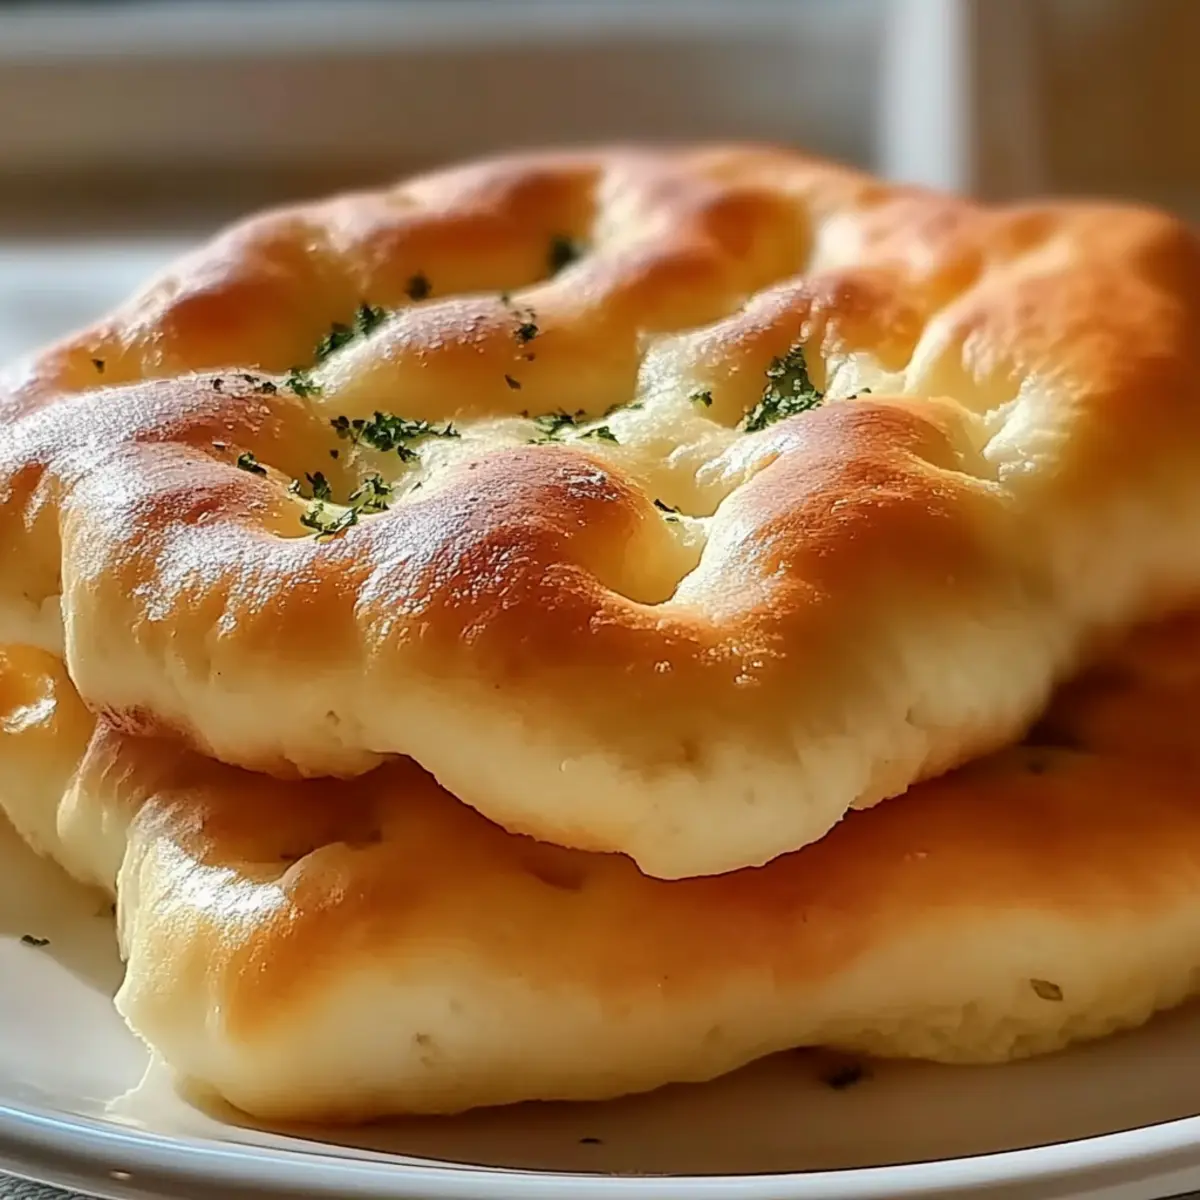
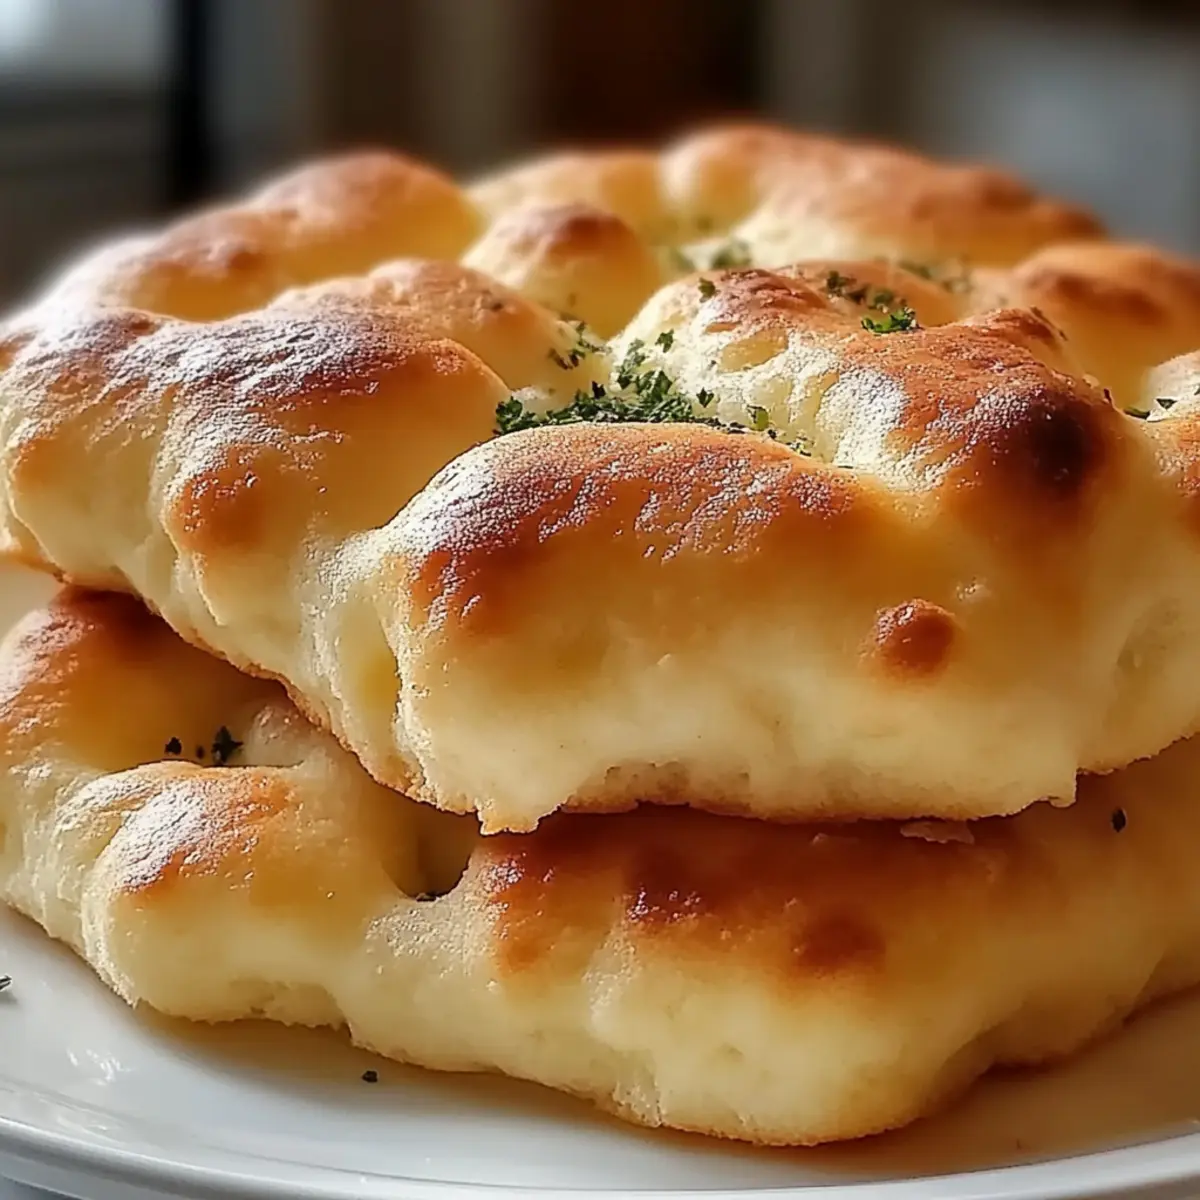
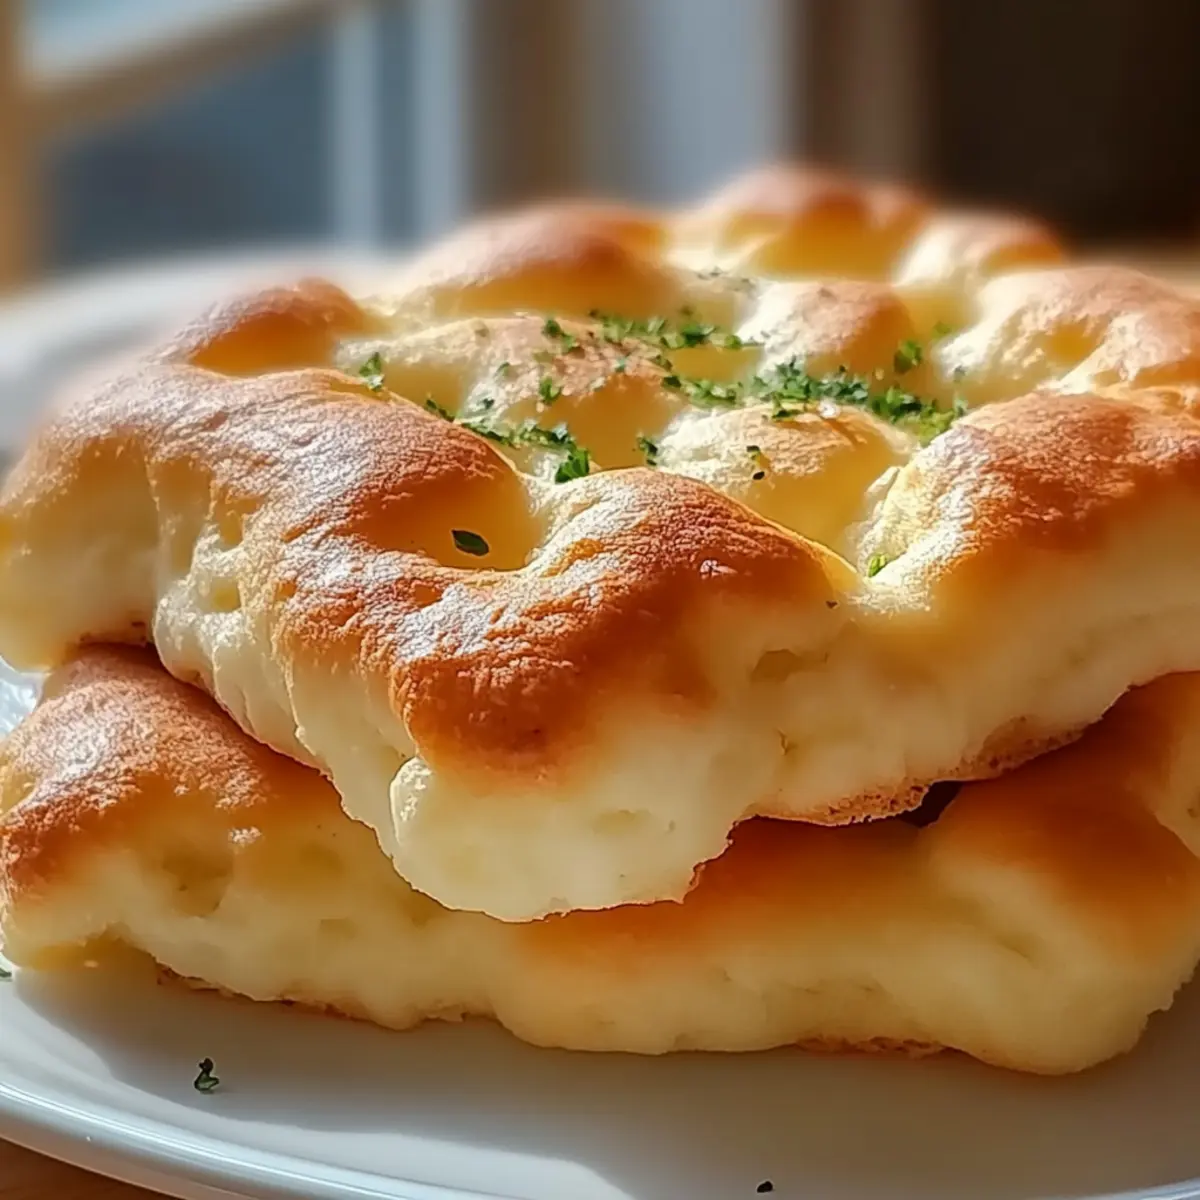
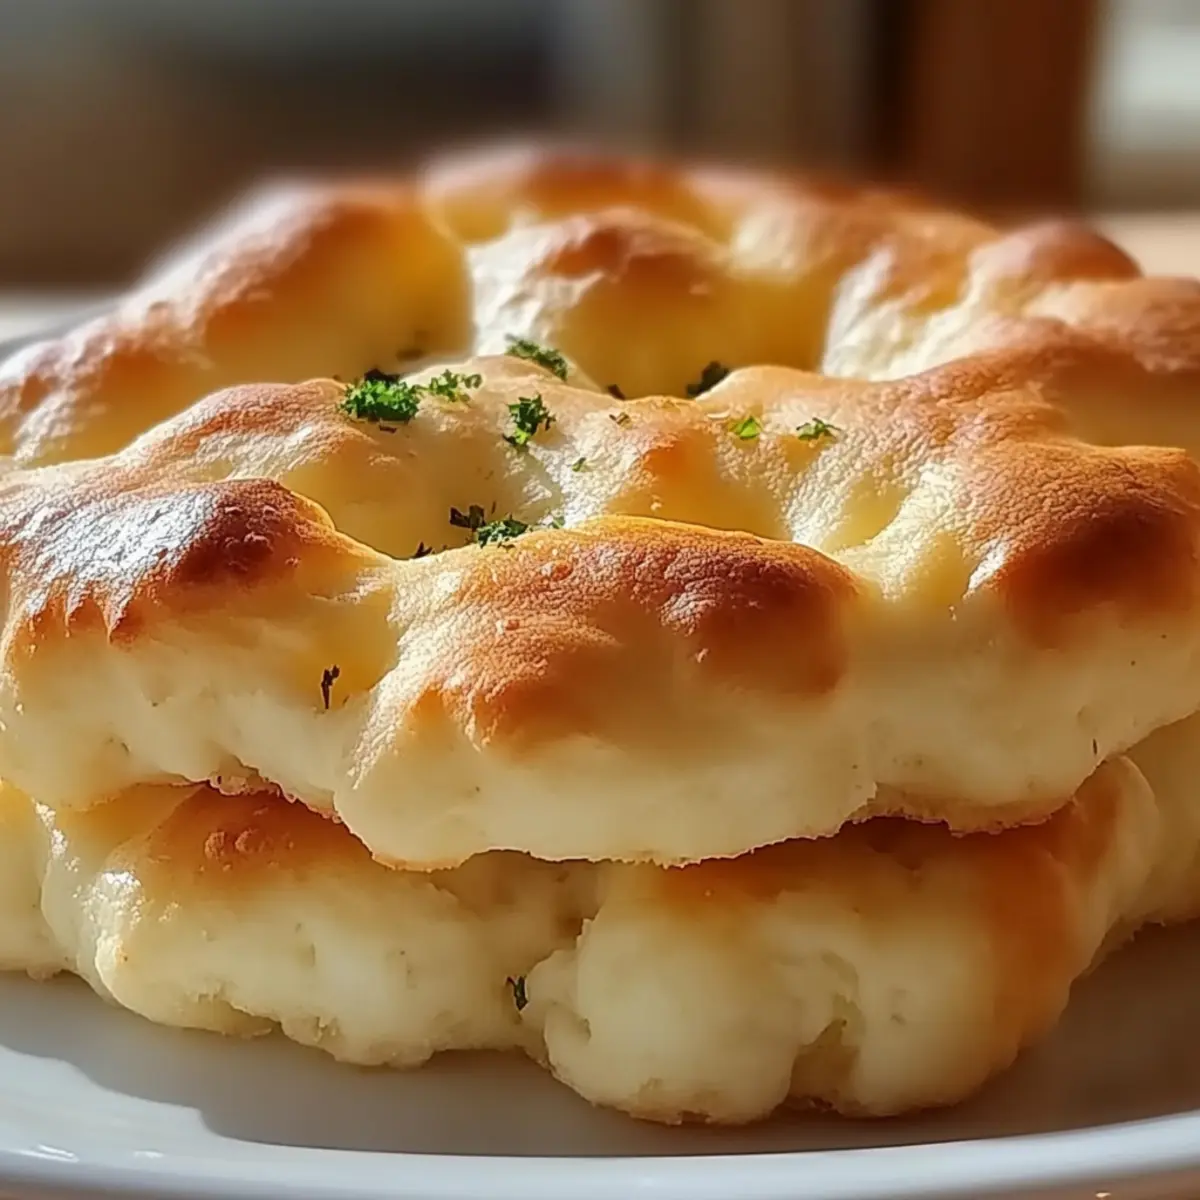
Crispiness Meets Chewiness: The unique combination of a perfectly crispy exterior and a gooey, chewy center makes every bite a delightful experience.
Quick Prep: With just a few pantry staples and minimal time, you can whip up a snack that rivals your favorite street food.
Customizable Options: Feel free to play with flavors! Add in your choice of spices or vegetables, like shredded carrots, for a personalized touch.
Crowd-Pleaser: Whether it’s a cozy family breakfast or an afternoon snack with friends, these pancakes are sure to impress everyone. Pair them with light Asian salads or dumplings for a delicious meal!
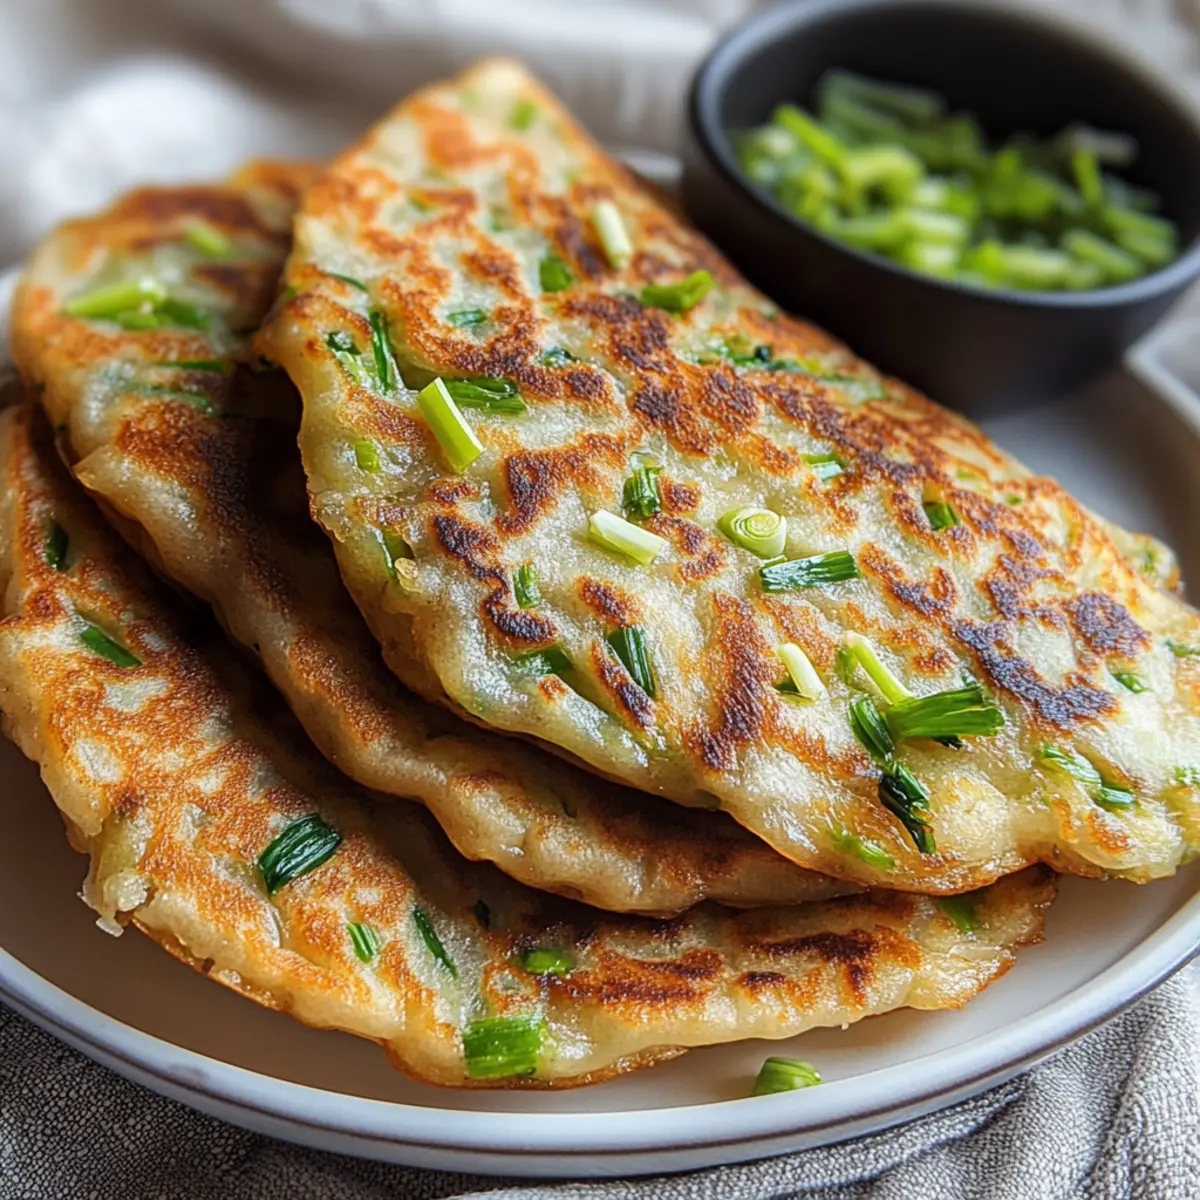
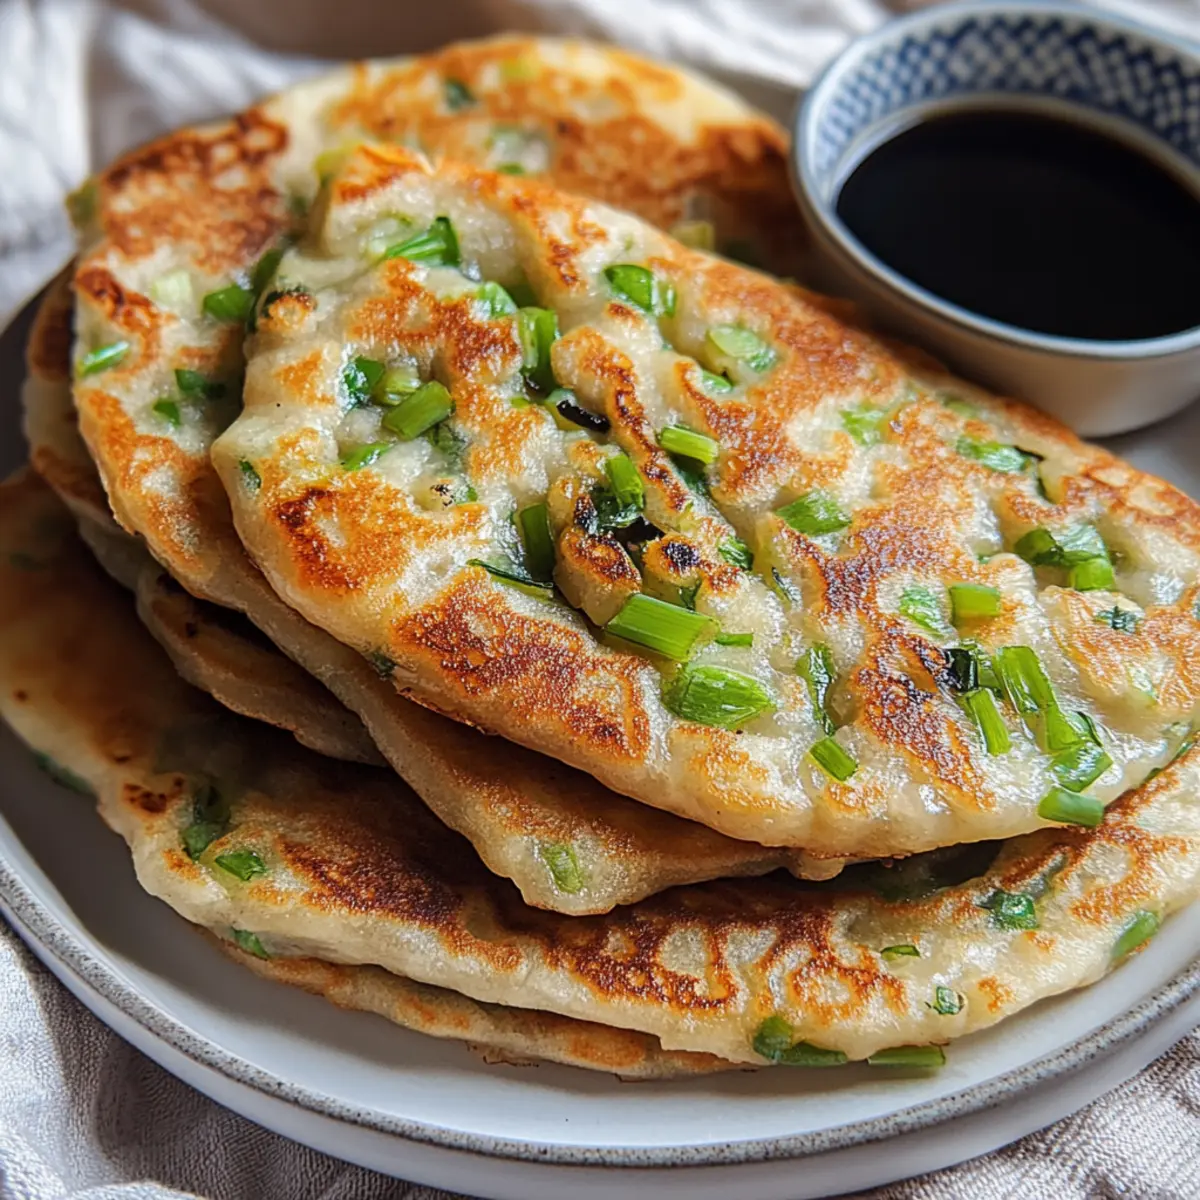
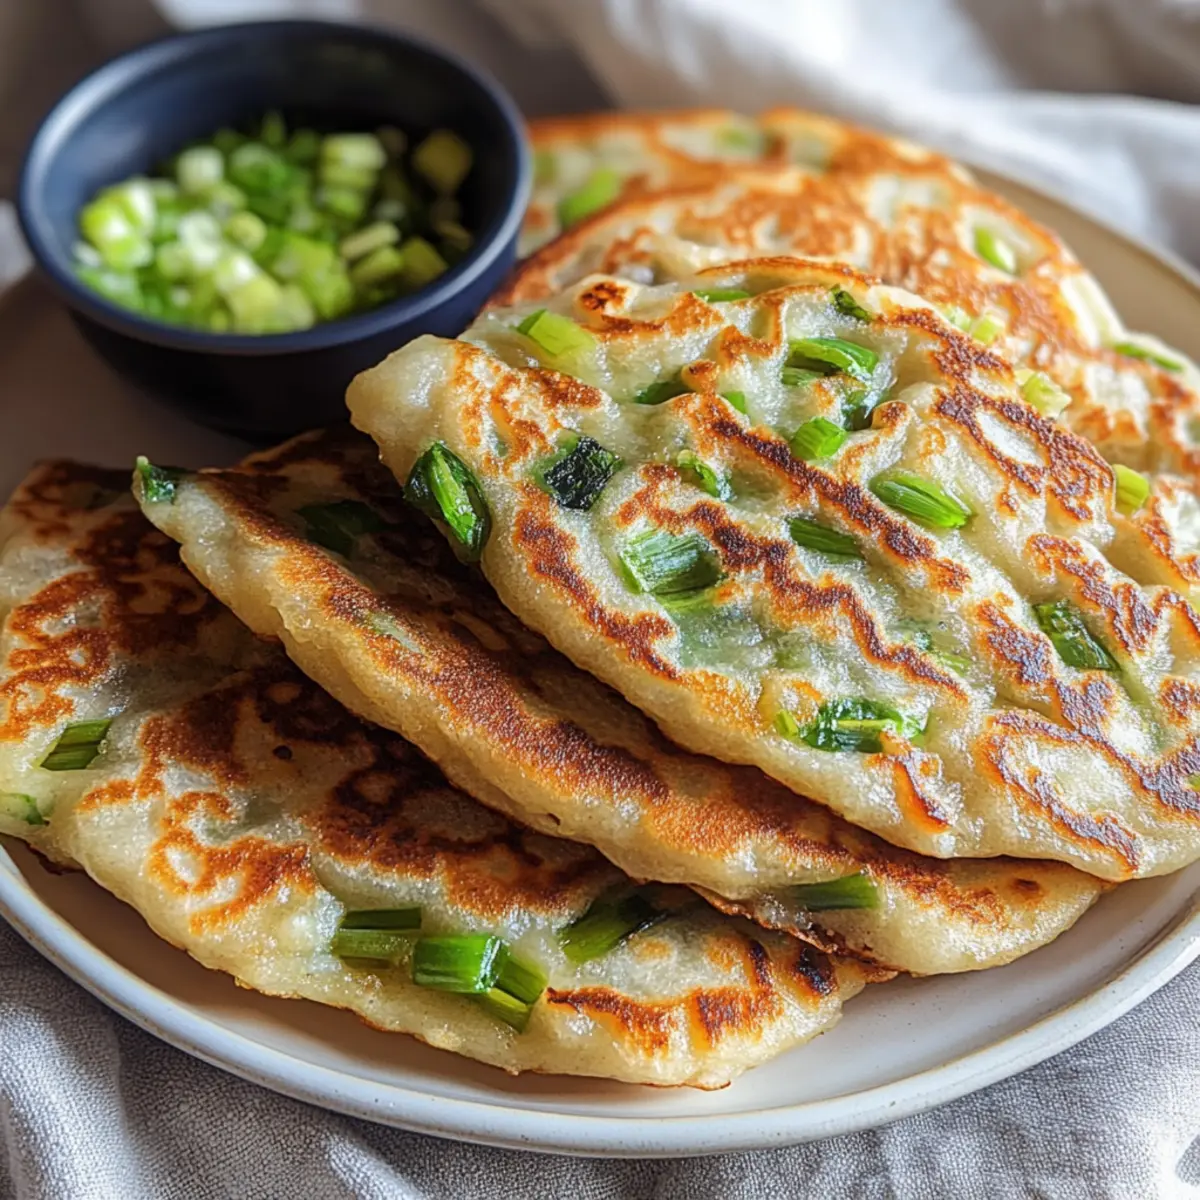
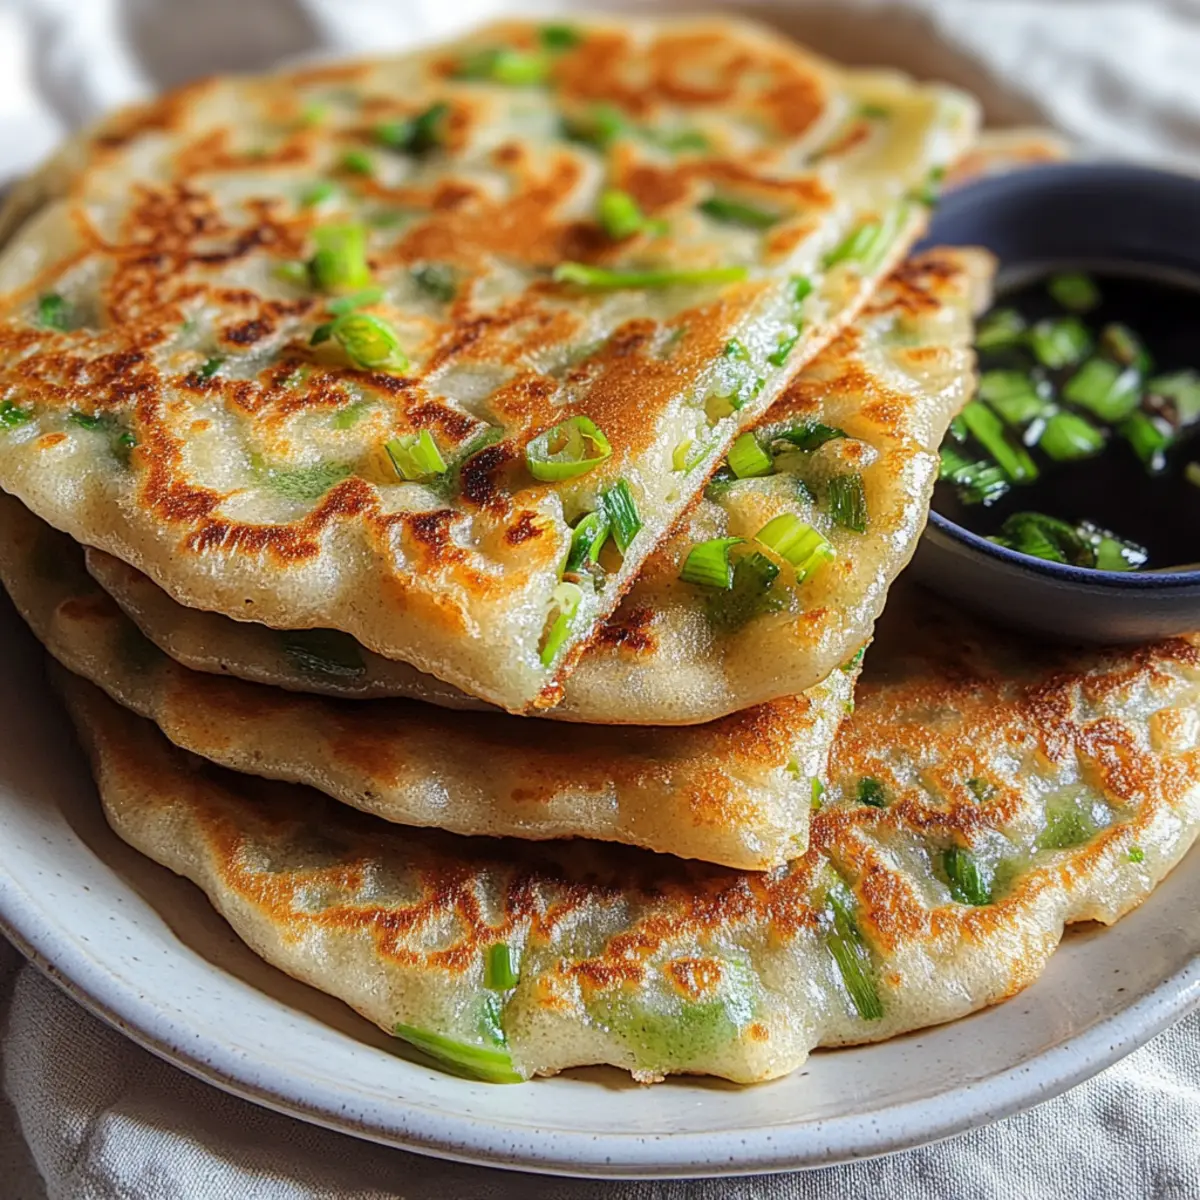
Savory Scallion Goodness: Fresh chopped scallions infuse the pancakes with a lovely flavor, elevating this simple snack to something extraordinary.
Once you try these Crispy Chinese Scallion Pancakes, you’ll wonder how you ever lived without them!
Crispy Chinese Scallion Pancake Ingredients
For the Dough
• All-Purpose Flour – Provides structure and elasticity to the dough; substituting with bread flour gives a chewier texture.
• Boiling Water – Hydrates the flour to create a smooth and pliable dough, essential for developing elasticity.
• Salt – Enhances overall flavor; no substitutions necessary but feel free to adjust to your taste.
For the Filling
• Chopped Scallions – Imparts a fresh, oniony flavor, which is a key component of the dish; can be swapped with chives or garlic chives.
• Sesame Oil – Adds richness and flavor between the layers; a vegetable oil substitution can work if needed.
For Frying
• Vegetable Oil – Used for frying to achieve that coveted crispy texture; make sure it’s hot before adding the pancakes.
Embrace the deliciousness of Crispy Chinese Scallion Pancakes as a delightful snack or addition to your meal! 🍽️
Step‑by‑Step Instructions for Crispy Chinese Scallion Pancakes
Step 1: Dough Preparation
In a large mixing bowl, combine all-purpose flour with boiling water, stirring until a shaggy dough forms. Allow the dough to cool for about 10 minutes, then transfer it to a floured surface. Knead the dough for 5-7 minutes until it's smooth and elastic. Once ready, cover it with a damp cloth and let it rest for 20 minutes.
Step 2: Filling and Shaping
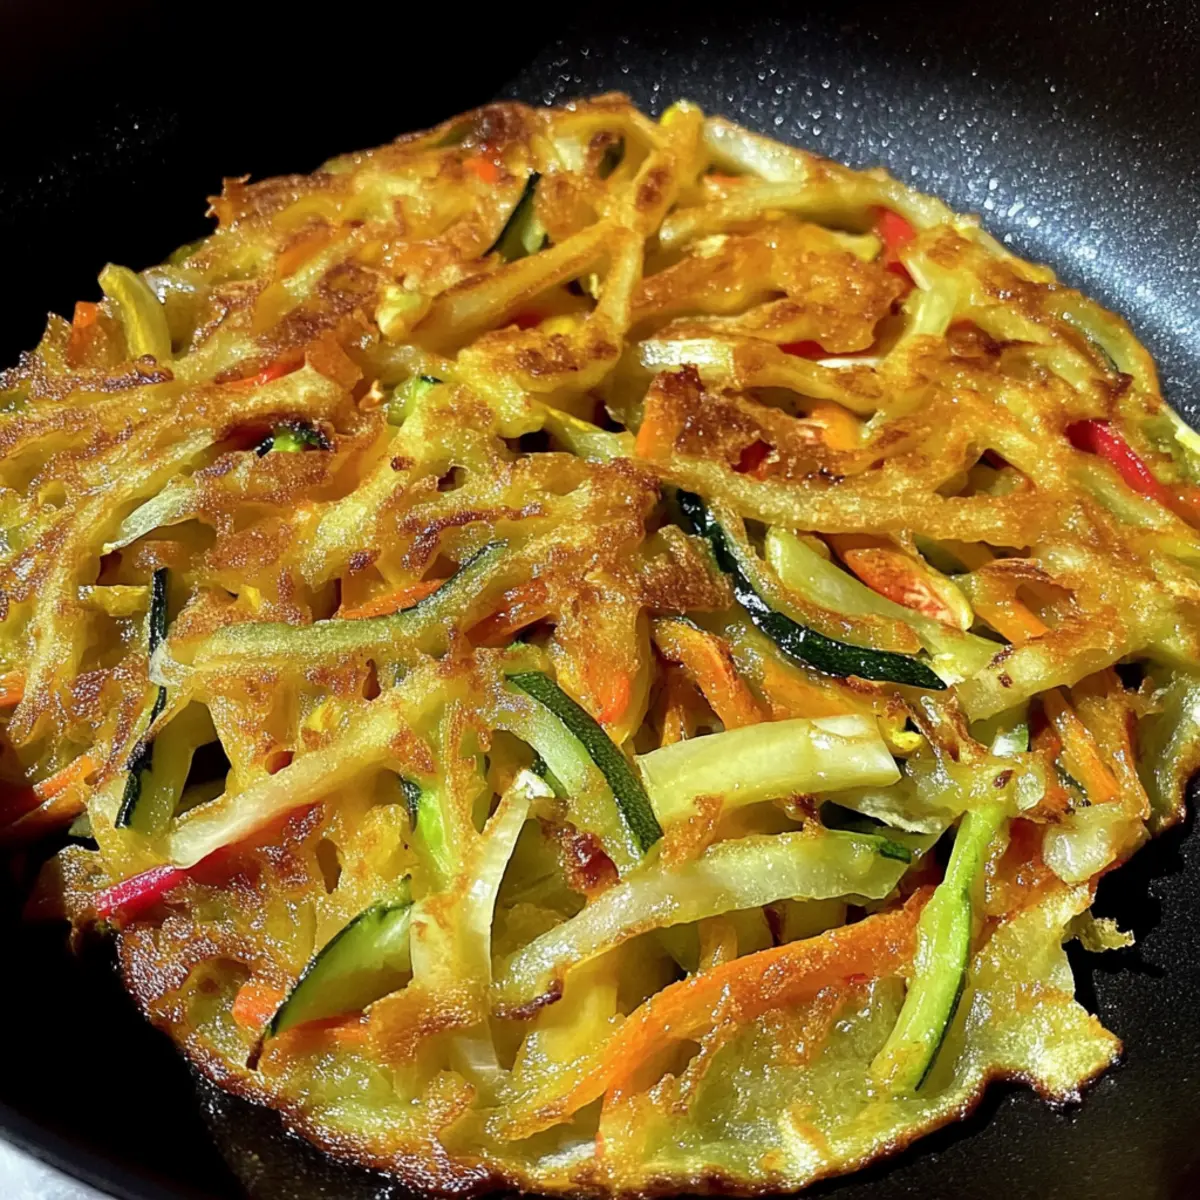
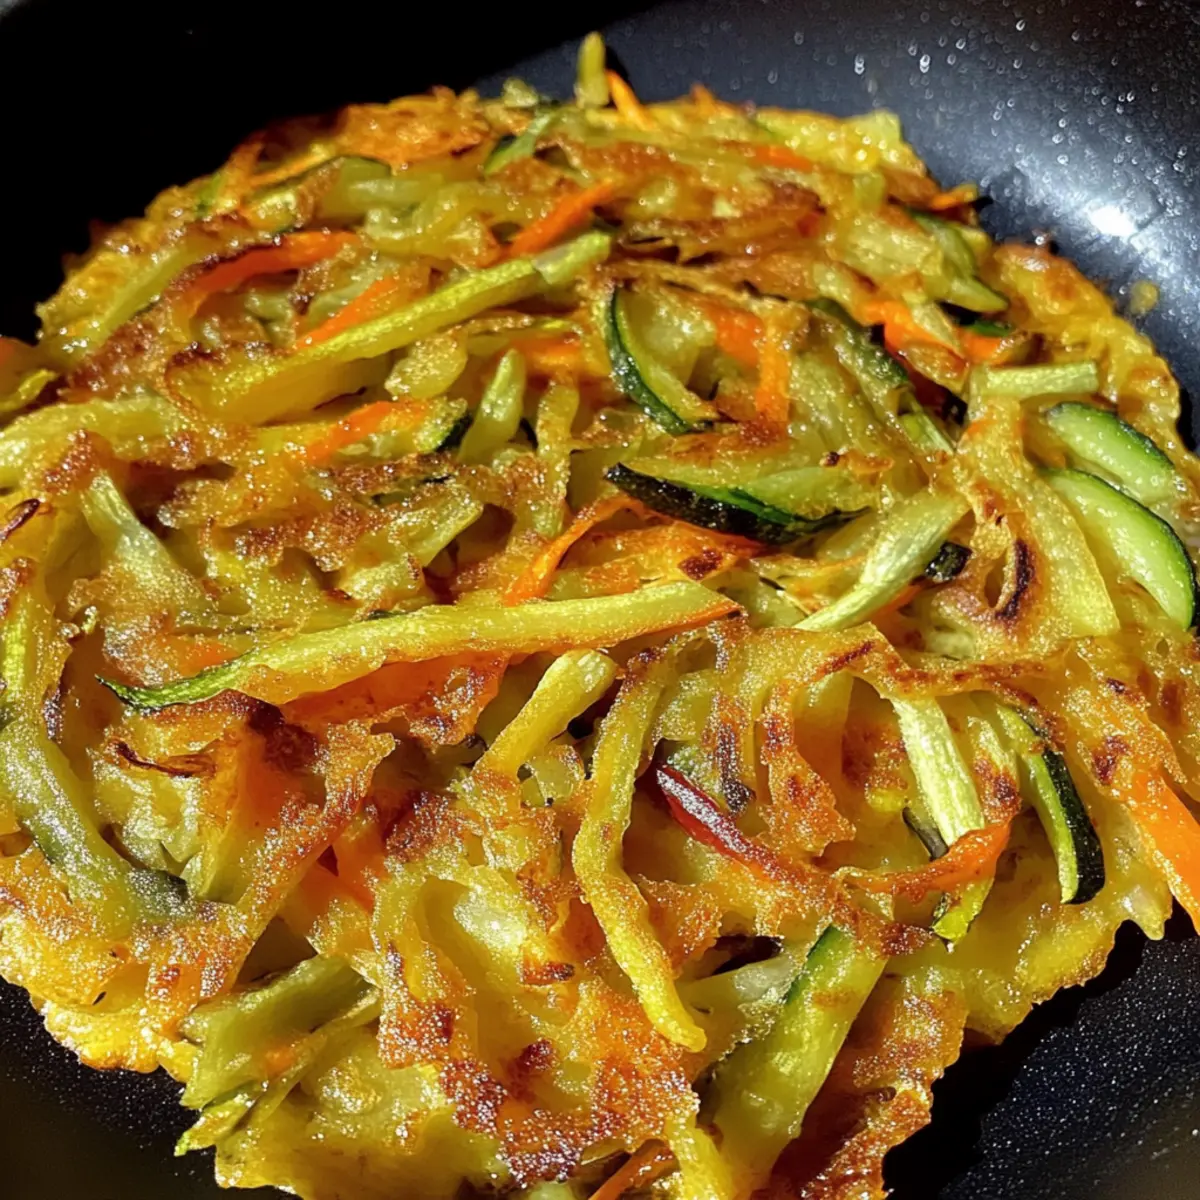
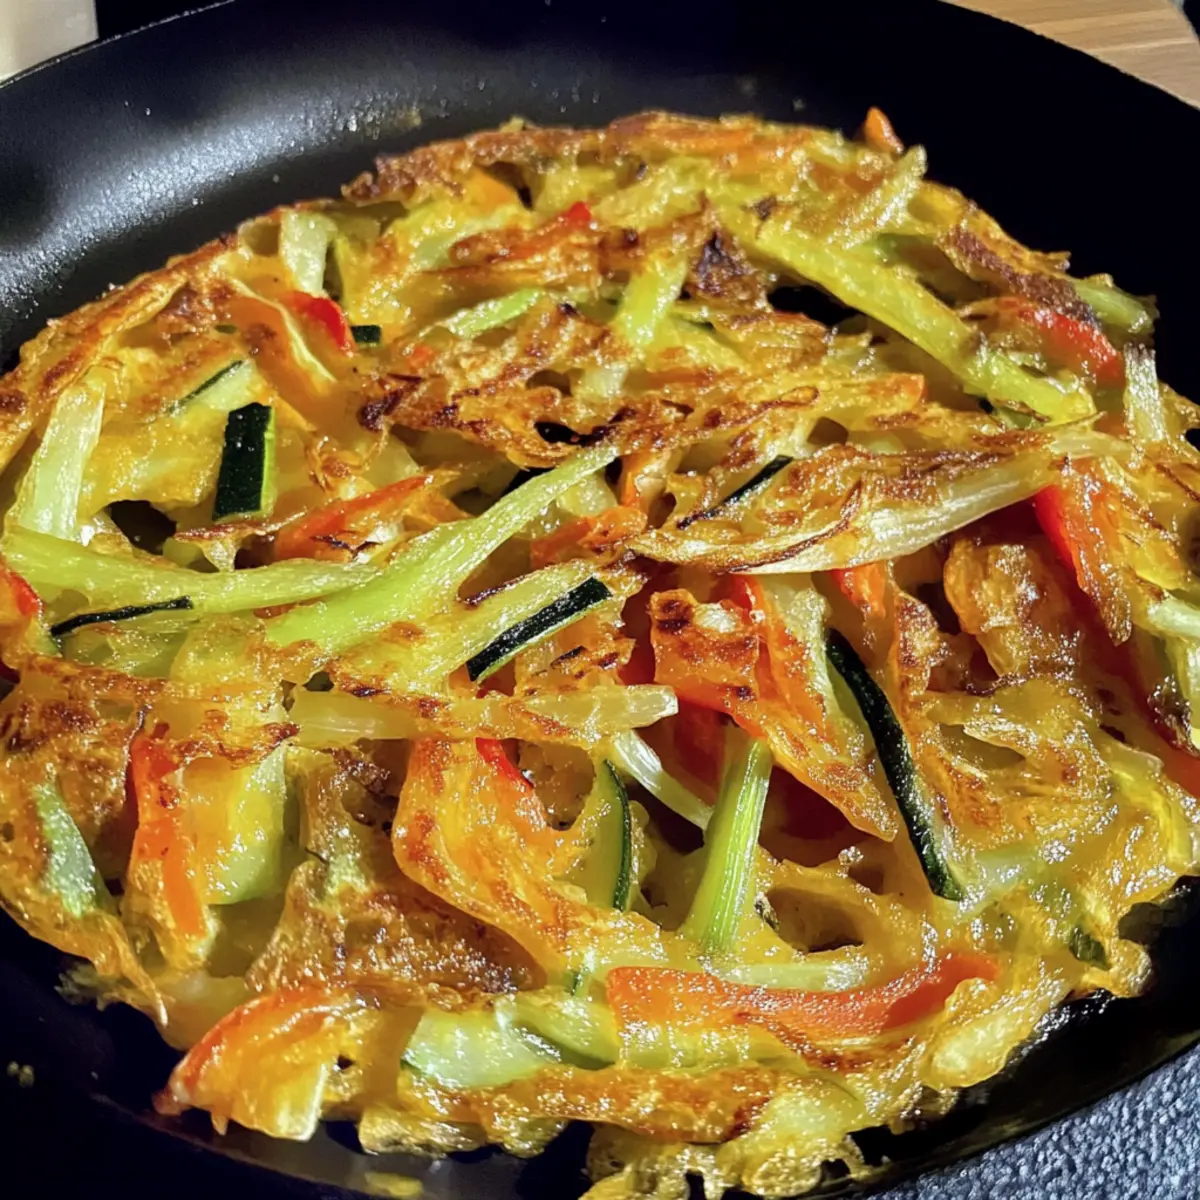
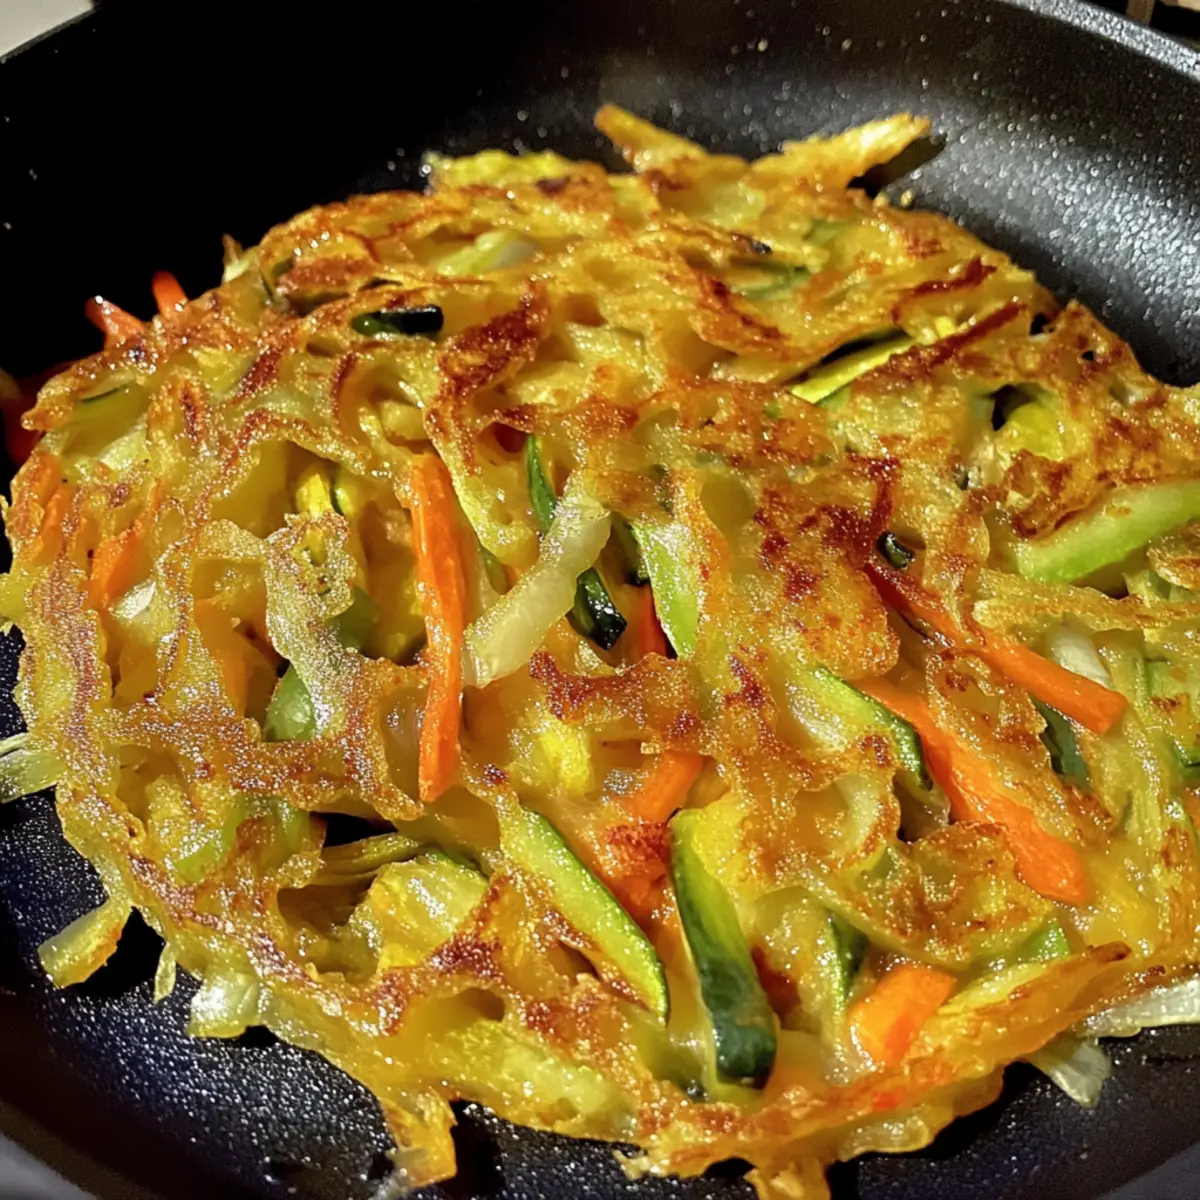
After resting the dough, divide it into equal portions. Take one portion and roll it out into a thin rectangle, about 1/8 inch thick. Brush the surface generously with sesame oil, sprinkle with chopped scallions and a pinch of salt. Carefully roll the dough into a cylinder, then coil it into a snail shape. Flatten the coil and roll it out into a pancake, making sure it's around 6-8 inches in diameter.
Step 3: Frying the Pancakes
Heat a nonstick skillet over medium heat and add enough vegetable oil to coat the bottom. Once the oil is hot, gently place each pancake in the skillet. Fry for about 2-4 minutes on one side until golden brown and crispy, then flip and cook for another 2-4 minutes. Use a spatula to press down on the pancakes to ensure even cooking and crispiness.
Step 4: Serving the Pancakes
Once the pancakes are beautifully golden and crispy, transfer them to a plate lined with paper towels to drain any excess oil. Cut them into wedges or bite-sized pieces for easy serving. Pair your Crispy Chinese Scallion Pancakes with soy sauce or black vinegar for a delicious dipping experience, and savor the delightful flavors.
Expert Tips for Crispy Chinese Scallion Pancakes
-
Use Boiling Water: Ensure that your water is boiling hot when mixing with flour; this helps achieve a soft, pliable dough that rolls out beautifully.
-
Rolling Thickness: Aim for about 1/8 inch thick when rolling out your pancakes for the best crispy texture. Rolling too thin can cause them to tear.
-
Heat the Oil: For extra crispiness, make sure your vegetable oil is hot before adding the pancakes to the skillet. This ensures they fry rather than steam.
-
Resting Time: Don’t skip the resting time for the dough; it allows the gluten to relax, making rolling out much easier.
-
Avoid Microwaving: If you have leftovers, reheating in a skillet with a little oil is your best option to restore the pancakes' crispiness.
Crispy Chinese Scallion Pancake Variations
Feel free to get creative and customize your pancakes to match your tastes with these delicious ideas!
-
Spicy Kick: Add a sprinkle of chili flakes or sriracha to the filling for a zesty heat that will awaken your taste buds. Embrace the warmth and enjoy a delightful contrast to the scallions.
-
Veggie Delight: Enhance your filling by incorporating shredded carrots or finely diced bell peppers. Not only do they add color, but they also provide extra nutrition and crunch.
-
Herb Infusion: Mix fresh herbs like cilantro or basil with your scallions for an aromatic twist. These vibrant flavors will elevate your pancakes to a whole new level of freshness.
-
Cheesy Goodness: Sprinkle some shredded cheese, such as Monterey Jack or mozzarella, on the scallions before rolling. The melty goodness melds beautifully, creating added richness.
-
Sesame Crunch: Toast some sesame seeds and sprinkle them on the filling for a delightful crunch. This adds not just texture, but also a nutty flavor that enhances the overall experience.
-
Savory Dipping Sauces: Elevate your meal by trying unique dipping sauces such as a spicy garlic-infused oil or a tangy ginger-soy mix. These delicious dips will complement your pancakes perfectly!
-
Breakfast Version: Swap out the scallions for cooked and crumbled bacon or sausage along with the traditional filling for a heartier breakfast option. Now that's a savory wake-up call!
-
Sweet Option: For an adventurous twist, try adding a touch of sugar and finely chopped green apples in the filling. This sweet and savory combination will surprise and delight!
Experiment and have fun with your pancake creations. Discover even more delightful combinations like these while enjoying your time in the kitchen, ensuring they pair beautifully with dishes like Fish Taco Bowls and Crab Cakes for a full, satisfying meal.
Make Ahead Options
These Crispy Chinese Scallion Pancakes are fantastic for meal prep and can save you precious time on busy weeknights! You can prepare the dough up to 24 hours in advance, simply cover it tightly in plastic wrap and refrigerate. When you're ready to enjoy your pancakes, let the dough sit at room temperature for about 30 minutes before rolling it out. If you prefer, you can also shape the filled pancakes and refrigerate them for up to 3 days before frying. To maintain their crispiness, avoid stacking them directly on top of each other; use parchment paper between layers. When you're set to serve, just fry them until golden brown, and you'll have a fresh, restaurant-quality snack with minimal effort!
Storage Tips for Crispy Chinese Scallion Pancakes
-
Room Temperature: To maintain freshness, let any leftover pancakes cool completely before storing them at room temperature. They can be kept for up to 1 day; however, enjoy them sooner for the best taste.
-
Fridge: Place leftover Crispy Chinese Scallion Pancakes in an airtight container and store them in the refrigerator for up to 2 days. Reheat in a skillet to regain that delightful crispness.
-
Freezer: For longer storage, freeze cooked pancakes in a single layer on a baking sheet before transferring them to a freezer-safe container or bag. They can be frozen for up to 2 months.
-
Reheating: Avoid the microwave; instead, reheat frozen or refrigerated pancakes in a skillet with a splash of oil over medium heat, cooking until they are warmed through and crispy again.
What to Serve with Crispy Chinese Scallion Pancakes
These mouthwatering pancakes invite you to create a delightful meal that tantalizes your taste buds and satisfies your cravings.
- Soy Dipping Sauce: A savory soy sauce brings out the pancake's flavors beautifully, creating a perfect balance of salty and rich.
- Asian Slaw: Freshly shredded cabbage, carrots, and a tangy sesame dressing add a crunchy contrast that elevates each bite of pancake.
- Spicy Garlic Edamame: These protein-packed snacks boast a spicy kick that complements the pancakes and adds vibrant green color to your plate. Enjoying these with each pancake is a must!
- Sweet and Sour Cucumber Salad: A refreshing and crunchy salad with a sweet and tangy taste cleanses the palate between bites.
- Steamed Dumplings: Juicy, tender dumplings filled with veggies or proteins provide a heartier option that pairs wonderfully with the crispy texture of the pancakes.
- Chili Oil Drizzle: A drizzle of spicy chili oil not only enhances the pancakes but also adds a vibrant touch. Your heart will be racing with this delightful and bold flavor!
- Sesame Ginger Tea: This warm tea serves as a calming drink companion, enhancing the meal's overall experience with its delicate fragrance.
- Mango Sticky Rice: For dessert, the sweetness of sticky rice topped with mango creates a delightful ending after such savory treats. A perfect sweet contrast awaits!
Crispy Chinese Scallion Pancakes Recipe FAQs
What type of scallions should I use for the pancakes?
I suggest using fresh, green scallions for the best flavor and texture. Look for scallions that are firm and have vibrant green tops without any wilting or dark spots. If you can’t find scallions, chives or garlic chives can be a delightful alternative!
How should I store leftover pancakes?
To keep your Crispy Chinese Scallion Pancakes fresh, let them cool completely before placing them in an airtight container. Store them in the refrigerator for up to 2 days. For even better taste, reheat them in a skillet with a little oil to revive their crispiness, instead of using a microwave.
Can I freeze these pancakes?
Absolutely! To freeze, lay the cooked pancakes in a single layer on a baking sheet, ensuring they do not touch. Place the sheet in the freezer for about 1-2 hours until they are firm, then transfer them to a freezer-safe bag or container. They will stay delicious for up to 3 months! For reheating, cook them in a skillet over medium heat until crispy and warmed through.
Why are my pancakes soggy when reheated?
Soggy pancakes usually happen because of reheating in the microwave, which creates steam. To avoid this, always opt for reheating them in a skillet with a splash of oil over medium heat. This method helps restore their crisps while maintaining the lovely chewy inside. If you find they are still soggy, consider adding a few extra minutes to the frying process the first time to ensure a firmer texture.
Can I customize the filling of my scallion pancakes?
Very! These pancakes are incredibly versatile. Feel free to add spices like chili flakes for a touch of heat or incorporate other vegetables, such as shredded carrots or bell peppers. Just make sure not to overfill them to keep the layering intact while rolling!
Are these pancakes suitable for dietary restrictions?
Yes! This recipe for Crispy Chinese Scallion Pancakes is vegetarian-friendly and made with simple, accessible ingredients. However, if you or your family members have specific allergies (such as gluten or sesame oil), consider substituting the flour with a gluten-free blend and use a neutral oil. Enjoy experimenting while keeping dietary needs in mind!
Crispy Chinese Scallion Pancakes You'll Crave Daily
Ingredients
Equipment
Method
- In a large mixing bowl, combine all-purpose flour with boiling water, stirring until a shaggy dough forms. Allow to cool for about 10 minutes, then knead for 5-7 minutes until smooth and elastic. Let rest covered with a damp cloth.
- Divide the dough into equal portions. Roll one portion into a thin rectangle, brush with sesame oil, sprinkle with chopped scallions and a pinch of salt. Roll it up and coil into a snail shape, then flatten and roll into a pancake.
- Heat a nonstick skillet over medium heat, add enough vegetable oil to coat the bottom. Fry each pancake for 2-4 minutes on one side until golden and crispy, then flip and cook for another 2-4 minutes, pressing down to ensure crispiness.
- Transfer pancakes to a plate lined with paper towels to drain excess oil. Cut into wedges and serve with soy sauce or black vinegar.