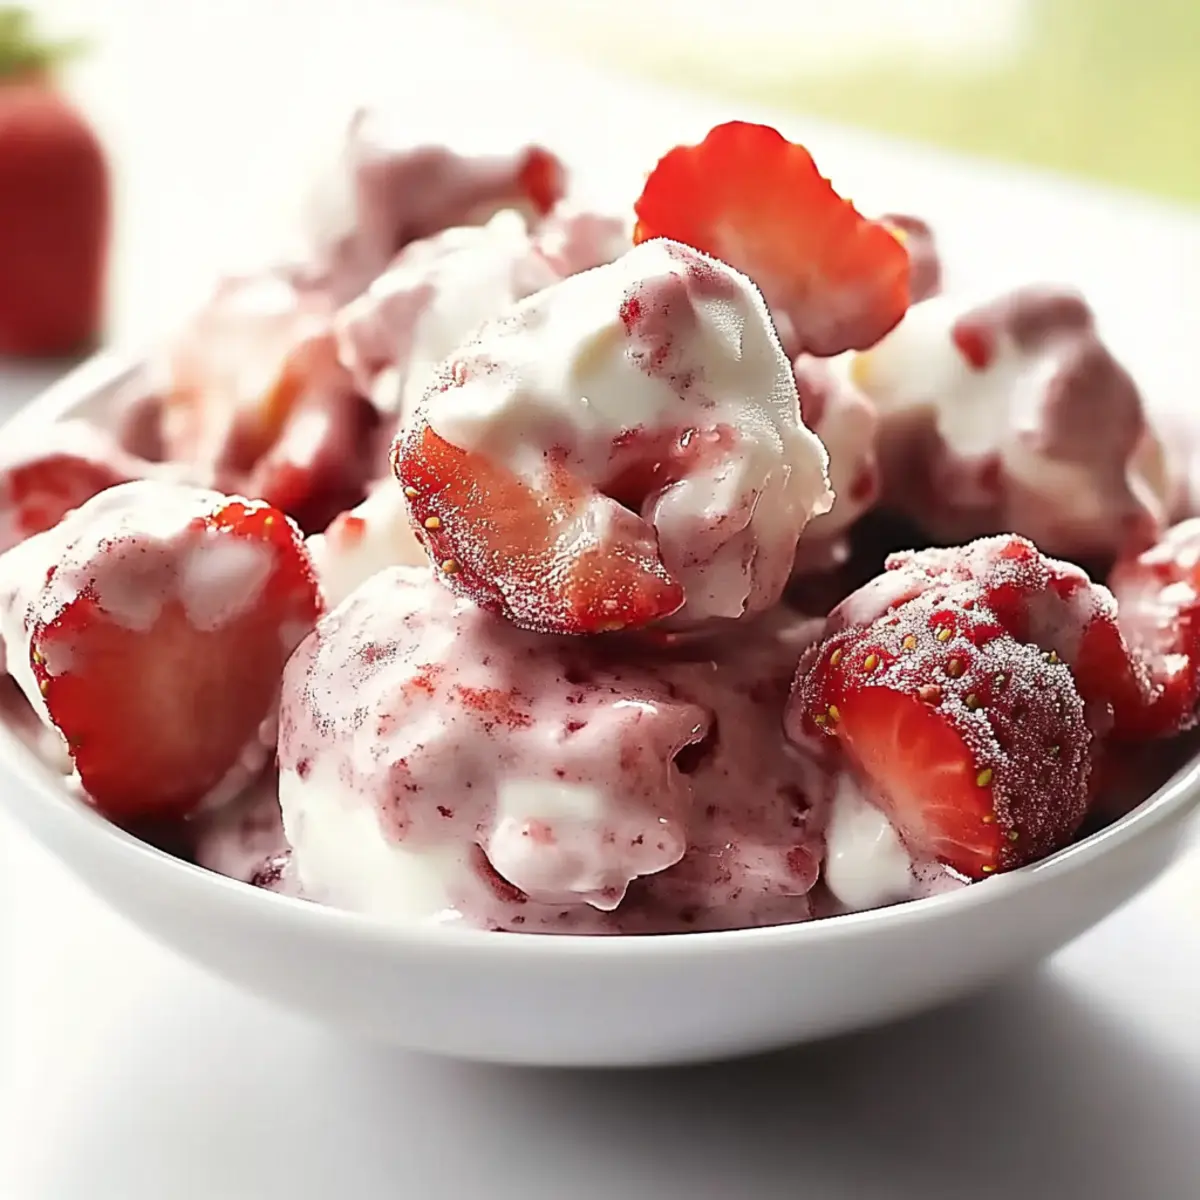
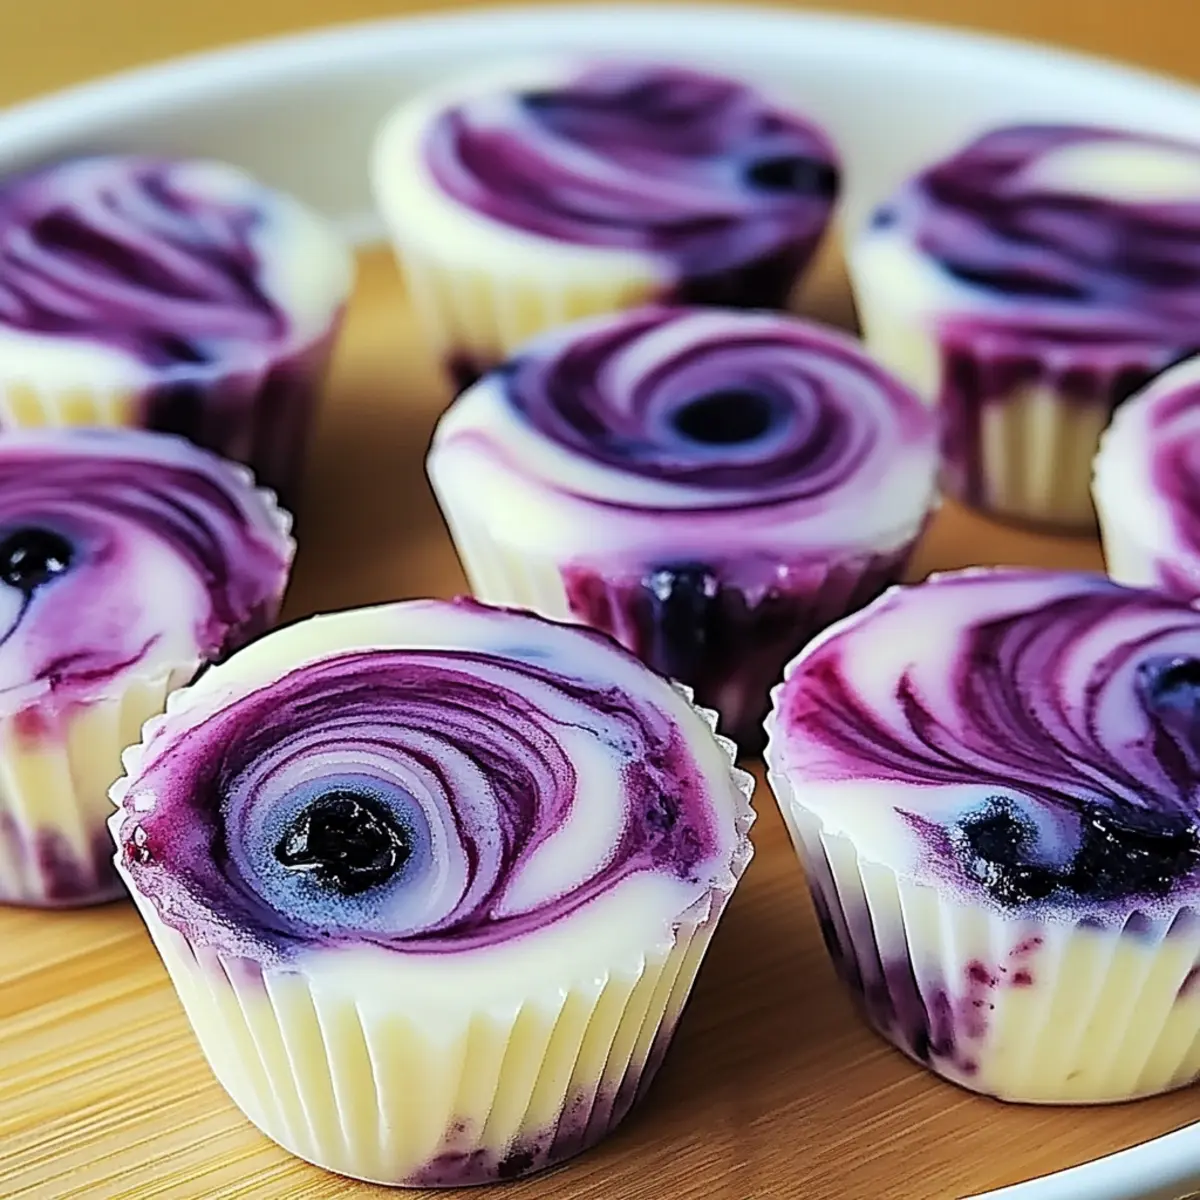
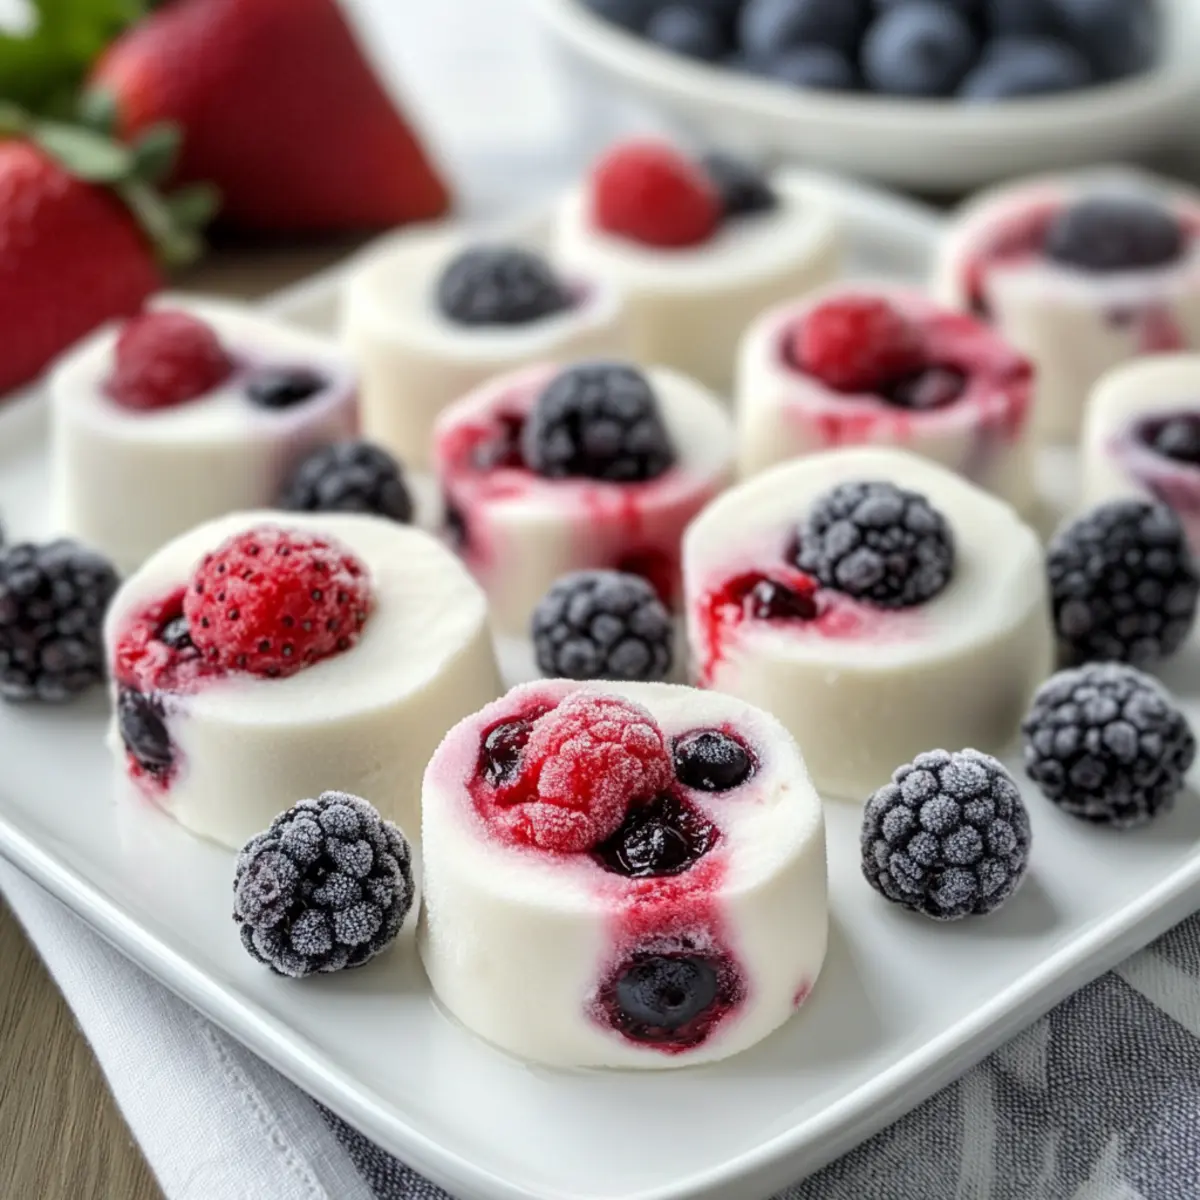
Heatwave season always seems to sneak up on me, that first sultry afternoon turning my kitchen into an oven. On days like those, I find myself desperately craving something cool and satisfying. Enter my No-Bake Frozen Yogurt Berry Bites, the antidote to summer heat! These delightful snacks combine the creamy goodness of Greek yogurt with a colorful medley of fresh berries, transforming a simple treat into a nutritious powerhouse that’s perfect for every occasion. Not only are they a no-fuss, guilt-free indulgence, but they are also customizable—mix in whatever fruit or sweetener strikes your fancy. Whether you're replenishing after a workout or need a quick pick-me-up for the kids, these frozen bites check all the boxes. Ready to dive into this easy and refreshing recipe that will keep your taste buds tingling? Let’s get started!
Why are Frozen Yogurt Berry Bites a Must-Try?
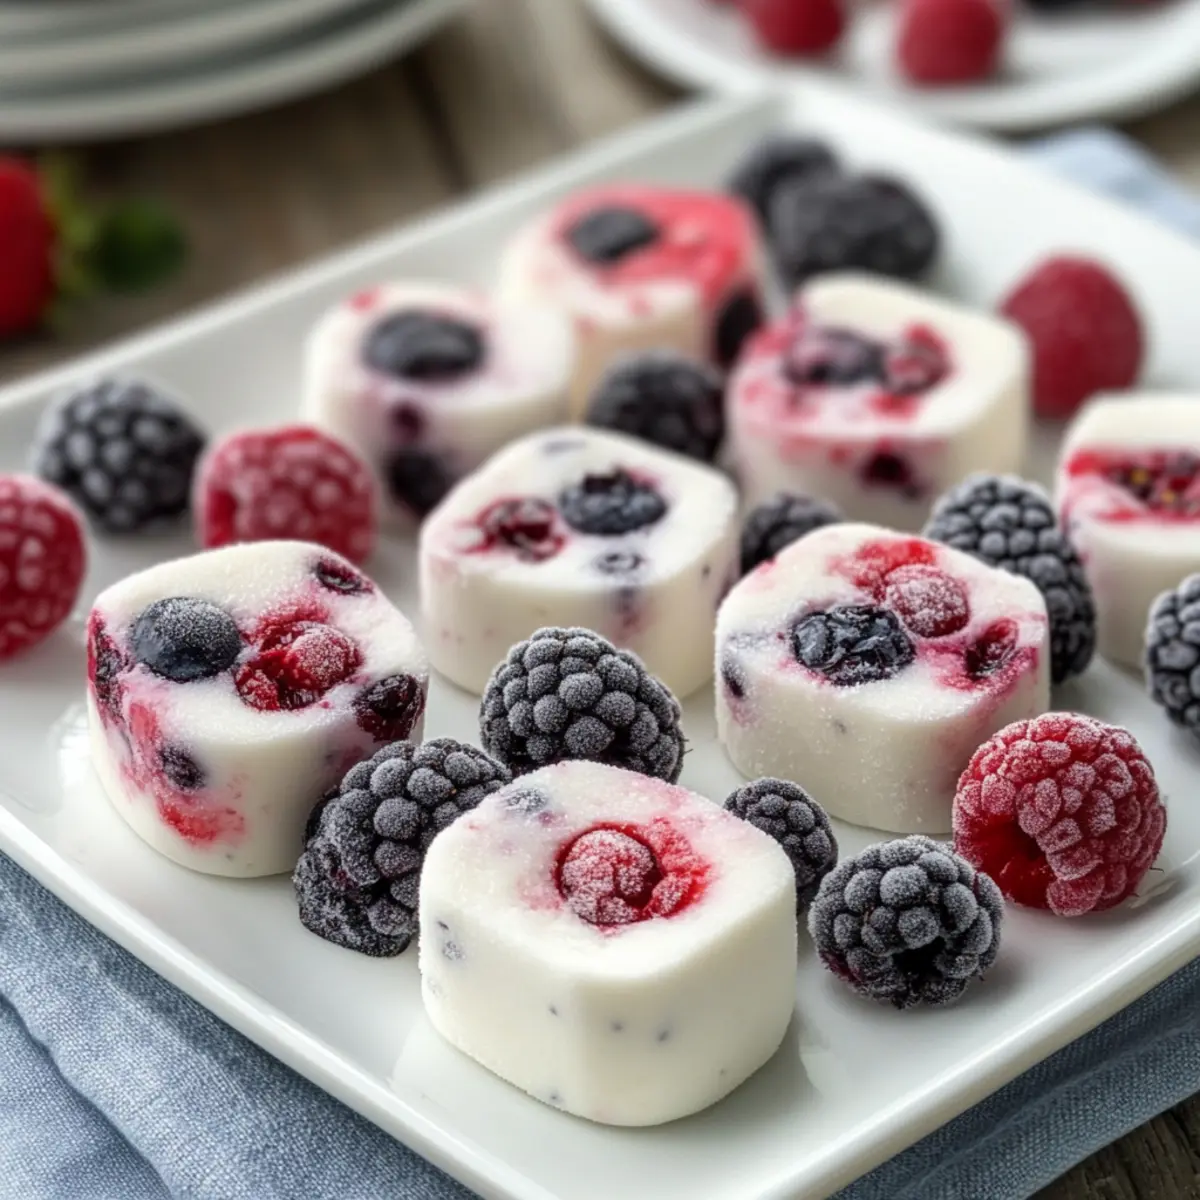
Cool, Delicious Bliss: Perfect for hot summer days, these bites are a refreshing treat that won’t weigh you down.
Healthy Indulgence: Packed with protein from Greek yogurt and antioxidants from mixed berries, they offer a guilt-free way to satisfy sweet cravings.
Customizable Flavors: Feel free to swap in your favorite fruits or sweeteners—each batch can be uniquely yours!
Easy Preparation: With no baking required, this fun recipe can be made in minutes, making it a no-fuss snack option. For time-strapped weeks, check out my Blackberry Crisp Amp for another quick dessert solution.
Crowd-Pleasing Snack: These bites are an instant hit at gatherings, and kids love them too! You can effortlessly prep a large batch, ensuring there’s plenty for everyone.
Dive into these delightful bites and embrace the joy of homemade, healthy snacking!
Frozen Yogurt Berry Bites Ingredients
• Create your own delightful treats with these essential ingredients!
For the Base
- Greek Yogurt – Use thick Greek yogurt for the best creamy texture and shape after freezing.
- Honey/Maple Syrup – Sweeten to taste with honey or maple syrup; substitute with agave syrup for a vegan option.
For the Berries
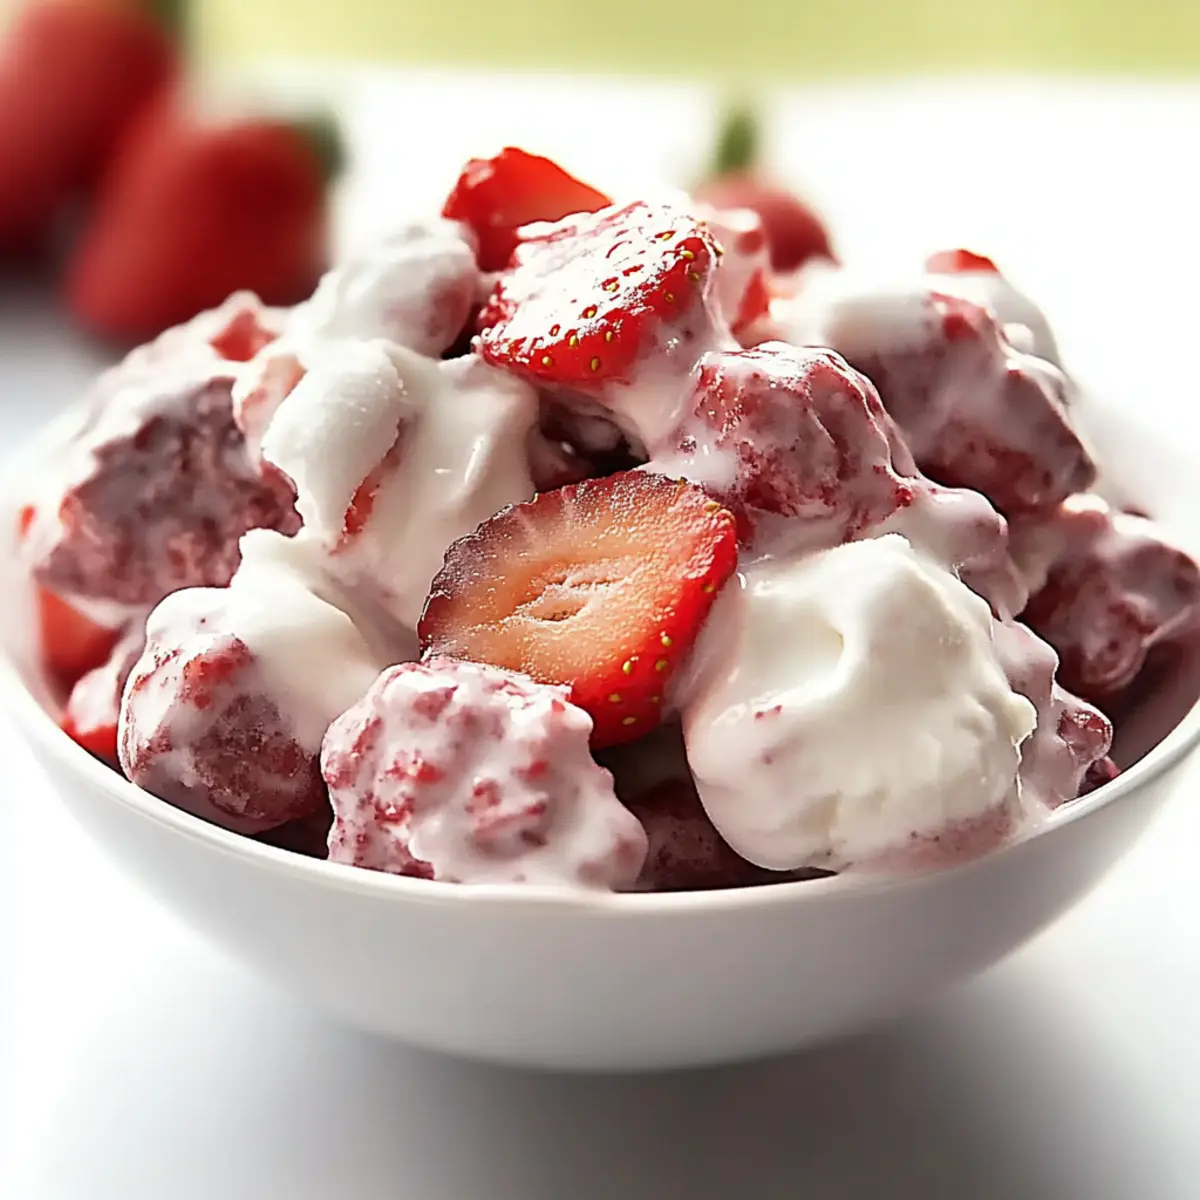
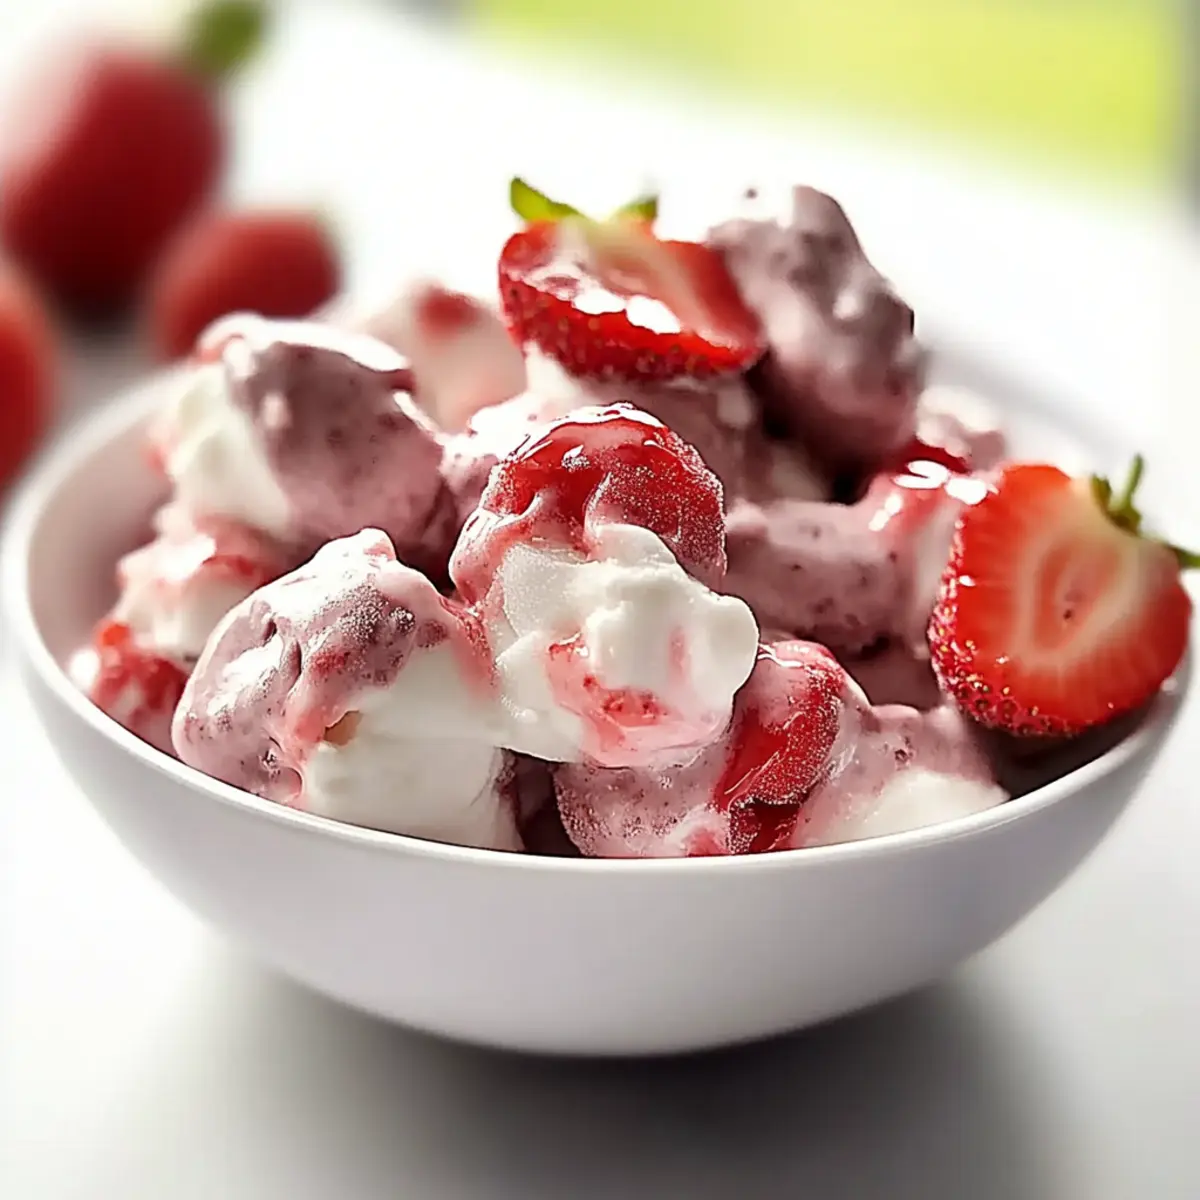
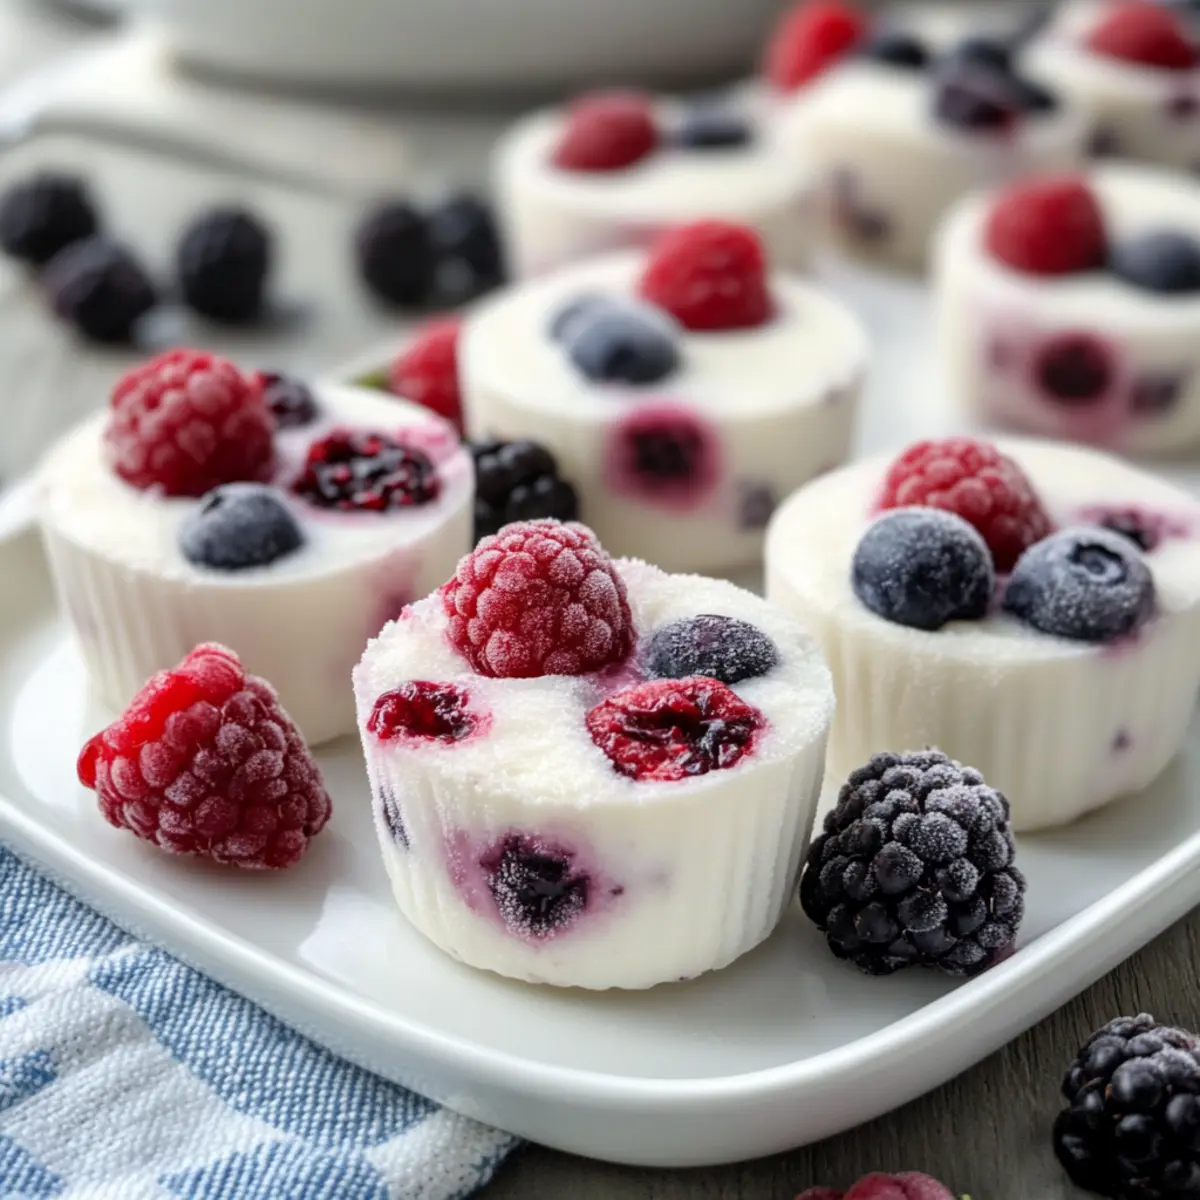
- Mixed Berries (fresh or frozen) – A colorful mix of berries like strawberries, blueberries, and raspberries adds natural sweetness and antioxidants to your Frozen Yogurt Berry Bites!
Optional Additions
- Granola – Add granola for an extra crunch; mix in before freezing for delightful texture.
- Nut Butter – Incorporate a tablespoon of nut butter for a rich, creamy flavor twist.
Feel free to get creative with these ingredients and customize your frozen yogurt bites to perfection!
Step‑by‑Step Instructions for Frozen Yogurt Berry Bites
Step 1: Prep the Mixture
In a large mixing bowl, combine 2 cups of thick Greek yogurt with 2-4 tablespoons of honey or maple syrup, depending on your sweetness preference. Mix until the yogurt is completely smooth and creamy, ensuring there are no lumps. You'll want to see a luscious, airy texture that's ready to hold the berries beautifully.
Step 2: Add Berries
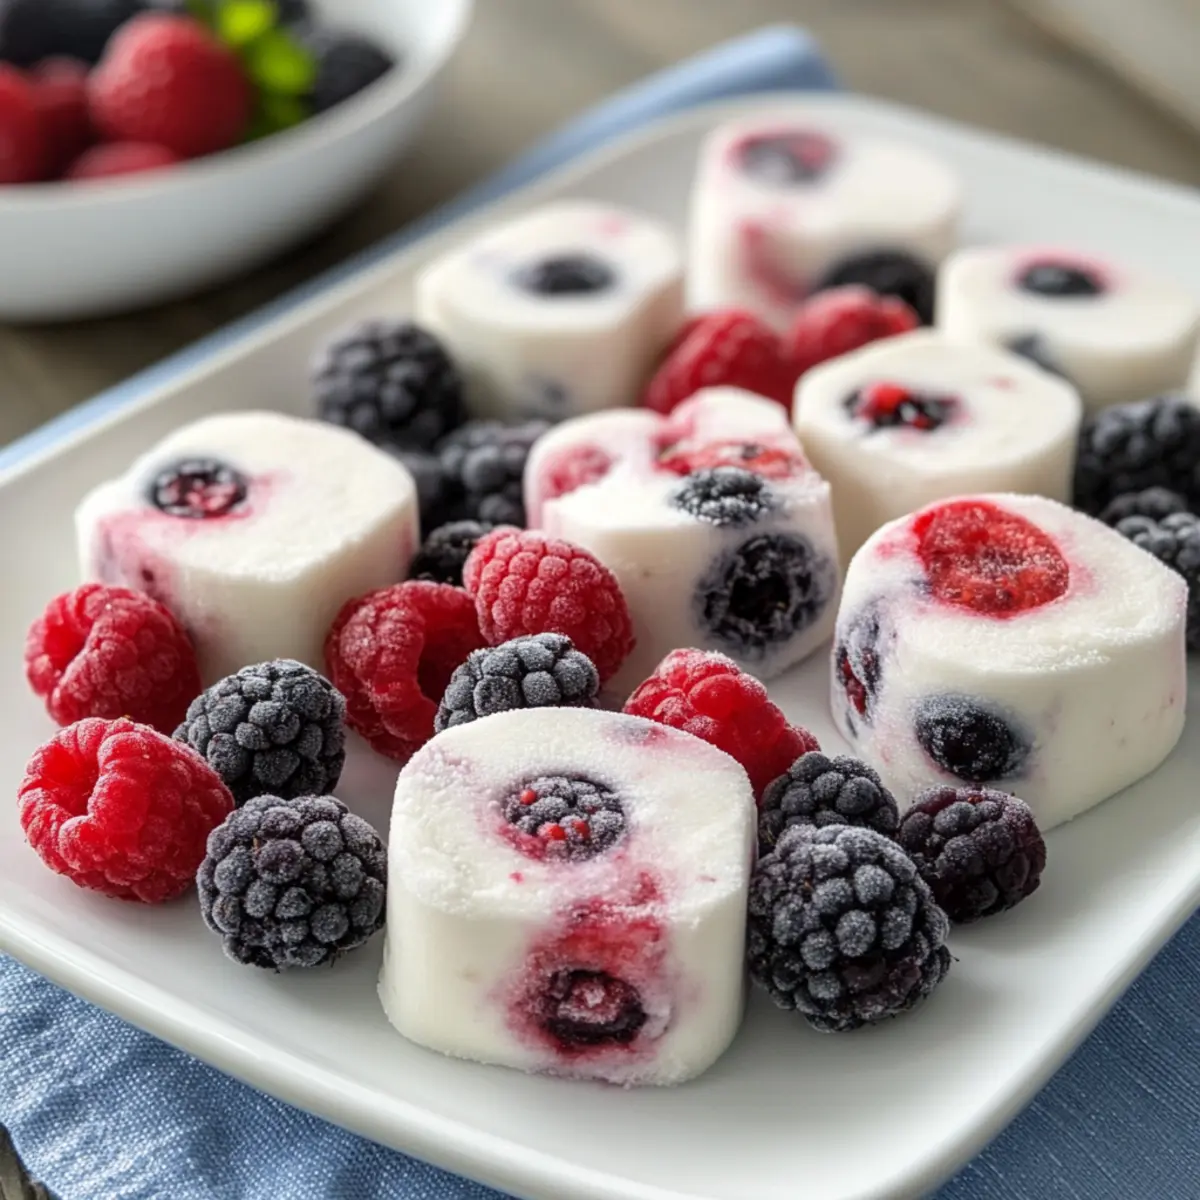
Gently fold in 1 to 2 cups of your favorite mixed berries—such as strawberries, blueberries, and raspberries—into the yogurt mixture. Be careful not to over-mix, as you want the berries to retain their shape and color. As the vibrant berries get intertwined, the mixture should become a colorful delight, bursting with flavor in every spoonful.
Step 3: Mold the Bites
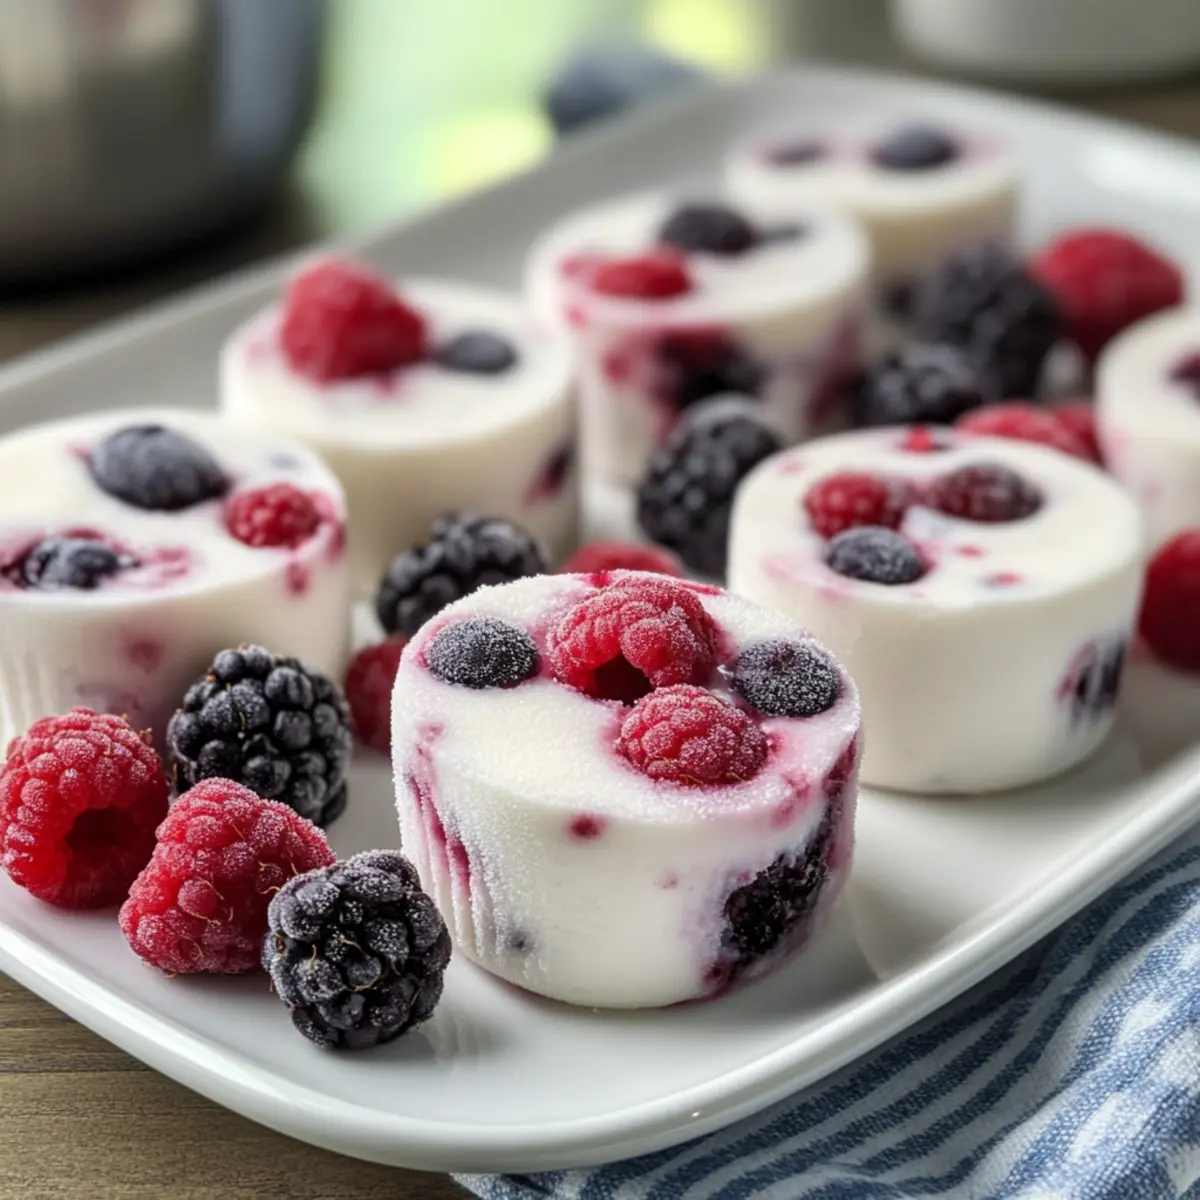
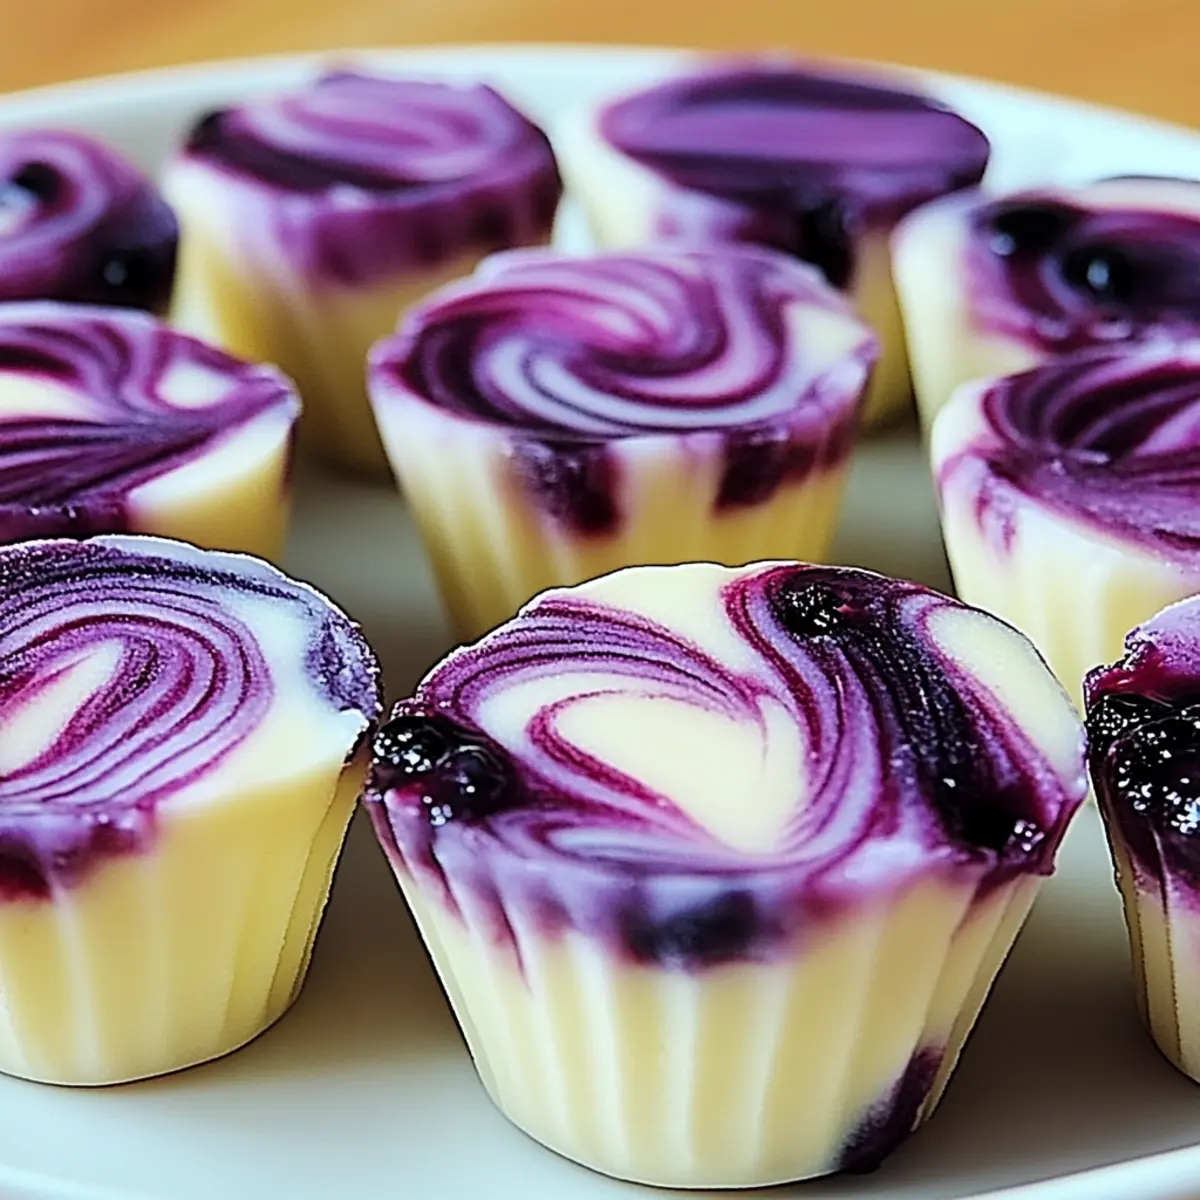
Take your mini muffin cups or an ice cube tray and carefully scoop the berry-yogurt mixture into each mold. Fill them evenly, smoothing the tops with a spatula for a neat presentation. If using a tray, spread the mixture evenly, ensuring it’s approximately half an inch thick, ready to be sliced once frozen into perfectly sized bites.
Step 4: Freeze
Place the filled molds into the freezer and let them chill for a minimum of 2 hours, or until they are completely solid. The bites should feel firm to the touch when they are ready. This freezing process is crucial to create the perfect texture for your Frozen Yogurt Berry Bites, turning them into delightful, cool snacks.
Step 5: Serve
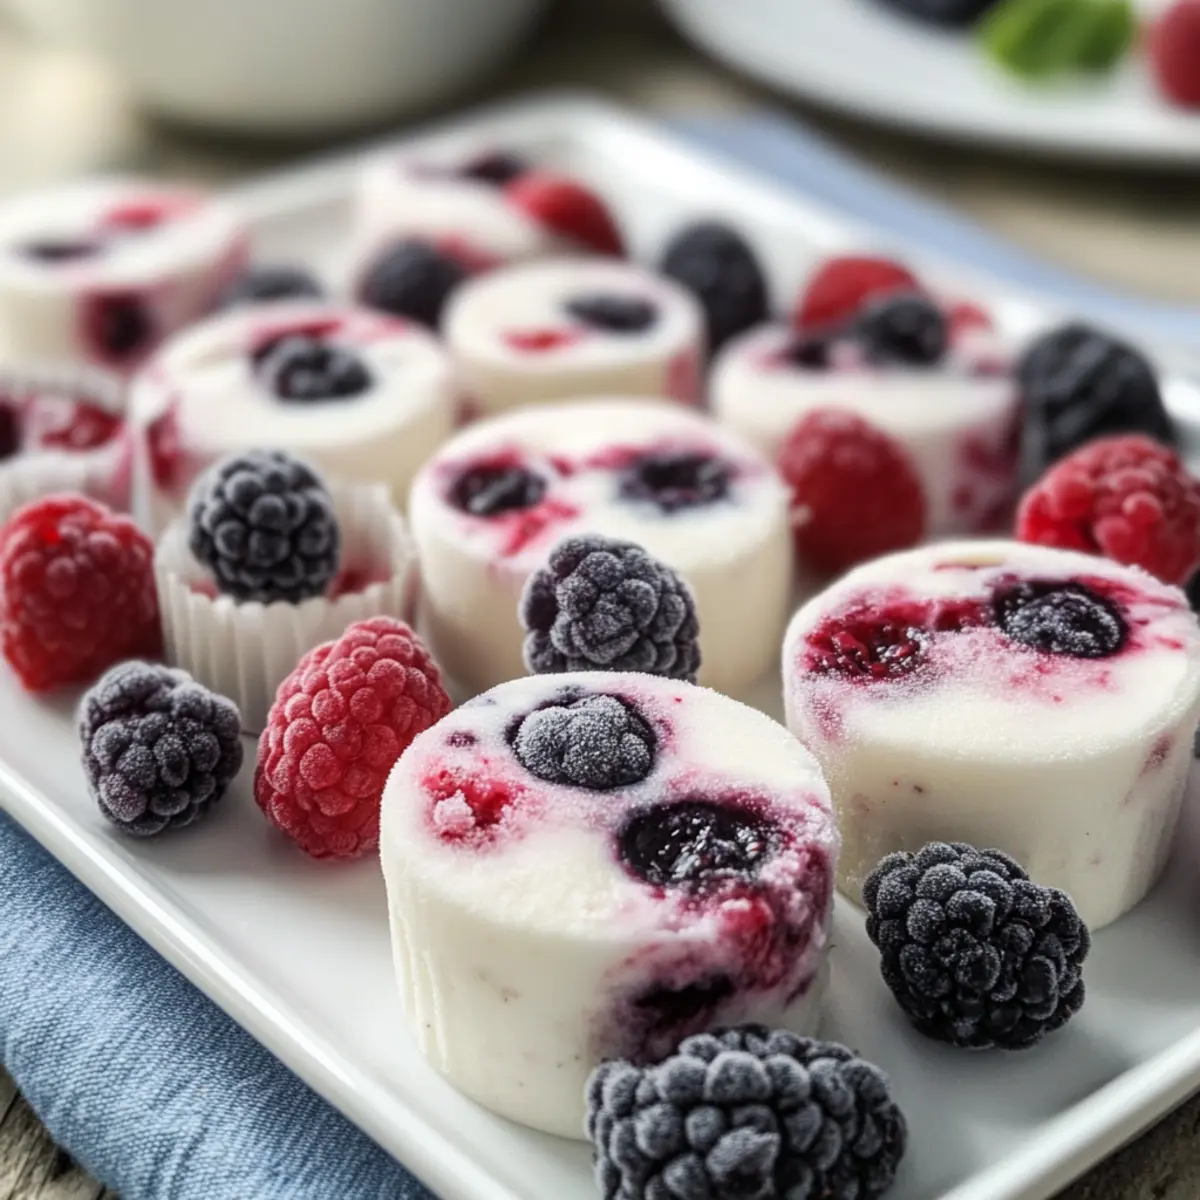
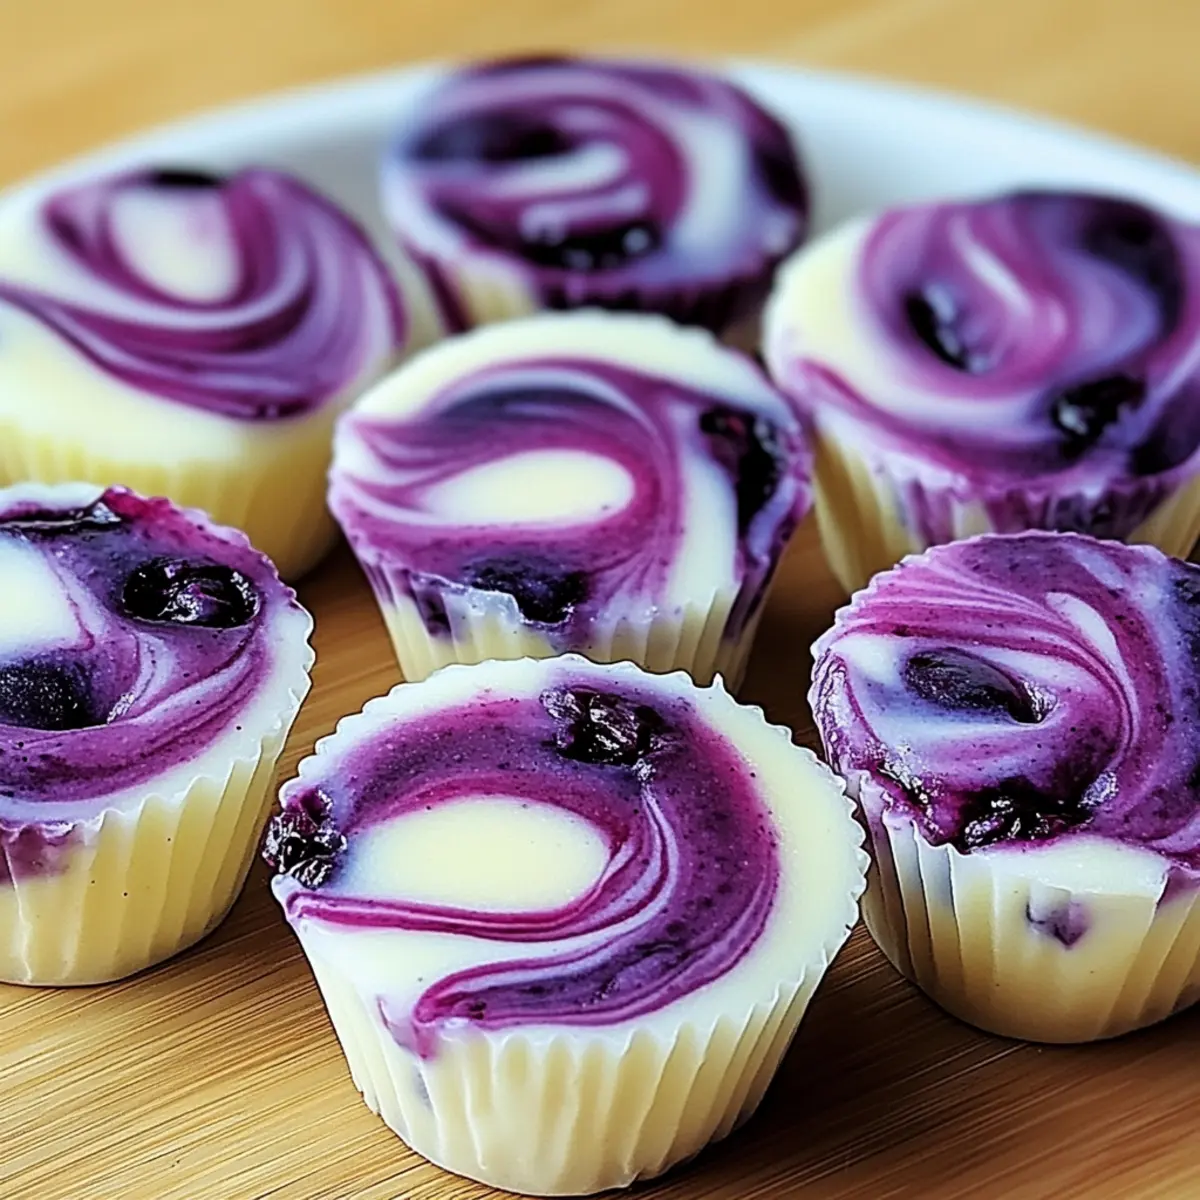
Once fully frozen, remove the bites from the molds carefully. You may need to twist or gently run a knife around the edges for easy release. Arrange the Frozen Yogurt Berry Bites on a serving platter and enjoy this refreshing treat as a healthy snack or dessert any time you crave a cool indulgence.

Expert Tips for Frozen Yogurt Berry Bites
-
Yogurt Consistency: Use thick Greek yogurt to prevent the bites from becoming too icy or falling apart after freezing.
-
Berry Choices: Choose a combination of berries for varied flavors; avoid over-mixing to keep beautiful berry shapes.
-
Sweetness Adjustment: Taste the yogurt mixture before freezing. Adjust sweetness with honey or maple syrup to suit your palate.
-
Mix-In Ideas: For added texture, incorporate granola or nuts before freezing. It provides a delicious crunch in every bite!
-
Freezing Time: Allow the bites to freeze for at least 2 hours to achieve a firm texture—rushing this step can lead to a mushy result.
Make Ahead Options
These Frozen Yogurt Berry Bites are a fantastic option for busy home cooks looking to save time during the week! You can prepare the entire mixture and mold it up to 24 hours in advance. Mix 2 cups of Greek yogurt with 2-4 tablespoons of honey or maple syrup, gently fold in your berries, and pour the mix into mini muffin cups. To maintain their creamy texture, ensure the yogurt is thick and freeze them immediately. When you're ready to enjoy, simply pop them out of the molds and let them sit for a few minutes to soften slightly—this way, you'll relish that perfect bite, all while keeping your schedule hassle-free!
Frozen Yogurt Berry Bites Variations
Feel free to get creative with these delightful bites and make them your own!
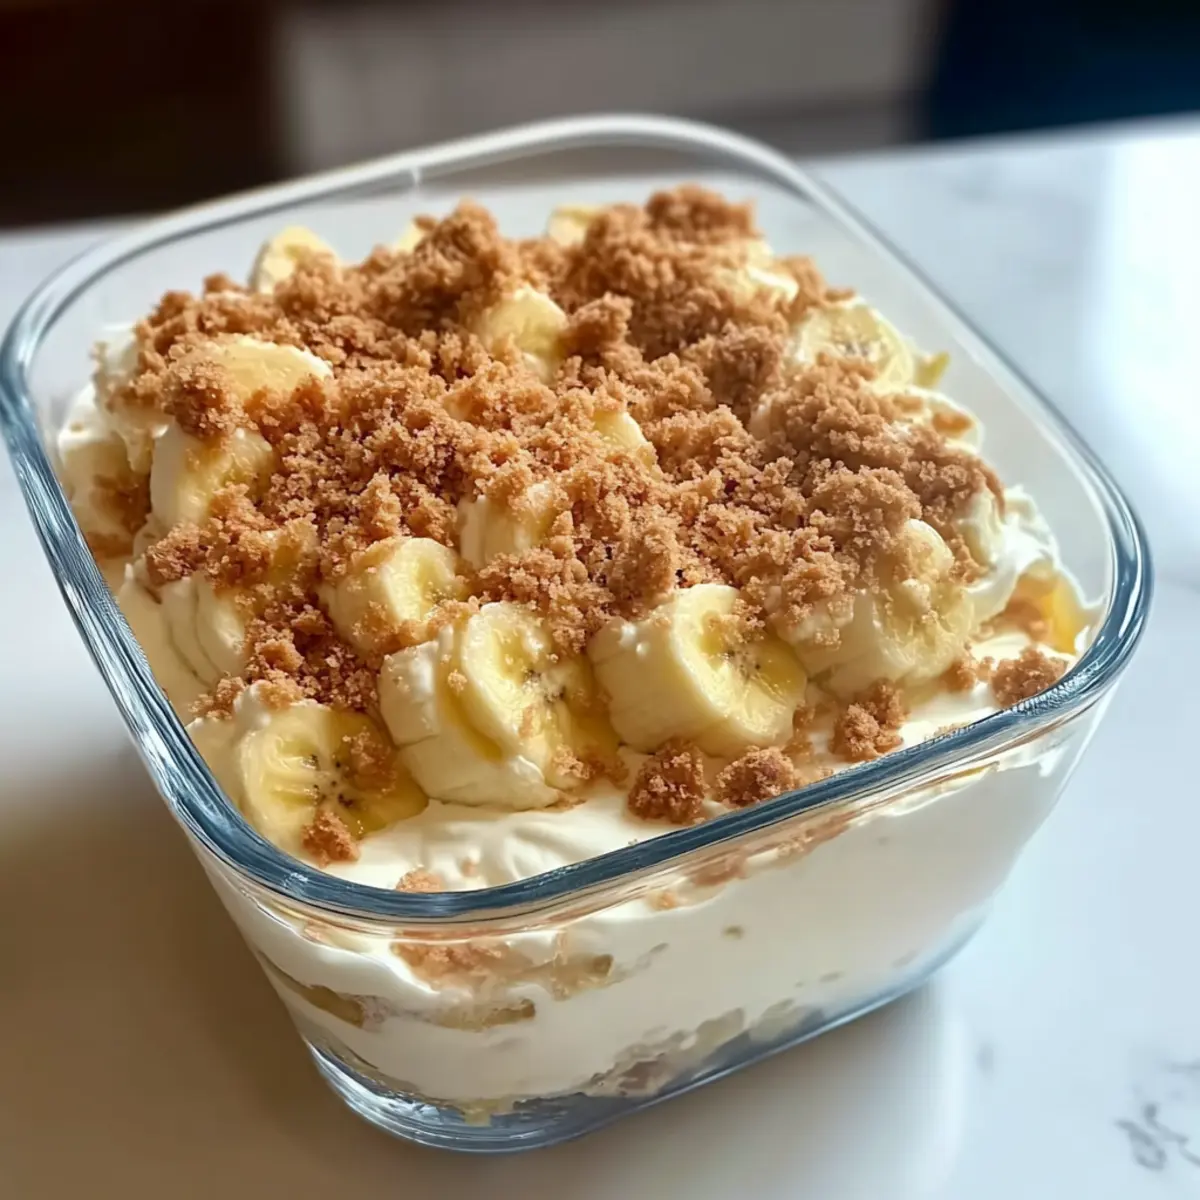
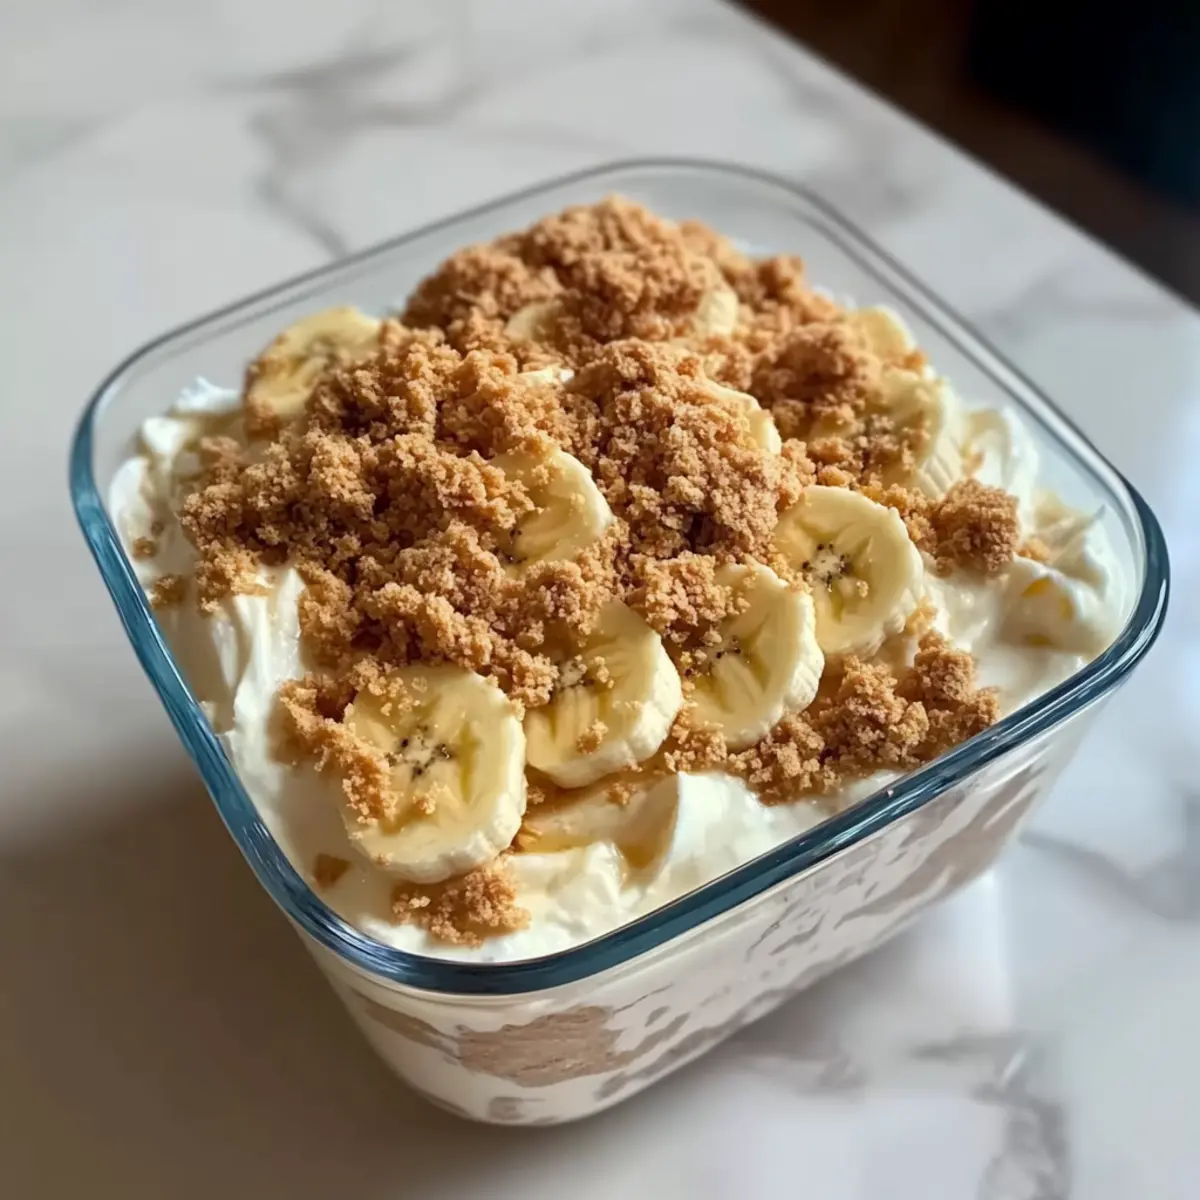
- Fruit Swap: Replace mixed berries with sliced bananas or diced mango for a tropical twist. Each fruit brings its own unique flavor, turning the bites into something new and exciting.
- Nutty Addition: Add a tablespoon of your favorite nut butter for a rich, creamy finish that complements the tartness of the berries. It’s a luscious layer, perfect for those craving something a bit indulgent.
- Granola Crunch: Mix in a handful of granola for added texture and a delightful crunchy contrast to the creamy yogurt—perfect for a fun bite! A sprinkle of granola can make each snack even more satisfying.
- Flavor Boost: Add a splash of vanilla or a pinch of cinnamon to the yogurt mixture to enhance the flavor profile, creating a warm undertone that pairs beautifully with fresh fruit. Just a little can elevate the overall taste!
- Dairy-Free Version: Use coconut yogurt instead of Greek yogurt for a dairy-free alternative, ensuring you don’t miss out on the creaminess. This swap caters to different dietary needs while maintaining that coveted texture.
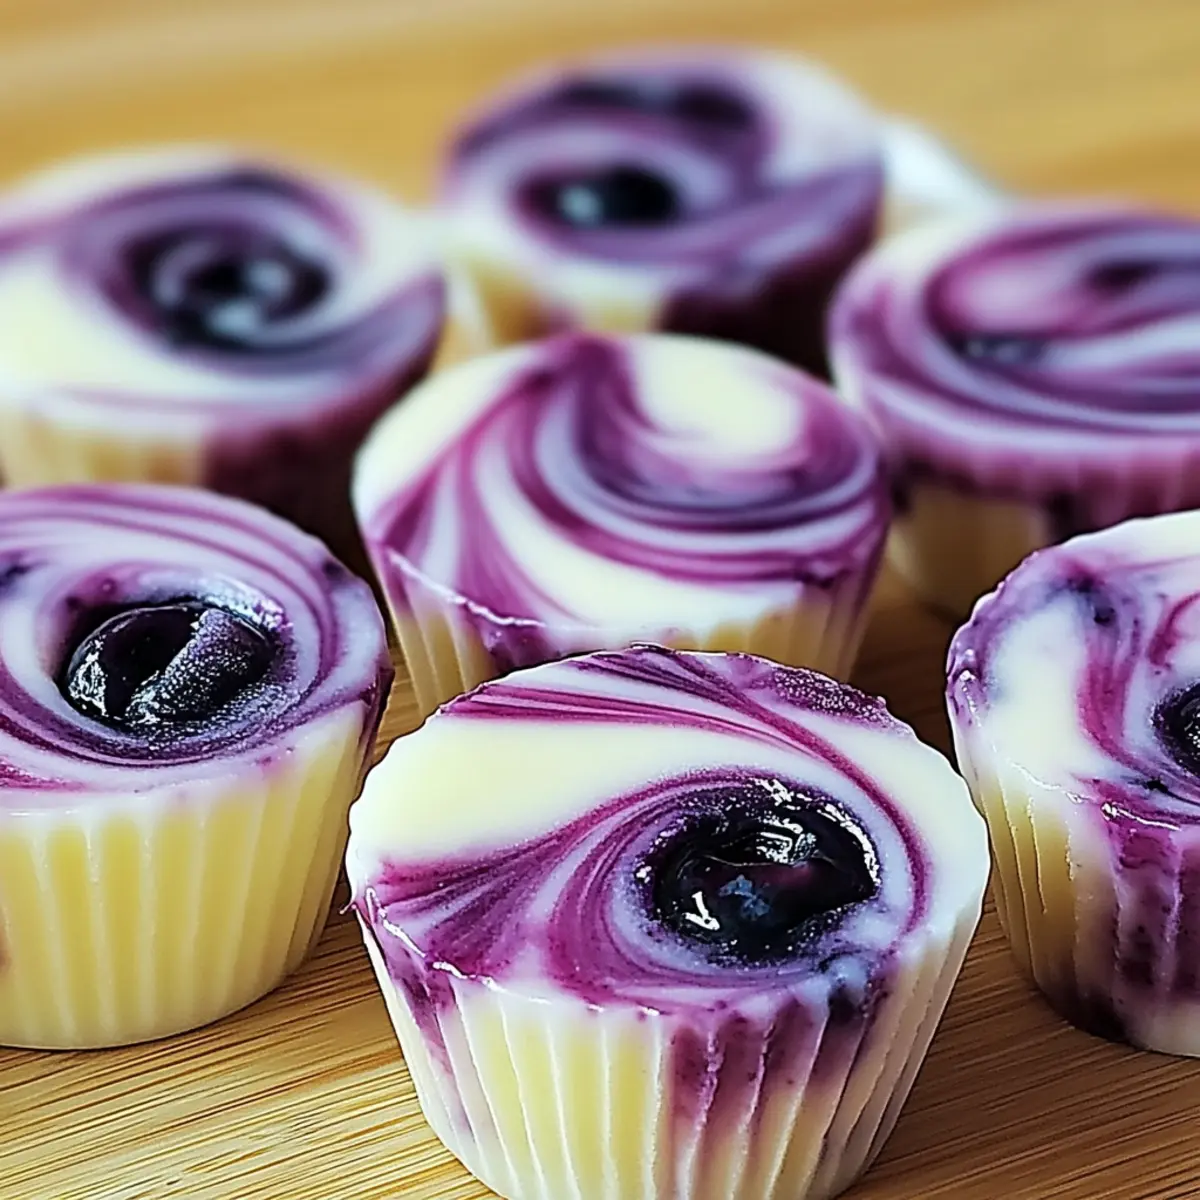
- Berry Choices: Experiment with just one type of berry, like all blueberries for a burst of blueberry goodness, or use blackberries for a slightly tart twist. Simplifying the mix can provide a strong, singular flavor experience.
- Chocolate Drizzle: Drizzle melted dark chocolate over the frozen bites just before serving for a sweet finish that adds a touch of decadence. It’s an easy way to jazz up the presentation!
- Herbal Infusion: Add finely chopped fresh mint or basil to the berry mixture for a refreshing herbal kick that surprises your taste buds—an unexpected and delightful twist!
By mixing and matching these options, you can create a new version of these Frozen Yogurt Berry Bites every time you make them, so they never get boring!
How to Store and Freeze Frozen Yogurt Berry Bites
Fridge: Store any leftover Frozen Yogurt Berry Bites in an airtight container in the fridge for up to 3 days, but they are best enjoyed frozen for a longer-lasting treat.
Freezer: Keep your Frozen Yogurt Berry Bites in an airtight container or freezer bag in the freezer for up to 1 month. This ensures they maintain their texture and flavor.
Thawing: To enjoy, simply take out the desired number of bites and let them thaw at room temperature for about 10 minutes before serving, or pop them into your mouth straight from the freezer for an icy burst!
Reheating: There’s no need to reheat these bites; they are meant to be enjoyed straight from the freezer for a refreshing snack!
What to Serve with Frozen Yogurt Berry Bites?
These delightful bites are not just a treat on their own; they inspire a whole meal filled with refreshing flavors!
-
Fresh Fruit Salad: A medley of seasonal fruits adds brightness and variety, complementing the creaminess of the yogurt bites. Fresh fruit always enhances a warm day.
-
Granola Parfait: Layer yogurt, your favorite granola, and some extra berries in a glass for a visually stunning breakfast or snack. The crunch pairs beautifully with creamy textures.
-
Coconut Water: This hydrating beverage provides a tropical twist that aligns perfectly with the fruity yogurt bites, keeping your palate refreshed and light.
-
Chocolate-Dipped Strawberries: Add a touch of decadent sweetness to balance the tartness of the berries in the bites. The contrast of flavors creates a beautiful harmony!
-
Chilled Herbal Tea: Opt for a light mint or hibiscus tea served iced for a soothing complement to your snacks. The floral notes will elevate the fruity flavors.
-
Nut Butter Dip: Create a simple dip by mixing your favorite nut butter with a splash of maple syrup. This adds a creamy, nutty contrast, enriching each bite.
-
Frozen Banana Bites: For those extra chilly cravings, freeze banana coins and serve alongside the yogurt bites. The creaminess of bananas pairs nicely and keeps the theme consistent.
-
Yogurt-Based Smoothie: Blend up a rich smoothie with spinach, banana, and a splash of yogurt for a wholesome drink option that complements sweet or savory snacks.
-
Vanilla Pudding: The creamy sweetness of vanilla pudding makes for an exquisite pairing, creating a festive dessert spread that everyone will adore!
Frozen Yogurt Berry Bites Recipe FAQs
How do I choose ripe berries for my Frozen Yogurt Berry Bites?
Absolutely! When selecting fresh berries, look for vibrant colors and firm textures. Strawberries should be bright red with green tops, blueberries should have a good bloom (that dusty layer on the surface), and raspberries should be plump and intact. Avoid berries with dark spots or mold, as they affect both taste and texture.
How should I store my Frozen Yogurt Berry Bites?
These delightful bites can be stored in an airtight container in the freezer for up to 1 month. Just make sure to separate layers with parchment paper to prevent sticking, ensuring they remain easy to pop out when you’re ready for a refreshing snack!
Can I freeze my Frozen Yogurt Berry Bites for longer than a month?
While it's best to consume these bites within 1 month for optimal flavor and texture, they can technically be frozen for up to 3 months. Keep them in a well-sealed container or freezer bag to prevent freezer burn, but I recommend enjoying them fresh for the best experience!
What should I do if my yogurt mixture is too watery?
If you find your mixture too runny, this may be due to using low-fat yogurt or excess liquid from thawed berries. To fix this, try straining the yogurt using a cheesecloth or a fine sieve to remove excess moisture. Alternatively, mix in a small amount of cornstarch or increase the ratio of yogurt to help achieve the right thickness.
Are Frozen Yogurt Berry Bites suitable for people with food allergies?
Indeed! These Frozen Yogurt Berry Bites can be easily tailored to accommodate various dietary restrictions. Use lactose-free yogurt or coconut yogurt to make them dairy-free. Always check berry labels to ensure no cross-contamination with allergens, and if you're using a sweetener, opt for options like agave syrup to keep it vegan-friendly.
How long does it take for the bites to freeze solid?
For best results, freeze your bites for a minimum of 2 hours, but if you want them rock-solid, leave them in for 4 hours. Once they feel firm, they’re ready to be enjoyed! Just remember, if you need to thaw them for serving, let them sit at room temperature for about 10 minutes for a delightful, camplike treat!
Frozen Yogurt Berry Bites for a Guilt-Free Treat
Ingredients
Equipment
Method
- In a large mixing bowl, combine Greek yogurt with honey or maple syrup. Mix until smooth and creamy.
- Gently fold in the mixed berries into the yogurt mixture.
- Scoop the mixture into mini muffin cups or an ice cube tray.
- Freeze the molds for a minimum of 2 hours or until solid.
- Remove the bites from molds and serve. Enjoy!