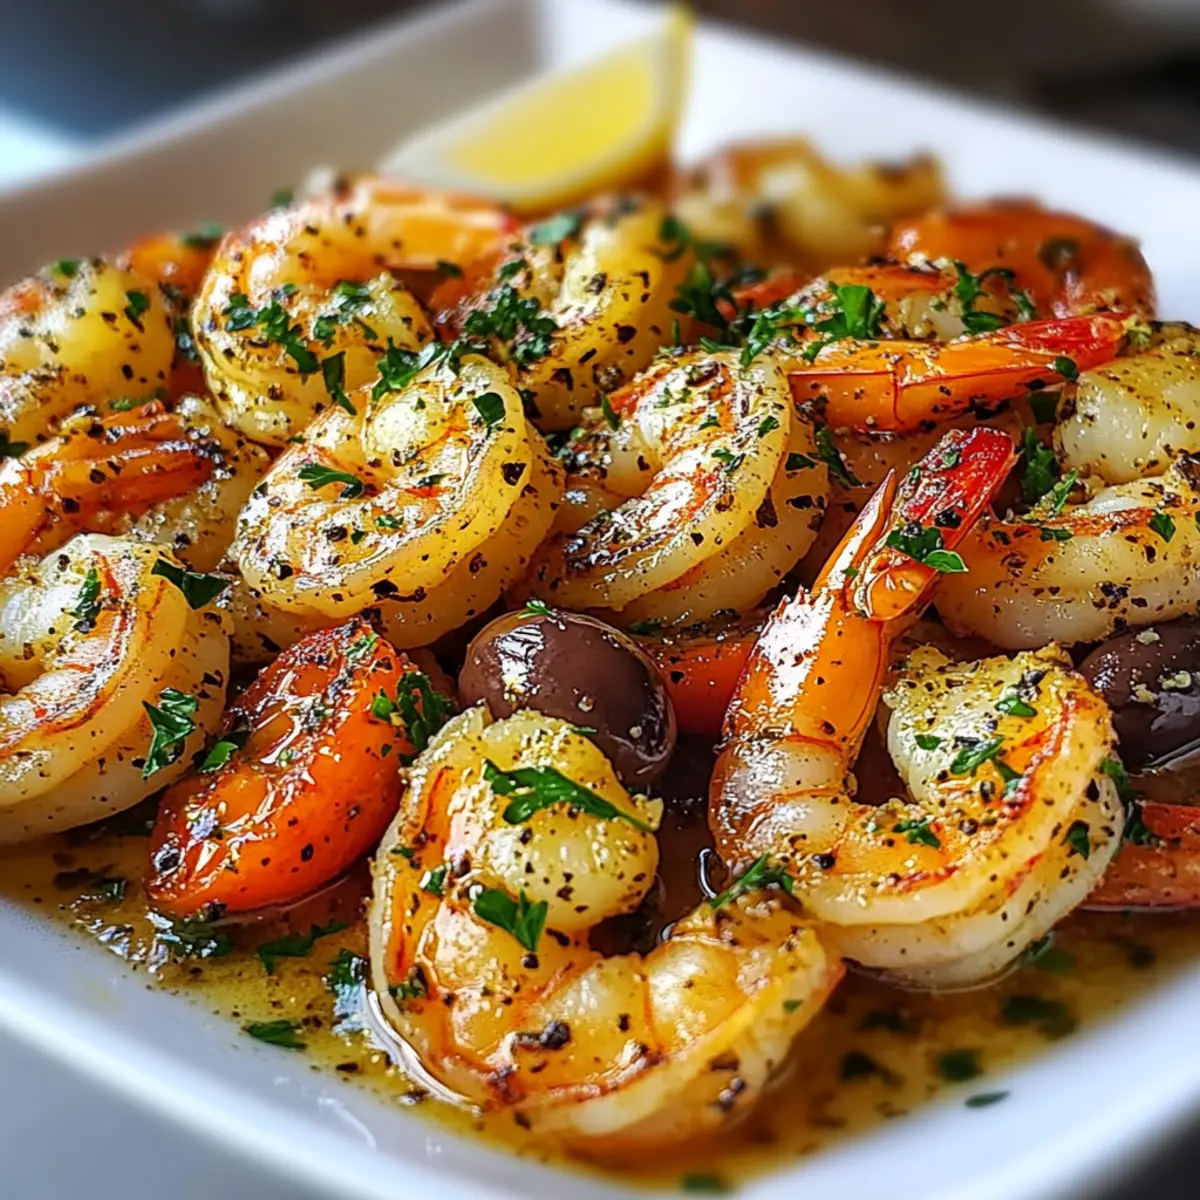
As I flipped through a collection of bright, colorful recipes, a wave of nostalgia hit me—grilled shrimp, the smoky scent wafting from the grill, a staple from my summer gatherings. Today, I want to share my take on Grilled Shrimp Caesar Wraps, where smoky, savory shrimp meets the crisp freshness of Caesar salad, all enveloped in a soft tortilla. This dish isn’t just quick to whip up; it's also a nutrient-packed powerhouse that’s perfect for lunch or a light dinner. Plus, it stands out at casual get-togethers with its delightful mix of flavors and textures. So, are you ready to elevate your wrap game and impress your friends? Let’s dive into this delicious adventure together!
Why Try Grilled Shrimp Caesar Wraps?
Flavorful Explosion: Each bite bursts with the smoky goodness of grilled shrimp paired with a creamy Caesar dressing.
Quick & Easy: With minimal prep and just a few ingredients, this recipe fits perfectly into busy lifestyles.
Versatile Meal: Whether it's a casual lunch or a fancy dinner, these wraps cater to any occasion. Pair them with your favorite side or try them with Pan Fried Shrimp.
Nutrient-Packed: High in protein and rich in healthy fats, they keep you satisfied without weighing you down.
Diet-Friendly: Gluten-free options are easily made by switching the tortilla for lettuce wraps! Enjoy the crunch of fresh veggies and try it next to a side of Grilled Mushrooms.
Crowd-Pleasing: Impress friends and family with this unique twist on a classic Caesar salad, making it a hit at any gathering!
Grilled Shrimp Caesar Wrap Ingredients
• Everything you need for a delicious meal!
For the Shrimp
- Shrimp – the star of the dish, providing a rich source of omega-3 fatty acids; feel free to substitute with chicken or tofu for a different flavor profile.
For the Wrap
- Tortilla – serves as the soft foundation; opt for flour or whole wheat for a delightful touch or go for lettuce wraps for a gluten-free alternative.
For the Salad Base
- Romaine Lettuce – adds a crunchy, refreshing element; spinach or kale can be great alternatives for extra nutrients.
For the Dressing
- Caesar Dressing – delivers the creamy, tangy taste; light dressing options can keep the wraps healthier without sacrificing flavor.
For the Topping
- Parmesan Cheese – enhances the savory experience; consider nutritional yeast for a dairy-free twist.
- Bacon Bits/Croutons (optional) – brings an extra crunch and flavor; feel free to leave them out for a lighter dish.
Prepare these ingredients, and you're well on your way to creating delectable Grilled Shrimp Caesar Wraps that are quick, healthy, and sure to please!
Step‑by‑Step Instructions for Grilled Shrimp Caesar Wraps
Step 1: Prep the Shrimp
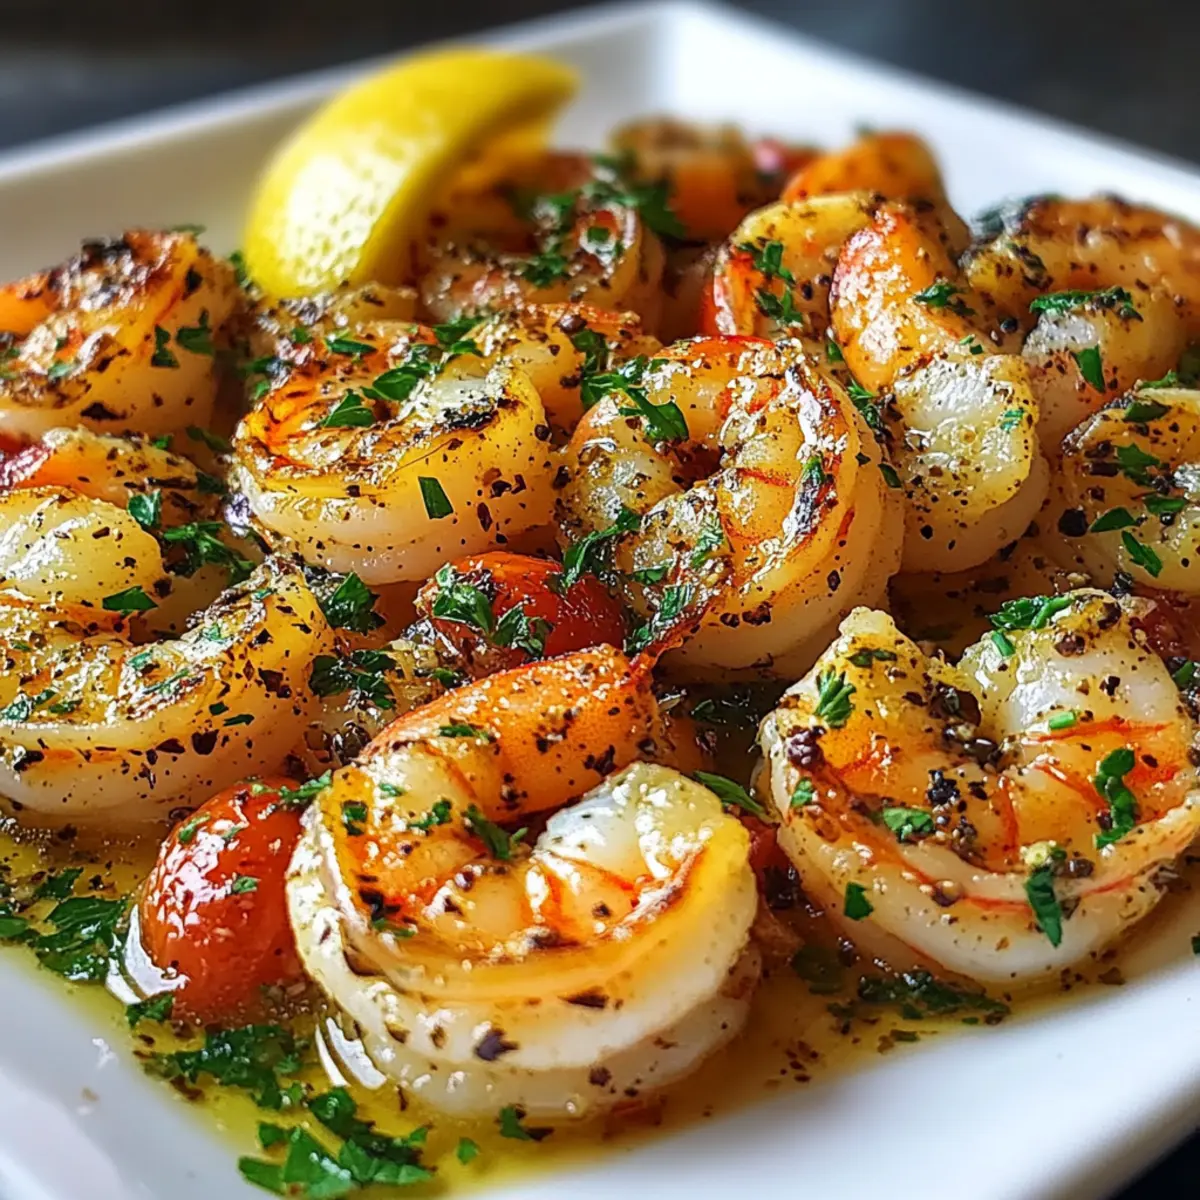
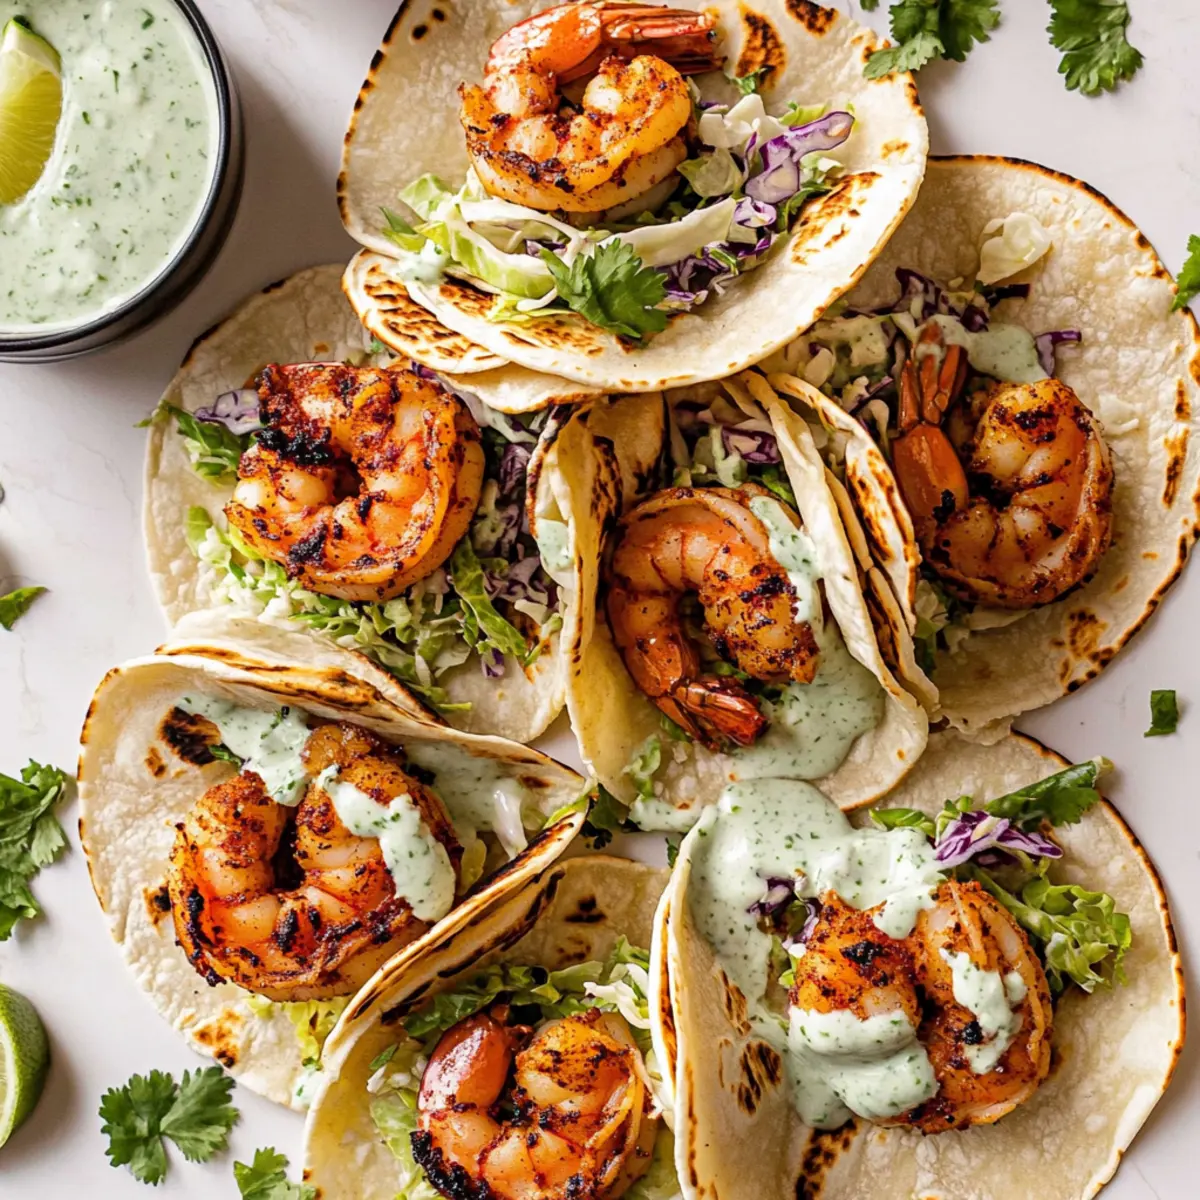
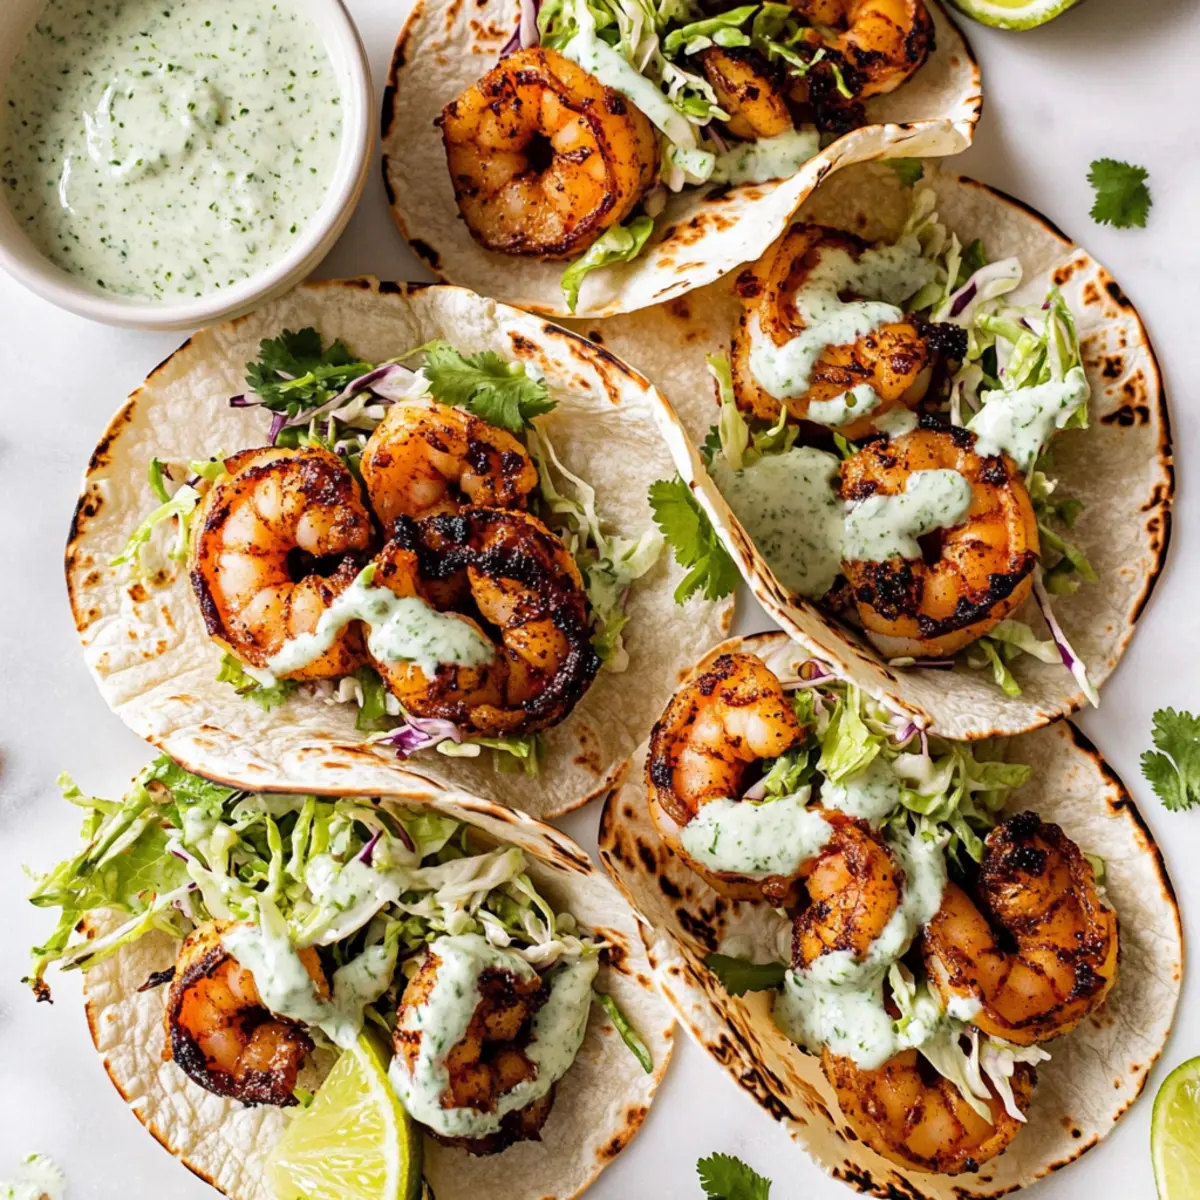
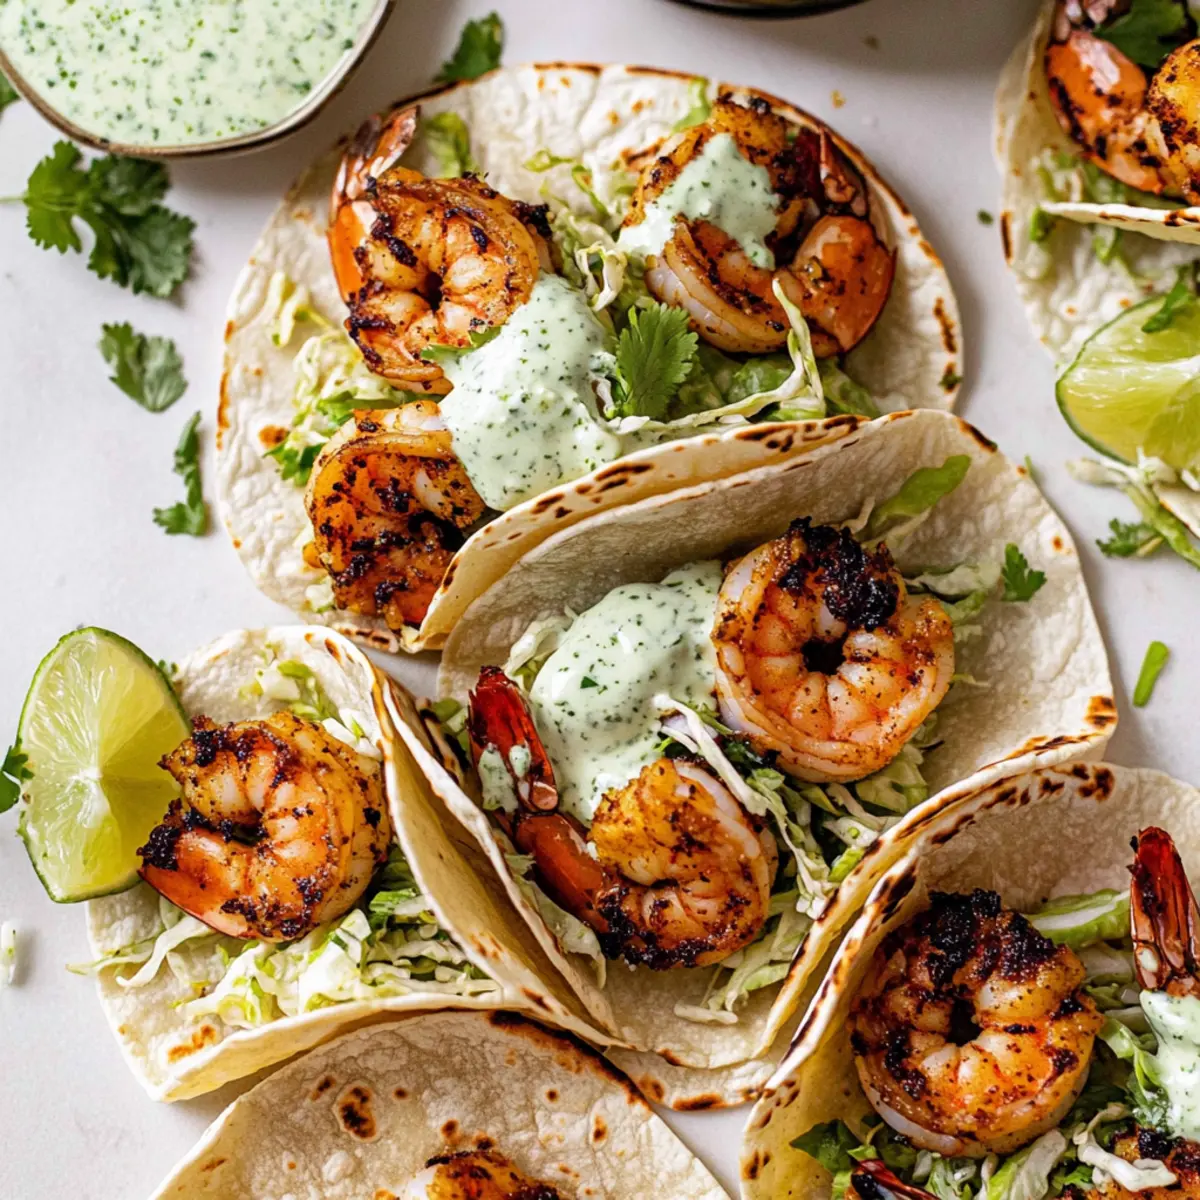
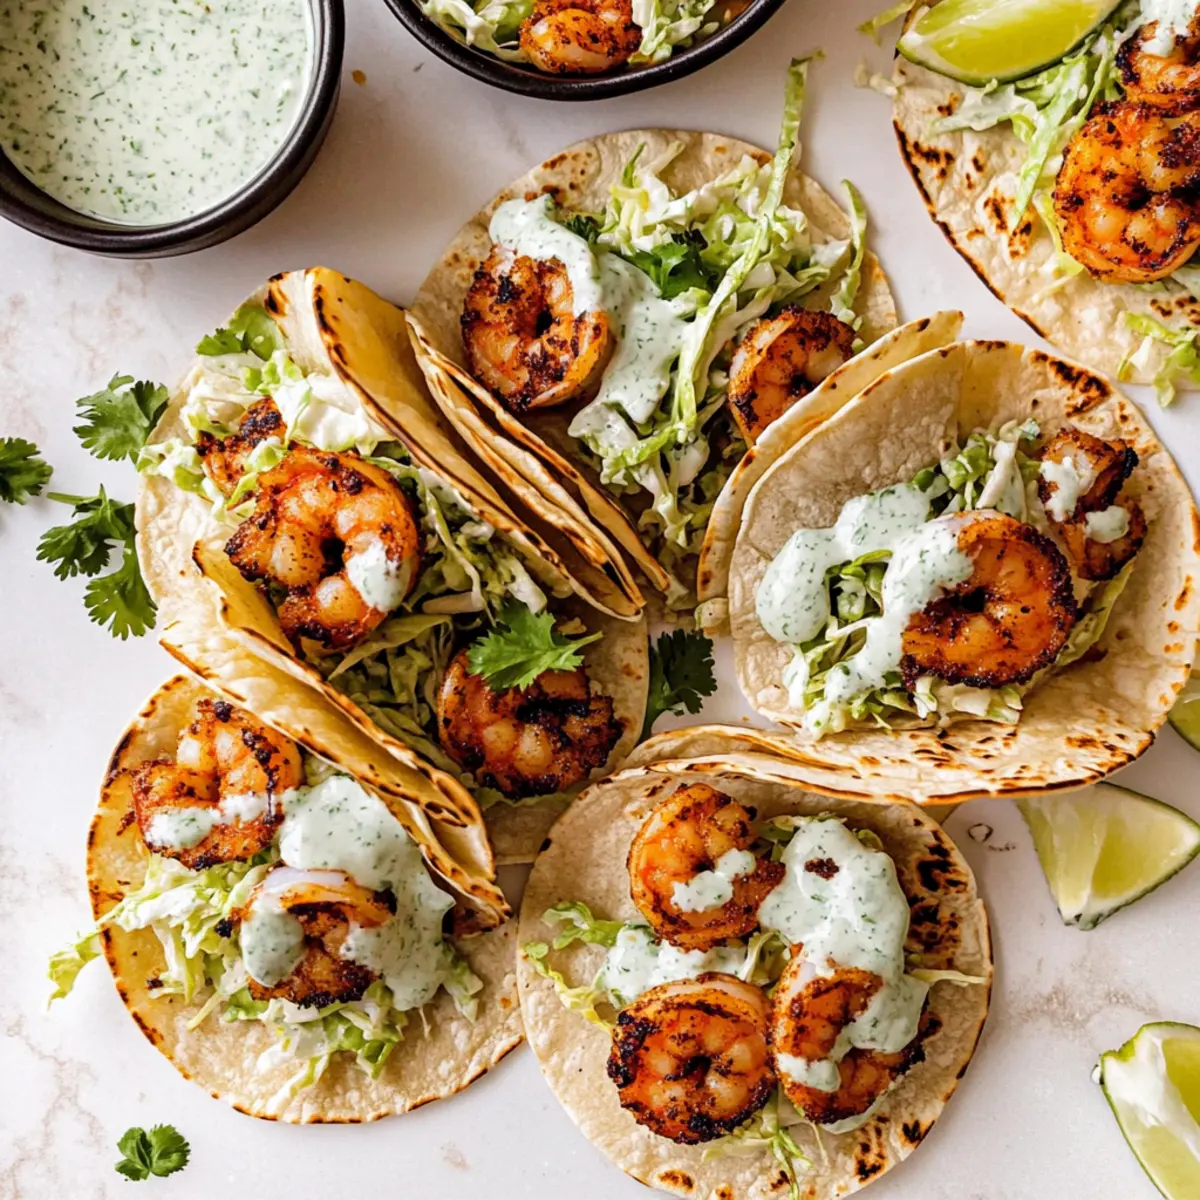
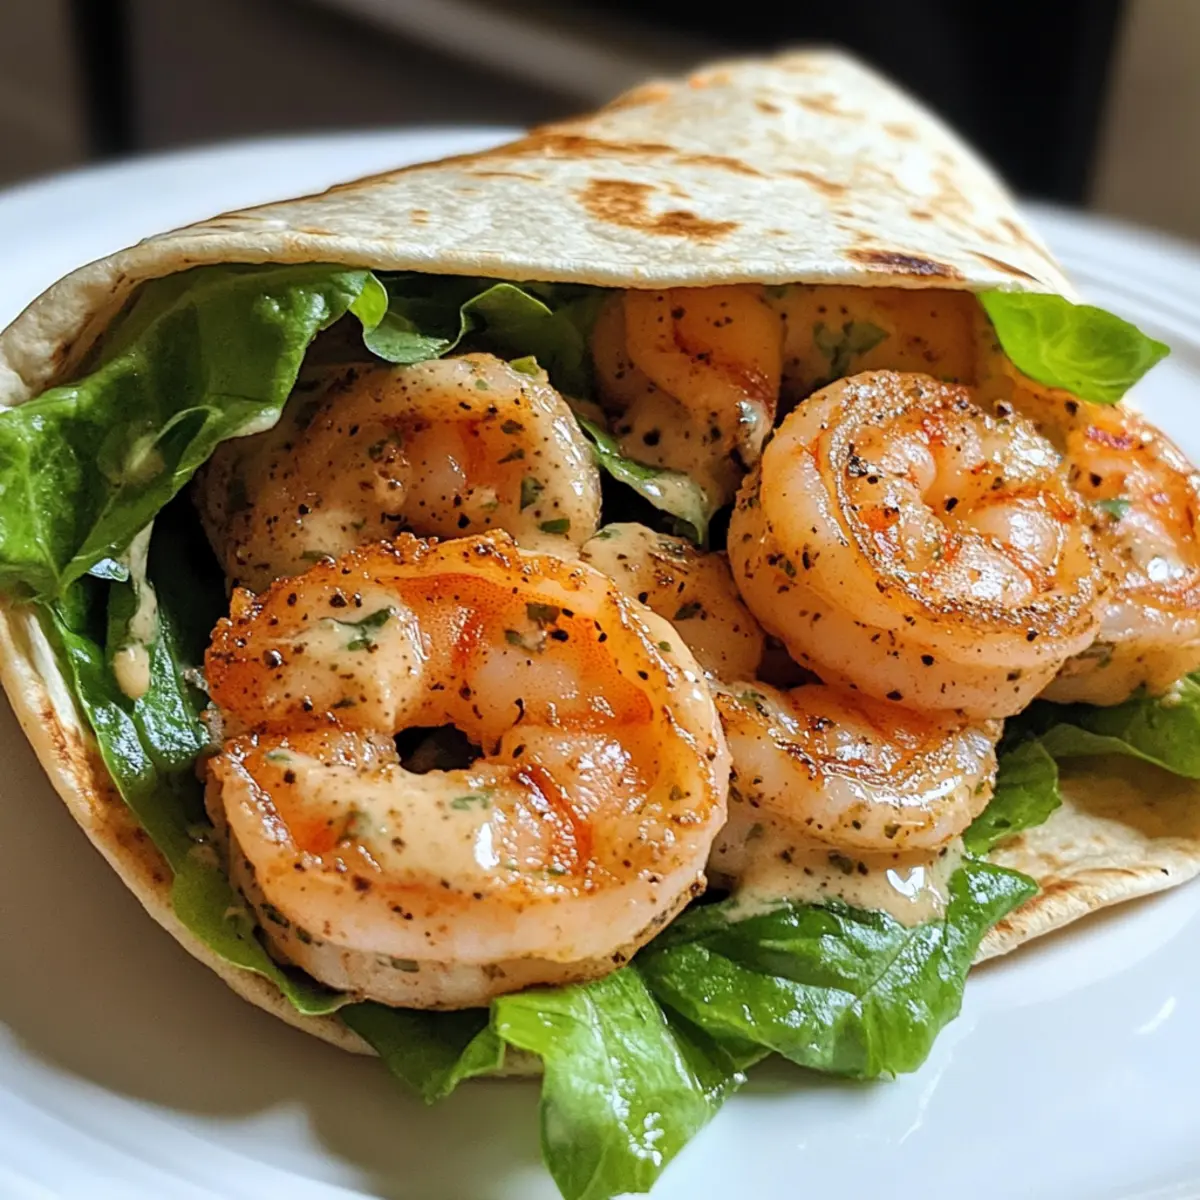
Start by thoroughly rinsing the shrimp under cold water, then pat them dry with paper towels. In a bowl, season the shrimp with salt, pepper, and your choice of spices, like Cajun seasoning for a kick. Let the shrimp marinate for about 10 minutes to absorb the flavors while you heat up the grill.
Step 2: Preheat the Grill
Preheat your grill to medium-high heat, around 400°F (204°C). Once hot, lightly oil the grill grates to prevent sticking. Arrange the seasoned shrimp in a single layer on the grill. Watch closely as they cook, aiming for a grill time of 2-3 minutes per side, until they turn pink and opaque, signaling they’re perfectly cooked.
Step 3: Assemble the Wraps
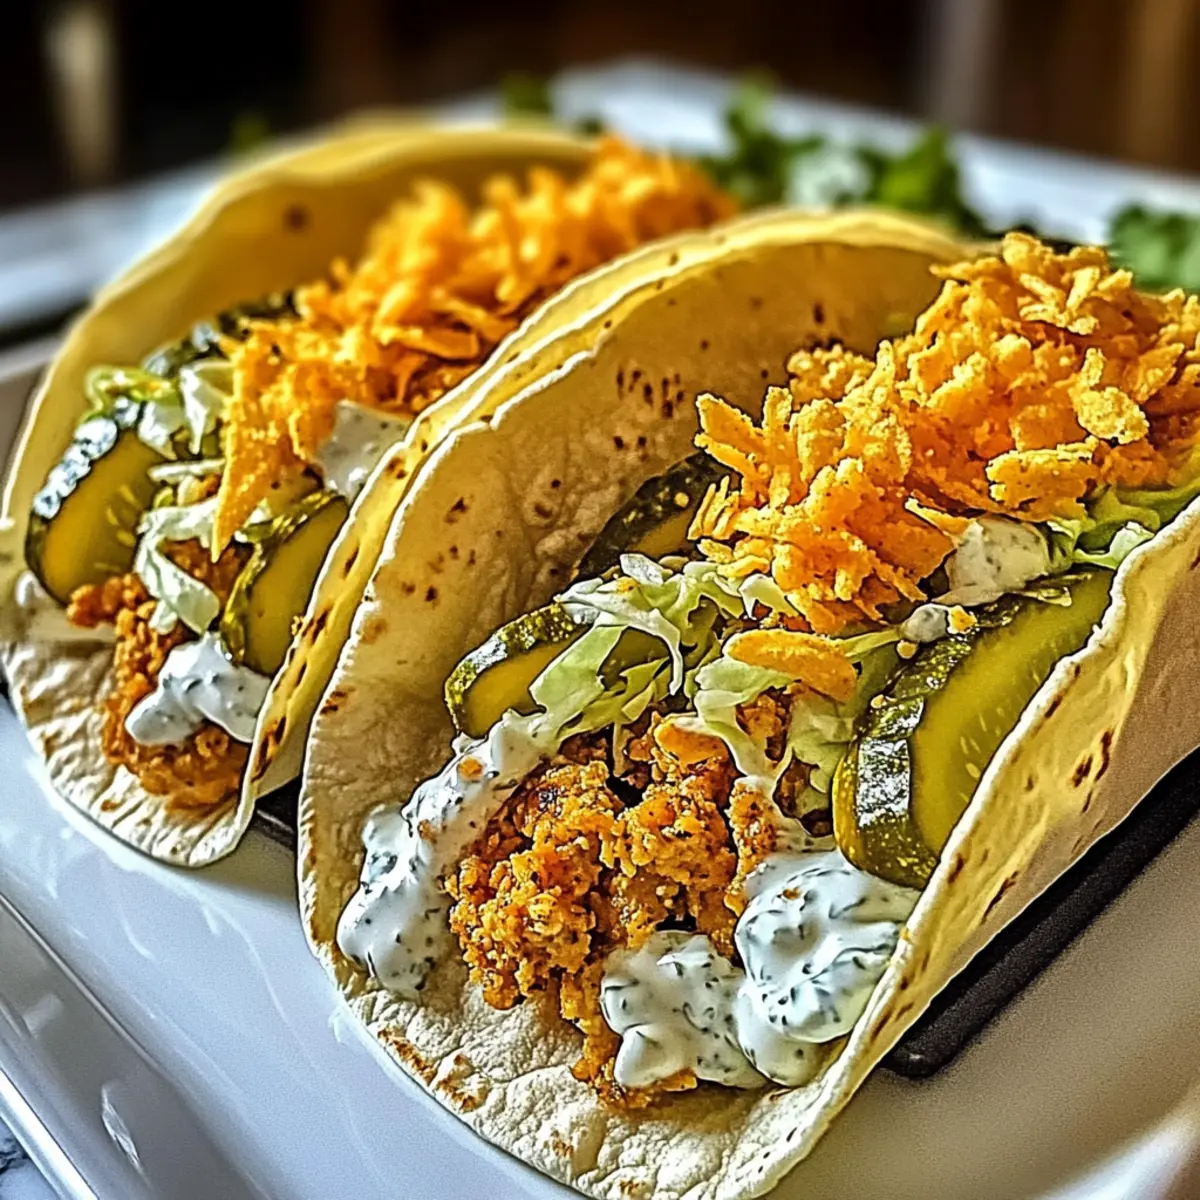
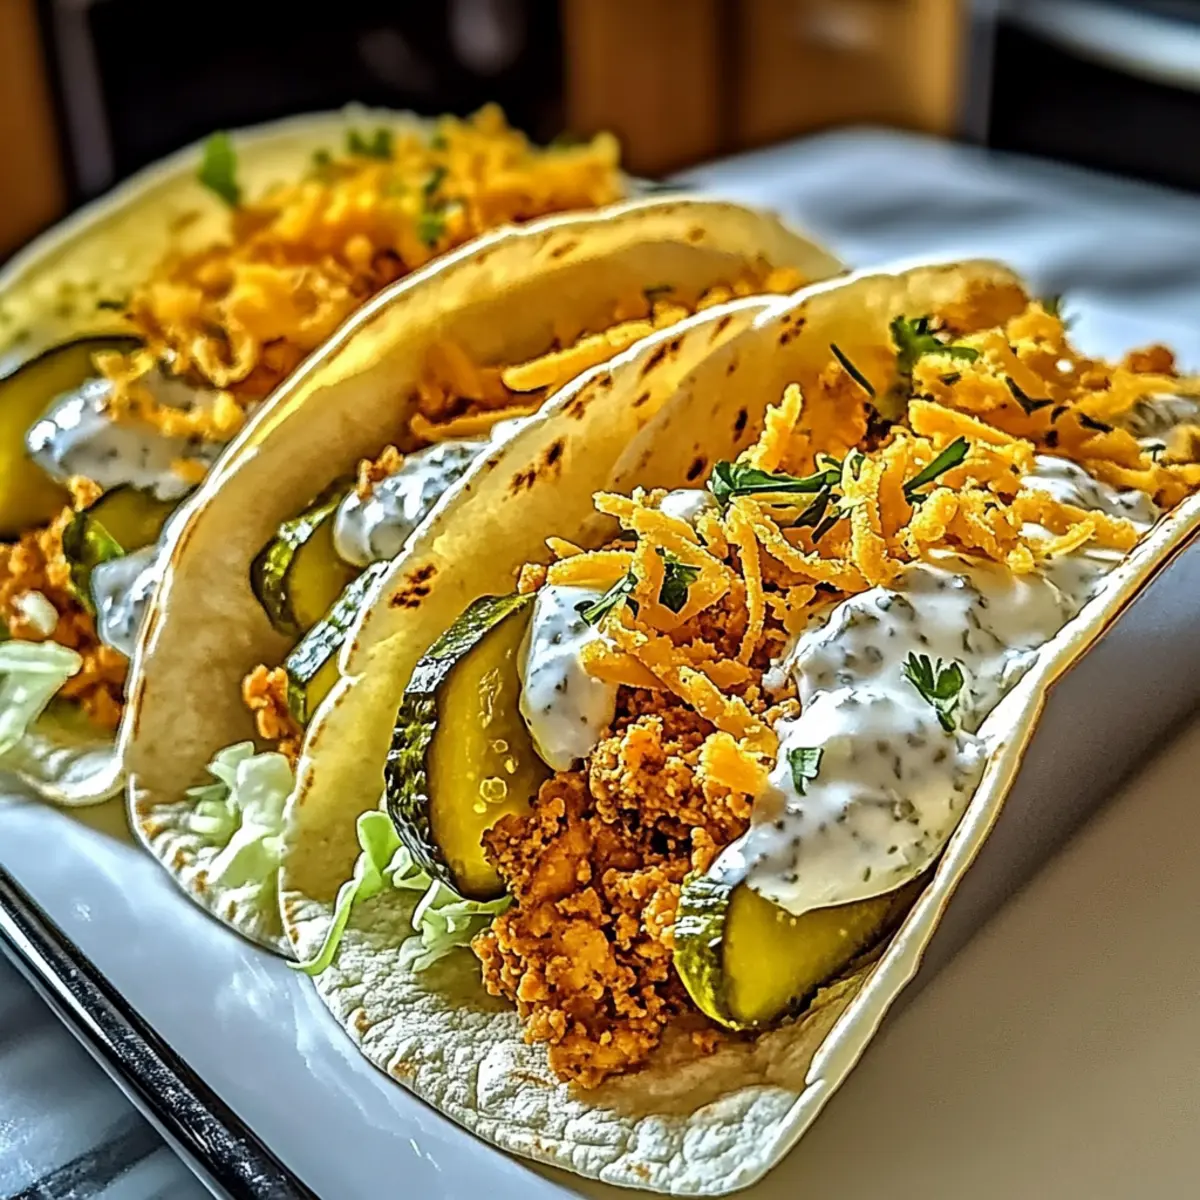
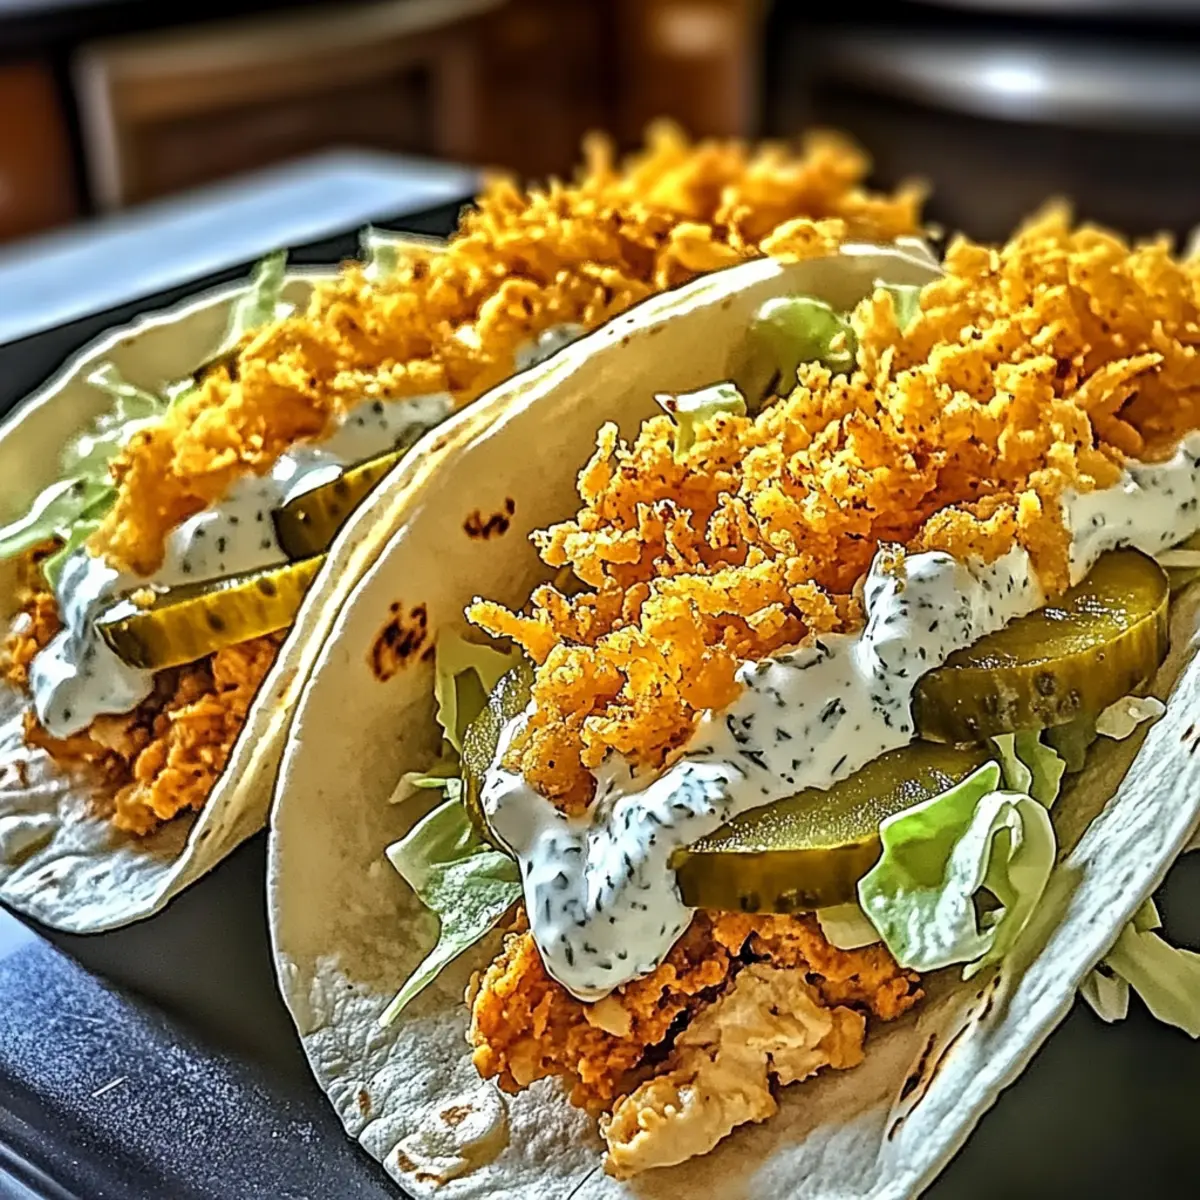
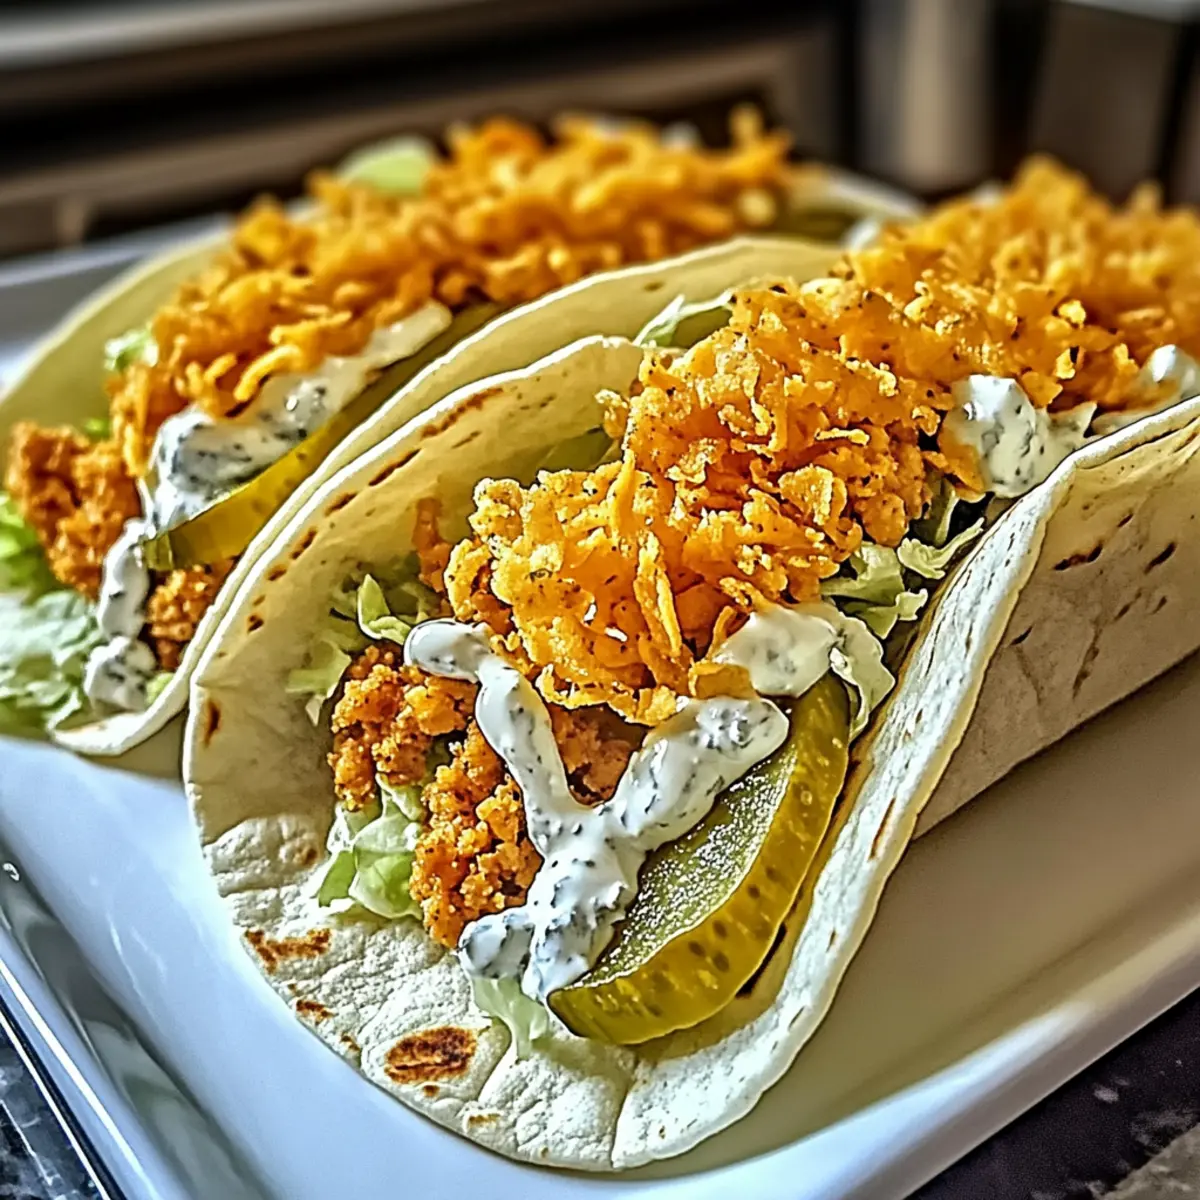
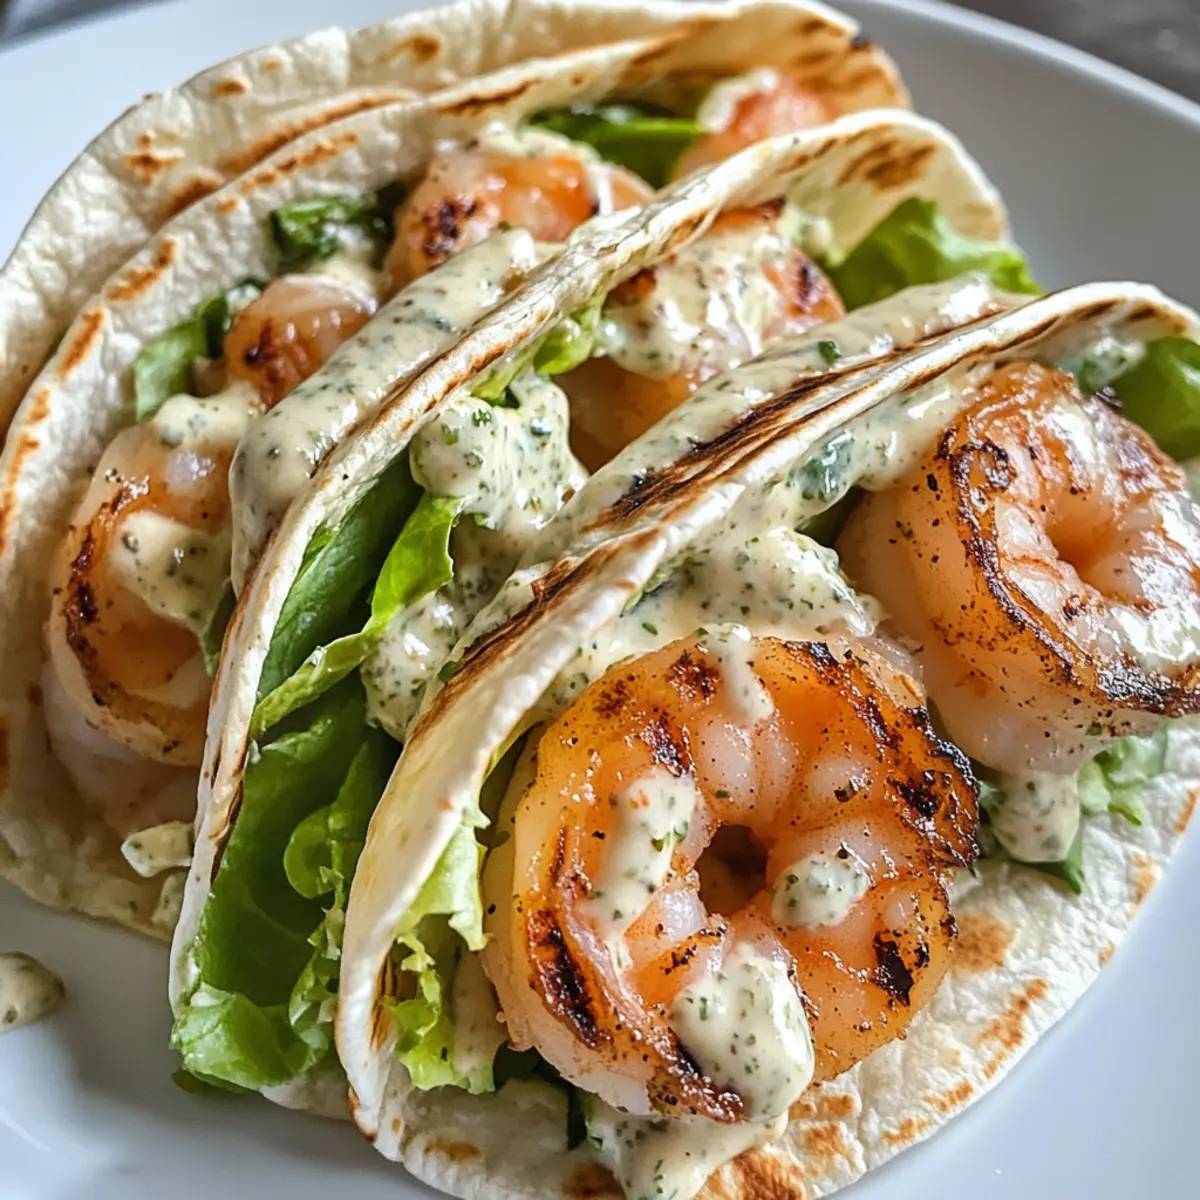
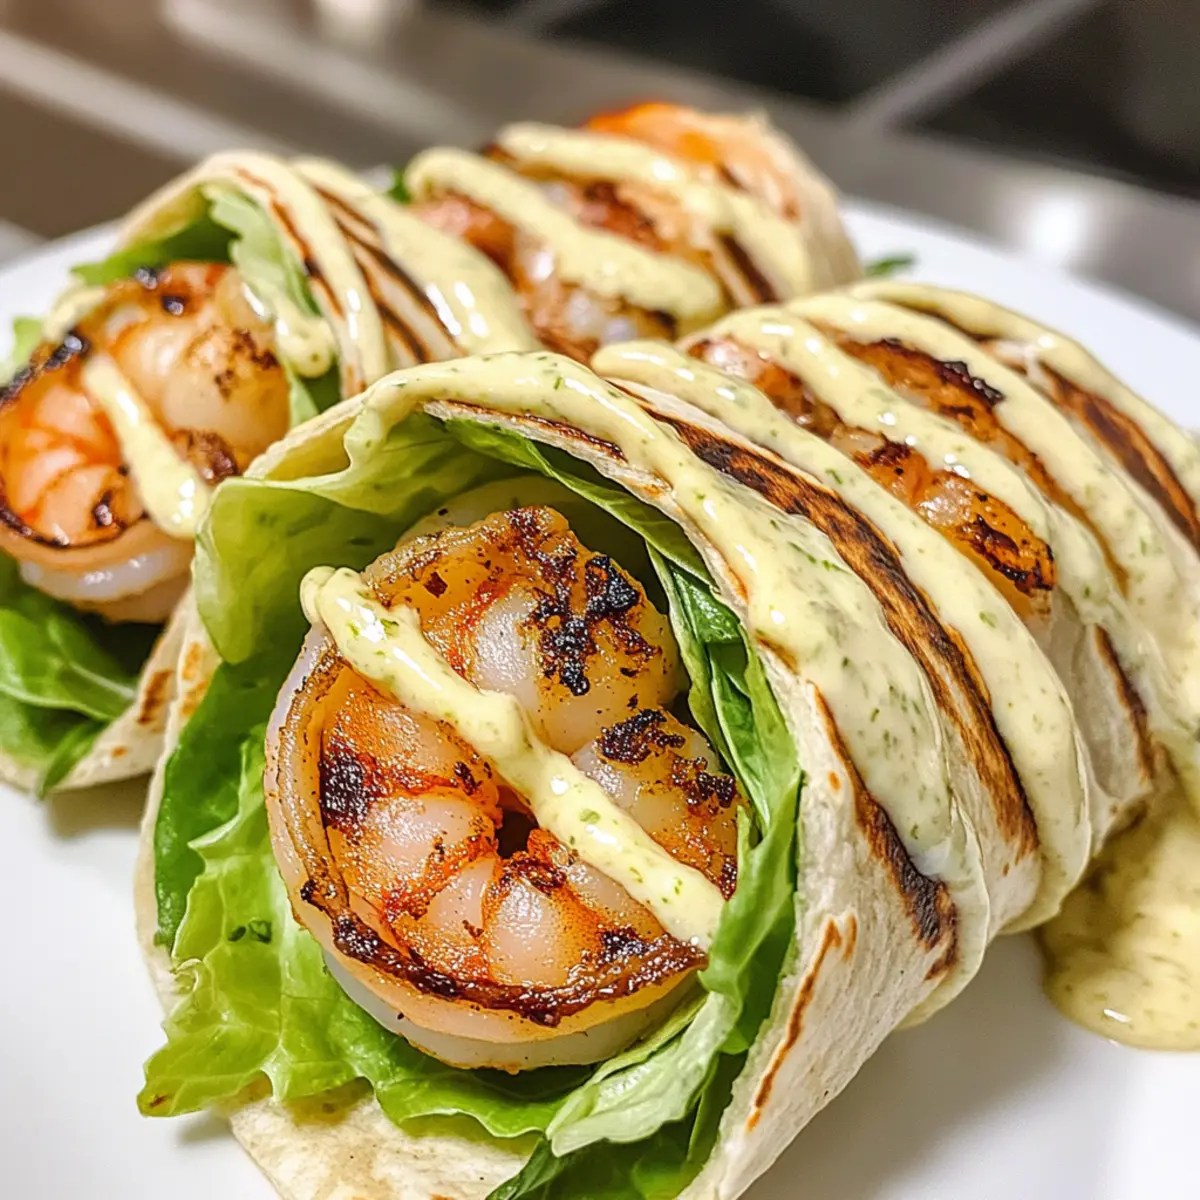
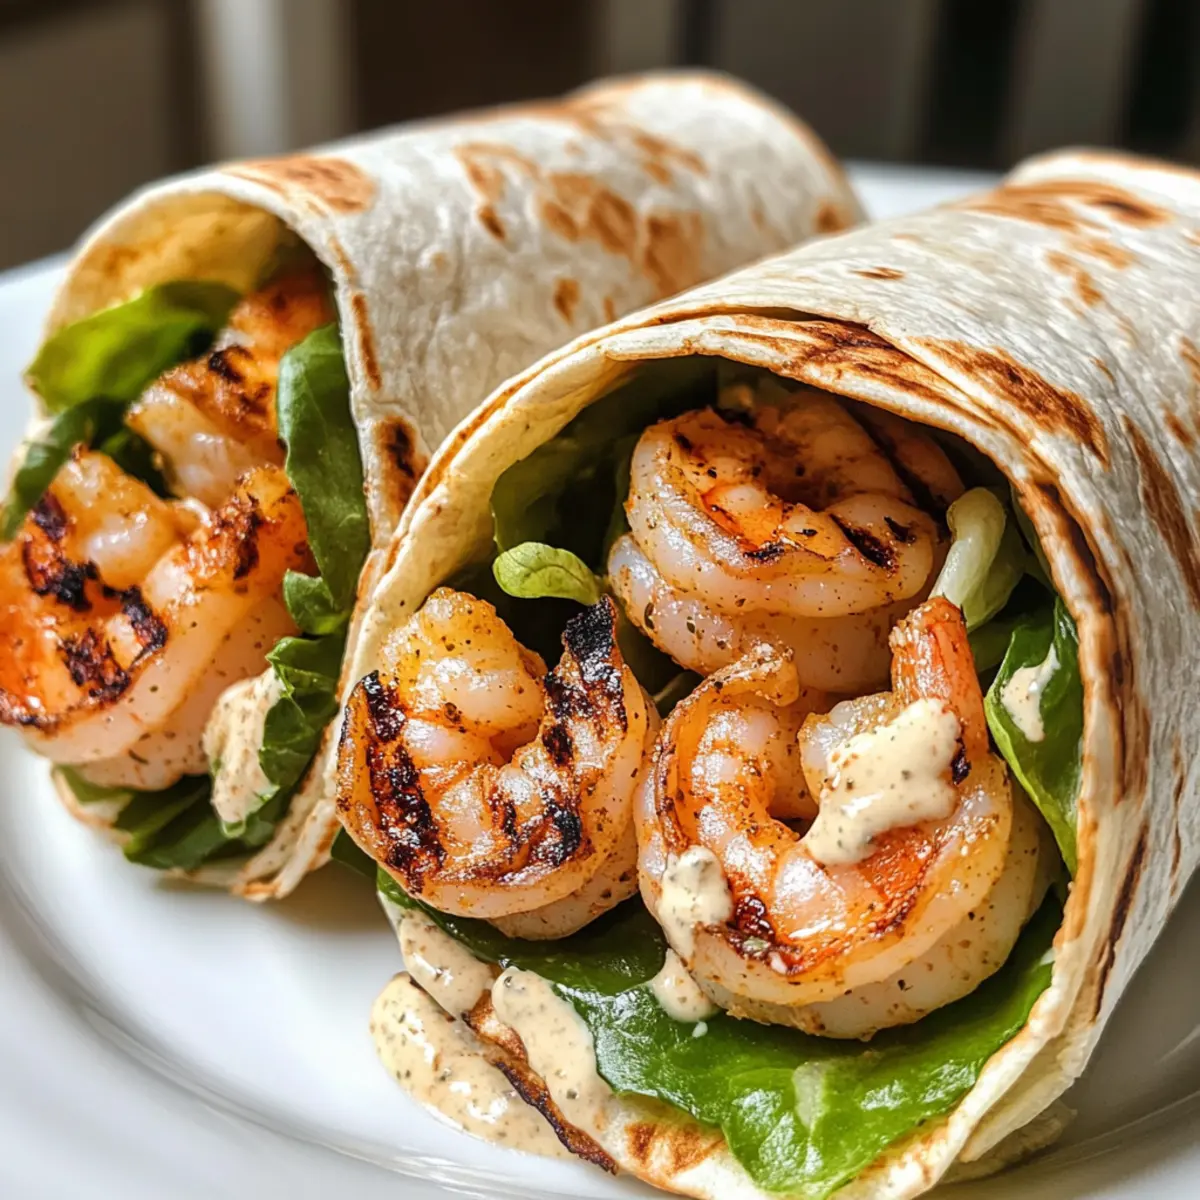
While the shrimp is grilling, gather your other ingredients. Lay a soft tortilla flat on a clean surface. Begin by placing a generous handful of chopped romaine lettuce in the center of the tortilla. Once the shrimp have finished grilling, layer them on top of the lettuce, followed by a drizzle of creamy Caesar dressing and a sprinkle of Parmesan cheese.
Step 4: Add Optional Toppings
If desired, enhance your Grilled Shrimp Caesar Wraps by adding crispy bacon bits or crunchy croutons for an extra layer of texture. Ensure that these delightful toppings are evenly distributed over the shrimp and salad mixture, giving your wraps that added crunch and flavor boost.
Step 5: Roll the Wraps
Carefully fold the sides of the tortilla inward, then tightly roll it from the bottom up to encase the flavorful filling. Make sure the wrap is secure without spilling any contents. This step is crucial for keeping all the delicious ingredients, like the smoky grilled shrimp, perfectly packed inside.
Step 6: Serve
Once rolled, slice the Grilled Shrimp Caesar Wraps in half diagonally for a beautiful presentation. Serve immediately for the best taste and texture, or package them for meal prep when you're on the go. Enjoy this nutritious meal that’s bursting with flavor, perfect for any casual gathering or busy weekday lunch!
Make Ahead Options
Grilled Shrimp Caesar Wraps are perfect for meal prep enthusiasts looking to save time on busy weeknights! You can prepare the shrimp and marinate them up to 24 hours in advance (just keep them refrigerated) to enhance the flavors. Additionally, wash and chop the romaine lettuce and store it in an airtight container to maintain its freshness for 3 days. When you're ready to serve, simply grill the shrimp, assemble the wraps with the lettuce, drizzle with Caesar dressing, and sprinkle Parmesan cheese as you like. This way, your delicious Grilled Shrimp Caesar Wraps will be just as flavorful and satisfying with minimal effort!
How to Store and Freeze Grilled Shrimp Caesar Wraps
Fridge: Store assembled wraps in an airtight container for up to 2 days; however, it's best to keep shrimp and dressing separate to maintain freshness.
Freezer: If you prefer, freeze unassembled ingredients (shrimp, lettuce, and wraps) for up to 3 months; defrost before assembling for optimal texture.
Reheating: To enjoy leftovers, gently reheat the shrimp in a microwave or skillet over low heat; avoid overcooking to keep them tender.
Wrap Assembly: Only assemble your Grilled Shrimp Caesar Wraps just before eating to ensure the lettuce remains crisp and the tortillas don't become soggy.
Expert Tips for Grilled Shrimp Caesar Wraps
-
Fresh Shrimp: Always use fresh or properly thawed shrimp to enhance the flavor and avoid rubbery texture. Frozen shrimp are convenient but should be fully defrosted before cooking.
-
Seasoning Balance: Don’t skimp on seasoning the shrimp! A well-seasoned shrimp elevates the entire dish. Avoid the temptation to use too much salt; a pinch goes a long way.
-
Grill Temp Matters: Ensure your grill is preheated to the right temperature for perfect charring. If it's too low, shrimp can become mushy instead of juicy and flavorful.
-
Don’t Overfill: When assembling the wraps, avoid overfilling to keep them from falling apart. A handful of lettuce and shrimp with a drizzle of dressing is all you need for balance.
-
Serving Fresh: Serve your Grilled Shrimp Caesar Wraps immediately after rolling for the best texture. If prepping ahead, keep dressing separate until ready to eat for crispness.
Grilled Shrimp Caesar Wraps Variations
Customize your Grilled Shrimp Caesar Wraps to suit your taste buds and dietary needs for an irresistible twist!
-
Chicken Swap: Replace shrimp with grilled chicken for a hearty alternative. Juicy, seasoned chicken can be just as satisfying.
-
Vegan Delight: Use grilled tofu instead of shrimp, marinated in a rich sauce for flavor. This delicious substitute packs protein and makes it entirely plant-based.
-
Lettuce Wraps: Ditch the tortillas for crisp romaine or iceberg lettuce. This gluten-free option adds a refreshing crunch while keeping calories low.
-
Spicy Kick: Add a pinch of cayenne pepper or chipotle seasoning to the shrimp marinade. The extra heat will awaken your taste buds!
-
Creamy Avocado: Slice up an avocado to add a creamy texture and healthy fats. This luscious addition enhances both flavor and nutrition.
-
Nutty Flavor: Sprinkle some toasted pine nuts or sliced almonds inside the wraps. This adds a delightful crunch and a nutty flavor profile to every bite.
-
Zesty Citrus: Drizzle some fresh lime or lemon juice over the shrimp before grilling. The citrus brightness elevates the overall flavor beautifully.
-
Side Pairing: Serve with a light side salad of mixed greens dressed with a vinaigrette for added freshness and nutrition. Enjoy a healthy contrast that complements your wraps perfectly.
Dive into these delightful variations and embrace the flavors of your culinary creativity, making your Grilled Shrimp Caesar Wraps a customized feast! For additional inspiration, consider pairing them with a side of Buffalo Tofu Caesar for a unique flavor experience!
What to Serve with Grilled Shrimp Caesar Wraps
Treat your taste buds to a delightful meal by complementing your wraps with scrumptious sides and drinks.
-
Garlic Butter Potatoes: A creamy, indulgent side that contrasts the freshness of the wraps, adding a rich, buttery note. They also bring comforting warmth to the meal.
-
Roasted Vegetables: Colorful and caramelized, these veggies enhance the dish with their earthy flavors and provide delightful crunch. Toss with olive oil and herbs for extra flair.
-
Crisp Side Salad: Combine mixed greens with a light vinaigrette for a refreshing bite that balances the wraps’ richness—perfect for adding a fresh touch.
-
Sweet Potato Fries: The subtle sweetness and crispy texture offer a new dimension, making them a fun and enjoyable addition. Pair them with a zesty dipping sauce for an extra twist.
-
Chilled White Wine: A glass of Sauvignon Blanc complements the smoky shrimp flavors beautifully, enhancing the overall dining experience with its crisp finish.
-
Fruit Salad: A light, refreshing mix of seasonal fruits adds a burst of sweetness to the plate, making your meal bright and uplifting! A touch of mint can elevate the taste further.
These delightful options make great companions for your Grilled Shrimp Caesar Wraps, transforming your meal into a truly memorable experience!
Grilled Shrimp Caesar Wraps Recipe FAQs
How do I choose fresh shrimp?
Absolutely! When selecting shrimp, look for those that are firm, translucent, and without any off-putting odor. Fresh shrimp should have a clean, ocean-like scent. If you're buying frozen, ensure they are fully sealed and without ice crystals, indicating they haven't thawed and refrozen.
How should I store leftover Grilled Shrimp Caesar Wraps?
To keep your wraps fresh, store the assembled Grilled Shrimp Caesar Wraps in an airtight container in the fridge for up to 2 days. However, for the best taste and crunch, separate the shrimp and dressing until you're ready to eat. This way, the lettuce stays crisp and the tortillas won’t become soggy.
Can I freeze the ingredients for my wraps?
Absolutely! You can freeze the unassembled ingredients—shrimp, lettuce, and tortillas—for up to 3 months. To freeze, place each component in separate airtight containers or freezer bags. When you're ready to enjoy, allow the shrimp to defrost in the fridge overnight, then assemble the wraps fresh to maintain optimal texture.
What if my shrimp turns out rubbery?
If your shrimp become rubbery, it may be due to overcooking. Always keep an eye on them! Grill shrimp only until they turn pink and opaque, about 2-3 minutes per side, as they require minimal cooking time. If you're worried about this, consider using a meat thermometer; shrimp should reach an internal temperature of 120°F to be perfectly cooked.
Can I use a different type of tortilla?
Very! While this recipe traditionally uses flour or whole wheat tortillas, you can definitely use corn tortillas, which are gluten-free, or lettuce wraps for a low-carb option. Just keep in mind that the method of rolling may vary slightly depending on the substitute you choose.
Are there any dietary alternatives for the dressing and cheese?
Of course! For a lighter option, consider using a yogurt-based Caesar dressing or simply a drizzle of olive oil and lemon juice for a fresh twist. If you're looking for a dairy-free alternative, nutritional yeast can replicate that cheesy flavor without using parmesan.
Grilled Shrimp Caesar Wraps
Ingredients
Equipment
Method
- Start by thoroughly rinsing the shrimp under cold water, then pat them dry with paper towels.
- In a bowl, season the shrimp with salt, pepper, and your choice of spices, like Cajun seasoning for a kick.
- Let the shrimp marinate for about 10 minutes.
- Preheat your grill to medium-high heat, around 400°F (204°C), and lightly oil the grill grates.
- Arrange the seasoned shrimp in a single layer on the grill, cooking for 2-3 minutes per side until pink and opaque.
- Lay a soft tortilla flat on a clean surface and place a generous handful of chopped romaine lettuce in the center.
- Layer the grilled shrimp on top of the lettuce, followed by a drizzle of creamy Caesar dressing and a sprinkle of Parmesan cheese.
- If desired, add crispy bacon bits or crunchy croutons.
- Carefully fold the sides of the tortilla inward and tightly roll it from the bottom up.
- Slice the Grilled Shrimp Caesar Wraps in half diagonally and serve immediately.