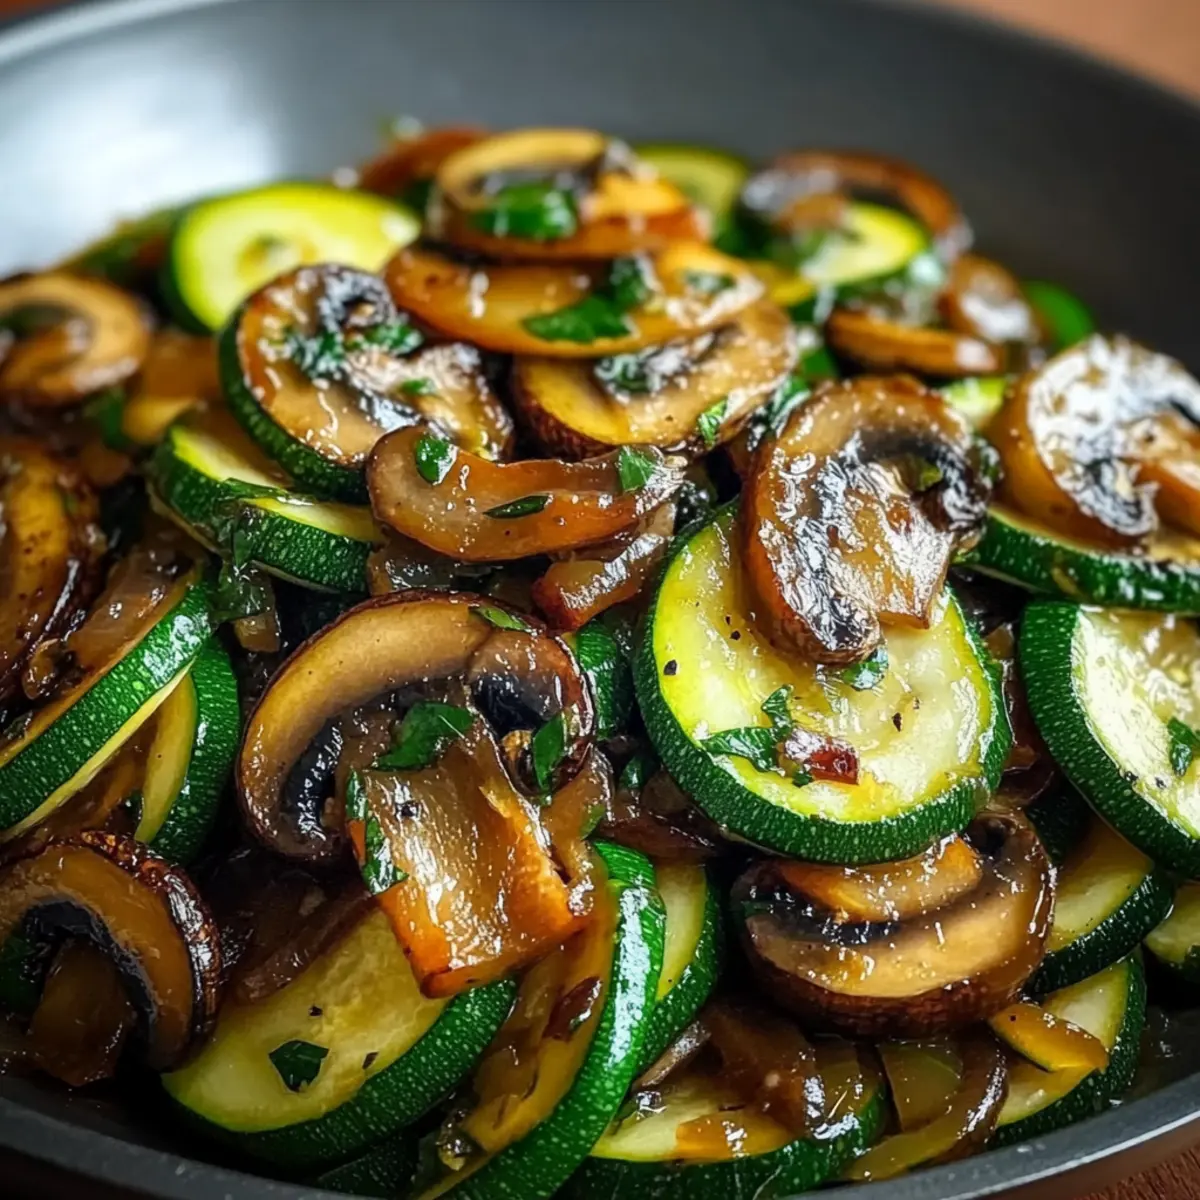
As I was rummaging through my fridge one evening, a burst of vibrant colors caught my eye—zucchini, mushrooms, and onions just waiting to be transformed. That’s how I came to whip up a dish of sautéed zucchini, mushrooms, and onions that’s as quick to make as it is delightful for the taste buds. This recipe offers an ideal balance of crispy yet tender veggies that play together beautifully, making it the perfect vegetarian side dish for busy weeknights. Beyond its simplicity, this sautéed vegetable medley is versatile—serve it alongside grilled chicken for a satisfying contrast or toss it with pasta for a robust vegetarian entrée. Curious about how to make this delightful dish? Let’s dive into the details!
Why is This Dish So Irresistible?
Quick Preparation: This dish requires minimal time, making it a go-to for hectic weeknights.
Flavorful Medley: The sauté creates a rich, savory flavor with the sweetness of onions and the earthiness of mushrooms.
Versatile Serving Options: Pair it with grilled chicken or use it as a pasta toss—endless possibilities for creativity!
Healthy Choice: Packed with vitamins and low in calories, it’s a guilt-free addition to any meal.
Crowd-Pleasing: Perfect for dinner parties or family meals, this dish appeals to everyone, even picky eaters!
Fresh Ingredients: Utilize seasonal vegetables for the best taste; try adding bell peppers for an exciting twist!
Sauteed Zucchini, Mushrooms, and Onions Ingredients
• Ready to create a colorful and nutritious side dish? Here’s what you’ll need!
For the Vegetables
- Zucchini – Provides a crisp texture and subtle sweetness; substitute with yellow squash if you prefer a sweeter flavor.
- Mushrooms – Add a savory, umami taste and moisture; bell peppers can be a delightful alternative.
- Onion – Contributes sweetness and depth when caramelized; you can use red or yellow onions interchangeably.
- Garlic – Imparts rich aroma and enhances flavor; fresh is best, but garlic powder works in a pinch.
For Sautéing
- Olive Oil – Essential for sautéing and adds healthy fats; feel free to substitute with avocado oil or butter for a different richness.
- Salt & Black Pepper – Basic seasonings to enhance all flavors; adjust to taste for the perfect balance.
- Thyme (optional) – Adds a lovely herbal note; you can replace it with oregano or Italian seasoning if you like.
This sautéed zucchini, mushrooms, and onions dish is sure to be a hit at your dinner table!
Step‑by‑Step Instructions for Sauteed Zucchini Mushrooms And Onions
Step 1: Prep Ingredients
Begin by washing and slicing the zucchini into half-moons, ensuring uniform thickness for even cooking. Next, dice the mushrooms into bite-sized pieces, roll the onion into ribbons, and mince the garlic finely. Having all your ingredients prepped in advance makes the cooking process smoother and more enjoyable, allowing you to create this delicious sauteed zucchini, mushrooms, and onions dish efficiently.
Step 2: Heat Oil
Place a large skillet over medium heat and pour in a couple of tablespoons of olive oil. Allow the oil to warm for about 1 minute until it shimmers gently. This step is crucial as properly heated oil ensures that the vegetables begin to sauté rather than steam, providing that desirable golden-brown finish to the sautéed zucchini, mushrooms, and onions as the cooking progresses.
Step 3: Sauté Onions
Once the oil is ready, add the sliced onions to the skillet and sauté for about 3 minutes. Stir continuously until the onions soften and become translucent, releasing their sweet aromas. This initial step allows the flavors to build and sets the stage for the other vegetables in your sauteed zucchini, mushrooms, and onions medley, enhancing the overall taste.
Step 4: Add Garlic & Mushrooms
After the onions are soft, stir in the minced garlic and diced mushrooms. Cook for another 3-4 minutes, stirring frequently, until the mushrooms release their moisture and become tender. The combination of garlic and mushrooms creates a savory depth that beautifully enhances the flavor profile of your sautéed zucchini, mushrooms, and onions, making each bite irresistible.
Step 5: Incorporate Zucchini
Next, stir in the prepared zucchini, seasoning the mixture with salt, pepper, and optional thyme to your taste. Sauté for an additional 3-5 minutes, tossing frequently, until the zucchini is tender yet still retains a slight crispness. This step ensures that all the vegetables meld together in flavor while highlighting the fresh taste of your sautéed zucchini, mushrooms, and onions.
Step 6: Taste & Adjust Seasoning
At this point, sample your sautéed mix to check the seasoning. Adjust with additional salt and pepper if needed, ensuring each element shines through. This final adjustment helps create a perfectly balanced flavor in your sautéed zucchini, mushrooms, and onions, making it enjoyable for everyone at the table.
Step 7: Serve
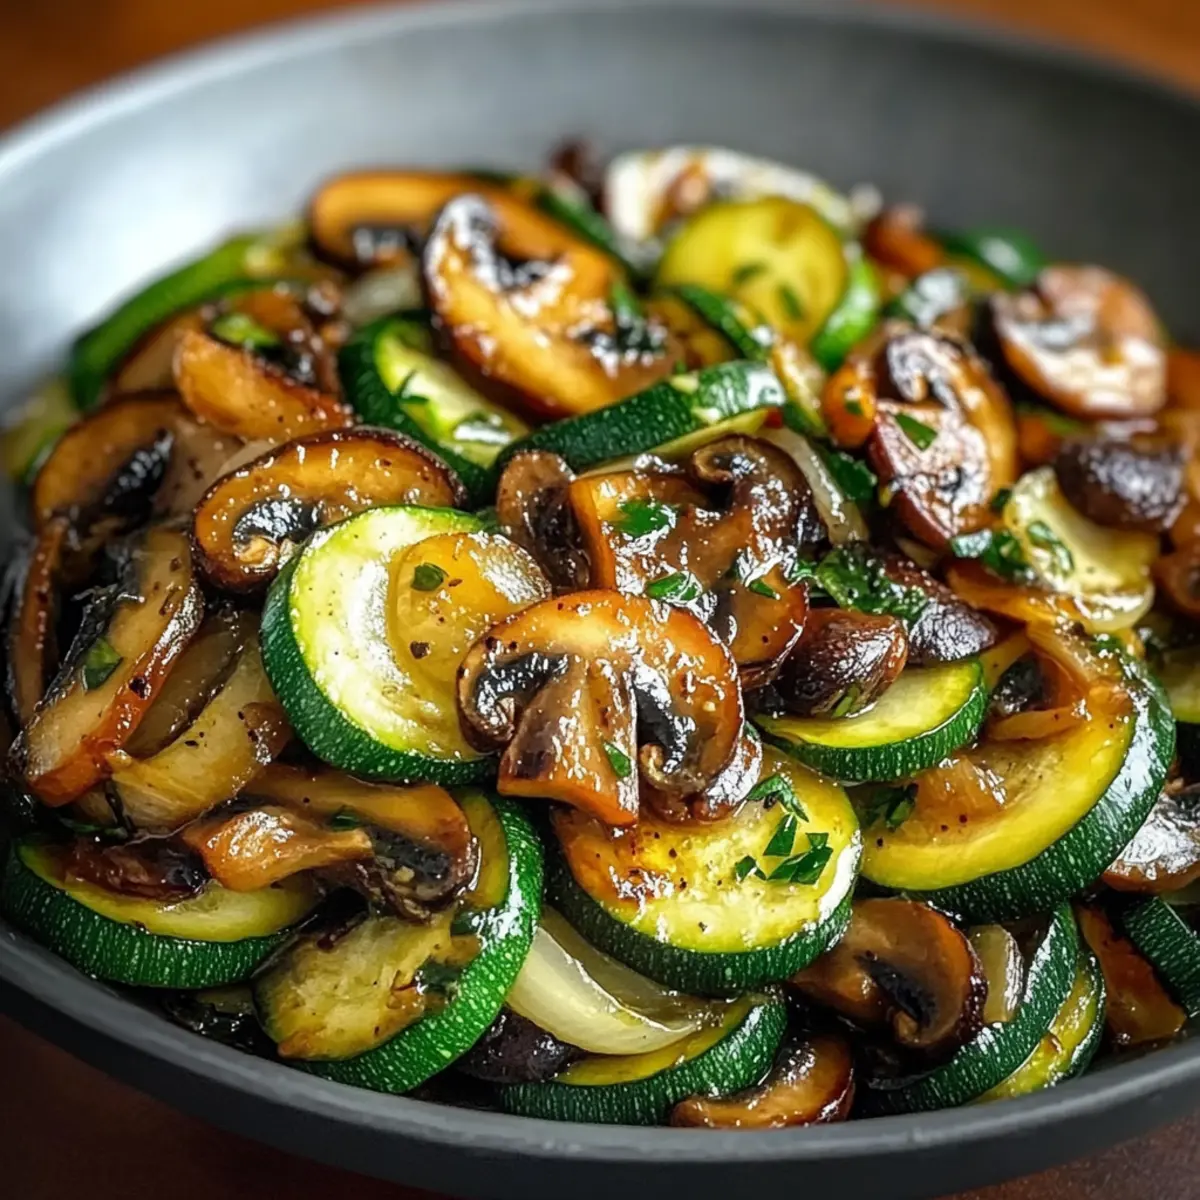
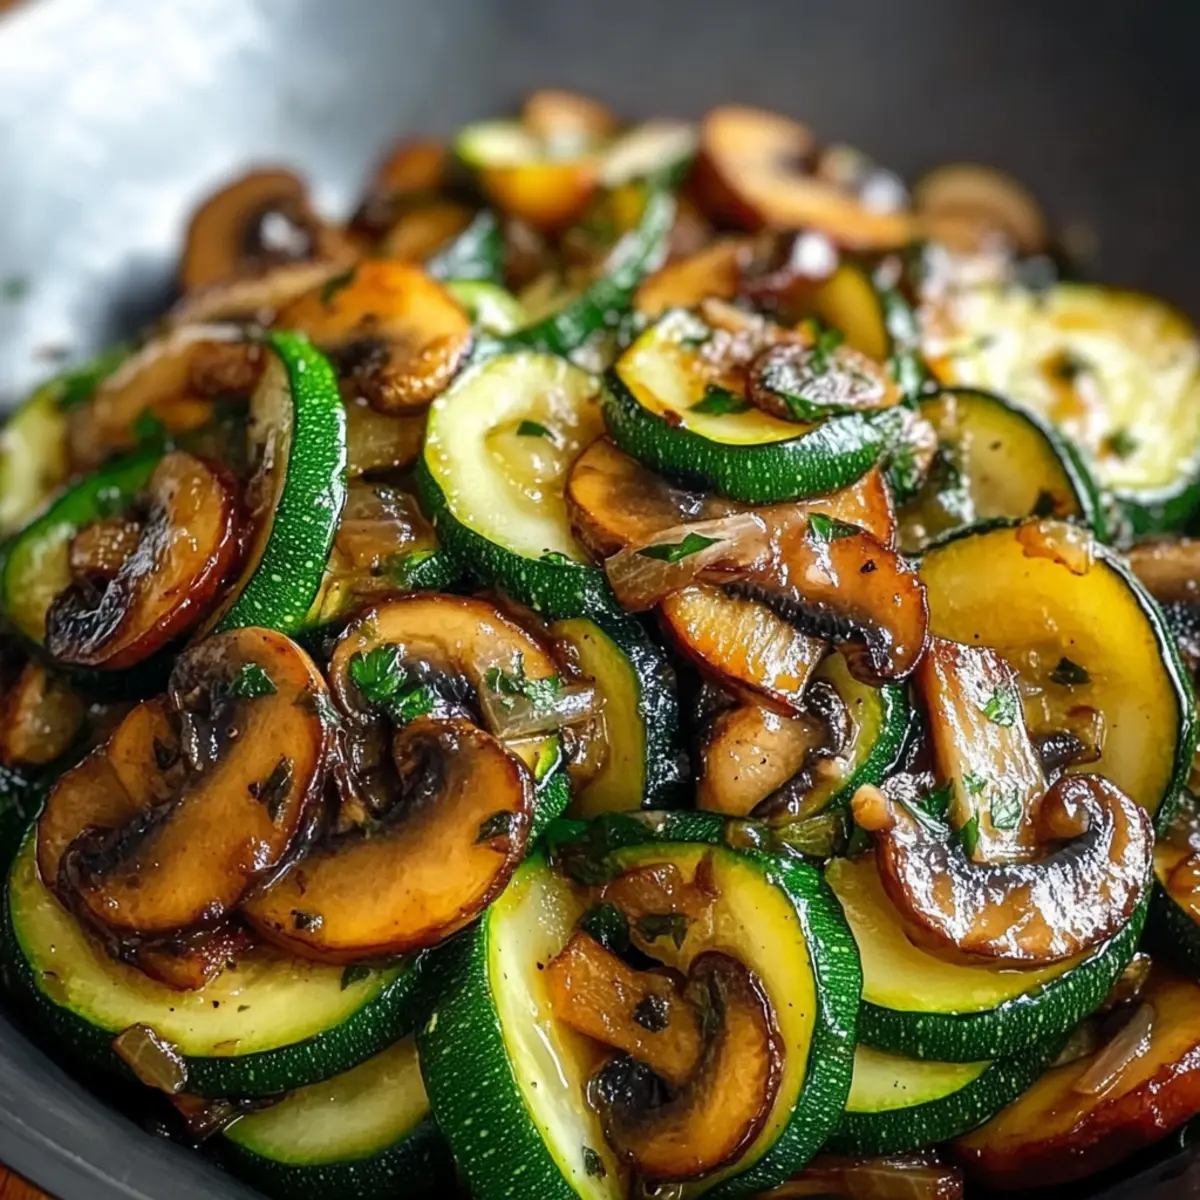
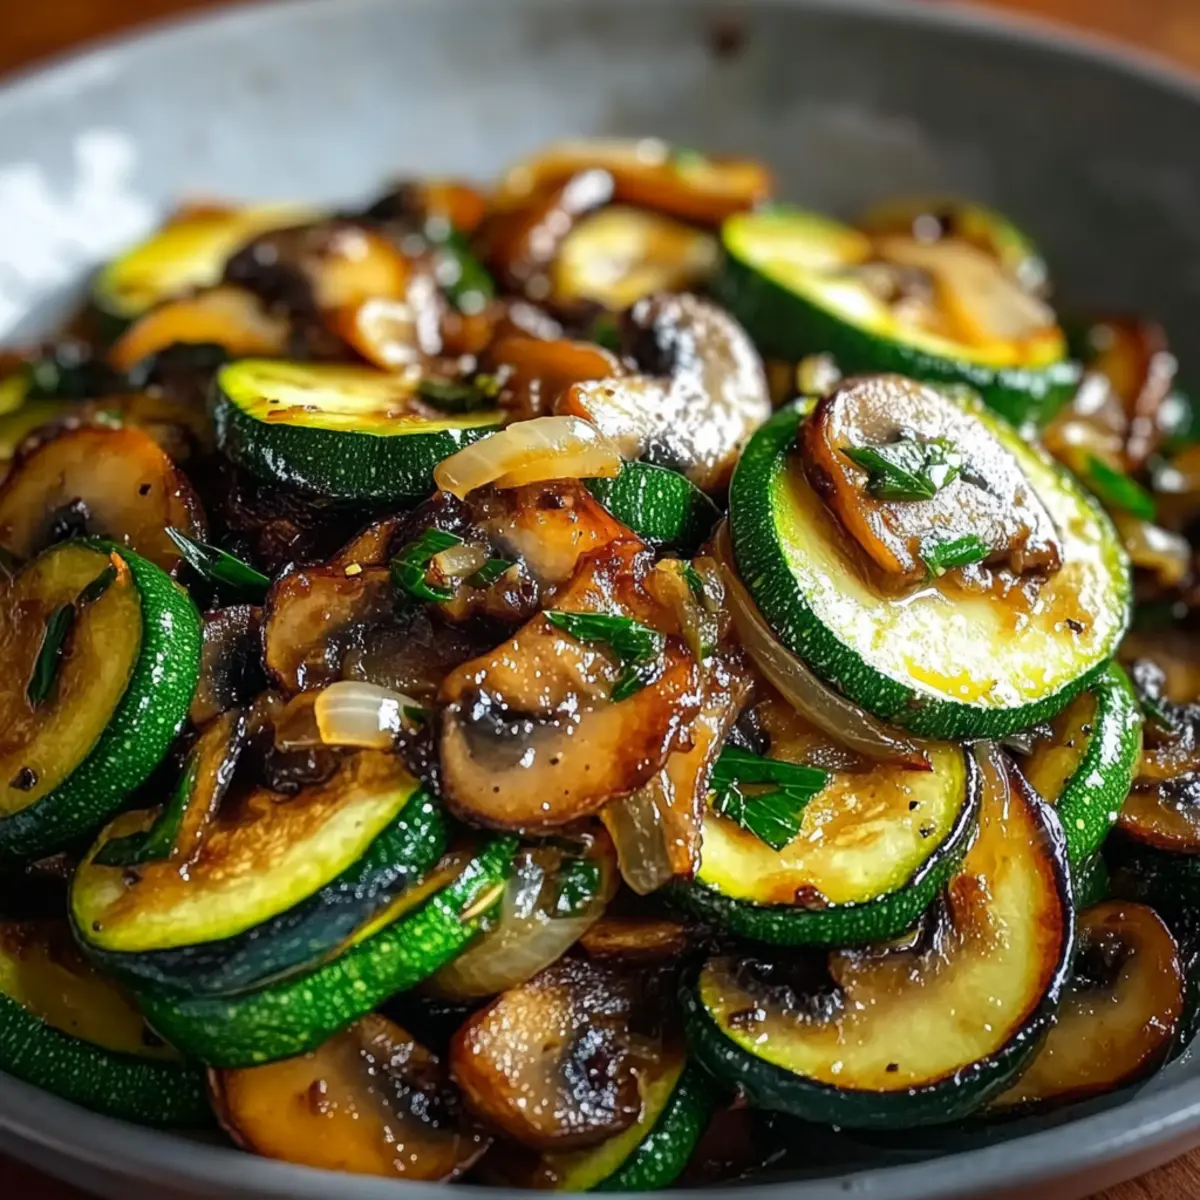
Once properly seasoned, transfer the sautéed zucchini, mushrooms, and onions to a serving dish. Garnish with freshly chopped parsley for a touch of color and freshness. Serve warm alongside your favorite main course or toss with pasta for a delightful vegetarian meal, allowing the vibrant flavors to take center stage at your table.
What to Serve with Quick and Easy Sauteed Zucchini, Mushrooms, and Onions
Looking to create the perfect meal around your vibrant sautéed medley? Here are some delightful pairings!
-
Grilled Chicken: Juicy chicken adds a savory contrast, making it the perfect protein complement to your sautéed zucchini, mushrooms, and onions. This combination provides a satisfying balance of flavors!
-
Quinoa Salad: Serve with a chilled or warm quinoa salad for a hearty yet healthy option. Its nutty flavor harmonizes beautifully with the savory vegetables.
-
Creamy Risotto: The creaminess of risotto enhances the dish's texture while focussing on the fresh sautéed veggies. It's a comforting pairing that feels indulgent!
-
Garlic Bread: A side of warm, crusty garlic bread brings an irresistible crunch. It’s perfect for scooping up any remaining sautéed goodness!
-
Lemon-Herb Pasta: Toss the sautéed zucchini, mushrooms, and onions with lemon-infused pasta for a light vegetarian entrée. This pairing elevates the dish's flavor profile wonderfully.
-
Chilled White Wine: Enjoy a glass of crisp Sauvignon Blanc or Pinot Grigio for a refreshing complement. The acidity in the wine pairs beautifully with the earthy flavors of the vegetables.
-
Mixed Green Salad: A simple salad of fresh greens and a vinaigrette adds a refreshing touch. It balances the warmth of the sautéed medley with a burst of freshness.
-
Fruit Sorbet: End on a sweet note with a fruity sorbet. Its lightness and refreshing taste are a perfect dessert to cleanse the palate after a savory meal.
Sauteed Zucchini Mushrooms And Onions Variations
Feel free to get creative with this dish and explore delightful variations that will tantalize your taste buds!
- Dairy-Free: Omit any butter, using only olive oil for sautéing to keep it light and plant-based.
- Spicy Kick: Add red pepper flakes or sliced jalapeños to bring some heat to your sautéed vegetables.
- Savory Additions: Include cooked bacon bits or diced sausage for an umami punch that elevates the dish.
- Nutty Flavor: Toss in a handful of toasted pine nuts or slivered almonds for added crunch and richness.
- Herbal Twist: Experiment with fresh basil or cilantro instead of thyme for an aromatic change in flavor.
- Sweet Surprise: Add a handful of cherry tomatoes to sauté along with the zucchini for a burst of sweetness.
- Earthy Variation: Incorporate roasted root vegetables like carrots or parsnips for a heartier version of sauteed veggies.
For other delicious ideas to pair or enhance the flavors, consider serving your sauté alongside a savory dish like Grilled Mushrooms Savory or tossing it with a light pasta like in a Cheesy Zucchini Bake. The options are limitless — invite your palate to explore the zest of your cooking journey!
Tips for the Best Sauteed Zucchini, Mushrooms, and Onions
- Uniform Cutting: Ensure all vegetables are cut to similar sizes for even cooking and consistent texture in the sautéed zucchini, mushrooms, and onions.
- Moderate Heat: Keep the skillet at medium heat to achieve perfect caramelization without burning, allowing the flavors to develop beautifully.
- Don't Overcrowd: Avoid adding too many vegetables at once. Sauté in batches if necessary to prevent steaming instead of sautéing the zucchini, mushrooms, and onions.
- Fresh Herbs: For an extra layer of flavor, use fresh herbs like thyme added at the end, saving dried herbs for earlier in the cooking process.
- Taste & Adjust: Always taste before serving and adjust the seasoning as necessary. This final touch enhances the flavors of your sautéed zucchini, mushrooms, and onions for the best results.
- Storing Leftovers: Keep leftovers in an airtight container in the fridge for 3-4 days. Reheat gently to maintain texture and flavor.
Make Ahead Options
These Sauteed Zucchini, Mushrooms, and Onions are perfect for those busy nights when you need a quick side dish! You can prep the vegetables—slice the zucchini into half-moons, dice the mushrooms, and roll the onion into ribbons—up to 24 hours in advance. Simply store them in an airtight container in the refrigerator to keep them fresh and prevent browning. When you're ready to serve, just sauté the prepped veggies as per the recipe instructions, adjusting cooking times as needed since they’ll cook a bit faster. This way, you’ll enjoy a delicious, home-cooked meal with minimal effort, bringing those vibrant flavors to your table in no time!
How to Store and Freeze Sauteed Zucchini, Mushrooms, and Onions
Fridge: Store leftovers in an airtight container in the refrigerator for up to 3-4 days. This keeps your sautéed zucchini, mushrooms, and onions fresh and ready to enjoy again.
Freezer: For longer storage, freeze the dish in a freezer-safe container for up to 2-3 months. Ensure it’s cooled completely before sealing to prevent ice crystals.
Reheating: To reheat, microwave in 30-second intervals until warmed through, or heat gently in a skillet over low heat to retain the dish's texture and flavors.
Freezing Tips: If freezing, consider portioning into smaller containers for easy meal prep. Always label with the date to keep track of freshness!
Sauteed Zucchini, Mushrooms, and Onions Recipe FAQs
What should I look for when selecting zucchini?
Absolutely! When choosing zucchini, look for firm, glossy skins without dark spots or blemishes. The ideal zucchini should be small to medium-sized, around 6-8 inches, as larger ones may become mushy and seedy.
How should I store leftovers of sauteed zucchini, mushrooms, and onions?
To keep your sautéed zucchini, mushrooms, and onions fresh, store them in an airtight container in the refrigerator for up to 3-4 days. Make sure it cools completely before sealing to maintain its flavor and texture!
Can I freeze sauteed zucchini, mushrooms, and onions?
Yes, you can! To freeze, allow the dish to cool completely, then transfer it to a freezer-safe container. It can be stored frozen for up to 2-3 months. Consider portioning into smaller containers for easier meal prep, and don’t forget to label them with the date!
What if my zucchini is overcooked and mushy?
Don’t worry! If your zucchini turns mushy during cooking, try to keep the heat moderate next time and sauté them for the final few minutes separately before mixing with other veggies. This helps maintain their crispness. Also, cut zucchini thinner for quicker cooking, reducing the risk of that unwanted mushy texture.
Are there any allergy considerations I should be aware of?
Yes, be cautious! This dish is vegetarian-friendly, but if you have allergies, note that mushrooms can be a common allergen in some individuals. Ensure to check for any personal intolerances, and consider using alternative vegetables like bell peppers instead.
How can I enhance the flavors of my sauteed zucchini, mushrooms, and onions?
To elevate the flavors, try adding fresh herbs like thyme or basil towards the end of cooking, as this retains their fragrance. Additionally, a splash of soy sauce or balsamic vinegar can introduce a terrific depth of flavor, giving your sautéed zucchini, mushrooms, and onions an extra layer of deliciousness!
Savor the Flavor: Sauteed Zucchini Mushrooms And Onions Delight
Ingredients
Equipment
Method
- Begin by washing and slicing the zucchini into half-moons, ensuring uniform thickness for even cooking. Dice the mushrooms, roll the onion into ribbons, and mince the garlic.
- Place a large skillet over medium heat and pour in olive oil, warming for about 1 minute until it shimmers.
- Add the sliced onions to the skillet and sauté for about 3 minutes until they soften and become translucent.
- Stir in the minced garlic and diced mushrooms, cooking for another 3-4 minutes until the mushrooms become tender.
- Add the prepared zucchini, season with salt, pepper, and optional thyme, then sauté for an additional 3-5 minutes until tender yet slightly crisp.
- Taste and adjust seasoning as necessary, ensuring all flavors are well balanced.
- Transfer to a serving dish, garnish with freshly chopped parsley, and serve warm.