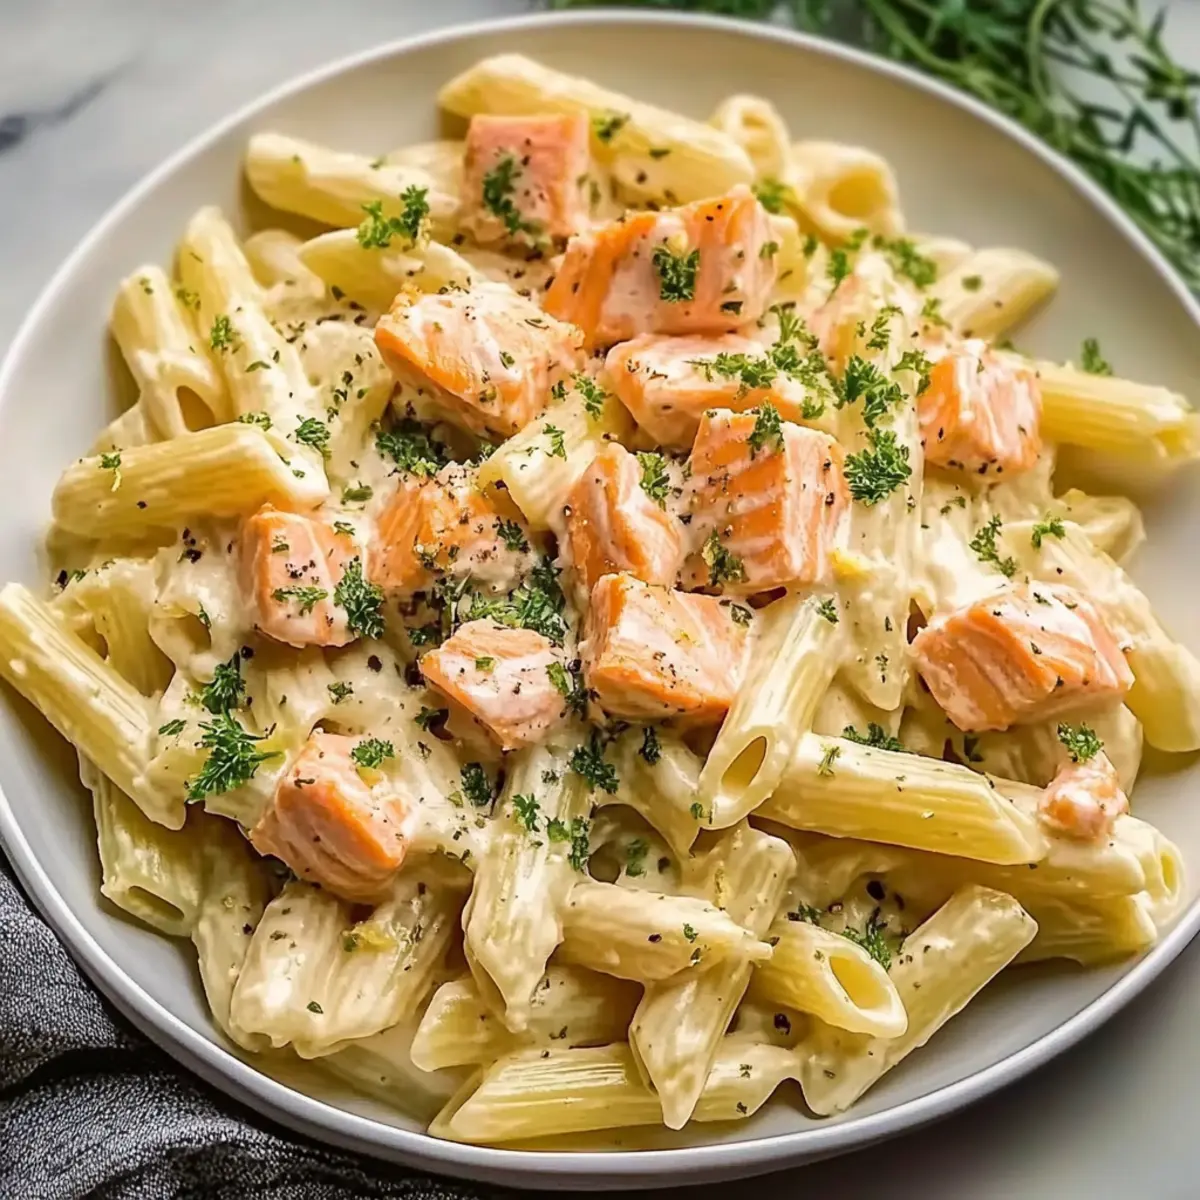
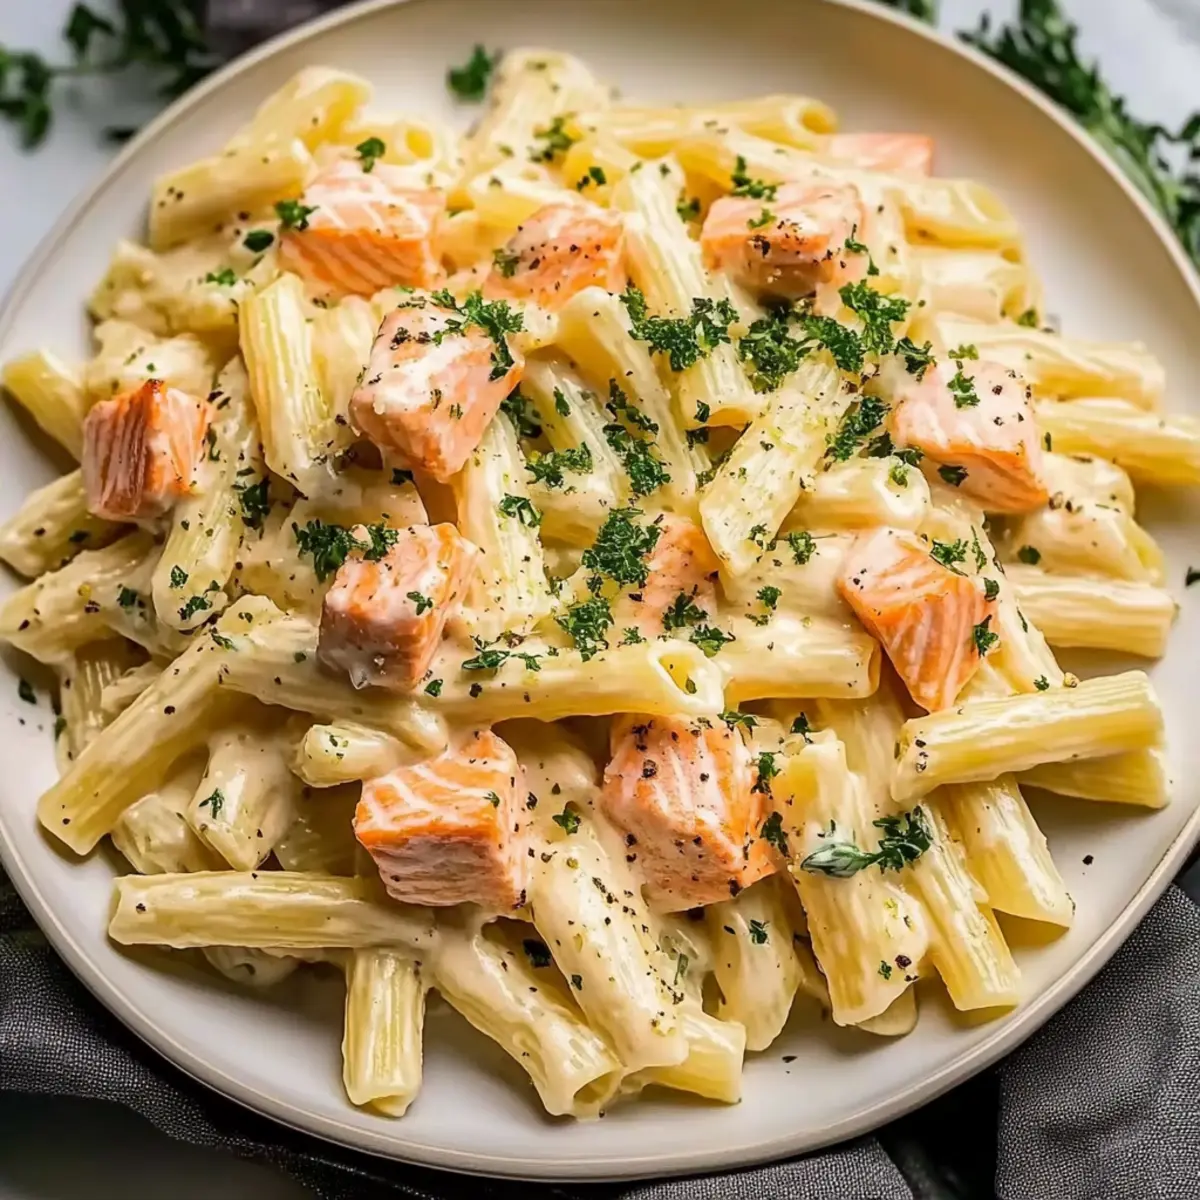
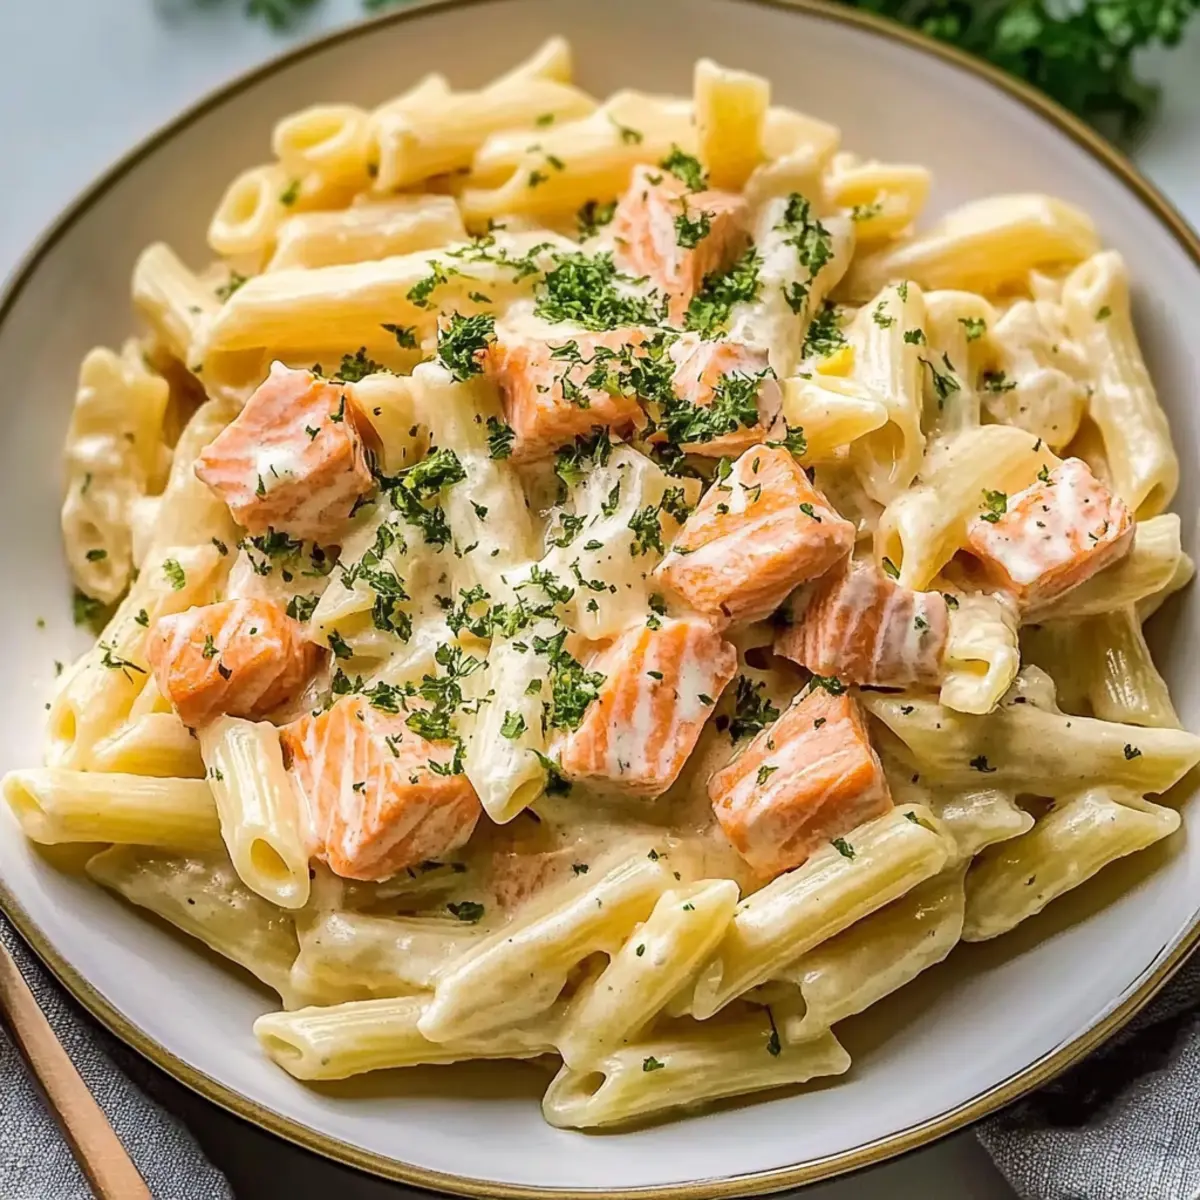
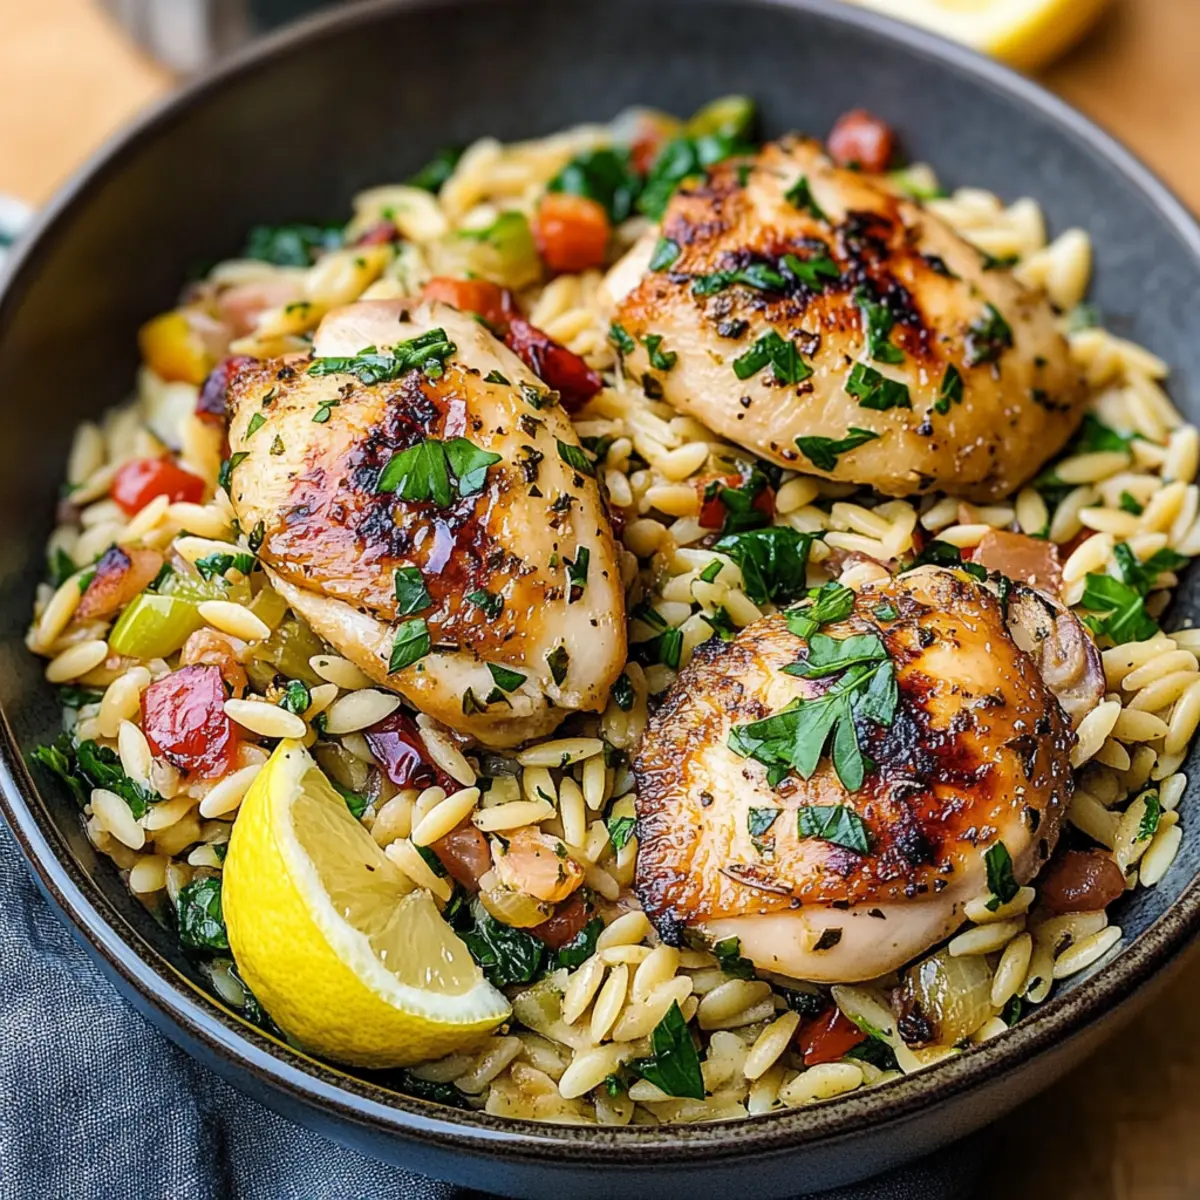
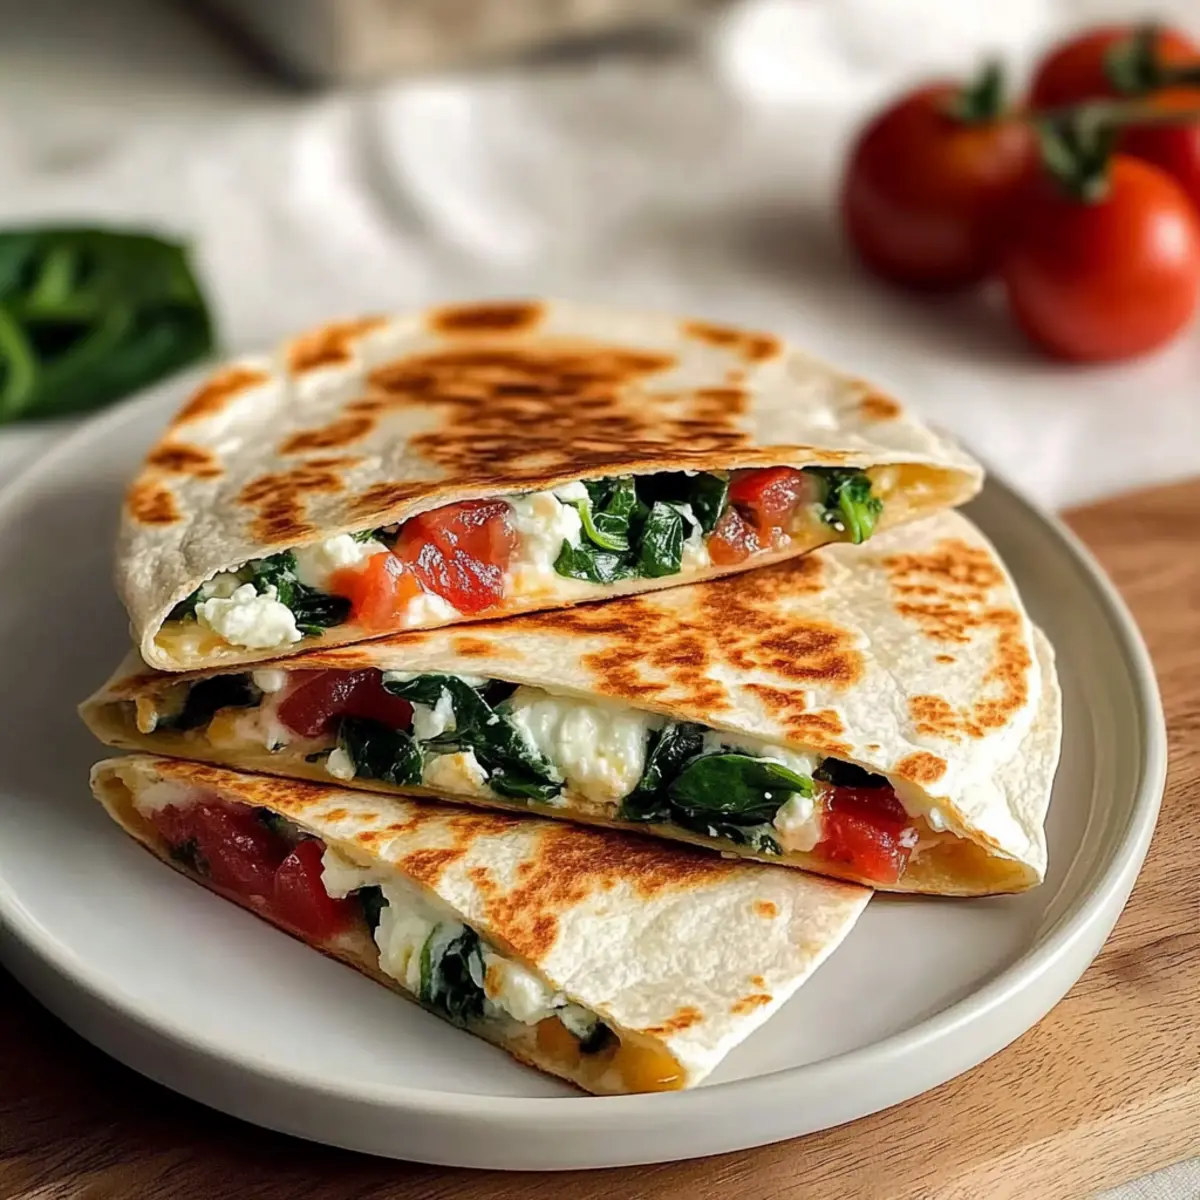
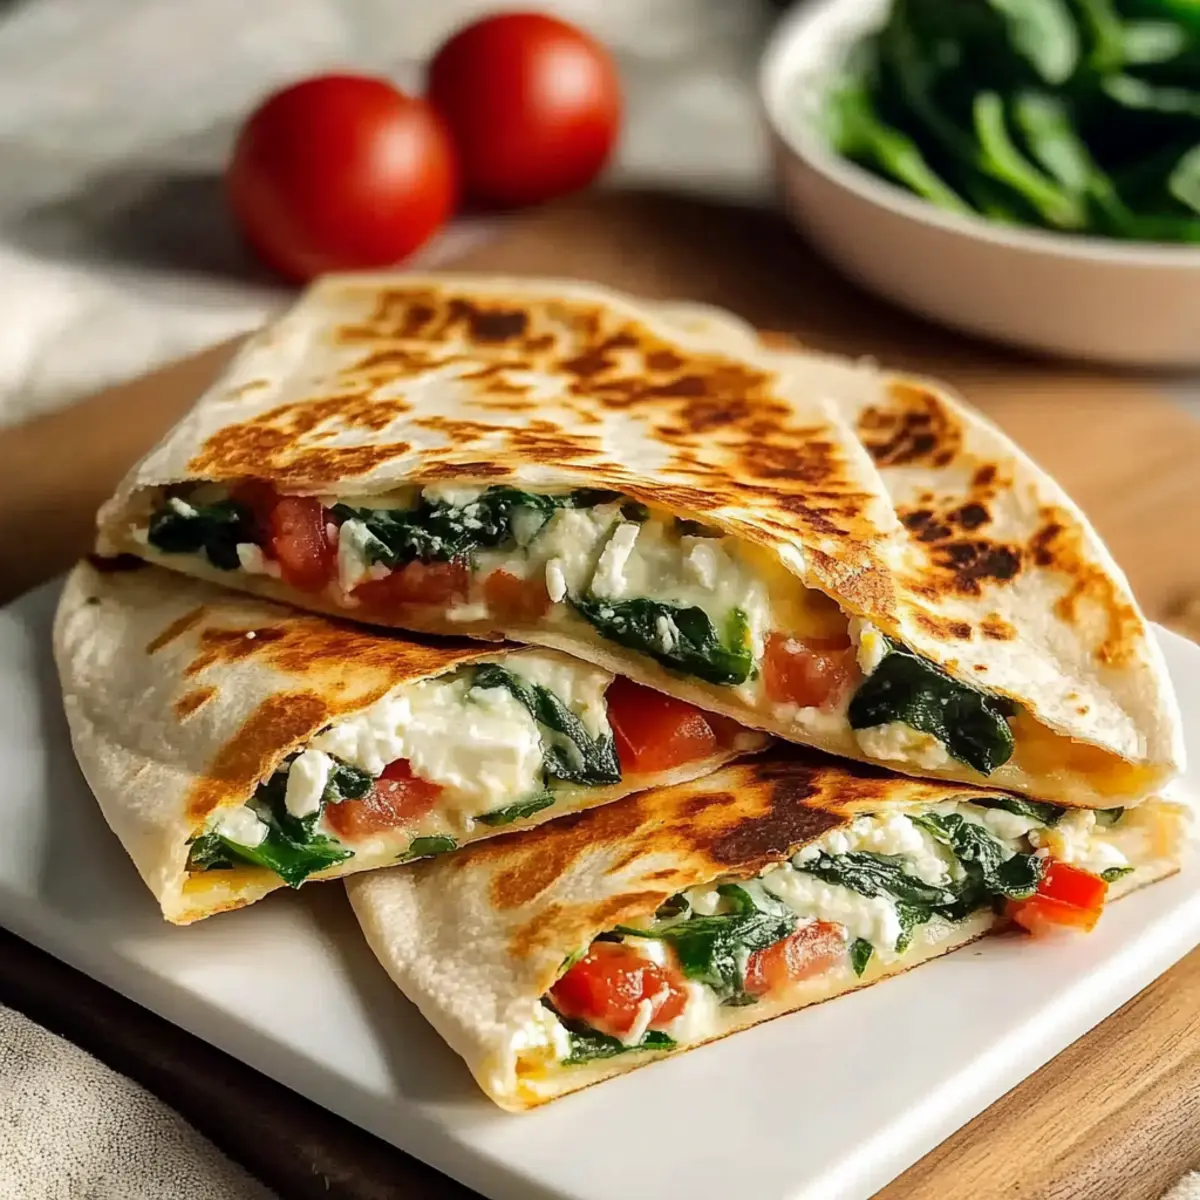
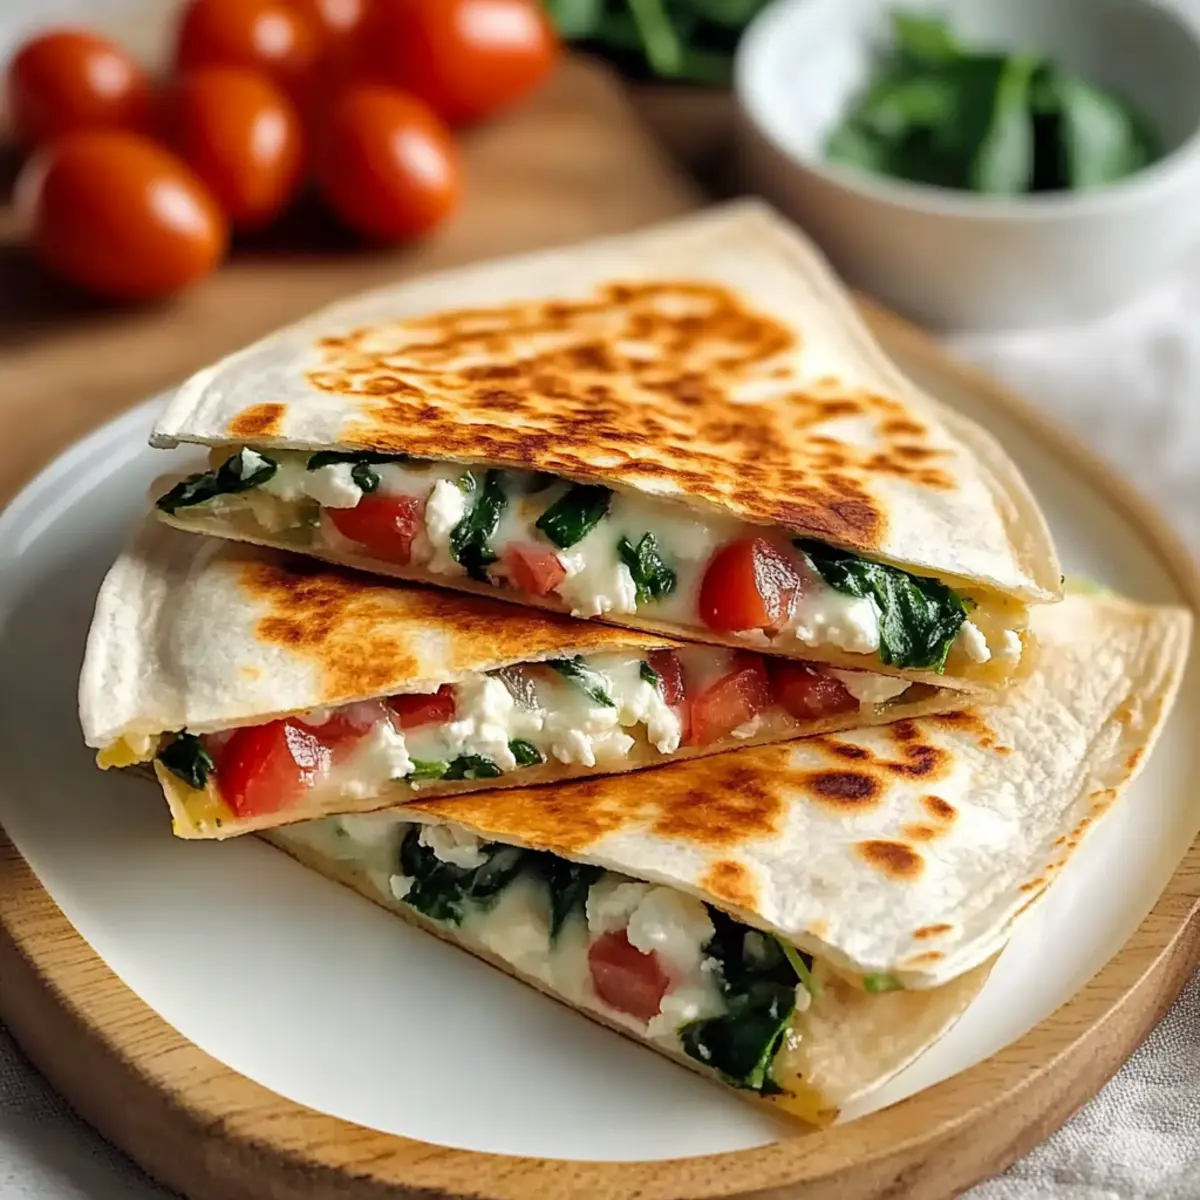
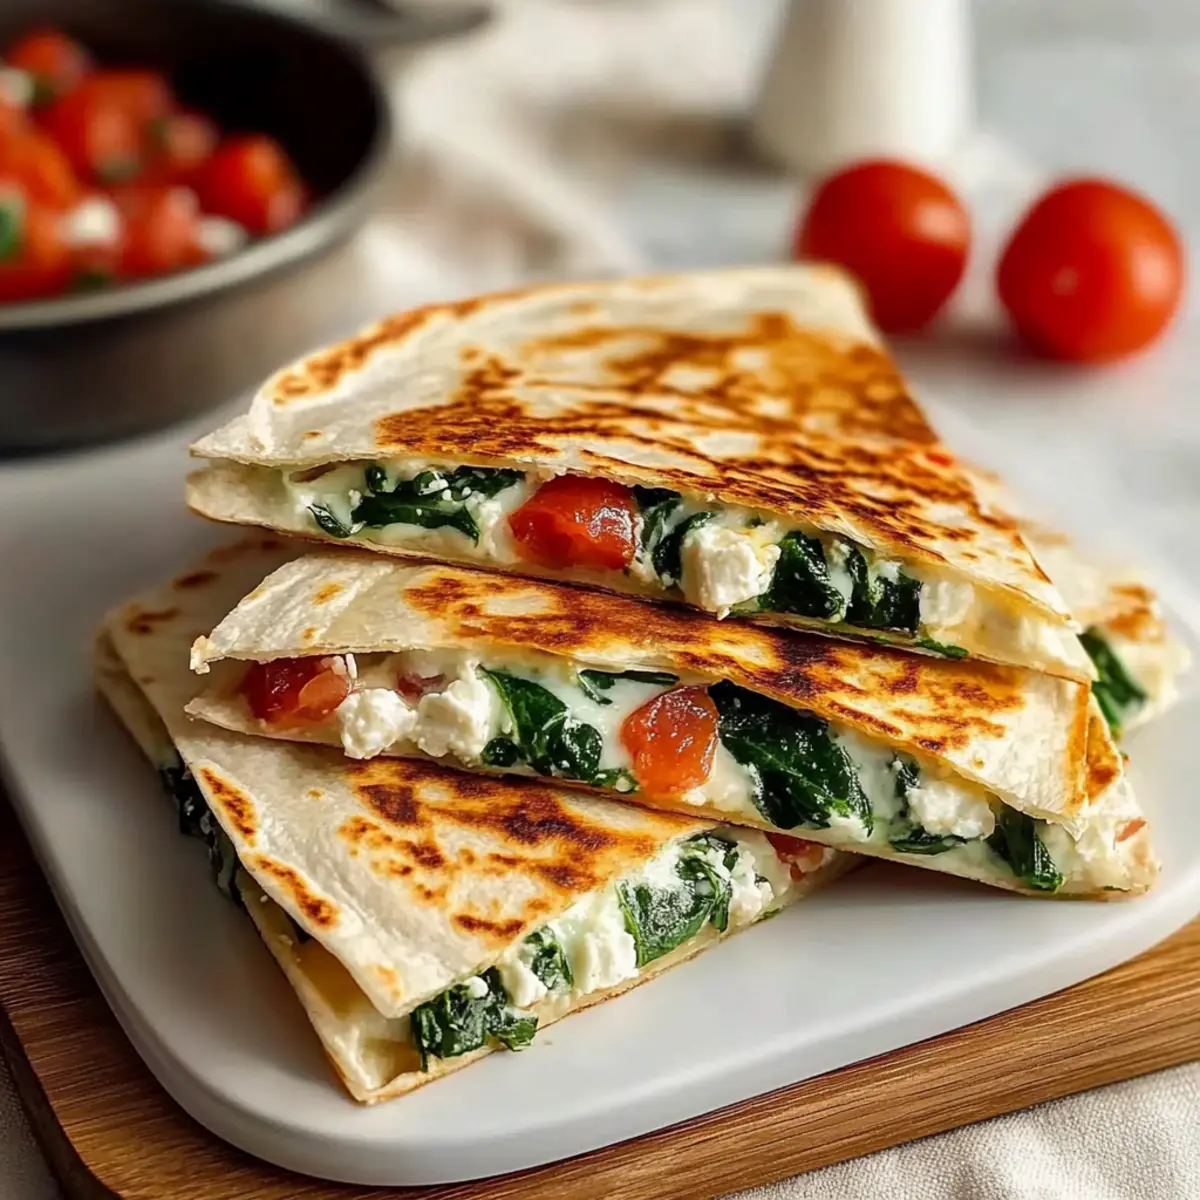
The aroma of freshly roasted salmon and garlic wafting through the kitchen is enough to turn an ordinary weeknight into a gourmet experience. My Creamy Salmon Pasta has become my go-to dish when I crave comfort without spending hours slaving over the stove. This delightful recipe marries the tender, flaky goodness of salmon with jammy tomatoes and vibrant spinach, all enveloped in a rich garlic parmesan sauce, making it the perfect solution for busy evenings. With just 30 minutes of prep and cooking time, you can bring a restaurant-quality meal right to your table, ensuring everyone leaves satisfied. Ready to impress? Let’s dive into this scrumptious dish that proves comfort food can also be quick and easy! What variations would you like to explore?
Why is this salmon pasta a must-try?
Simplicity at Its Best: This recipe takes just 30 minutes from start to finish, making it the perfect weeknight dinner for busy cooks.
Rich, Savory Flavor: The buttery garlic parmesan sauce beautifully complements the flaky salmon and sweet roasted tomatoes, creating a truly gourmet experience.
Versatile and Customizable: Feel free to swap fettuccine for your favorite pasta shape or add seasonal vegetables like zucchini or asparagus for extra nutrition.
Perfect Crowd-Pleaser: Impress your family and friends with this dish that’s sure to satisfy everyone, proving that homemade meals can be both comforting and exciting.
Meal Prep Friendly: Leftovers can be stored in the fridge for 2-3 days, making this creamy salmon pasta not just a dinner solution but also a comforting lunch option.
Creamy Salmon Pasta Ingredients
For the Pasta
• Fettuccine Pasta – The main carbohydrate base; any pasta shape like linguini or penne can be used for versatility.
• Salt – Essential for seasoning the pasta water; adjust to taste.
For the Salmon and Veggies
• Fresh Salmon – Provides protein and a rich flavor; ensure salmon is thawed if previously frozen for best results.
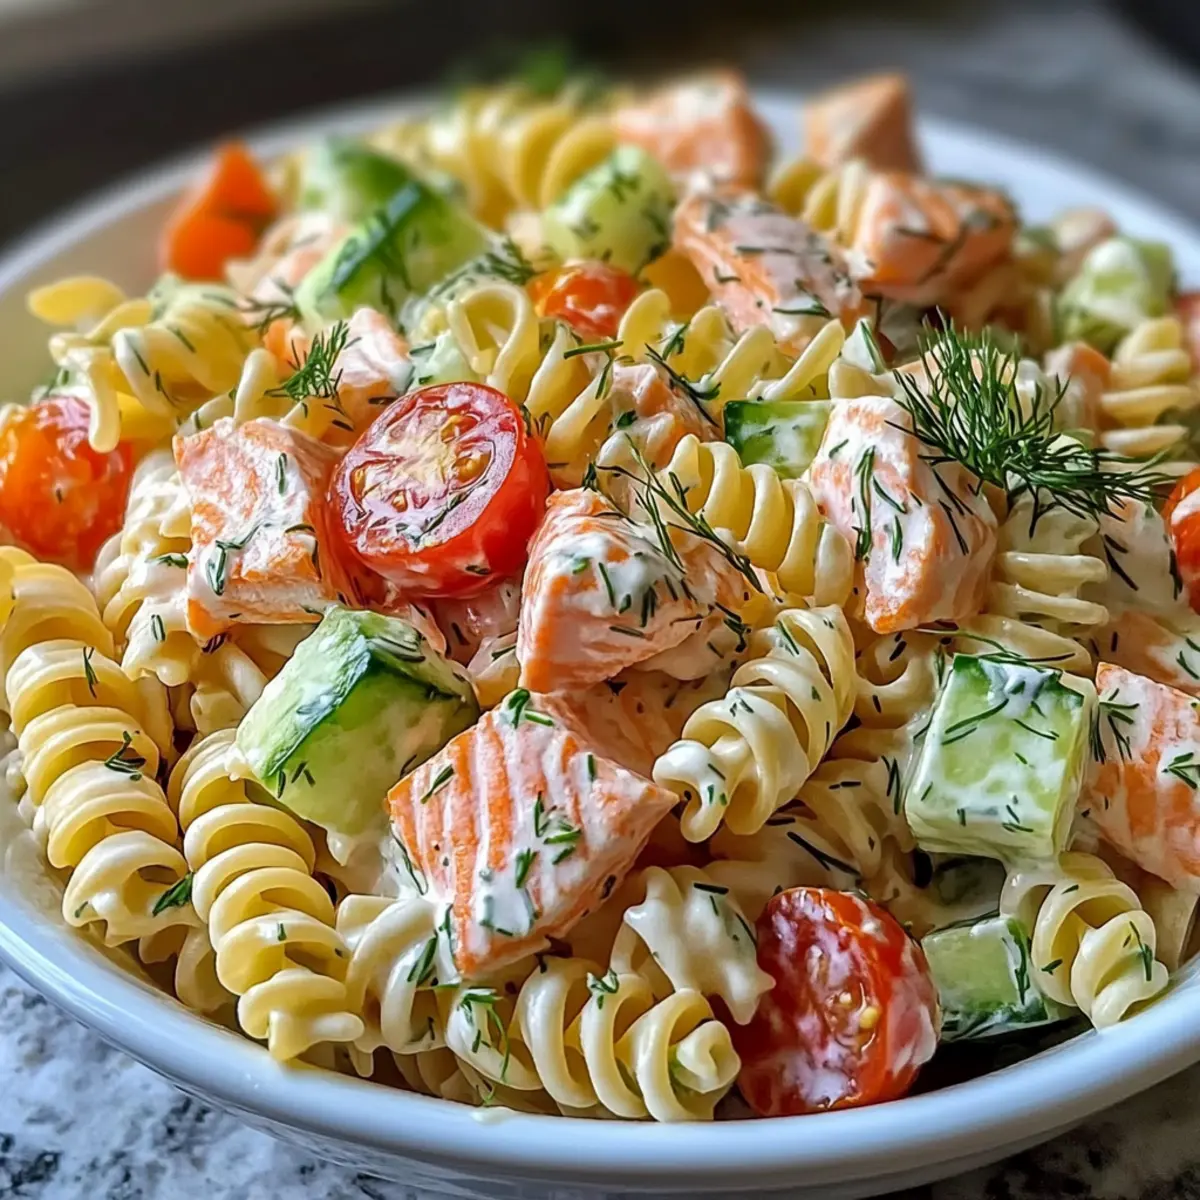
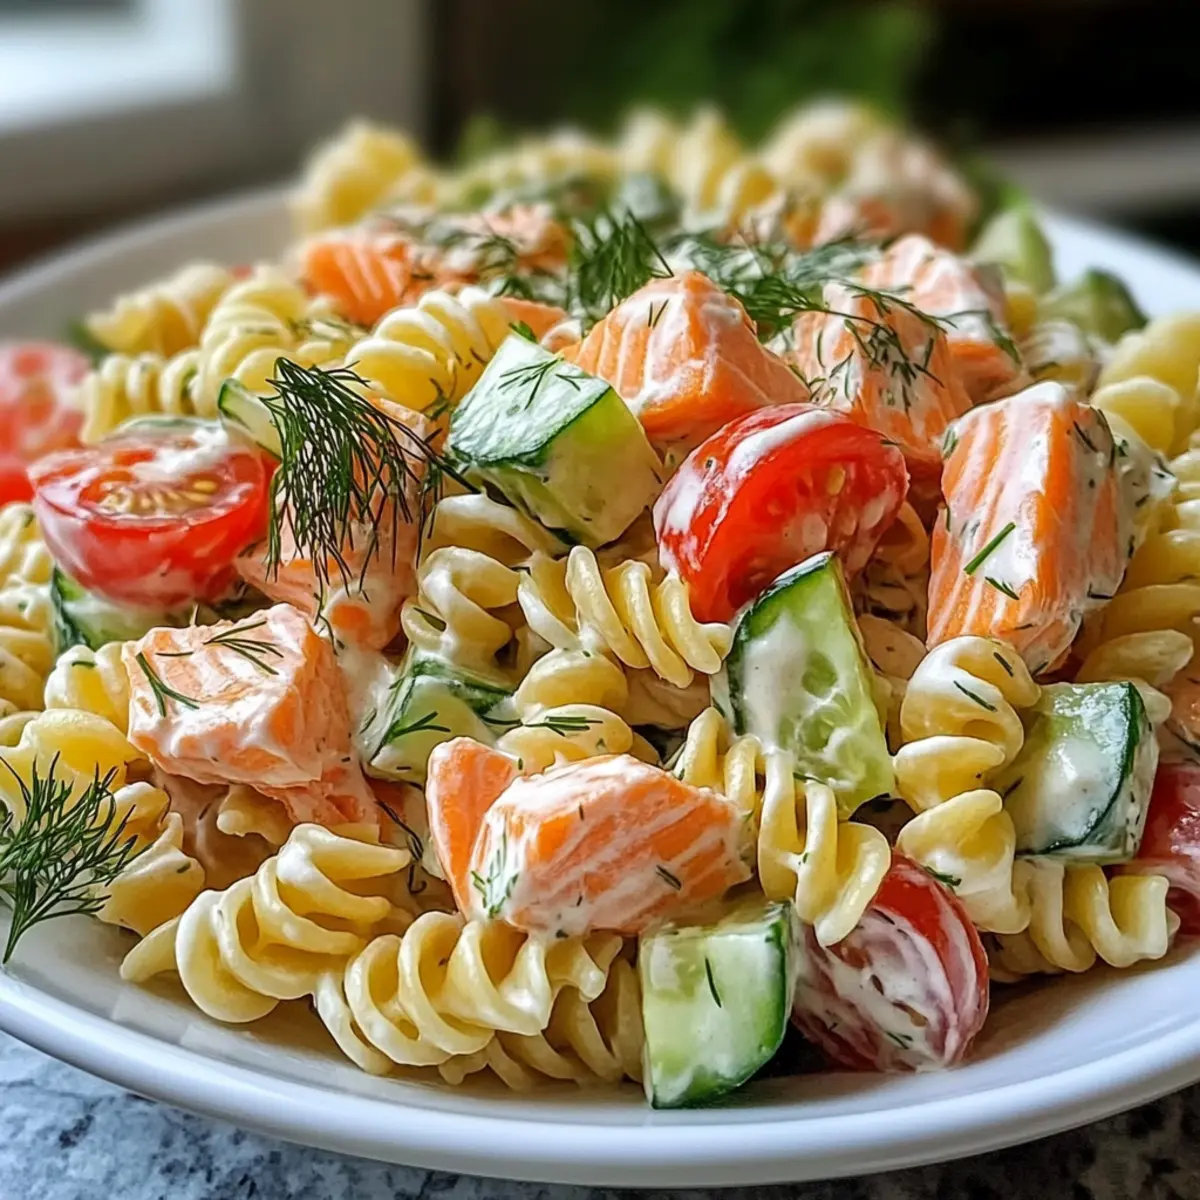
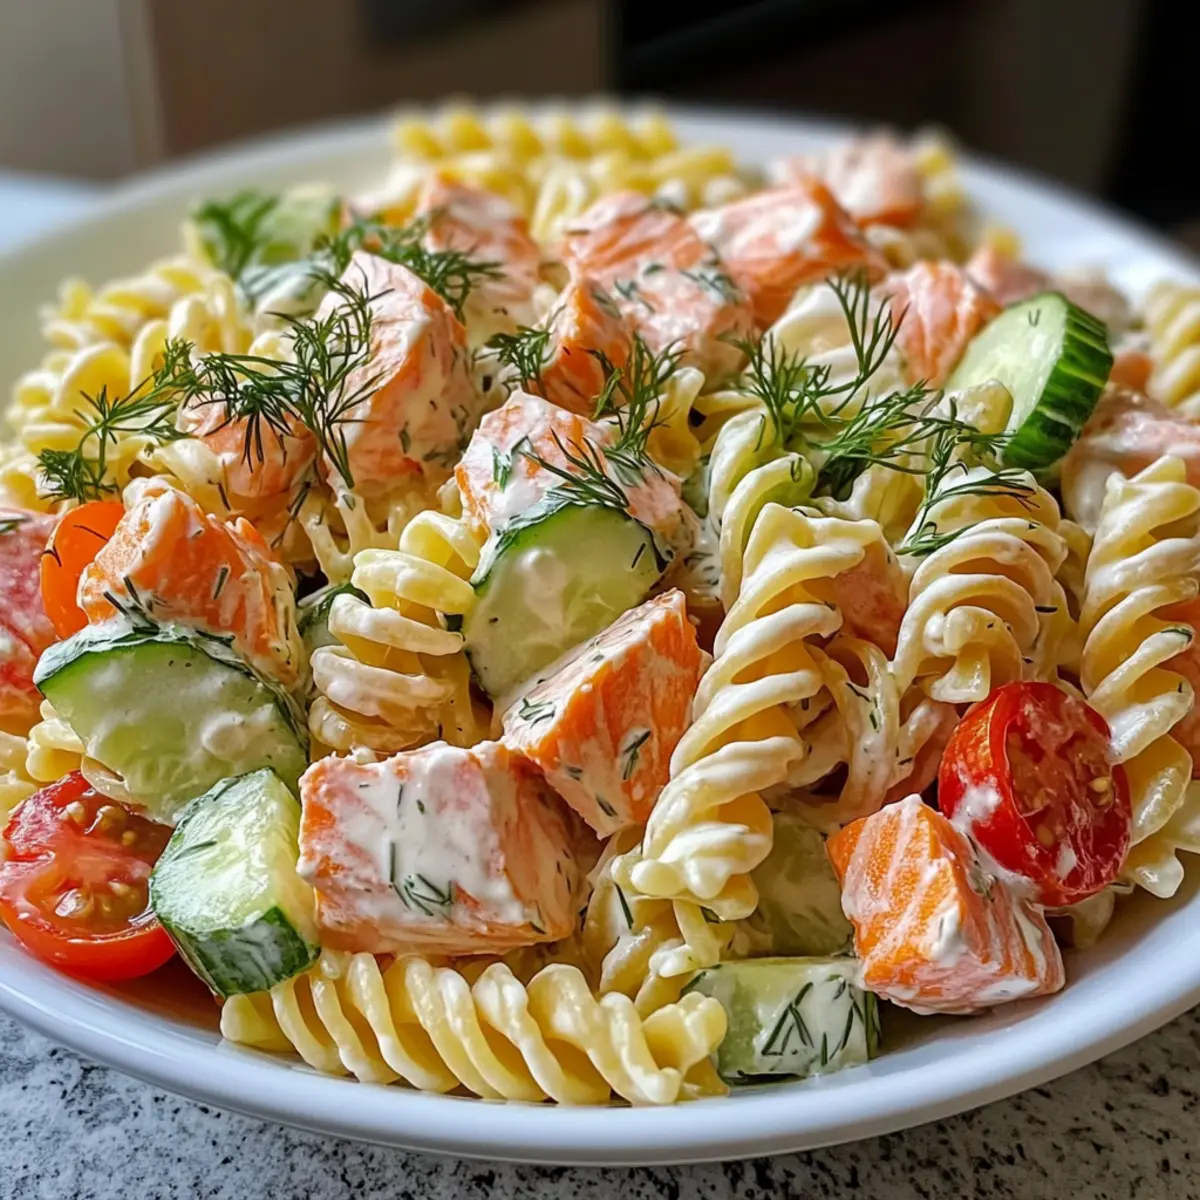
• Cherry Tomatoes – Adds sweetness and acidity when roasted; diced fresh tomatoes can be used instead of cherry tomatoes.
• Baby Spinach – Adds freshness and nutrition; feel free to increase the quantity according to preference.
• Olive Oil – Used for roasting; optional flavored oils can add extra taste.
For the Creamy Sauce
• Unsalted Butter – Base for the creamy sauce; margarine or non-dairy butter can be used for a vegan option.
• Garlic – Provides aromatic flavor; fresh minced garlic is recommended for best taste.
• Heavy Cream – Creates the rich, creamy texture of the sauce; avoid replacing it with milk for the same creamy consistency.
• Freshly Grated Parmesan Cheese – Key flavor component; avoid pre-grated cheese for a smoother sauce.
• Ground Black Pepper – Adds warmth and flavor; adjust to taste.
Now that you have your ingredients ready, you’re on your way to crafting the perfect Creamy Salmon Pasta!
Step‑by‑Step Instructions for Creamy Salmon Pasta
Step 1: Roast the Vegetables
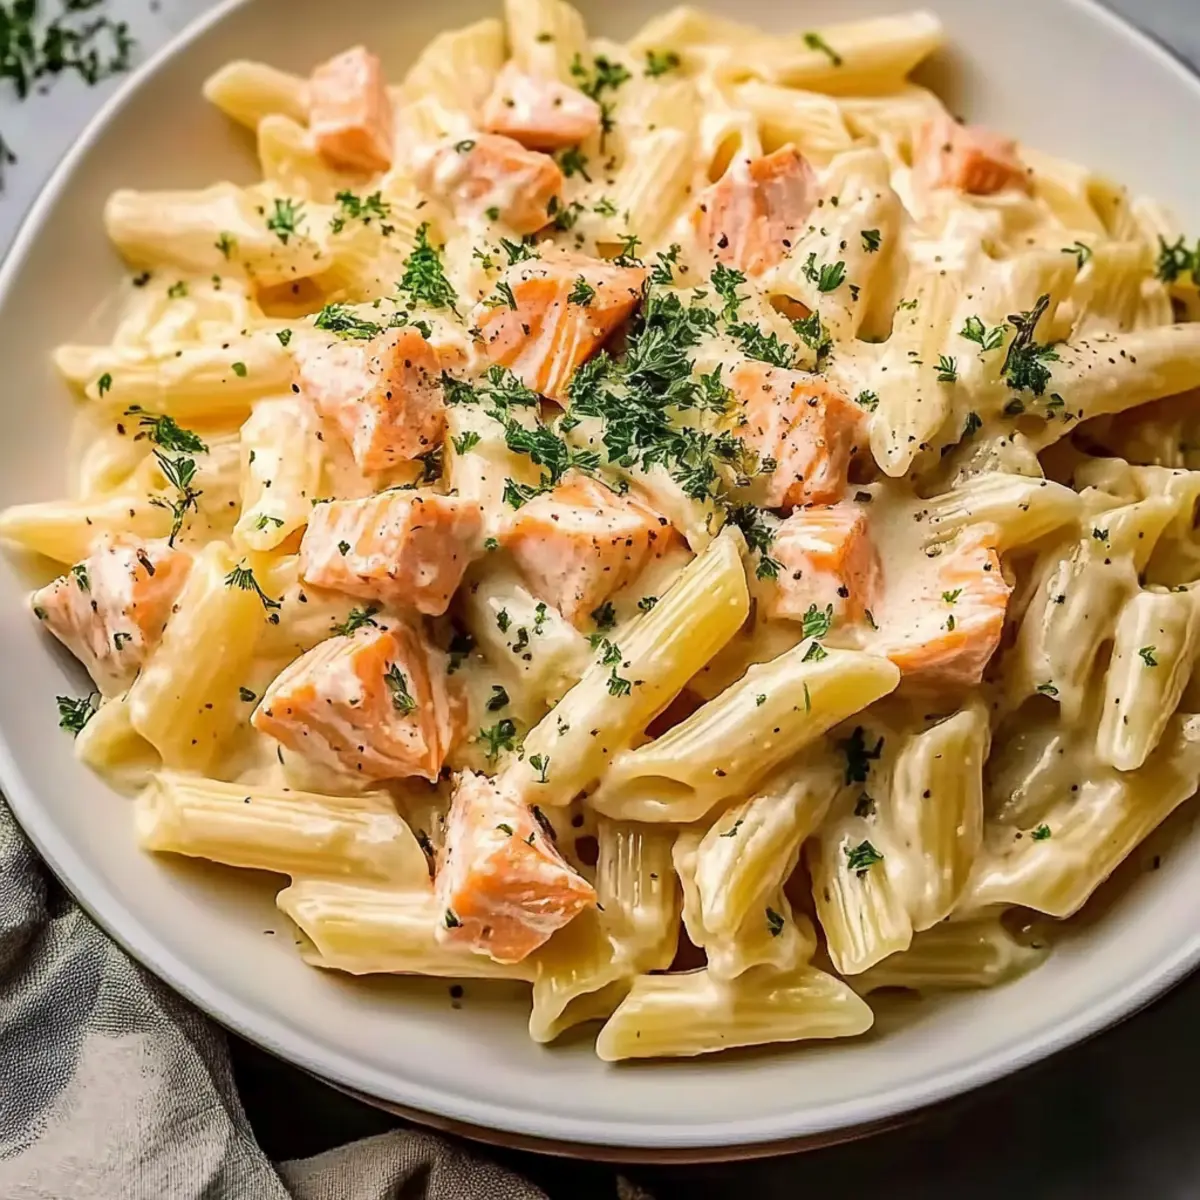
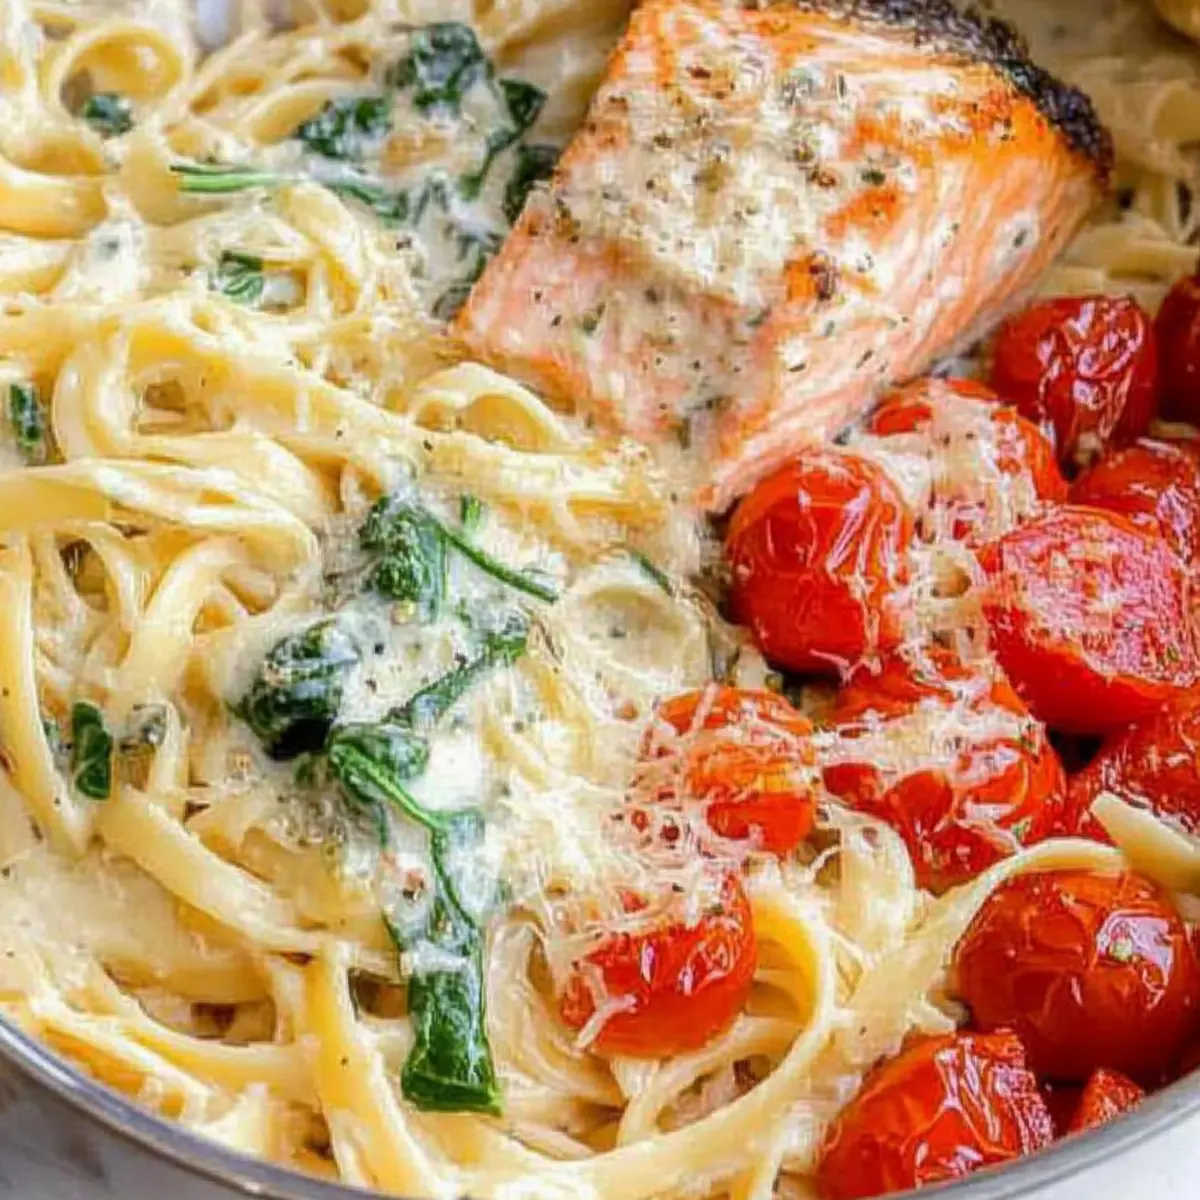
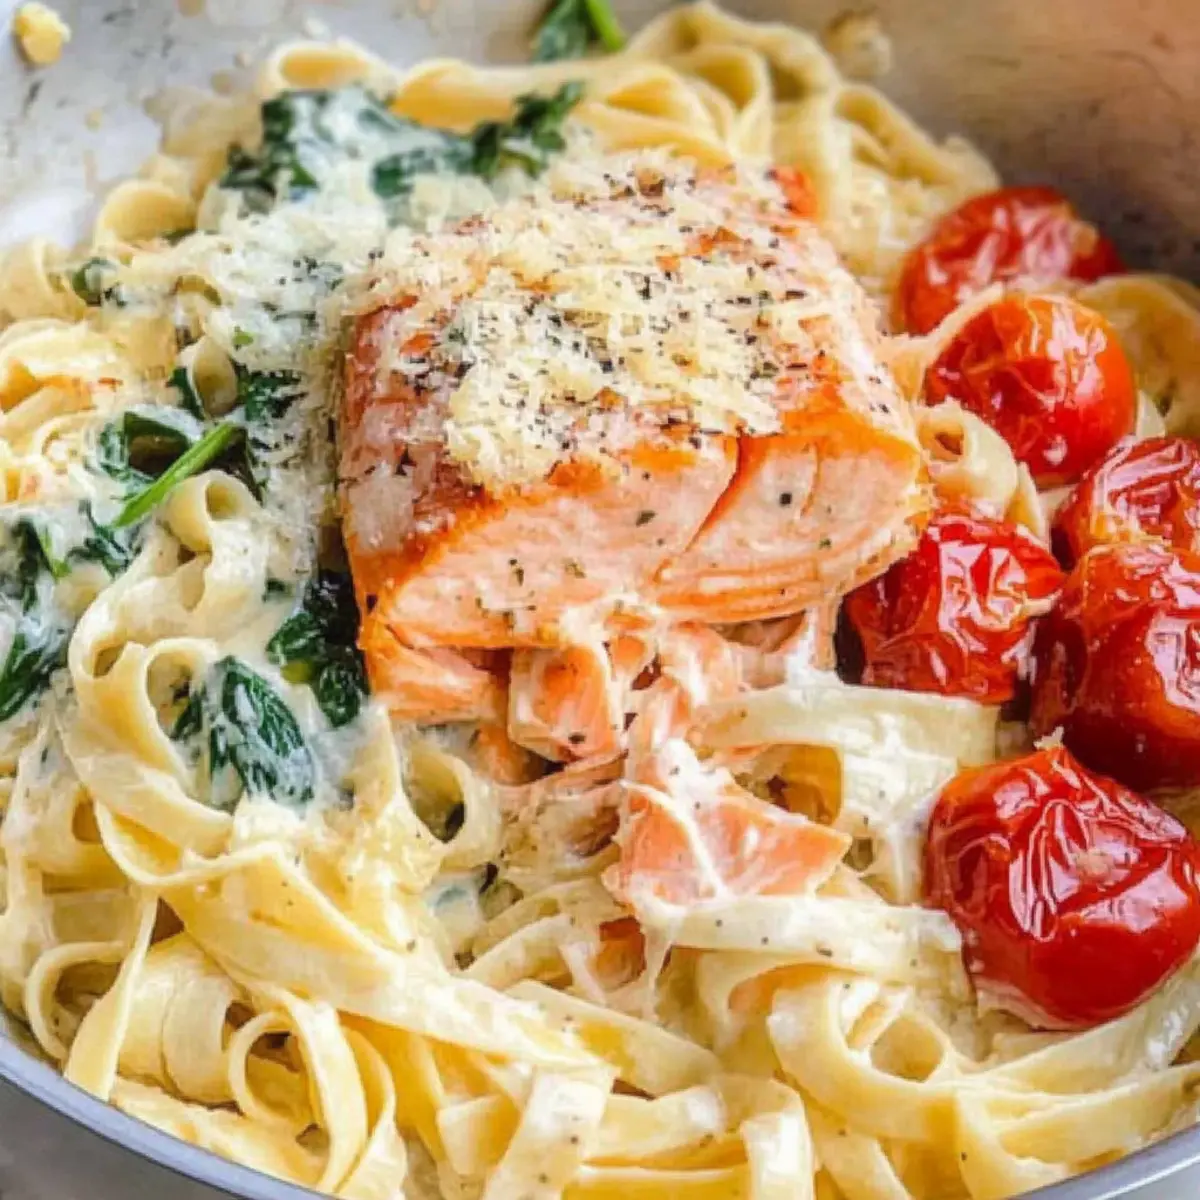
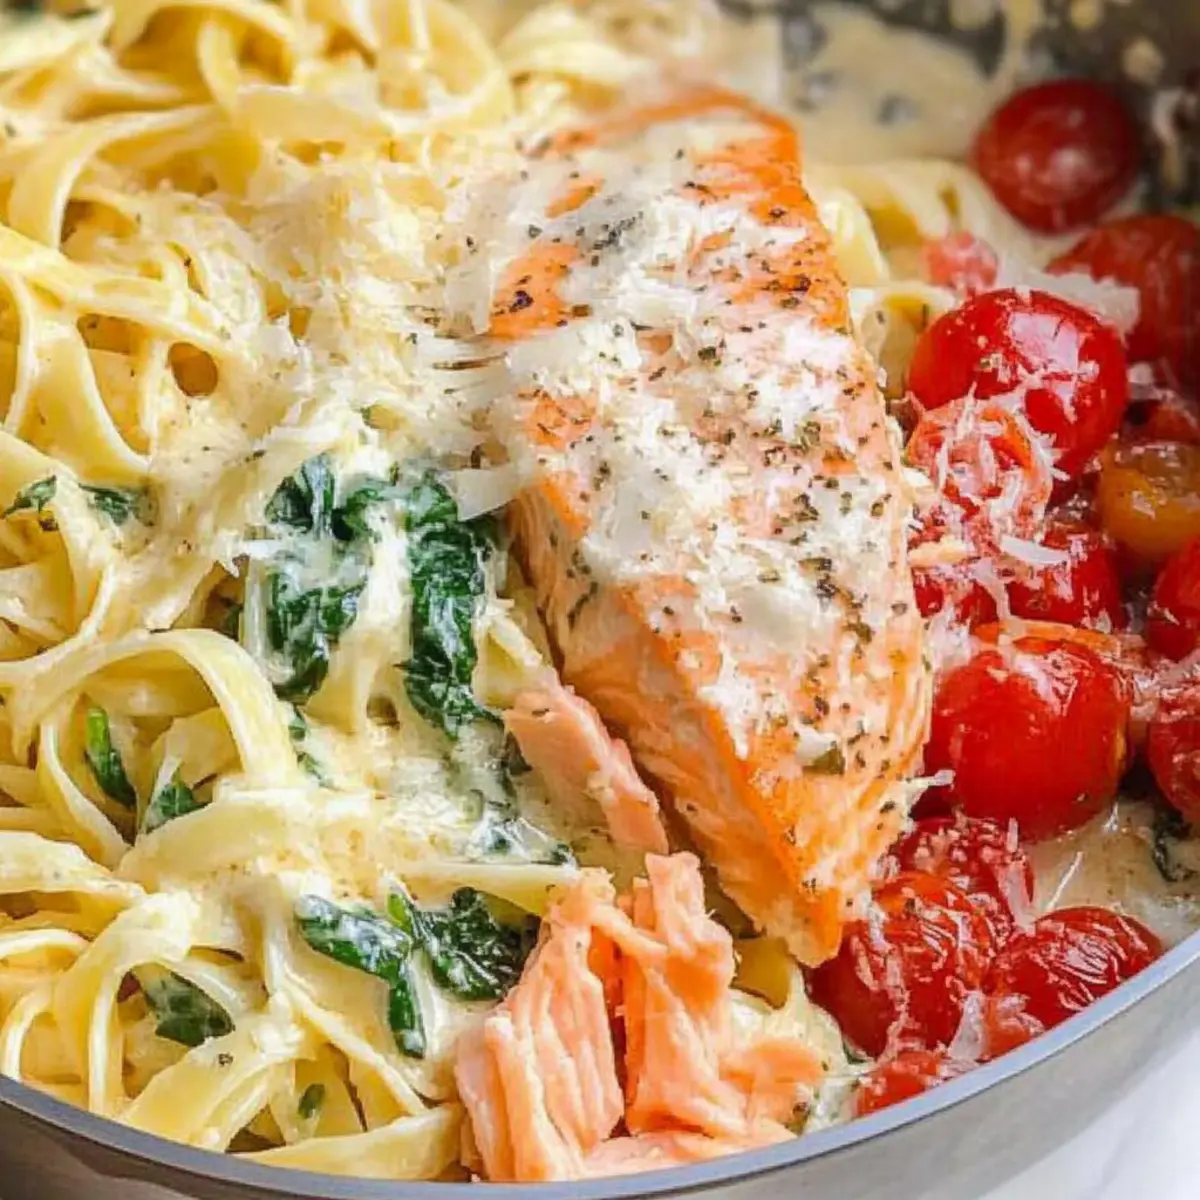
Preheat your oven to 400°F (200°C). On a baking sheet, place the fresh salmon fillets and halved cherry tomatoes. Drizzle them with olive oil, then season with salt and pepper. Roast everything in the oven for about 10-12 minutes until the salmon flakes easily and the tomatoes are slightly blistered, releasing sweet juices.
Step 2: Cook the Pasta
While the salmon and tomatoes are roasting, bring a large pot of salted water to a boil. Add the fettuccine pasta and cook it according to the package directions, typically around 8-10 minutes. Before draining, reserve a cup of the starchy pasta water; this will help in creating the creamy sauce later. Drain the pasta and set it aside.
Step 3: Make the Creamy Sauce
In a large skillet over medium heat, melt 2 tablespoons of unsalted butter. Add the minced garlic and sauté for about 1 minute until fragrant, being careful not to burn it. Pour in the heavy cream and bring it to a gentle simmer, stirring occasionally. After about 2-3 minutes, add freshly grated Parmesan cheese, continuing to stir until the sauce thickens and becomes creamy.
Step 4: Combine Pasta and Sauce
Add the drained fettuccine to the creamy sauce in the skillet. Toss gently to coat the pasta evenly, and if the sauce appears too thick, gradually stir in some reserved pasta water until you reach your desired creaminess. Fold in the fresh baby spinach, allowing it to wilt slightly in the heat of the sauce, creating a deliciously vibrant dish.
Step 5: Finish the Dish
Carefully flake the roasted salmon into bite-sized pieces and gently mix it into the creamy salmon pasta along with the roasted tomatoes. Ensure everything is thoroughly combined for even distribution of flavors. Serve hot, garnishing each plate with a sprinkle of additional Parmesan and a dash of ground black pepper for an extra flourish.
Make Ahead Options
These Creamy Salmon Pasta is perfect for meal prep enthusiasts looking to simplify busy weeknights! You can prepare the roasted salmon and cherry tomatoes up to 24 hours in advance; simply season and roast as directed, then store them in an airtight container in the refrigerator. Additionally, you can cook the fettuccine noodles and store them separately. When you're ready to serve your meal, heat the creamy sauce and fold in the prepped salmon, tomatoes, and spinach just before tossing with the pasta. This ensures all ingredients maintain their freshness and flavor, providing you with a delicious homemade dinner with minimal effort!
How to Store and Freeze Creamy Salmon Pasta
Fridge: Store leftovers in an airtight container for up to 3 days. Reheat gently on the stovetop or in the microwave, adding a splash of heavy cream to maintain creaminess.
Freezer: Freeze the creamy salmon pasta in a safe, airtight container for up to 2 months. To reheat, thaw overnight in the fridge and warm gently on the stovetop, adding a little cream if necessary.
Reheating: When reheating, do so over low heat to prevent the sauce from breaking. Stir frequently and incorporate a bit of reserved pasta water to help with consistency.
Separation Tip: If the sauce separates after freezing, simply whisk or stir it back together while gently warming it up. Enjoy your creamy salmon pasta even after storage!
Expert Tips for Creamy Salmon Pasta
- Grate Your Cheese: Always grate your own parmesan for a silky-smooth sauce; pre-grated versions have anti-caking agents that can affect texture.
- Surefire Salmon: Pat your salmon dry with a paper towel before roasting to promote perfect browning instead of steaming.
- Low and Slow: To prevent breaking your creamy sauce, keep the heat low and avoid a rapid boil while simmering.
- Creaminess Control: Use reserved pasta water to adjust the sauce's consistency; this starchy magic takes your creamy salmon pasta to the next level.
- Texture Tip: Keep the salmon skin on during roasting for more moisture and flavor, creating an irresistibly tender bite.
What to Serve with Creamy Salmon Pasta
Elevate your dinner experience by adding delightful sides and drinks that perfectly complement the richness of your meal.
-
Lemon Arugula Salad: The bright, citrusy notes cut through the creaminess, refreshing your palate with each bite. This salad adds a vibrant crunch alongside the silky pasta.
-
Garlic Cheese Bread: Warm and buttery, this cheesy side is perfect for scooping up those delicious sauce remnants, making it irresistible for the whole family.
-
Roasted Asparagus: Drizzled with olive oil and lightly seasoned, asparagus adds a healthy, crisp element that pairs beautifully with the salmon, enhancing the overall meal balance.
-
Chardonnay Wine: A chilled glass of this white wine complements the rich flavors of your pasta. Its subtle acidity harmonizes with the cream and brings out the salmon's taste.
-
Creamy Coleslaw: A refreshing slaw adds a crisp texture and tangy taste, contrasting beautifully with the creamy pasta and roasted veggies.
-
Chocolate Mousse: For dessert, a light chocolate mousse is the perfect sweet ending, providing a deliciously rich counterpoint to the savory flavors of the main dish.
Creating a full dining experience has never been easier—these pairings ensure your creamy salmon pasta night becomes a cherished occasion.
Creamy Salmon Pasta Variations
Feel free to let your culinary creativity shine by customizing this creamy salmon pasta to suit your preferences!
-
Smoked Salmon: Swap fresh salmon for smoked salmon for a delightful twist of flavor. The rich, smoky taste pairs beautifully with the creamy sauce.
-
Seasonal Veggies: Add seasonal vegetables like zucchini or asparagus to boost nutrition and texture. They're colorful and delicious additions, making every bite a little different!
-
Pasta Alternatives: Use whole wheat or gluten-free pasta instead of fettuccine for a healthier or dietary-friendly option. Your dish will still deliver on comfort and flavor.
-
Cheese Variation: Try substituting the parmesan with crumbled feta for a tangy twist. The creamy yet salty feta adds a whole new dimension to this classic dish.
-
Zest it Up: A splash of lemon juice right before serving brightens the dish and adds a refreshing zing, elevating those savory flavors.
-
Spicy Kick: Add red pepper flakes for a kick of heat. Just a pinch can transform the dish into something exciting for spice lovers.
-
Herb Infusion: Incorporate fresh herbs like dill or basil in your creamy sauce for an aromatic touch. They not only enhance flavor but also add a beautiful pop of color.
If you're exploring other delicious pasta options, don't forget to check out my amazing recipes for Seafood Pasta Savory and Skillet Pasta Sun. Your dinner table will be anything but boring!

Creamy Salmon Pasta Recipe FAQs
How do I choose fresh salmon for this recipe?
Absolutely! Look for salmon fillets that are bright in color, with a fresh ocean smell. The flesh should be firm and moist. Avoid any fillets with dark spots or a dull appearance. If you're buying frozen salmon, make sure it's completely thawed before cooking for the best results.
What is the best way to store leftovers of creamy salmon pasta?
Very! To store leftovers, place them in an airtight container and refrigerate for up to 3 days. When reheating, I recommend adding a splash of heavy cream to keep the sauce creamy and delicious. Simply reheat gently on the stovetop or in the microwave.
Can I freeze creamy salmon pasta?
Certainly! You can freeze creamy salmon pasta for up to 2 months in an airtight container. To reheat, thaw it overnight in the fridge and warm it gently on the stovetop, stirring frequently. If the sauce has thickened, don’t worry—just add a little cream or reserved pasta water until it reaches the desired consistency.
What should I do if the sauce separates while reheating?
Absolutely! If the sauce separates, just whisk or stir it back together over low heat. The gentle warming should help reintegrate the creaminess. Adding in a splash of reserved pasta water or a bit more cream can also help to restore its silky texture.
Are there any dietary considerations for creamy salmon pasta?
Yes! This dish is perfect for those who are not allergic to seafood or dairy. If you're making it for someone with a dairy allergy, consider using non-dairy butter and cream alternatives. For those mindful of their calorie intake, you can scale back on the cream and cheese while still enjoying a tasty meal.
Can I make creamy salmon pasta in advance?
Certainly! You can prepare the elements of this dish ahead of time. Cook the pasta and roast the salmon and vegetables, then store them separately in the fridge. When you're ready to serve, just whip up the sauce and combine everything—it's a great way to have a gourmet meal ready in no time!
Creamy Salmon Pasta: A Quick Comfort Food Delight
Ingredients
Equipment
Method
- Preheat your oven to 400°F (200°C). On a baking sheet, place the salmon and halved cherry tomatoes, drizzle with olive oil, and season with salt and pepper. Roast for about 10-12 minutes.
- While roasting, boil salted water in a large pot. Cook the fettuccine according to package instructions, usually 8-10 minutes. Reserve a cup of pasta water, drain, and set aside.
- In a large skillet, melt butter over medium heat. Add minced garlic and sauté until fragrant, then pour in heavy cream and simmer gently. Stir in grated Parmesan until the sauce thickens.
- Add the drained pasta to the skillet, tossing to coat. If too thick, gradually stir in reserved pasta water. Fold in spinach until wilted.
- Flake roasted salmon into bite-sized pieces and gently mix into the pasta along with roasted tomatoes. Serve hot, garnished with additional Parmesan and black pepper.