The first bite of these Easy Raspberry Cream Cheese Cruffins transports me straight to a charming bakery, where the smell of fresh pastries warms the air. With flaky layers of puff pastry wrapped around a luscious cream cheese mixture and a swirl of vibrant raspberry preserves, these delightful treats have a way of transforming even the ordinary mornings into something special. Not only are they a breeze to make, but they also impress anyone who tries them—perfect for brunch gatherings or a sweet surprise for your loved ones. Whether you enjoy them fresh out of the oven or at room temperature, the combination of textures and flavors will leave you craving more. Curious to learn how to whip up these buttery, bakery-style wonders in your own kitchen? Let’s dive into the recipe!

Why Make Easy Raspberry Cream Cheese Cruffins?
Irresistible Flakiness: Each cruffin is crafted with layers of puff pastry that create a light and airy texture, reminiscent of your favorite bakery treats.
Creamy Filling: The blend of rich cream cheese and sweet raspberry preserves brings a delightful balance of flavors—perfect for satisfying your sweet tooth.
Simple Steps: With easy-to-follow instructions, even novice bakers can enjoy making these delectable pastries without stress.
Impressive Presentation: These cruffins look as wonderful as they taste, making them the ideal centerpiece for brunch gatherings or a special morning treat.
Versatile Options: Feel free to swap out raspberry preserves for other fruits, like strawberry, or add a hint of spice with cinnamon for an exciting twist.
Indulge in these charming pastries that will brighten your mornings and bring smiles to your loved ones, just like with Peaches Cream Cookies or a refreshing bowl of Vegan Cacao Cream.
Easy Raspberry Cream Cheese Cruffins Ingredients
-
For the Cruffins
-
Puff Pastry – This key ingredient forms the flaky, airy layers that define cruffins; opt for gluten-free versions if needed.
-
Cream Cheese – Adds a rich, creamy filling to each cruffin; substitute with dairy-free cream cheese for a vegan option.
-
Powdered Sugar – Sweetens the cream cheese mixture for just the right amount of sweetness; adjust to taste as personal preferences vary.
-
Vanilla Extract – Infuses warmth and depth into the filling; can be left out for a simpler flavor profile.
-
Raspberry Preserves – Provides a sweet and tangy burst that pairs beautifully with the cream cheese; feel free to swap for other fruit preserves if desired.
-
Melted Butter – Brushed on top for a beautiful golden sheen; use a plant-based butter instead for a dairy-free version.
-
Optional Flavor Enhancer
-
Cinnamon – A subtle addition that can enhance the warm flavors of the filling; not essential but worth considering for a special touch.
Step‑by‑Step Instructions for Easy Raspberry Cream Cheese Cruffins
Step 1: Preheat the Oven
Begin by preheating your oven to 375°F (190°C). This will ensure that your Easy Raspberry Cream Cheese Cruffins bake evenly and reach that golden-brown perfection. While the oven is warming up, you can grease a 12-cup muffin tin with butter or non-stick cooking spray to prepare for the cruffins.
Step 2: Prepare Puff Pastry
Take one sheet of thawed puff pastry and roll it out on a lightly floured surface. Aim for a rectangle that’s about 10x12 inches; this will create enough surface area for your delicious cream cheese and raspberry filling. Make sure that the pastry is still cold to maintain its flaky texture as you roll.
Step 3: Make Cream Cheese Mixture
In a mixing bowl, combine softened cream cheese, powdered sugar, and vanilla extract. Beat the mixture using a hand mixer or whisk until it’s smooth and creamy, about 2-3 minutes. The sweetness from the powdered sugar should balance with the creamy richness, creating a delightful filling for your cruffins.
Step 4: Layering
Spread half of the cream cheese mixture evenly over the rolled-out puff pastry. Next, take your raspberry preserves and spread a layer over the cream cheese filling. Repeat this process for a second sheet of puff pastry, creating two layers of deliciousness that will blend beautifully when baked.
Step 5: Rolling & Cutting
Roll each pastry sheet tightly to form logs, starting from one long side. Once rolled, slice each log in half lengthwise to reveal the creamy layers. Then, cut each log into three pieces, resulting in a total of 12 pieces perfect for your muffin tin.
Step 6: Twisting
With the cut sides of your pastry pieces facing outwards, gently twist each piece to create a spiral shape. This technique not only adds visual appeal but also helps to further incorporate the delicious cream cheese and raspberry filling within the Easy Raspberry Cream Cheese Cruffins.
Step 7: Baking
Place the twisted cruffins into the prepared muffin cups. For a glossy finish, brush the tops with melted butter. Slide the muffin tin into the preheated oven and bake for 22-25 minutes, or until they are golden brown and puffed up beautifully. Keep an eye on them to achieve the perfect browning.
Step 8: Cooling & Serving
Once baked, remove the cruffins from the oven and let them cool in the tin for about 5 minutes. Carefully transfer them to a wire rack to cool completely. If desired, dust them with powdered sugar before serving to add a touch of sweetness. Enjoy your warm Easy Raspberry Cream Cheese Cruffins fresh or at room temperature!

Expert Tips for Easy Raspberry Cream Cheese Cruffins
- Thaw Puff Pastry: Ensure the puff pastry is fully thawed but cool to the touch. If it's too soft, chill it briefly to maintain the flaky texture.
- Layer Wisely: Avoid overloading with raspberry preserves; it's crucial to keep the filling balanced to prevent overflow during baking.
- Make Ahead: Prepare the cream cheese filling ahead of time and refrigerate it for up to 2 days. This will save you time on baking day!
- Reheat Correctly: For maintaining crispness, avoid microwaving leftovers. Instead, reheat in a 300°F oven for 5-7 minutes for delightful results.
- Variations Abound: Get creative with the filling! Swap raspberry preserves for other flavors like strawberry, or add a pinch of cinnamon to the cream cheese for a warm twist.
Enjoy the process of making these delicious Easy Raspberry Cream Cheese Cruffins!
Make Ahead Options
These Easy Raspberry Cream Cheese Cruffins are perfect for meal prep, saving you precious time during busy mornings! You can prepare the cream cheese filling up to 3 days in advance; simply store it in an airtight container in the refrigerator. Additionally, the puff pastry can be rolled, filled, and twisted into shape and then refrigerated for up to 24 hours before baking. Just be sure to cover it tightly to maintain freshness. When you're ready to enjoy them, bake the cruffins straight from the fridge, adding a few extra minutes to the baking time if necessary. With these make-ahead tips, you’ll have bakery-style delights with minimal effort, ensuring every morning feels special!
Storage Tips for Easy Raspberry Cream Cheese Cruffins
Room Temperature: Store baked cruffins in an airtight container at room temperature for up to 1 day to keep them fresh and flaky.
Fridge: If you plan to keep them longer, refrigerate the Easy Raspberry Cream Cheese Cruffins for up to 3 days in an airtight container to maintain their texture.
Freezer: For longer storage, freeze the cruffins for up to 1 month. Wrap them individually in plastic wrap, then place in a freezer-safe bag.
Reheating: Reheat from frozen or refrigerated in a 300°F oven for 5–7 minutes to restore their deliciously crispy exterior without compromising the creaminess inside.
Easy Raspberry Cream Cheese Cruffins Variations & Substitutions
Feel free to get creative with these delightful cruffins and make them your own! Each variation brings a unique twist to the familiar flavors.
-
Gluten-Free: Use gluten-free puff pastry for a tasty option that everyone can enjoy. These cruffins will be just as flaky and delicious!
-
Dairy-Free: Swap cream cheese for a dairy-free alternative, ensuring everyone at your table can savor the creamy filling.
-
Berry Variety: Replace raspberry preserves with tangy blueberry or sweet peach preserves for an entirely different flavor experience. Each fruit brings a unique essence to the cruffin.
-
Cinnamon Twist: Add a sprinkle of cinnamon to your cream cheese mixture for a warm spice that perfectly complements the fruit filling. This little touch creates a cozy, comforting flavor.
-
Chocolate Lovers: Fold in mini chocolate chips with your cream cheese for a delightful pairing. The combination of chocolate and raspberry creates a rich, indulgent treat!
-
Nuts for Crunch: Mix chopped walnuts or almonds into the cream cheese for an added crunch and nutty flavor that pairs beautifully with the creamy filling.
-
Maple Infusion: Swap powdered sugar for maple syrup in the cream cheese mixture for a unique sweetener. This provides a lovely earthy sweetness that harmonizes with fruit.
-
Savory Option: For a fun twist, fill cruffins with savory options such as herbed cream cheese and roasted garlic. Enjoy it alongside a fresh salad or a warm soup for a delicious dinner.
As you explore these variations, don't forget to consider pairing your cruffins with a side of Cajeta Ice Cream or perhaps a mouthwatering slice of Ice Cream Cake for dessert! The possibilities are endless, and each change invites a new baking adventure in your kitchen.
What to Serve with Easy Raspberry Cream Cheese Cruffins
Elevate your breakfast table with delightful pairings that enhance the experience of these airy pastries.
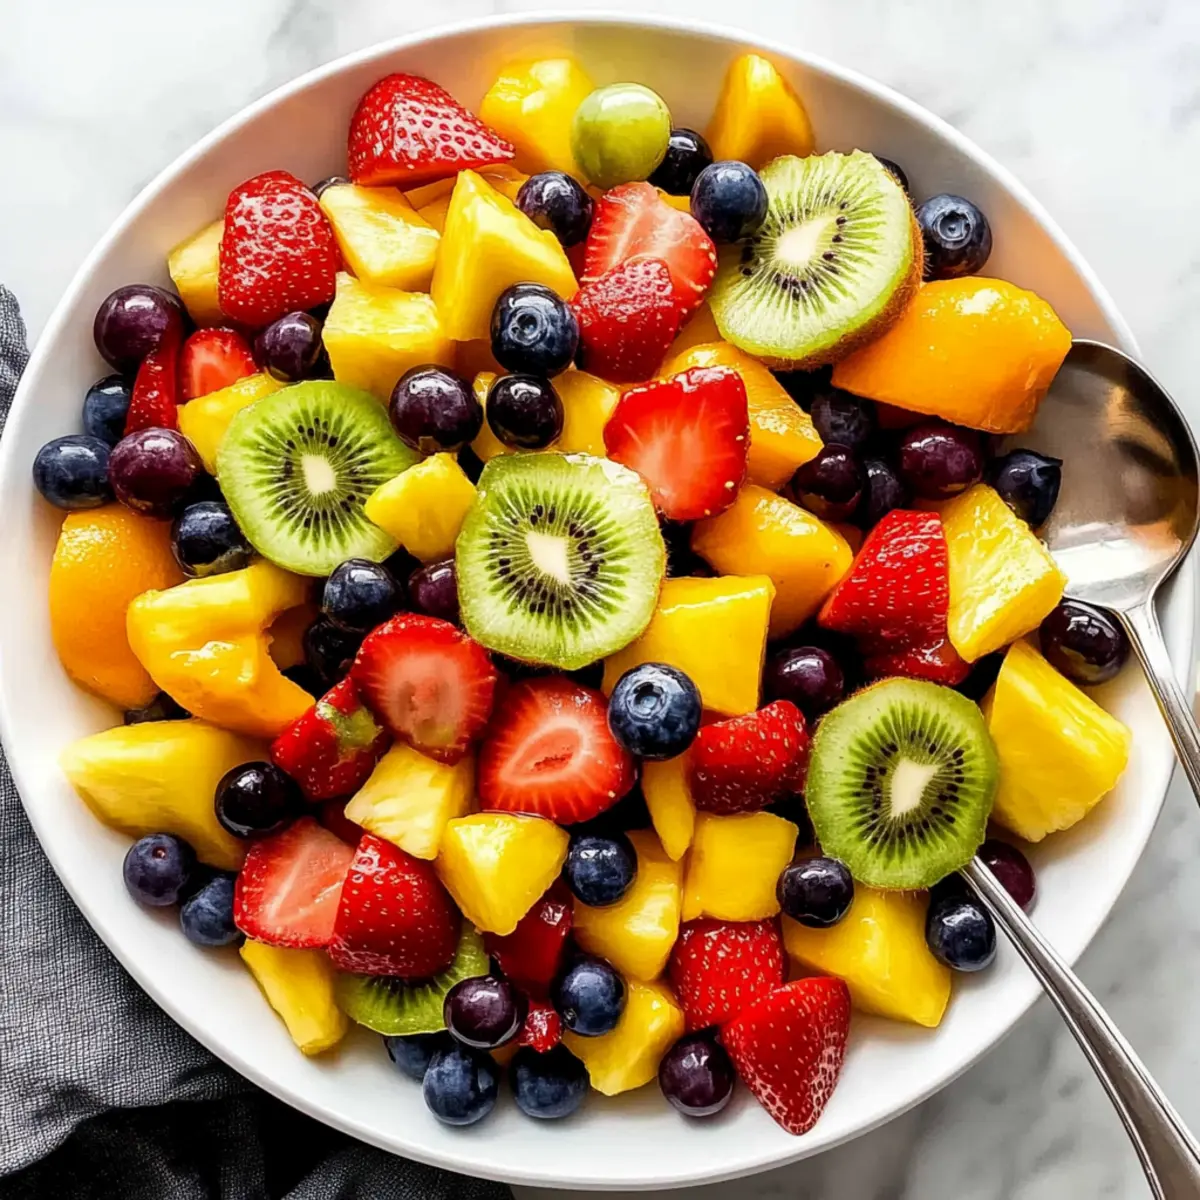
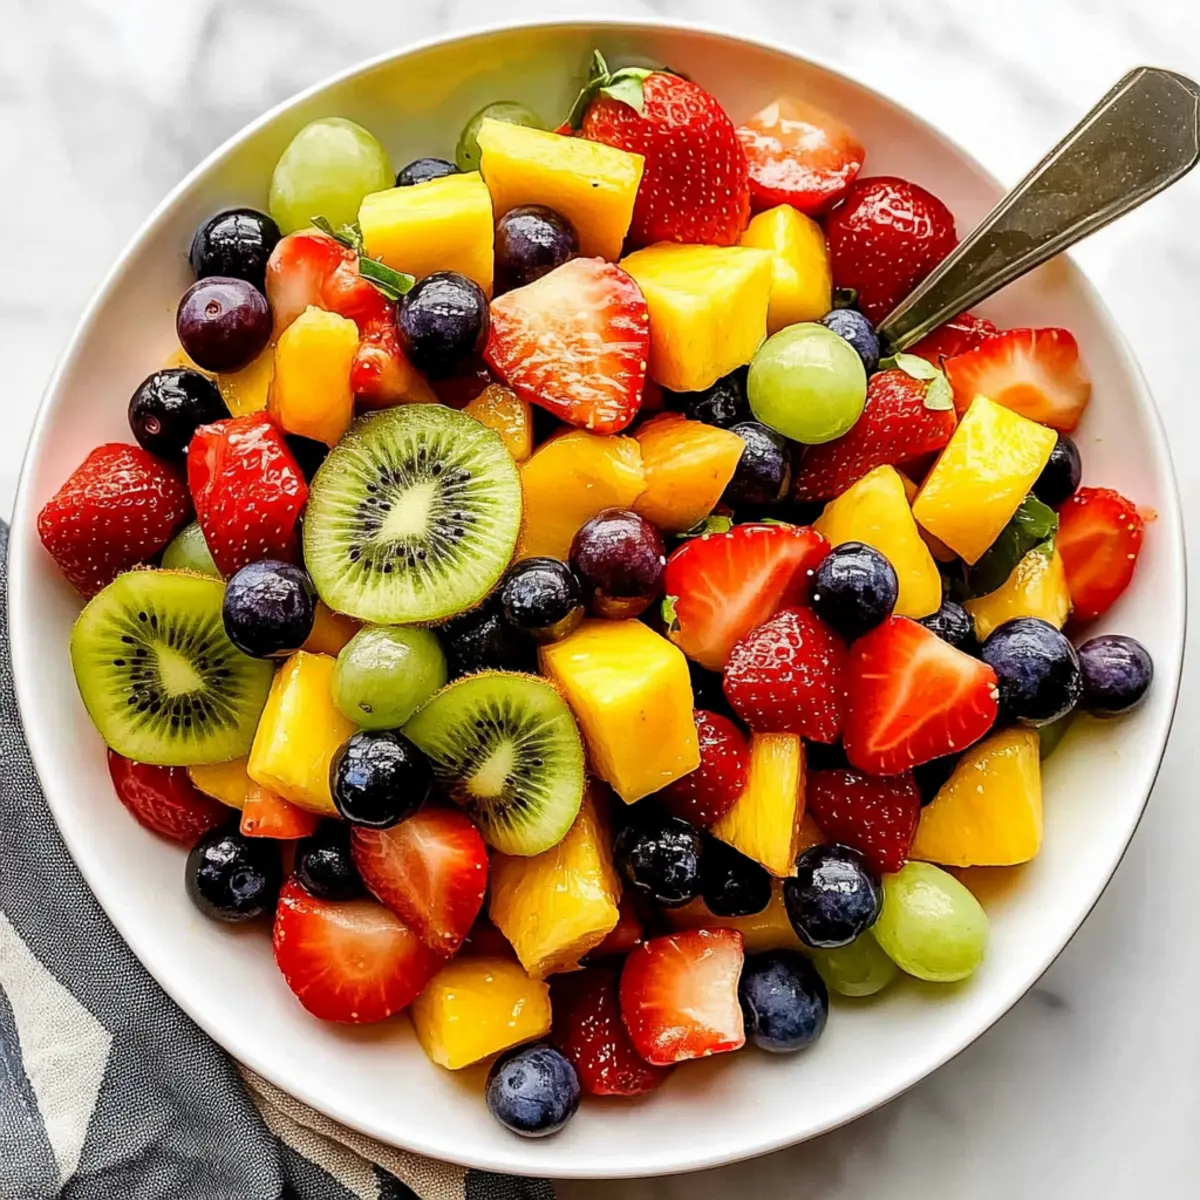
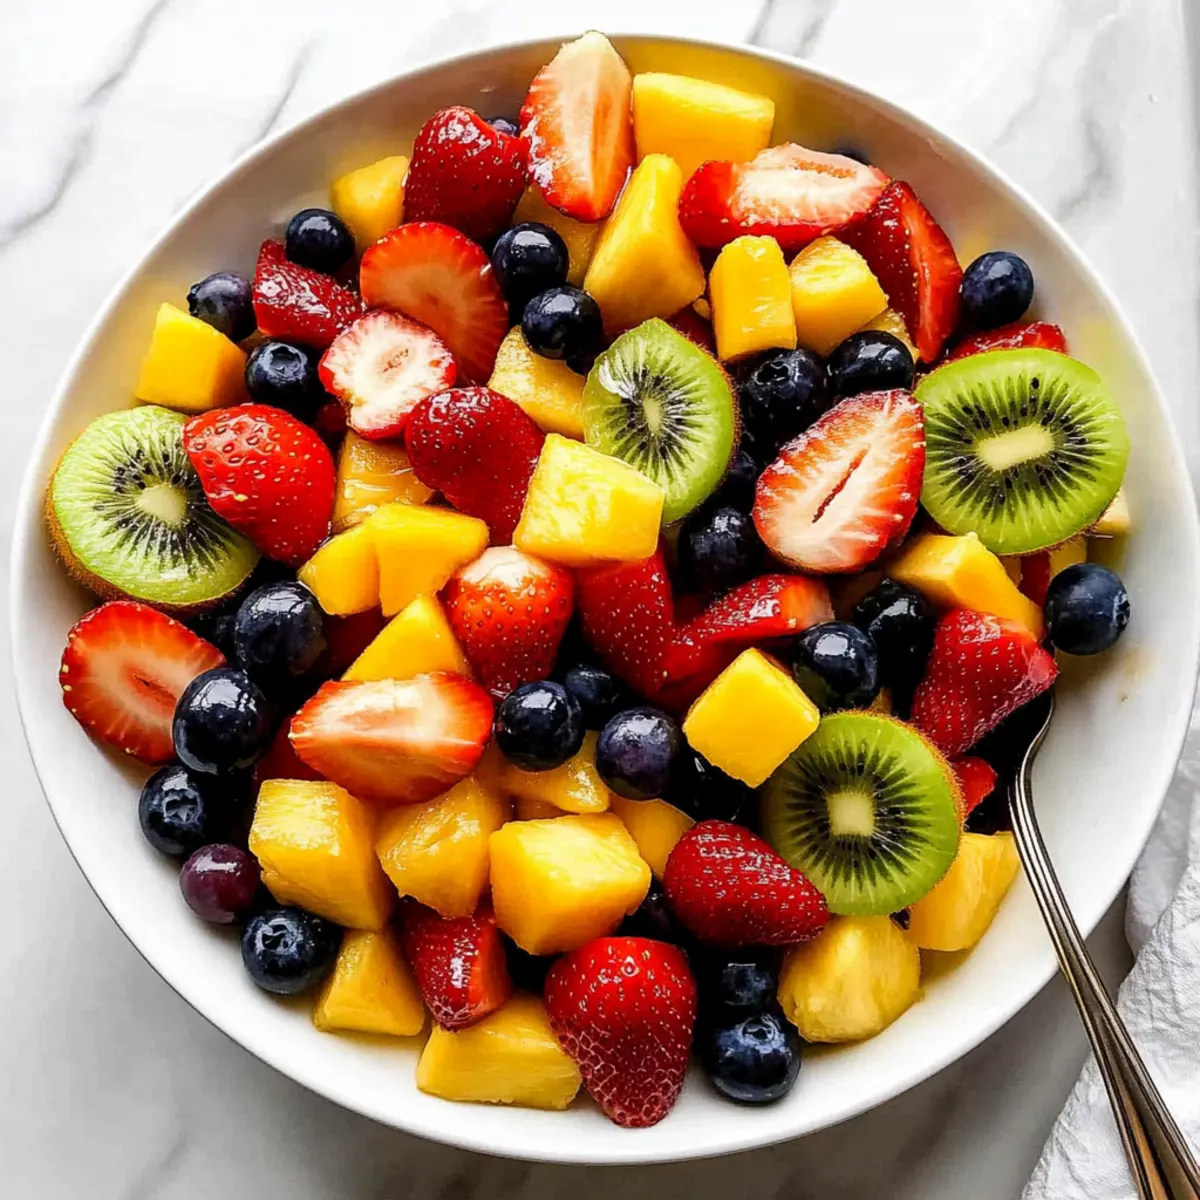
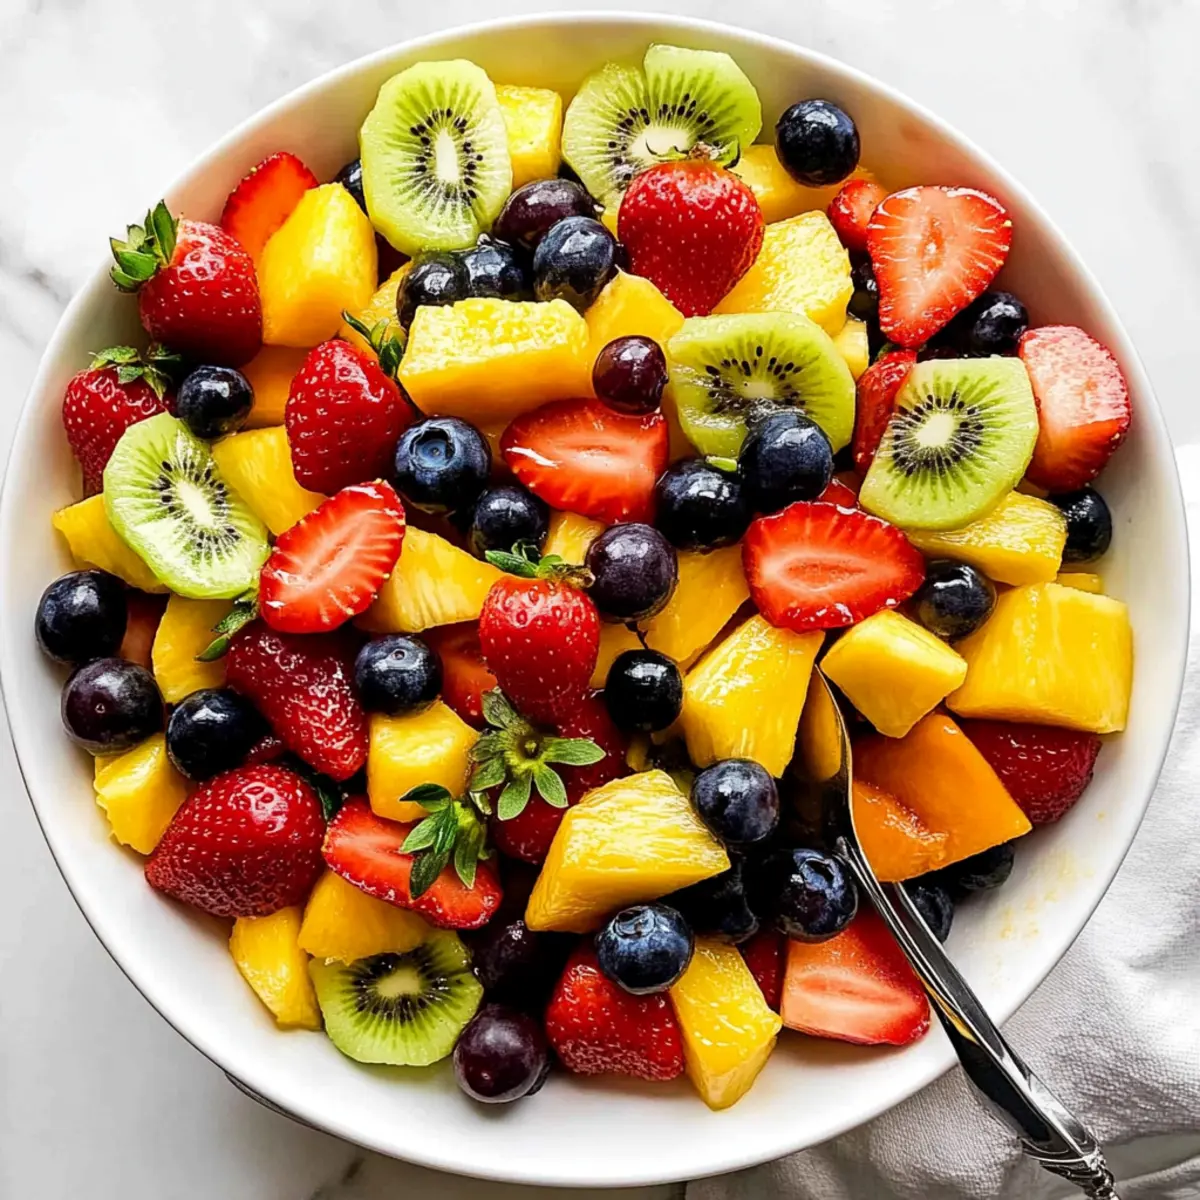
- Fresh Berries: Showcase seasonal flavors with a mixed berry medley; their sweetness and tang complement the cruffins beautifully.
- Whipped Cream: Add a dollop of lightly sweetened whipped cream for an extra creamy texture, making every bite indulgent.
- Coffee or Tea: A steaming cup of coffee or fragrant herbal tea provides a warming beverage pairing and brightens the morning mood.
- Greek Yogurt: Serve alongside a bowl of Greek yogurt for a balanced breakfast option, adding a creamy contrast to the sweet cruffins.
- Citrus Salad: Fresh citrus fruits offer a zesty brightness that cuts through the richness of the pastries and revives the palate.
- Chocolate Drizzle: For those with a sweet tooth, a light drizzle of chocolate sauce can turn these cruffins into an extravagant dessert.
Each of these pairings adds layers of flavor and enjoyment, turning your homemade Easy Raspberry Cream Cheese Cruffins into a complete and unforgettable meal experience.

Easy Raspberry Cream Cheese Cruffins Recipe FAQs
What type of puff pastry should I use?
Absolutely! For the best results, I recommend using thawed, store-bought puff pastry, which creates that irresistible flaky texture. If gluten is a concern, opt for gluten-free puff pastry available at many grocery stores.
How should I store Easy Raspberry Cream Cheese Cruffins?
To maintain their freshness, store baked cruffins in an airtight container at room temperature for up to 1 day. If you’d like to keep them longer, refrigerate them for up to 3 days, ensuring the container is airtight to prevent drying out.
Can I freeze these cruffins?
Yes, you can freeze Easy Raspberry Cream Cheese Cruffins for up to 1 month! Wrap each cruffin individually in plastic wrap and place them into a freezer-safe bag. When you're ready to enjoy them, simply reheat in a 300°F oven for 5–7 minutes straight from the freezer for a freshly baked taste.
What can I do if my filling spills out during baking?
If the filling spills over, don’t worry—this can happen if there’s too much filling or if the cruffins aren’t twisted tightly enough. For next time, ensure to spread the raspberry preserves in a thin layer, and twist the pastry pieces firmly to maintain their shape.
Are these cruffins suitable for people with allergies?
These Easy Raspberry Cream Cheese Cruffins are vegetarian-friendly but contain dairy. If you're catering to someone with dairy allergies, you can substitute the cream cheese with a dairy-free alternative and choose plant-based butter. Always double-check labels to ensure all ingredients meet dietary needs.
How do I know when the cruffins are baked perfectly?
Look for a beautiful golden-brown color and a puffed appearance after baking for 22–25 minutes. If they’re nicely browned on the top and puffed up but still soft in the center, they're made to perfection and ready to be enjoyed!

Easy Raspberry Cream Cheese Cruffins That Brighten Mornings
Ingredients
Equipment
Method
- Preheat your oven to 375°F (190°C) and grease a 12-cup muffin tin with butter or non-stick cooking spray.
- Roll out one sheet of thawed puff pastry on a lightly floured surface to a rectangle of about 10x12 inches.
- In a mixing bowl, combine softened cream cheese, powdered sugar, and vanilla extract. Beat until smooth and creamy, about 2-3 minutes.
- Spread half of the cream cheese mixture over the puff pastry, then layer with raspberry preserves. Repeat with a second pastry sheet.
- Roll each pastry sheet tightly and slice each log in half lengthwise, then cut into three pieces for muffin tin.
- Twist each piece with cut sides facing outwards to create a spiral shape.
- Place the twisted cruffins in the muffin cups, brush with melted butter, and bake for 22-25 minutes until golden brown.
- Let the cruffins cool in the tin for about 5 minutes before transferring to a wire rack. Dust with powdered sugar if desired before serving.