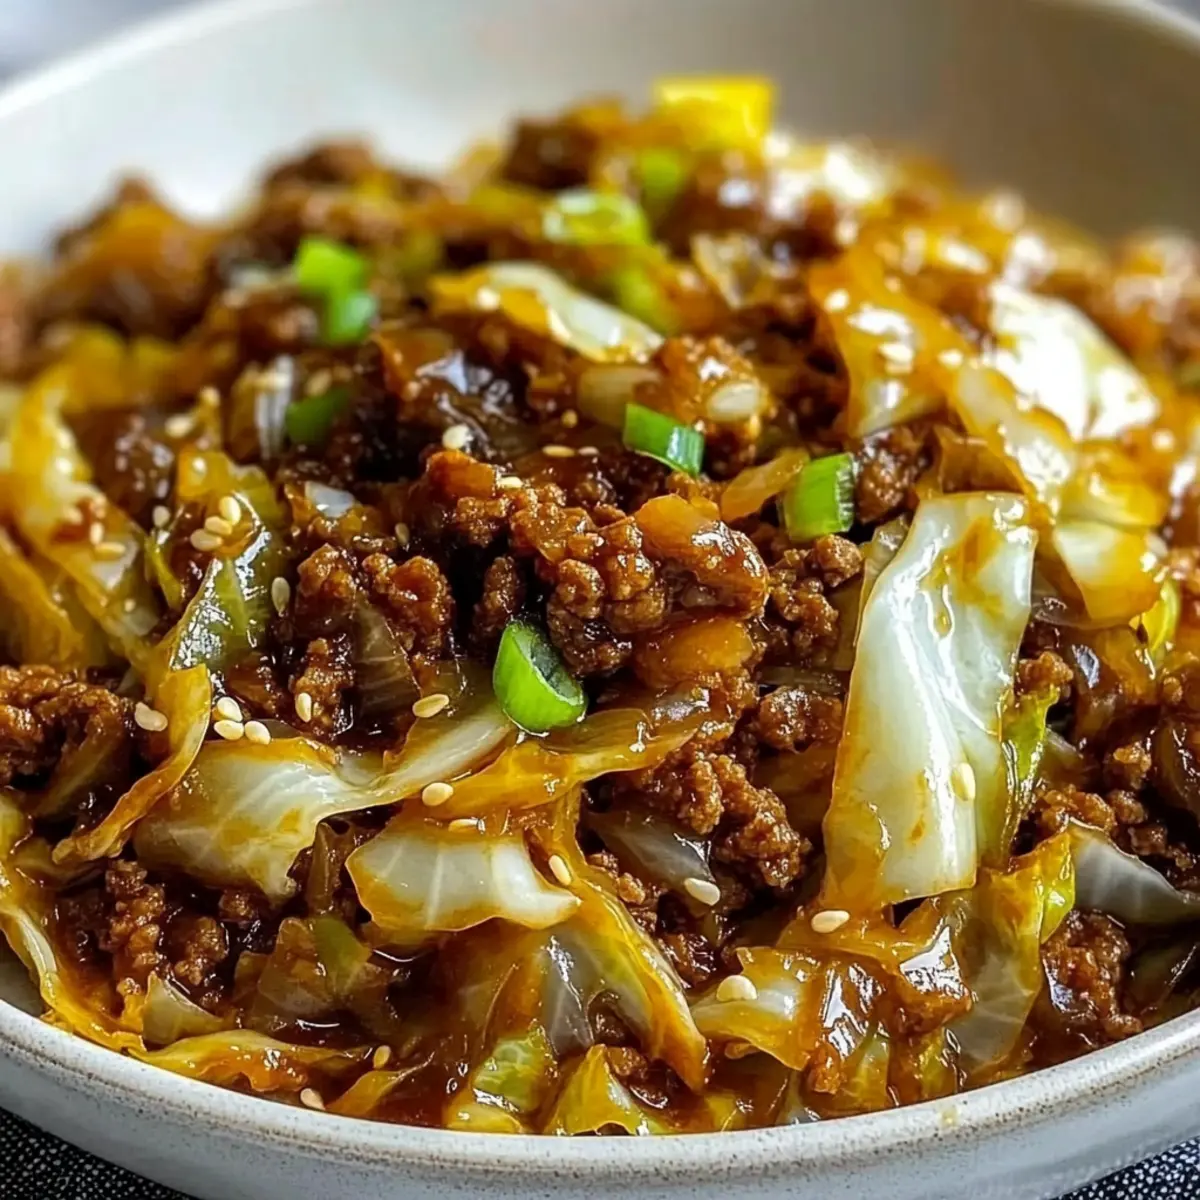
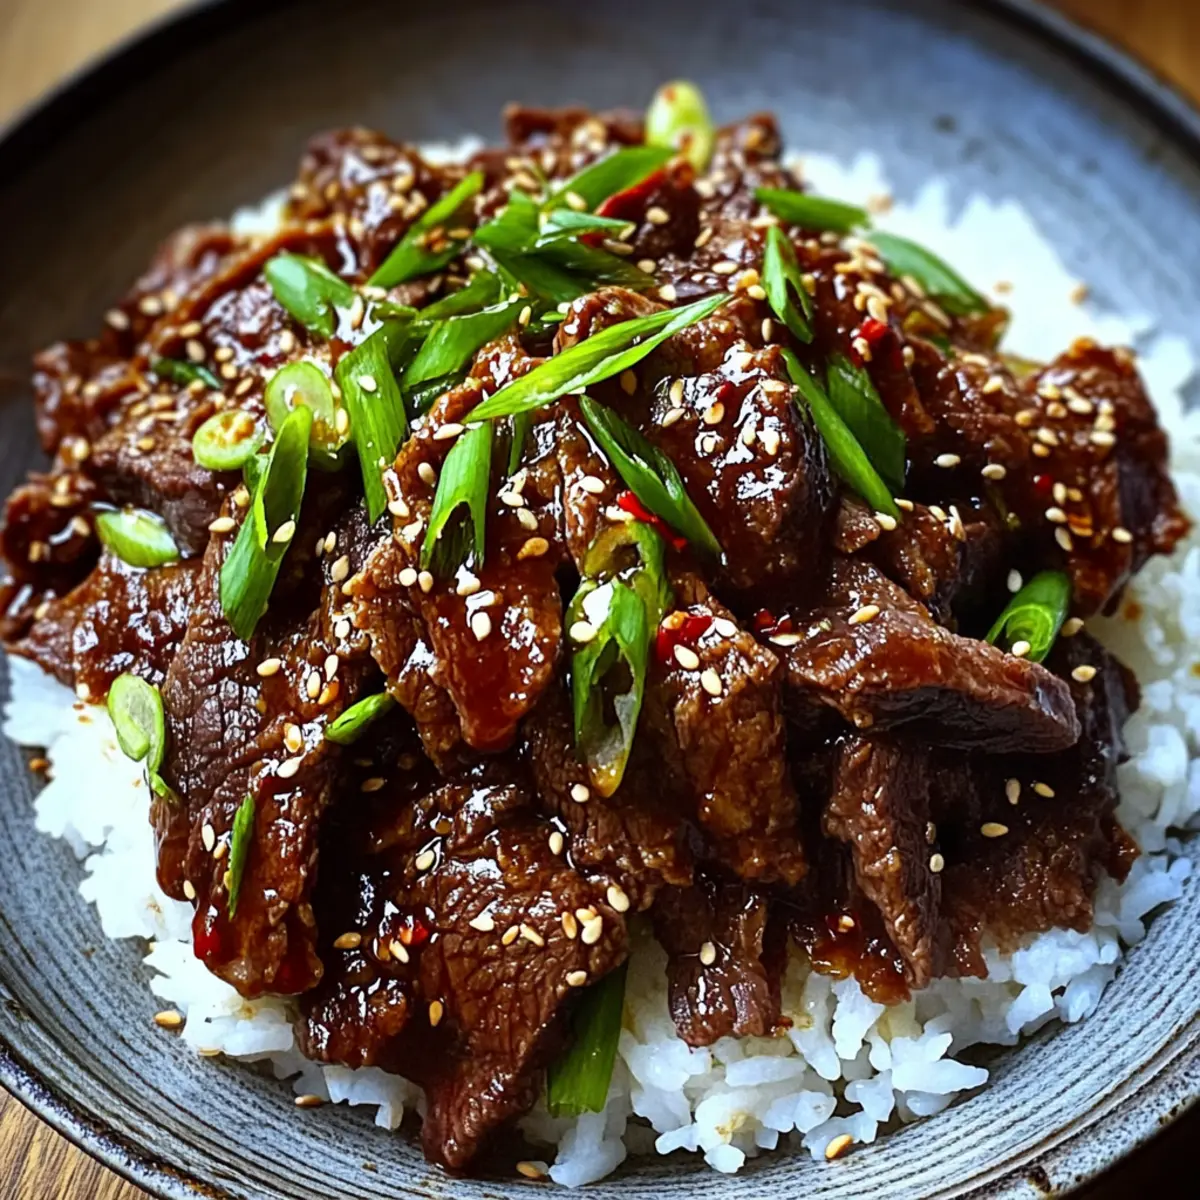
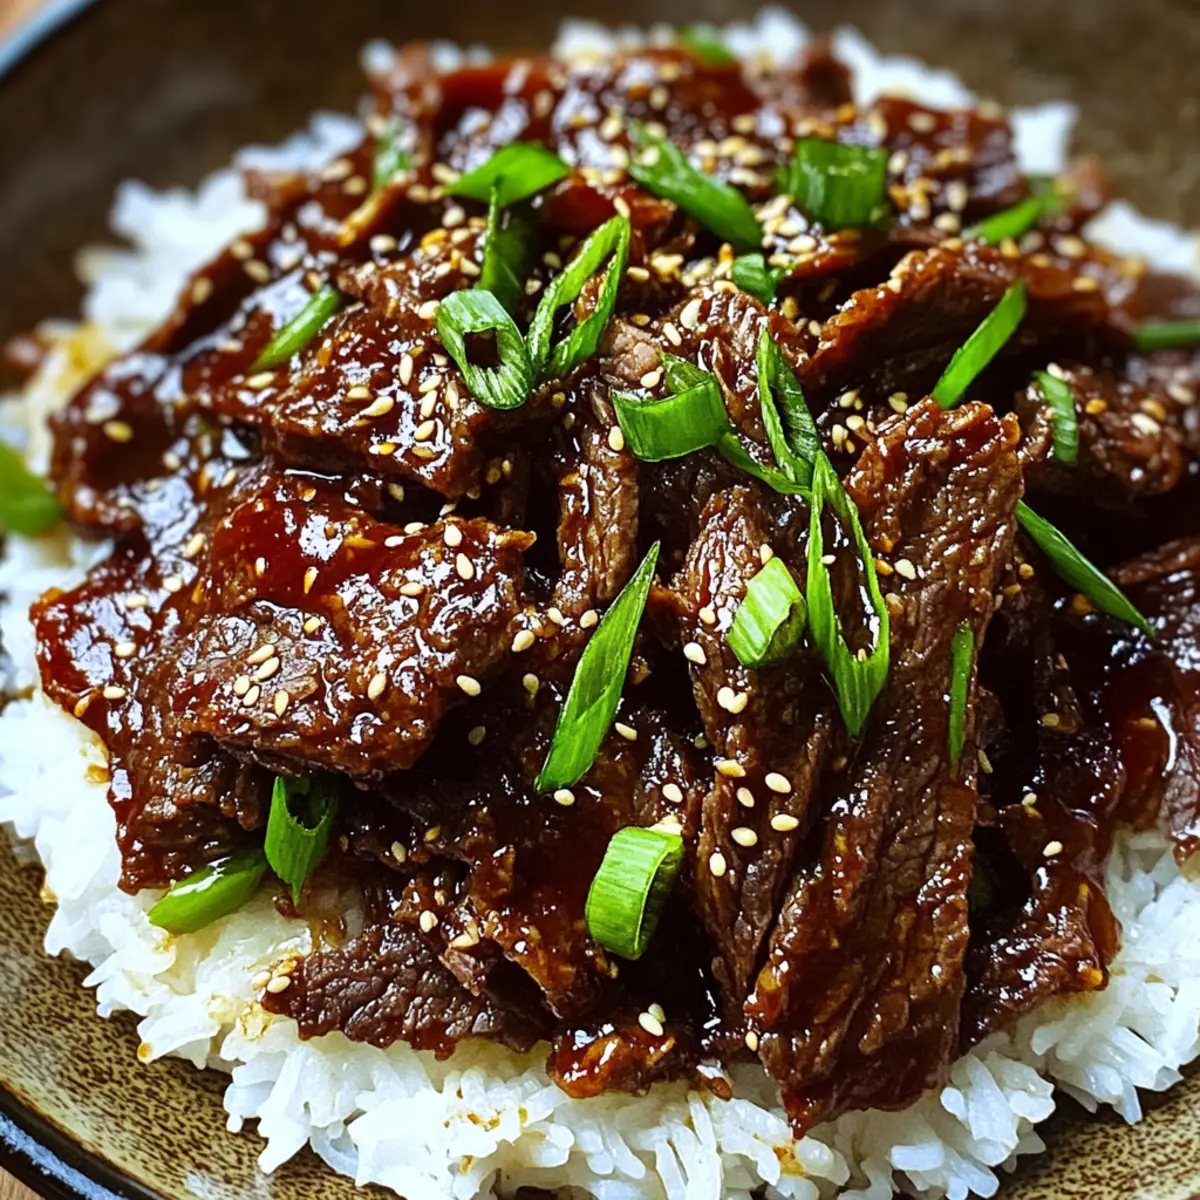
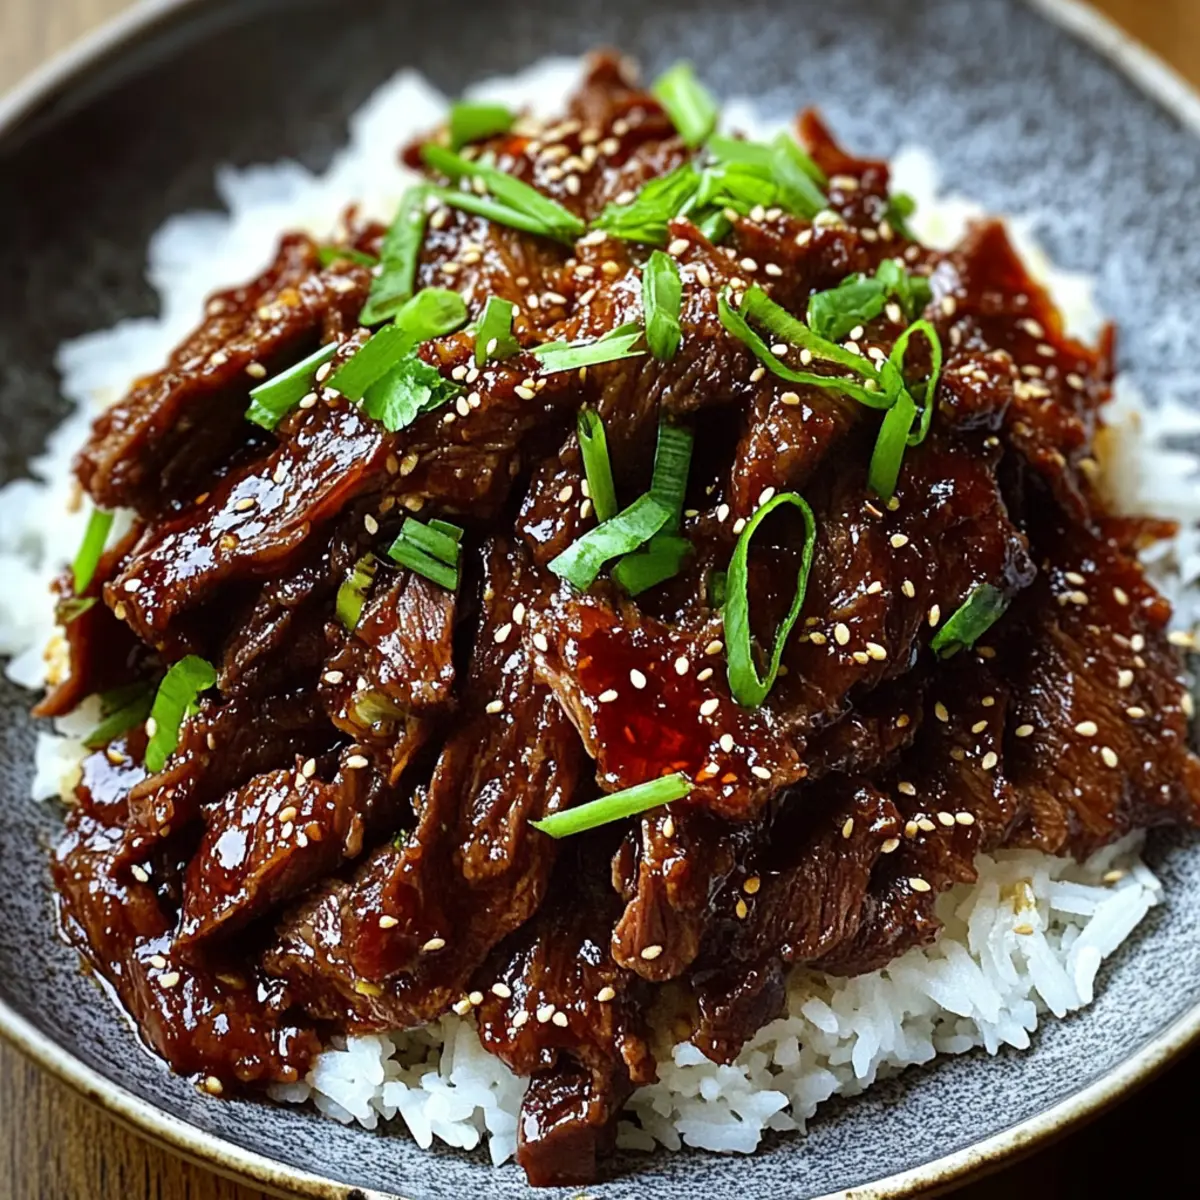
A delightful aroma wafted through my kitchen as I stirred together the rich, savory ingredients for this Slow Cooker Korean Beef. The combination of tender beef chuck, fragrant garlic, and zesty ginger creates an irresistible symphony of flavors that reminds me of cozy family dinners. This recipe isn’t just easy; it’s a versatile weeknight hero! You can set it and forget it, whether you're running errands or simply enjoying a quiet evening. Plus, with just 450 calories per serving, it's comfort food that won’t weigh you down. As the beef slowly cooks to melt-in-your-mouth perfection, I can’t help but wonder—are you ready to transform your dinner game with this delicious dish?
Why is Slow Cooker Korean Beef a Must-Try?
Effortless Cooking: Just toss the ingredients in your slow cooker and let them work their magic while you focus on your day.
Flavor Explosion: Each bite delivers a delightful blend of savory, sweet, and spicy beautifully melded through slow cooking.
Versatile Meal Base: Serve this beef over rice, in lettuce wraps, or as a hearty filling for grain bowls—endless possibilities await!
Meal Prep Friendly: Perfect for batch cooking; enjoy leftovers for days without compromising flavor! Try it for lunch in your favorite Ground Beef Enchiladas for a delightful twist.
Family Favorite: The rich, melt-in-your-mouth beef is sure to impress even the pickiest eaters, making dinner a breeze!
Slow Cooker Korean Beef Ingredients
For the Beef
• Beef Chuck Roast – this is the ideal cut for tenderness and flavor; feel free to substitute with brisket or flank steak if needed.
For the Sauce
• Beef Broth – acts as the liquid base for a deep, savory sauce; opt for low-sodium to keep it balanced.
• Soy Sauce – adds that essential umami flavor; tamari makes a gluten-free swap if needed.
• Brown Sugar – provides a touch of sweetness for a rich, caramelized sauce; adjust the amount to suit your taste.
• Sesame Oil – infuses your dish with a nutty flavor that's crucial for authentic Korean taste; olive oil works too, but the flavor will differ.
• Garlic (minced) – amps up the dish's overall flavor with its warming aroma.
• Ginger (grated) – brings freshness and a zing that's key for flavor balance.
• Rice Vinegar – brightens and balances the sweetness; apple cider vinegar is a good substitute.
• Sriracha Sauce – adds the heat; you can modify the amount according to your spice tolerance.
• Ground Black Pepper – enhances flavor; using freshly ground pepper yields the best results.
For Thickening
• Cornstarch – a great thickening agent for achieving a glossy sauce finish.
• Cold Water – necessary to create a smooth cornstarch slurry for thickening.
For Garnishing
• Chopped Green Onions – sprinkle on top for a pop of freshness and color.
• Sesame Seeds – optional garnish adds satisfying crunch and aesthetic appeal.
Embrace the warming charm of Slow Cooker Korean Beef and elevate your comfort food experience!
Step‑by‑Step Instructions for Slow Cooker Korean Beef
Step 1: Prepare the Beef
Begin by placing a 3-4 pound beef chuck roast into your slow cooker, ensuring it's centered for even cooking. The roast should be trimmed of excess fat for a leaner dish. As you stir with anticipation, savor the thought of the melt-in-your-mouth texture that awaits after slow cooking.
Step 2: Whisk the Sauce
In a mixing bowl, whisk together 1 cup of beef broth, ½ cup of soy sauce, ¼ cup of brown sugar, 2 tablespoons of sesame oil, 4 minced garlic cloves, 1 tablespoon of grated ginger, 2 tablespoons of rice vinegar, 1 tablespoon of sriracha, and a sprinkle of black pepper. The mixture should combine to form a rich, fragrant sauce that will soak into your beef during cooking.
Step 3: Combine the Ingredients
Carefully pour the prepared sauce over the beef chuck roast in the slow cooker, ensuring it is evenly coated. Use a spoon to gently move the roast, ensuring all sides are submerged in that savory, glossy mixture. This step is crucial for optimal flavor absorption into your Slow Cooker Korean Beef.
Step 4: Set the Cooker
Cover the slow cooker with its lid and set it to cook on low for 7-8 hours or on high for 3-4 hours. The ideal cooking time allows the beef to become tender and succulent; it should easily shred with a fork when finished. As it cooks, enjoy the enticing aromas filling your kitchen!
Step 5: Shred the Meat
Once the cooking time is up, remove the beef from the slow cooker and transfer it to a cutting board. Using two forks, shred the beef into bite-sized pieces, taking a moment to appreciate the tender texture. Let the shredded meat rest briefly while you prepare to enhance the sauce.
Step 6: Mix and Thicken the Sauce
Return the shredded beef back to the slow cooker, stirring it through the remaining sauce for full flavor integration. In a small bowl, mix together 2 tablespoons of cornstarch with 2 tablespoons of cold water to create a slurry. Stir this slurry into the cooker and mix well to incorporate.
Step 7: Simmer for Thickness
Cover the slow cooker again and allow the mixture to simmer on high for an additional 15-20 minutes, or until the sauce reaches your desired thickness. This step will create a beautifully glossy finish, embracing your Slow Cooker Korean Beef in a luscious coating that enhances every bite.
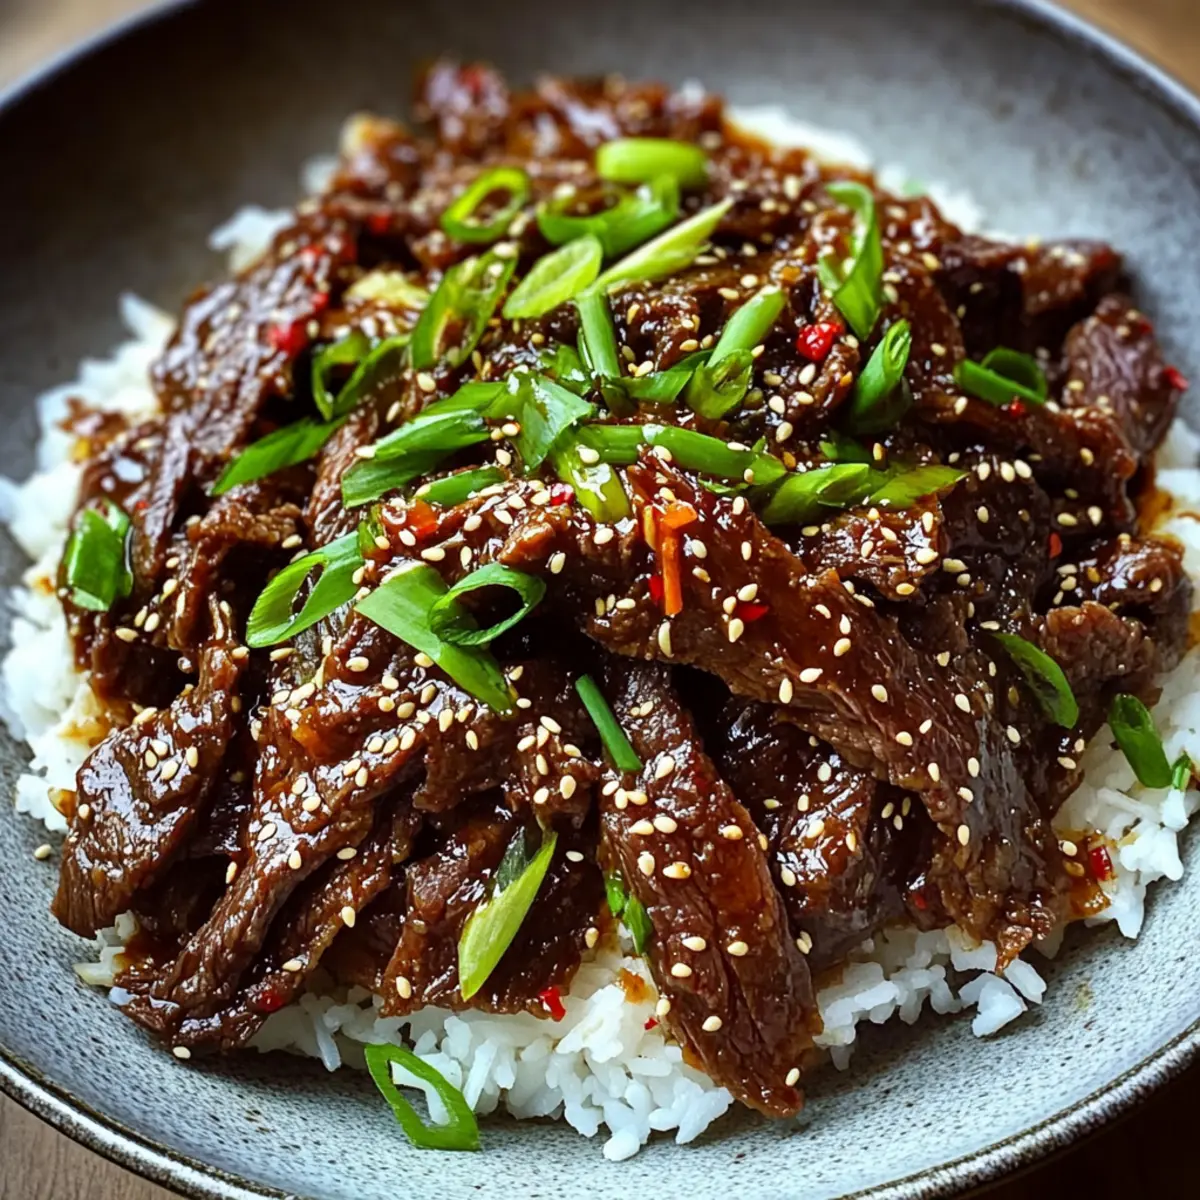
Step 8: Serve and Garnish
When ready, serve your Slow Cooker Korean Beef over fluffy rice or in lettuce wraps for a delightful contrast. Garnish generously with chopped green onions and, if you like, a sprinkle of sesame seeds for added crunch and visual appeal. Enjoy the comforting flavors and tender texture that make this dish a family favorite!
What to Serve with Savory Slow Cooker Korean Beef
Elevate your dining experience with these delightful accompaniments, perfect for complementing the rich flavors of your Korean beef dish.
- Fluffy White Rice: A classic choice that soaks up the savory sauce, offering a comforting base for your tender meat.
- Steamed Broccoli: Fresh and vibrant, this addition adds a lovely crunch and balances the dish with earthy notes.
- Spicy Kimchi: The tangy heat of kimchi counteracts the sweetness of the beef, making for a dynamic flavor pairing.
- Sesame Noodles: Tossed with soy sauce and sesame oil, these noodles bring a delightful chewiness that complements the tender beef beautifully.
- Crisp Lettuce Wraps: Serve the beef in crisp lettuce leaves for a refreshing, low-carb alternative that's fun to eat.
- Roasted Sweet Potatoes: Their natural sweetness and creamy texture create a delightful contrast, enhancing overall meal satisfaction.
- Garlic Green Beans: Charred to perfection, their savory crunch complements the rich flavors of your slow-cooked beef while adding an extra veggie boost.
- Coconut Milk Rice: This tropical twist adds a subtle tropical sweetness that pairs wonderfully with the Korean spices.
- Chilled Cucumber Salad: A refreshing side that cuts through the richness, balancing flavors with its crisp and light profile.
- Plum Wine: A sweet, fruity drink that harmonizes beautifully with the savoriness of the dish, rounding out your dining experience with a festive touch.
Slow Cooker Korean Beef Variations
Feel free to customize this cozy dish and make it your own—each variation offers a delightful twist!
- Vegetable Boost: Add sliced bell peppers or carrots at the beginning for a hearty stew-like texture or the last hour for a firmer bite. It’s a fun way to sneak in more veggies!
- Gluten-Free: Swap soy sauce with tamari to easily accommodate gluten sensitivities while still enjoying deep umami flavors.
- Sweetness Adjust: Experiment with the amount of brown sugar to cater to your family's taste—add a bit more for a sweeter sauce or less for a savory kick.
- Flavor Infusion: Toss in a couple of star anise or a cinnamon stick into the pot while cooking for an earthy depth. Just remember to remove them before serving!
- Spicy Kick: Increase the sriracha to amp up the heat for those who love a fiery flavor. Get creative and garnish with some sliced jalapeños for extra spice.
- Different Protein: Substitute beef with chicken thighs for a lighter take—use the same cooking method while adjusting cooking times slightly.
- Creamy Addition: Stir in a dollop of plain Greek yogurt or sour cream after cooking for a creamy finish to balance the richness.
- Savoury Sauce Swap: Try using a different cooking liquid like coconut milk instead of beef broth for a unique tropical twist. Imagine how lovely it would taste with Ground Beef Enchiladas the next day!
Don’t hesitate to experiment with flavors and ingredients—there's no wrong way to make this comforting dish uniquely yours!
Make Ahead Options
These Slow Cooker Korean Beef preparations are perfect for busy home cooks seeking to simplify their meal planning! You can chop and measure all the sauce ingredients up to 24 hours in advance, keeping them refrigerated in an airtight container to maintain freshness. The beef can also be trimmed and seasoned a day ahead, ensuring it’s ready to toss into the slow cooker. When you’re ready to cook, simply combine the prepared ingredients in the slow cooker and follow the cooking instructions as usual. For the best quality, avoid adding the cornstarch mixture until you’re ready to thicken the sauce—this maintains the desired consistency. Enjoy effortless flavor with this make-ahead meal!
Expert Tips for Slow Cooker Korean Beef
• Choosing the Right Beef: Opt for well-marbled beef chuck roast for the best tenderness; leaner cuts can dry out during slow cooking.
• Timing Matters: Stick to the cooking times closely; check tenderness before serving to ensure deliciously melt-in-your-mouth results.
• Adjusting Spice Levels: Taste your sauce before adding extra sriracha; it’s easier to add heat than to tone it down later!
• Shredding Made Easy: Use two forks to shred the beef quickly after cooking; it will fall apart effortlessly when perfectly done.
• Thickening Tips: Mix cornstarch with cold water before adding to the cooker; this ensures a smooth, glossy sauce that clings beautifully to your Slow Cooker Korean Beef.
How to Store and Freeze Slow Cooker Korean Beef
Fridge: Store leftovers in an airtight container for up to 3 days, ensuring the beef is submerged in its sauce to maintain moisture and flavor.
Freezer: Freeze portions in airtight freezer bags or containers for up to 3 months. Label with the date for convenience and thaw in the refrigerator overnight before reheating.
Reheating: Gently reheat in a saucepan over low heat or in the microwave, adding a splash of water or broth if the sauce has thickened too much.
Meal Prep: This Slow Cooker Korean Beef is perfect for meal prep; it keeps well, allowing you to enjoy wholesome home-cooked meals throughout the week.
Slow Cooker Korean Beef Recipe FAQs
How do I choose the right beef?
Absolutely! For the best results, select a well-marbled beef chuck roast; the fat helps keep the meat tender as it cooks slowly. If you prefer leaner cuts, brisket or flank steak can be used, but be mindful that they may require shorter cooking times to avoid drying out.
How should I store leftover Slow Cooker Korean Beef?
After enjoying your meal, you can store the leftover beef in airtight containers in the fridge for up to 3 days. Just ensure that the beef is nestled in its delicious sauce; this helps retain moisture and flavor, making every bite just as enjoyable!
Can I freeze Slow Cooker Korean Beef?
Very! This dish freezes beautifully. Divide the beef into portions and store in airtight freezer bags or containers for up to 3 months. Be sure to label them with the date so you can track how fresh they are. When you're ready to enjoy it again, just thaw in the refrigerator overnight and reheat gently on the stove or in the microwave.
What if my sauce isn’t thickening?
No worries! If you find that your sauce isn't thickening as desired, simply mix a tablespoon of cornstarch with two tablespoons of cold water to create a slurry, then stir it into your slow cooker. Cover and let it simmer on high for an additional 15-20 minutes to achieve that luscious, glossy texture.
How can I adjust the spice level?
You can absolutely tailor the heat to your family’s taste! Before you serve, taste the sauce and add more sriracha as needed—it's always easier to add heat than to take it away! If things get too spicy, a splash of more beef broth or sugar could help balance it out.
Is this dish suitable for pets or those with food allergies?
This Slow Cooker Korean Beef contains ingredients like soy sauce that may not be suitable for pets, specifically dogs. Additionally, those with soy allergies should use tamari or coconut aminos as a substitute. It's always best to consult with a medical professional or nutritionist if you have specific dietary concerns.
Tender Slow Cooker Korean Beef for Effortless Comfort Food
Ingredients
Equipment
Method
- Begin by placing a 3-4 pound beef chuck roast into your slow cooker, ensuring it's centered for even cooking.
- In a mixing bowl, whisk together beef broth, soy sauce, brown sugar, sesame oil, garlic, ginger, rice vinegar, sriracha, and black pepper.
- Pour the prepared sauce over the beef chuck roast in the slow cooker, ensuring it is evenly coated.
- Cover the slow cooker with its lid and set it to cook on low for 7-8 hours or on high for 3-4 hours.
- Once the cooking time is up, remove the beef from the slow cooker and shred it with two forks.
- Return the shredded beef back to the slow cooker, stirring it through the remaining sauce.
- Mix together cornstarch with cold water to create a slurry, then stir this into the cooker.
- Cover and allow the mixture to simmer on high for an additional 15-20 minutes until thickened.
- Serve over rice or in lettuce wraps, garnished with chopped green onions and sesame seeds.