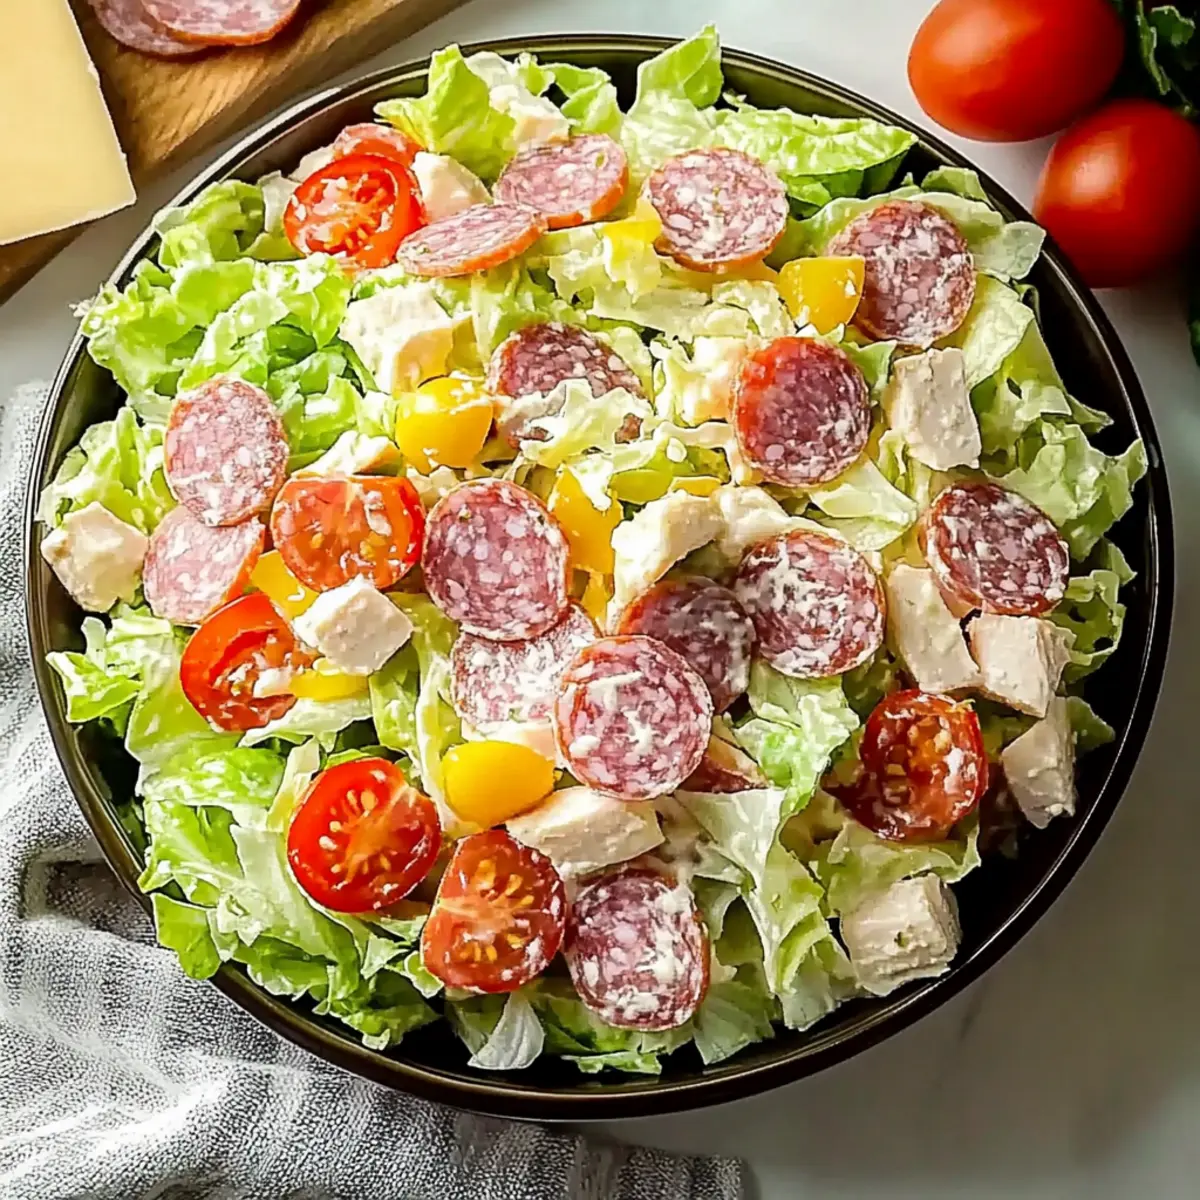
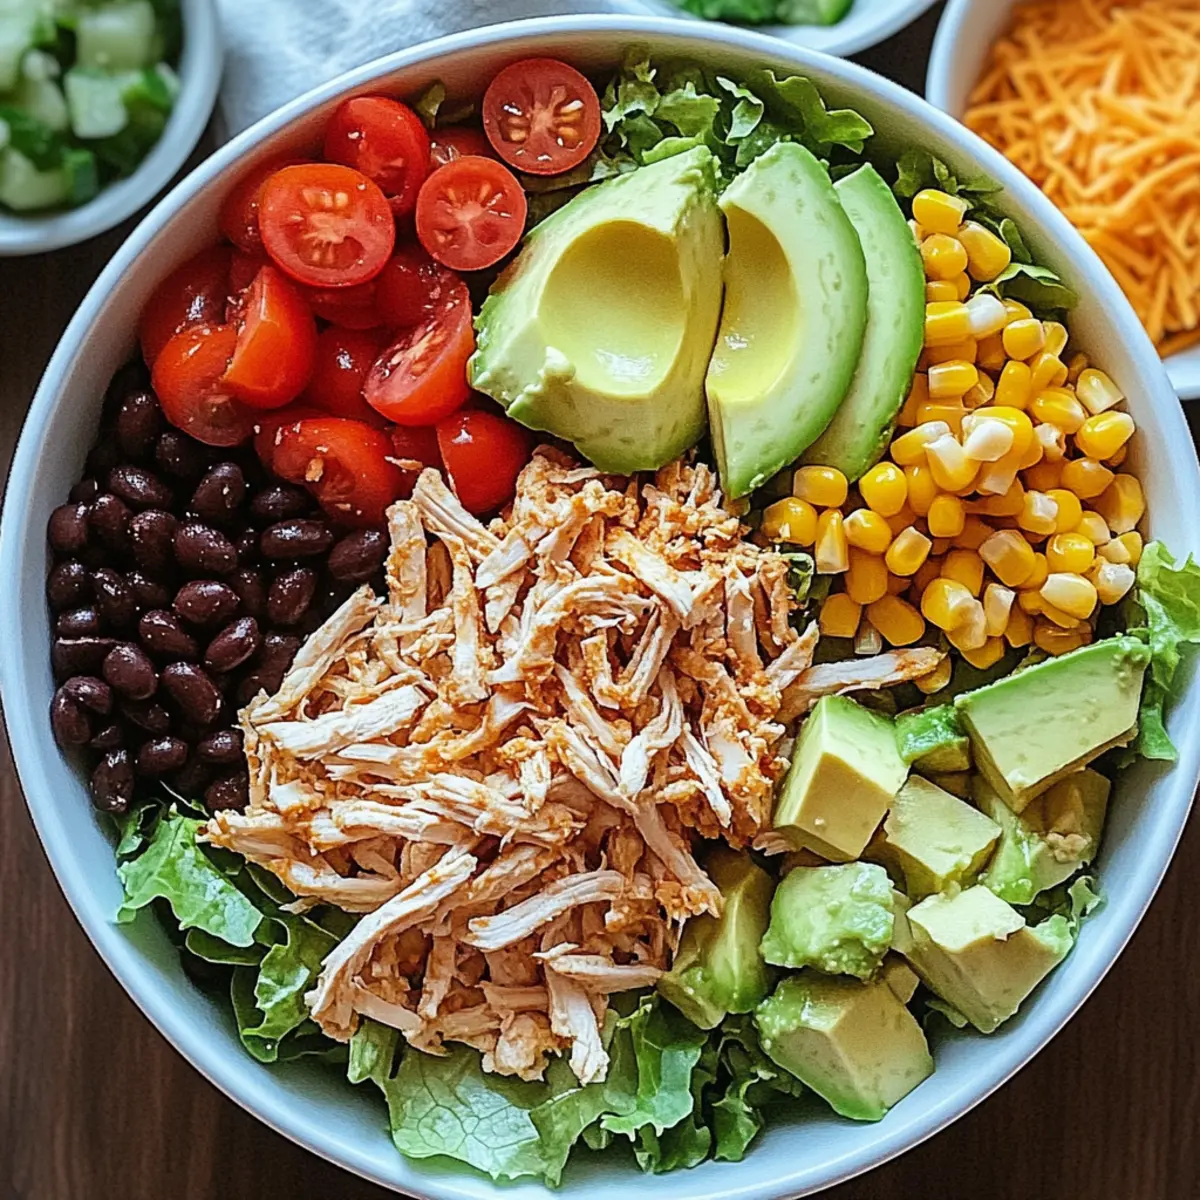
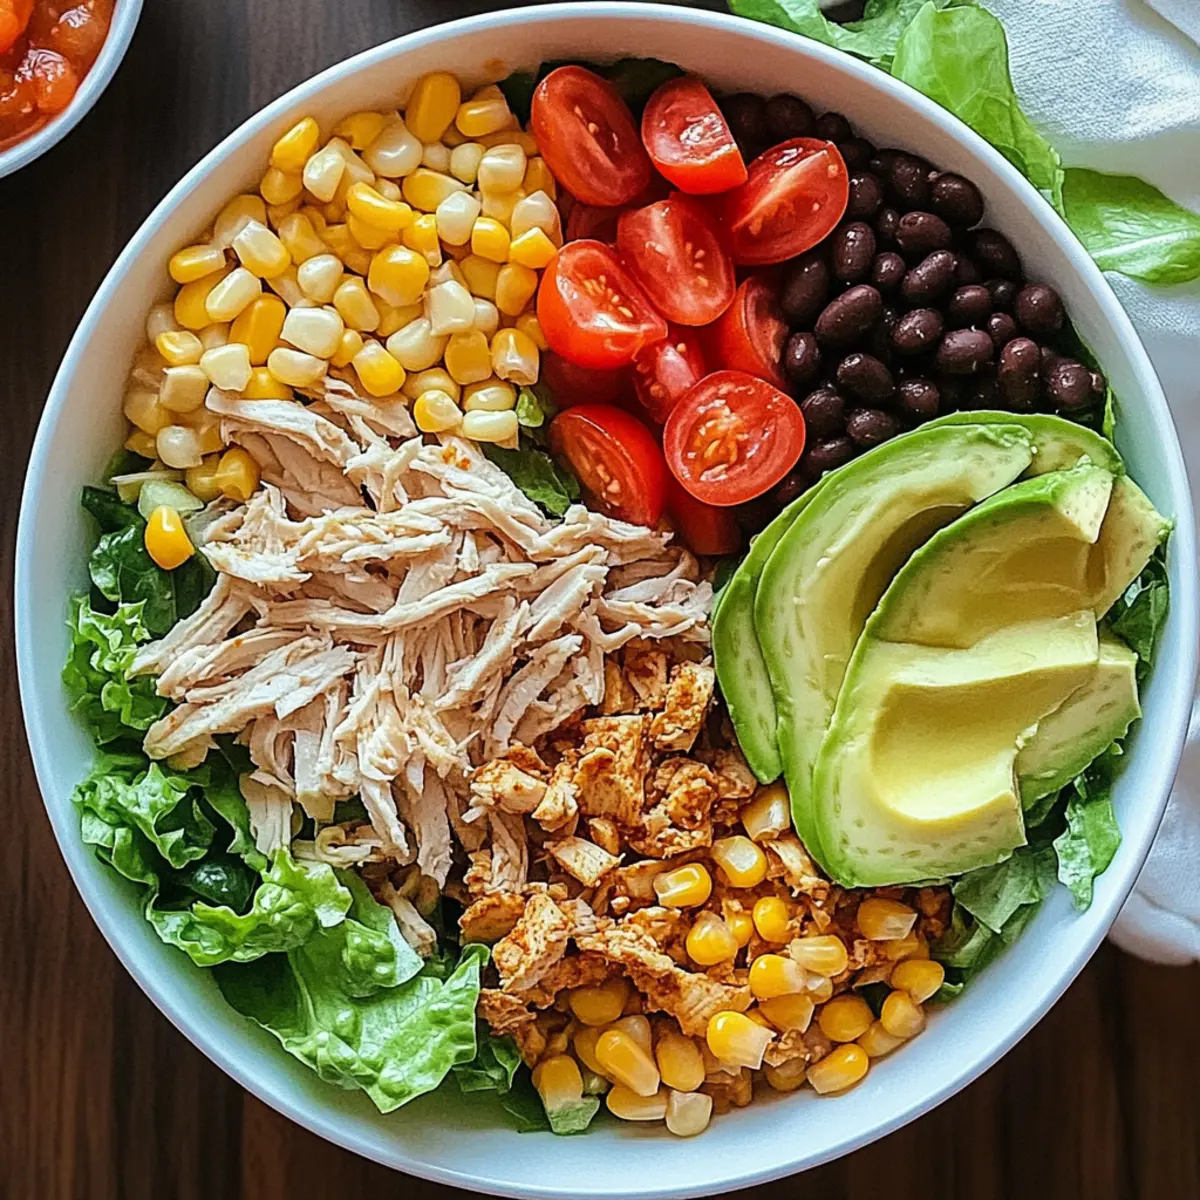
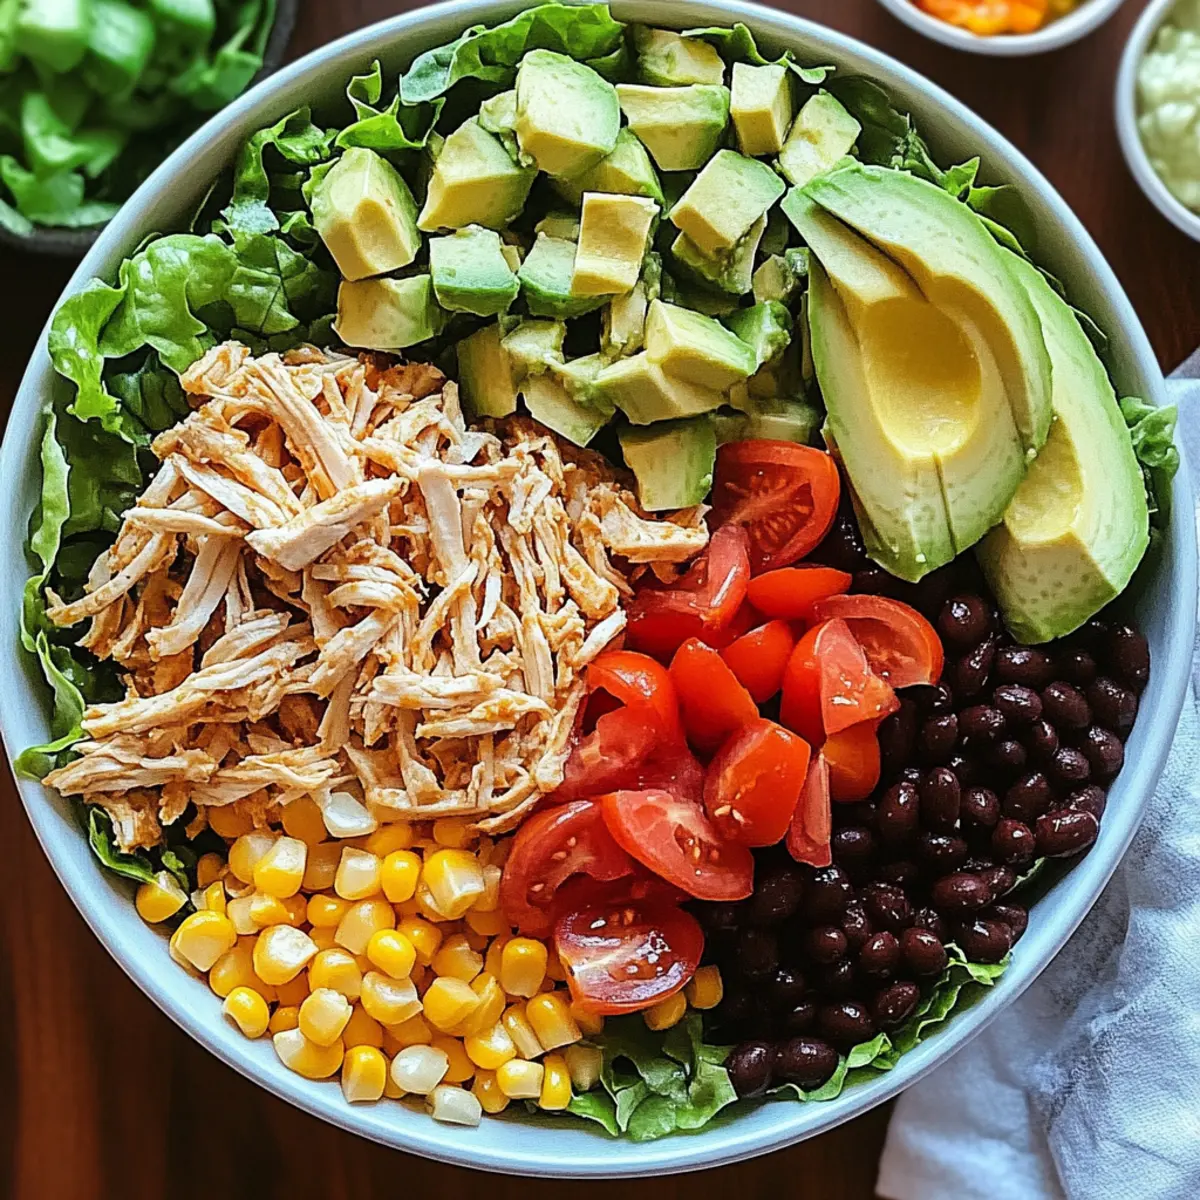
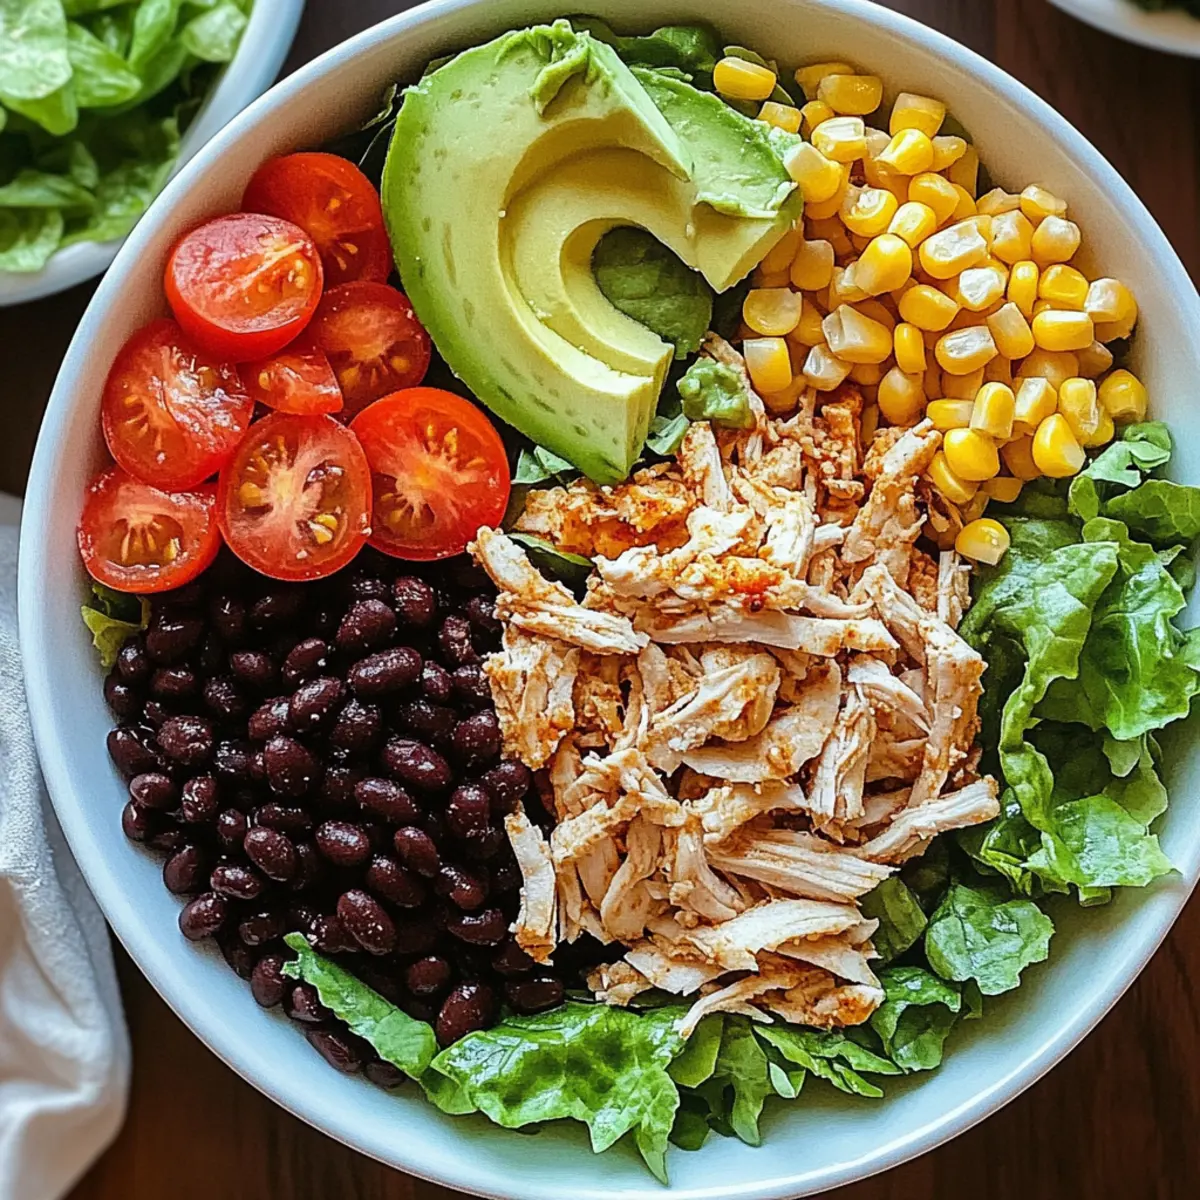
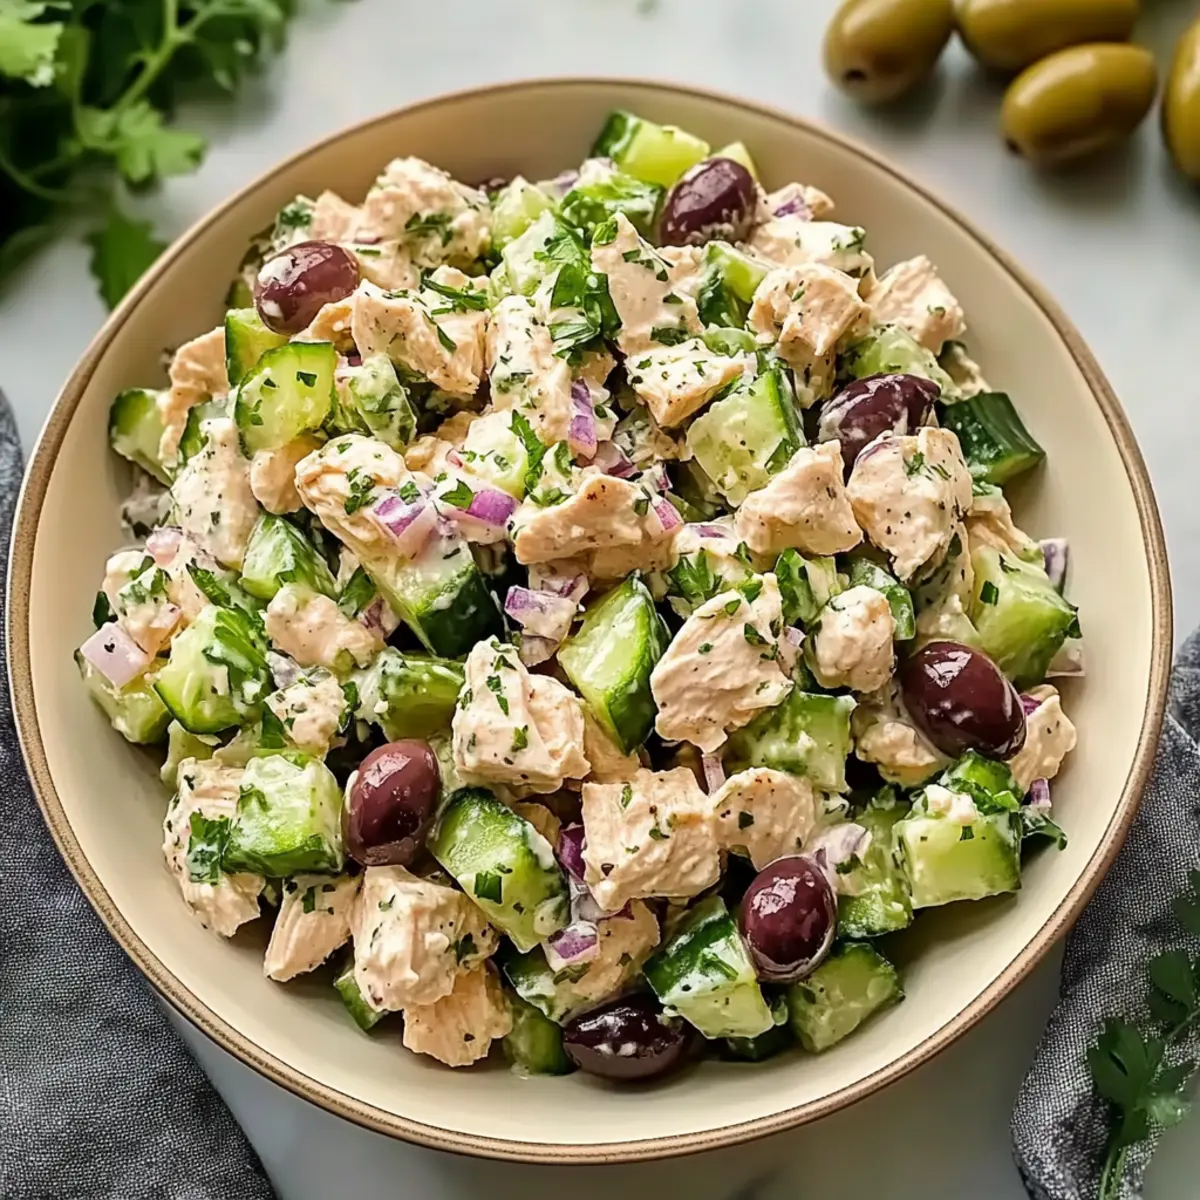
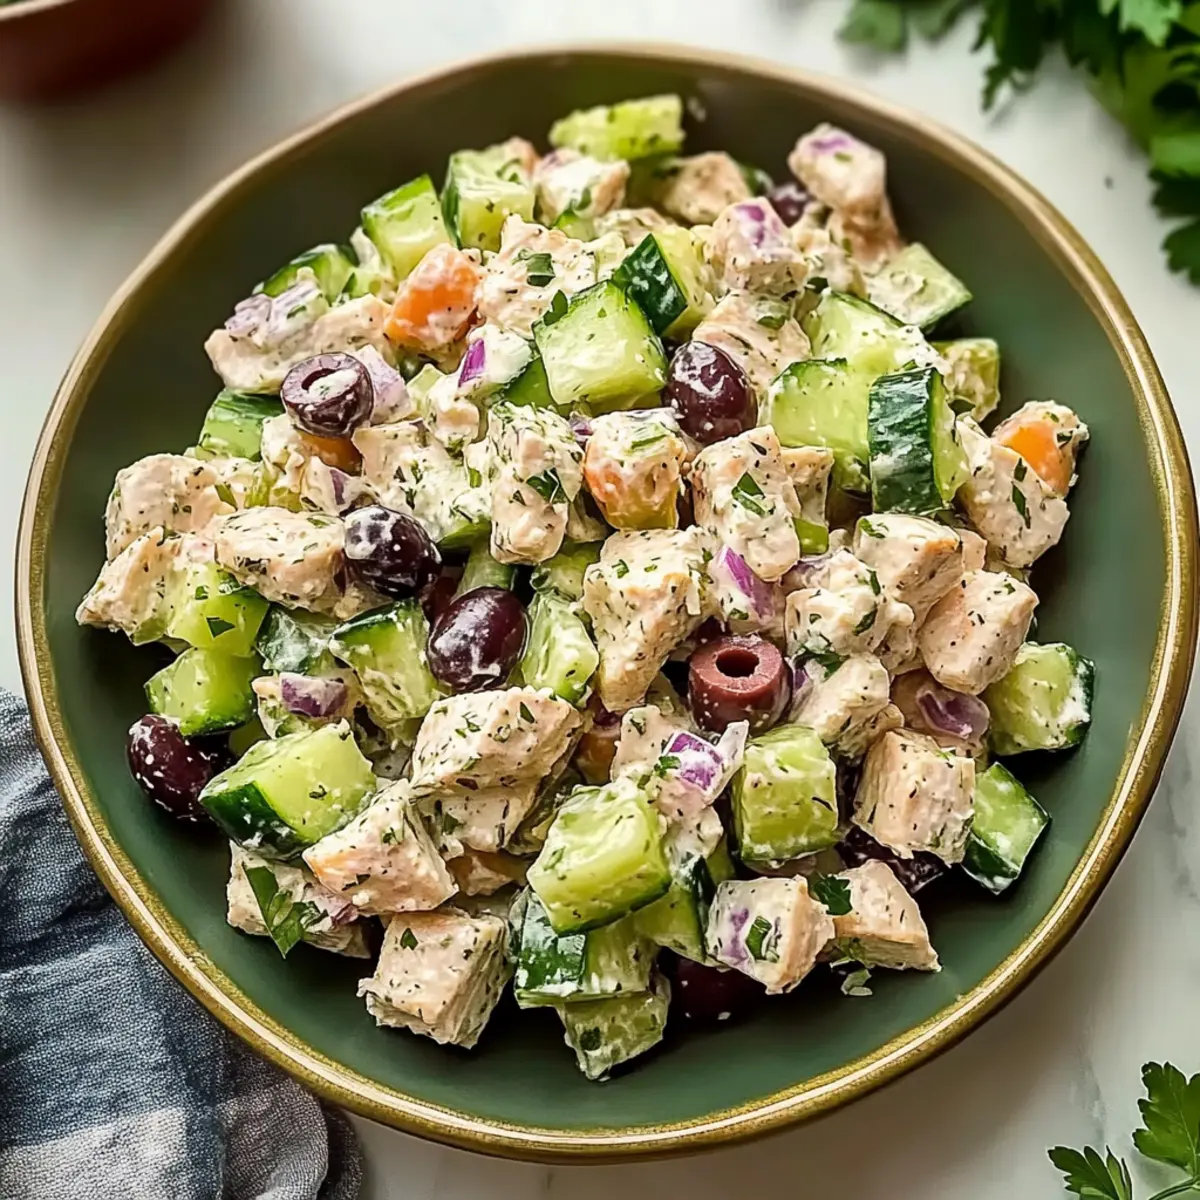
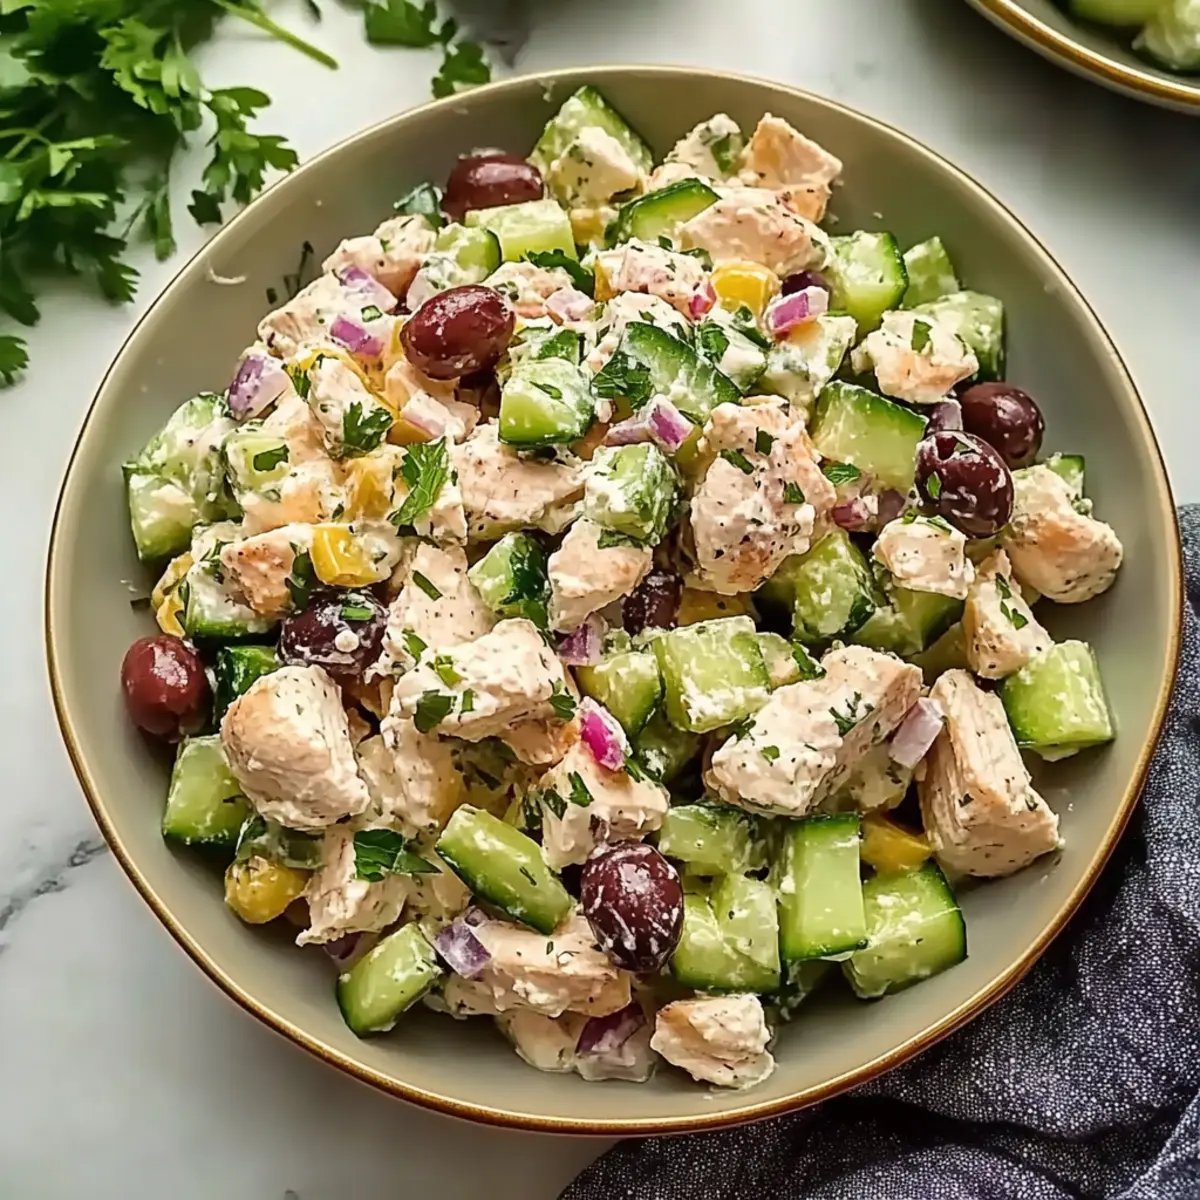
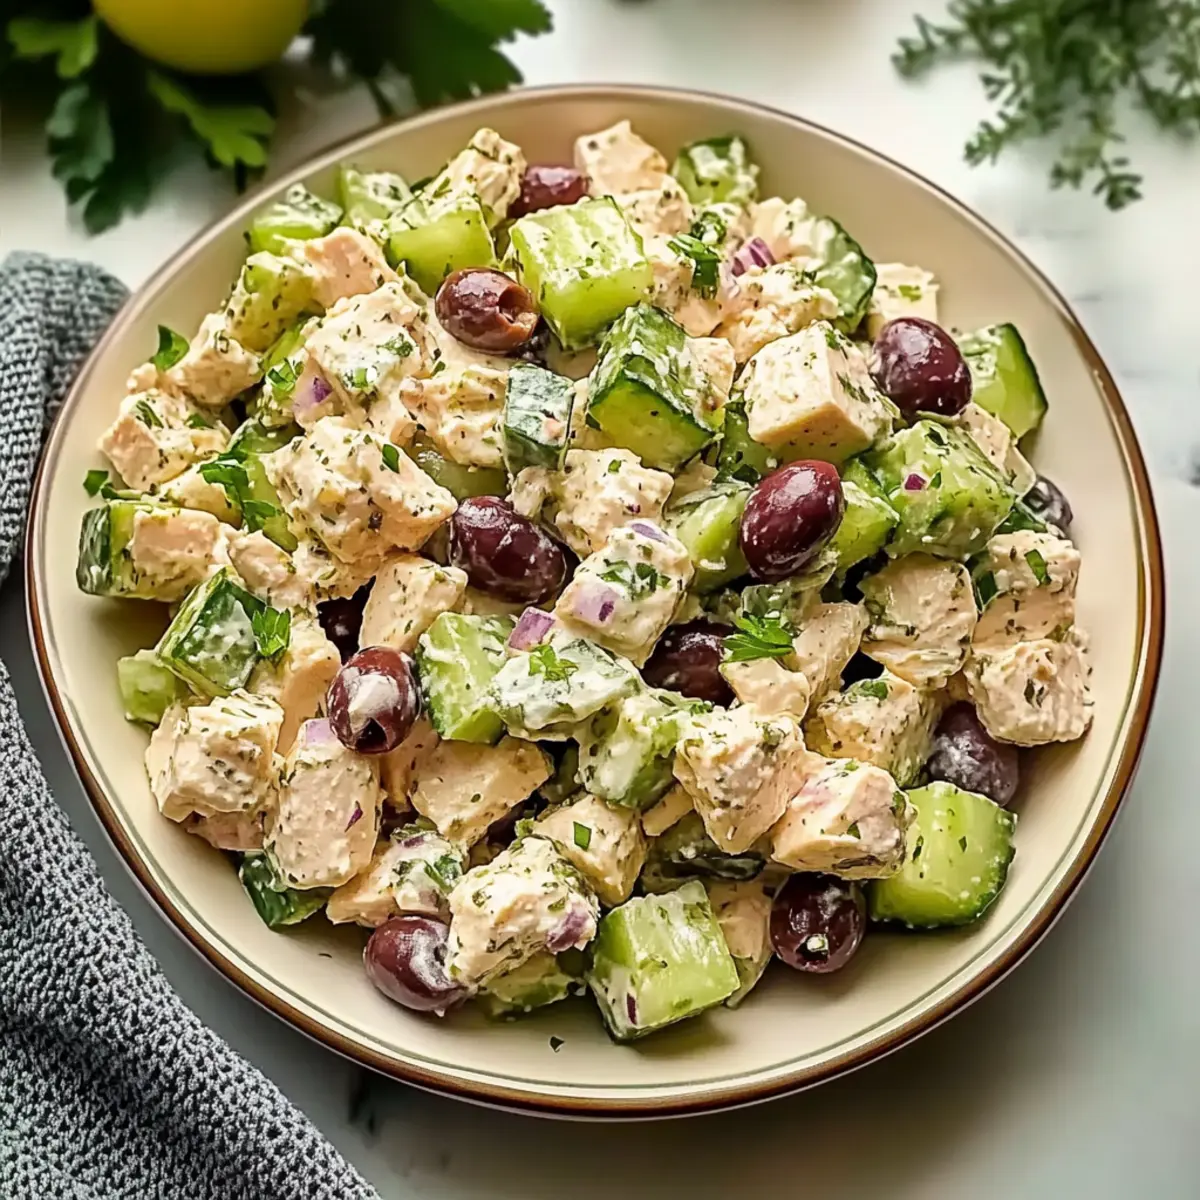
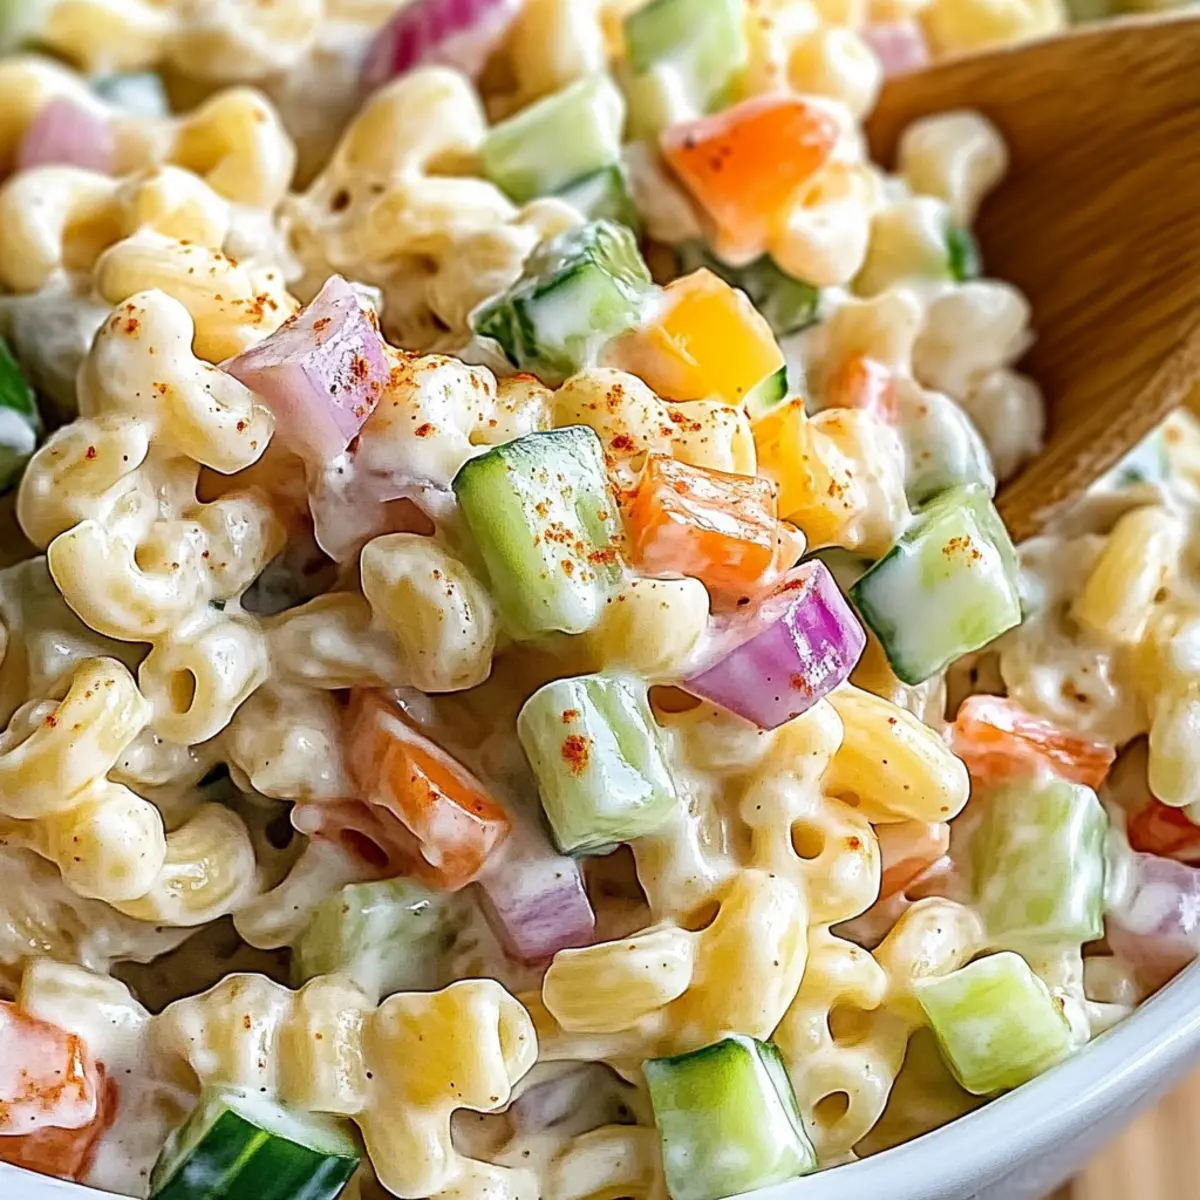
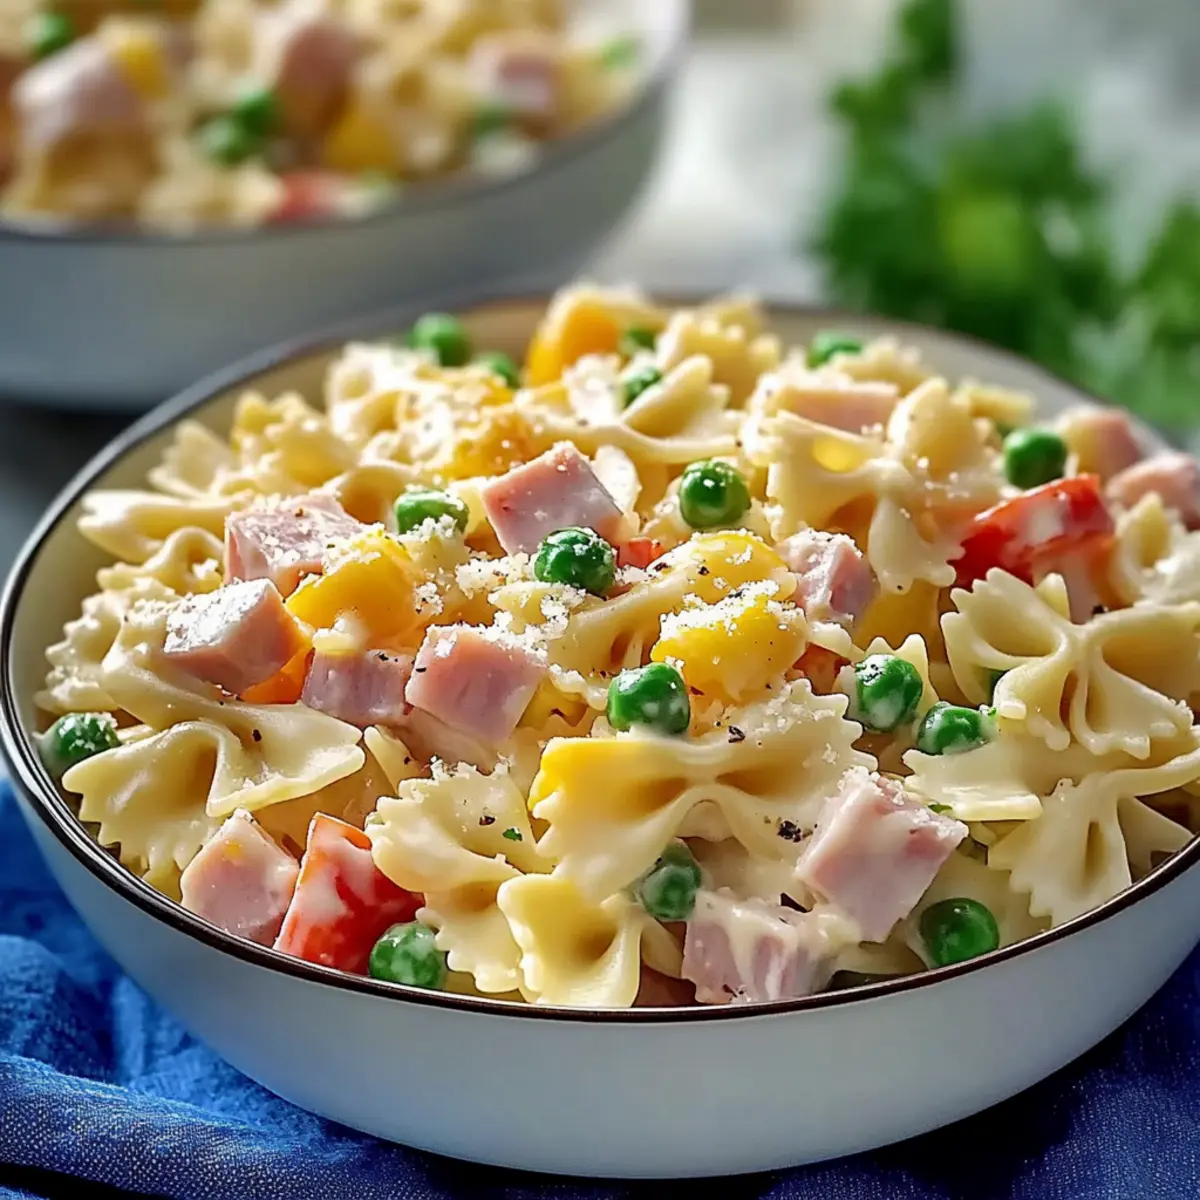
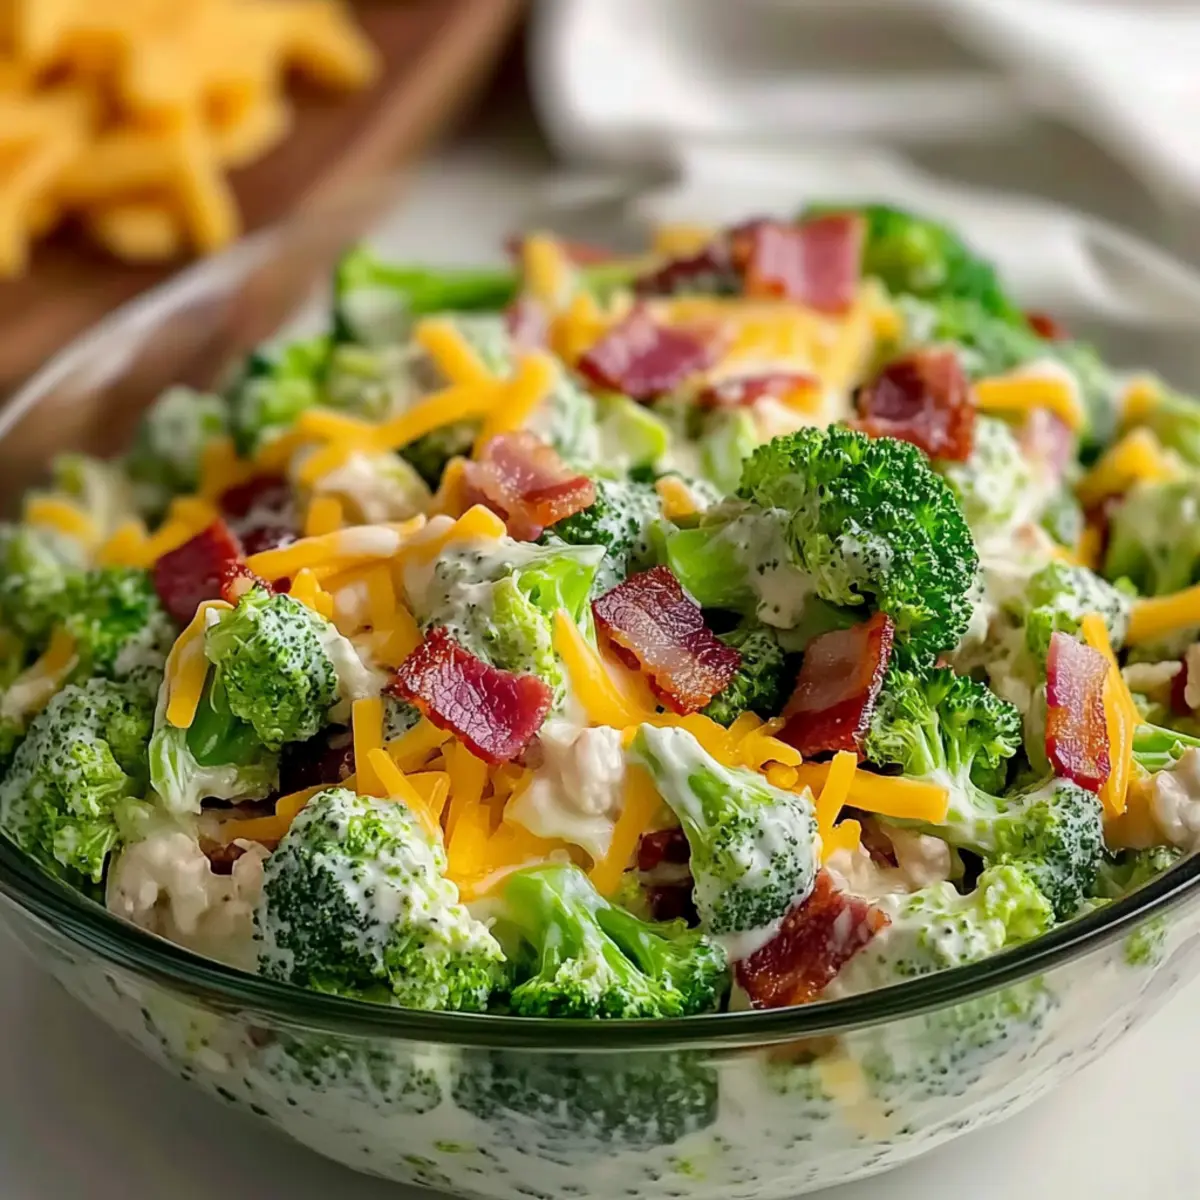
As I was rummaging through my fridge, I stumbled upon a harmonious medley of vibrant ingredients just begging to be transformed into something magical. Enter the Cheesy Copycat Chicken Salad Chick Broccoli Salad—a side dish that strikes the perfect balance between crisp and creamy, making it the ultimate crowd-pleaser. With quick prep time and the ability to customize with your family's favorite flavors, this delightful salad is perfect for lunchboxes, potlucks, or as a light dinner paired with crusty bread. Not only does it sneak some veggies into your kids' meals, but it also delivers a satisfying crunch from bacon and sunflower seeds. So, who’s ready to whip up this colorful salad that’s sure to become a staple at your table?

Why is this salad a game changer?
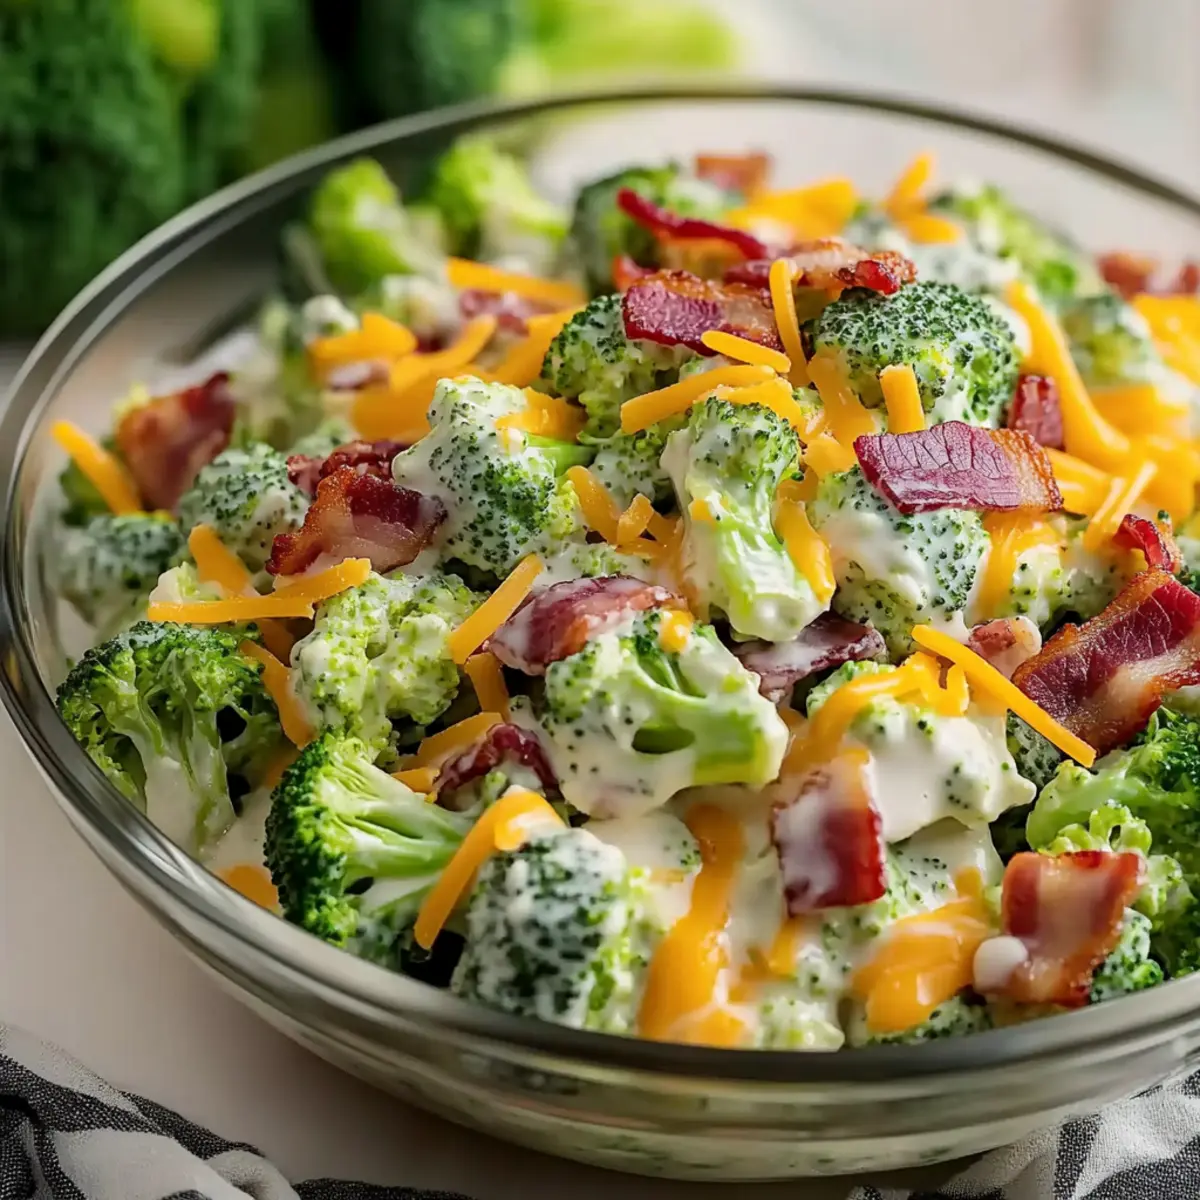
Flavor-packed Delight: The Cheesy Copycat Chicken Salad Chick Broccoli Salad boasts an irresistible combination of fresh, crunchy broccoli and creamy cheeses, delivering a taste that will surprise and please your family.
Customizable to Perfection: Make it your own by adding extra bacon or swapping in turkey bacon for a lighter twist! You can even include diced apples for a delightful hint of sweetness.
Quick & Easy: In just minutes, you can whip up this satisfying salad, making it perfect for busy weeknights or last-minute gatherings.
Kid-Friendly Appeal: With its vibrant colors and appealing texture, this recipe is a fantastic way to sneak in those veggies, ensuring your little ones enjoy their greens.
Meal Prep Dream: This salad keeps well in the fridge, making it an excellent choice for meal prep; just pop it in your lunchbox for a tasty surprise. Pair it with a sumptuous dish like Crock Pot Chicken for a complete meal!
Cheesy Copycat Chicken Salad Chick Broccoli Salad Ingredients
For the Salad
- Broccoli – Provides crunch and nutrition; fresh is essential for texture—avoid frozen for a soggy result.
- Bacon – Adds a smoky flavor and crunch; preferably use hardwood smoked for a less oily feel.
- Mozzarella Cheese – Contributes creaminess; substitutable with other melty cheeses but opt for a mild flavor.
- Cheddar Cheese – Offers sharper flavor; Kraft Sharp Cheddar is recommended for more bite.
- Red Onion – Adds sweetness and mild bite; can be swapped with green onions for a milder taste.
- Sunflower Seeds – Provides extra crunch and healthy fats; optional but could swap for chopped nuts.
For the Dressing
- Mayonnaise – Creamy base; Hellmann's is recommended for best texture.
- Vinegar – Cuts through the richness; both apple cider vinegar or white vinegar can work.
- Sugar – Balances acidity; can reduce if you prefer a less sweet profile.
- Salt & Pepper – Essential seasonings to enhance all flavors; don’t skip these!
Step‑by‑Step Instructions for Cheesy Copycat Chicken Salad Chick Broccoli Salad
Step 1: Prepare the Broccoli
Start by rinsing the fresh broccoli thoroughly under cool water, then chop it into small, bite-sized florets ensuring they're uniform for even texture. Set the prepared broccoli aside in a large mixing bowl, ready to be transformed into the star ingredient of your Cheesy Copycat Chicken Salad Chick Broccoli Salad.
Step 2: Dice the Red Onion
Finely dice a red onion, taking care to remove any tough outer layers beforehand. The diced onion offers a lovely sweetness and mild kick that balances the flavors beautifully. Once prepared, gently stir the onion into the bowl with the broccoli, adding vibrant color and additional crunch to your salad.
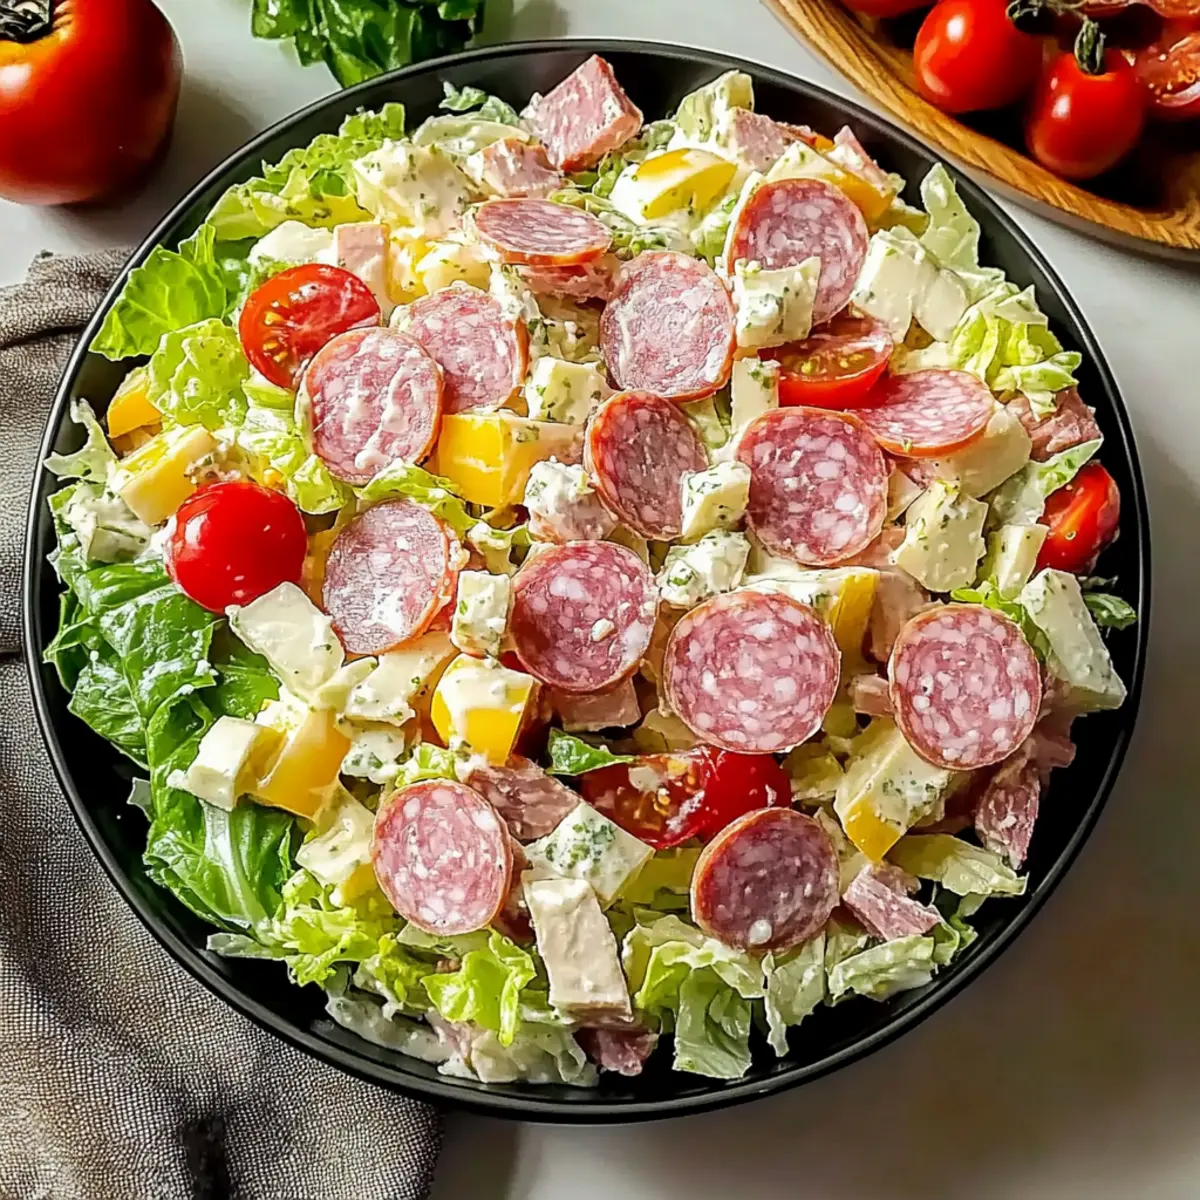
Step 3: Mix the Cheeses
In a separate small bowl, combine the mozzarella and Kraft Sharp Cheddar cheese. The blend of creamy and sharper flavors enhances the overall taste of the salad. Set this cheesy mixture aside, ensuring it’s ready to be folded into the salad later for that cheesy goodness in each bite.
Step 4: Cook the Bacon
Heat a large skillet over medium-high heat and add slices of hardwood smoked bacon, cooking them for about 8-10 minutes until they're crispy and nicely browned. Once cooked, transfer the bacon to a paper towel-lined plate to absorb excess fat, allowing it to cool before crumbling into delicious bits for your salad.
Step 5: Prepare the Dressing
In a large mixing bowl, whisk together mayonnaise, vinegar, sugar, salt, and pepper until smooth and creamy. Taste the dressing and adjust the seasoning if needed to ensure the perfect balance of flavors for your Cheesy Copycat Chicken Salad Chick Broccoli Salad. This creamy dressing will bring the salad all together!
Step 6: Combine the Ingredients
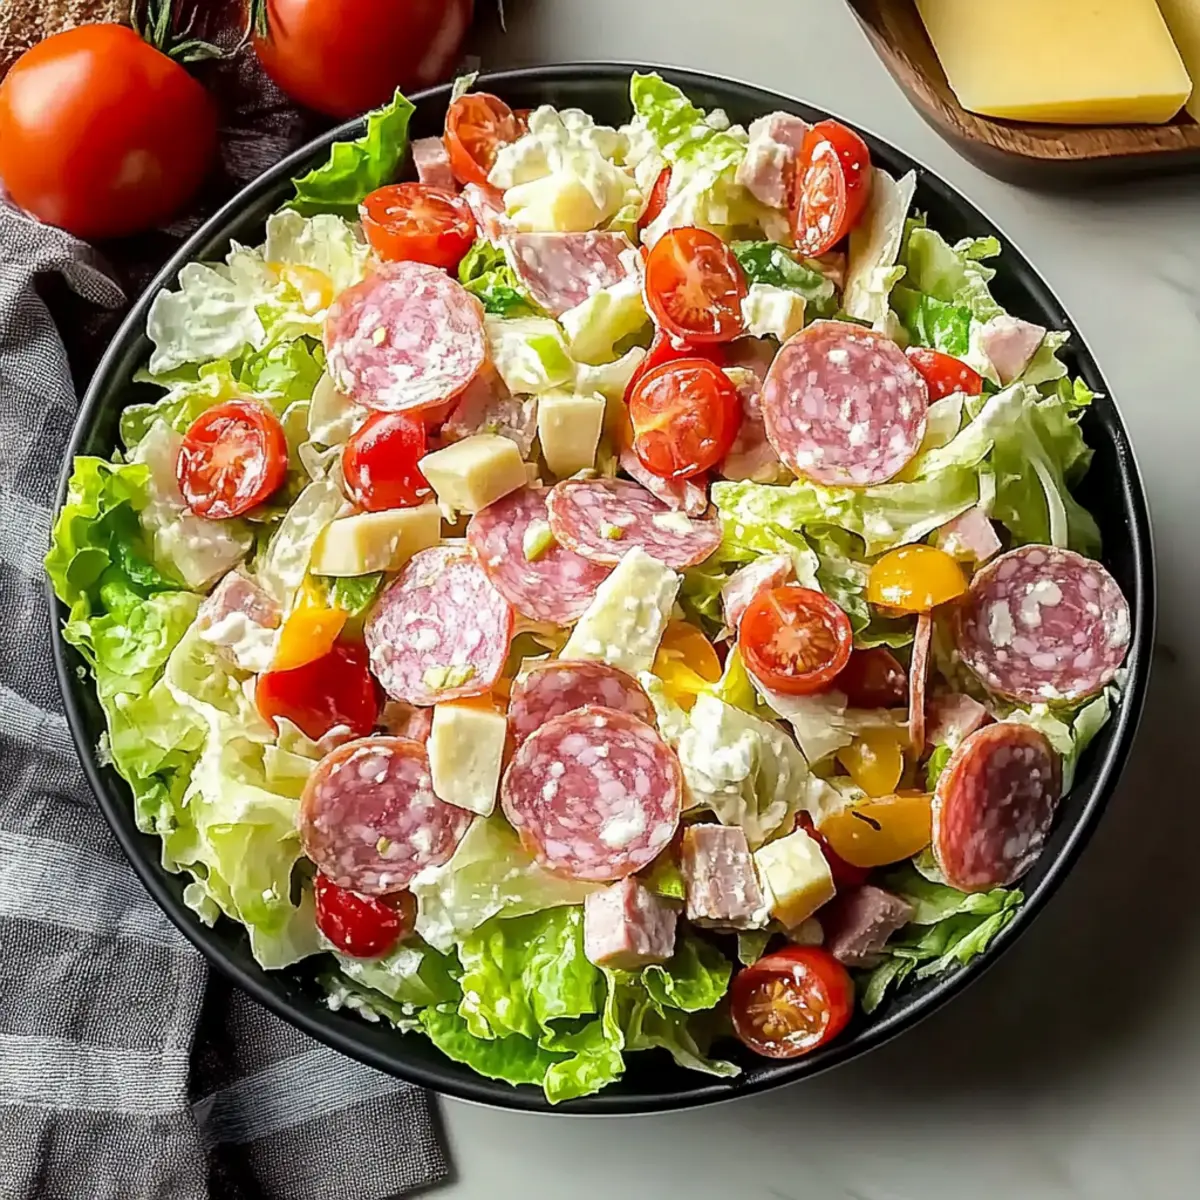
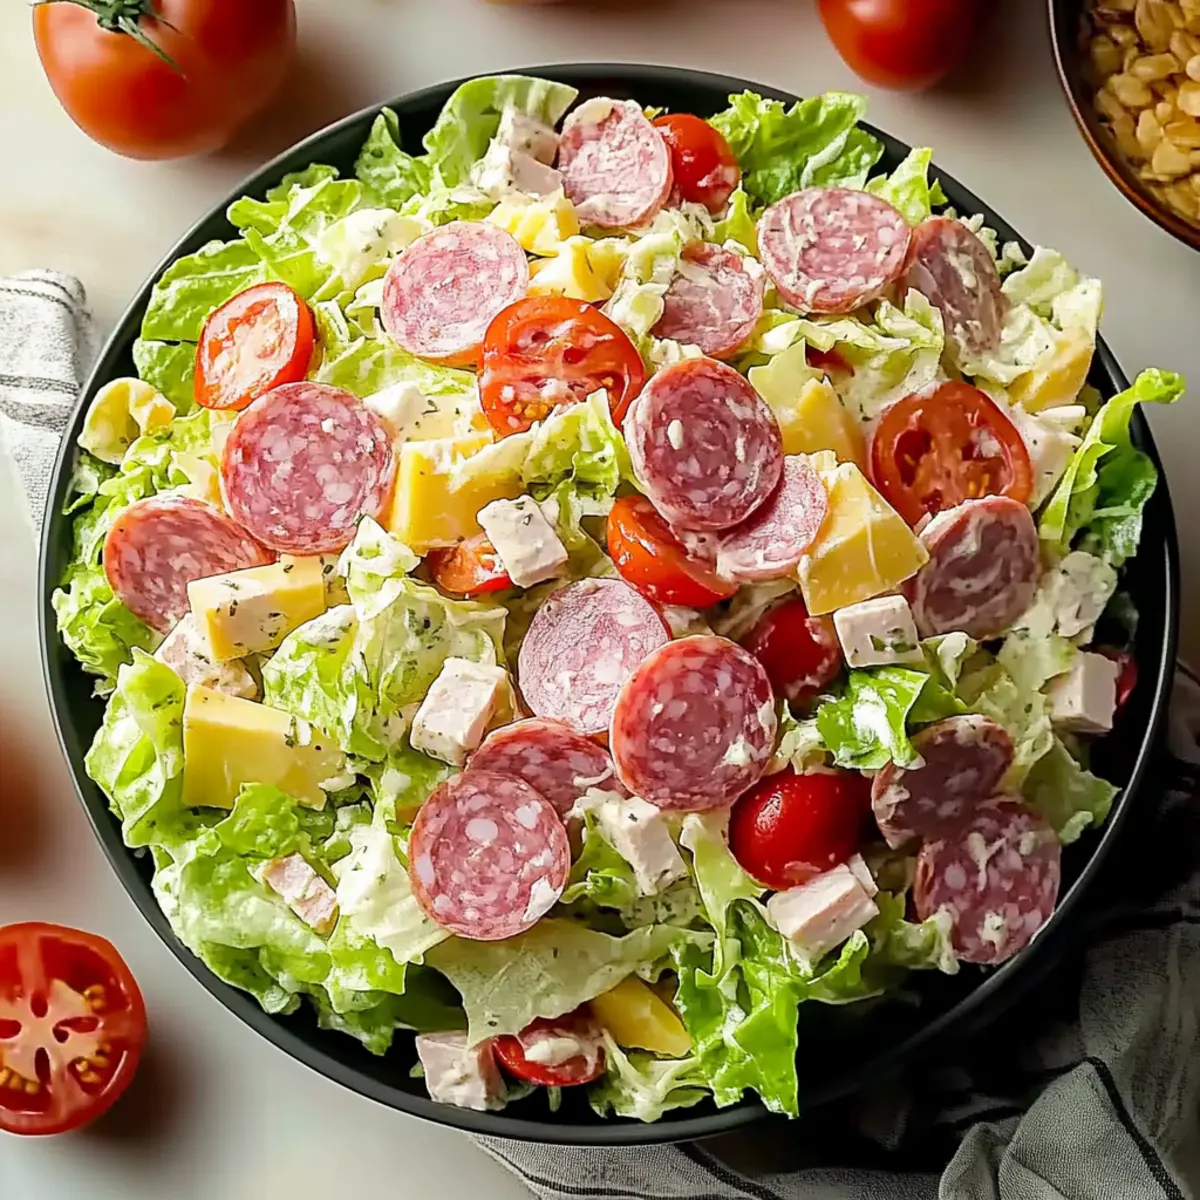
Now it’s time to bring everything together! In the bowl with the dressing, gently fold in the broccoli, crumbled bacon, cheese mixture, and a handful of sunflower seeds for an added crunch. Toss everything delicately just until all the ingredients are well-coated with the dressing, ensuring every bite is bursting with flavor.
Step 7: Chill and Serve
Cover the bowl with plastic wrap and place it in the refrigerator for at least one hour. This chilling time allows the flavors to meld beautifully, resulting in a more delicious Cheesy Copycat Chicken Salad Chick Broccoli Salad. Serve chilled and watch it disappear from your table at gatherings or weeknight dinners!
How to Store and Freeze Cheesy Copycat Chicken Salad Chick Broccoli Salad
Fridge: Store leftover Cheesy Copycat Chicken Salad Chick Broccoli Salad in an airtight container for up to 3 days. The flavors will meld and improve over time.
Freezer: Avoid freezing the salad, as the texture of the broccoli and cheese may become unappetizing once thawed. It’s best enjoyed fresh!
Preparing Ahead: If you’re making this salad in advance, mix the dressing separately and add it just before serving to keep the broccoli crisp.
Reheating: This salad is meant to be served cold, so no reheating is necessary. Simply spoon out what you need and enjoy!
Make Ahead Options
The Cheesy Copycat Chicken Salad Chick Broccoli Salad is a meal prep superstar that saves you time on busy days! You can chop the broccoli and dice the red onion up to 24 hours in advance; just store them in an airtight container to maintain their crunch. Mix the cheeses separately and refrigerate them as well. For the dressing, combine all ingredients (mayonnaise, vinegar, sugar, salt, and pepper) and keep it in the fridge for up to 3 days without losing flavor. When you're ready to serve, simply toss the prepared broccoli and onions with the cheese and dressing, adding the crumbled bacon and sunflower seeds last. This way, you’ll enjoy hearty, freshly made salad results with minimal effort!
Cheesy Copycat Chicken Salad Chick Broccoli Salad Variations
Feel free to get creative with this recipe, enhancing flavors and textures to suit your family's preferences!
-
Extra Crispy: Boost the bacon! Add more crispy bacon pieces for an even heartier flavor and delightful crunch.
-
Sweet Addition: Fruit Twist: Mix in diced apples or grapes for a refreshing contrast of sweetness, perfect for balancing the savory elements.
-
Cheese Lovers: Cheddar-licious: Swap out mozzarella for an extra sharp cheddar for a bolder cheese profile. Your taste buds will thank you!
-
Nutty Crunch: Seeds Swap: Replace sunflower seeds with your favorite chopped nuts, like almonds or pecans, for a delightful textural twist.
-
Lighten It Up: Greek Yogurt: Use Greek yogurt instead of mayonnaise for a lighter dressing that still provides creaminess, not to mention a probiotic boost!
-
Spicy Kick: Heat It Up: Add a pinch of red pepper flakes to the dressing or fold in diced jalapeños for a spicy surprise that’ll awaken your palate.
-
Herb Infusion: Fresh Herbs: Incorporate fresh herbs like dill or parsley for added brightness and flavor depth, making each bite feel like spring.
-
Vegan Delight: Plant-Based Sub: Replace the bacon with smoked tempeh or liquid smoke for a vegan twist that still keeps that desirable smoky flavor.
These variations make this Cheesy Copycat Chicken Salad Chick Broccoli Salad even more versatile! You can pair it with a gorgeous Chipotle Lime Chicken to elevate your meal experience or enjoy it alongside your favorite Honey Garlic Chicken for a deliciously hearty feast. Explore new flavors to keep this salad fresh and exciting every time you make it!
Expert Tips for Cheesy Copycat Chicken Salad Chick Broccoli Salad
-
Fresh is Best: Use fresh broccoli instead of frozen to avoid a soggy texture; frozen broccoli can release excess water when thawed.
-
Avoid Over-Dressing: Start with three-quarters of the dressing when combining with ingredients; you can always add more later if needed to prevent sogginess.
-
Chill for Flavor: Let the salad sit in the fridge for at least an hour before serving; this helps the flavors meld beautifully in your Cheesy Copycat Chicken Salad Chick Broccoli Salad.
-
Bacon Crunch Hint: Allow your cooked bacon to cool before crumbling; this ensures it retains its crispy texture instead of becoming chewy in the salad.
-
Customize to Taste: Feel free to swap ingredients; adding some diced apples or swapping in turkey bacon can give this salad a refreshing twist!
What to Serve with Cheesy Copycat Chicken Salad Chick Broccoli Salad
Elevate your mealtime experience by pairing this delicious salad with complementary dishes that enhance its fresh and creamy flavors.
- Grilled Chicken: Juicy, seasoned chicken brings a satisfying protein component while balancing the salad's creamy texture.
- Cornbread Muffins: Sweet, fluffy cornbread adds a delightful contrast to the crunchy broccoli, making it the perfect counterpart for a casual meal.
- Roasted Sweet Potatoes: The caramelized sweetness of these potatoes enhances the salad’s savory notes, creating a harmonious plate that is both comforting and nutritious.
- Quinoa Salad: A light quinoa salad with lemon vinaigrette brings a refreshing citrusy note, tying together the meal's flavors beautifully.
- Fresh Fruit Platter: Add vibrant freshness with a seasonal fruit platter—juicy berries or tart apples wonderfully complement the creamy textures of the salad.
- Sparkling Lemonade: For a bubbly beverage, sparkling lemonade offers a zesty accompaniment, brightening your palate with its effervescence while cleansing your taste buds.
- Chocolate Chip Cookies: Satisfy your sweet tooth with a classic dessert; warm cookies provide a cozy finish to your meal, delighting your family and friends.
- Pasta Primavera: A light veggie-packed pasta is a fantastic choice; it highlights the freshness of the ingredients while adding another layer of texture.
- Caesar Salad: Crispy romaine with tangy Caesar dressing provides a classic touch, merging beautifully with the flavors and textures of your Cheesy Copycat Chicken Salad Chick Broccoli Salad.
Cheesy Copycat Chicken Salad Chick Broccoli Salad Recipe FAQs
What type of broccoli should I use?
Absolutely use fresh broccoli! Fresh broccoli provides essential crunch and nutrition. Avoid frozen broccoli, as it tends to become soggy and limp. When selecting broccoli, look for vibrant green florets without dark spots or yellowing, as this indicates freshness.
How should I store leftover Cheesy Copycat Chicken Salad Chick Broccoli Salad?
Store your salad in an airtight container in the fridge for up to 3 days. I find that the flavors meld beautifully over time, making it even tastier the next day. Ensure you give it a gentle stir before serving, as the dressing may settle.
Can I freeze this broccoli salad?
I recommend against freezing this salad. Freezing can drastically change the texture of the broccoli and cheese, resulting in a mushy consistency upon thawing. Enjoy it fresh for the best experience!
What if the salad is too dry or too wet?
If your salad turns out too dry, mixing in a splash of additional mayonnaise or a dollop of Greek yogurt will add moisture and flavor. Conversely, if it’s too wet, you can add a little more broccoli, cheese, or even some crushed crackers to absorb excess dressing without compromising taste.
Is this salad kid-friendly?
Absolutely! This Cheesy Copycat Chicken Salad Chick Broccoli Salad is not only vibrant and colorful but also deliciously crunchy, making it a hit with kids. The creamy dressing and crispy bacon hide the veggies nicely, ensuring your little ones won’t even notice they’re eating broccoli!
Can I customize the ingredients?
Very much so! This salad is incredibly versatile. Feel free to add more bacon for a heartier taste, swap in turkey bacon for a lighter option, or toss in some diced apples or grapes for a sweet, fruity twist. The more the merrier—make it your own!

Cheesy Copycat Chicken Salad Chick Broccoli Salad Bliss
Ingredients
Equipment
Method
- Rinse the fresh broccoli under cool water and chop it into small, bite-sized florets. Set aside in a large mixing bowl.
- Finely dice the red onion, removing any tough outer layers. Stir the onion into the bowl with the broccoli.
- In a small bowl, combine the mozzarella and cheddar cheese. Set aside.
- Heat a skillet over medium-high heat and cook the bacon until crispy. Transfer to a paper towel-lined plate to cool, then crumble.
- In the mixing bowl, whisk together the mayonnaise, vinegar, sugar, salt, and pepper until smooth and creamy.
- Gently fold in the broccoli, crumbled bacon, cheese mixture, and sunflower seeds into the dressing. Toss to coat evenly.
- Cover the bowl with plastic wrap and chill in the refrigerator for at least one hour before serving.