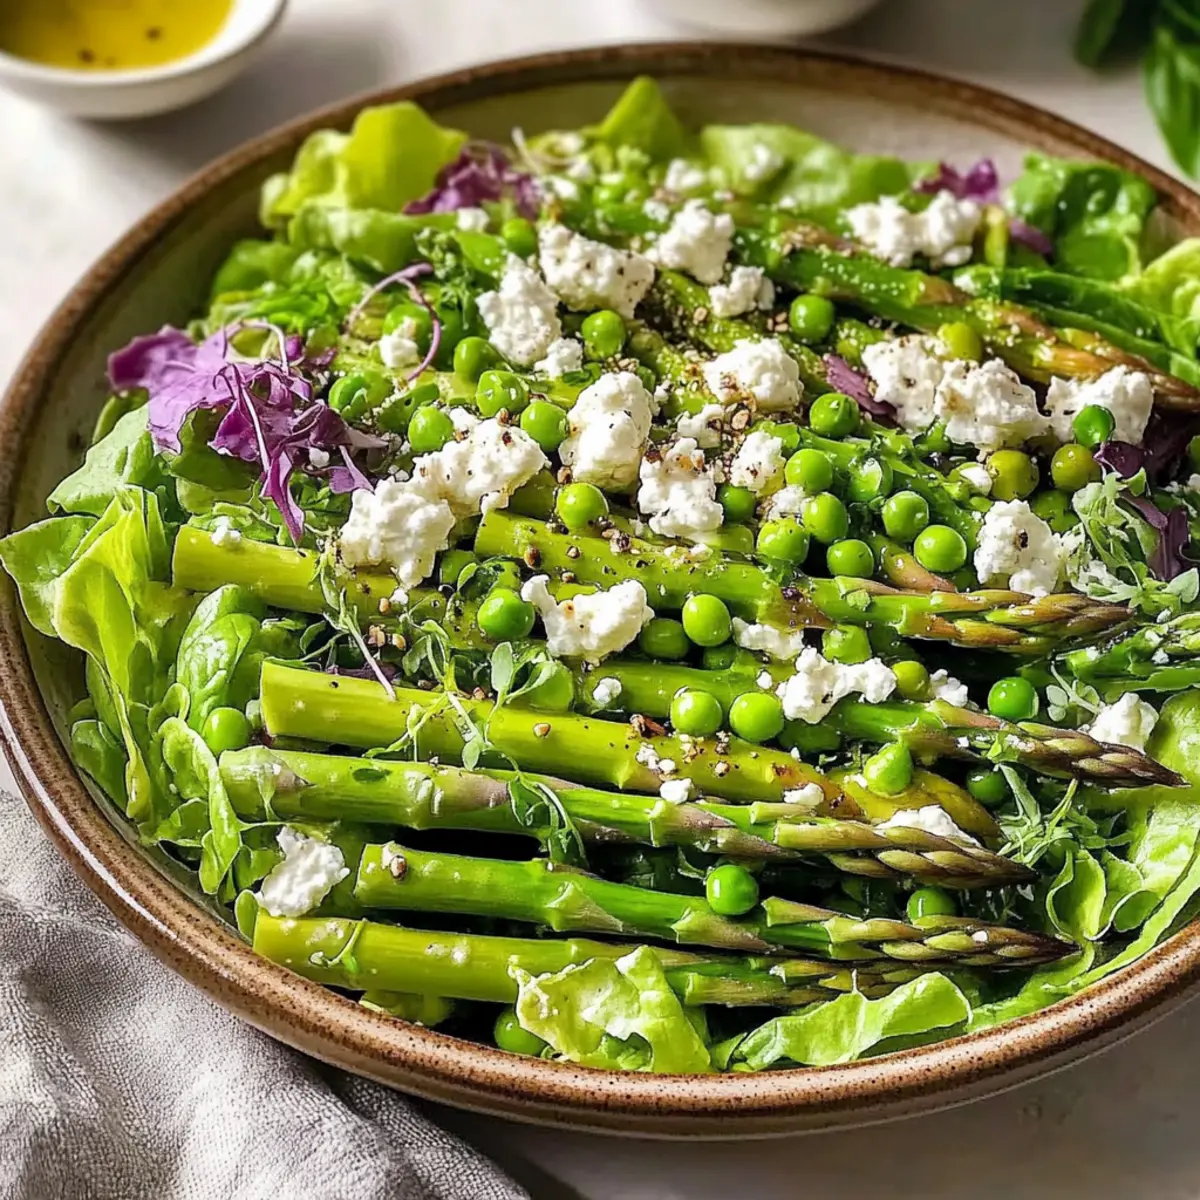
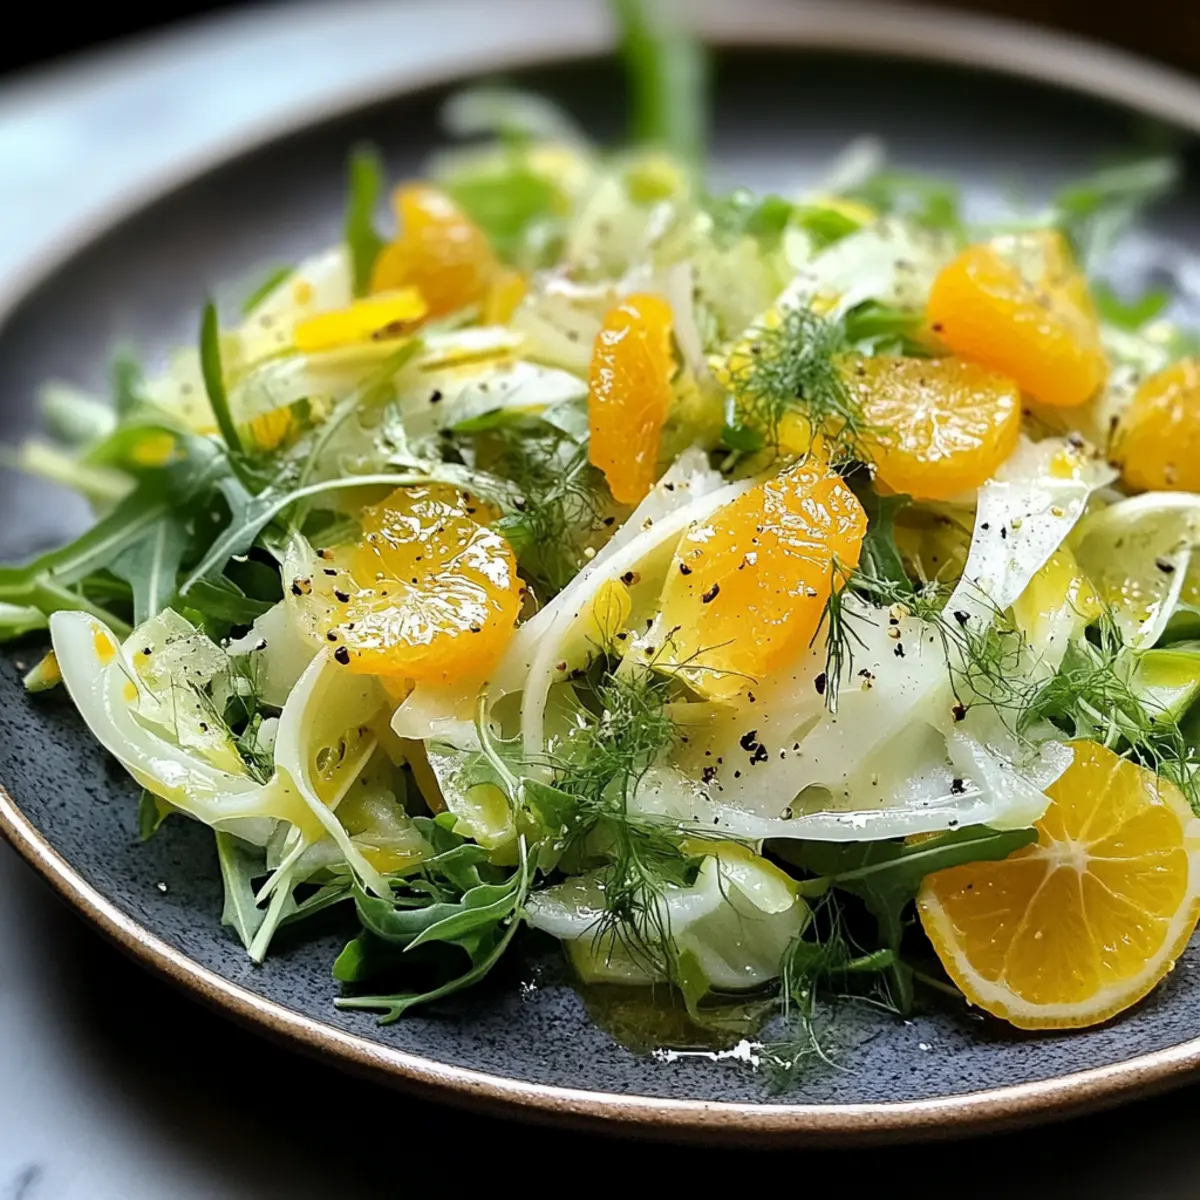
The air is alive with the scent of fresh blooms, and I can’t help but think of vibrant dishes that mirror the spirit of spring. Enter the Bright Spring Salad with Citrus Vinaigrette, a beloved recipe that brings together the colors and flavors of the season. Packed with crisp greens, juicy strawberries, and zesty oranges, this salad is a delightful choice that’s as versatile as it is nutritious. Not only is it incredibly easy to whip up, making it perfect for busy weeknights, but it also doubles as a stunning centerpiece for your next gathering. This refreshing salad, drizzled with a citrus vinaigrette, will have everyone asking for seconds. Are you ready to bring a burst of color to your table?

Why is this salad the ultimate spring dish?
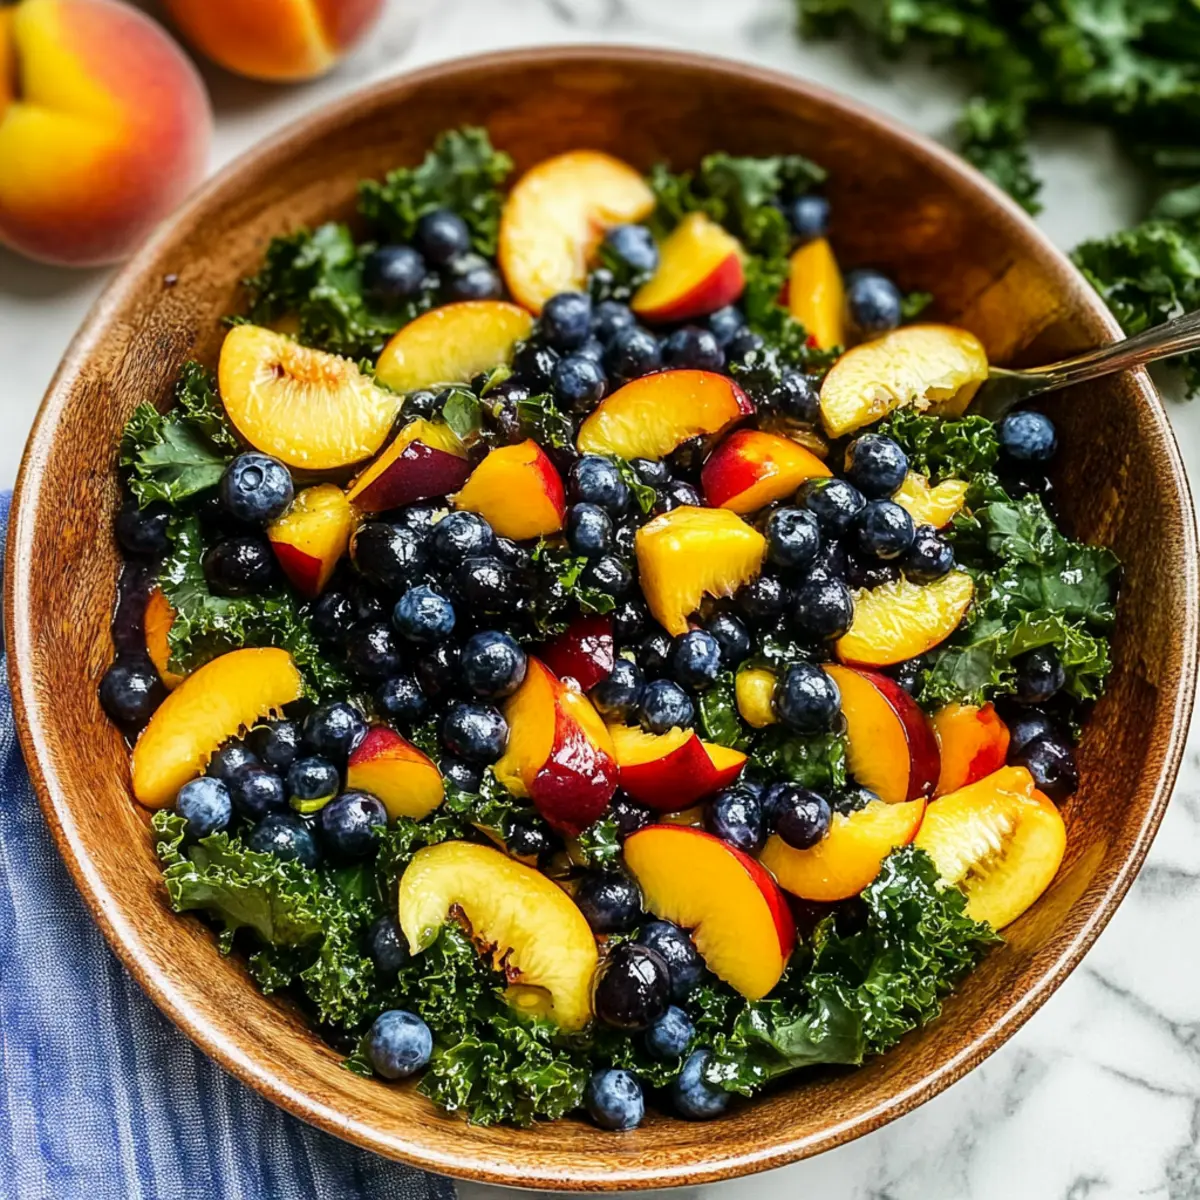
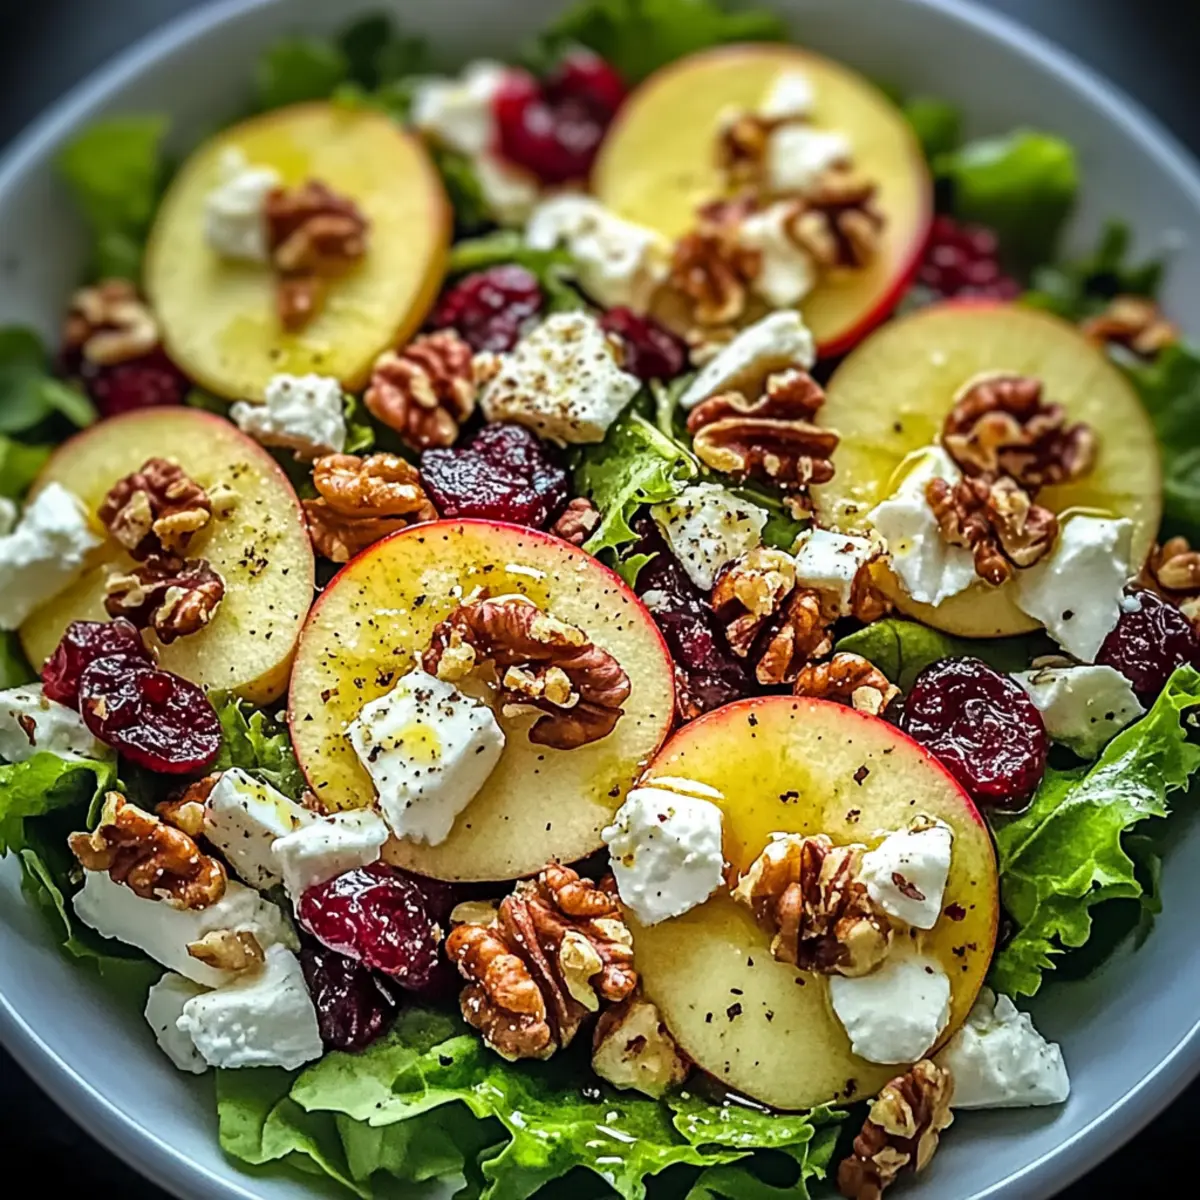
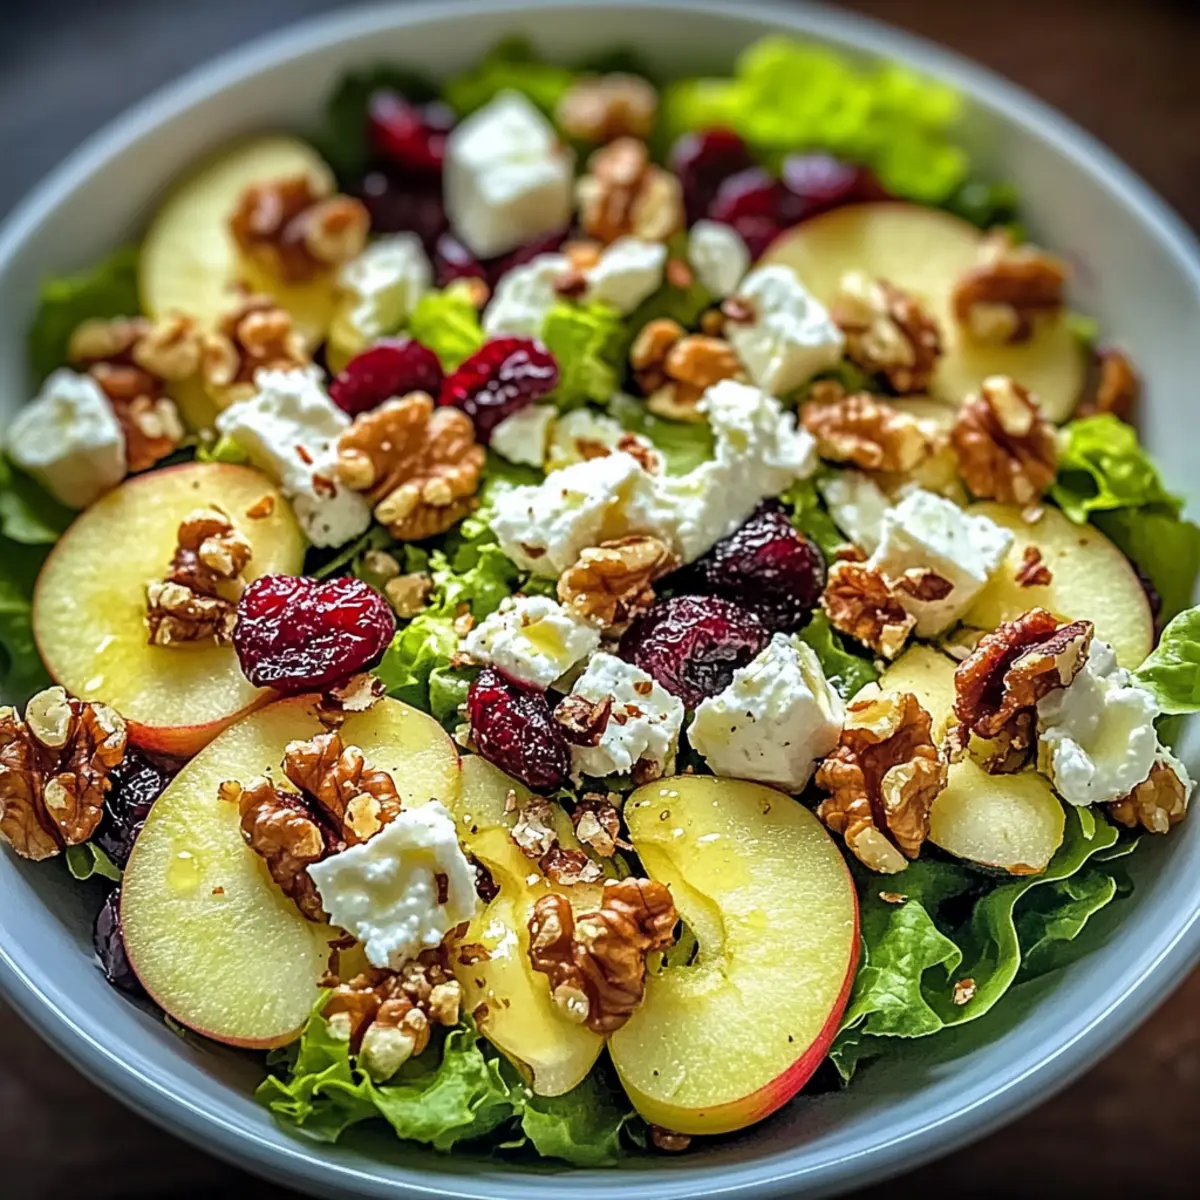
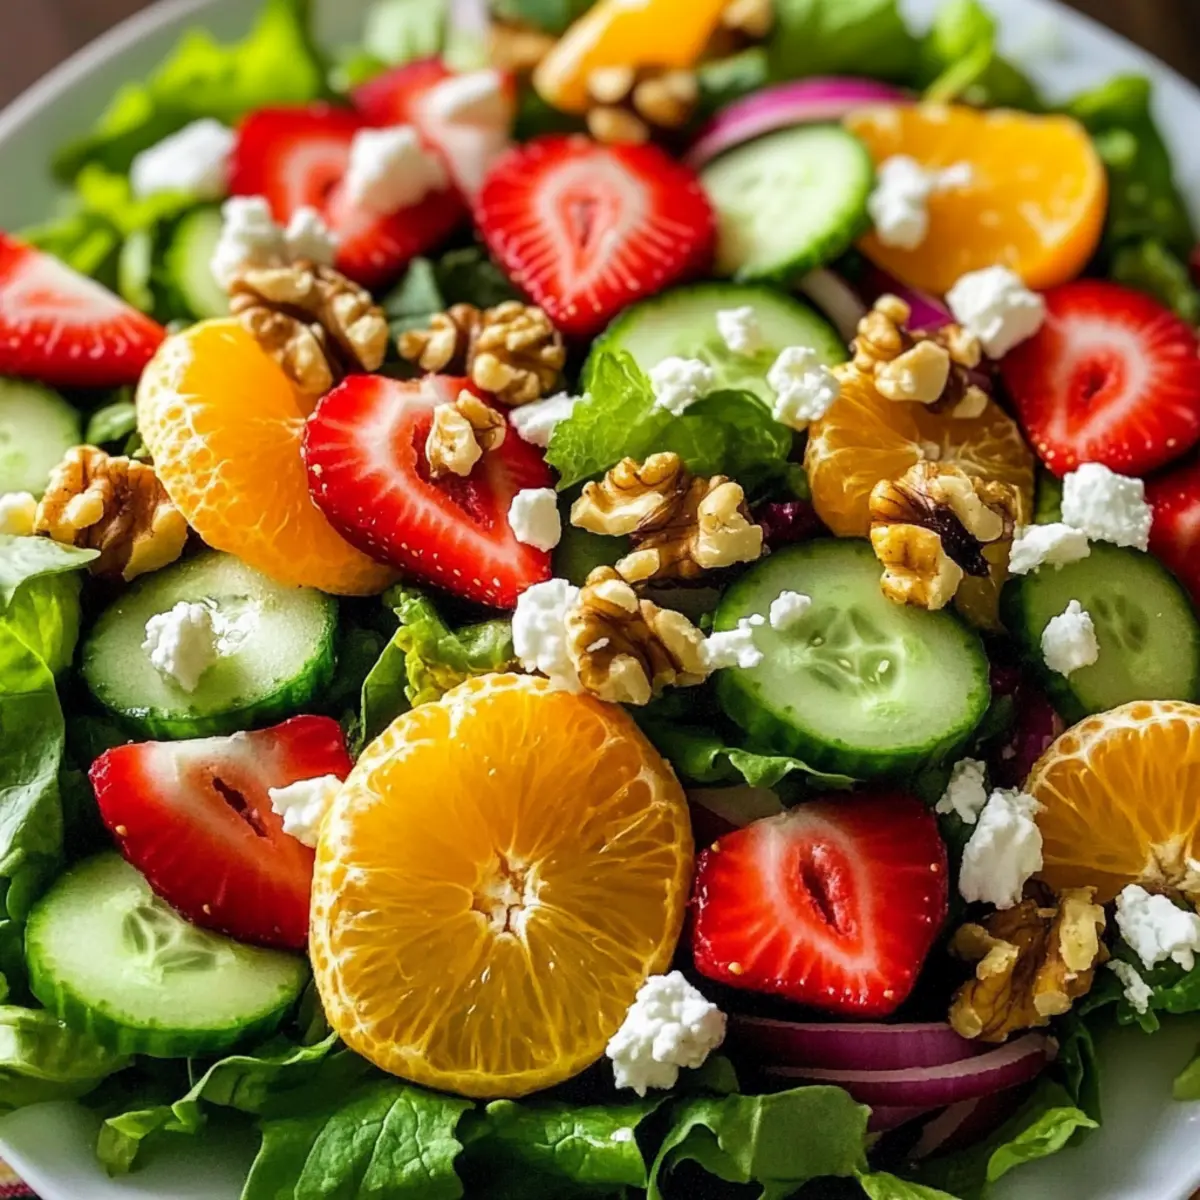
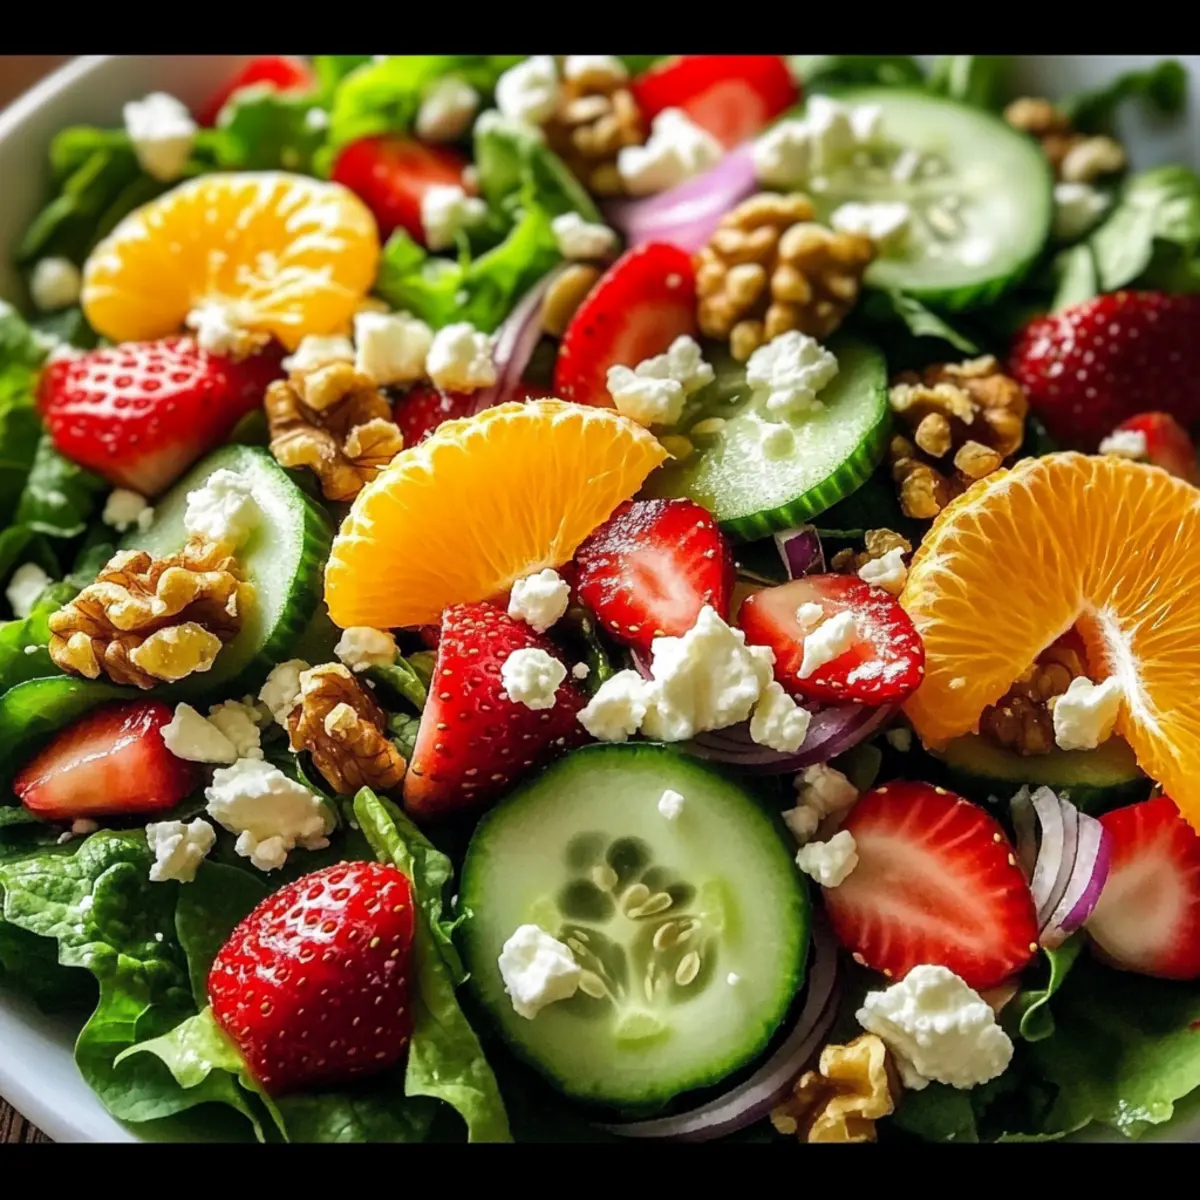
Vibrant, Fresh Ingredients: This salad bursts with the flavors of the season, combining colorful greens, ripe strawberries, and juicy oranges.
Quick and Easy: Perfect for busy days, it comes together in no time, making healthy eating hassle-free.
Versatile Base: Feel free to swap out ingredients! Try adding avocado or grilled chicken for added richness.
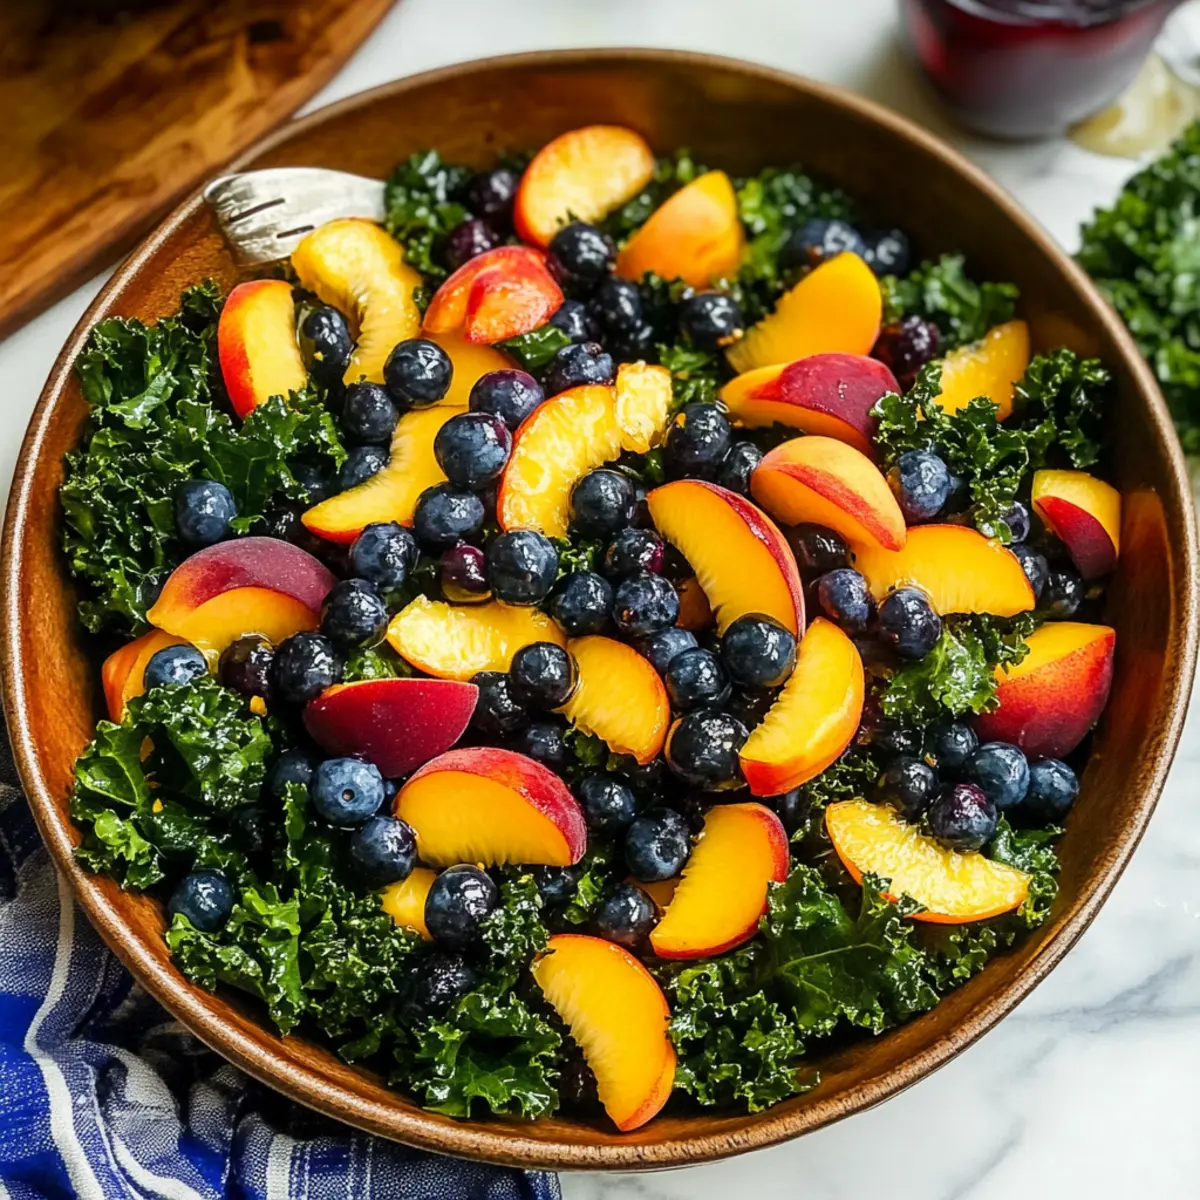
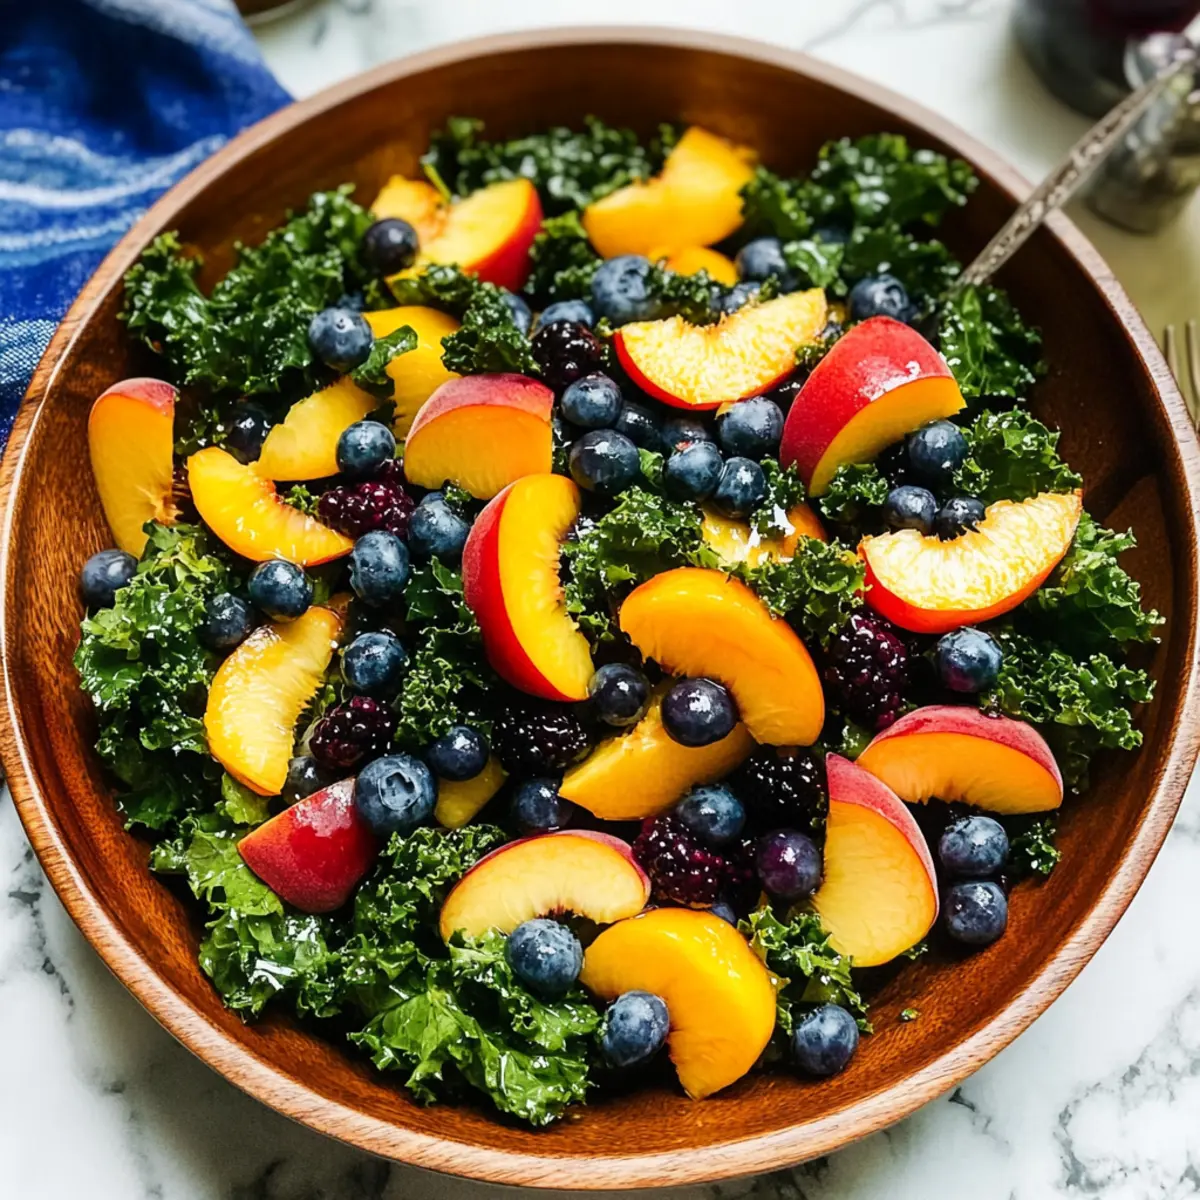
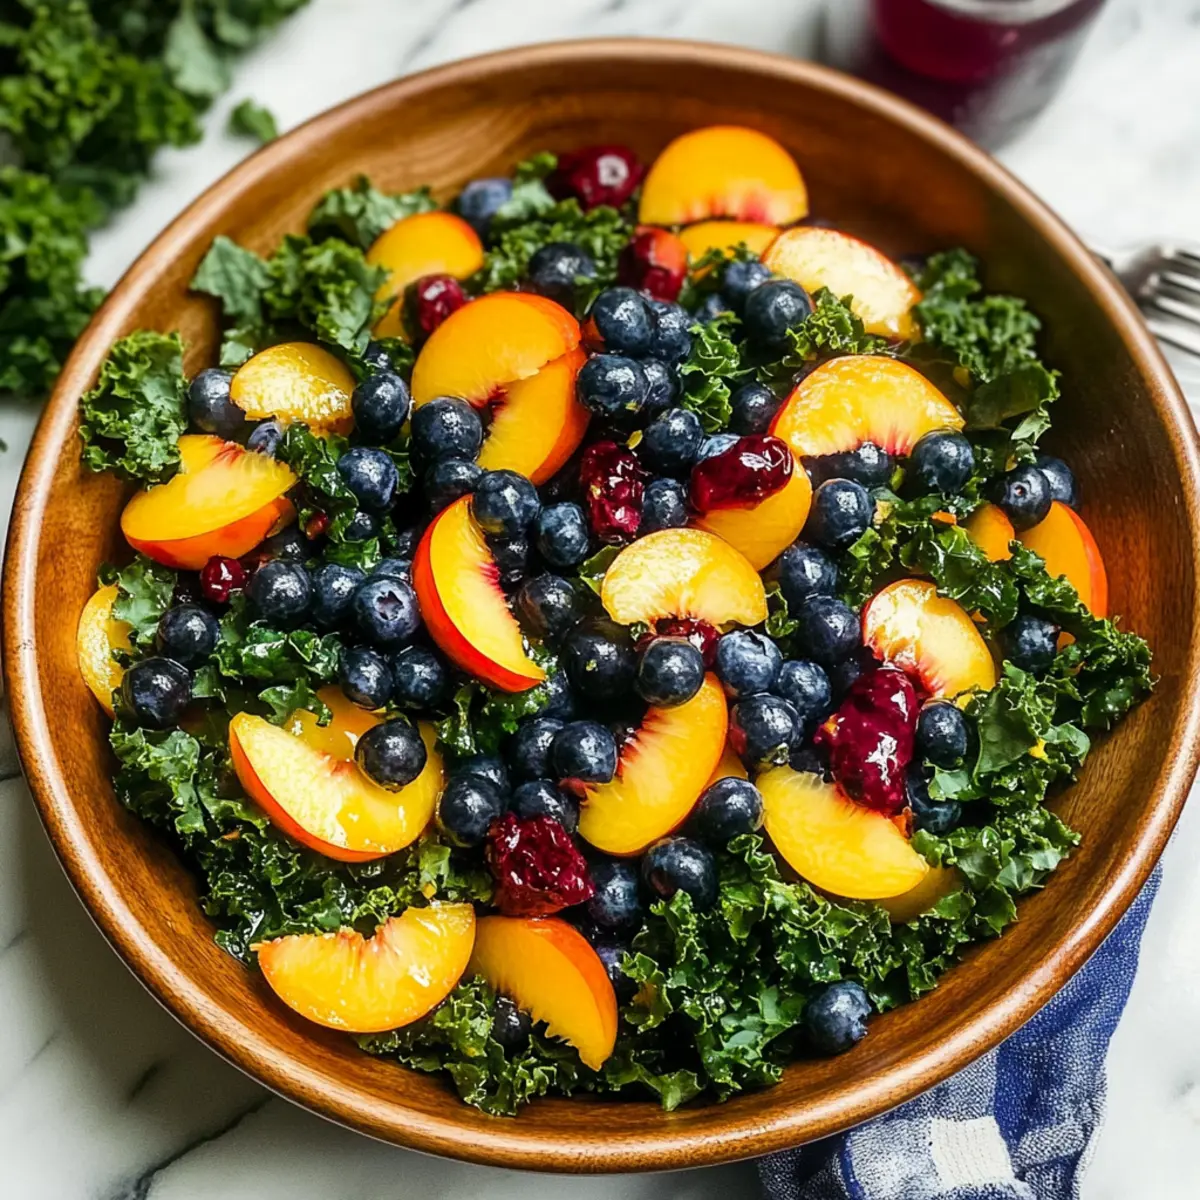
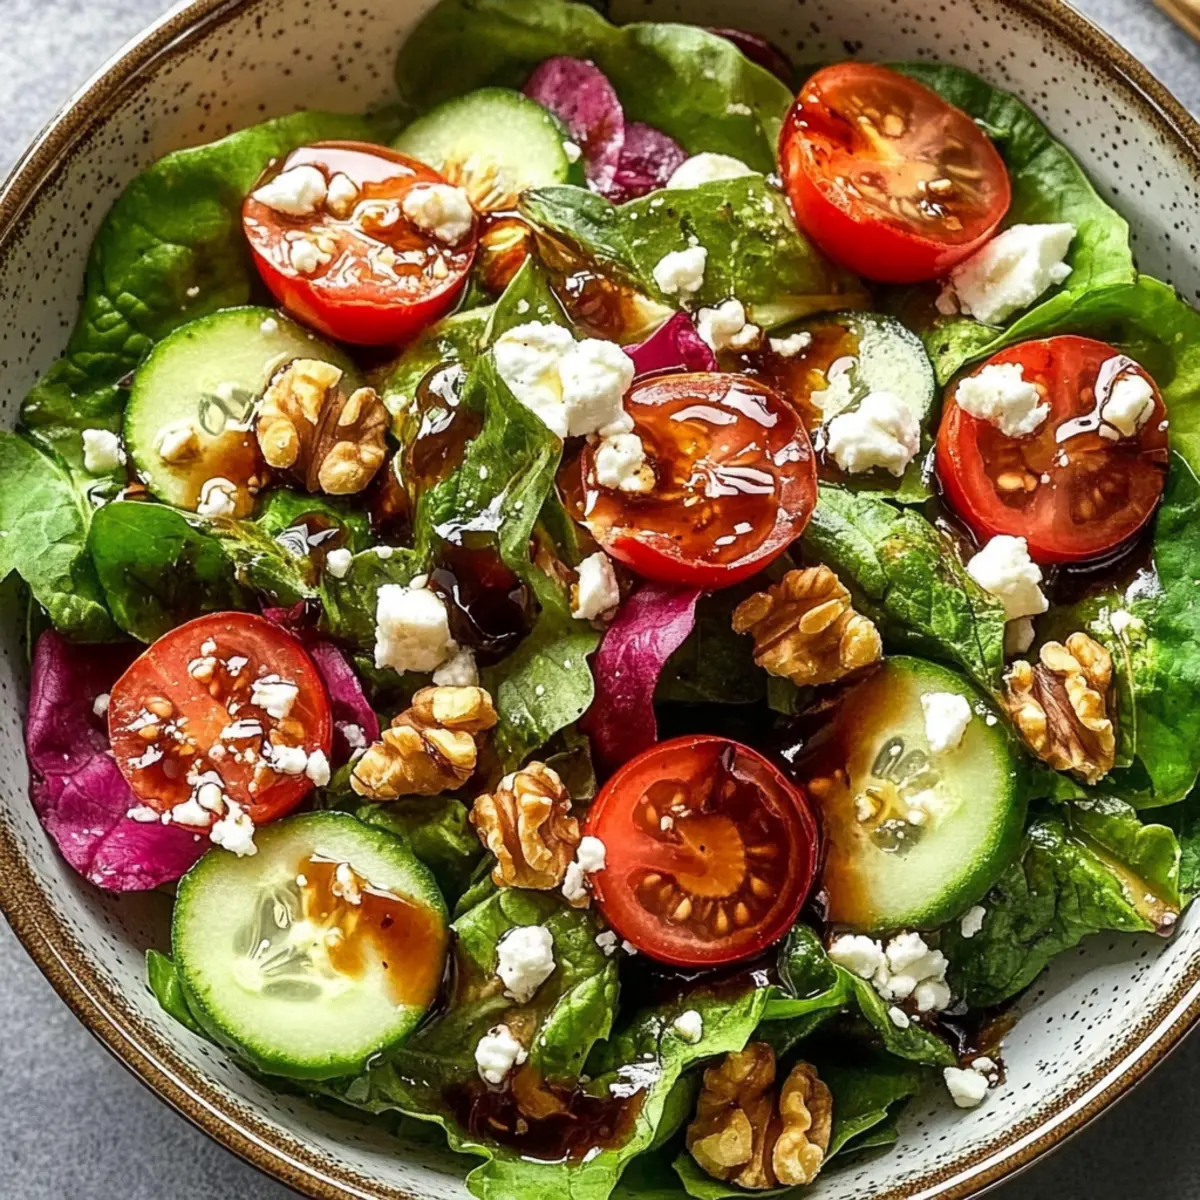
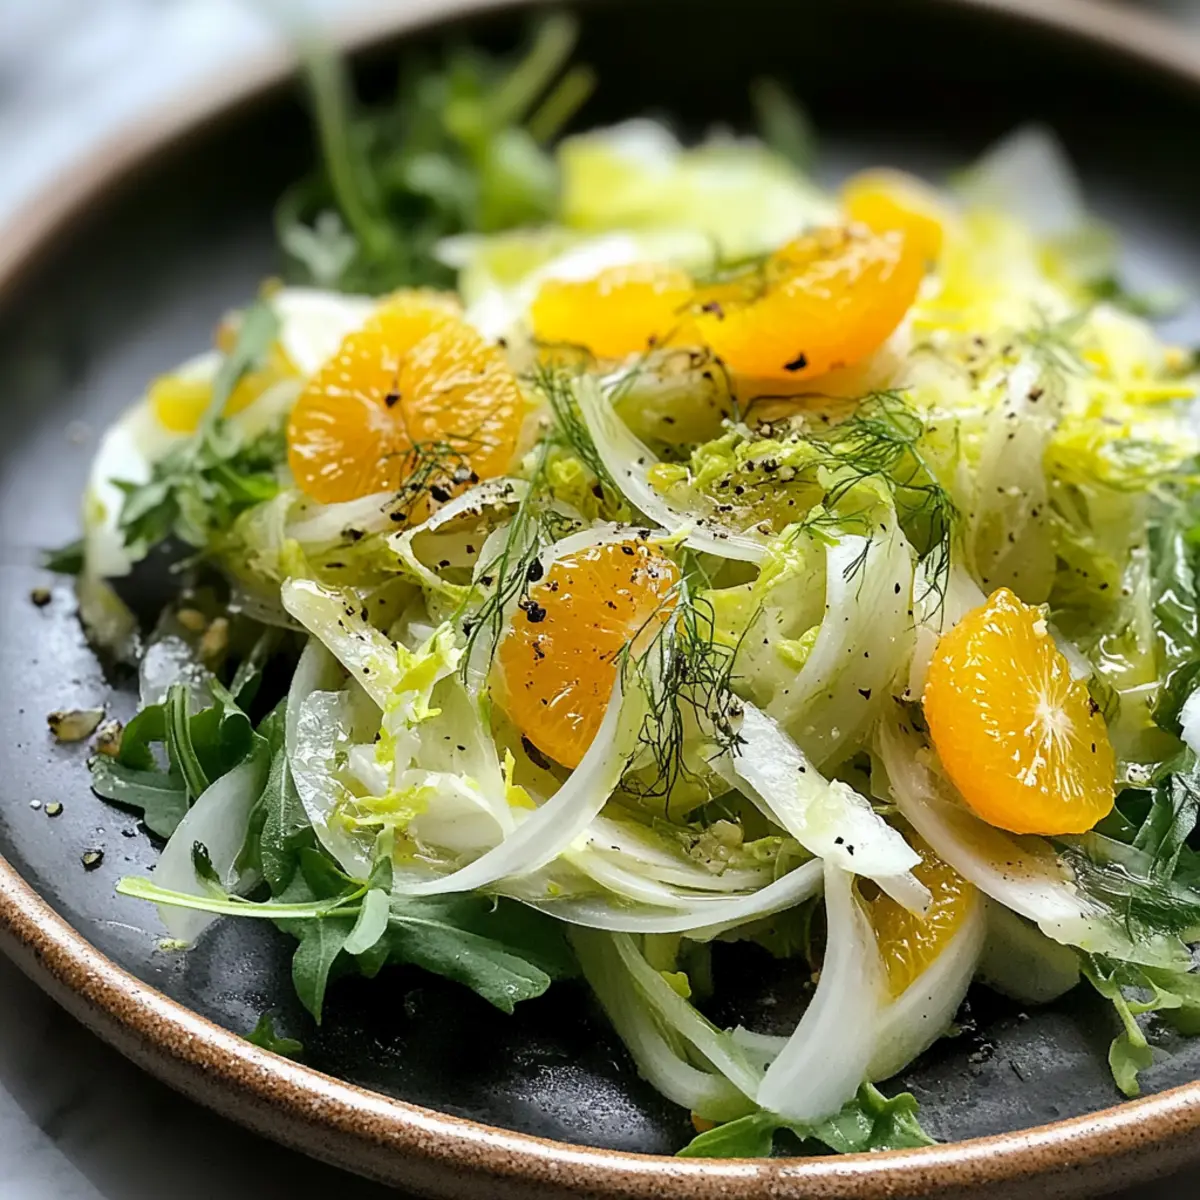
Gorgeous Presentation: Serve it in a shallow bowl to showcase the rainbow of colors that will impress your guests.
Crowd-Pleasing Flavor: The balance of sweetness from the fruit and tang from the vinaigrette is sure to win over even the pickiest eaters.
Elevate your meal with this Bright Spring Salad with Citrus Vinaigrette and delight your guests with each refreshing bite.
Bright Spring Salad Ingredients
• Get ready to create a fresh, vibrant dish!
For the Salad
- Mixed Salad Greens – The base of the salad providing crisp texture and nutrition; feel free to substitute with spinach, arugula, or romaine.
- Strawberries – Adds sweetness and vibrant color; use fresh strawberries for the best flavor.
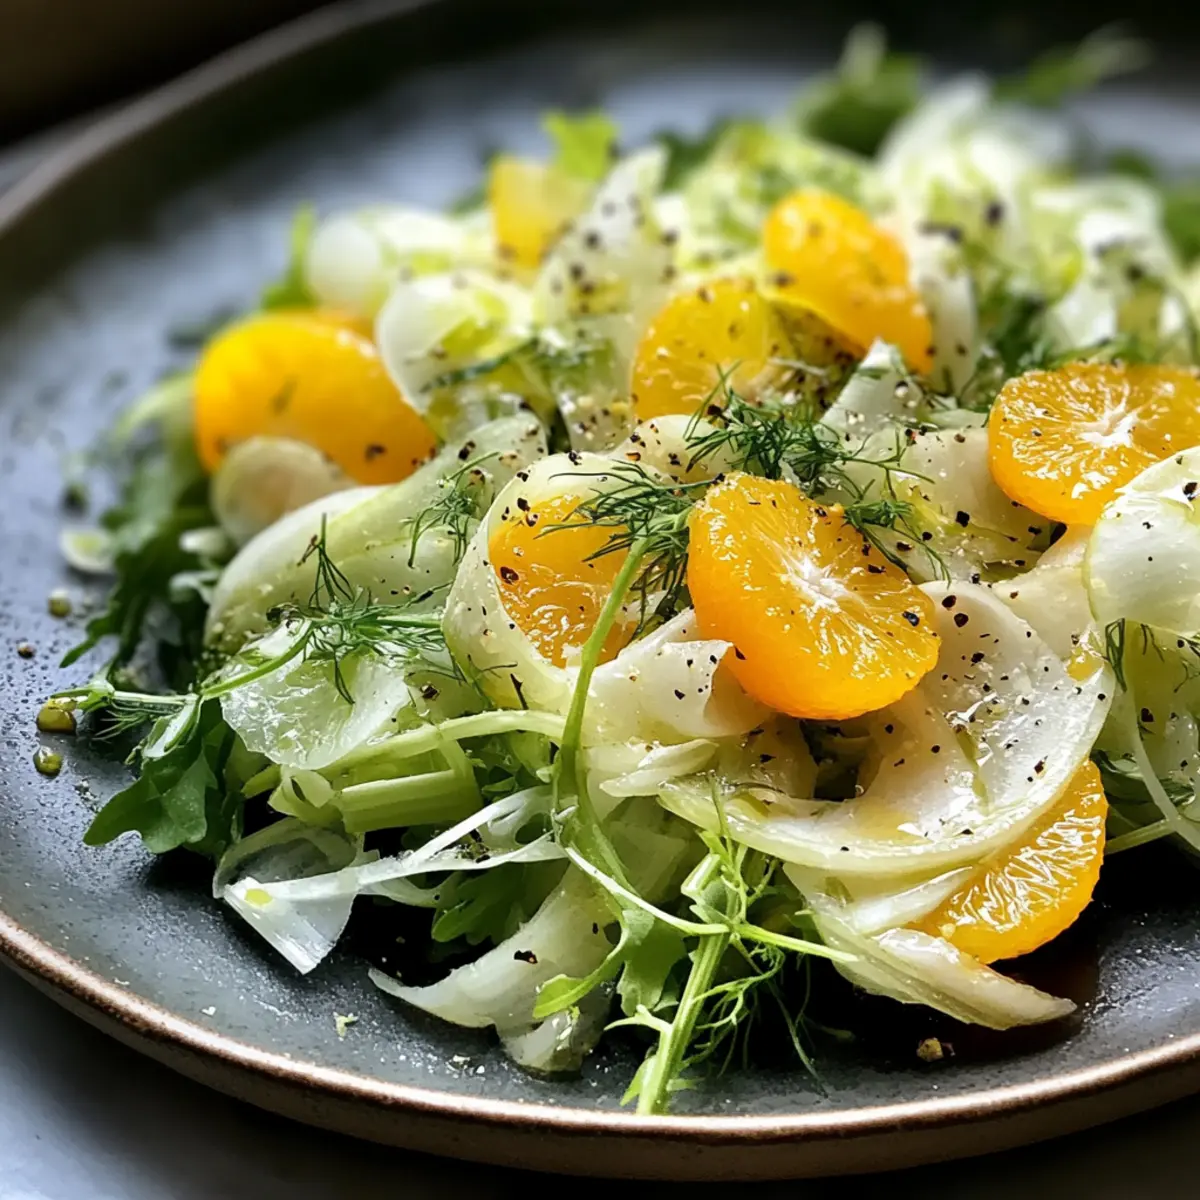
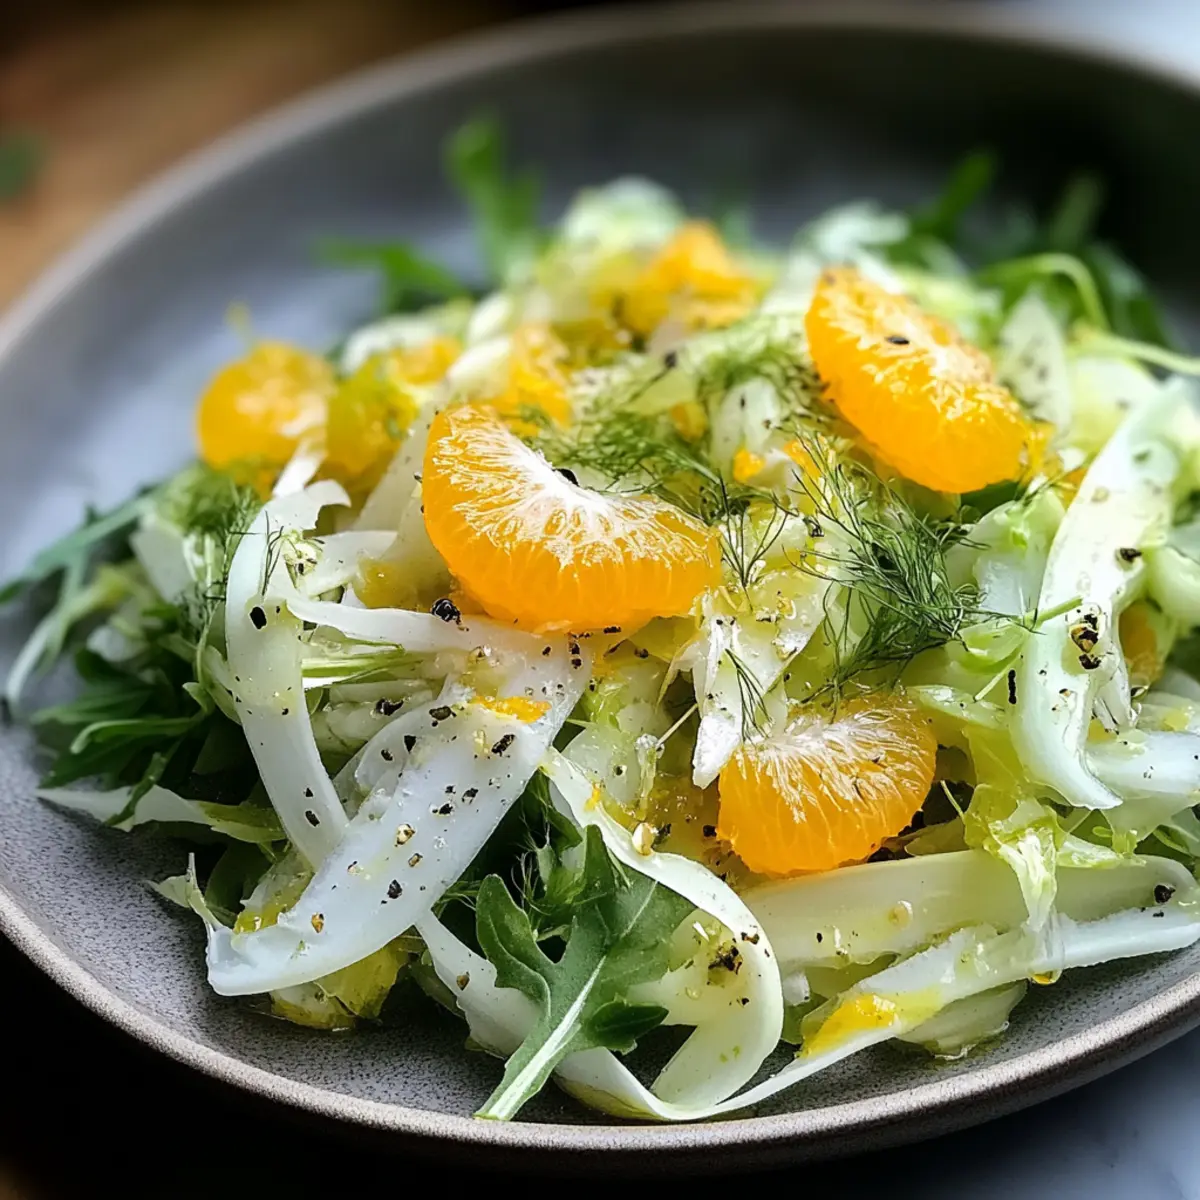
- Orange – Segmented for a juicy citrus pop; try swapping in grapefruit or mandarins for a different twist.
- Cucumber – Offers a refreshing crunch; thinly slice it for easier eating.
- Red Onion – Introduces a sharp flavor contrast; substitute with green onions for a milder taste.
- Feta Cheese (optional) – Gives a creamy and salty element; consider goat cheese or omit for lactose-free options.
- Walnuts/Pecans (toasted) – Adds a nutty crunch and healthy fats; any favorite nuts or seeds like sunflower seeds work too.
For the Vinaigrette
- Olive Oil – The base for the dressing adding richness; choose a high-quality extra virgin oil for the best flavor.
- Orange Juice – Freshly squeezed brings natural sweetness; while bottled juice works, fresh is always preferred.
- Lemon Juice – Balances out the flavors with acidity.
- Honey or Maple Syrup – Adds a touch of sweetness to the dressing; agave nectar serves as a vegan alternative.
- Salt and Pepper – Essential for seasoning to taste; adjust according to preference.
Add this Bright Spring Salad with Citrus Vinaigrette to your table for a delightful burst of flavor!
Step‑by‑Step Instructions for Bright Spring Salad with Citrus Vinaigrette
Step 1: Prepare the Salad Base
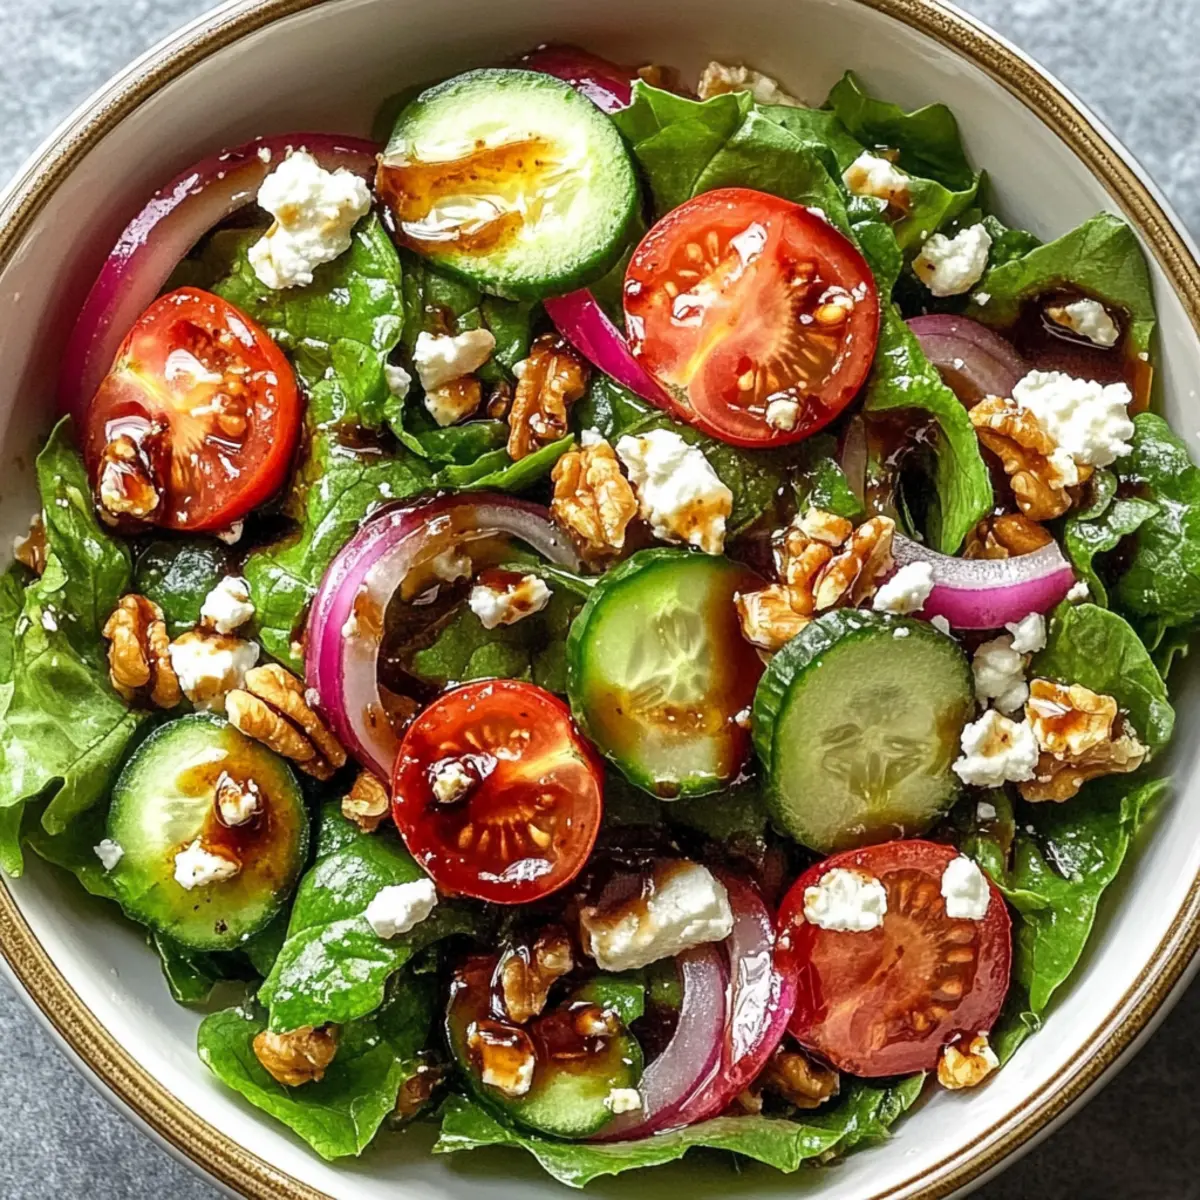
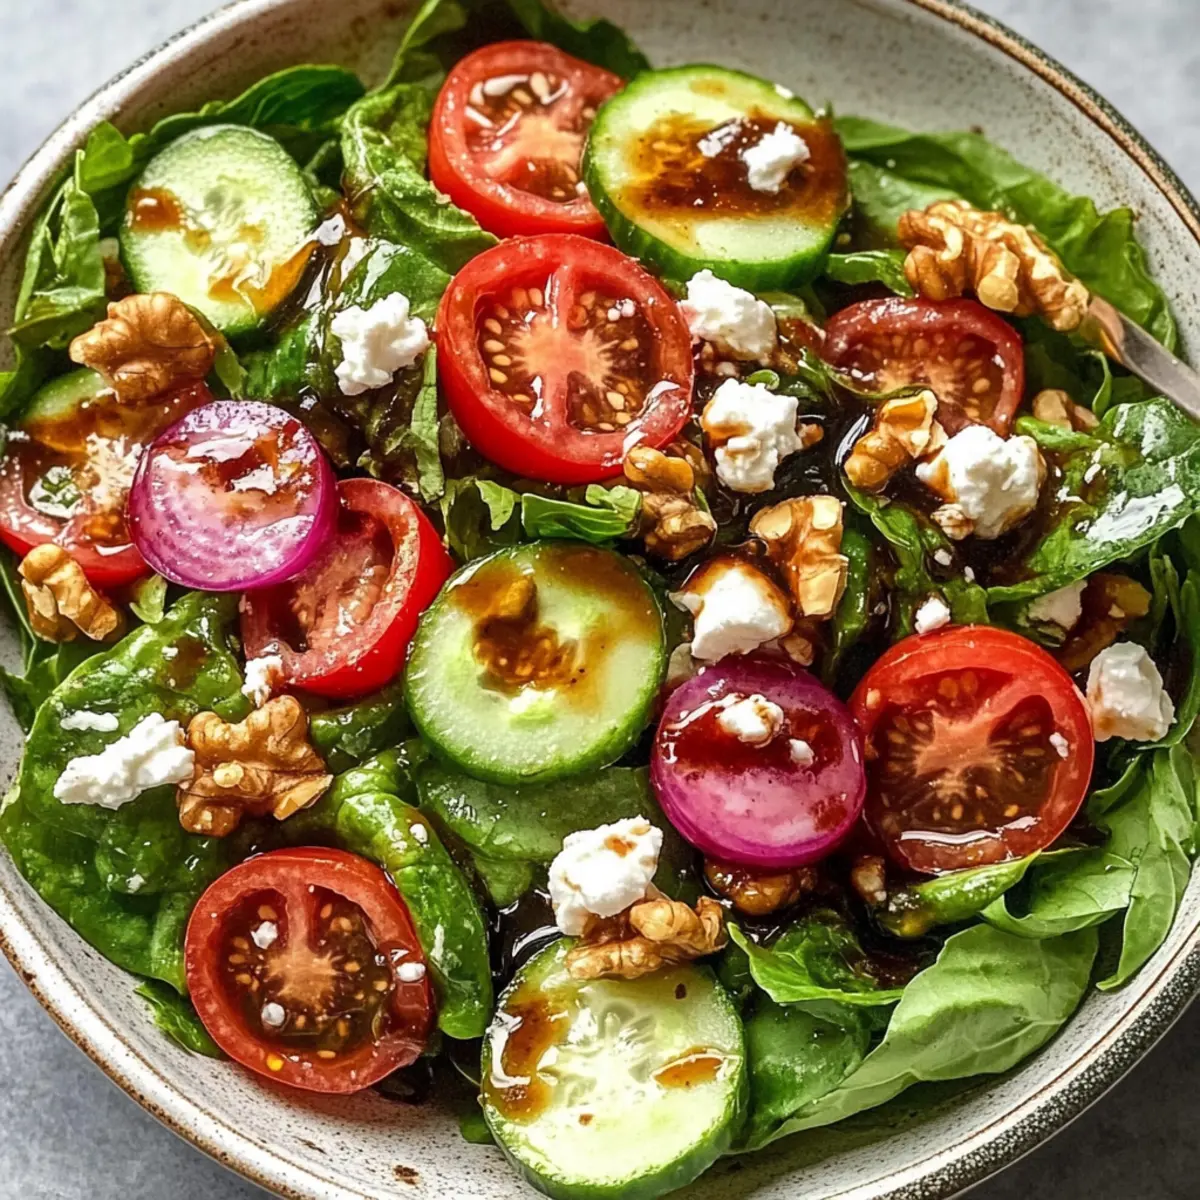
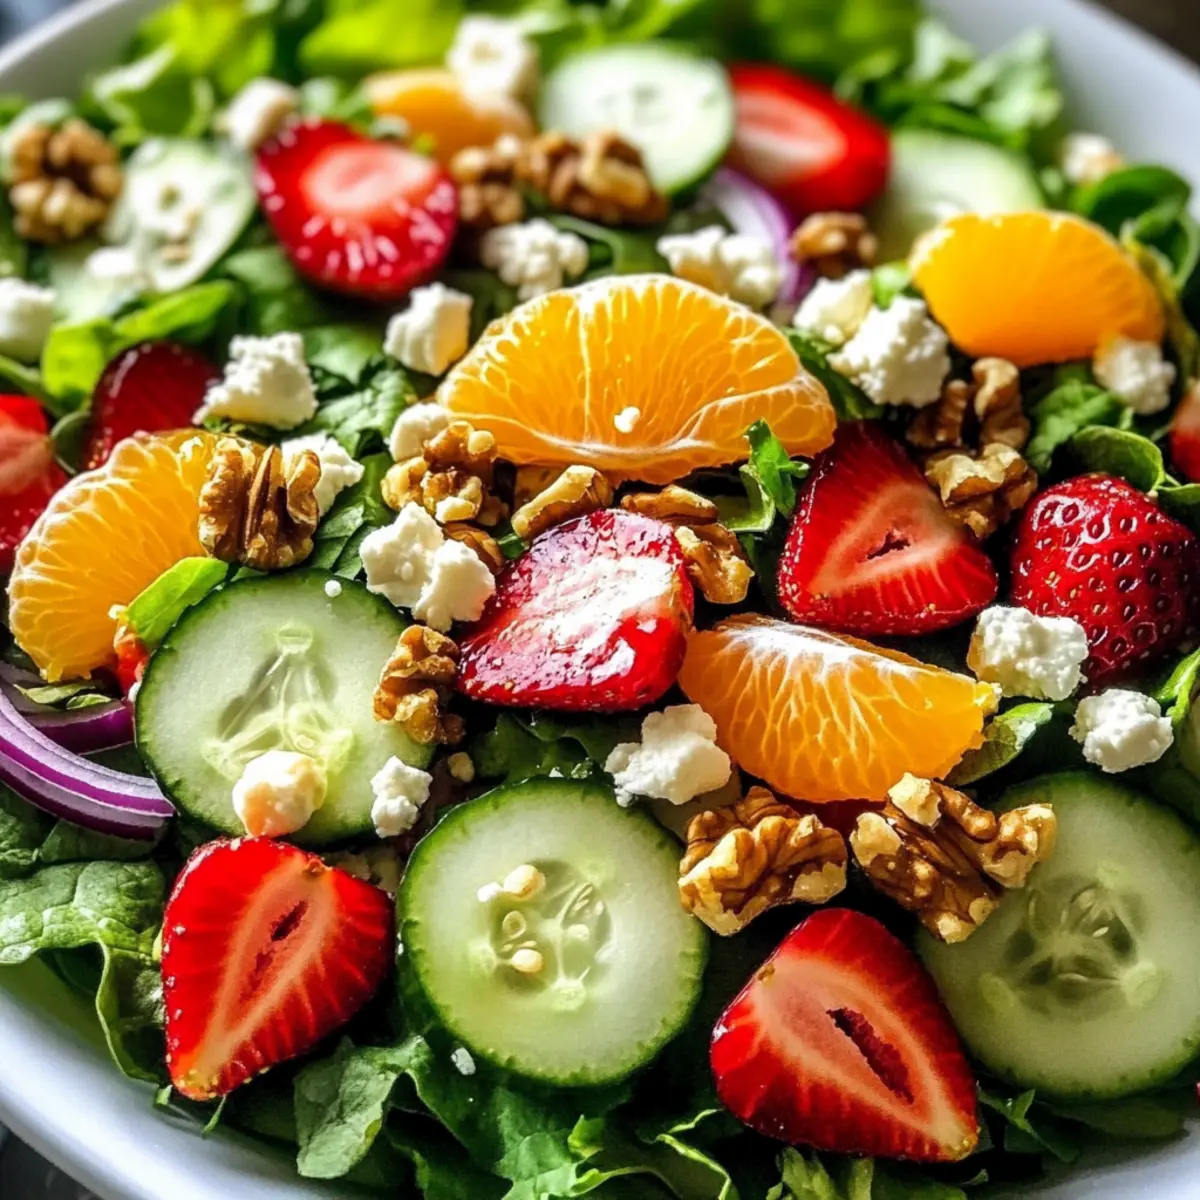
In a large bowl, combine 4 cups of mixed salad greens, ensuring they are fresh and crisp. Add 1 cup of sliced strawberries, 1 segmented orange, and 1 thinly sliced cucumber. Toss gently to mix the vibrant colors and textures, creating a base that’s both inviting and nutritious. Set aside while you craft the dressing.
Step 2: Whisk the Citrus Vinaigrette
In a medium bowl, whisk together 1/4 cup of high-quality extra virgin olive oil, 1/4 cup of freshly squeezed orange juice, and 2 tablespoons of lemon juice. Add 1 tablespoon of honey or maple syrup for sweetness, and season generously with salt and pepper to taste. Continue whisking until the dressing is well combined and emulsified, showcasing its beautiful, glossy texture.
Step 3: Dress the Salad
Pour the bright citrus vinaigrette over the salad mixture, using a spatula to ensure even coverage. Gently toss the salad with your hands or tongs, allowing the greens and fruit to soak up the zesty flavors. Aim for a vibrant mix without overdressing, as you want the fresh ingredients to shine through in this Bright Spring Salad with Citrus Vinaigrette.
Step 4: Add the Finishing Touches
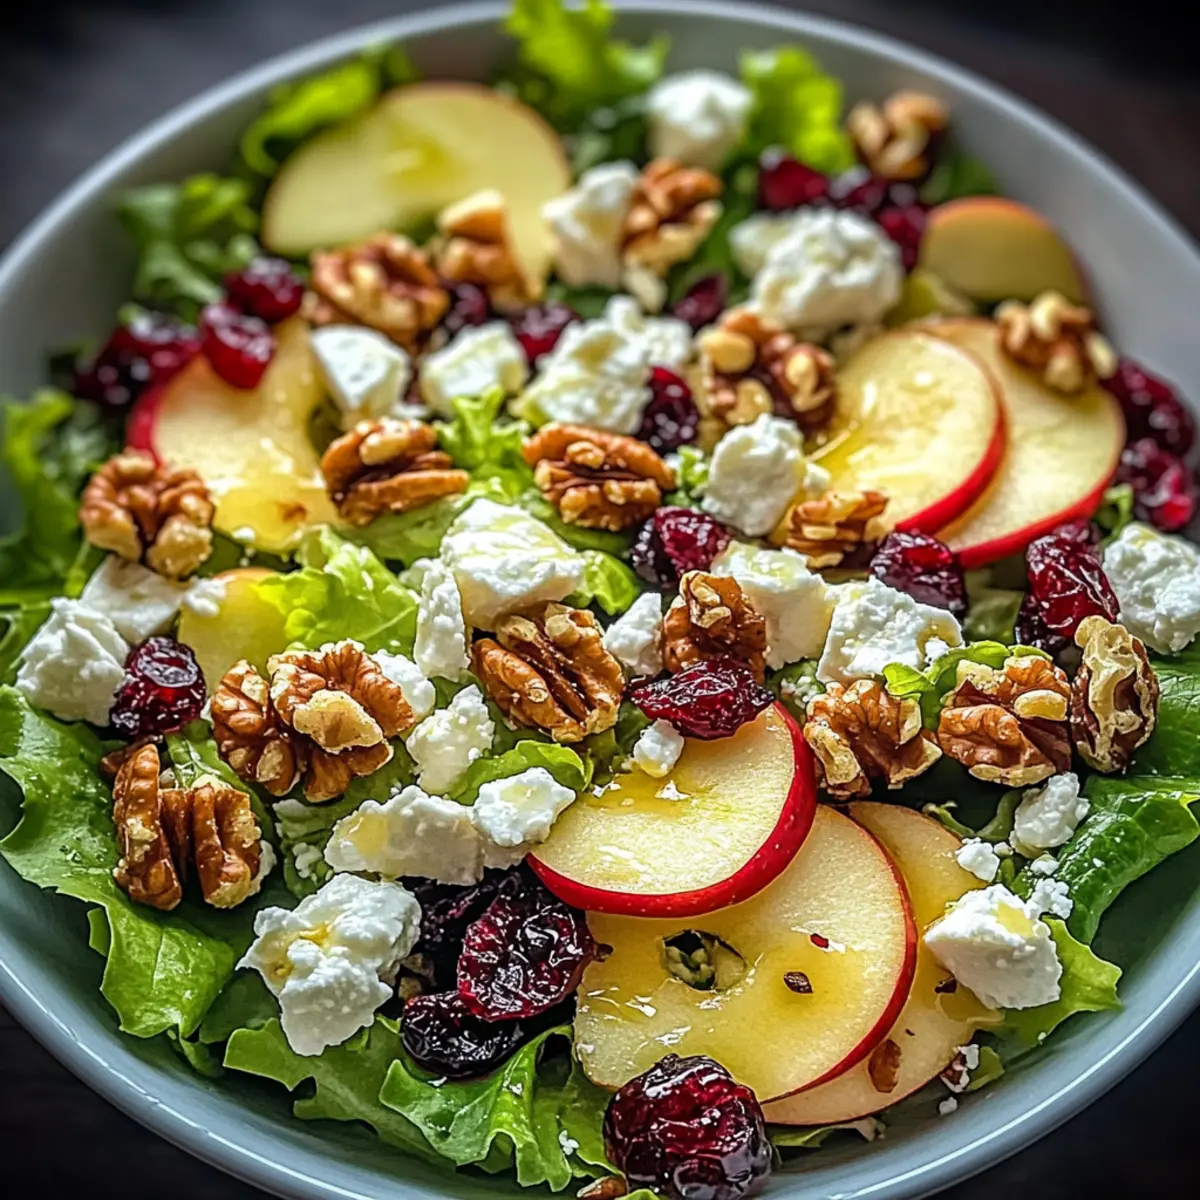
Sprinkle 1/2 cup of crumbled feta cheese and 1/3 cup of toasted walnuts or pecans on top of the dressed salad for added creaminess and crunch. These toppings enhance both flavor and presentation, making your salad truly irresistible.
Step 5: Serve and Enjoy
Transfer the salad into a wide, shallow bowl for a stunning display of colors. Drizzle any remaining vinaigrette over the top right before serving to keep your greens fresh and vibrant. This Bright Spring Salad with Citrus Vinaigrette is perfect as a light lunch or a side dish at gatherings, inviting everyone to savor the season's flavors.
Make Ahead Options
These Bright Spring Salad with Citrus Vinaigrette ingredients are perfect for meal prep enthusiasts! You can prepare the salad base (mixed greens, strawberries, orange segments, cucumber, and red onion) up to 24 hours in advance. Just store it in an airtight container in the refrigerator to keep everything fresh and vibrant. The citrus vinaigrette can also be whisked together and refrigerated up to 3 days prior to serving, just give it a good shake before drizzling it over the salad. When you’re ready to serve, simply toss the salad with the dressing, sprinkle on the feta cheese and toasted nuts, and enjoy a deliciously bright meal that saves you precious time during busy weeknights!
What to Serve with Bright Spring Salad with Citrus Vinaigrette
Elevate your spring meal experience with delightful pairings that complement the fresh, vibrant flavors of this gorgeous salad.
-
Grilled Chicken: Juicy and flavorful, grilled chicken adds protein and balances the crispness of the salad, turning it into a satisfying main course.
-
Quinoa Pilaf: Light and fluffy, quinoa pilaf brings a nutty flavor while providing a hearty complement to the bright, tangy notes of the salad.
-
Herbed Flatbread: Warm, fluffy flatbread brushed with garlic and herbs is perfect for scooping up salad bites, adding a delightful chewy texture.
-
Chilled White Wine: A crisp Sauvignon Blanc or a fruity Pinot Grigio enhances the citrus flavors in the salad, making every bite feel like a refreshing breeze.
-
Roasted Asparagus: Tender, slightly charred asparagus spears paired with a sprinkle of lemon zest provide an earthy element, enriching your spring meal theme.
-
Fruit Sorbet: For dessert, a light and refreshing fruit sorbet echoes the salad’s flavors, delivering a sweet finish without overpowering your taste buds.
-
Spiced Nuts: A small bowl of spiced nuts can provide a crunchy contrast, adding an extra layer of flavor that pairs exceptionally well with the citrus vinaigrette.
Expert Tips for Bright Spring Salad
- Quality Ingredients: Use the freshest ingredients you can find for the best flavor. Fresh strawberries and vegetables make the Bright Spring Salad with Citrus Vinaigrette truly shine.
- Dress Just Before Serving: For maximum crunch, dress the salad right before serving. This ensures the greens stay fresh and vibrant, avoiding wilting.
- Adjust Sweetness: Taste the vinaigrette before dressing to perfect the sweetness balance. If using bottled juices, it may need more or less honey or maple syrup.
- Toppings Matter: Don’t skip on the toppings! Feta and toasted nuts add not only flavor but also delightful texture to your Bright Spring Salad with Citrus Vinaigrette.
- Mix It Up: Feel free to experiment with seasonal fruits or nuts based on availability. This adaptability makes your salad ever-refreshing and exciting!
Bright Spring Salad with Citrus Vinaigrette Variations
Customize your salad experience with these exciting twists that elevate your taste buds and bring fresh flavors to life!
-
Seasonal Fruits: Use peaches or raspberries instead of strawberries for a delightful summer spin. Each fruit will introduce its unique essence.
-
Avocado Boost: Add creamy avocado slices for a rich texture and healthy fats. Their buttery goodness pairs beautifully with the citrusy notes.
-
Protein Power: Toss in grilled chicken or chickpeas to turn this salad into a satisfying meal. It’s an effortless way to amp up the protein!
-
Nutty Substitutions: Swap walnuts or pecans with toasted almonds or sunflower seeds for a different crunch. Each nut contributes its own lovely flavor profile.
-
Spice it Up: Add a pinch of red pepper flakes for a hint of heat. This simple addition can excite those looking for a little kick in their meal.
-
Cheese Alternatives: If you prefer a vegan option, use nutritional yeast instead of feta for a cheesy flavor without the dairy. It’s a delicious way to keep things plant-based.
-
Fresh Herb Infusion: Enhance flavor by tossing in fresh herbs like basil or mint. They offer a fragrant brightness that elevates the salad’s overall taste.
If you're looking for more delicious ways to enjoy salads, check out my Tofu Caesar Salad or the delightful Chicken Salad with Apples. Each offers a unique take on the classic salad that you’re sure to love!
How to Store and Freeze Bright Spring Salad
- Fridge: Store any leftover un-dressed salad in an airtight container for up to 2 days to maintain freshness and crunch. Dress just before serving to keep the greens vibrant.
- Vinaigrette Storage: You can prepare the citrus vinaigrette in advance and keep it in the refrigerator for up to 3 days. Shake well before drizzling over the salad to recombine the ingredients.
- Freezer: It is not recommended to freeze the assembled salad, as the fresh greens and fruits will lose their texture. However, you can freeze only the vinaigrette if needed for future use.
- Reheating: There’s no need to reheat the salad, as it is best enjoyed cold. Serve immediately after mixing for the freshest flavors in your Bright Spring Salad with Citrus Vinaigrette.
Bright Spring Salad with Citrus Vinaigrette Recipe FAQs
What fruits can I use for this salad?
Absolutely! While the recipe highlights strawberries and oranges, feel free to experiment with other seasonal fruits. Peaches, berries, or mandarins can add delightful flavors and textures. The more the merrier when it comes to vibrant fruit combinations!
How should I store leftovers of the salad?
To maintain the freshness of your Bright Spring Salad with Citrus Vinaigrette, store any leftover un-dressed salad in an airtight container in the refrigerator for up to 2 days. Dressing the salad just before serving will keep the greens crisp and delicious.
Can I freeze the vinaigrette?
Yes, you can freeze the citrus vinaigrette if necessary! Pour it into an ice cube tray or airtight container and freeze for up to 3 months. Thaw it in the refrigerator overnight before using. Just give it a good shake or whisk to recombine before drizzling over your fresh salad.
What should I do if the salad is overdressed?
If you’ve accidentally overdressed your Bright Spring Salad with Citrus Vinaigrette, don’t worry! Simply add more fresh greens to the salad to help absorb the excess dressing. Toss everything together, and you should find a perfect balance once more.
Are there any allergy considerations with this recipe?
Indeed! This salad is veggie-friendly and adaptable for those with dietary restrictions. For lactose-free options, omit the feta cheese or replace it with a dairy-free alternative. Keep in mind that some nuts can trigger allergies, so consider alternatives like seeds for crunch if necessary.
How do I choose the freshest ingredients?
Selecting fresh ingredients is key! Look for vibrant, crisp salad greens without dark spots. Berries should be bright and firm, while oranges should feel heavy and have smooth skin. If you're unsure about your ingredients' ripeness, opt for locally sourced produce whenever possible.
Bright Spring Salad with Citrus Vinaigrette for Fresh Flavors
Ingredients
Equipment
Method
- In a large bowl, combine mixed salad greens, sliced strawberries, segmented orange, and thinly sliced cucumber. Toss gently.

- In a medium bowl, whisk together olive oil, orange juice, lemon juice, honey or maple syrup, and season with salt and pepper.
- Pour the vinaigrette over the salad and gently toss to coat the ingredients evenly.
- Sprinkle crumbled feta cheese and toasted walnuts or pecans on top of the salad.
- Transfer the salad to a shallow bowl for serving and enjoy fresh.